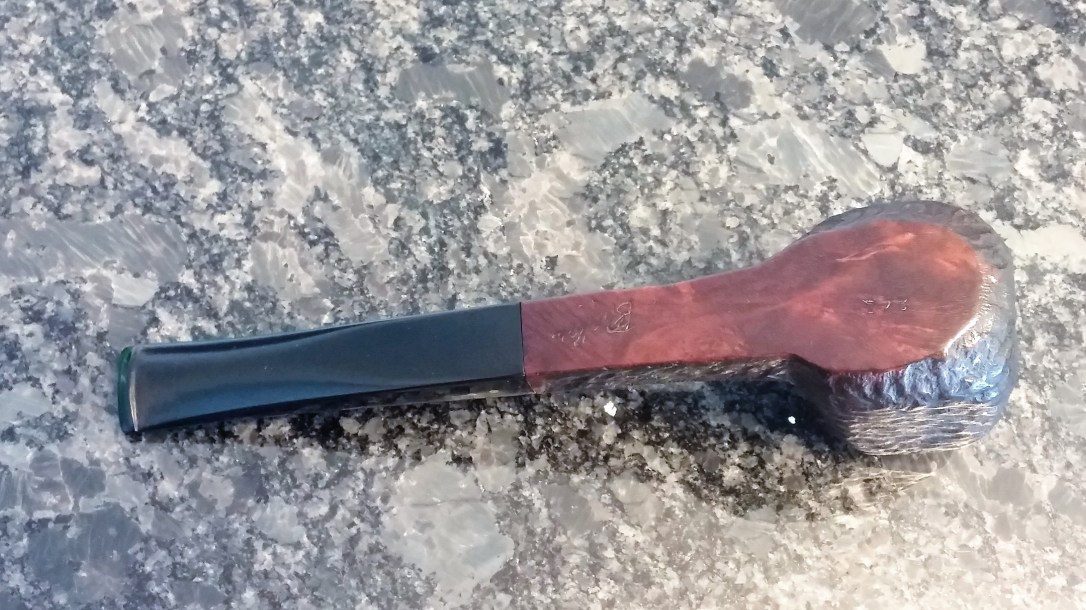
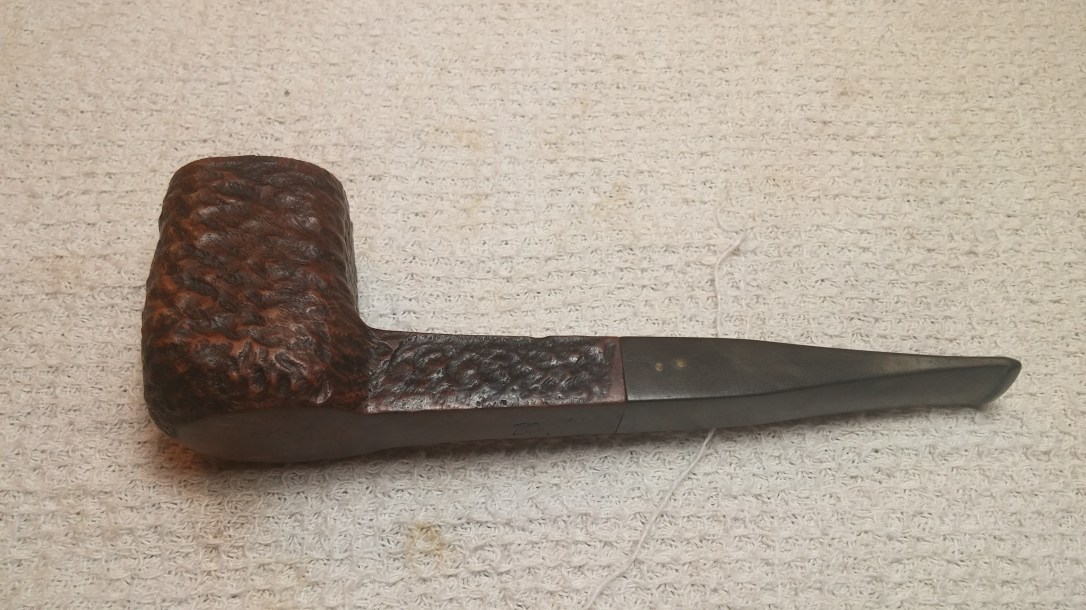
Some time ago now, I acquired a box of about a dozen estate pipes in various states of disrepair. Among these wounded soldiers was this interesting square-shanked Brigham pipe.
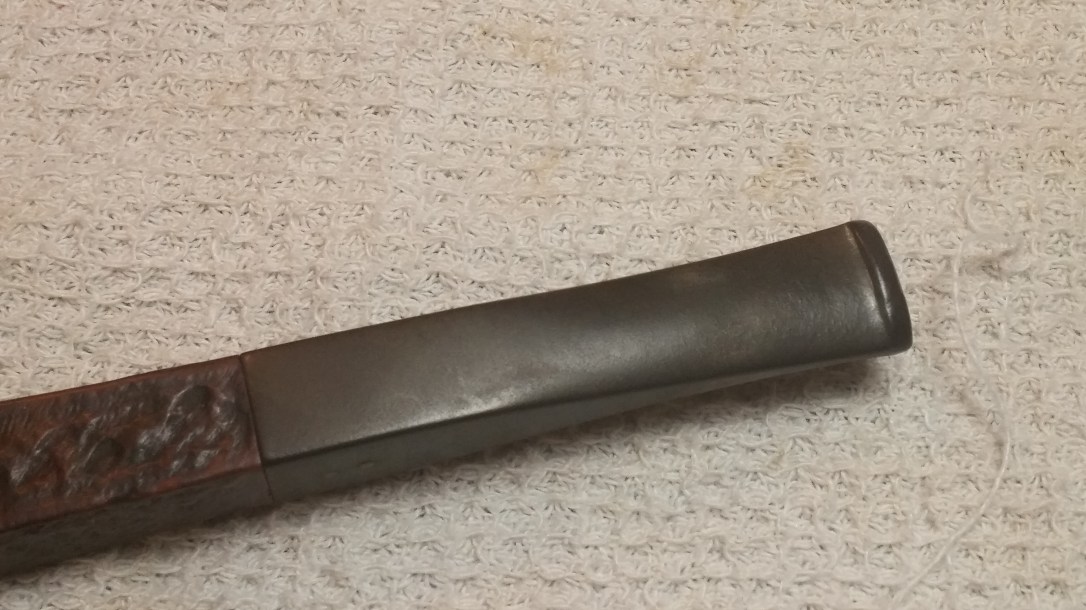
When I brought the pipe to my worktable, I could see that, if it could speak, this Brigham would have had stories to tell. The stem was heavily oxidized a dull green/brown colour, though it fit well at the shank and had only a little tooth chatter at the bit. The stummel, especially the rim, was in rougher shape. The briar was filthy, with dirt, dust and grime lodged deeply in the rusticated finish. The stain on both sides of the squared-off bowl was worn and the peaks of the rustication showed nearly bare briar in spots.


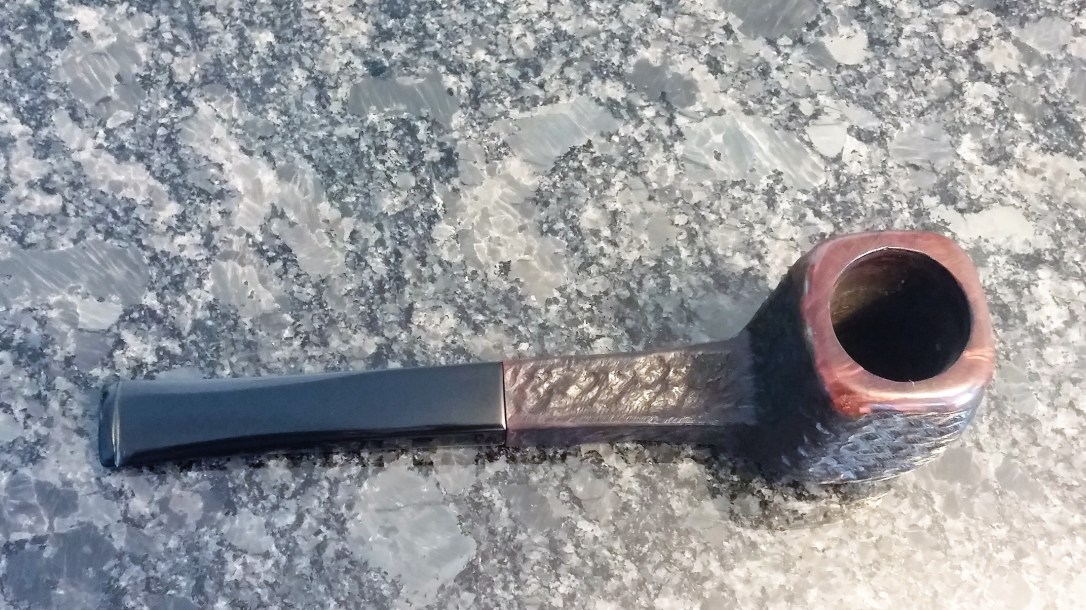
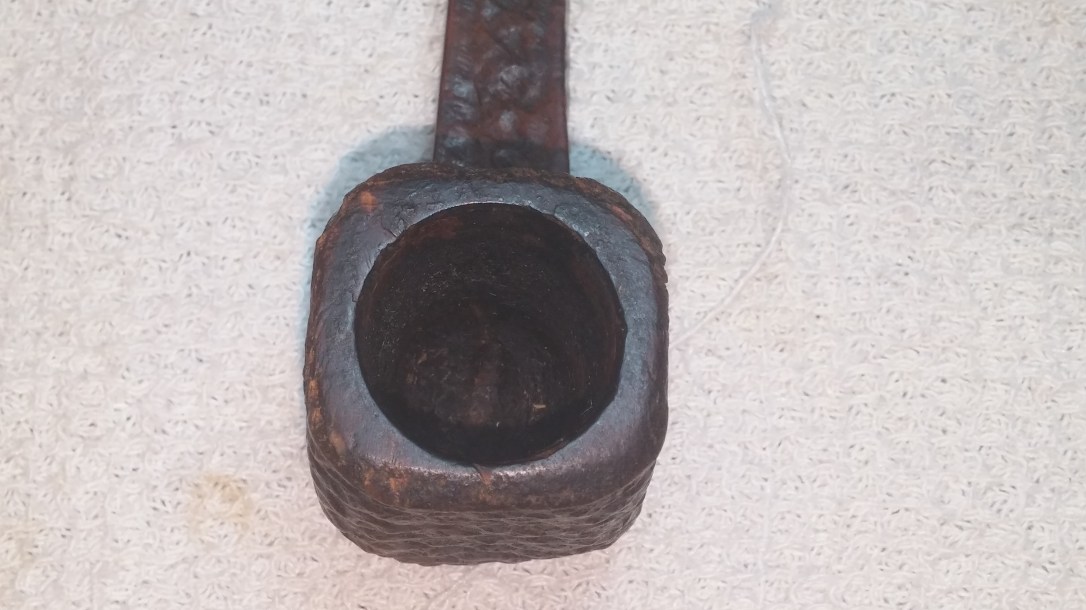
The biggest issue arising from my visual inspection was the state of the rim, where enthusiastic dottle-knocking on hard surfaces had taken its toll on both the front and rear edges of the rim. The extent of the rear rim damage was uncertain, hidden as it was under a thick cap of lava. The front edge was worn nearly all the way to the inner edge of the tobacco chamber.
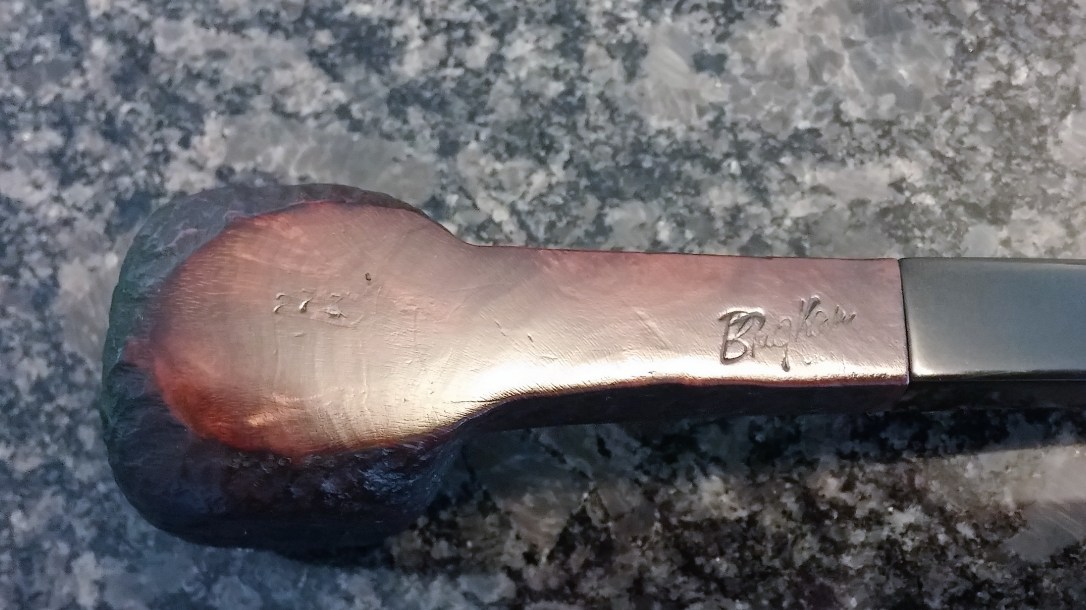
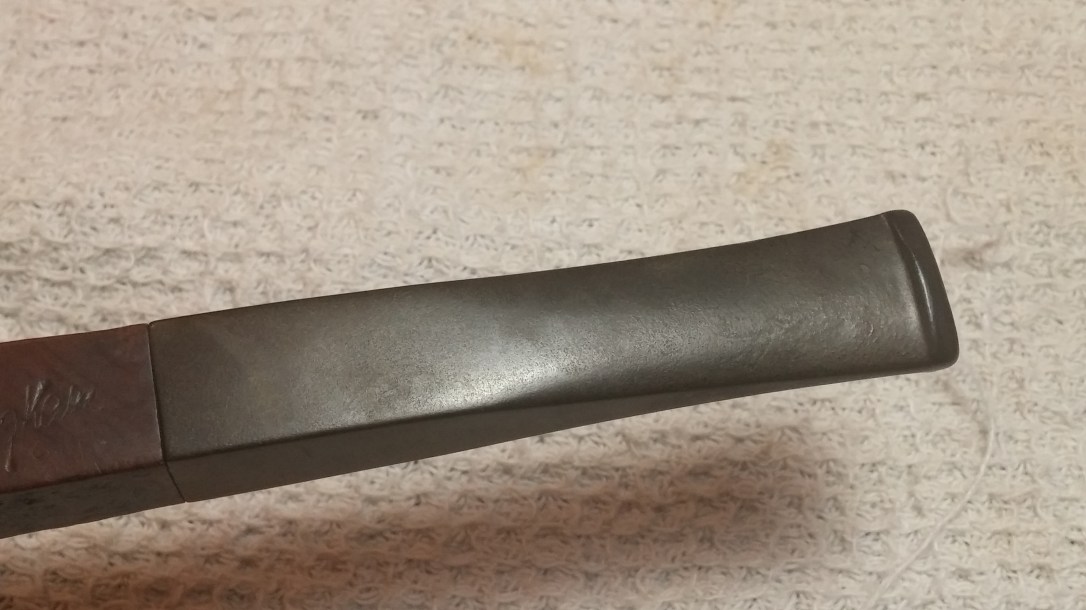
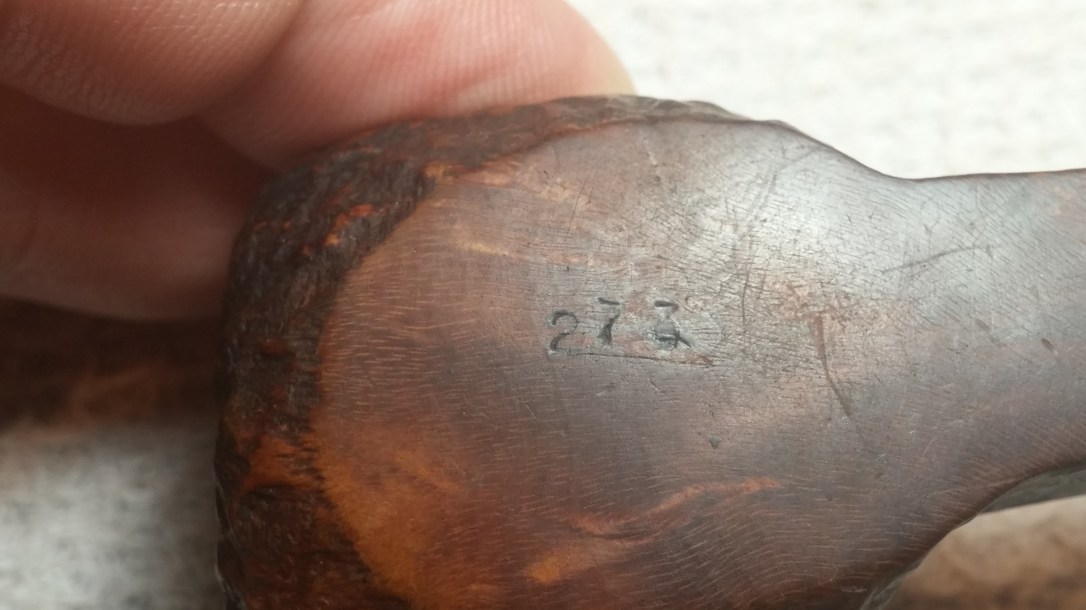
The pipe is stamped “273” on the flat underside of the bowl, while closer to the shank face is the “Brigham” logo. This latter stamp is interesting, as it appears as if the modern 1990’s era stamp was superimposed on the older, thinner Brigham script logo. This could simply be a case of a craftsman grabbing the wrong stamp during a transitional period, or it could indicate an “up-cycling” of some kind, in which an older, but unreleased, stummel was re-badged with the later logo?

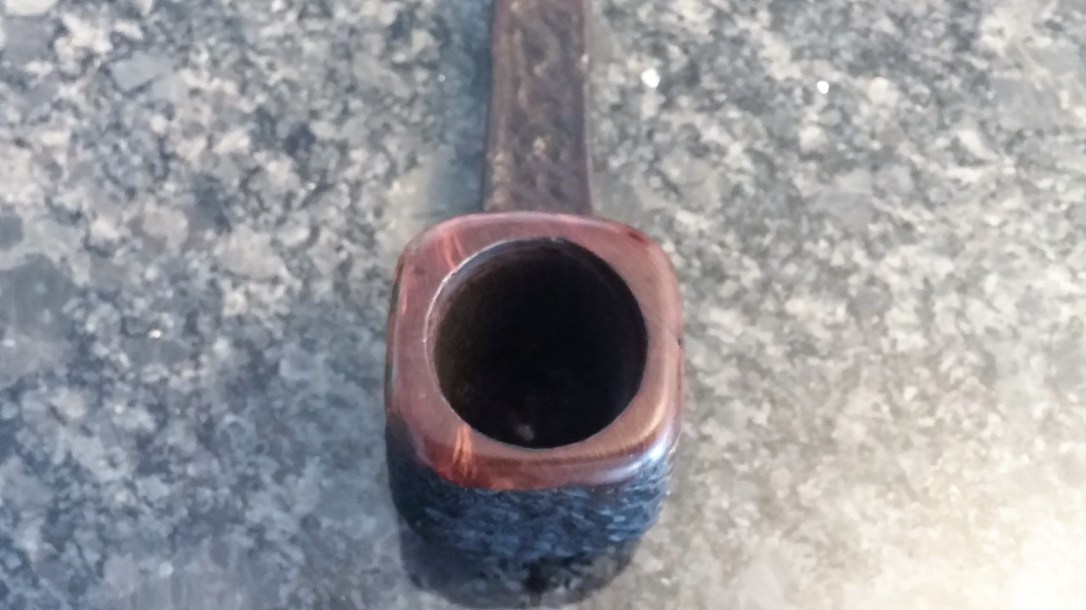
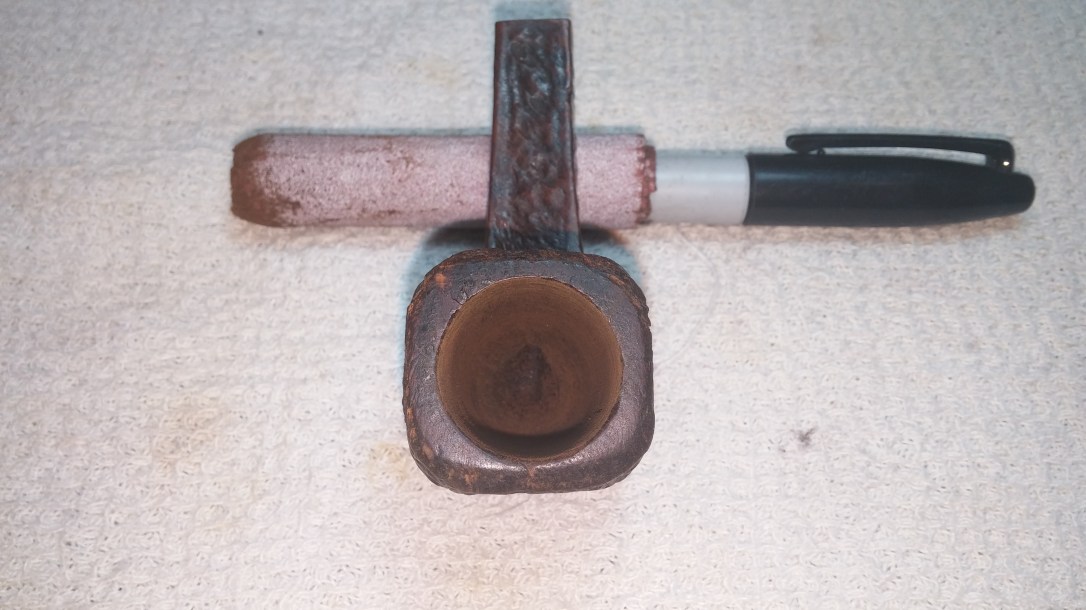
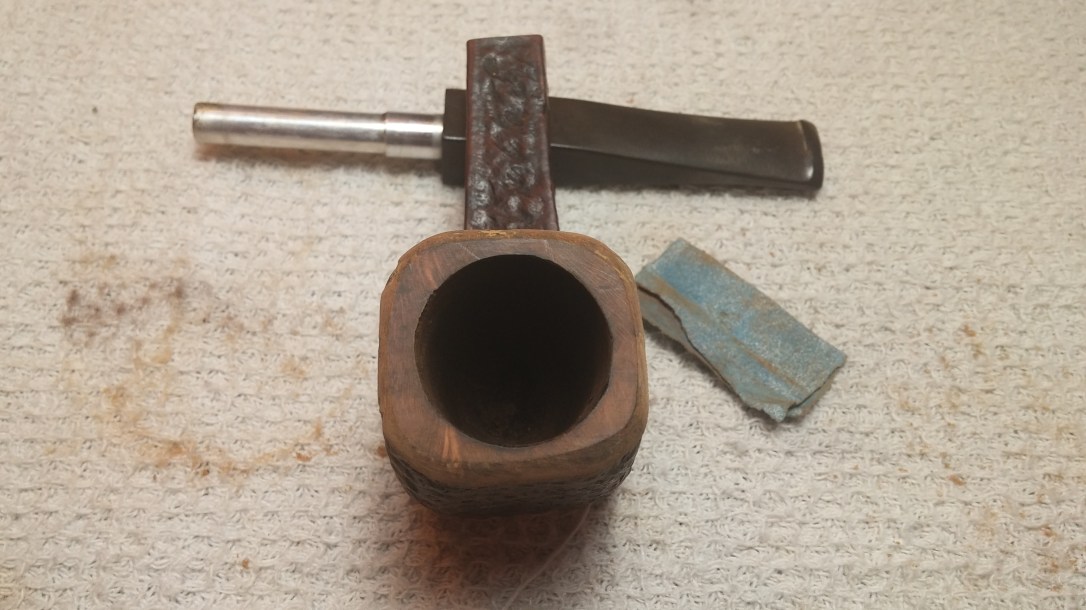
Starting into the restoration, I removed the light cake from the chamber using a bit of sandpaper wrapped around a Sharpie marker. Under the cake, the briar walls were in excellent condition.
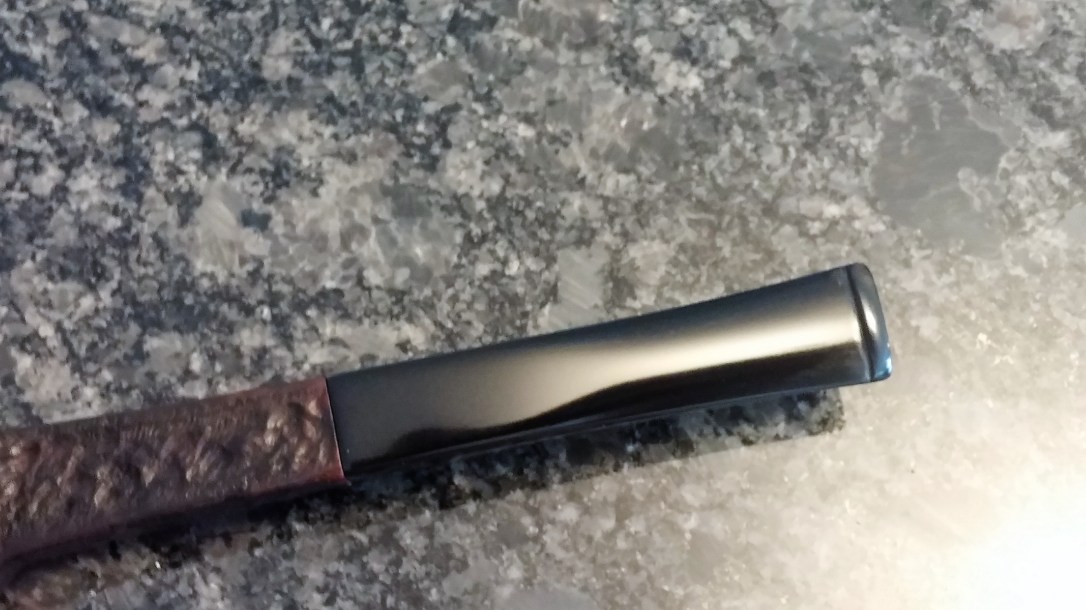
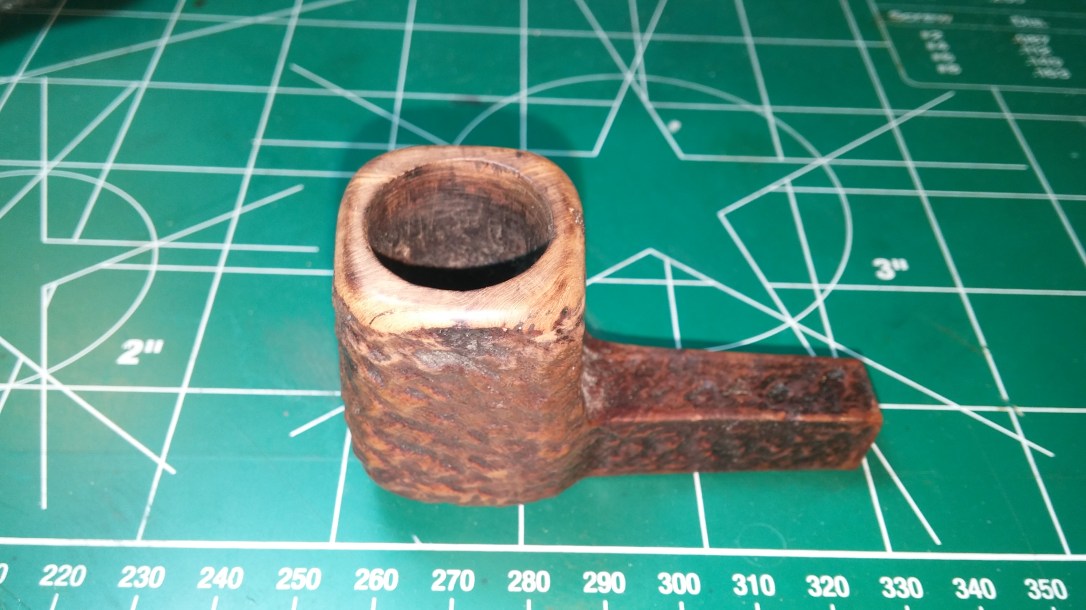
This picture shows the extent of the rim damage a the front of the bowl. The briar has been bashed away, leaving very little rim surface in front of the chamber lip.

I topped the bowl slightly to give me a bit more material to work with, then reshaped the rim with a scrap of 220-grit sandpaper to remove the rest of the damaged briar and even out the top. This series shows the first stages of this process, and a few of the missing chunks of briar that had been knocked out of the rim by a careless piper.

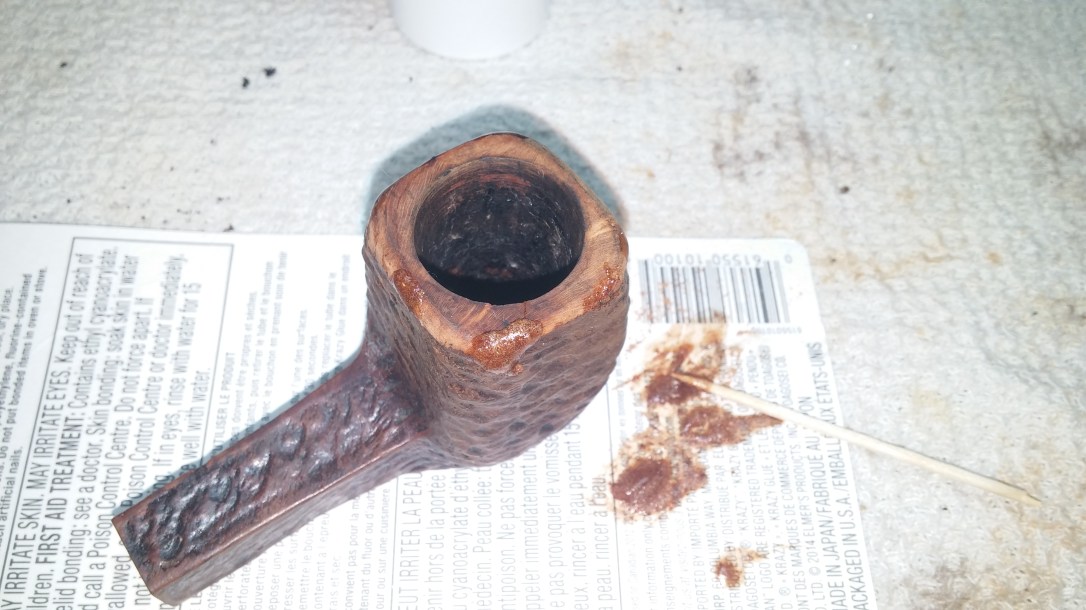
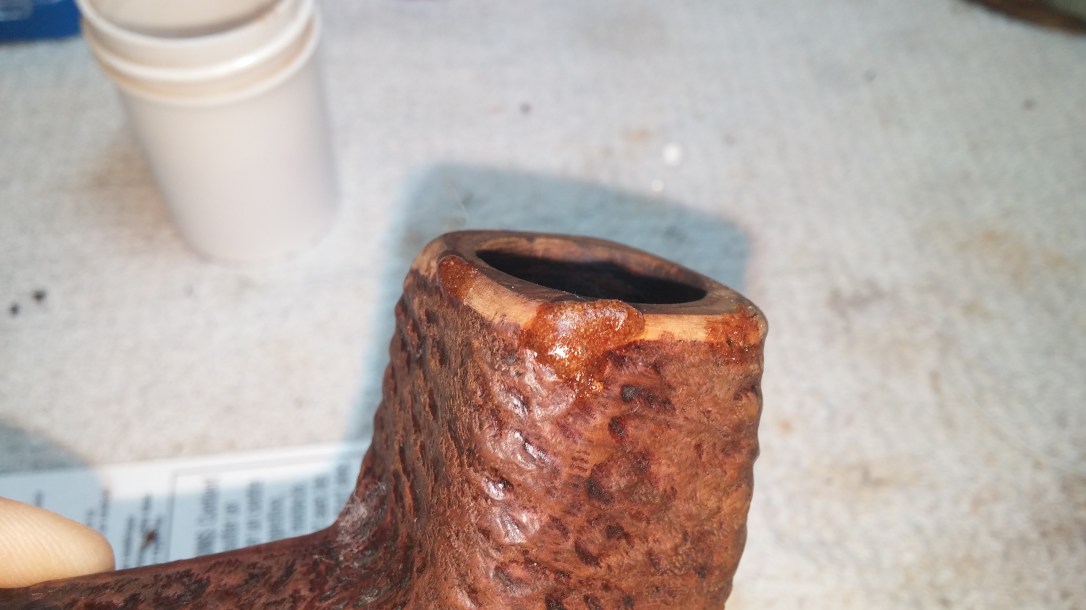
These areas of missing briar were filled with a mixture of thick CA glue and briar dust. I wasn’t shy with the patch material, packing it into the divots and piling it up over the edges onto the rim.
I let the patches cure and then filed and sanded them flush with the surrounding briar. A few of the patches needed a bit of touching up, but eventually the rim was whole. This pics show the rim after sanding with 220 and 320 grit sandpapers and a quick scrub with 0000 steel wool.

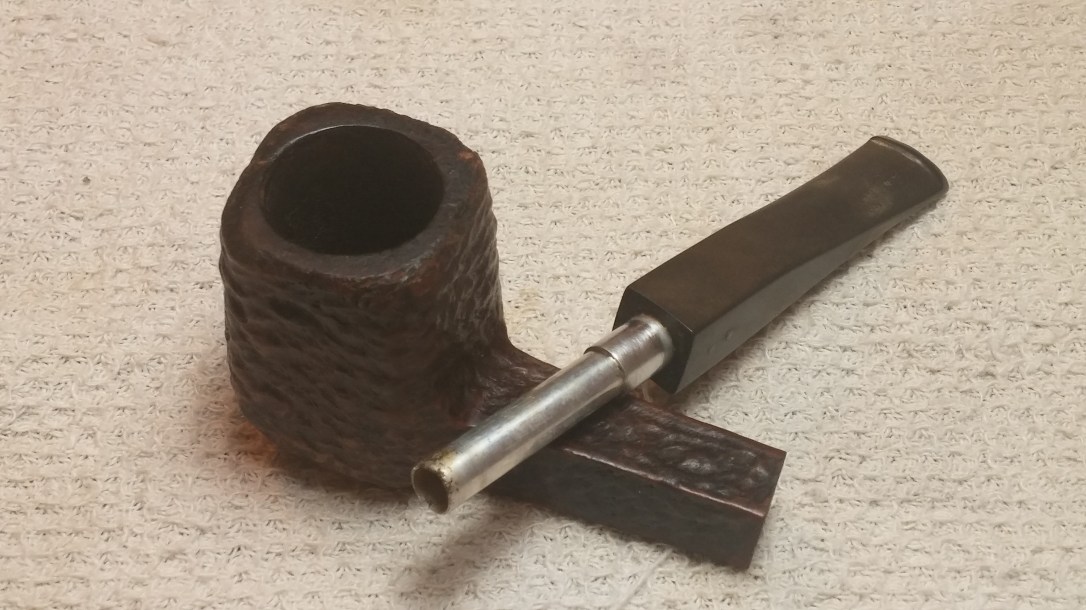
Happy with the rim repair, I turned to cleaning the internals of stummel and stem. The grubby-looking stem went into a bath of warm water and Oxyclean to soften and raise the oxidation, and while it soaked, I worked on removing quite a bit of grime from the stummel.
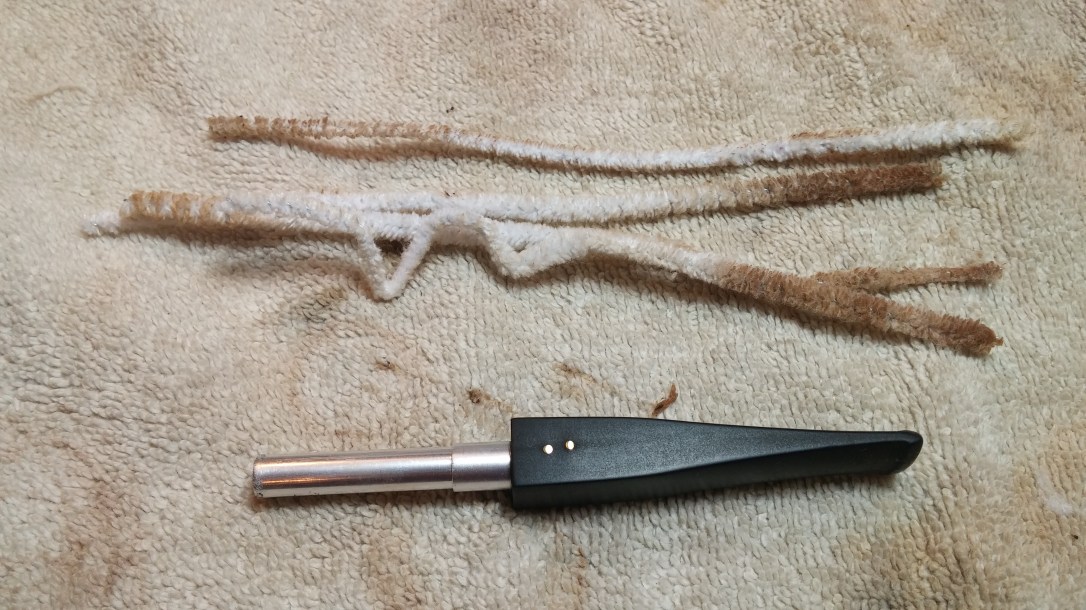
The shank was packed up with tar, soot and bits of tobacco leaf. I removed the worst of the grunge by scraping the interior walls and end face of the mortise with a flat-ended needle file. The remaining crud came out with the judicious application of alcohol on pipe cleaners and cotton swabs.

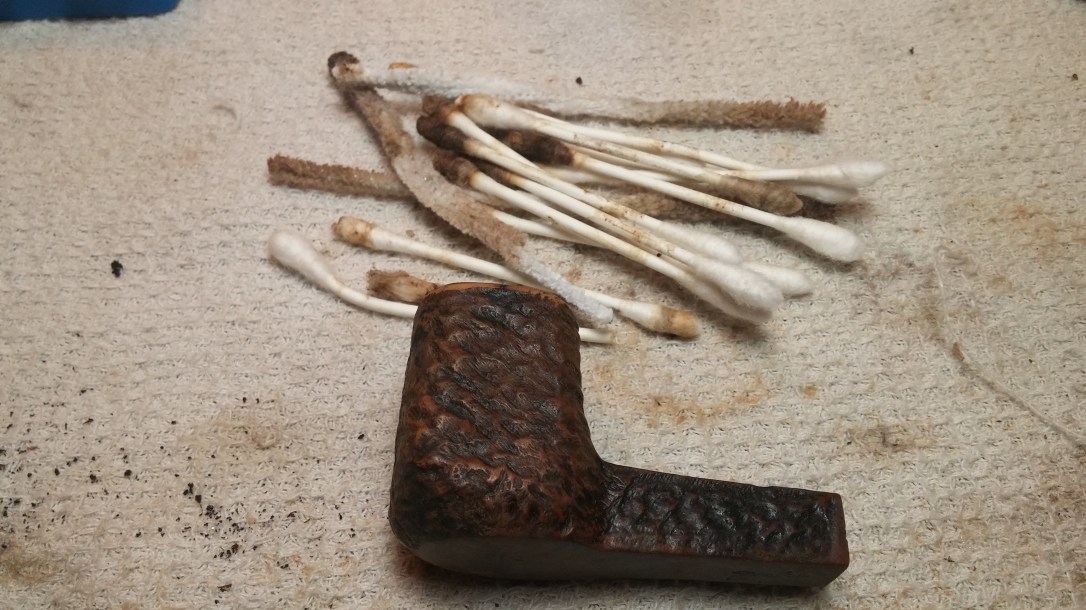
I finished cleaning the briar by scrubbing the exterior of the stummel with Murphy’s Oil Soap and an old toothbrush. This pic shows how worn the original finish was under all the grime.

Setting the stummel aside, I pulled the stem from its bath and scrubbed away the loose oxidation with 0000 steel wool and Magic Eraser. When the vulcanite was again a nice clean black colour, I cleared the tars from the airway and filter housing with more alcohol and pipe cleaners.
Before final polishing, I refreshed the pipe’s finish by applying first a coat of Fiebing’s Saddle Tan leather day to the entire stummel, then a coat of Fiebing’s Dark Brown dye to the rusticated areas. This nicely replicated the factory two-tone colour scheme and highlighted the grain on the smooth rim and flat underside of the stummel. The pictures of the staining process have, sadly, gone AWOL, but the results are shown in the final pics below.
The last stage of this restoration was to give stem and stummel a run on the buffing wheels, first with White Diamond compound to polish things up, then with Carnauba wax to shine and protect the new finish.
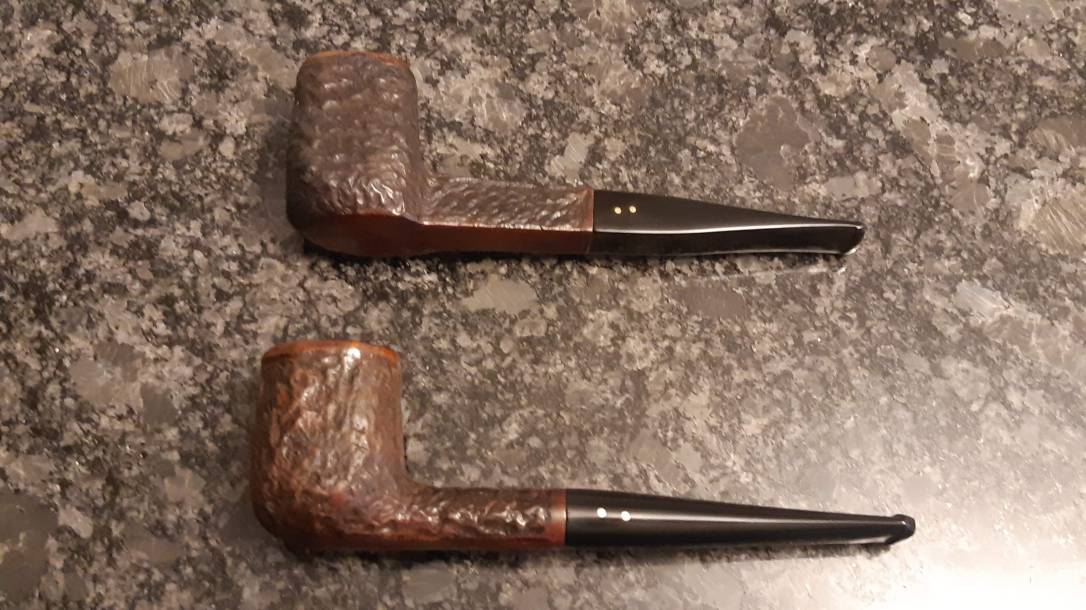
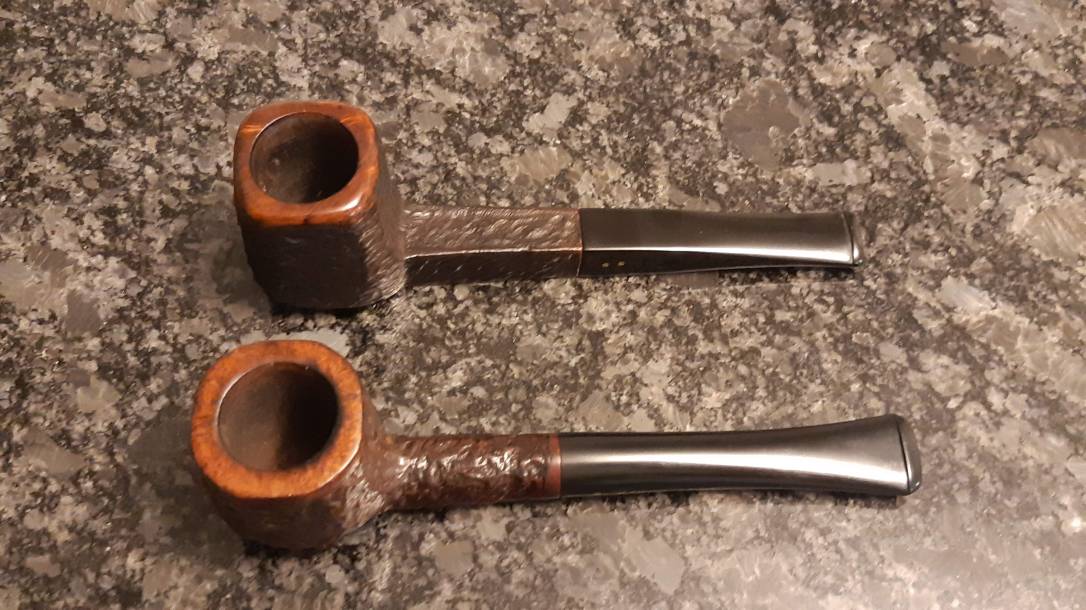
The revived pipe now looks as if it could have come out of the Brigham factory yesterday, though in fact it has been nearly 30 years since this square-shanked billiard saw its first bowl of tobacco. As I was going through my collection of Brigham pipes, I realized that I already had a Shape 73 in the rack. Some of you might remember this post from February of 2016 about that Patent Era Brigham 273. That was a fun refurbishment too, but what stands out for me now is the difference some 40-odd years of production made to this pipe shape.
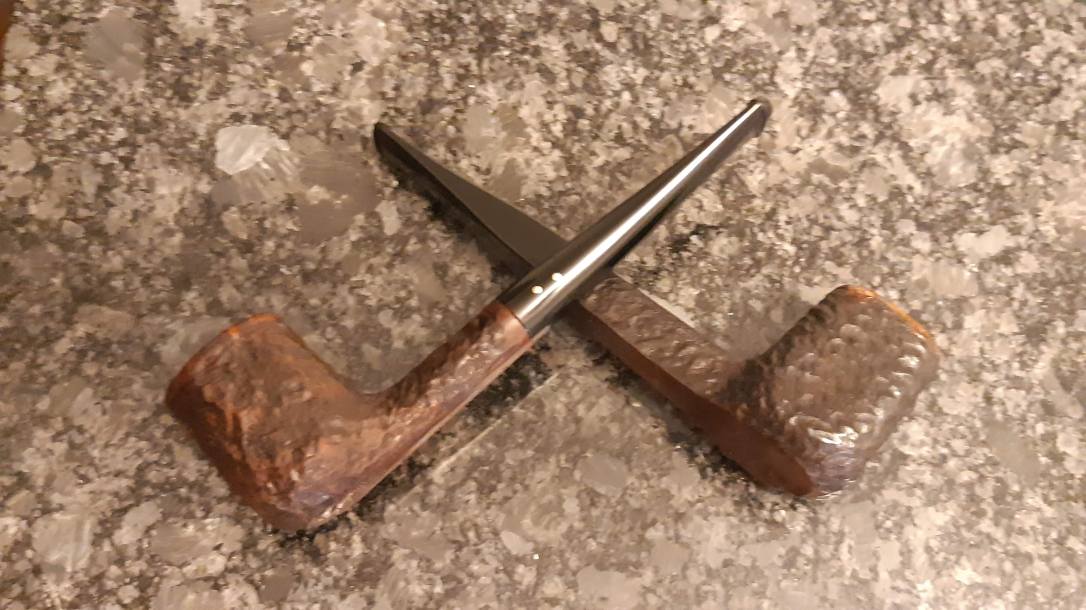
While both pipes share the same square bowl shape, the Patent Era pipe sports a round shank and stem instead of the 1990’s square shank. I’ve included a few pictures of both pipes together below to illustrate. At least for now, both versions of the 73 shape will stay in my personal collection.
Thanks for joining me for another estate pipe refurbishment. Until next time, Happy Piping!
Here’s the finished pipe.