Every so often, I receive a pipe for restoration that has been worked on before at some point in its past – sometimes professionally, but more frequently by a well-meaning piper attempting to save a cherished smoking companion. This Bari Pearl is a good example of the latter category.
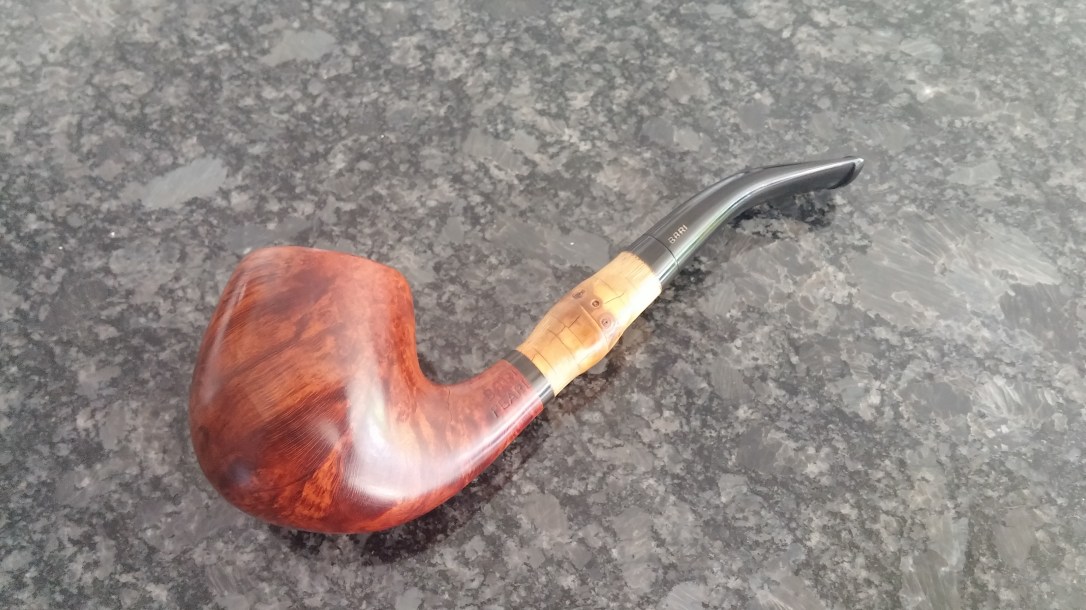
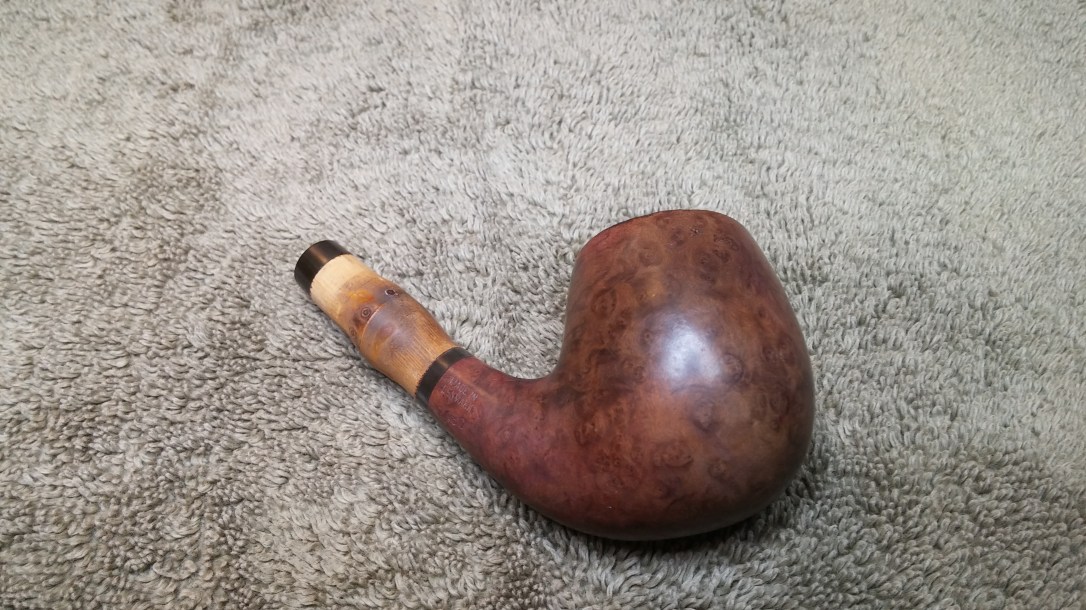
When I brought this bamboo-shanked Bent Billiard to the worktable, it looked to be in pretty good estate condition. It had obviously been previously enjoyed. Most of the original red finish had worn off the briar, there was a coating of lava in the rim, but not enough to hide a crescent of dents on the outer rim from careless dottle-knocking on hard surfaces. Another sign of use was the colouring of the bamboo section of the shank. Bamboo acts as a sort of de facto filter, absorbing some of the moisture and tars from the smokestream. With use the bamboo colours from pale yellow to dark brown.
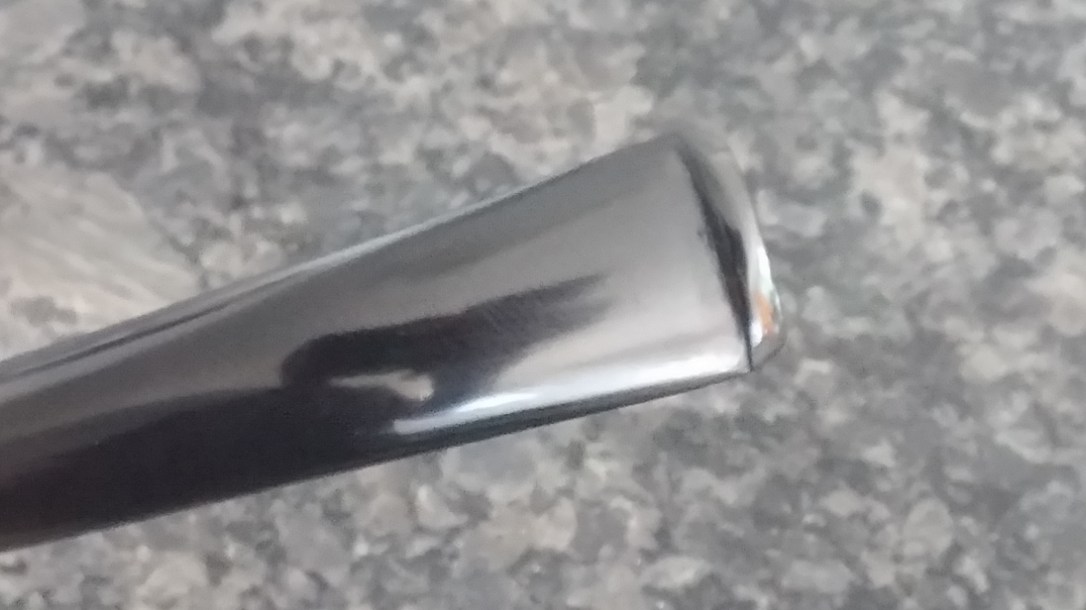
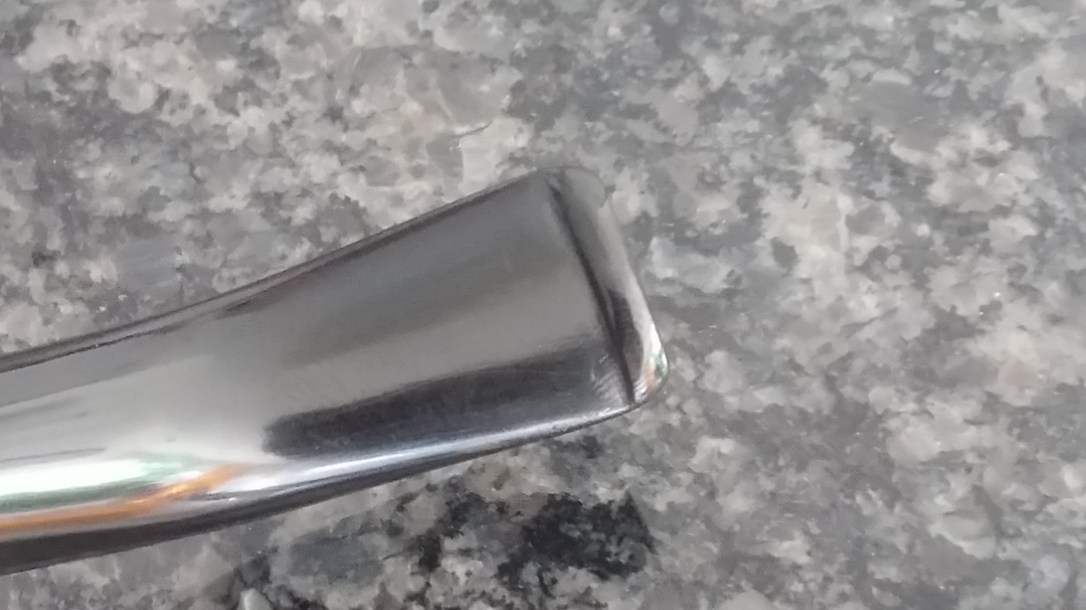
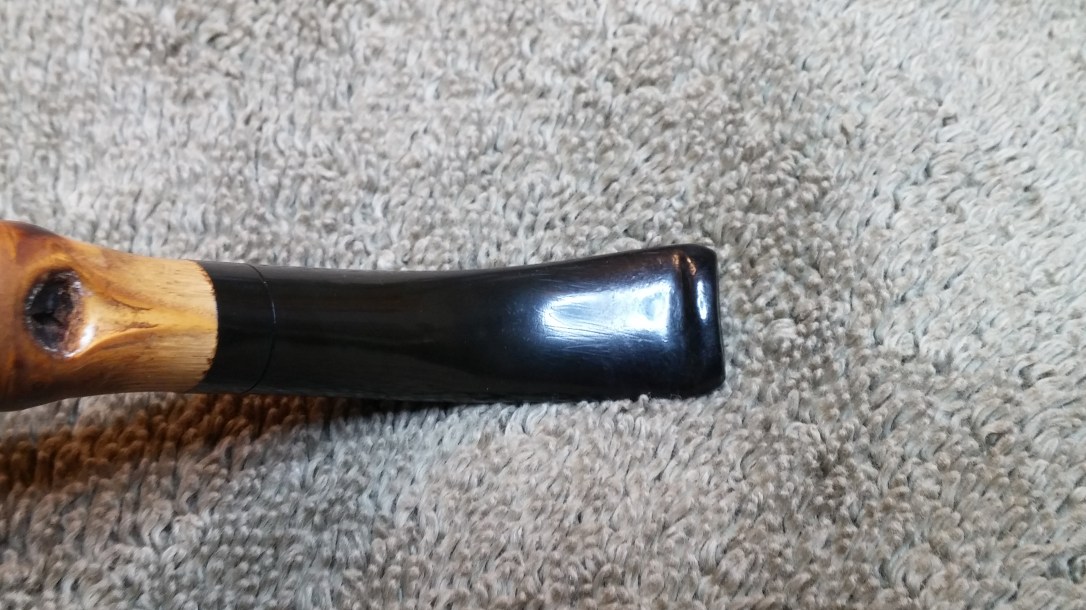
The stem was in good shape for all the use, with only a few gentle tooth dents top and bottom near the button. There was little to no oxidation – most likely this pipe was put away in a drawer or box out of the light after its last use.
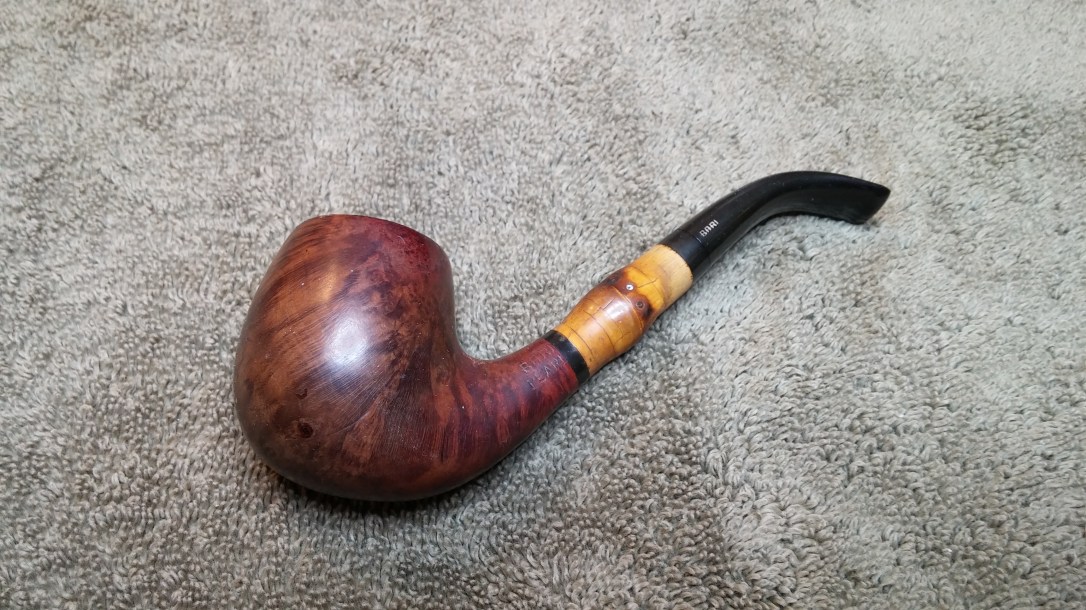
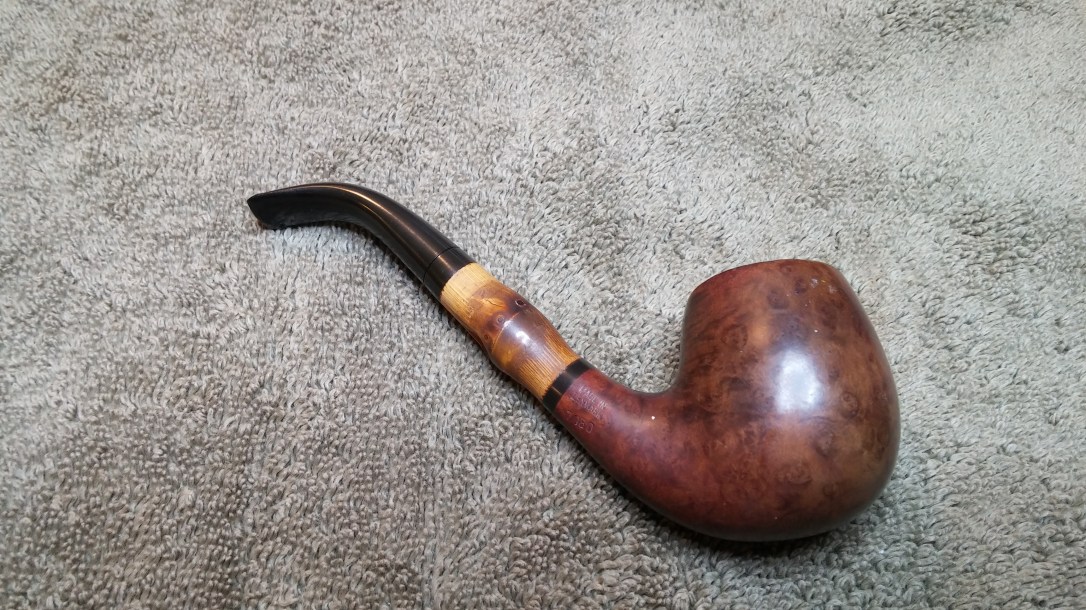


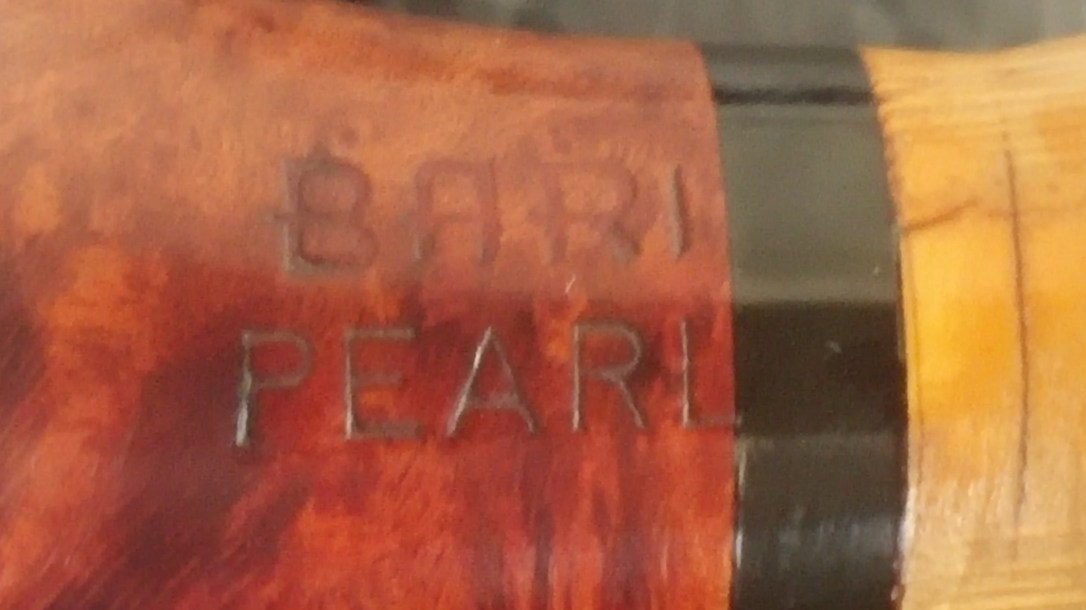
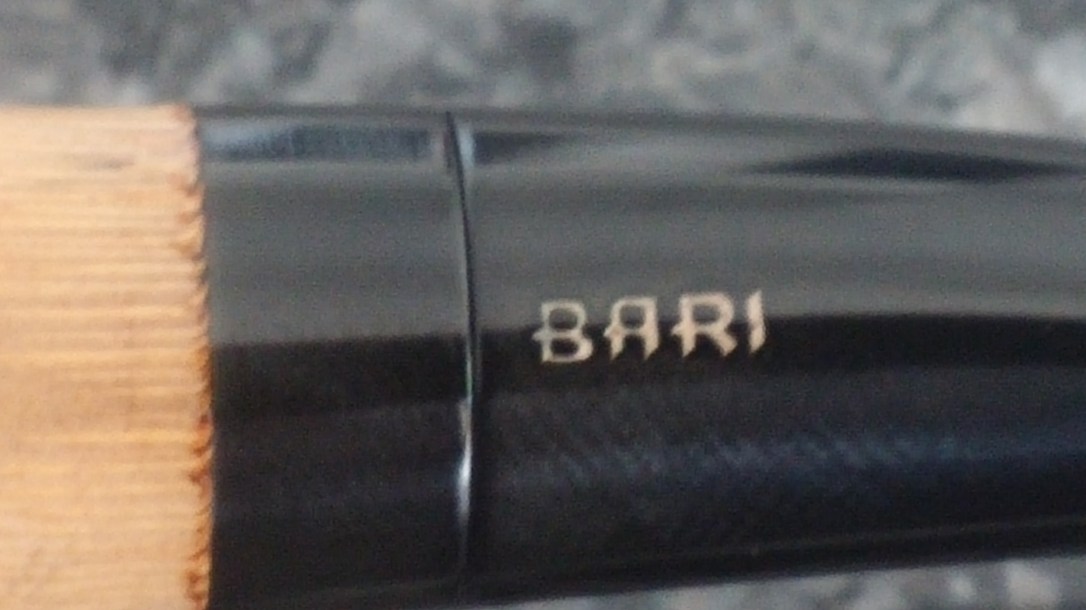
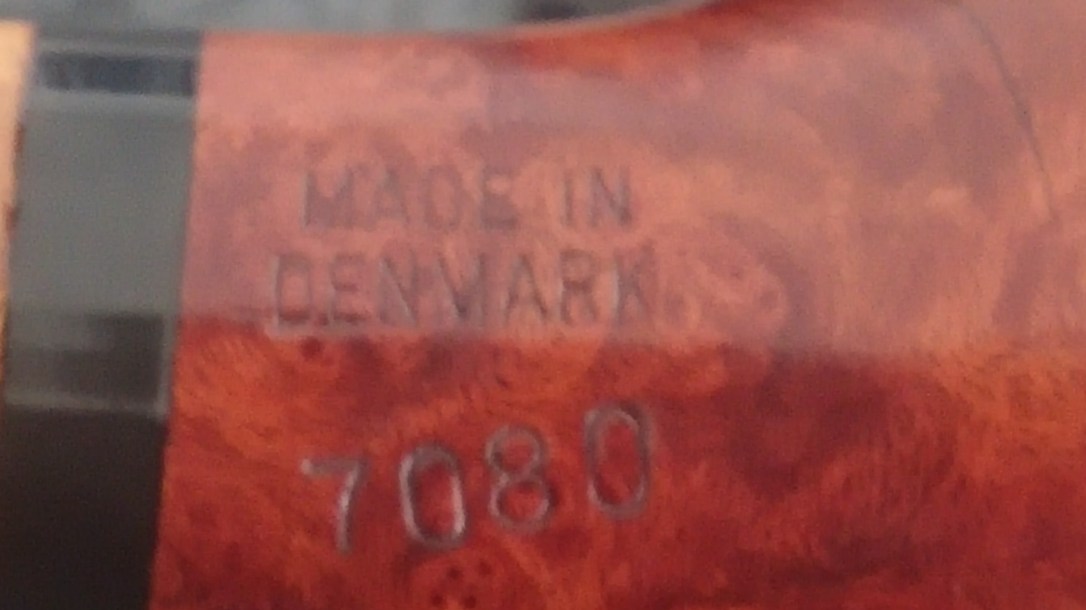
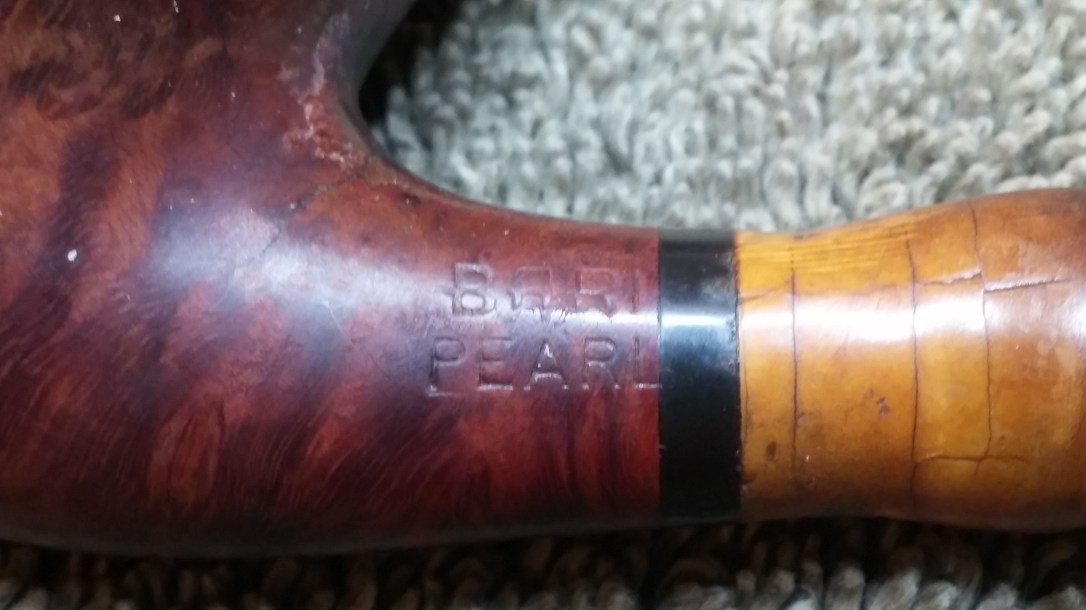
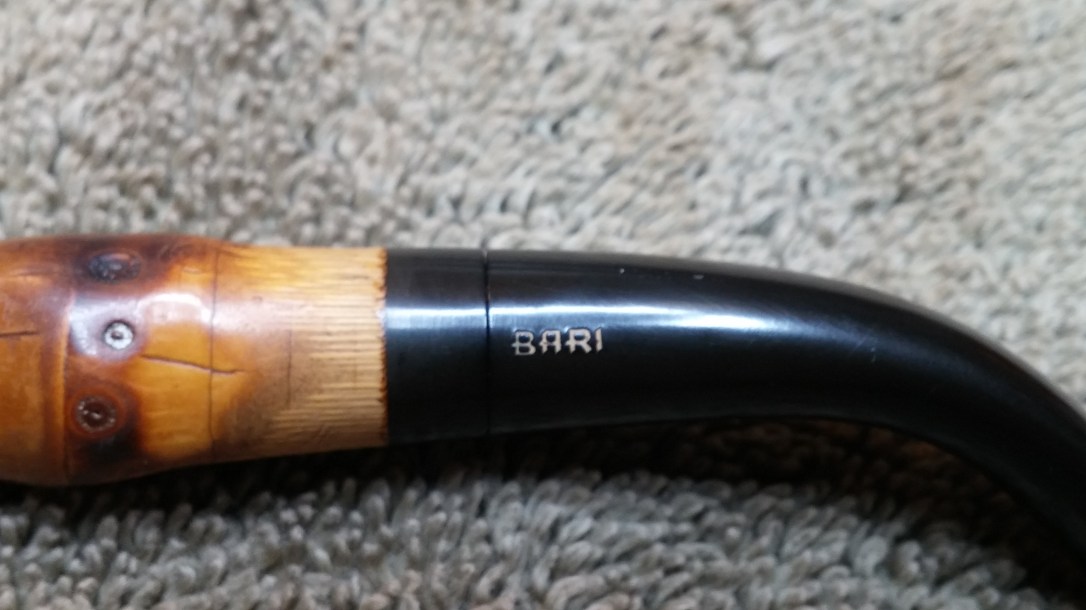
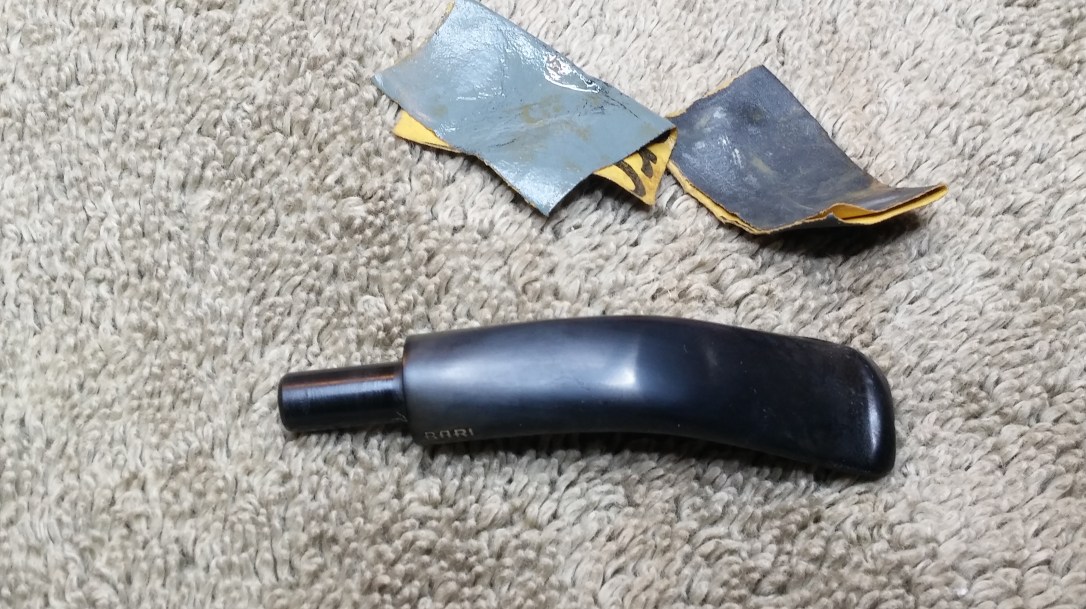
The pipe is stamped “BARI” over “PEARL” on the left shank, and “MADE IN” over “DENMARK” over a shape number, “7080”, on the right. The left flank of the vulcanite stem is also marked “BARI”.

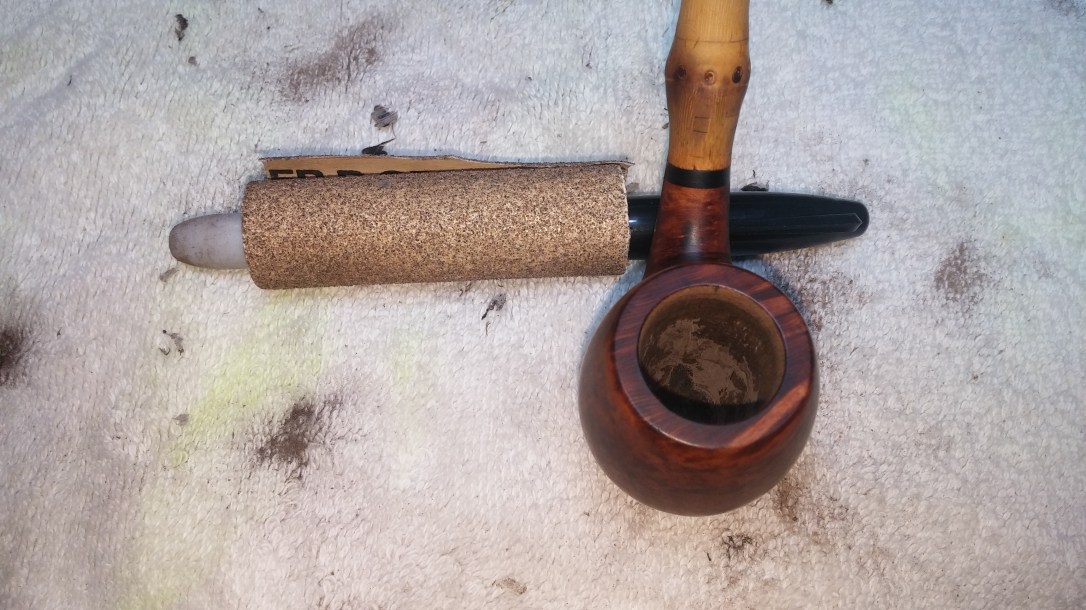
Having left off my inspection at the stem, this is where I chose to start working on the pipe. I washed a lighter flame over the indented areas at the bit, and succeeded in raising the depressions almost flush with the surrounding vulcanite. A bit of sanding with 220 and 320 grit sandpapers sorted out the remaining marks, so I polished the stem with 800 and 2000-grit wet papers to erase the sanding marks and prepare the stem for buffing.

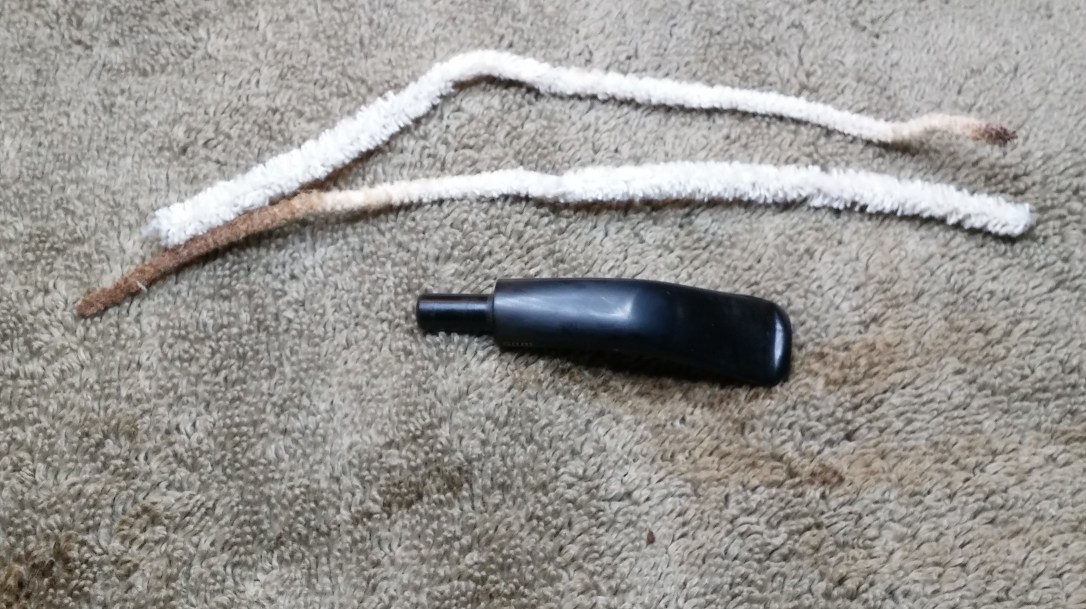
I finished work on the stem by cleaning the airway and bit slot with a few pipe cleaners and alcohol.
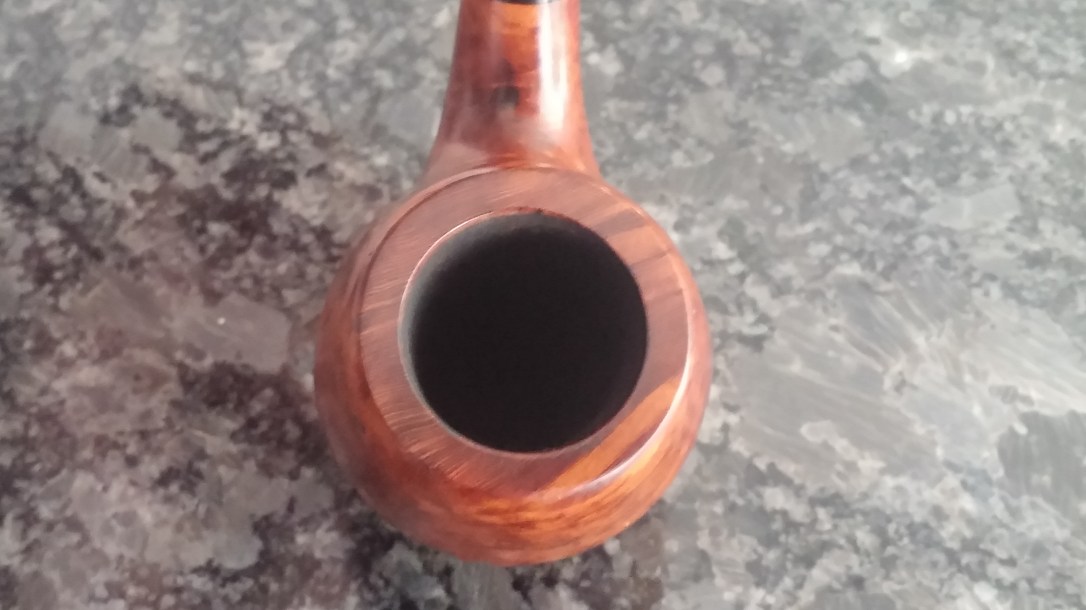
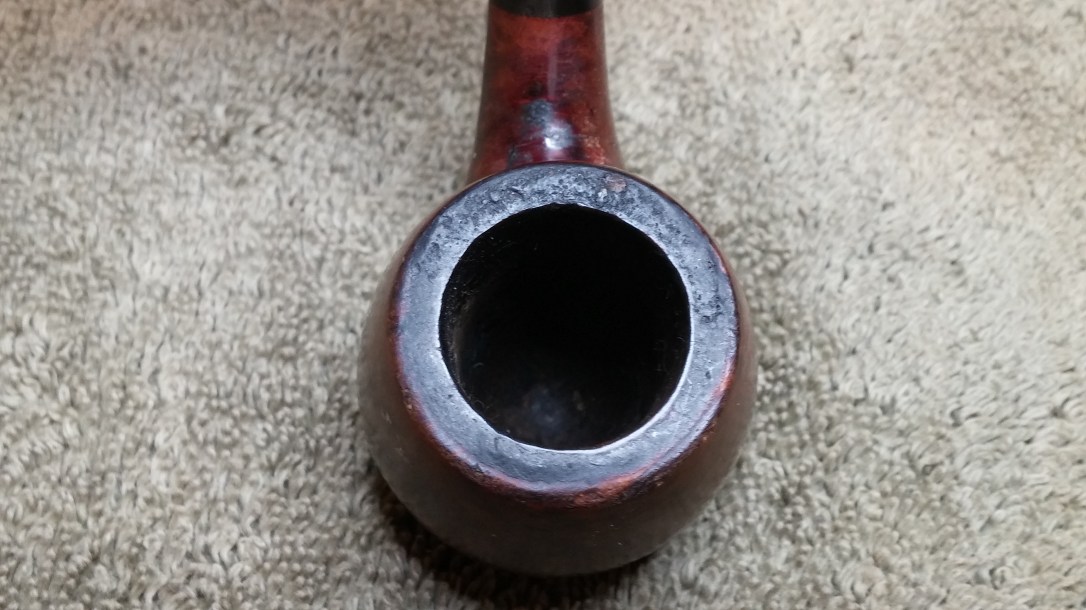
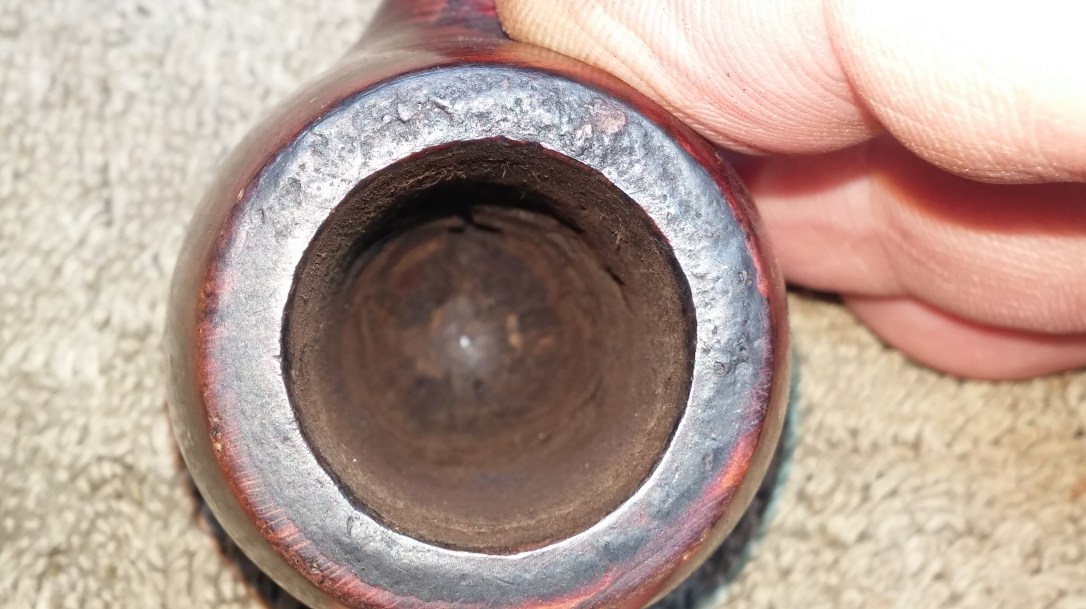
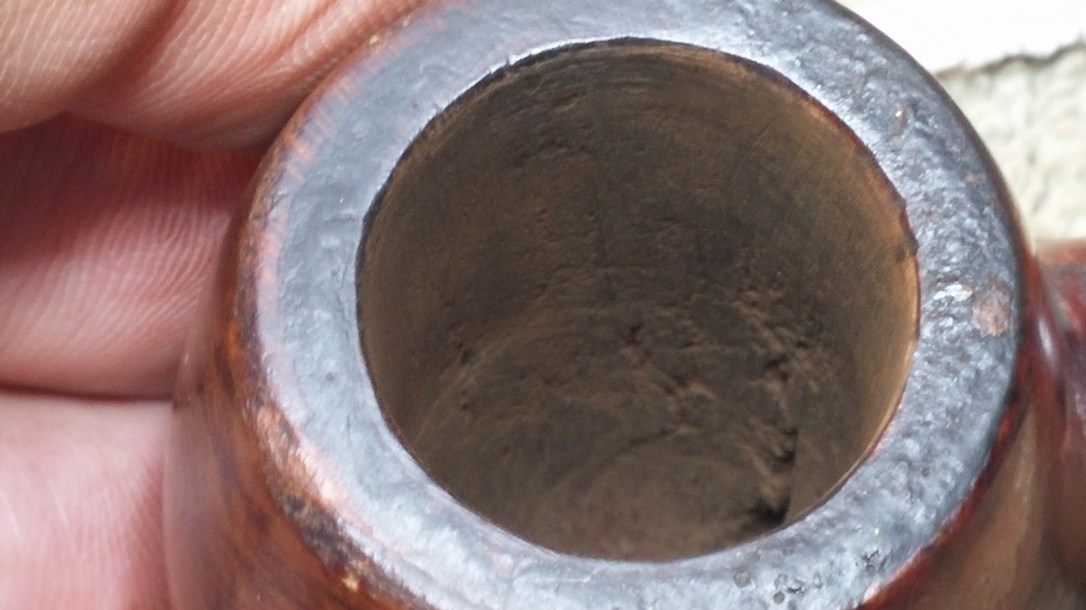
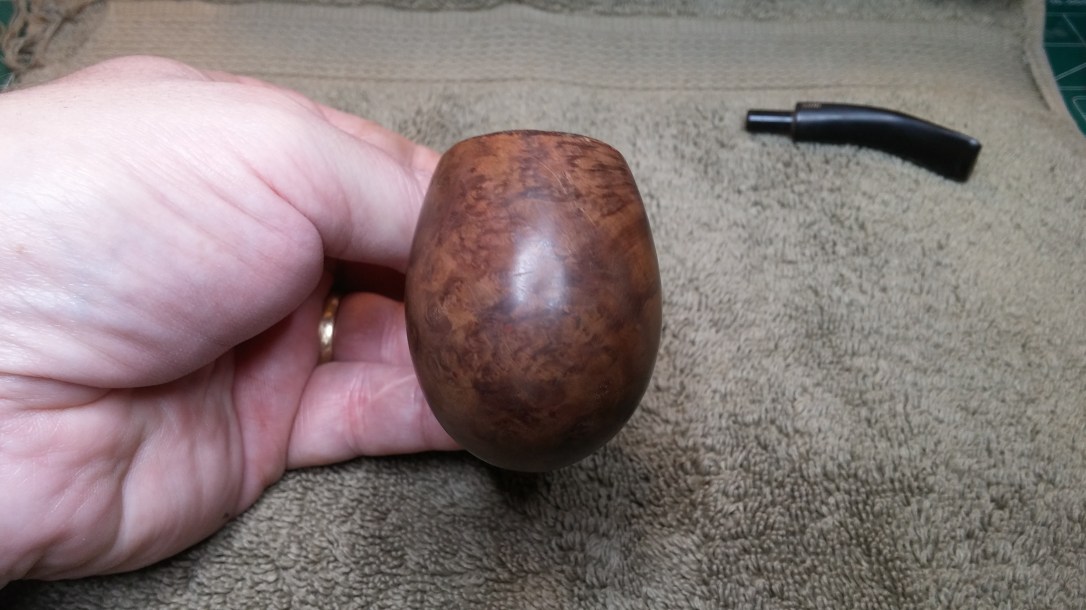
Setting the stem aside, I turned my attention to the stummel. This pic below is a shot of the tobacco chamber before reaming. There were some odd looking depressions around the back of the bowl near the draft hole, which I hoped were simply irregularities in the carbon cake.
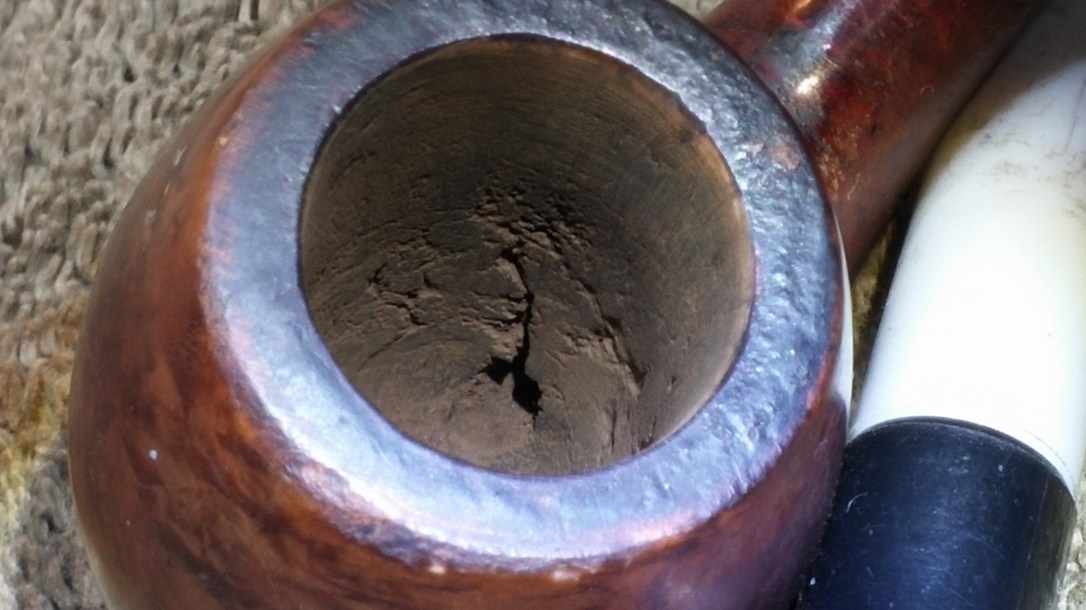
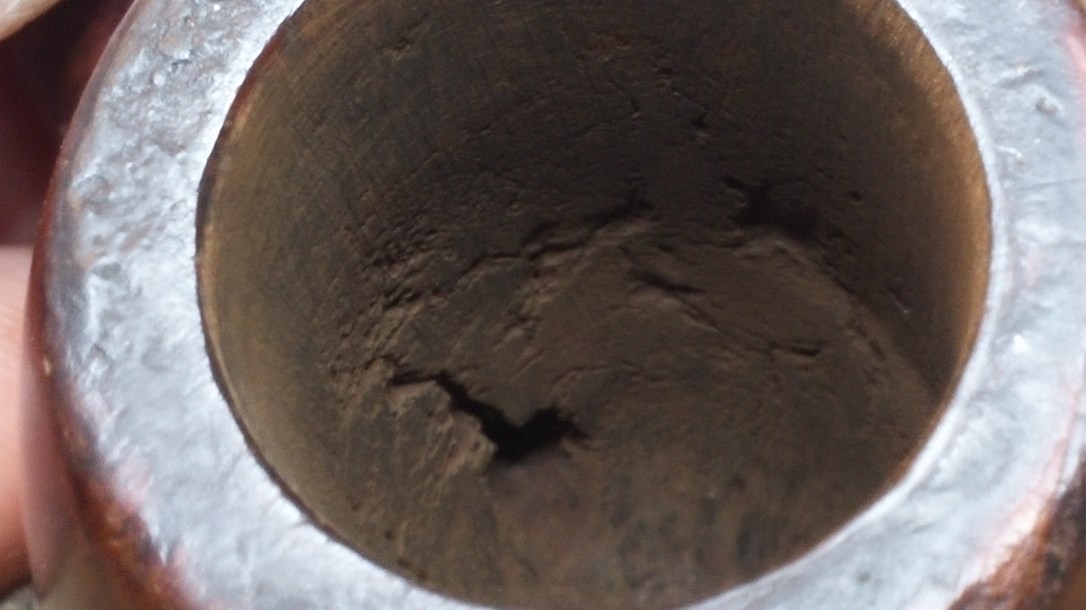
I cleared out the cake with my Castleford reamer and tidied things up with a bit of sandpaper wrapped around a Sharpie marker. Another look with a bright light showed that the irregularities in the cake were actually caused by heat damage to the briar. These pics clearly show the deep heat fissures running around the rear half of the chamber, more or less in line from just above the draft hole.
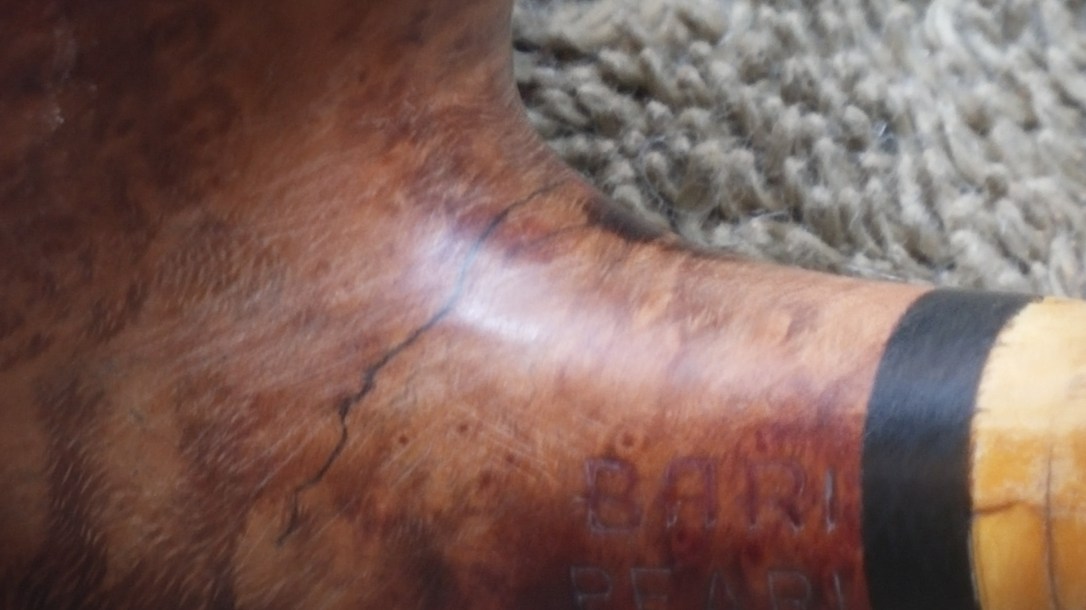
The damage to the interior led me to make a closer inspection of the exterior of the shank/bowl junction. Sure enough, I found more damage hiding under what on casual inspection appeared to be a patch of old, dark red finish in the saddle of the bent shank.

What you’re looking at in the pic above is indeed a patch of the original red finish trapped under a blotch of glue applied to a thin crack just visible in the pic running across the shank. Apparently the previous owner’s dottle knocking combined with the internal damage was just too much for the weakened briar to bear.
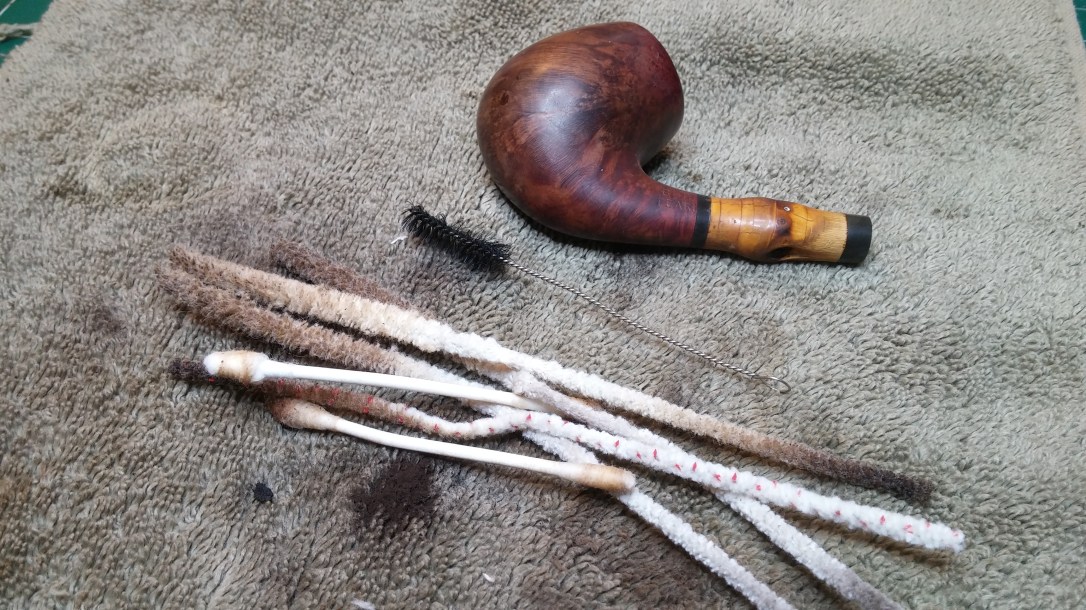
The ugly old patch would certainly need tending to, but before dealing with the damage I needed to get the stummel clean. A shank brush and a few pipe cleaners and cotton swabs dipped in alcohol sorted out the pipes internals.
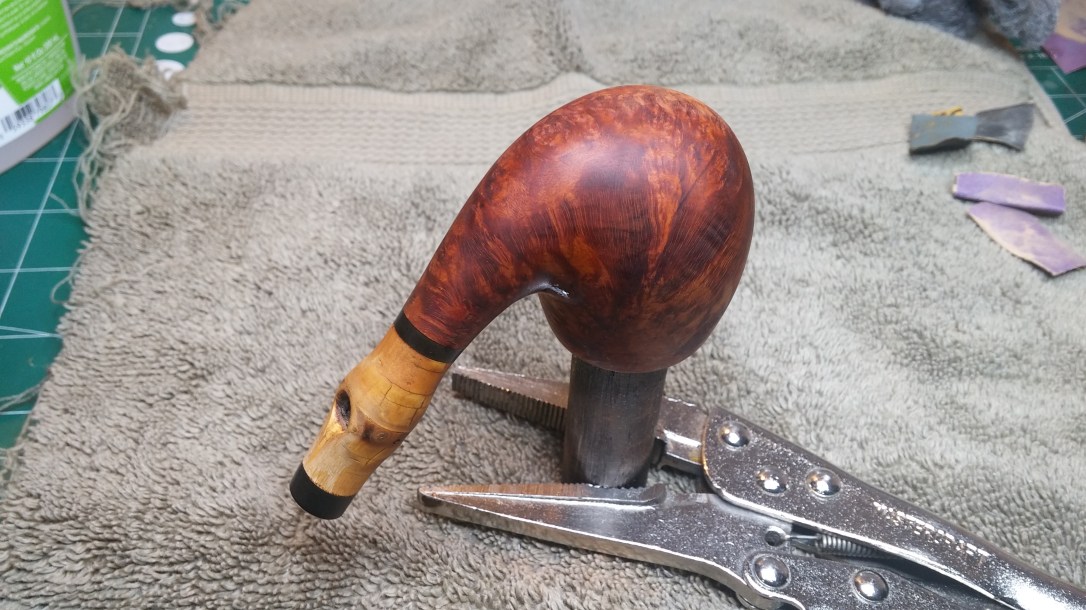
I wiped the exterior of the stummel with both alcohol and nail polish remover (aka acetone) on cotton pads to strip the last vestiges of the old finish and clear away the dirt and grime. The briar’s appearance is already much improved. The old shank repair now stood out like a sore thumb, as did the rim damage.


I topped the bowl gently to remove the lava crust and the remains of the old finish before sanding the entire stummel with 220 and 320-grit sandpapers. This cleaned up the dents and dings to the outer rim as well as a handful of small handling marks accumulated over the years.
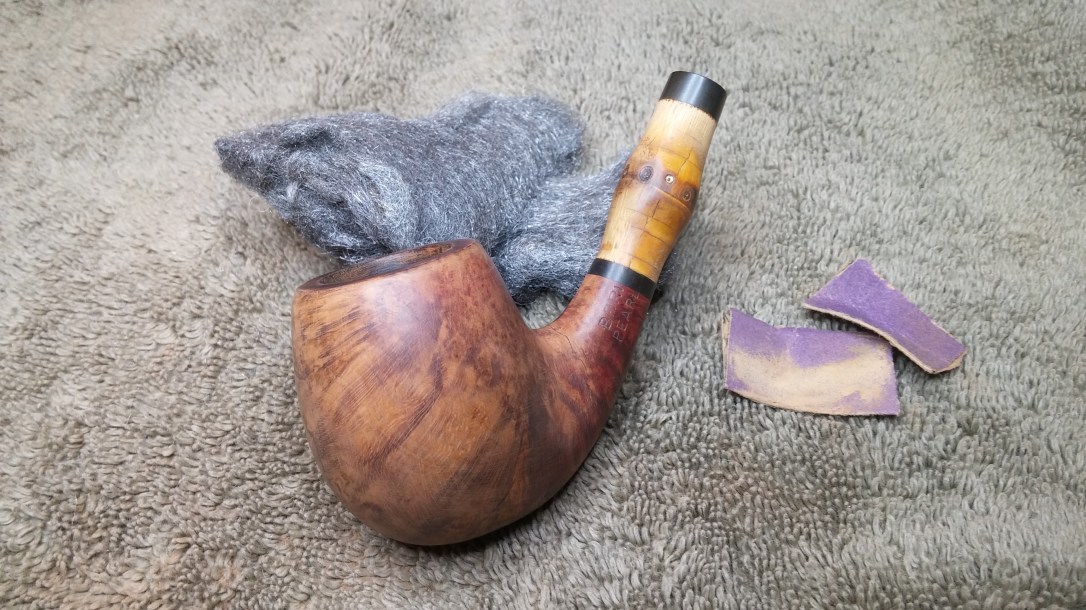
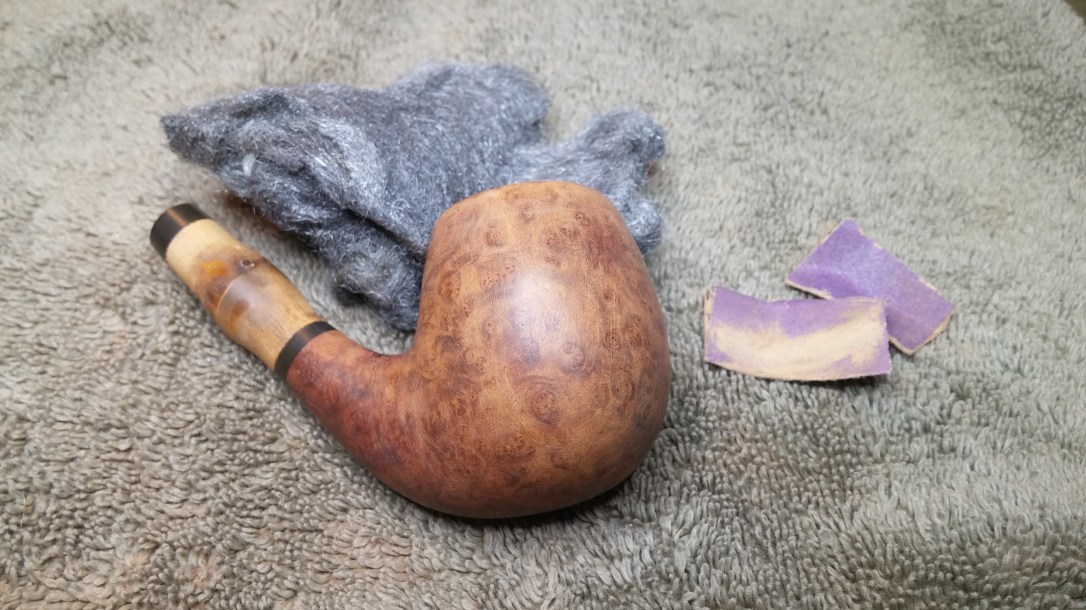
The old glue patch on the shank took a fair bit of time to sand out. For this I used small bits of sandpaper folded or rolled as needed to fit the curvature of the shank. When I was happy with the results, I polished away the sanding scratches with 0000 steel wool.

The crack across the shank/bowl junction was tight and solid but slightly uneven. I remedied this with a quick topcoat of clear CA glue which I sanded flush after the glue had cured. Happy with the stummel at this point, I stained the briar with a coat of Feibing’s Saddle Tan leather dye to give the pipe a reddish hue without obscuring the grain.
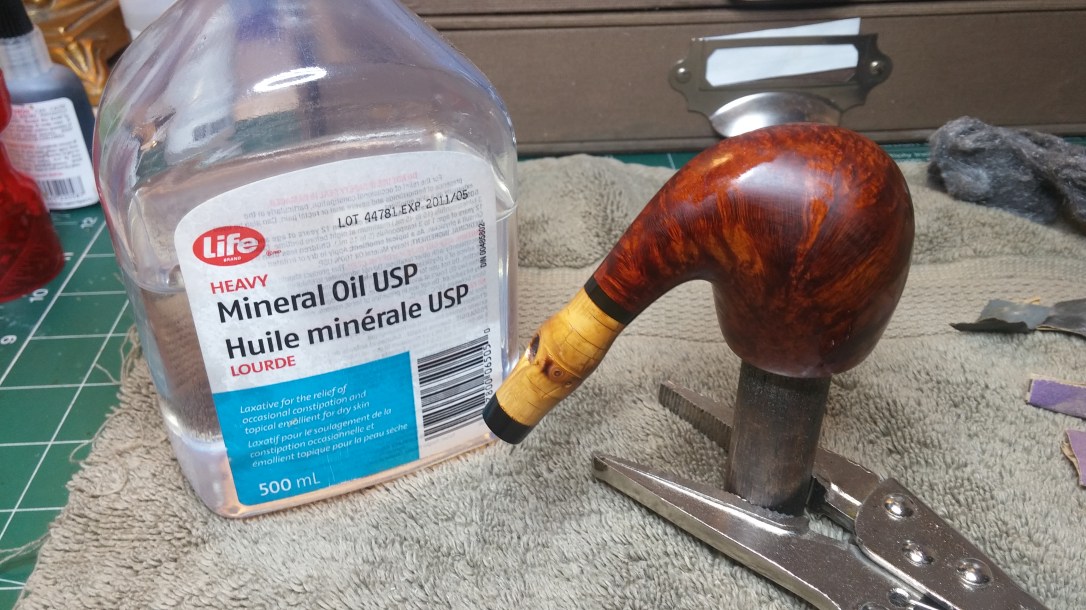
After the stain dried, I buffed away the excess with a scrap of terry towel and applied a light coat of mineral oil to refresh the wood and give the new finish some depth. I let the oil sit for a few minutes and then again used my terry towel to remove the excess and buff the briar to a shine.
With the exterior repairs complete, my focus switched to the deep heat fissures inside the tobacco chamber. For this repair I turned to my tried-and-true JB Weld steel-reinforced epoxy. When cured, JB Weld is completely inert and highly heat resistant. It is also easy to mix and apply to the interior of a pipe. I used a gloved finger to push the epoxy into the heat fissures and across the chamber walls and then propped the stummel upright and let the epoxy set.
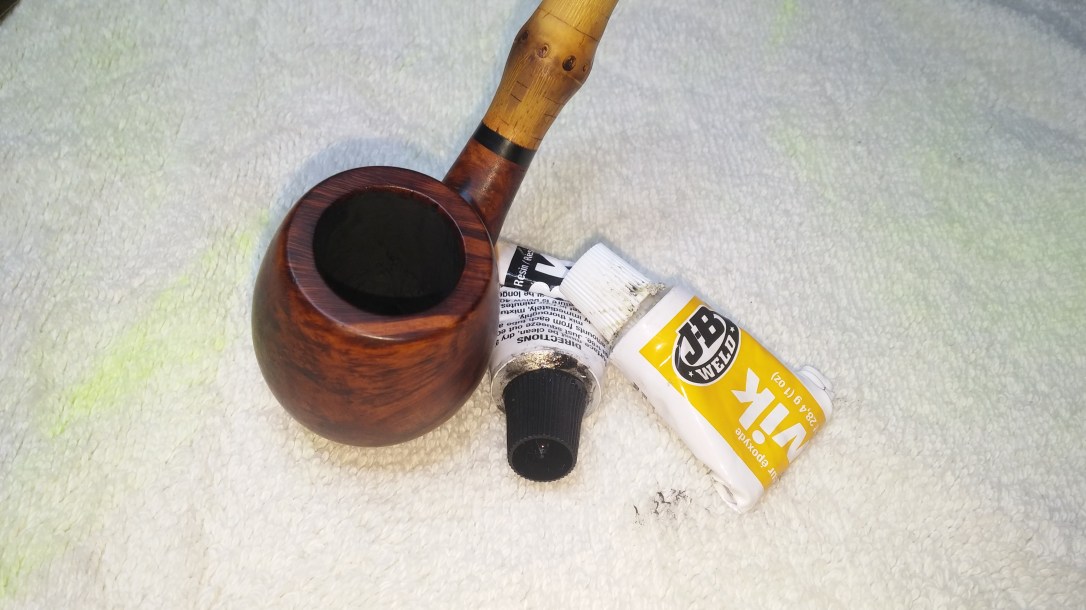

JB is a great tool in the pipe repairman’s arsenal, but epoxy doesn’t breathe like briar so you don’t want to leave any more in the bowl than you need. After the JB had cured, I sanded away the excess, leaving the epoxy only in the damaged areas.
Just before taking the pipe to the buffer, I applied a bowl coating of maple syrup and activate charcoal powder, first wiping a small amount of syrup around the insides of the chamber, then adding charcoal powder, covering the bowl opening and giving the stummel a good shake to distribute the charcoal evenly around the chamber walls and floor.
This coating isn’t strictly necessary, but it covers up the somewhat unsightly repairs and provides a grippy texture to promote the development of a new layer of carbon cake as the pipe is smoked. I didn’t remember to take a picture of the bowl coating process, but a quick search on the blog will turn up several examples if you want to reproduce it yourself.
I finished this restoration by giving stem and stummel a run on the wheel with White Diamond buffing compound and several light coats of Carnauba wax to shine and protect the new finish. I’m quite happy with the way this refurbishment came out. This Bari Pearl, repaired and revitalized, is ready to provide many more years of smoking companionship.
Thanks for joining me on this restoration journey. Until next time, Happy Piping!
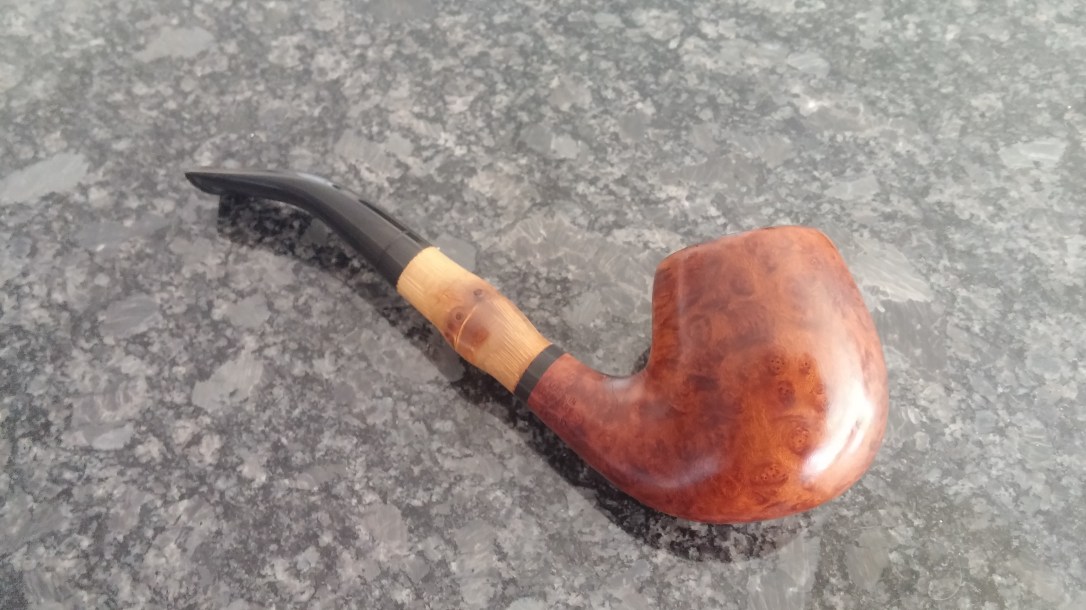
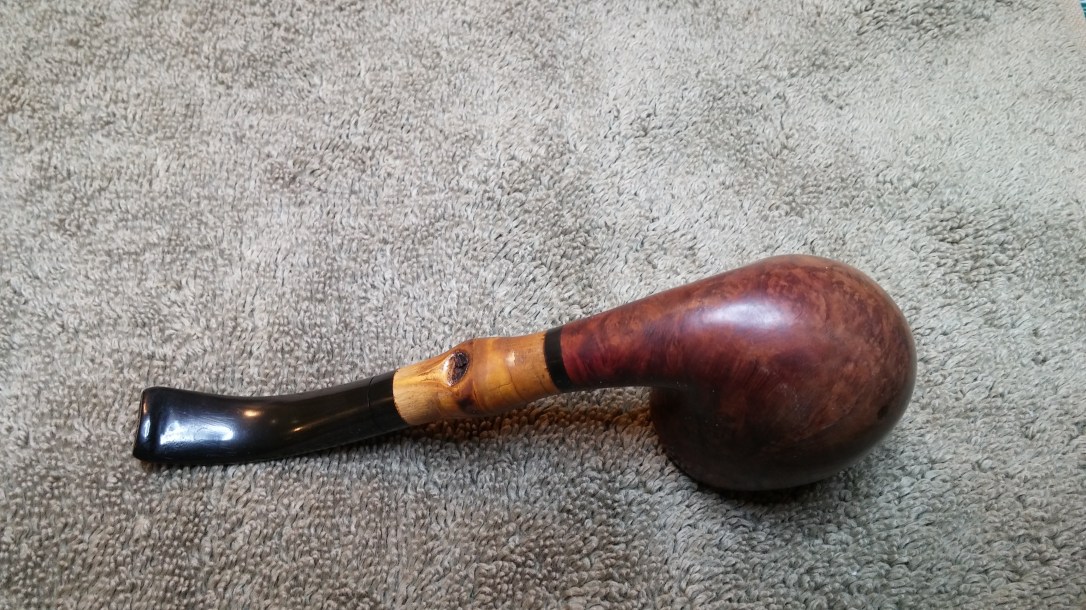
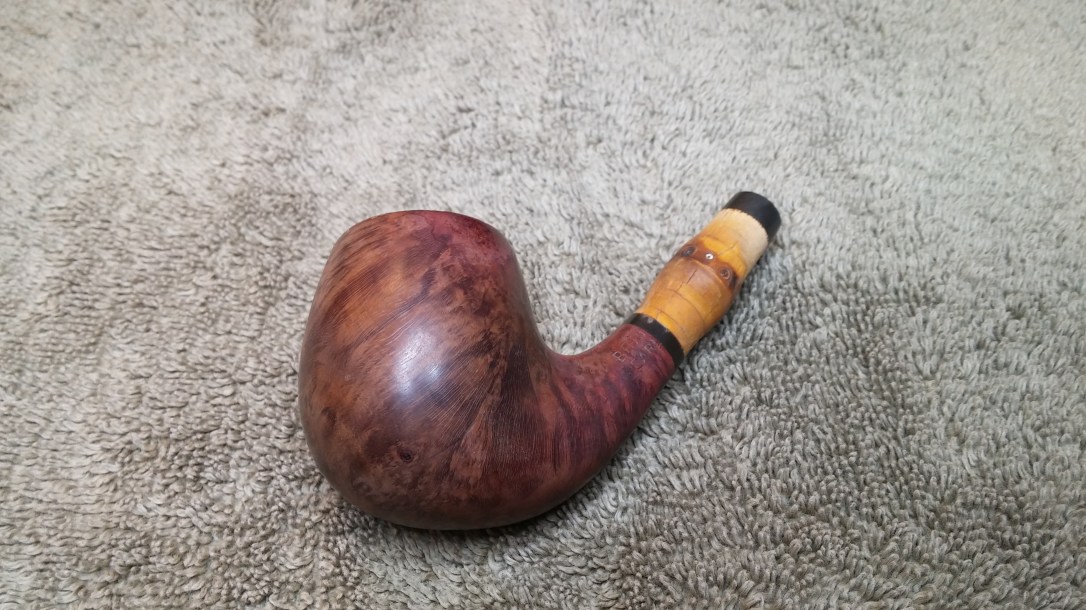
Here’s the finished pipe.