This Falcon pipe was sent to me recently for a bit of a cleanup by a DadsPipes reader. It is, somewhat surprisingly, the first metal smoking pipe I have worked on since beginning my little venture into estate pipe restorations, so I was keen to get at it when it arrived.
The design of the Falcon pipe is similar in theory to the traditional Calabash pipe in that the smoke is drawn from the bowl into an open airspace below that acts as a condensing chamber. Moisture and tars fall out of the smoke-stream in this chamber, called a “Humidome” in Falcon-speak, thereby providing a drier, cleaner smoking experience for the piper at the stem end of the assembly.
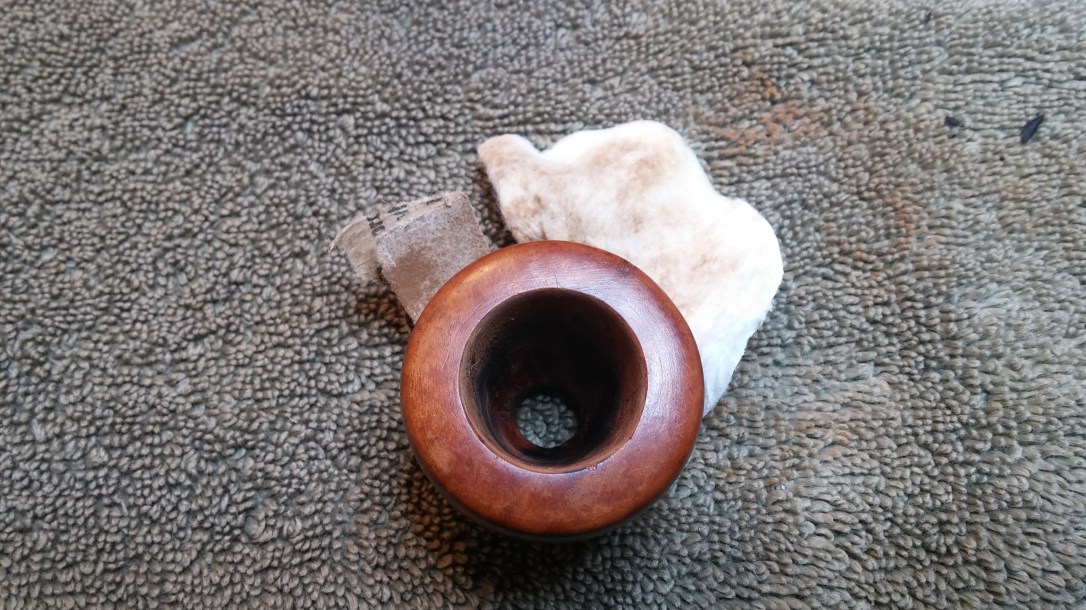
The pipe was in fairly good used condition when I brought it to the worktable. These pics show the pipe as it was when I began working on it.
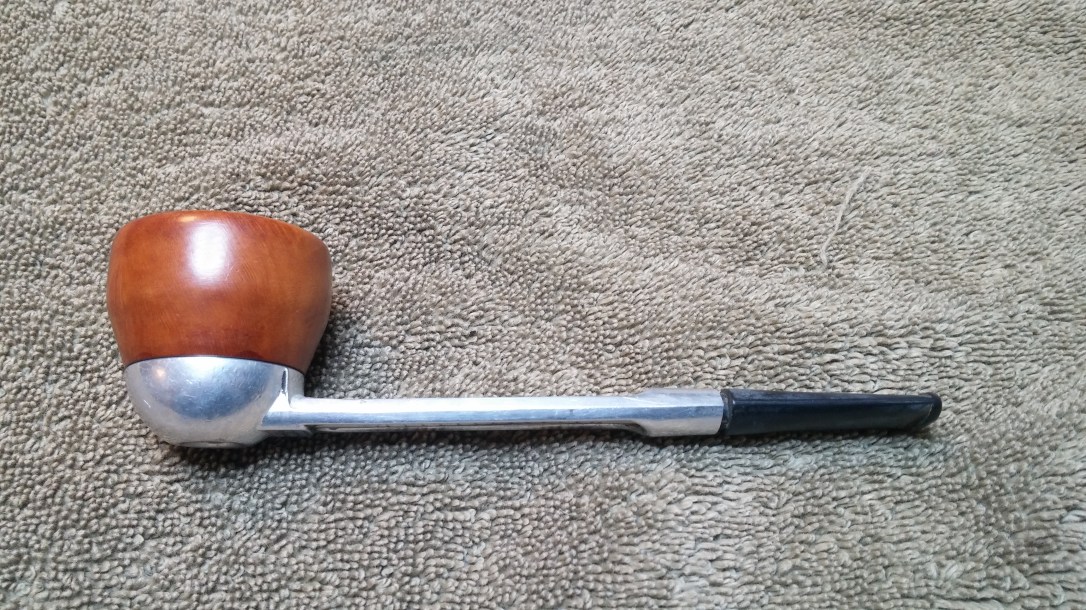


The bowl, in a somewhat angular Dublin shape, was in very nice shape and showed only a few signs of use. The main issue with the removable briar bowl was a few errant knife gouges in the inner rim. There was no lava to scrape off or large dents or dings to repair.

Unscrewing the bowl from the “Humidome” base of the Falcon, I found a fair bit of old tar waiting to be cleaned out. Most of the muck was caught tight in the threads of the base, but otherwise the aluminum was in good shape.

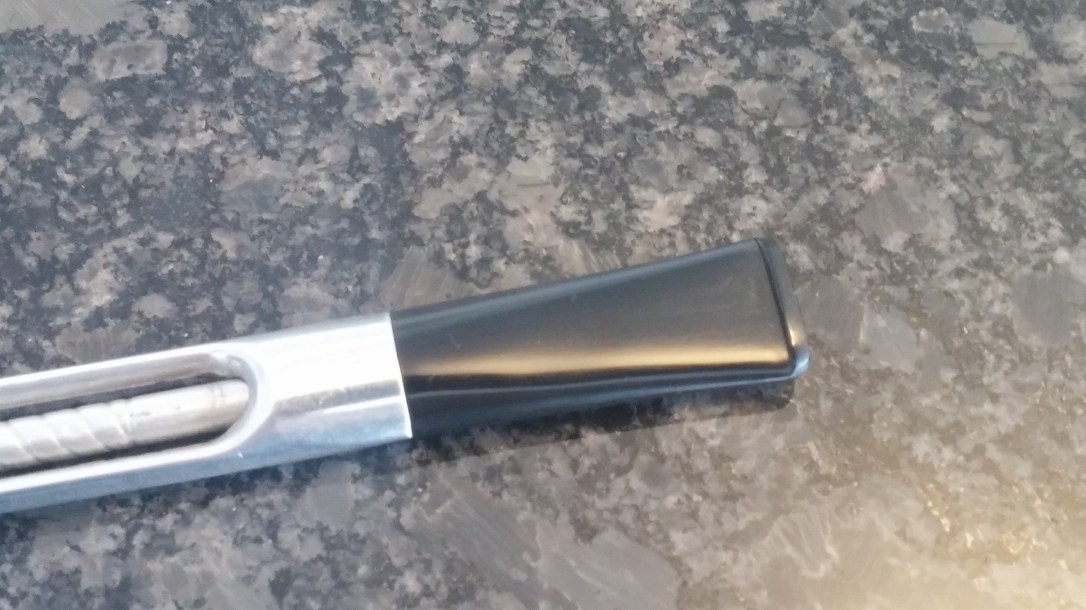
The nylon stem was slightly discoloured and showed a few tooth marks, but was in otherwise fine shape except that the face of the stem was set about two millimetres out from the end of the aluminum shank. The stem would not push on any tighter, but did twist off the aluminum tenon/smoke tube with just a bit of effort on my part.

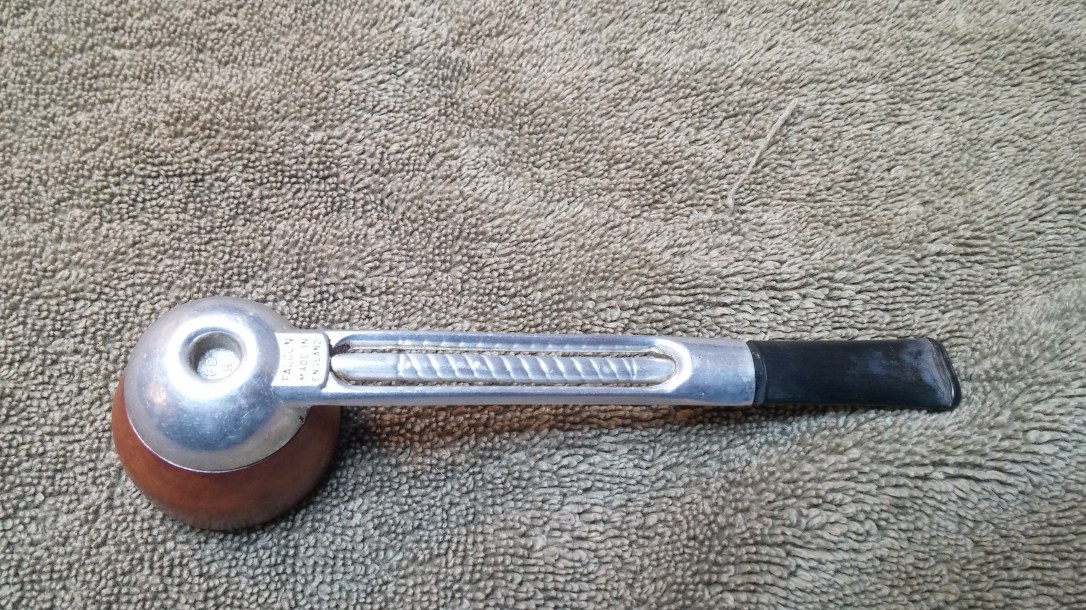
The pipe is stamped on the underside near the shank/bowl junction with “Falcon” over “Made in” over “England” in block letters. Inside the dimple on the middle of the Humidome are the letters “FD” over “H”.


A quick Google search tells me that the “FD” marking indicates a pipe frame cast by the Fry company, but very little else. If anyone can fill in the blanks on this Falcon regarding date of manufacture, etc, please add the information to the comments section!
I separated the pipe into the three components that would come apart easily for me – the bowl, the frame and the nylon stem. I was a bit concerned about the stem, as I was pretty sure the Falcon frame, smoke tube and stem were meant to be a one-piece unit. Steve Laug of RebornPipes.com confirmed this for me, so I began to look a bit more closely at the frame assembly to try to see what was going on there.

To get a good look at the frame, I first needed to clean it. Despite its outward appearance of gently use, it was soon clear to me that this Falcon had not been cleaned in some time. I used quite a pile of pipe cleaners, cotton swabs and alcohol to scour the old tars from the inside of the Humidome and smoke tube.

Once I had a clean frame to work with, it was easy to spot the small bit of aluminum corrosion at the end of the smoke tube where it enters the Humidome (visible in the pic below on the bottom edge of the smoke tube). Though the tube was fit snugly into the base of the dome, the slightly roughness of the corrosion was stopping the smoke tube from sliding fully home in its mortise. This also explained my inability to push the stem tight to the face of the shank at the other end of the pipe. The smoke tube was simply located too far towards the stem end of the pipe.

I dripped alcohol into the gap between smoke tube and base in an attempt to loosen the tube and make removal easier. To avoid crushing the thin aluminum while twisting and pulling the smoke tube out of the frame, I slipped a small drill bit in to the stem end before gripping the tube with a pair of pliers. So reinforced, I could easily and safely apply the small amount of muscle needed to extract the smoke tube from the frame.
This pic shows the smoke tube immediately after removal from the frame. The buildup of tar and corrosion on the bowl end of the tube is obvious. After a quick scrub with 0000 steel wool, the smoke tube reinserted into the frame, this time sliding all the way home easily. I tested the assembly for air leaks (there were none); satisfied, I set the aluminum frame aside while I worked on the rest of the pipe.

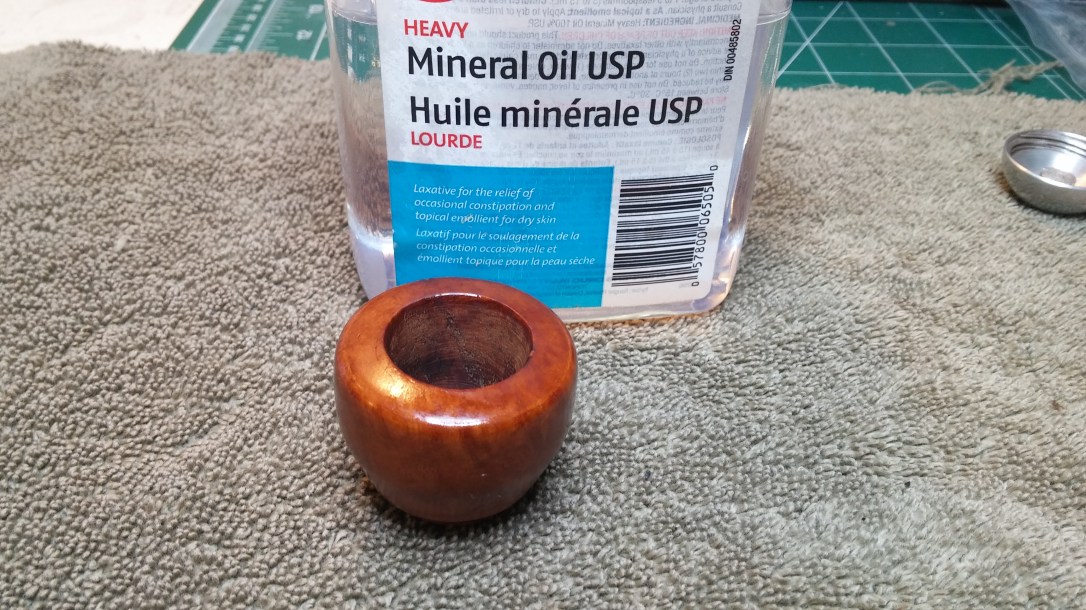
Turning to the briar bowl, I gave the exterior a wipe-down with alcohol on a cotton pad to remove the light layer of dirt and dust before tidying up the inner rim damage with a scrap of sandpaper. With the rim back in round, I scrubbed the bowl with Murphy’s Oil Soap, paying special attention to the threaded base of the bowl to remove any slight tar buildup there. I rinsed the bowl under fresh water, let it dry and then finished my work here with a thin wipe of mineral oil to refresh the briar.
All that was left to be done now was a quick rehabilitation of the stem. A few pipe cleaners dipped in alcohol ensured that the airway was clean and clear of debris. I then sanded out the light tooth marks with 320-grit sandpaper and finished by polishing the stem with a full course of micromesh sanding pads. This erased the sanding scratches and brought up the shine considerably. This pic shows the stem reinstalled on the aluminum frame after the micromesh polishing.


I finished off this quick pipe refurbishment by giving both the bowl and frame a quick run on the wheel with White Diamond compound followed by a light application of Carnauba wax to shine and protect the renewed finish.
The refreshed Falcon pipe is ready to be sent home to its owner. I’m glad I had the chance to work on it and learn a bit more about the world of metal pipes, which has developed its own dedicated following. I haven’t had any real interest in adding one to my own rack, but after this experience, I may pay a bit more attention to the next Falcon pipe I come across for sale.
Thanks for joining me for another estate pipe restoration. Until next time, Happy Piping!
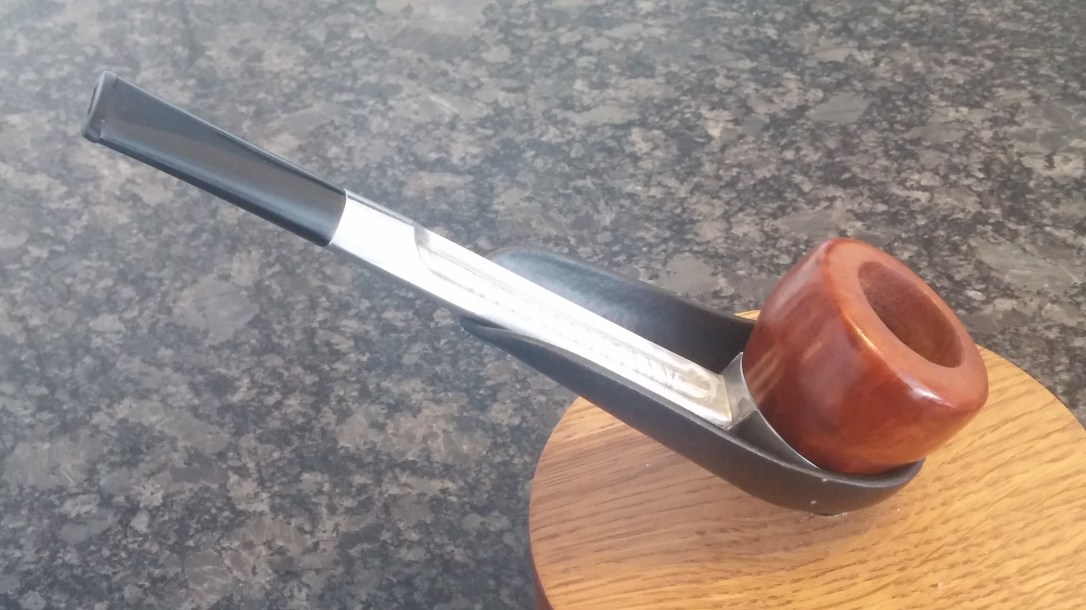
Here’s the finished pipe.