This Brigham 4-Dot was a surprise gift from my daughter, who came across it at a local antique fair. She got a good price on it due to its rather rough condition, which she figured I could remedy without too much trouble.
I brought the pipe to the worktable to assess the scope of the work ahead. The stummel was quite dirty and greasy feeling, but the briar looked to be in gernally good condition under the grime. The rim would need some attention to clean up some lava, a few knife scars at the front edge of the inner rim, and a patch of “road rash” at the front of the bowl created by careless dottle-knocking. The tobacco chamber looked to be in good nick, with just a light layer of old cake and a few stray bits of old tobacco to clear away.


The stem was another issue. Deeply oxidized, the vulcanite had turned a swampy greenish yellow along its entire length. The bite area was in rather poor condition, showing deep tooth dents on both top and bottom, and a small crack in the right-hand corner of the upper button. The stem also sported a pair of deep tool marks near the stem face – obviously the stem had stuck in the shank at some point and someone had used pliers to twist it out. Thankfully, the stem came out easily for me, and there was no damage to the aluminum tenon/filter holder as can easily happen when an old Brigham stem is forced out.


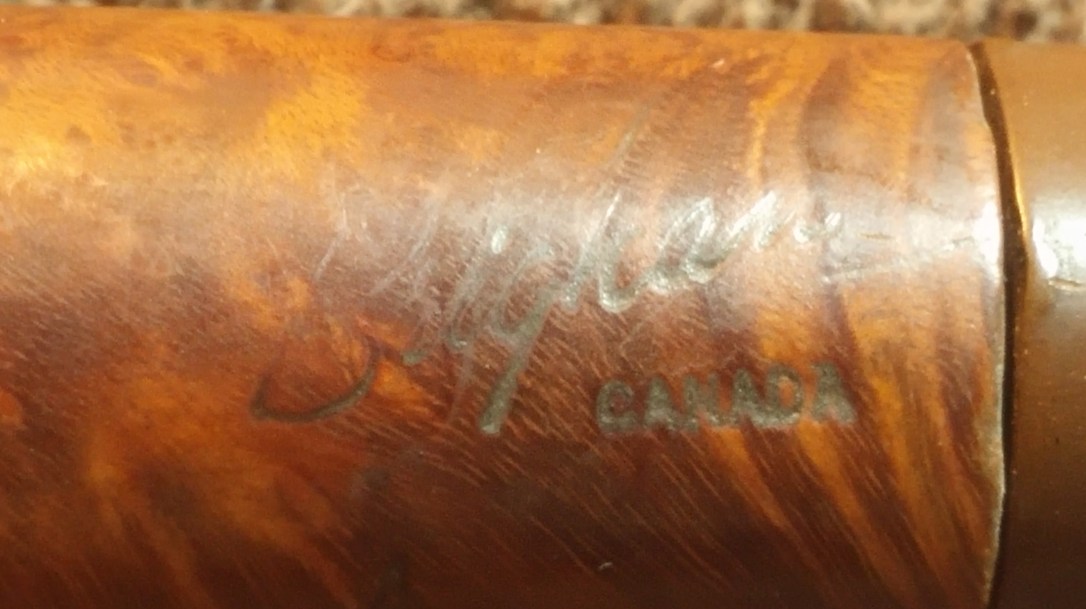
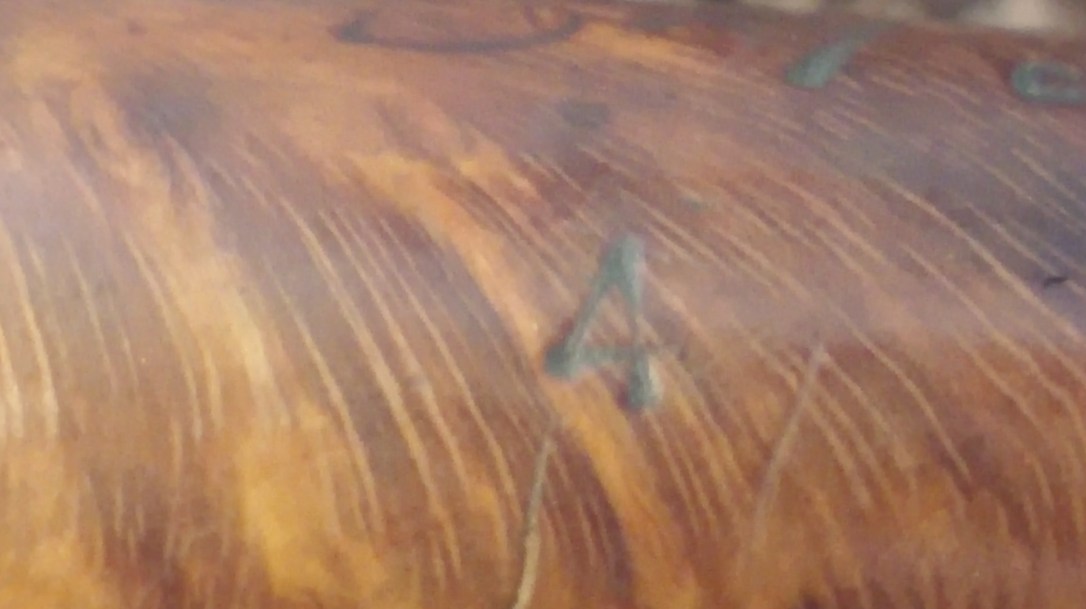
The pipe is stamped “Brigham” in script over “CANADA” in small block letters on the left shank, and “4” on the underside of the shank. The first stamp tells me that this pipe was made in the 1980’s. The number stamp is the first digit of what should have been a three digit shape code reading “489” – a 4-Dot quality pipe in Shape 89 which is a Bent Acorn. I’ve seen quite a few Brigham pipes of this era stamped with only the grade number; whether it was intentional or just a goof-up at the factory remains a bit of a mystery.
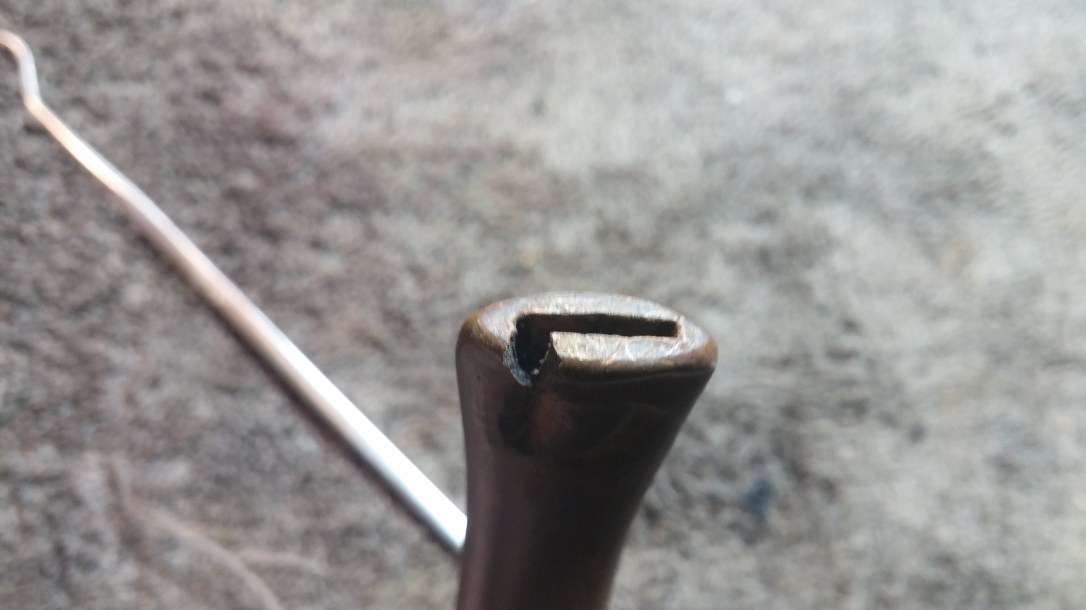
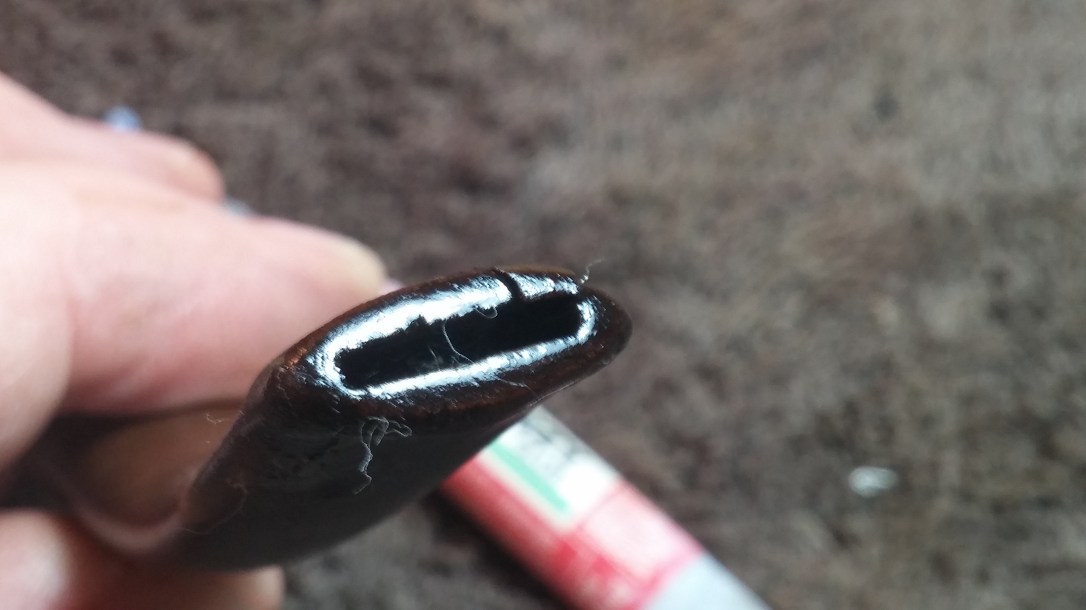
The bit end of the stem was clogged with tars and bits of tobacco which I wanted out before I dropped the stem into an Oxyclean bath to raise the oxidation. I ran into a complication here. As I was picking the muck out of the stem with a dental pick, a chunk of vulcanite snapped off the lower left corner of the button. I guess those tooth dents were deeper than I had originally thought!

I glued the shard of vulcanite back into place with a bit of CA glue, reinforcing the rest of the button as I went. Satisfied that the stem was more or less whole again, I left it in the Oxy bath and turned my attention to the stummel.

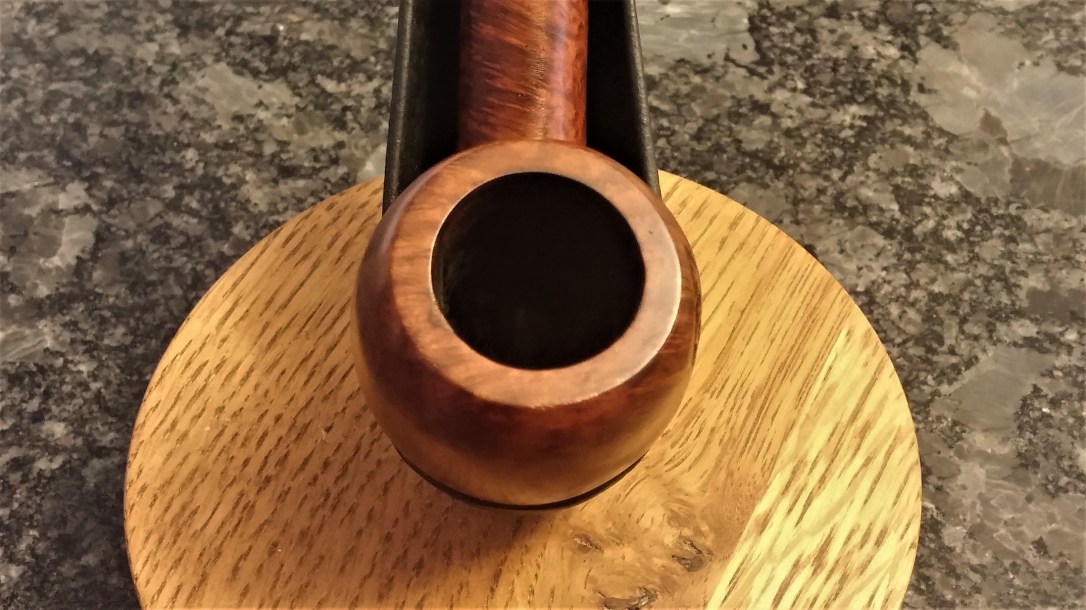
I reamed the tobacco chamber back to briar using a bit of 80-grit sandpaper wrapped around a Sharpie. The light cake and debris came away easily, revealing near-perfect chamber walls. A few more minutes with the sandpaper smoothed out the knife gouges in the inner rim and restored the rim’s roundness. I also cleaned the shank with pipe cleaners, cotton swabs and alcohol. The shank wasn’t as dirty as I had feared it might be, which is probably why I forgot to take pictures (oops!).

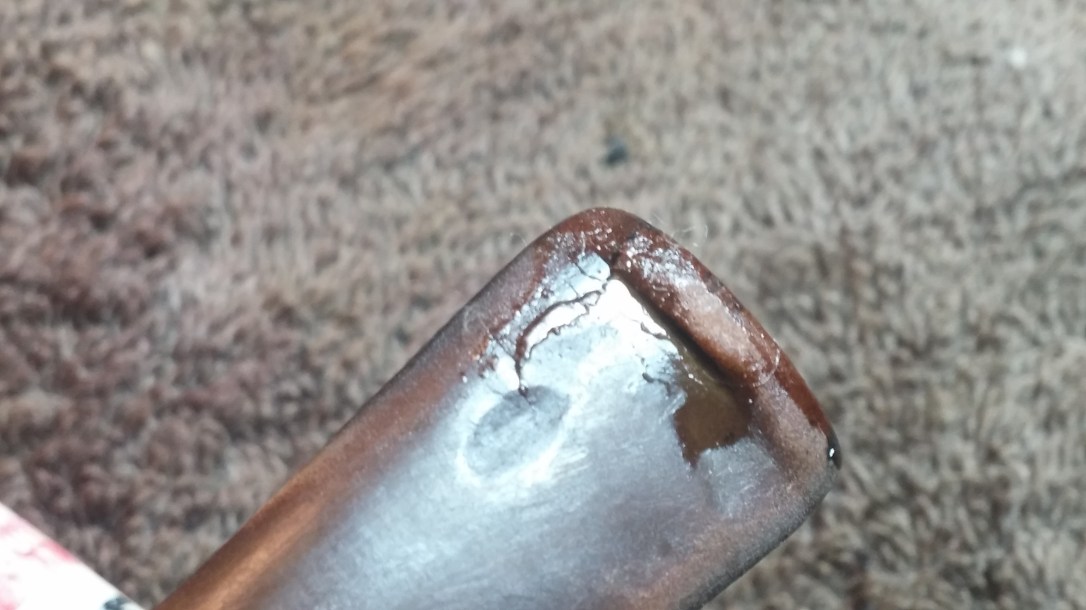
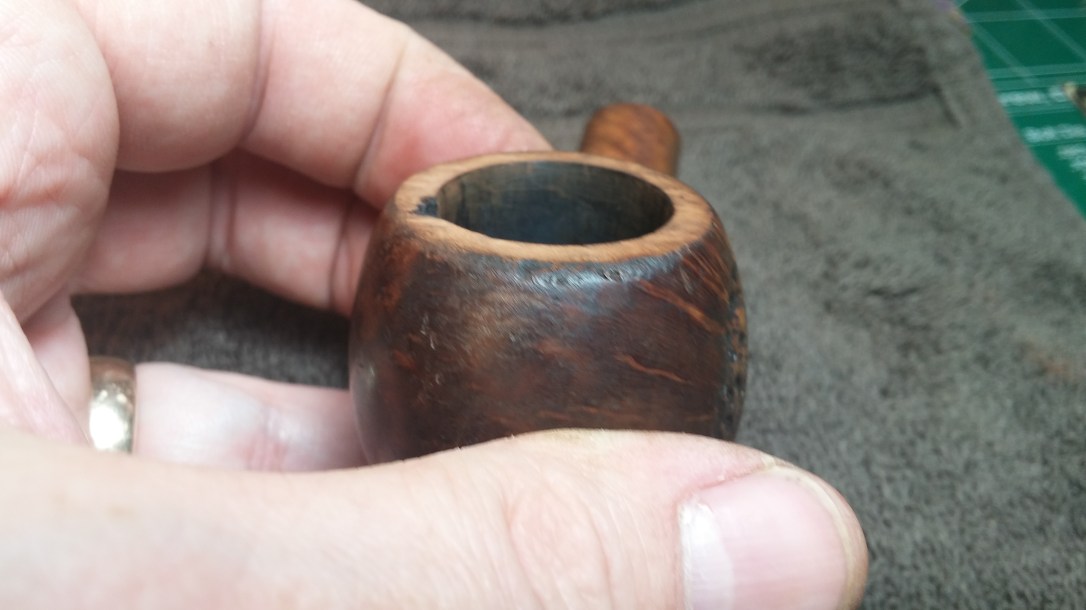
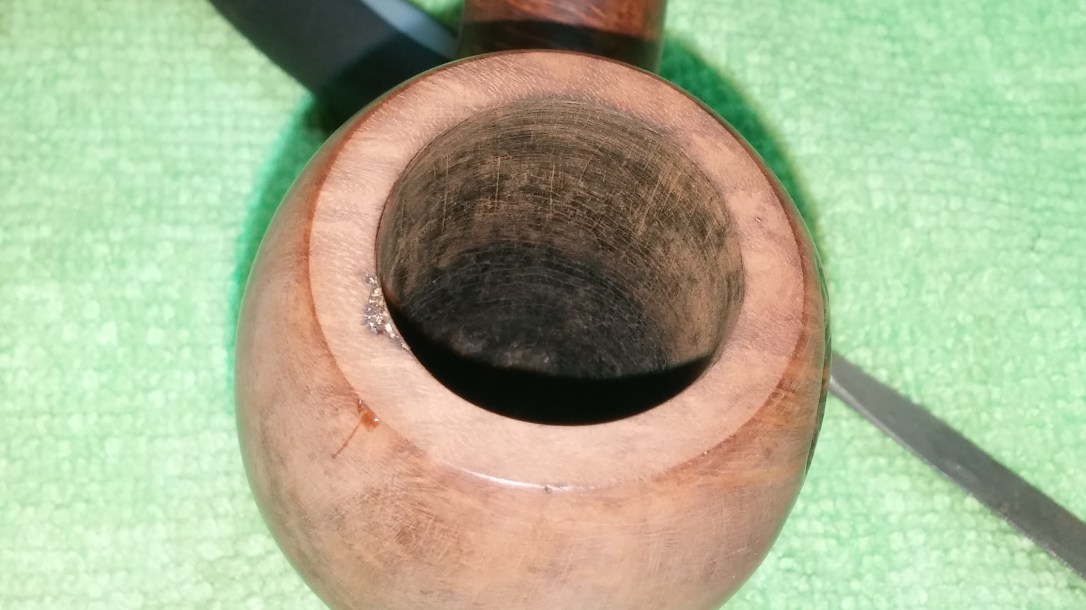
I topped the bowl gently to remove the worst of the dottle-knocking scars and road rash. As you can see in this pic, there was a large chunk of briar missing from the rim on one side and the outer rim would need more work to correct the remaining road rash damage.

Looking over the rest of the stummel, I found a few more flaws to correct – a few small pinhead size flaws and two flat patches, one on either side of the base of the bowl, which stood out oddly against the otherwise smooth curves of the briar.
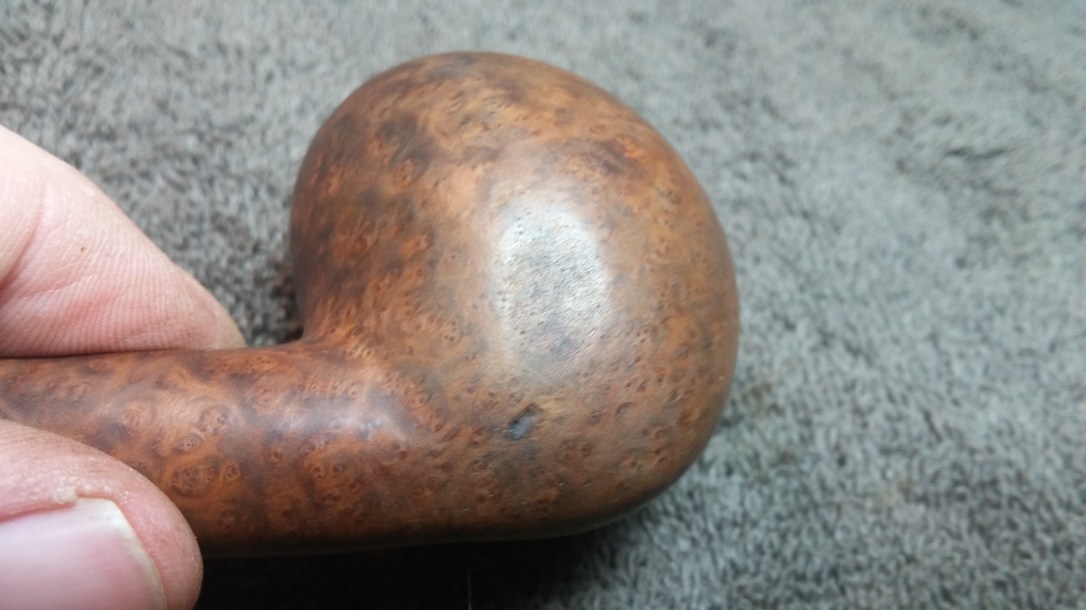


Given the number and extent of the dents & dings, I decided to sand the entire bowl, erasing the rest of the road rash, smoothing out the flat patches, and addressing the small pits all at once. The pits were drop-filled with CA glue and sanded smooth, while the large flaw in the rim was filled with CA glue mixed with briar dust.


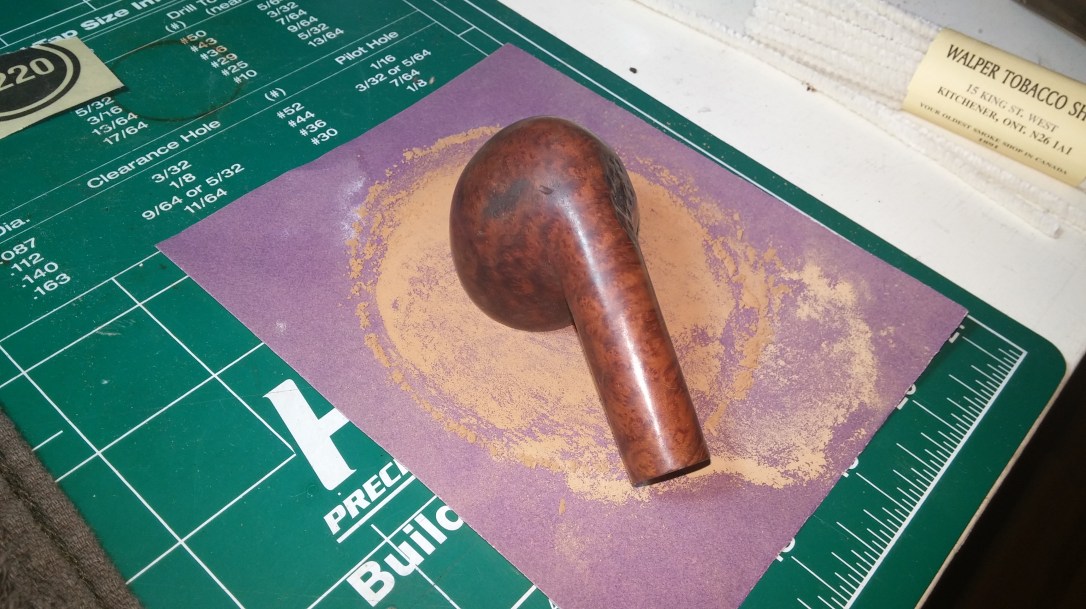
When I was happy with the state of the stummel, I sanded the entire thing again with progressively finer abrasives, moving from 220 through 4000-grit to smooth and polish the briar. I then applied a contrast stain of a red/brown wash over black.
To accomplish this look, I lay down a base coat of Fiebing’s Black leather dye and let it dry before wiping away most of the colour, leaving it only in the grain. I mixed Fiebing’s Saddle Tan and Dark Brown dyes and diluted the mix somewhat to make a translucent wash coat to apply over the black-dyed grain. When the wash coat had dried, I rubbed away any excess dye with a bit of terry towel and applied a light coat of mineral oil to refresh the briar and give the finish some depth.


With the stummel ready to go, it was time to deal with the stem. I pulled it from the Oxyclean soak and scrubbed away the now loose oxidation with 0000 steel wool and a bit of Magic Eraser before cleaning the internals with pipe cleaners, cotton swabs and alcohol.

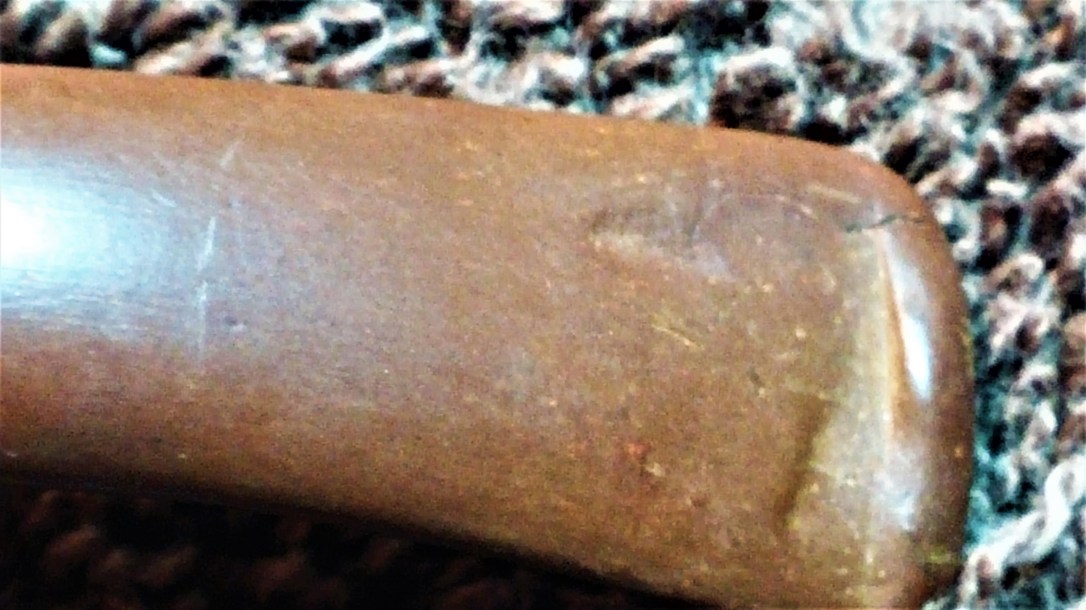
I filled the tool marks at the stem face with clear CA glue, sanding the patches flush after the glue had cured. The chewed up bit end of the stem got a thorough application of CA glue mixed with charcoal powder to fill the tooth dents and give me enough material to rebuild the stem. When the fill had cured, I filed and sanded the patches smooth. This pic shows the stem after the first round of patching. It took several more to fill the inevitable micro-bubbles and build up the button sufficiently.


When I was happy with the general shape of the rebuilt button area, I turned my attention to the other end of the stem. I mounted stem to shank and, after taping off the stamps, sanded both together to smooth the transition from briar to vulcanite.

After smoothing and polishing to 4000-grit (again), I retouched the stain on the briar and took the pipe to the buffer for a run of White Diamond compound and several coats of Carnauba wax.
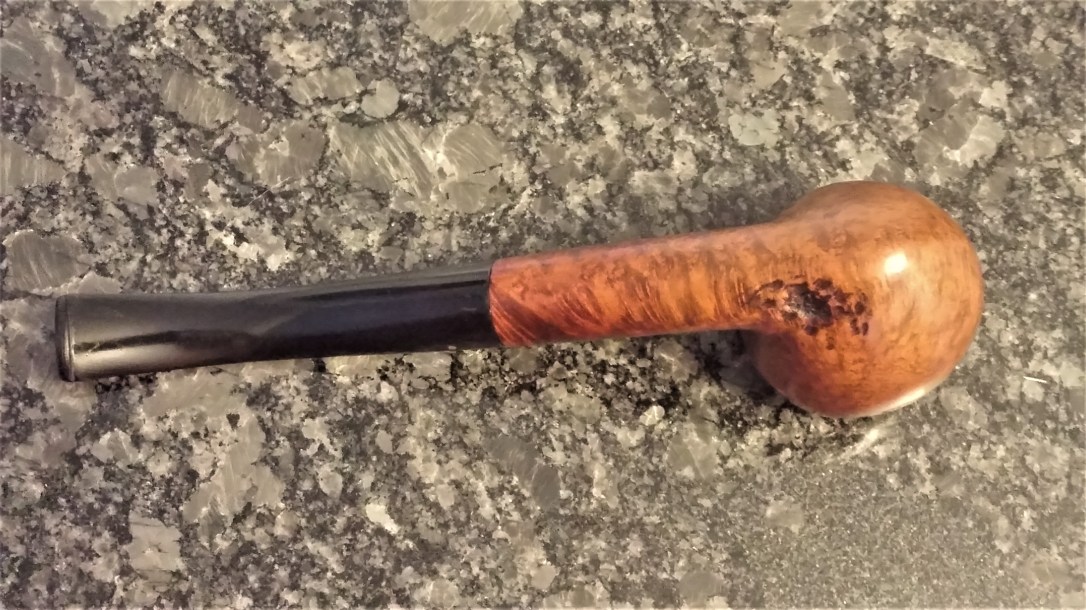
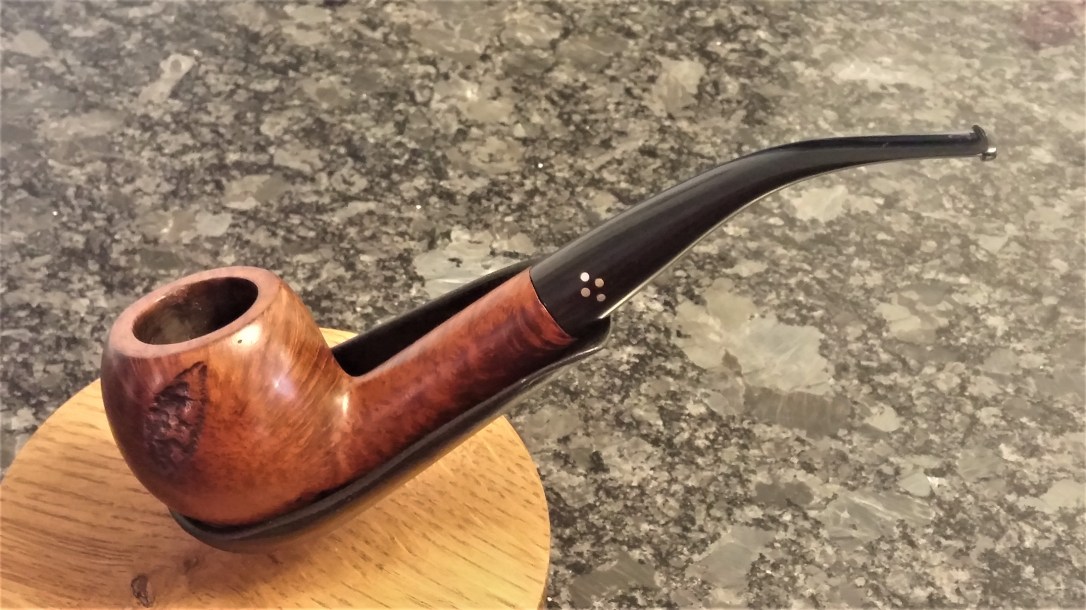
I had a lot of fun restoring this pipe. Despite the extensive work required, the finished pipe is, at least to my eye, a real looker. The Brigham 89 shape is a slender and elegant version of a Bent Acorn, and this 4-Dot version now glows with renewed health and vitality. The briar is warm and fresh, and the vulcanite stem is once again jet black, glossy and, even better, in one piece!
Thanks for walking through this restoration with me. I’ve added this Brigham 489 to my own rack and rotation.
Until next time, Happy Piping! Here’s the finished pipe.