
This is an interesting Peterson pipe sent to me for refurbishment by a DadsPipe reader.
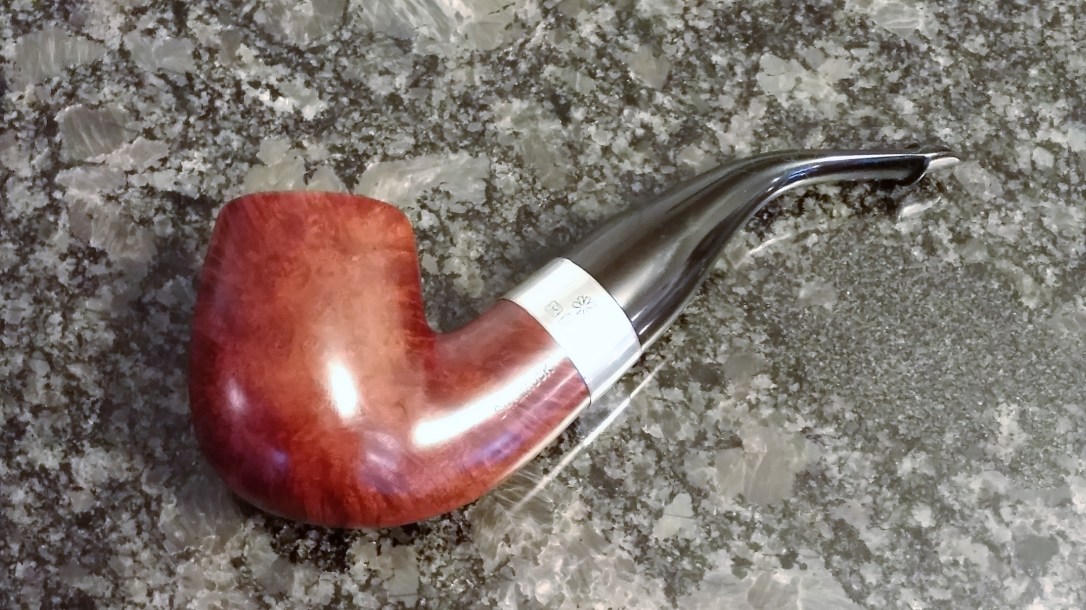
The pipe is a Shamrock 9BC Chubby Bent Billiard that certainly exemplifies Peterson’s tendency towards stout shapes. According to Mark Irwin’s excellent article on Peterson Pipe Notes, the 9 shape has been in the Peterson catalog since 1896 and has taken several other names over the years, including the 304 Standard System, the 09 Deluxe System and the XL90s. The 9BC is also related to another Chubby shape, the John Bull 999, one of Peterson’s most popular shapes.
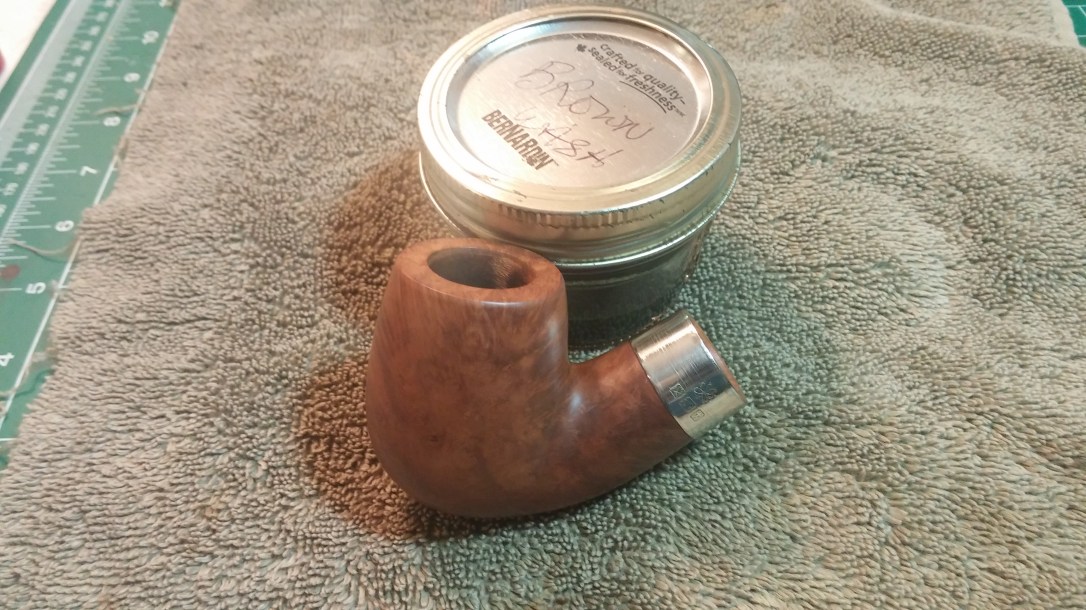
This 9BC arrived in pretty good estate condition, with a few marked issues. The inner and outer edges of the rim were dinged and scraped, the stem was oxidized and grimy, with a few tooth dents, and there were several putty fills that had shrunken and would need attention. The shank band was also heavily discoloured around the top edge.
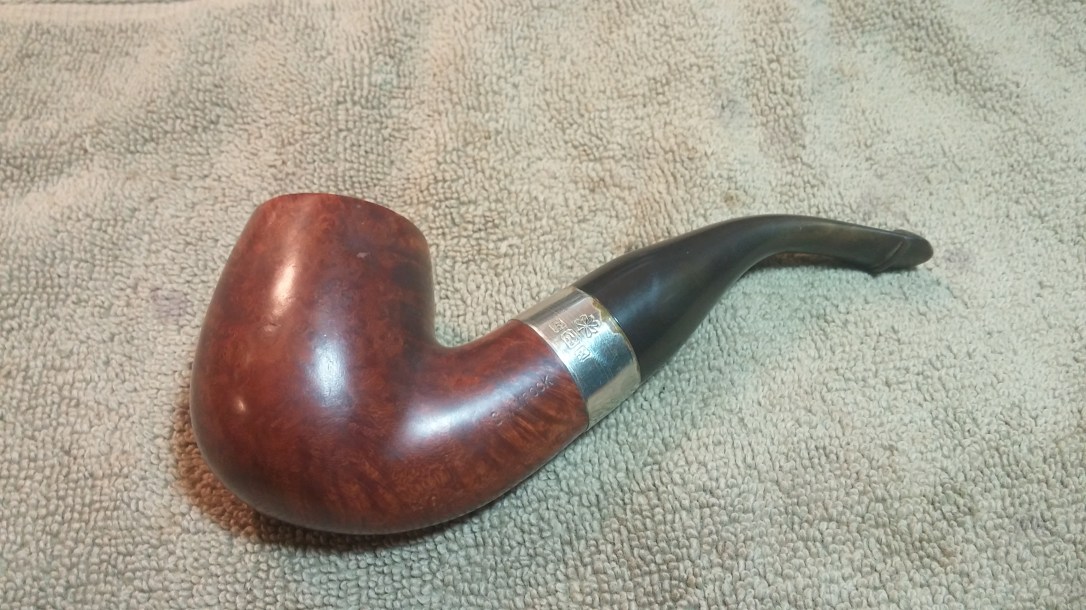


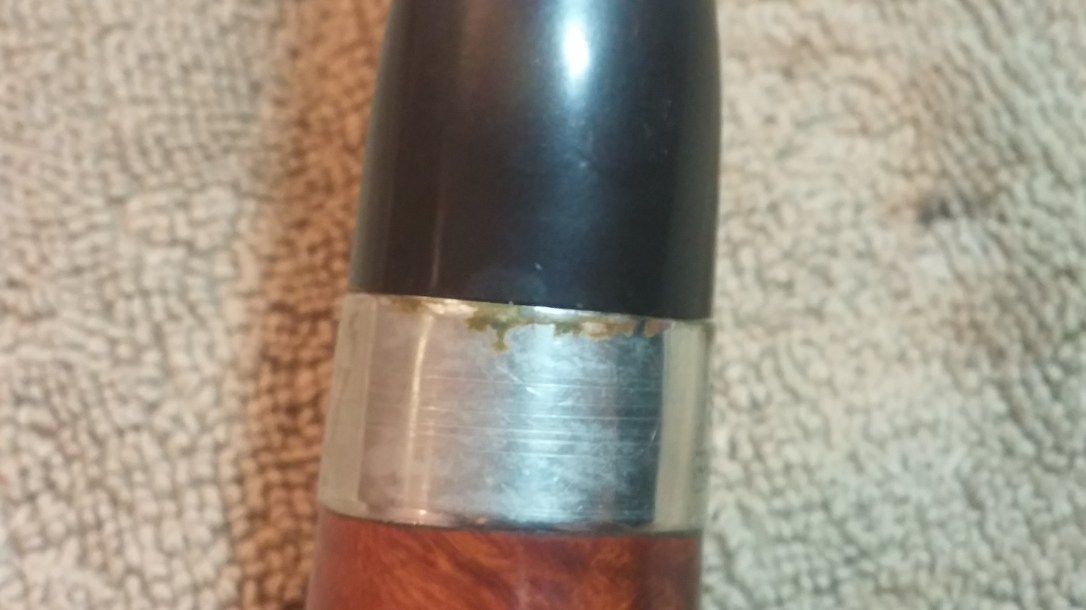


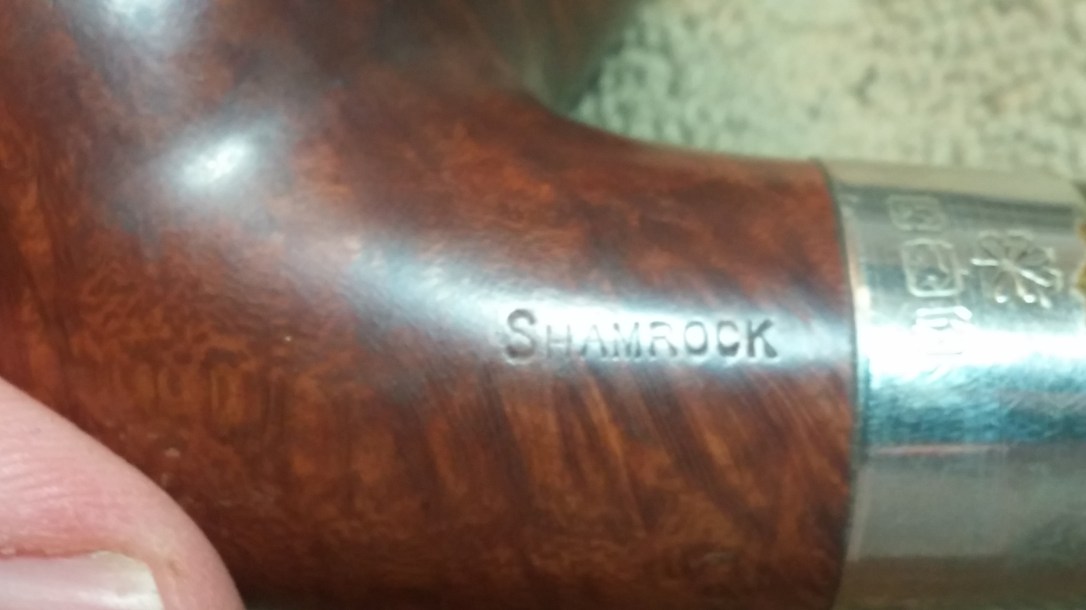
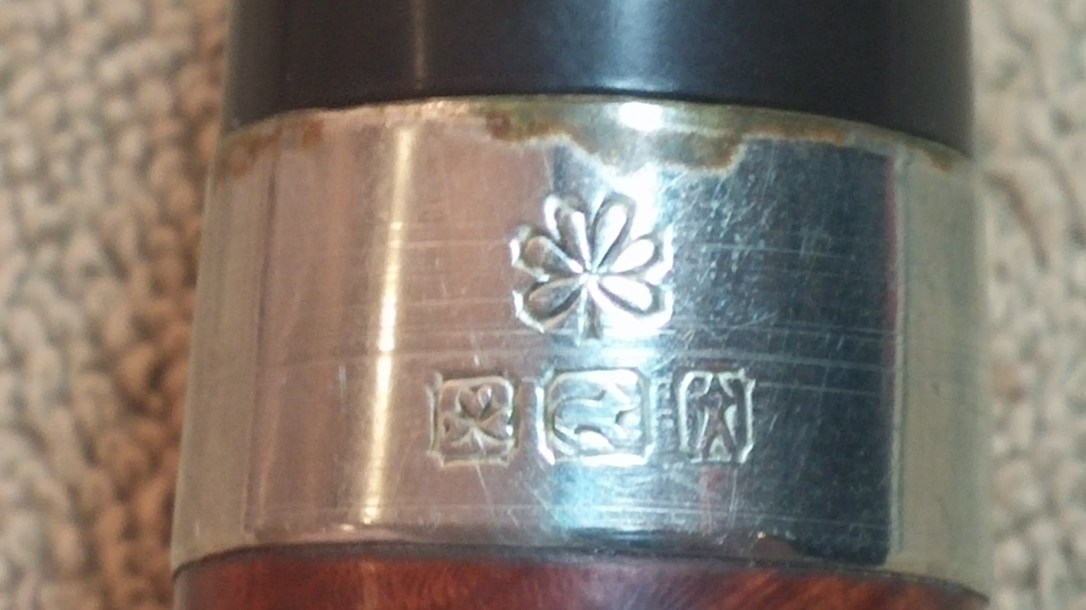
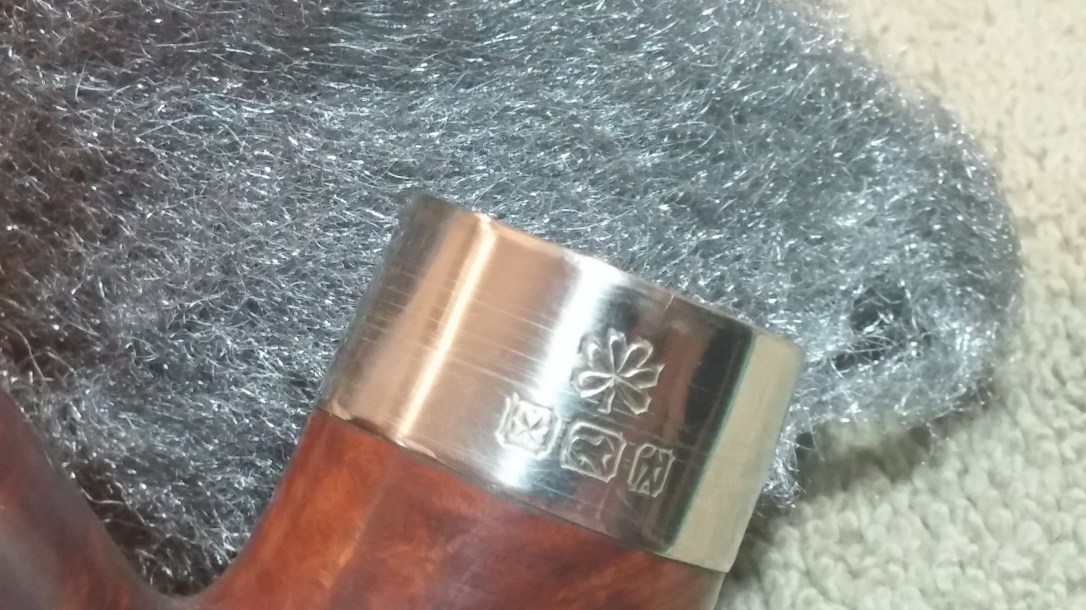
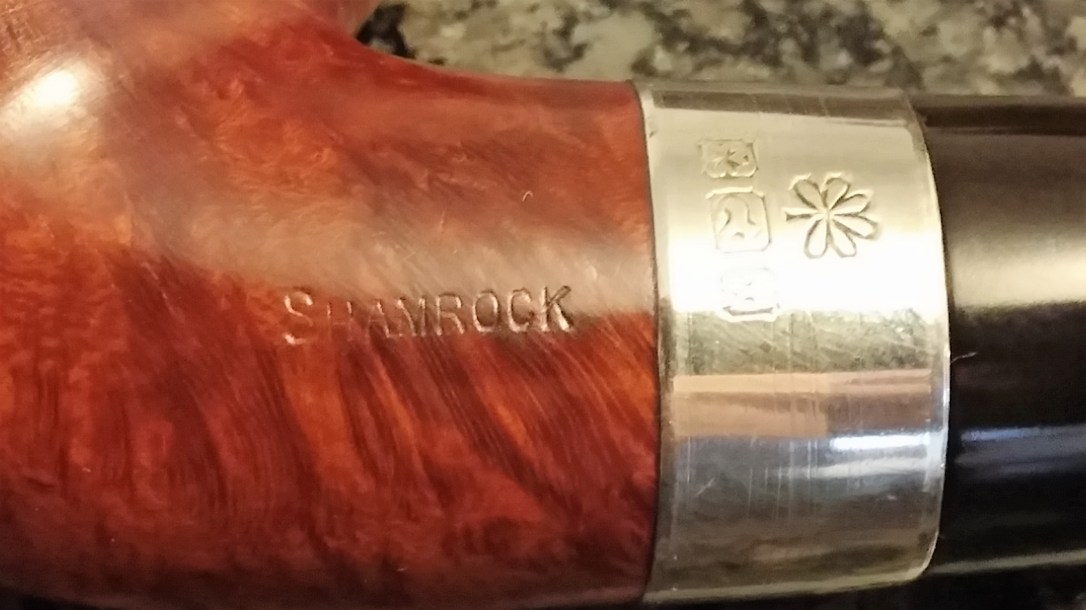
The pipe is stamped “SHAMROCK” in block letters on the left shank, and “A Peterson Product” over “MADE IN IRELAND” and “9BC” on the right shank. The nickel shank band is stamped with a large shamrock over three faux hallmarks of a Shamrock, Fox and Tower.
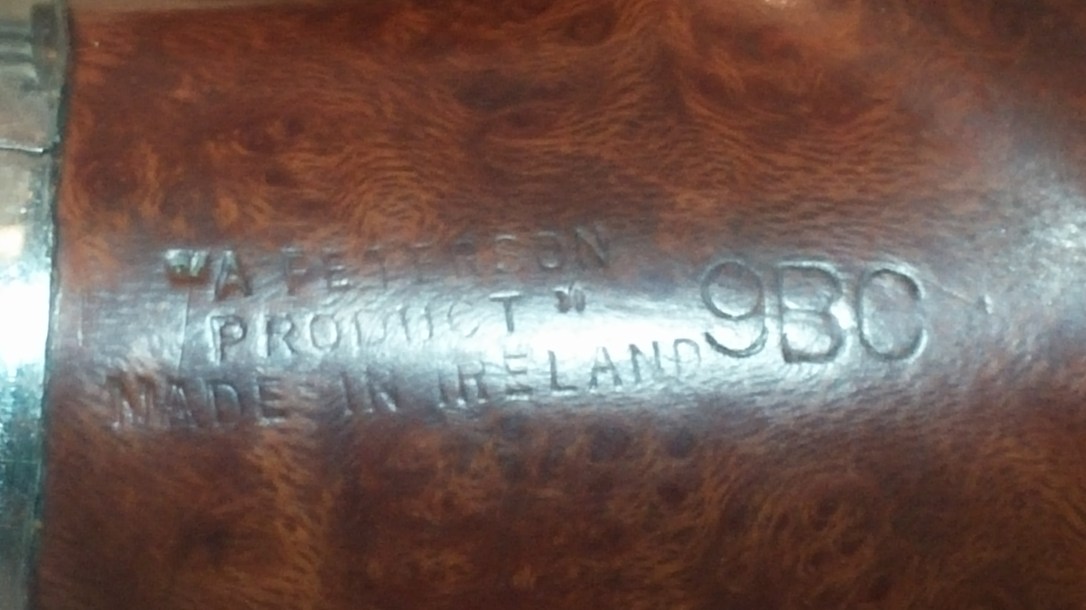
Mark’s article dates the 9BC’s advent on American shores as 1953, but the “Made in Ireland” stamp on this particular pipe dates its production slightly earlier, to somewhere between 1947 and 1949, making this a Pre-Republic Peterson.
I began this cleanup by investigating the shank band. I was curious to know if the discolouration was corrosion or just grime. A quick buff with 0000 steel wool revealed the answer – just grime. The band was soon sparkling!
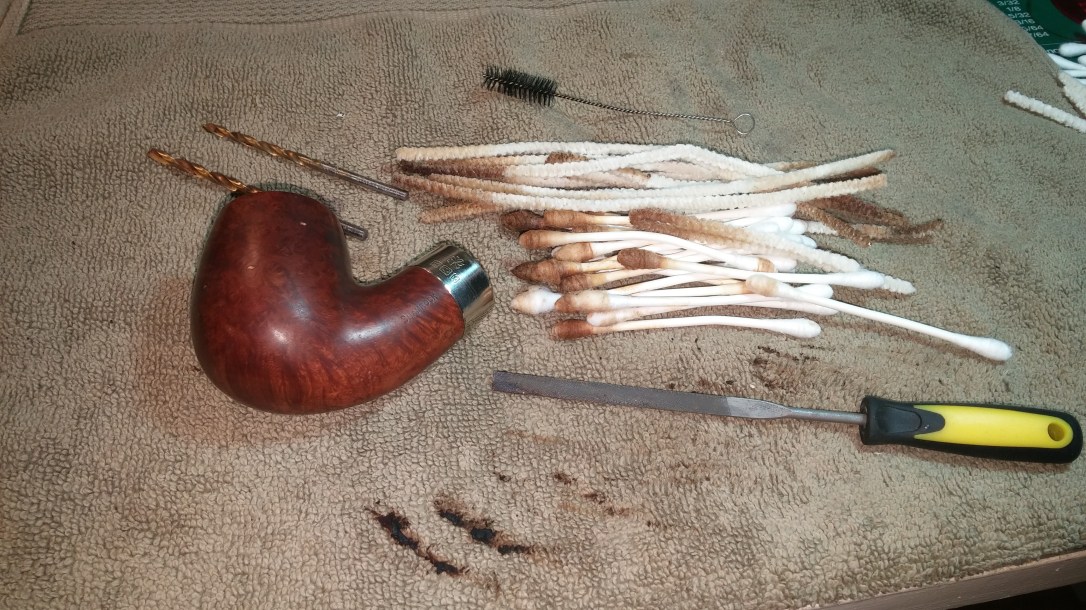
With one question settled, I set to cleaning the stummel’s internals, which proved to be quite dirty. I needed drill bits, turned by hand, to open the airway and auger out the hardened tars restricting airflow there. Then is was pipe cleaner after cotton swab after pipe cleaner dipped in alcohol to clean the accumulated muck of years out of the mortise and shank.
When I was satisfied with the state of the internals, I moved outside, wiping the stummel down with alcohol on cotton pads. The trio of old fills is clearly visible without the layer of dirt and grime. Amazingly, these three tiny fills were enough to cause this pipe to be sold as a second.

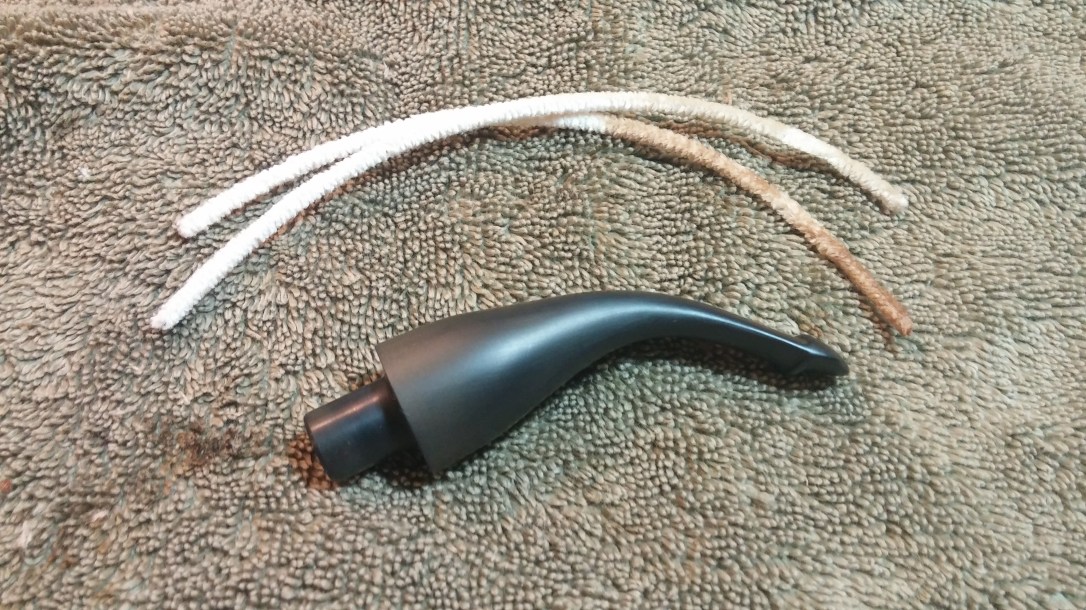
Before dealing with the fills, I dropped the stem into an Oxyclean bath to raise the oxidation. When it came out of the soak, I scrubbed away the discolouration and other surface contaminants with 0000 steel wool and Magic Eraser. A few pipe cleaners sorted out the airway.
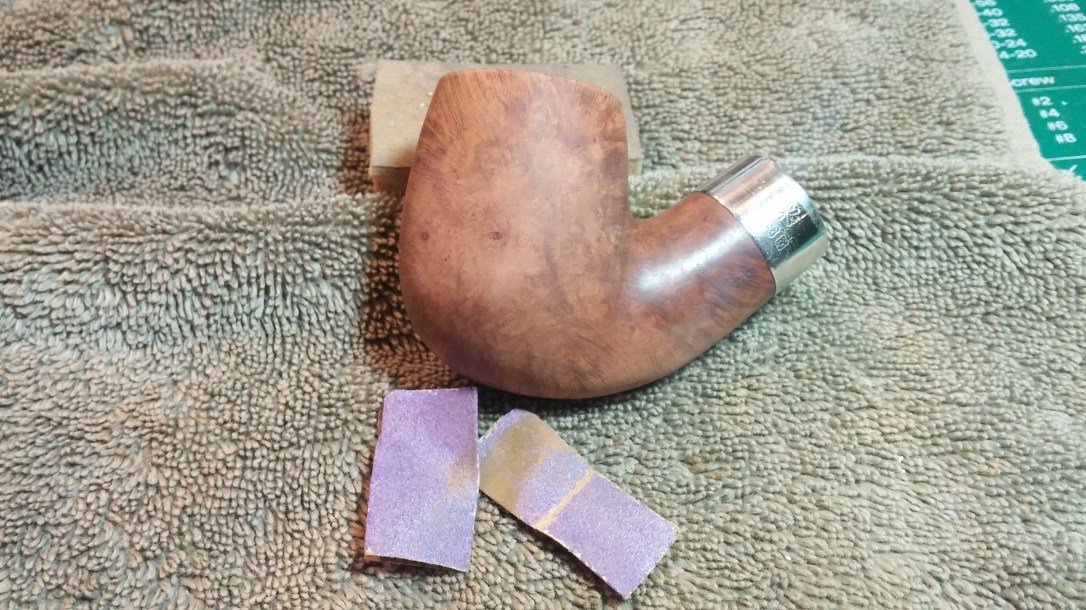
Moving back to the stummel, I drop-filled the trio of pits with CA glue mixed with briar dust, sanding the patches smooth after the glue had cured. Then I gave the entire stummel a polish with MicroMesh sanding pads to smooth and polish the briar. While I was sanding the fills I took the opportunity to smooth out the nicks and dings on the bowl’s rim.

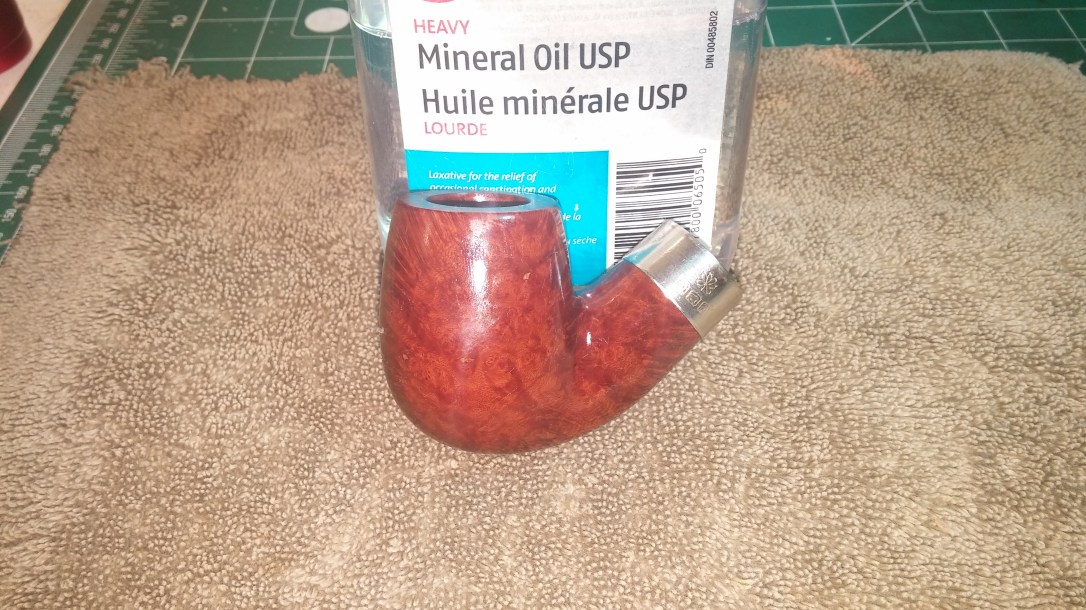
Before setting the stem aside to rest, I refreshed the finish with a wash coat of Fiebing’s Dark Brown leather dye diluted with water in approximately a 1:4 ratio. A wipe of mineral oil rehydrated the briar and gave the new finish depth.
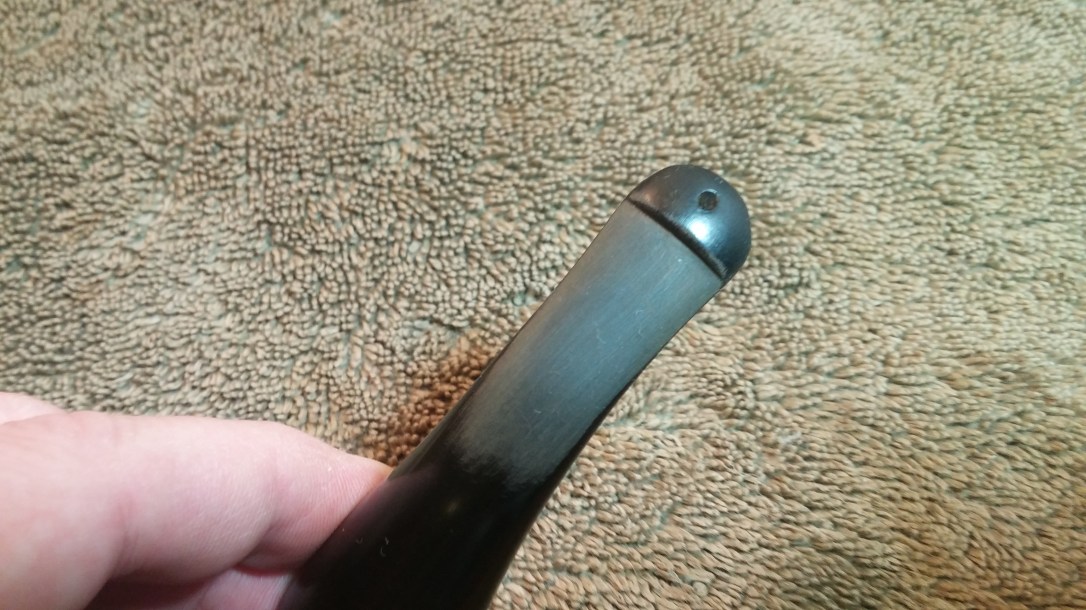
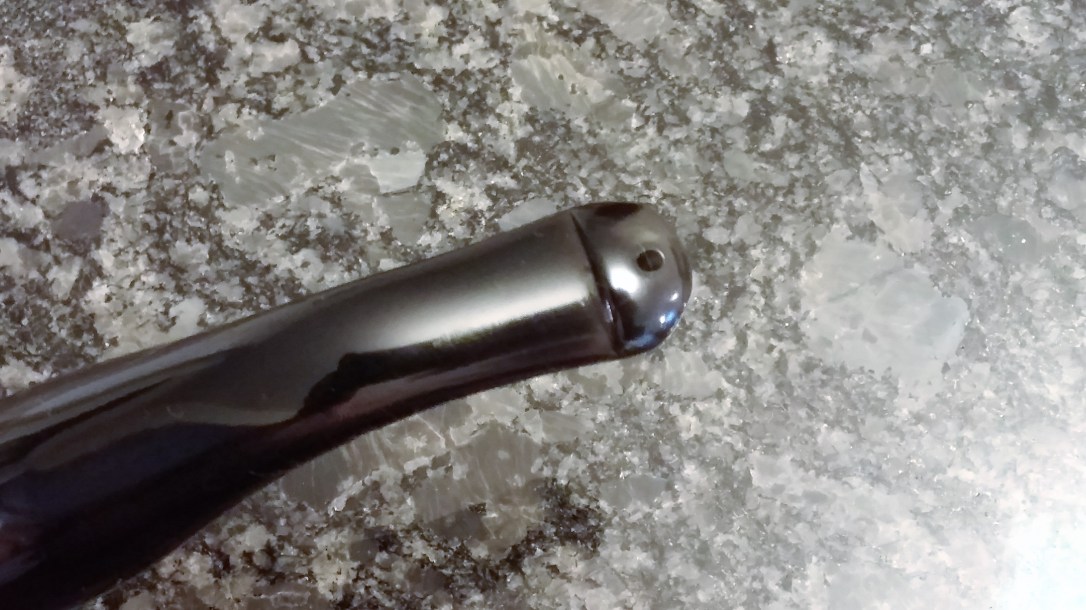
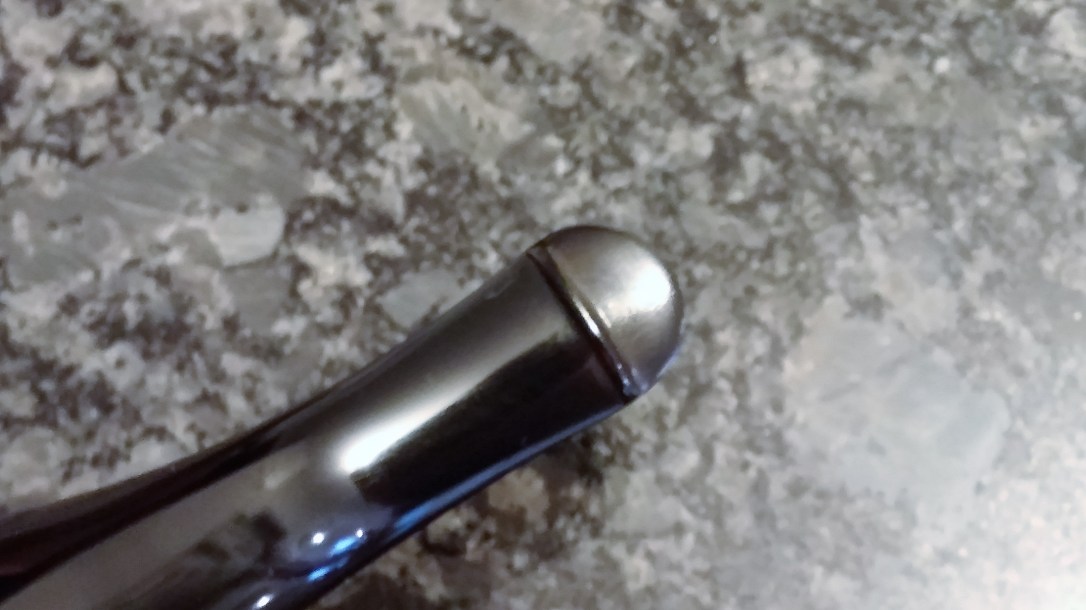
On to the stem work! I started by raising the tooth dents as far as they would go with a bit of heat. Vulcanite has a memory, so heating the dented areas over a lighter flame will often allow the depressions to swell up to nearly their original position. I got lucky with this stem; the lighter did most of the work for me. A quick sanding with 220-grit sandpaper removed the tooth chatter and most of the tooth dents, leaving me only one small spot to fill.

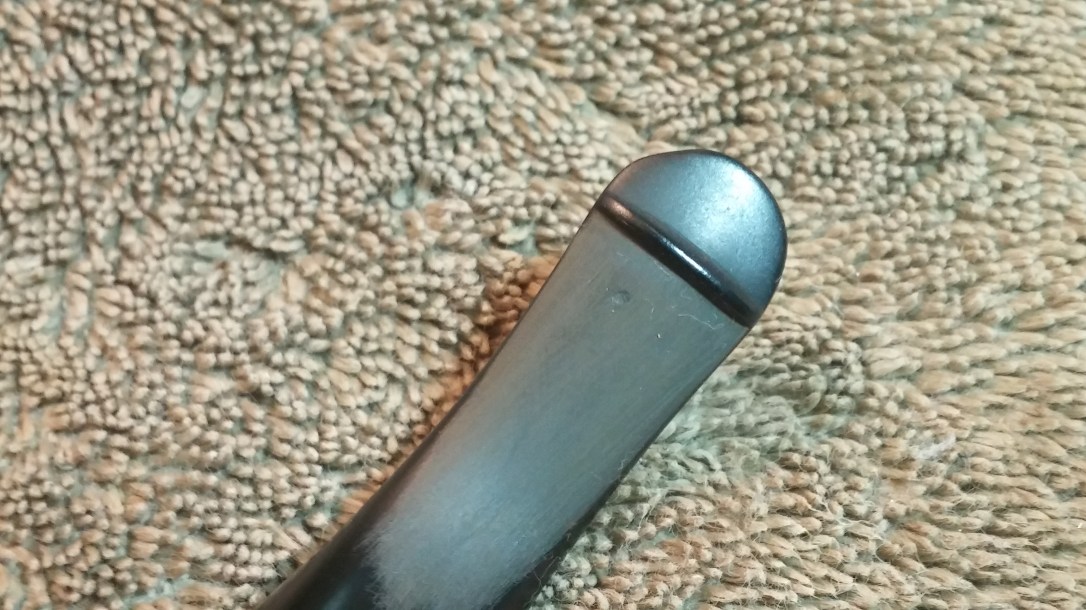
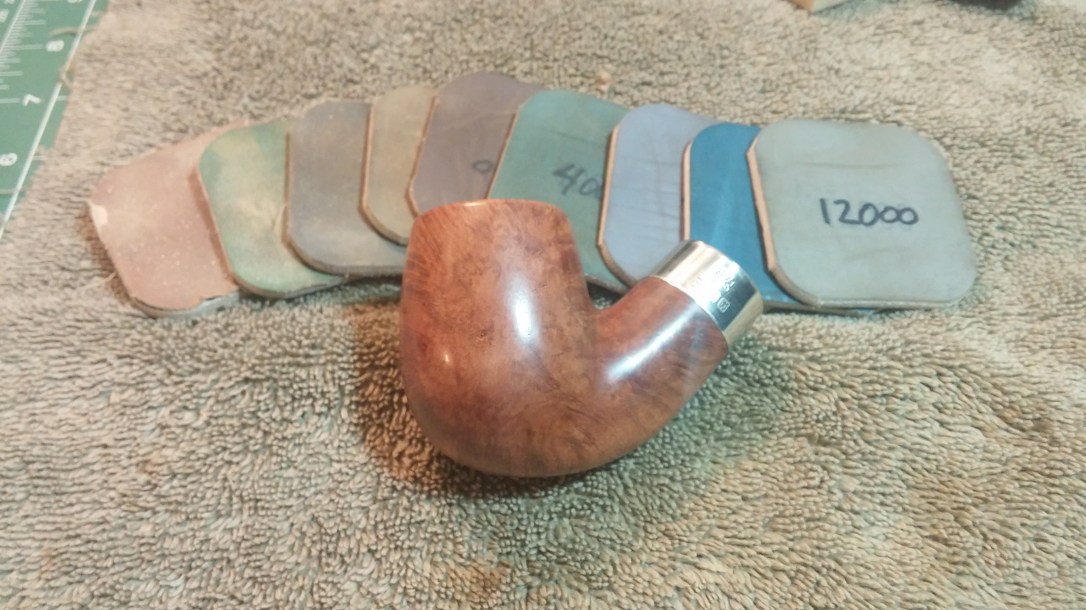
A drop of clear CA glue filled the dent; when the glue had cured, a quick sanding levelled the patch. This pic shows the sanding and polishing progression I used to prep the stem for the wheel. 220-grit paper does the heavy lifting, while 320-grit paper and a Fine-grit sanding sponge smooth things out. Then I polish the stem with 600 and 2000-grit wet papers to erase the sanding scratches and bring up the shine.


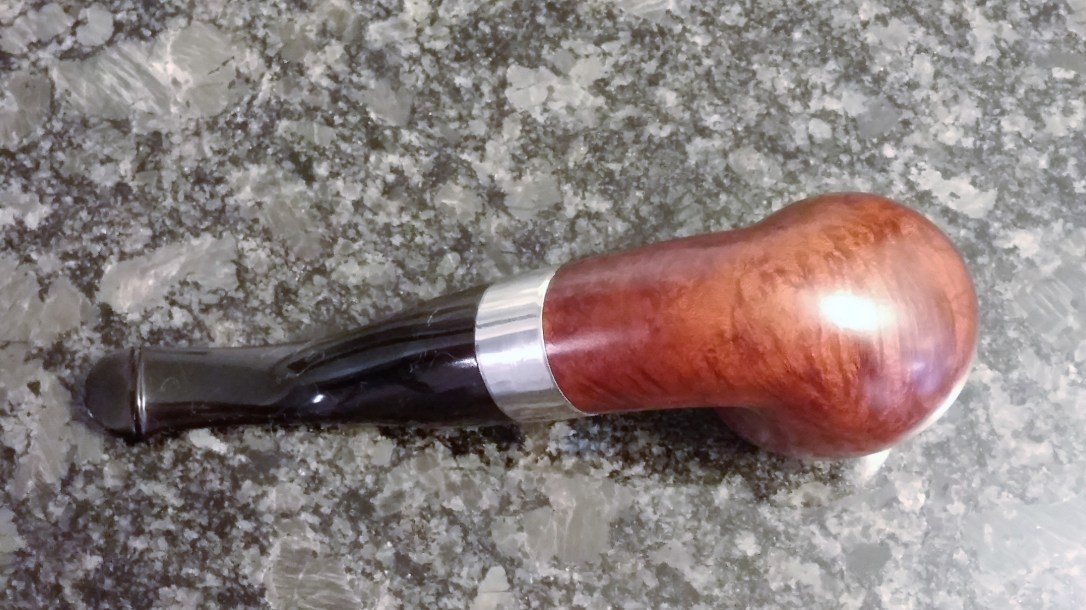
With the stem sorted, I took the pipe to the buffer for a final polish with White Diamond compound followed by several coats of Carnauba wax to shine and protect.
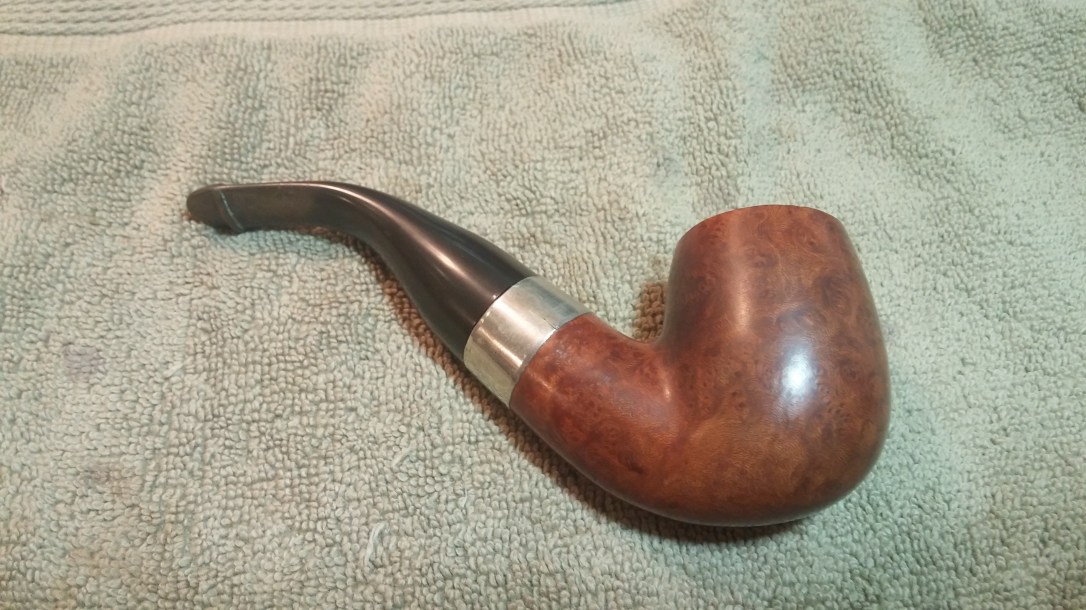
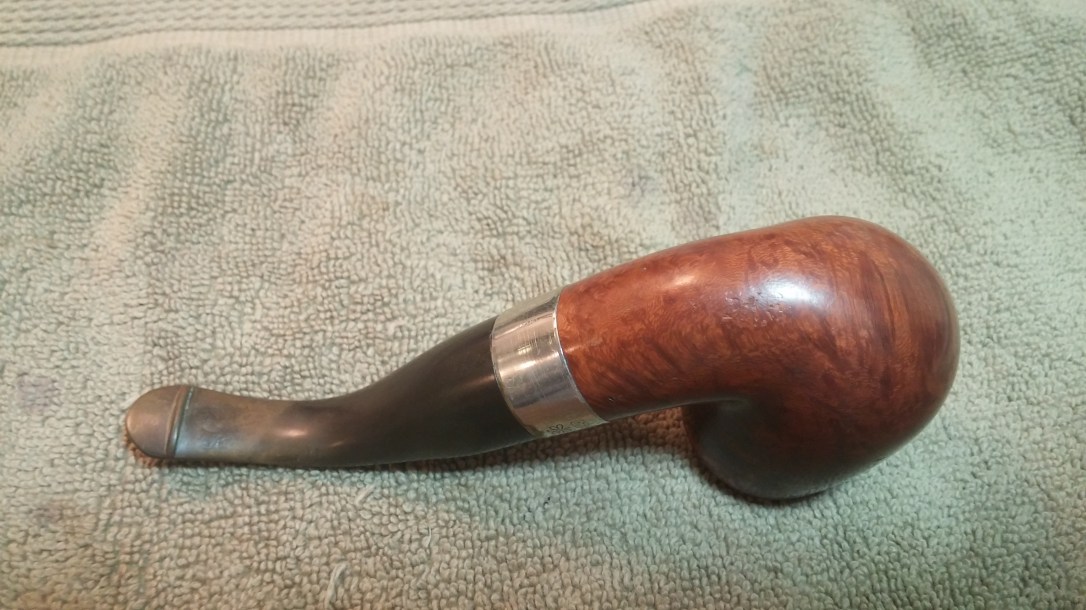
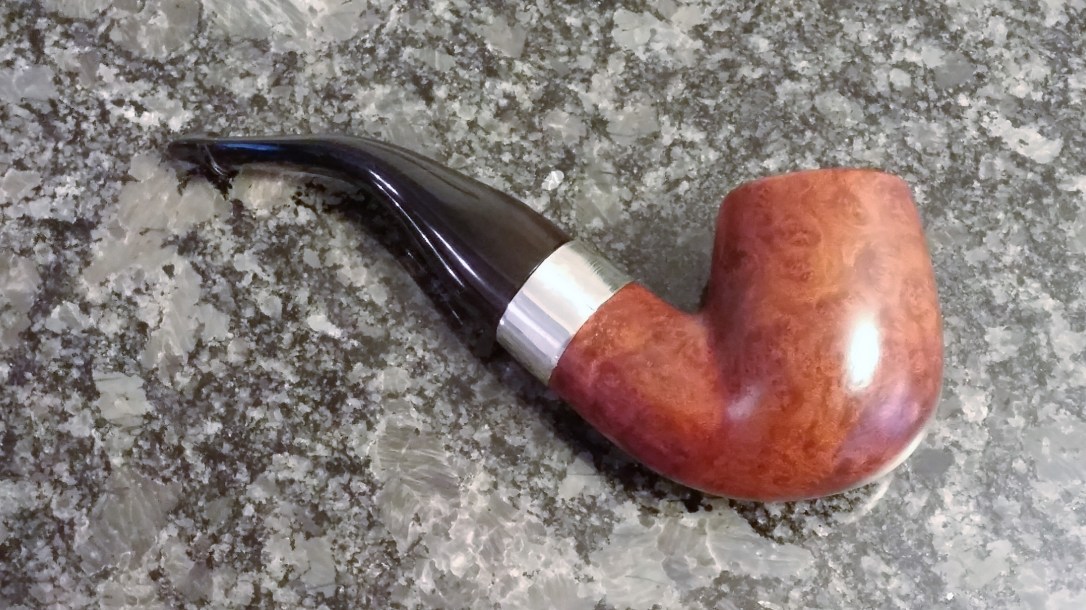
This Shamrock 9BC is a great looking pipe in a classic shape, definitely one to add to the bucket list of large pipe fans. You may not come across a Pre-Republic 9BC very often, but you can definitely find one of its derivative shapes, the 304 Standard System, the 09 Deluxe System or the XL90s.
This pipe is on its way back to its owner, where I’m sure it will perform well for many years to come.
Thanks for joining me for another restoration. Until next time, Happy Piping!
Here’s the finished pipe.


Nice work, the 9BC is my favorite Peterson shape.
LikeLiked by 1 person
Thanks Al!
LikeLike
Reblogged this on rebornpipes and commented:
I had to share this with the readers of rebornpipes. This Peterson shape is one of my favourites. Mark Irwin is a good friend and he is a gift to the pipe smoking community. Thanks for posting this Charles.
LikeLiked by 1 person
This is the first 9BC I’ve encountered. It certainly has an instant appeal. I’ll be keeping an eye out for one to add to my rack now. 😀
LikeLike