
I was contacted recently by a DadsPipes reader with a request to look at his favourite pipe and determine what could be done to repair a crack running up the shank. I’ve repaired quite a few cracked shanks, but this pipe would prove to be a unique challenge.
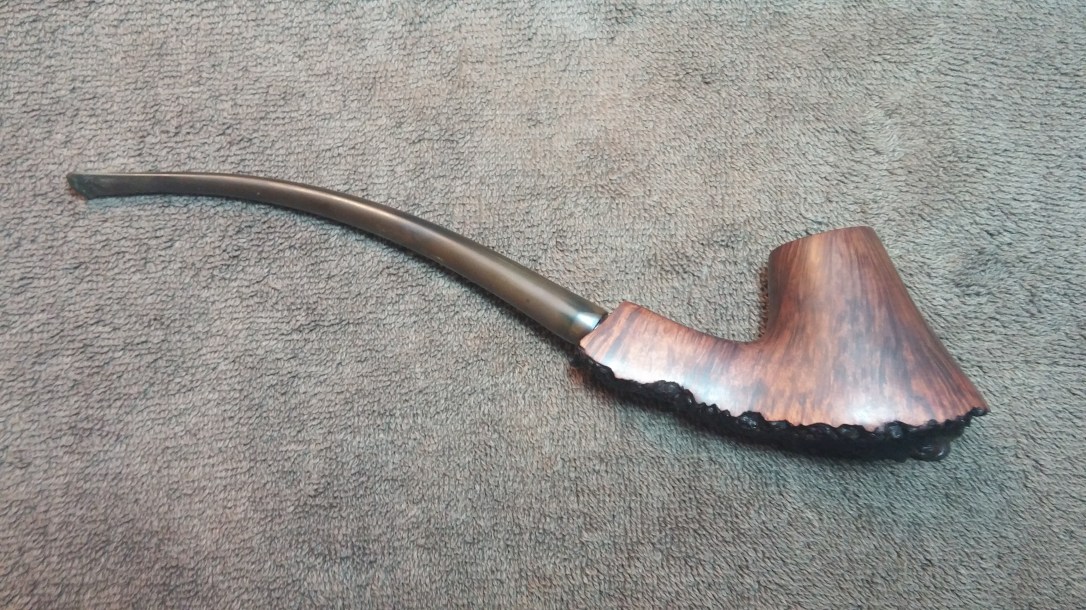
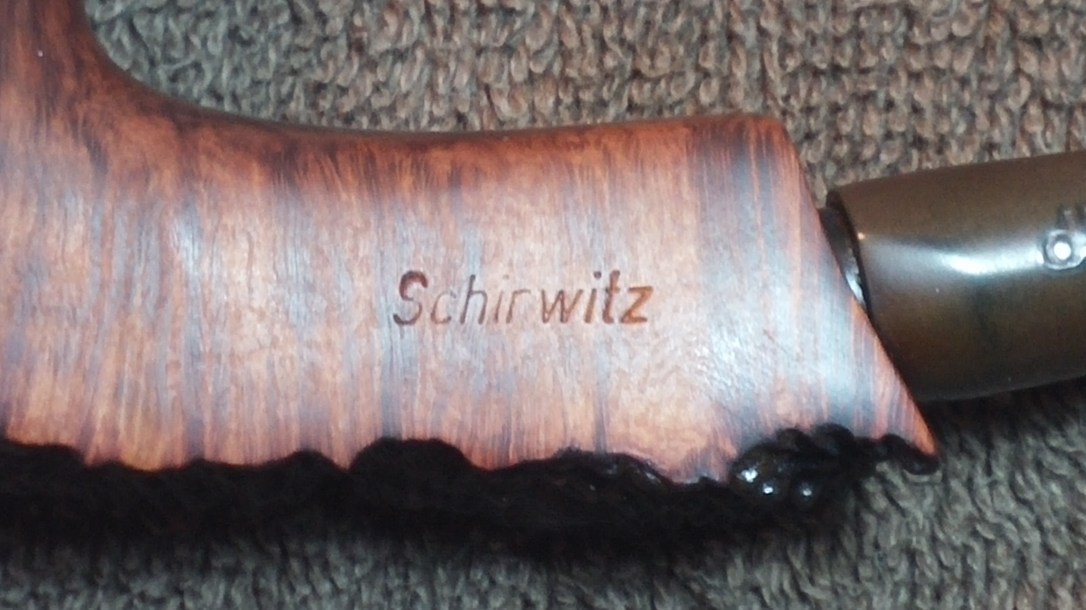
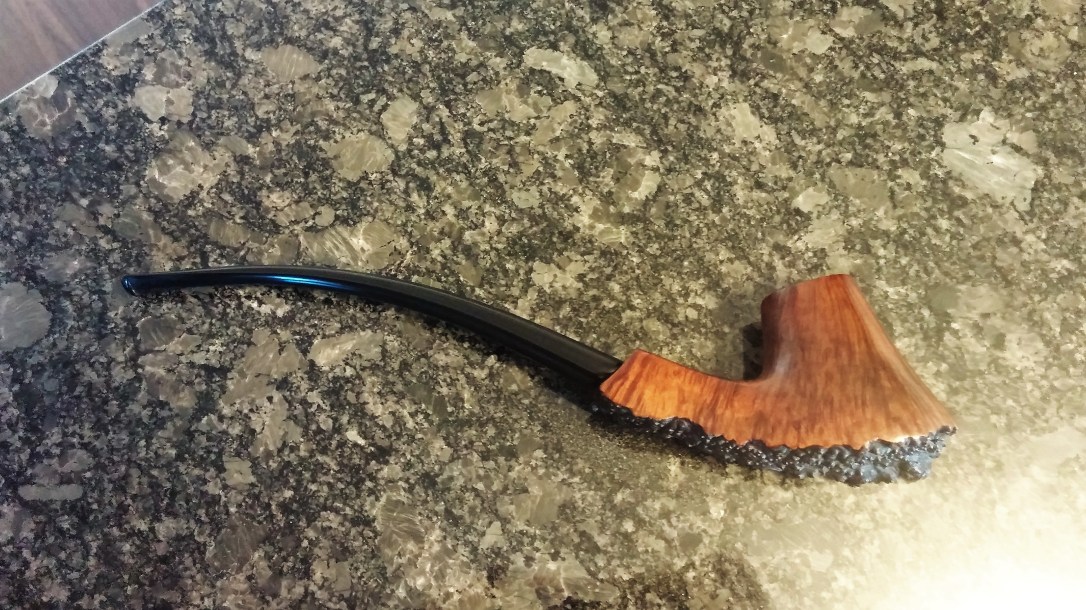
As you can see in the pics below, this is not your ordinary churchwarden pipe. This Design Berlin Shirwitz Volcano has the characteristic long stem of the genre, but there would be no fitting a standard shank band to this beautiful piece of briar.
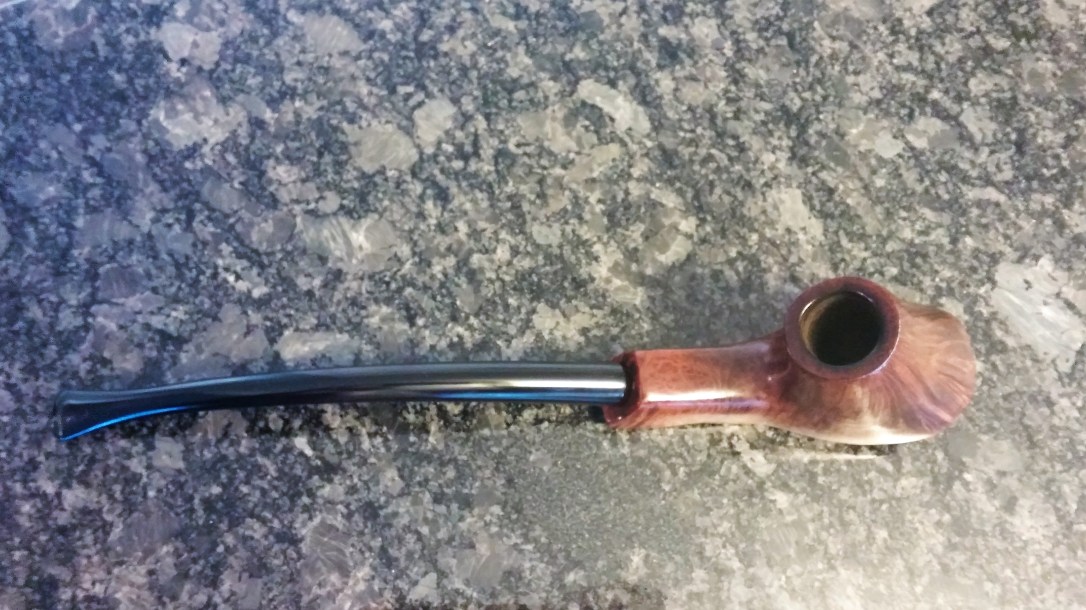
The pipe arrived on my worktable in good, but a little grimy, condition. It is a beautiful piece, with a graceful organic flow and lovely straight grain underneath the grease. The stem was oxidized with a bit of tooth chatter and calcium buildup, but should clean up just fine.
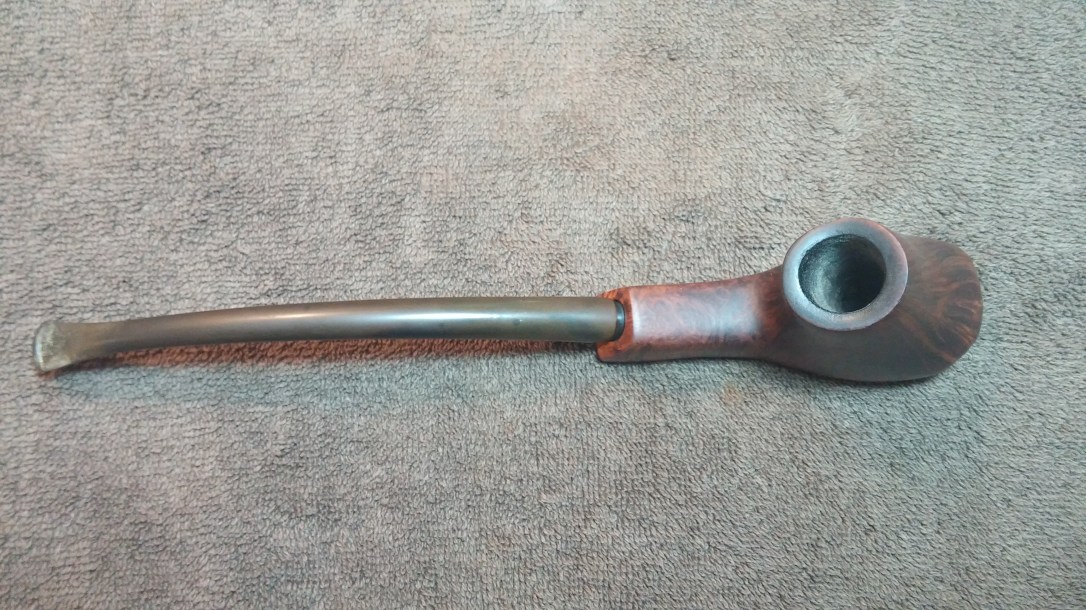
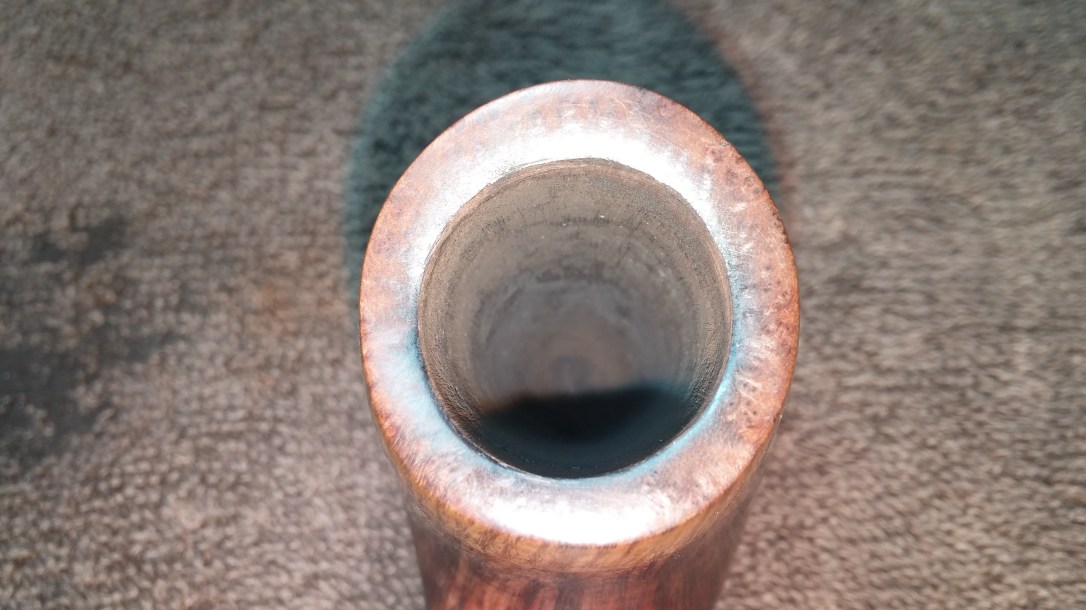
The rim of the volcano shaped bowl, ironically, was lava-free, showing only a light film of combustion debris from regular smoking. The inner rim had a few tiny nicks and the chamber was caked with a soft, almost wet carbon layer.


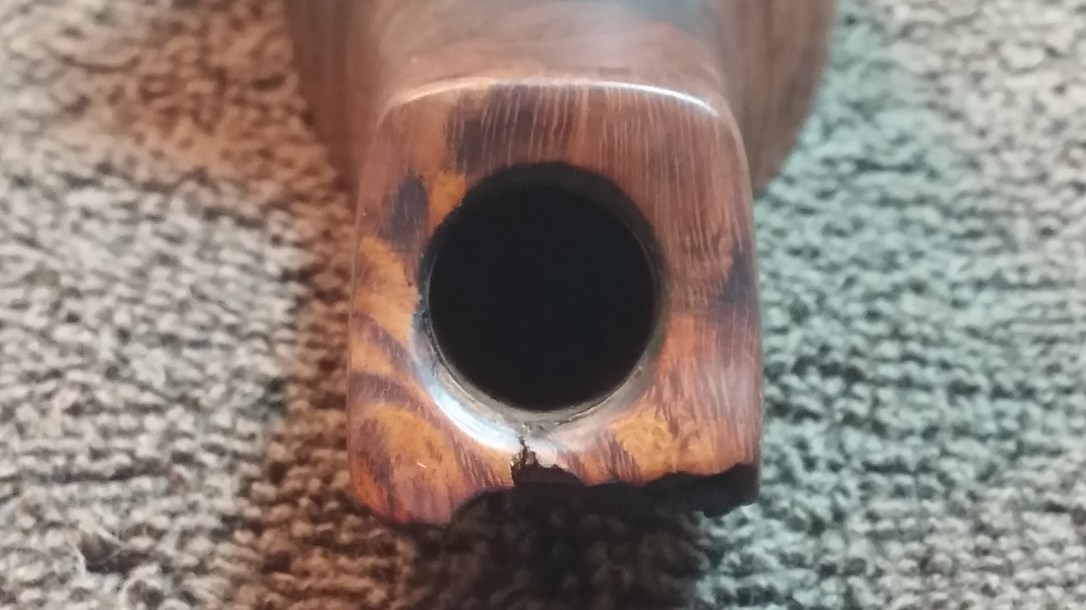
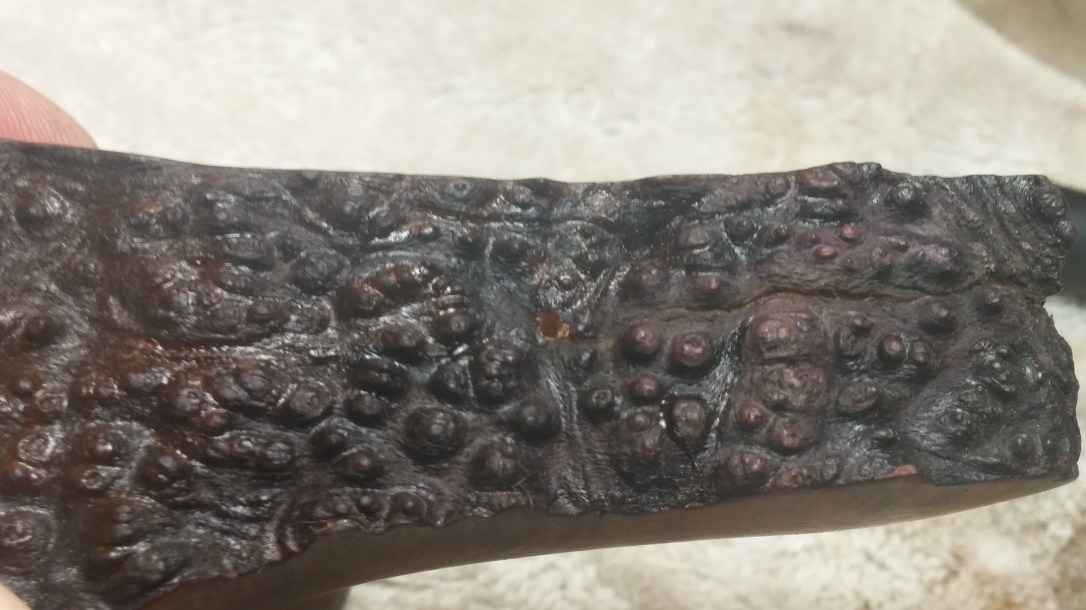
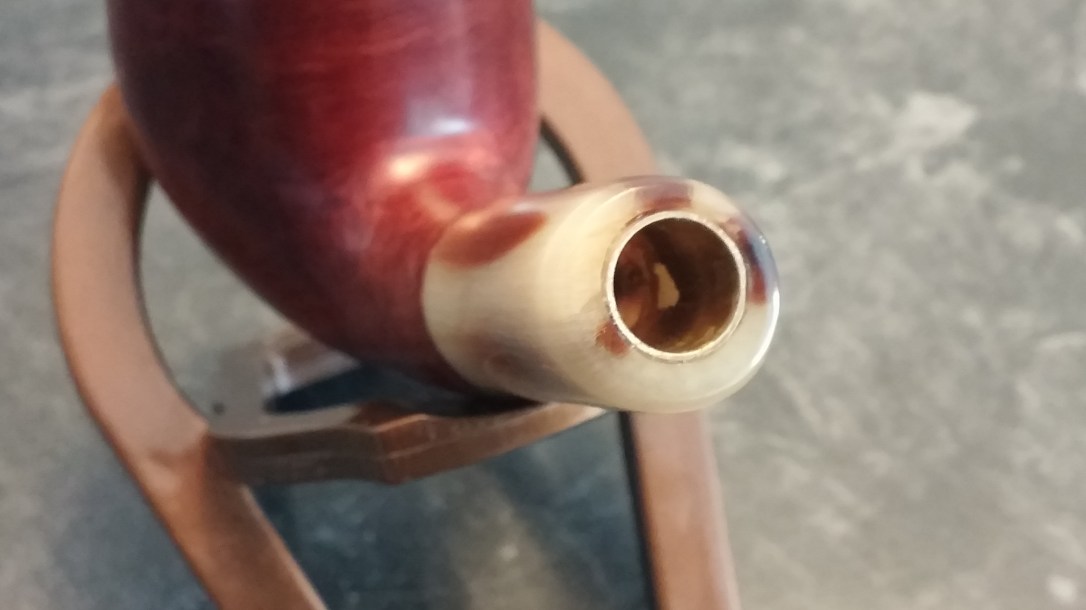
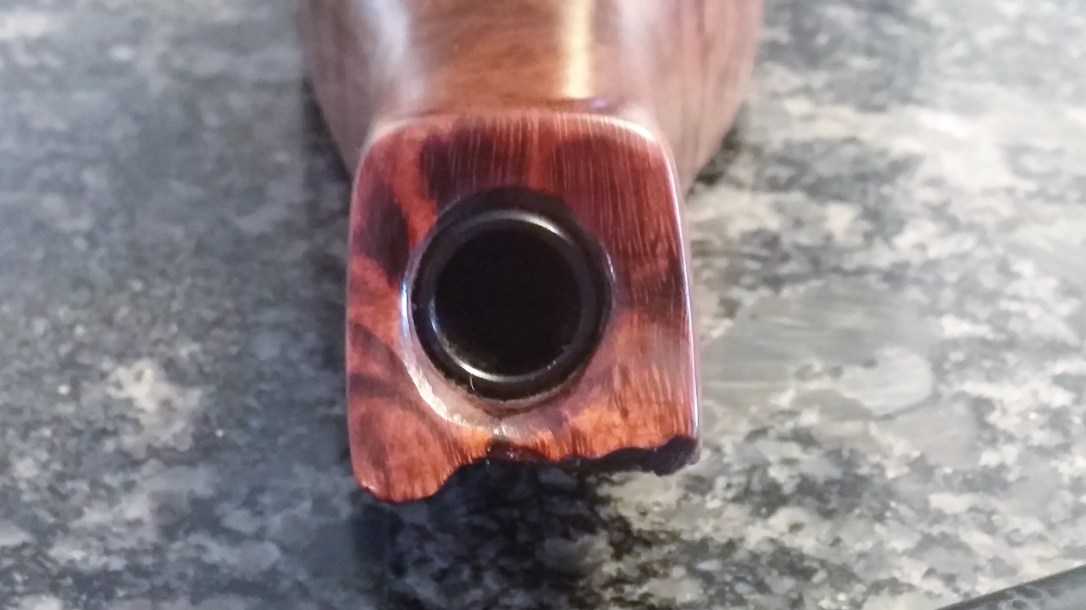
I took this shot of the mortise to highlight the crack at the 6 o’clock position, but the flash also illuminated some serious muck lurking inside the shank. Yuck.

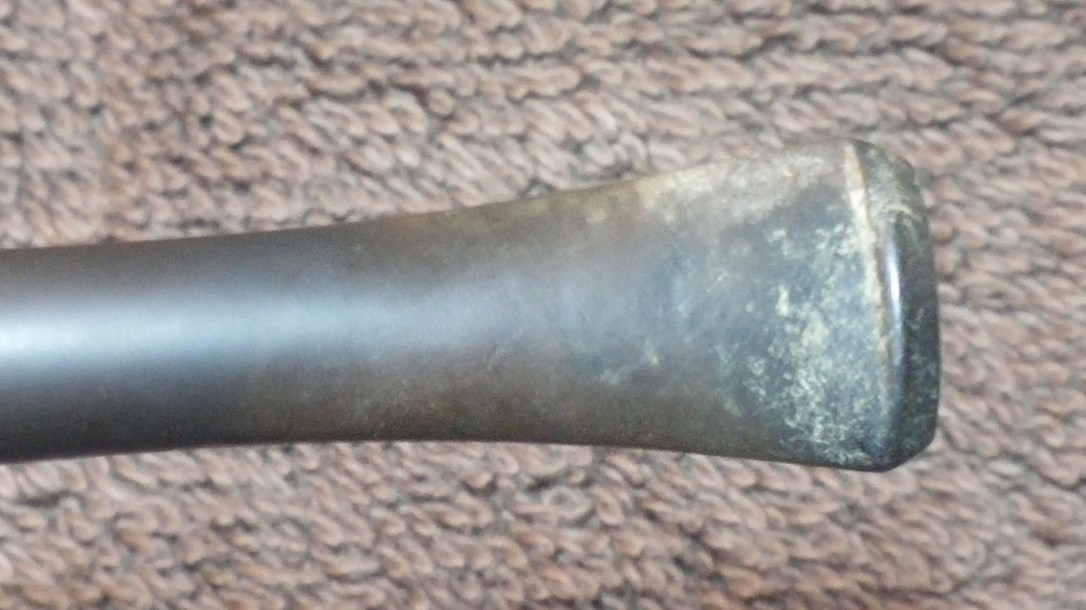
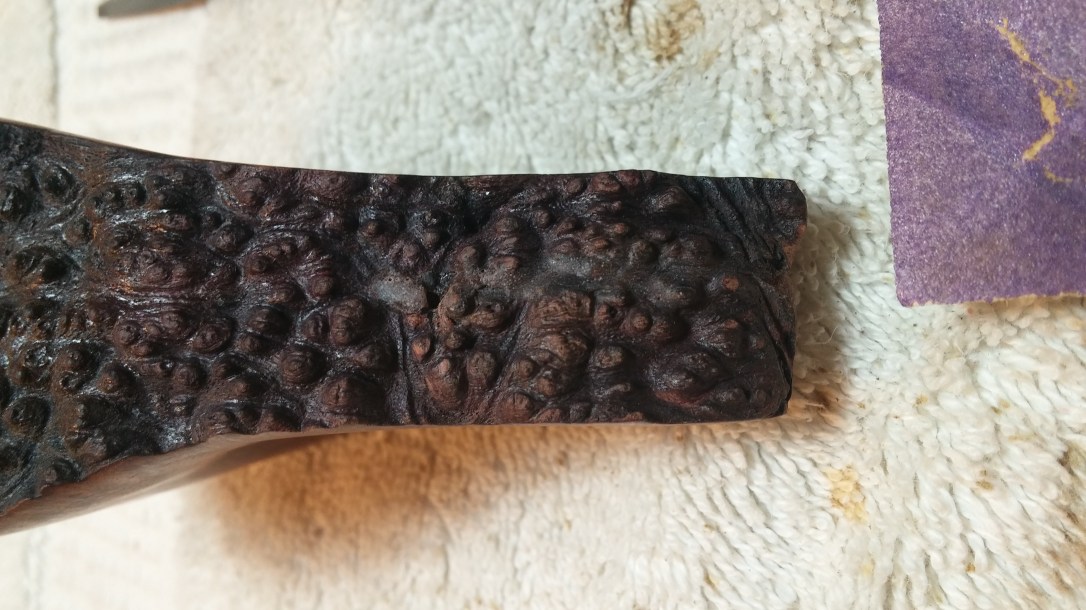
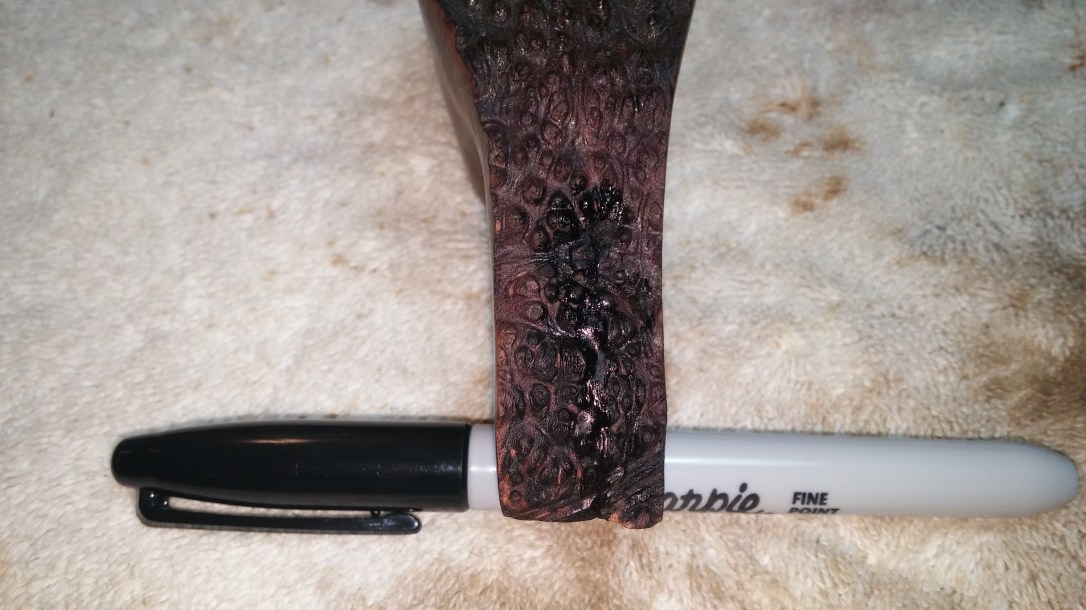
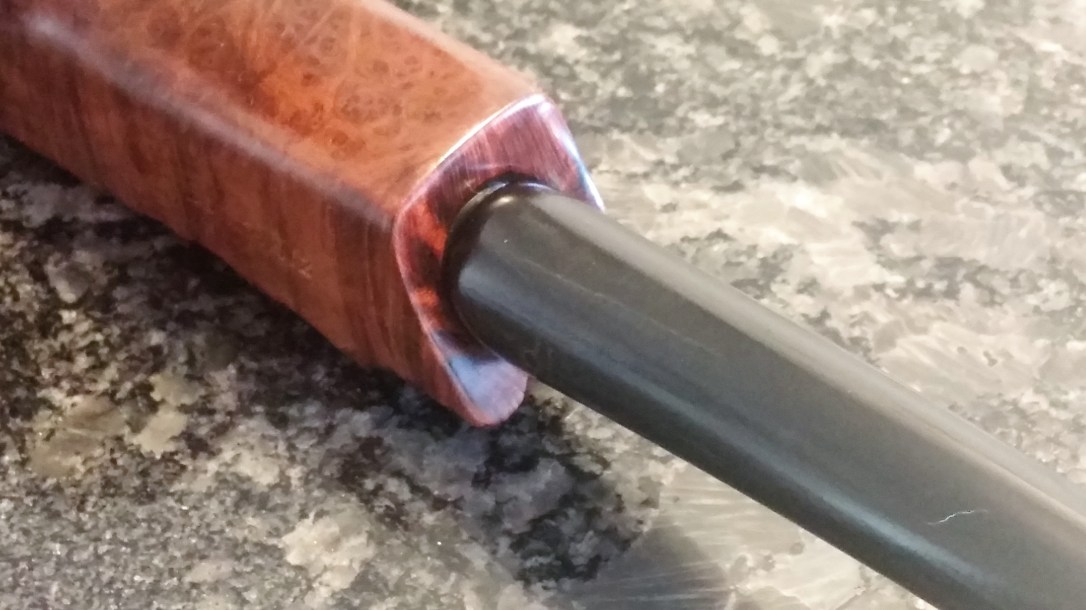
This shot without the flash shows more details of the crack from the mortise end of the pipe. It looks like a small wedge of briar had also fallen out. Turning the pipe over, the crack is easy to see, snaking its way down the plateau briar. It was quite long, perhaps an inch and a half in length.


Shank cracks are often caused by a moment of carelessness when removing or replacing the stem. Accidental outward pressure on the mortise walls can easily crack the thin briar here. In this case, however, I am fairly certain that the crack follows a natural weak spot in the briar – a San Andreas Fault, if you will, creeping through the plateau. The stress of repeated expansion and contraction of the briar through use was probably sufficient to pull the briar apart along the line of this natural flaw.
Mulling the damage over in my mind, I began cleaning up the pipe, starting with a wipe-down with alcohol on cotton pads. This removed the tarry film from the rim of the bowl as well as the grease, dirt and old wax that had been obscuring the grain on the stummel. I then reamed the tobacco chamber with my Castleford reamer, finishing off with a light sanding of the chamber walls. The pipe’s appearance was already much improved at this stage.


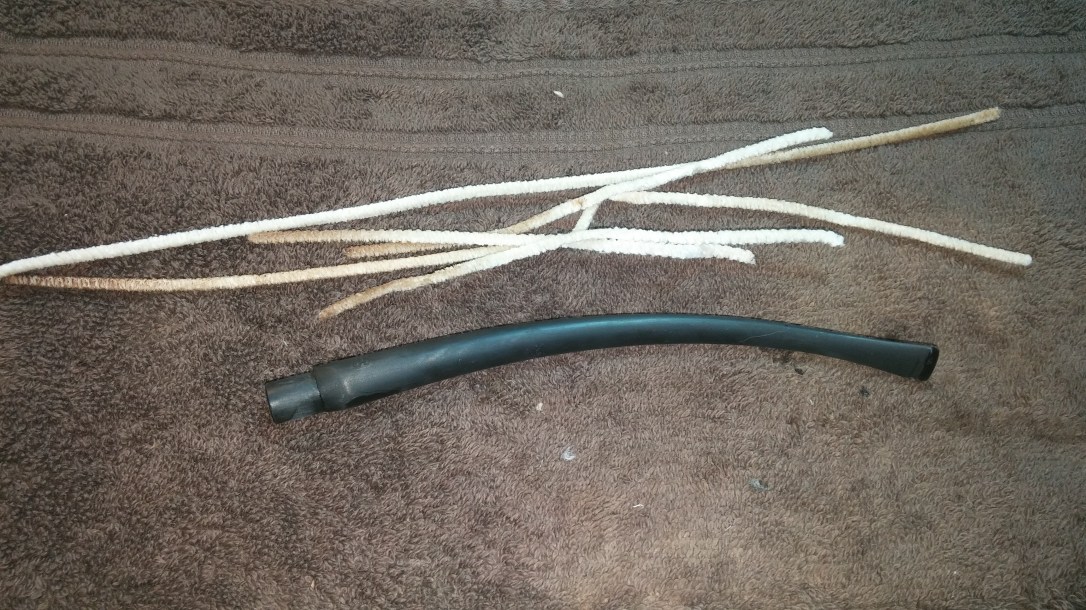
I completed the preliminary cleaning of the stummel by clearing the accumulated tars and debris from the shank and airway. I used quite a pile of pipe cleaners, cotton swabs and alcohol to get the job done.
A bristle shank brush helped considerably here, as it has more scrubbing power than a pipe cleaner. I dipped the brush in alcohol and scrubbed the shank vigorously to loosen things up. Absorbent pipe cleaners and swabs picked up the slurry of dissolved tars.

To finish the stummel cleaning, I gave the briar a salt and alcohol treatment to purge the internals of the more stubborn tars and odors.

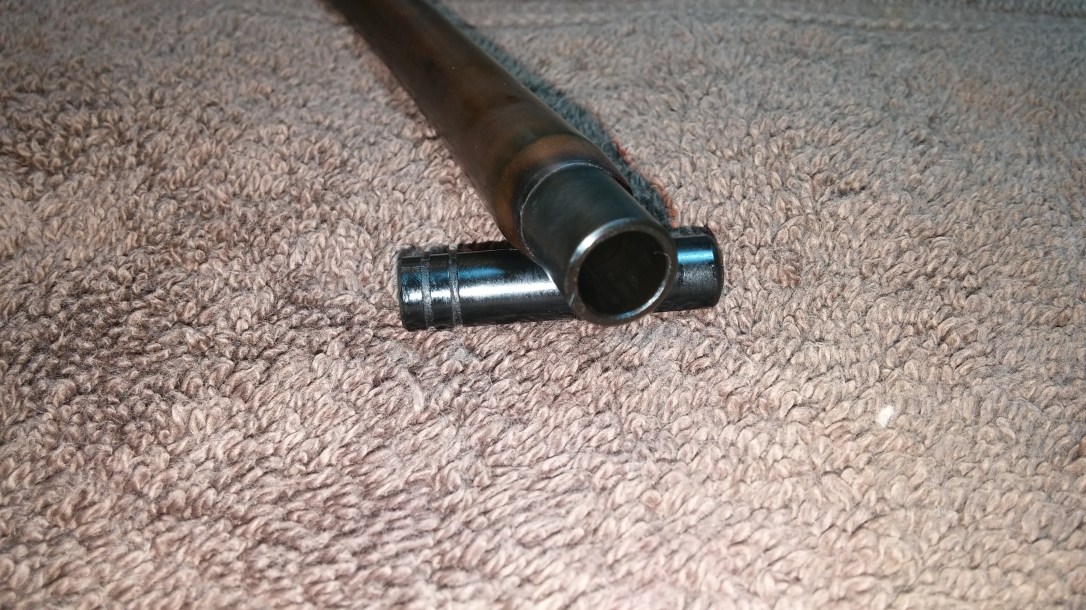
While I had been working on the stummel, the long churchwarden stem had been soaking in a bath of Oxyclean and warm water. As you can see in the pics here, the stem has a wide tenon and airway to accept a 9mm filter, typical of German-made pipes. The pipe’s owner told me he always used an adapter with this pipe, reducing the 9mm airway to the standard, non-filtered 3mm diamter. These facts would prove to be the keys to completing this repair.

When the stem had soaked long enough, I pulled it from the bath and scrubbed away the oxidation with a piece of Magic Eraser and then cleaned the internals with extra-long pipe cleaners and alcohol.
With the pipe clean, I could start work on the repairs. I began with the exterior crack running through the plateau on the bottom of the stummel. I traced the crack to its end and drilled a tiny hole there to stop the crack from creeping further down the stummel.
Then I mixed CA glue and briar dust and filled the crack, dripping the patch mix off the end of a toothpick. I let the glue fall where it may to create random lumps and hollows. I didn’t want to draw a straight line down the plateau that would stand out afterwards.

When the glue had cured, I used needle files to shape the patch, blending the repair into the surrounding plateau briar. I used a brass tire brush to smooth the rough edges and take the shine off the glue.

To push the repair further into the background, I scribbled over the patch with a black Sharpie marker. I let the marker dry and then applied a relatively thick coat of Fiebing’s Black leather dye to the entire plateau surface.

The easy part of this repair was now complete, but I still had to take steps to prevent the crack from reopening down the line. I decided to splint the shank internally, in a fashion similar to that I’ve used to reinforce worn horn shank extensions in the past.
Below is a pic of just such a repair I performed on a Stanwell Brazilia pipe. The factory mortise insert had broken and fallen out, and the horn shank extension was in rough shape where the insert had been. Repeated attempts to jam the stem into the horn had led to a crack down the side of the extension. I mended things by drilling out the damaged horn and gluing in a section of brass tubing to act as a new mortise and to prevent the horn from splitting again.
That was my game plan, but then a bit of math and the disparities between Metric and Imperial measurements got in the way.
Part of my problem was an inability to source tubing with a 10.5mm internal diameter to match the outside diameter of the 9mm filter tenon. The other confounding factor was the thickness (or indeed lack thereof) of the mortise walls at the end of the pipe’s shank. There simply wasn’t enough material to confidently drill out the mortise without damaging the remaining briar or making the mortise walls uncomfortably thin.
I was mulling the problem over, considering possible solutions and discarding them in turn, when I realized the answer had quite literally been in front of me the entire time. I already HAD a piece of tubing that fit the existing mortise perfectly- the 9mm tenon on the pipe’s stem. The other shoe dropped when I remembered that the pipe’s owner never used a filter with this pipe.
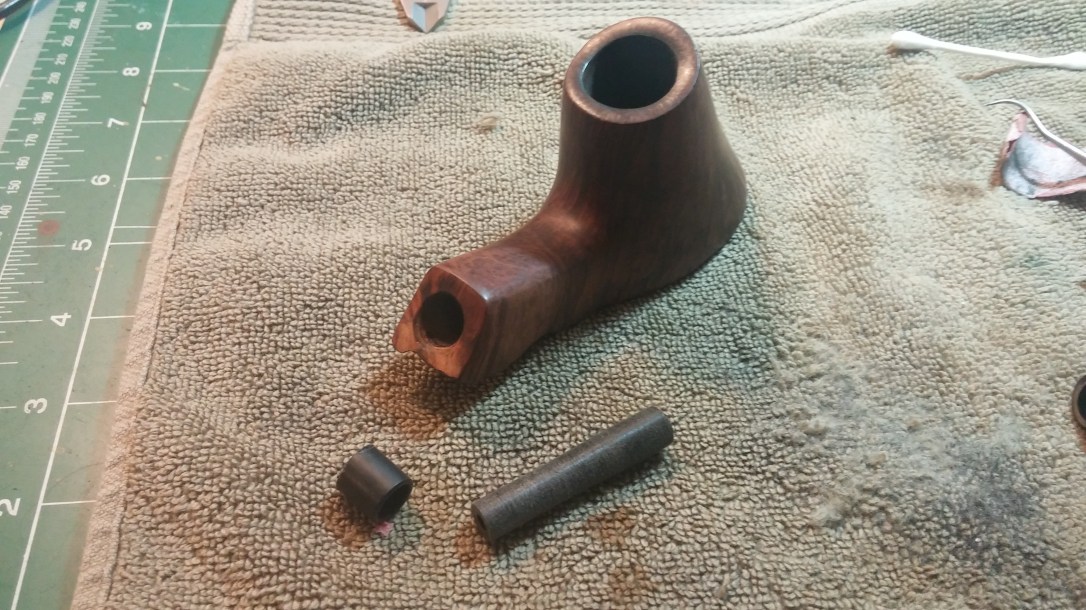
After this epiphany, my repair plan came together quickly. I would cannibalize the tenon from the churchwarden stem to reinforce the shank repair from inside the mortise, and then refit the stem with a non-filter tenon.
With renewed energy (and a quick prayer to the Pipe Gods), I took the one and only stem for this pipe to the workbench and sliced off the tenon with a hacksaw. No going back now!

I made the new tenon from scratch, using a piece of 3/8” diameter Delrin rod. I drilled a 5/64” airway through the rod, and then spent a fair amount of time sanding the rod down to fit the internal diameter of the mortise splint. In all, I had to reduce the tenon by only about 1.2mm in diameter, but Delrin being so darned sturdy, this task took me almost an hour of work with files and sandpapers. I really should consider investing in a tenon turning tool!
In the end, though, I had all the components I needed to complete the operation – the repaired pipe shank, the mortise insert and the new tenon. I dry-fit the parts several times to ensure I could get everything into place and then glued the mortise insert into the end of the shank with a bit of JB Weld.
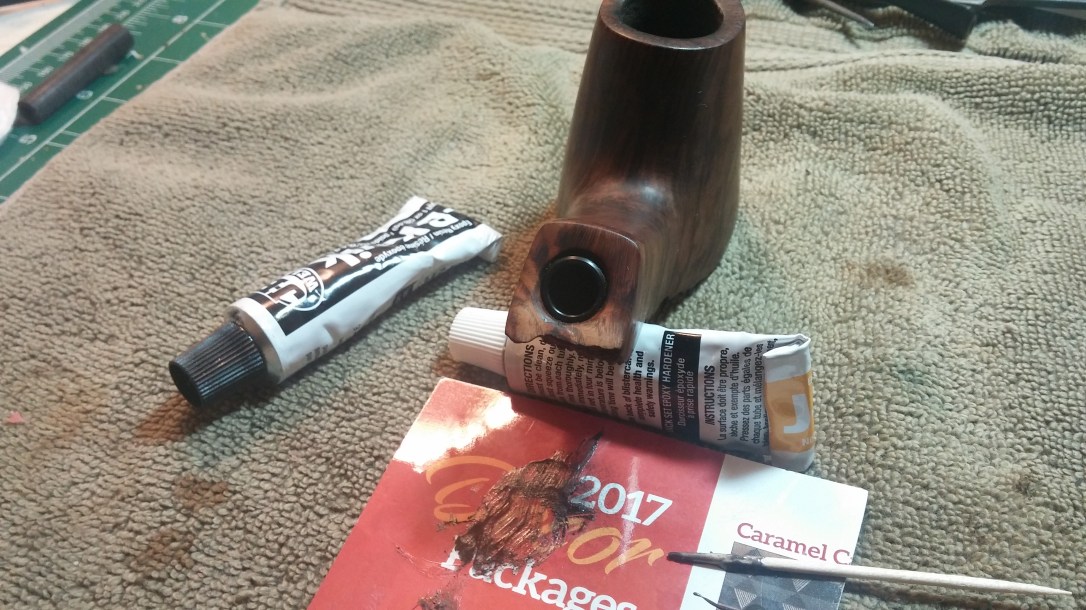
The new tenon was likewise glued with JB Weld, seating nicely inside what used to be the 9mm filter housing inside the stem.

After the epoxy had fully cured, I spent a short amount of time tweaking the stem fit before sitting back to admire the reunited pipe.
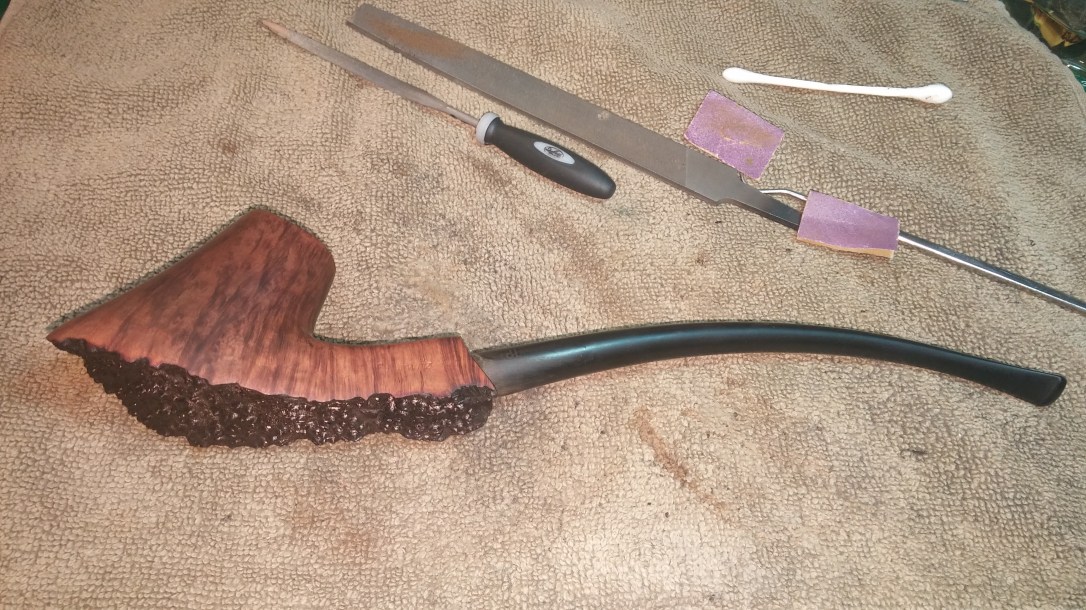
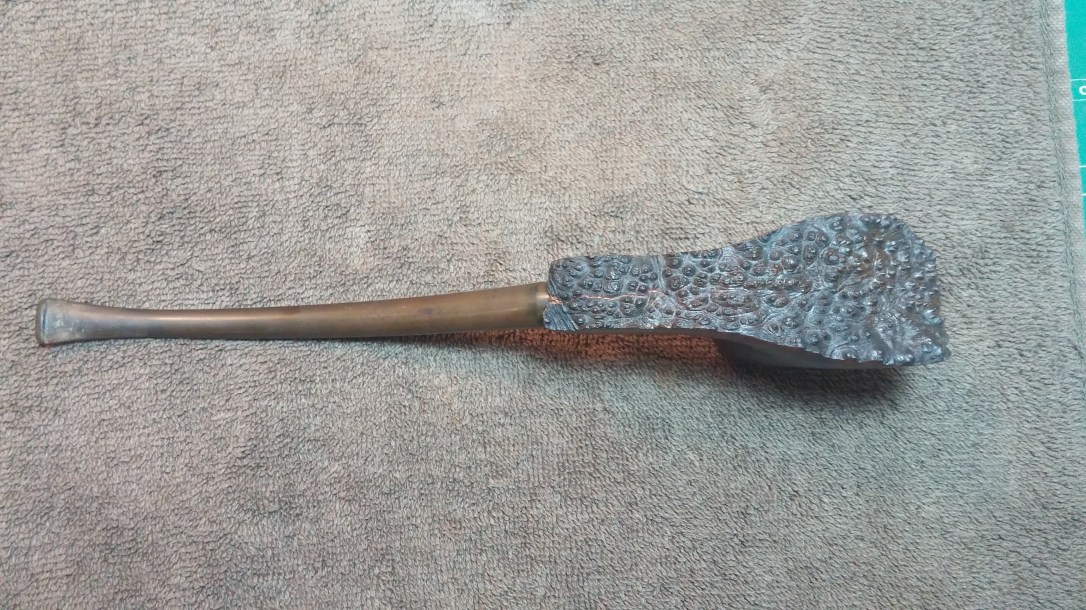
All that was left to do was to give the pipe a final buff and polish on the wheel. A bit of White Diamond compound smoothed out the last traces of my recent work, and several coats of Carnauba wax gave briar and stem a deep shine and brought out the best in the grain.
This was a challenging but rewarding repair; I’m glad I had the opportunity to do it. This beautiful Design Berlin Shirwitz Volcano Churchwarden has already been reunited with its owner, who reports that the pipe looks great and smokes beautifully. What more could I ask for?
Thanks for joining me. It’s not often I end up repairing a pipe using its own parts! Apart from that novelty, this job certainly highlighted for me the need for patience, creativity and a steady hand when faced with unusual problems.
Here’s the finished pipe. Until next time, Happy Piping!


Reblogged this on rebornpipes and commented:
Creative solution to a knotty problem on this cracked shank that was plateau briar. Well done Charles
LikeLiked by 1 person
Thanks Steve. The solution was almost elegantly simple once I (finally) hit on it. 😀
LikeLiked by 1 person