
The Brigham Shape 18 Pear is quickly becoming one of my favourites; my very first pipe purchase back in university was a 2 Dot Pear, and it’s still in my rack and regular rotation. I’ve since added a 118, the restoration of which I’ve written about here, and now this 4-Dot version.
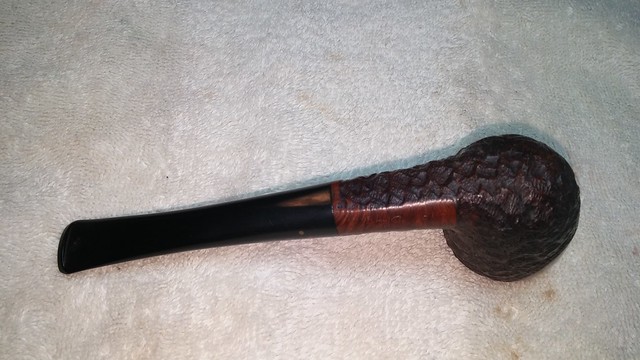
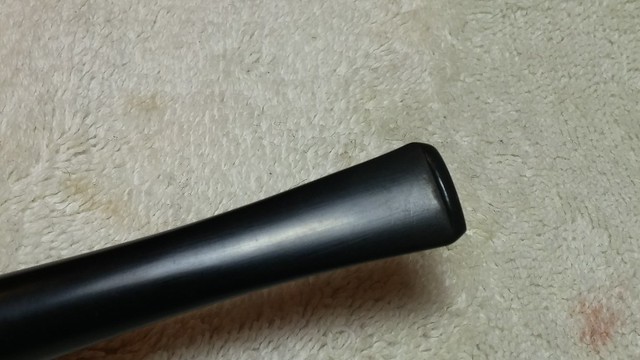
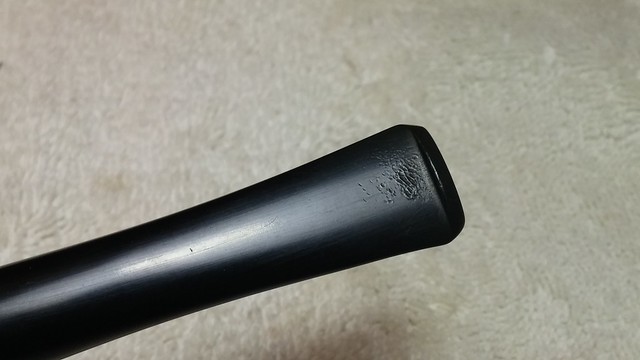
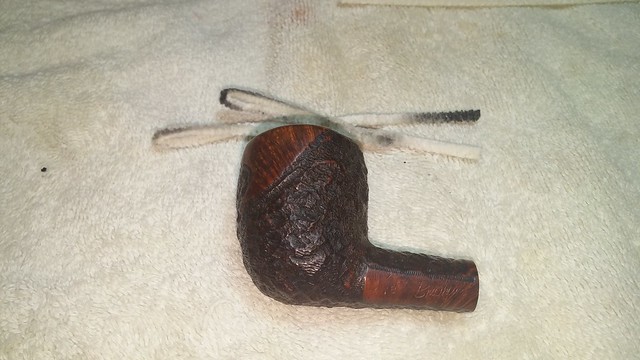
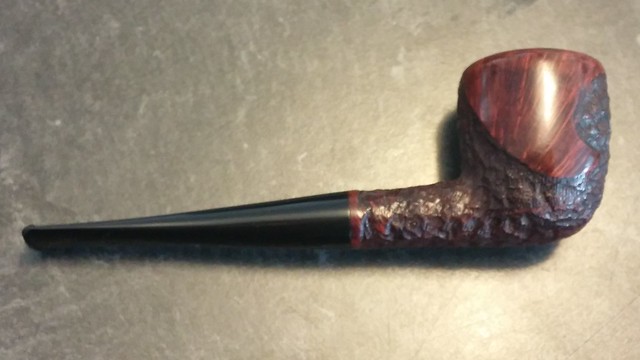
The pipe arrived in good estate condition, like the rest of this estate lot. It showed rather well at first glance. There was a light crust of lava covering the right rear half of the smooth rim, which I hoped was not hiding any scorched briar underneath. There was a light cake in the bowl, but the stem was nearly pristine, showing only a light bit of tooth chatter. The exterior of the stummel was in great condition.
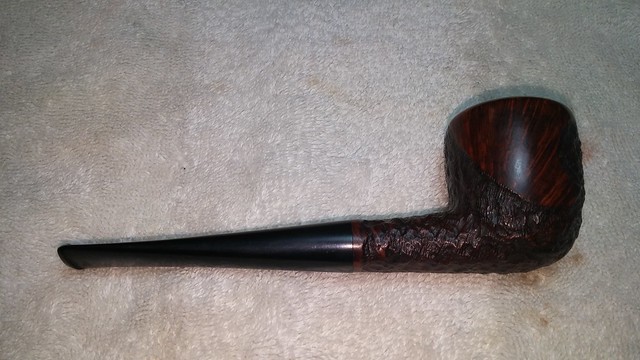

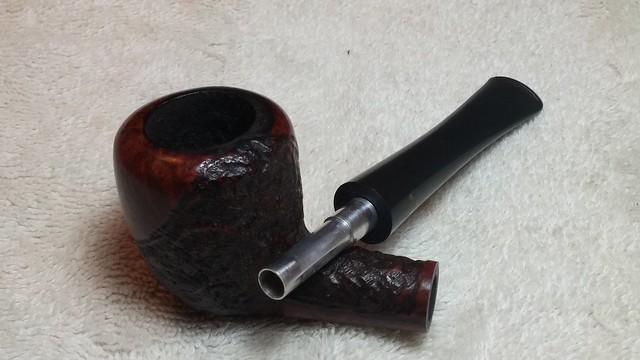
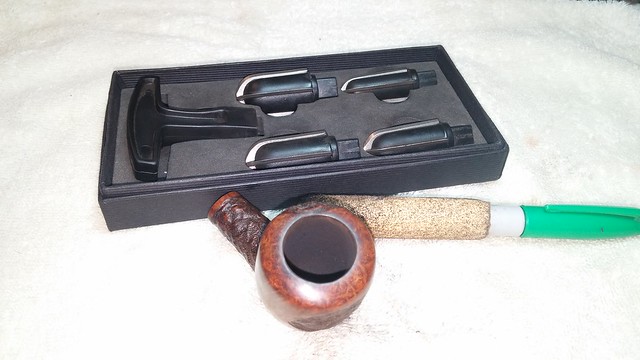
This pipe is a bit different than the other Brigham Pears I’ve worked on. Not only is it a few steps up the quality ladder as a 4 Dot, but it has also been rusticated slightly “off pattern” for a Brigham.
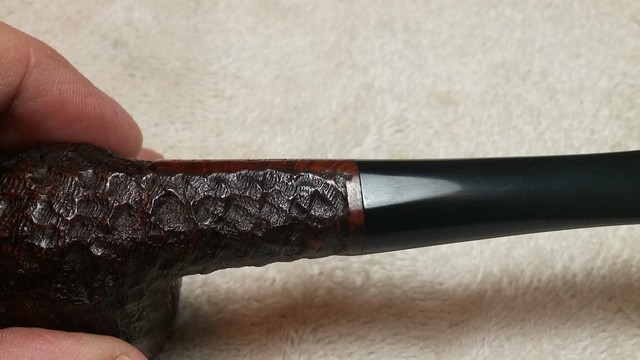
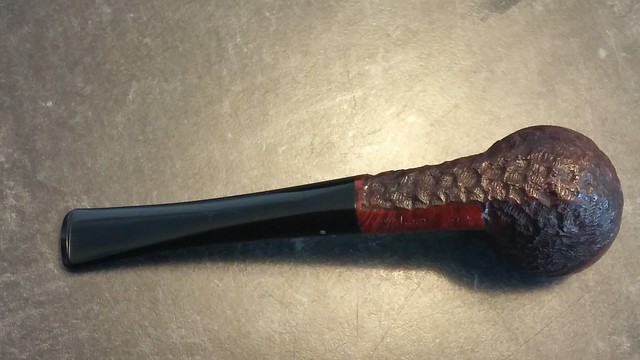
All rusticated Brigham pipes have a smooth spot on the stummel to give the factory somewhere to place the stamps. On most pipes, this flat spot is on the bottom of the stummel, which also conveniently allows the pipe to sit upright on a flat surface.
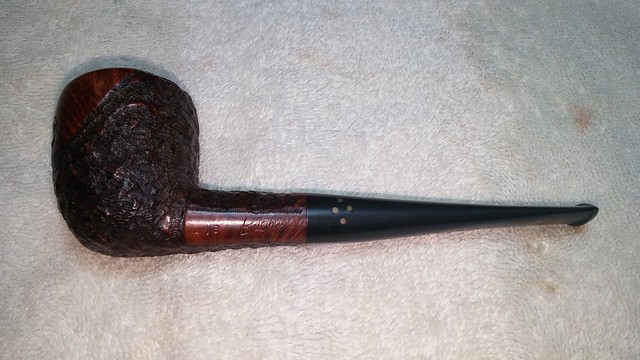
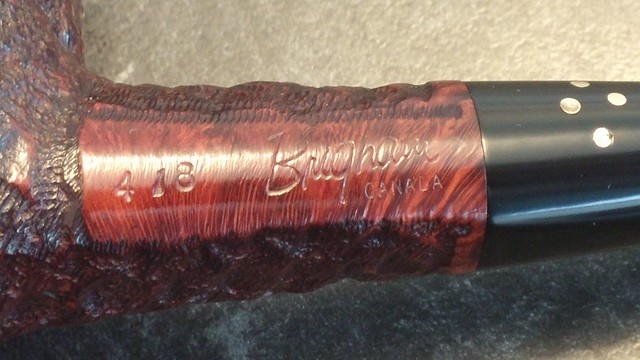
This 418 Pear has the flattened bottom, but it has been rusticated. The stamps, which read “418” then “Brigham” over “Canada”, have been positioned on the left flank of the stummel inside a rectangle of smooth briar. Despite the rough bottom surface, the pipe still sits quite securely on the table with its bowl upright.

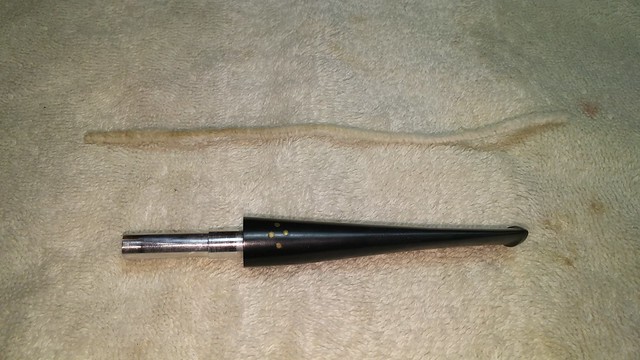
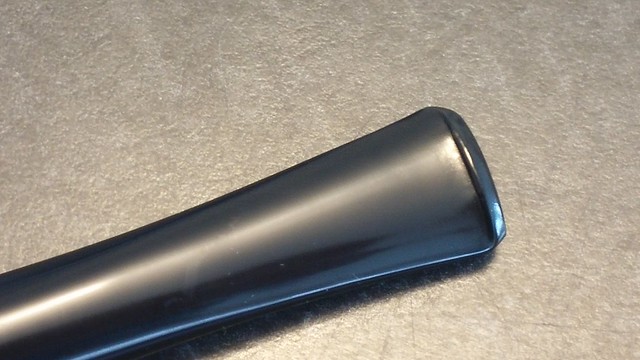
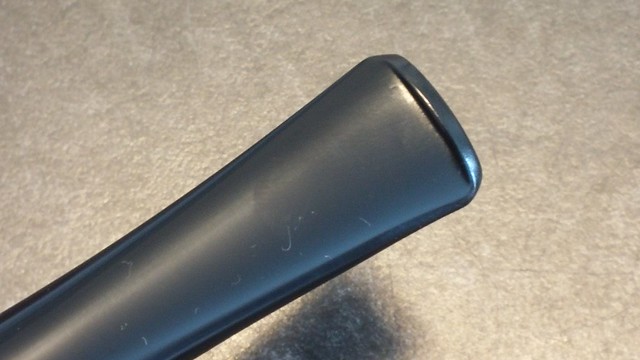
An experimental pipe cleaner dipped in alcohol proved that the airway through the pipe stem was already very clean. With little other work necessary, I set the stem aside to focus on the stummel.
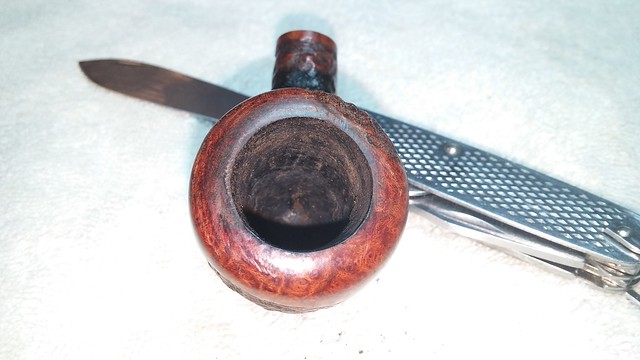
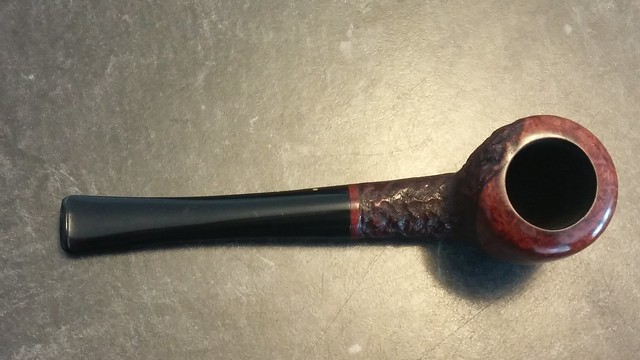
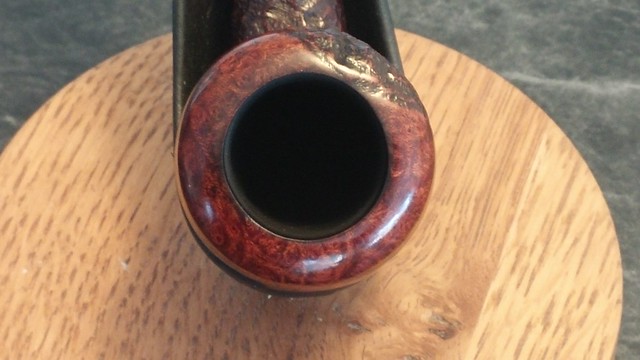
I used my pen knife to carefully scrape the worst of the lava crust off the rim of the bowl, making sure not to gouge the rounded rim surface in the process. A scrub with 0000 steel wool removed the remaining tars. Much to my relief, the rim was in excellent condition.

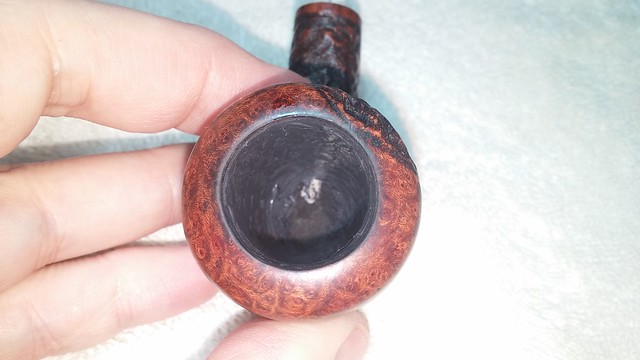
Moving to the tobacco chamber, I reamed the old cake out with a combination of my Castleford reamer and sandpaper wrapped around a Sharpie marker. I had been hoping to find the chamber in good condition like the rim, but my luck ran out – the chamber walls were riddled with heat fissures.
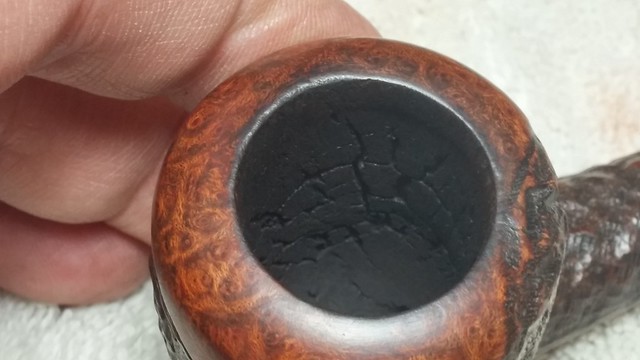

Heat fissures are the result of overheating the briar while smoking the pipe, and by the looks of it, this pipe’s previous owner puffed his pipe like a steam train. Small, tight fissures are really nothing to worry about as such, but you can see in the pictures that these fissures crisscrossed the chamber walls with pits forming at the intersection points. Left untreated, the bowl would eventually burn out.
Before tackling the chamber repair, I made sure that the mortise and airway were clean. A few pipe cleaners and alcohol tidied up the small amount of dust in the stummel’s internals. Apparently the previous owner cleaned the pipe before retiring it.
I have come across instances where heat fissures and charred briar like this pipe exhibited have been reamed out of the bowl, essentially carving away the damaged material. I don’t particularly care for this approach, as it thins the chamber walls, increasing the chance of future damage, while also altering the factory specs of the bowl.
My preferred method for repairing heat fissures is to fill the cracks and apply a bowl coating to encourage the formation of a new protective layer of carbon cake. If the damage is light, a layer of pipe mud made from cigar ash and water may be all that’s needed to get the pipe back in fighting form. In this case, however, the fissures are extensive and quite deep in places, so I chose to fill the damaged areas with JB Weld.
JB Weld is a highly heat resistant, steel reinforced epoxy that is completely inert when cured, so it is a safe and highly effective choice for pipe repairs in and around the tobacco chamber. I have even used it to successfully fill and re-drill a burned out draft hole, the area in the tobacco chamber most susceptible to heat damage.
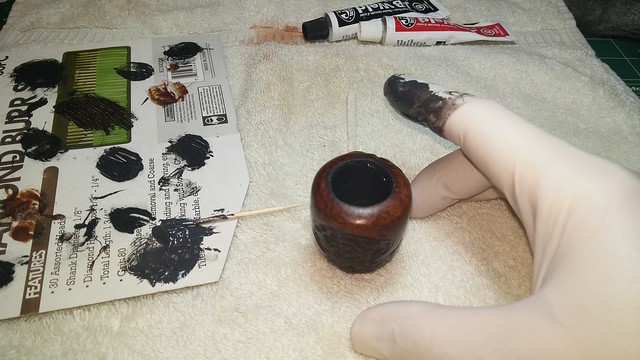
To begin the chamber repair, I mixed up a small batch of JB and smeared it around the entire tobacco chamber, pushing it into the fissures with my finger. Note both the disposable gloves and the pipe cleaner in the airway. You do not want JB under your fingernails or plugging up the pipe’s draft hole.
I set the stummel aside overnight to allow the JB Weld to cure before sanding away the excess epoxy, leaving it only in the heat fissures. It looks like there’s a road map in there!

To finish up this repair, I applied a bowl coating of maple syrup and activated charcoal powder. Somehow I failed to photograph this process, but regular readers know I’ve documented it several times on the blog. It’s a simple enough task, and the dried coating is a deep black colour with just a hint of grittiness – just what you need to cover the JB Weld and encourage new cake.
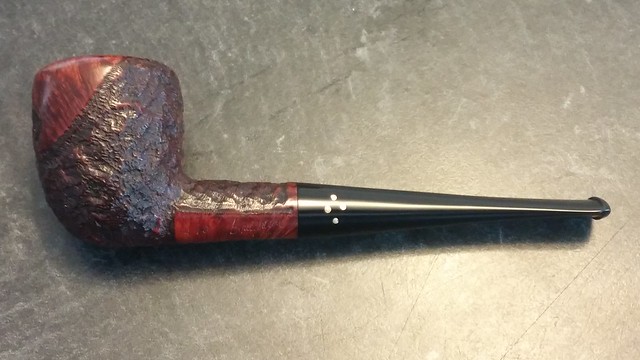
With the bowl coating cured, I took the pipe to the buffer. I used both red and white buffing compounds to smooth out the light tooth chatter on the stem and bring up the shine. The stummel got a run of white compound only and then the entire pipe was spruced up with several coats of Carnauba wax to shine and protect.
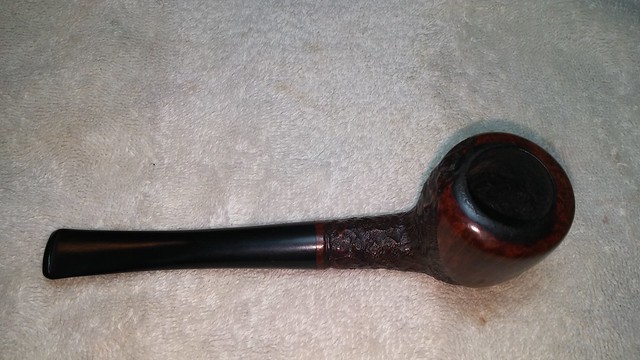
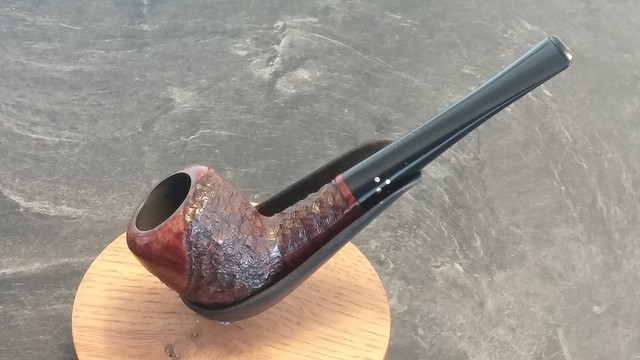
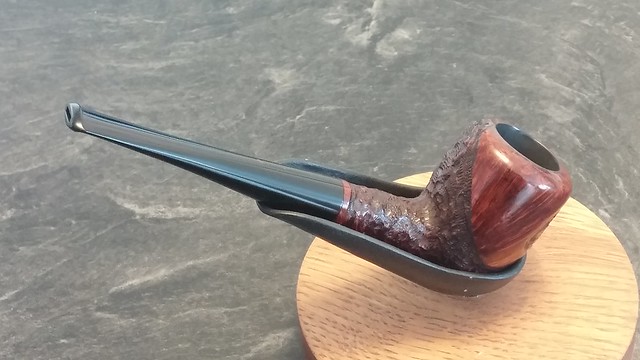
This Brigham 418 Pear is fully rehabilitated and ready to provide years of faithful smoking companionship. I had originally intended to put it up for sale on the DadsPipes Store, but most of you won’t be surprised when I say I’ve decided to add it to my own rack. Maybe I’ll eventually gather enough Shape 18 pipes to make a seven-day set of Brigham Pears!
Thanks for joining me for (yet another) Brigham pipes post. I’m beginning to think the pipes are finding me now instead of the other way around!
Here’s the finished pipe, and until next time, Happy Piping!

Reblogged this on rebornpipes and commented:
Charles illustrates one method for handling fissures in the interior walls of the bowl. He does it very well.
LikeLiked by 1 person
Thanks Steve!
LikeLike
nice work!
LikeLiked by 1 person
Very nice work Charles.
Will that happen to a Meer Lined bowl as well? I’m working on one now that is cracked like that (only worse). I was thinking maybe it was damaged because of someone be careless banging it against something. Maybe it was just smoked too hot. I had been smoked pretty heavily.
LikeLiked by 1 person
I’ve not heard of a meer liner fissuring before but that doesn’t rule out the possibility. A lot of linings are pressed meer, which is inherently softer than block meerschaum, and thus more susceptible to damage.
LikeLike