
I picked up this Hardcastle’s Royal Windsor pipe in a small lot of estates sometime last year and it has been waiting patiently in my refurb box since then; in fact, I’d forgotten it was even there! When I rediscovered it, I brought it to the worktable for a good look.
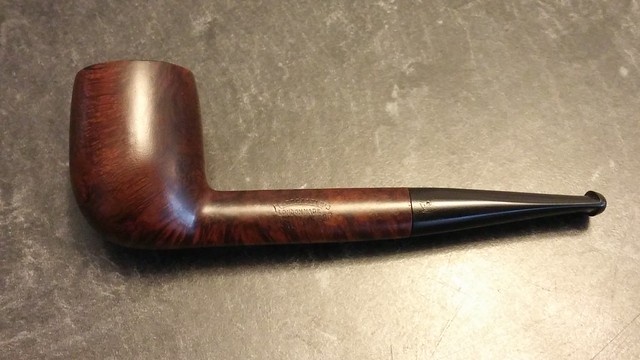
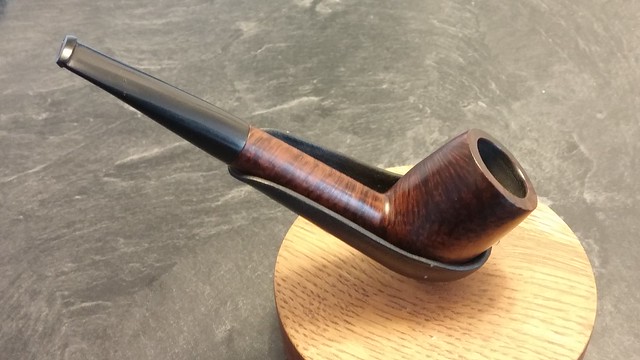
I’ve called this shape a Liverpool, as it features a relatively long, round shank and a relatively short tapered bit. I’m hedging a bit here (relatively), as, for me anyway, the pipe seems stuck between a classic Billiard and a typical Liverpool. The shank isn’t quite as long, and the bit isn’t quite as short, as a “standard” Liverpool shape (think of a Canadian shape without the oval shank), but at the same time, the proportions are somewhat outside those of a classic Billiard, especially considering this pipe’s English heritage. If anyone has strong arguments in favour of the Billiard classification, please do share; I am far from infallible on pipe shape identification.
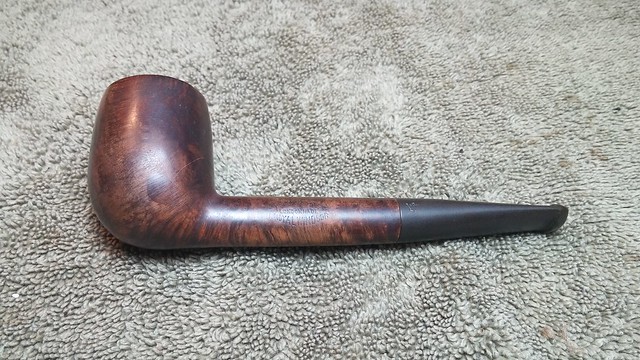
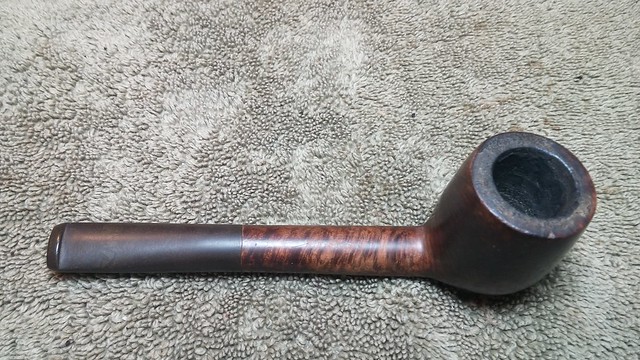
At any rate, the pipe on the worktable was an interesting, if somewhat difficult to define. For what it’s worth, I found it attractive, as did the previous owner, judging by the heavy cake in the chamber. The rim surface was hidden under a crust of lava, though several dents and dings were evident around the outside edge.
There were a few light scratches on the bowl itself, though the shank and stem looked good under their layer of dirt and grime. The underside of the stem had several deep tooth marks which would need to be addressed.


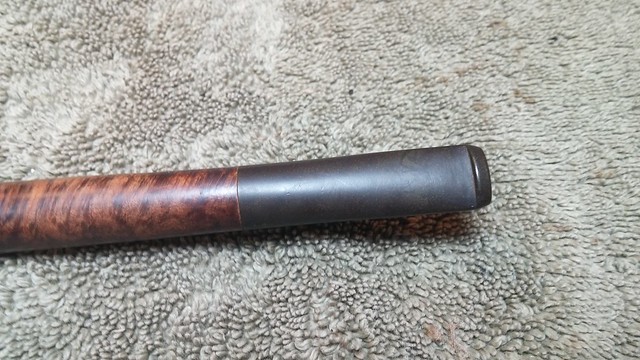

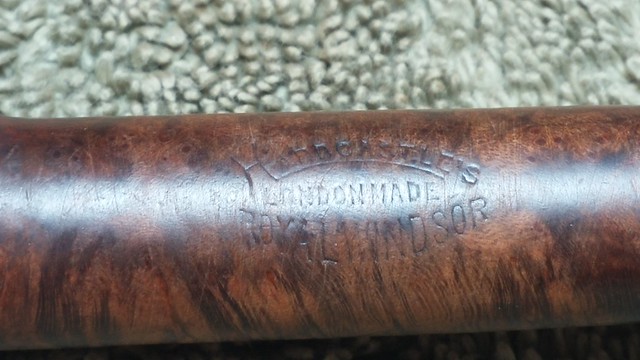
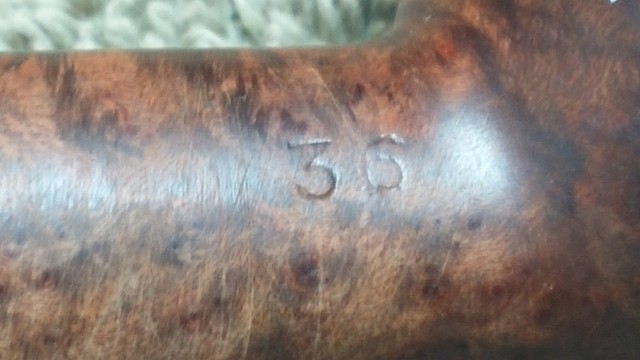
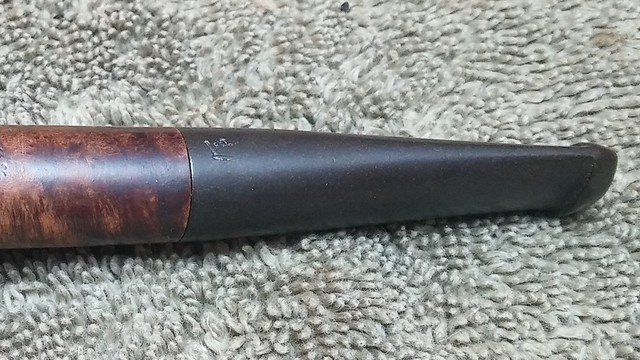
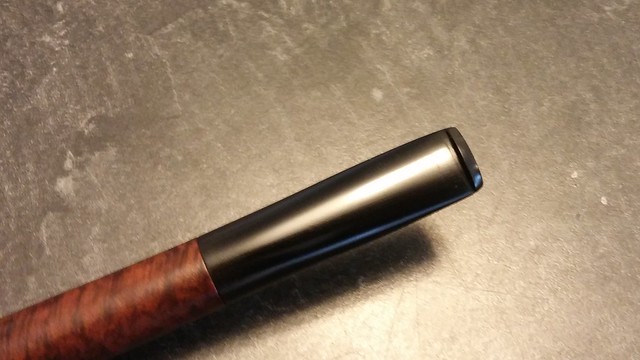
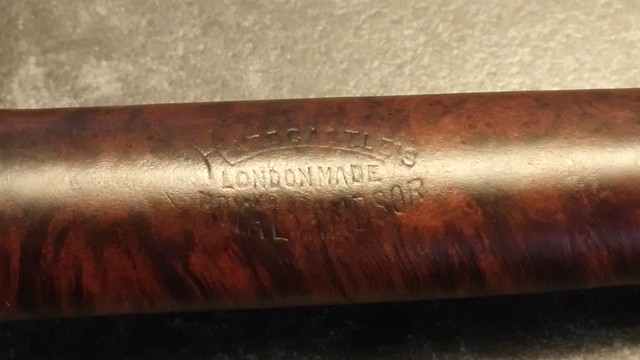
The left side of the pipe shank was stamped “Hardcastle’s” over “London Made” over “Royal Windsor” in the typical Hardcastle “football” shape. The right shank was marked with a shape number, “36”, and the stem bore the remains of a Crown stamp, which Hardcastle used on the Royal Windsor line as well as their Royal Crown, Royal Bruyere and Oxford pipes.
I came up empty on a search for this pipe’s production era. Both Pipedia and Pipephil list the “Royal Windsor Sandhewn” as a Hardcastle Family Era (Pre-Dunhill) pipe series, but the Sandhewn line is a blasted finish, not smooth like this Royal Windsor.
The Crown stamp on the stem is also upright, unlike the Crown on the Royal Windsor Sandhewn example on Pipephil, which is turned 90 degrees to the left (ie with the top of the crown towards the face of the stem). The upright Crown stamp on my Hardcastle looks more like those on the Royal Crown, Royal Bruyere and Oxford pipes, which presumably are Hardcastle seconds.
I have been unable to find a list of Hardcastle pipe brands after Dunhill took over in 1946, so while I believe the Royal Windsor in front of me here is older than the 1967 merger of Hardcastle and Parker pipes, I can’t say for certain just how old, or whether it was produced by the Hardcastle family or by Dunhill.
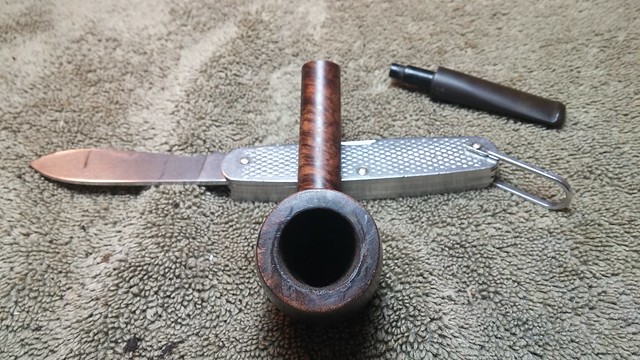
Moving on to the actual refurbishment, I began tidying up the pipe by carefully scraping away the lava built up on the rim. I used my old army-issue jack knife, held perpendicular to the rim, to clear away the worst of the grime. Thankfully I found no surprises under the lava.
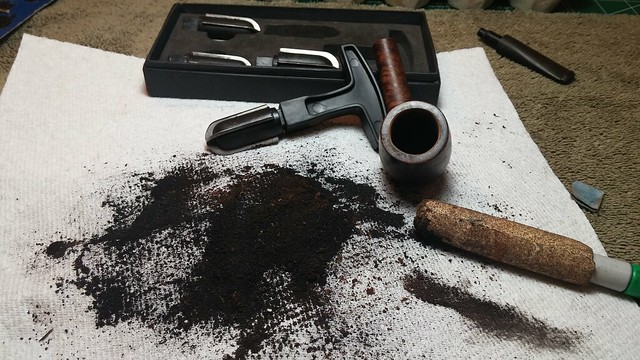
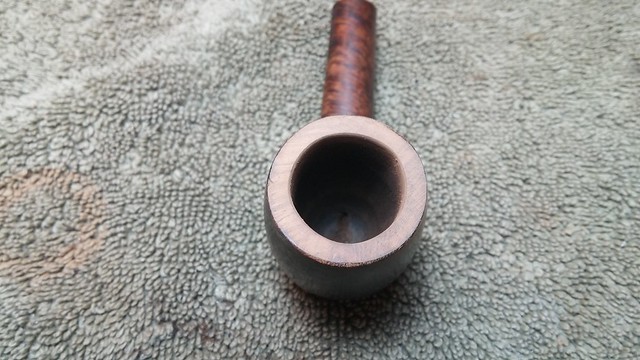
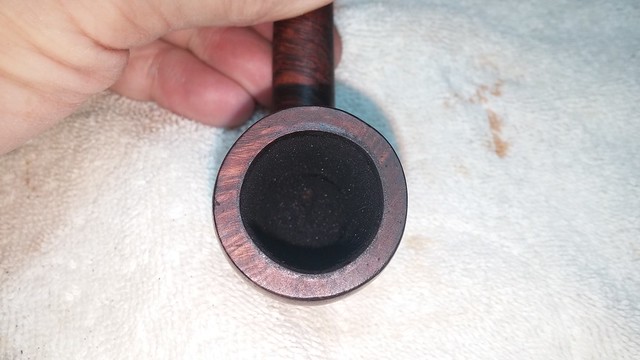
I reamed the chamber, removing a fair bit of carbon cake with my Castleford reamer followed by 80-grit sandpaper wrapped around a marker. The cake had done its job here – there were no burnouts or heat fissures to worry about in the chamber.
A light topping on 320-grit paper removed the last of the tars and lava from the rim and tidied up most of the other scratches. You can see in the pic below I had to go back and clean up a bit of “road rash” on the front edge of the rim.
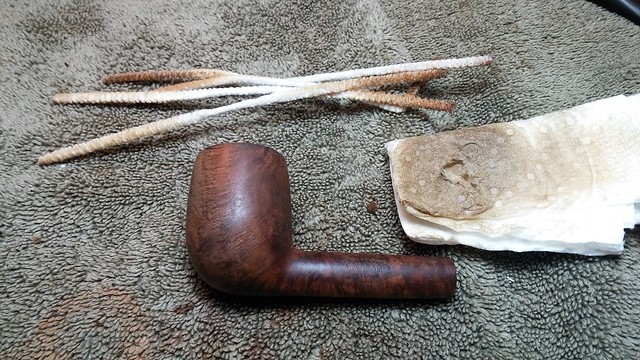
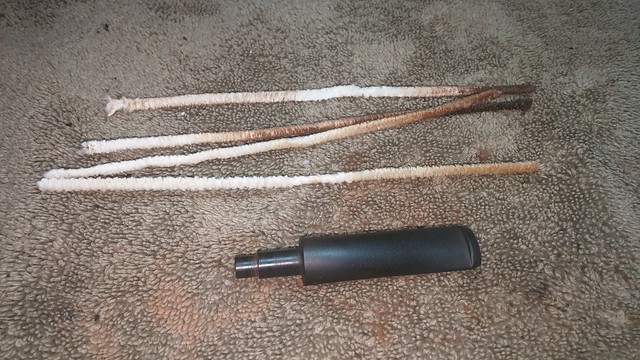
The internals of the stummel were remarkably clean, especially considering the copious cake in the bowl. I only used a few pipe cleaners dipped in alcohol to make sure the airway was clean.
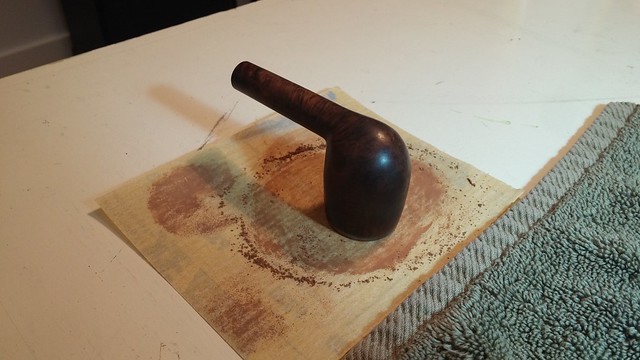
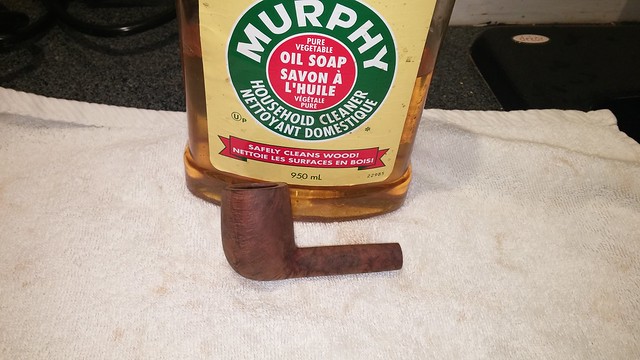
I wiped the outside of the stummel with alcohol on a cotton pad to remove years of surface dust and old wax. The grain is starting to make itself known. I finished the stummel cleaning with a scrub with Murphy’s Oil Soap to strip the remaining wax and lift the more stubborn dirt from the briar.
I set the stummel aside to rest and dropped the stem into a bath of Oxyclean and warm water overnight. When I came back to the stem, the bath had raised the oxidation to the surface where it was easily removed with 0000 steel wool and Magic Eraser. The soak had also softened the tars inside the stem, which came away with just a few pipe cleaners and alcohol.

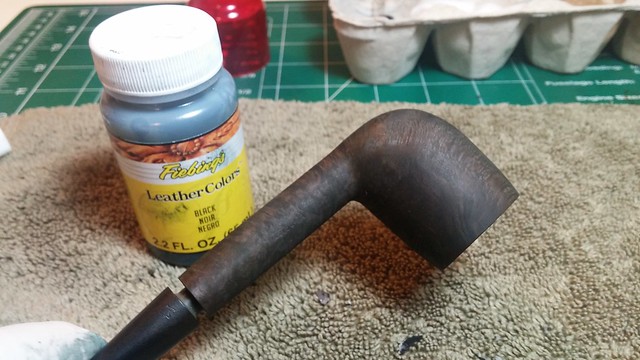
Moving back to the stummel, I gave the briar a quick polish with 0000 steel wool to smooth out the minor surface scratches before applying a coat of Fiebing’s Black Leather Dye. I let the stain dry and then removed most of it, leaving the black colour only in the softer grain.
Because I use water-based dye instead of aniline (alcohol-based) dye, this is an easy process. I simply wipe the briar gently with wet steel wool and dip it under running water to wash away the surface colour. These pics show the stummel with the black dye coat, and again after removing most of the colour. You can see how the dark stain really brings the grain out.
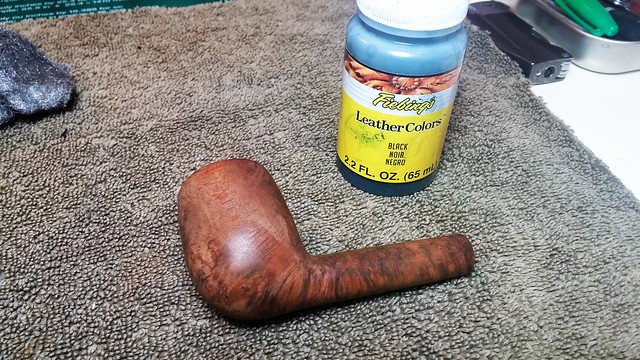
To retain the traditional look of this English pipe, I finished the briar with a wash coat of diluted Dark Brown dye, wiping the wash on with a cotton pad. The diluted dye allows me to dial in the exact depth of colour I want without having to remove excess dye later on.
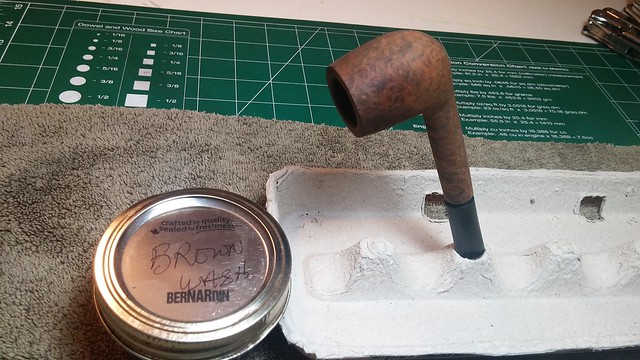
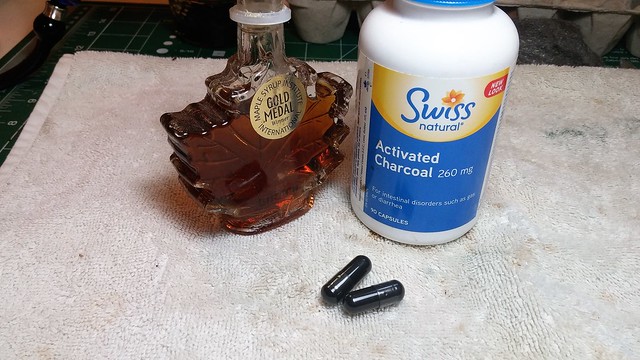
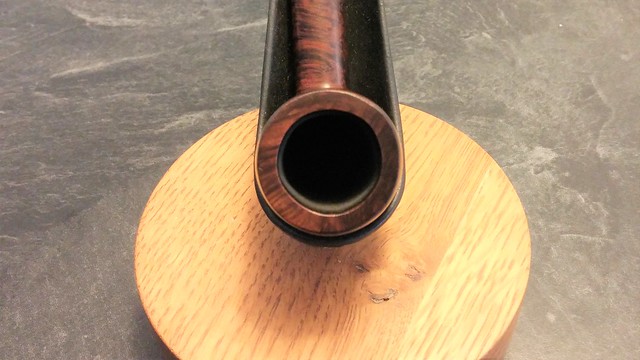
With the exterior of the stummel now looking so sharp, I decided to smarten up the chamber with a bowl coating of maple syrup and activated charcoal powder. With a pipe cleaner in place to avoid blocking the draft hole with charcoal, I wiped an even layer of maple syrup around the entire chamber, walls and floor, before adding two capsules (about 3/4 of a teaspoon) of charcoal to the chamber. I covered the bowl opening with a scrap of cardboard and gave the pipe a good shake for a minute or so to distribute the charcoal around the bowl.
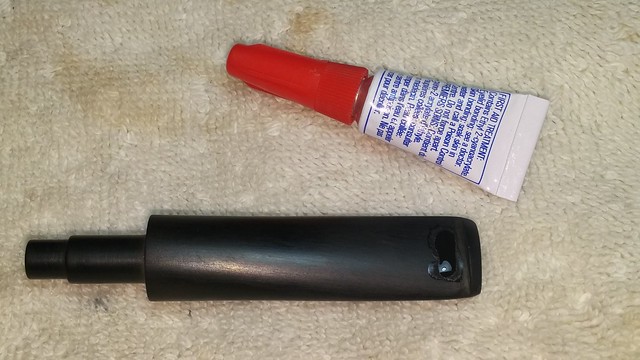
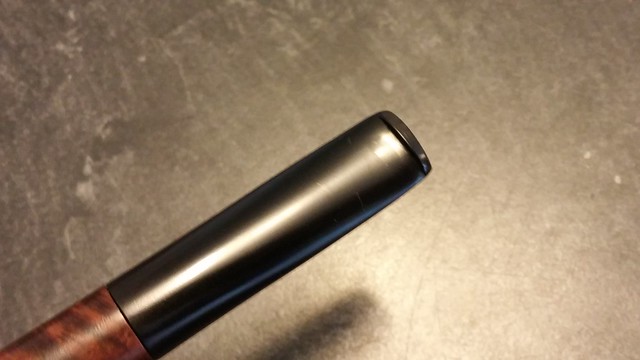
The last remaining task on this restoration was to repair the tooth dents on the underside of the stem. I was able to raise the dents somewhat with heat, and then filled the remaining depressions with clear CA glue. When the glue had cured, I sanded everything smooth with sandpaper and micromesh pads from 220 through 4000 grits.
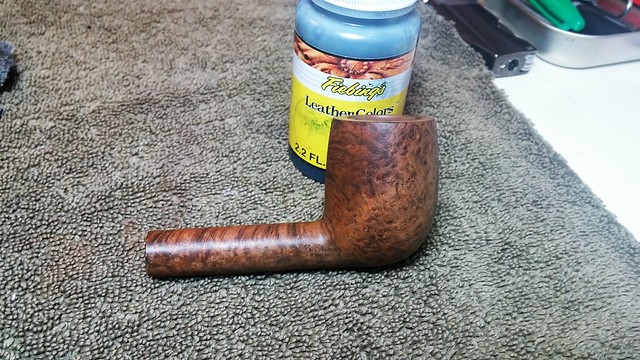
I finished the work on this pipe with a light buffing with White Diamond compound on the wheel followed by several coats of Carnauba wax.
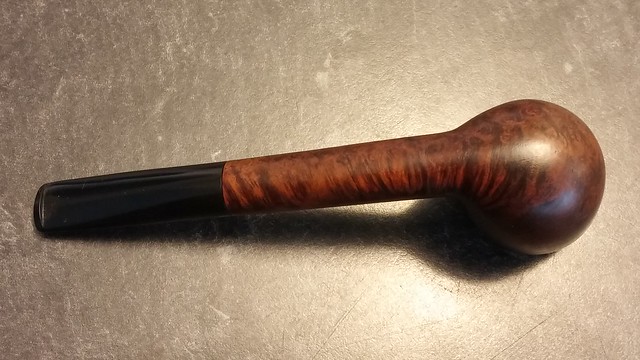
This Hardcastle’s Royal Windsor is once again a sharp-looking, and very classically English, smoking companion, ready to serve a new piper for many years. It is available on the DadsPipes Store now if you’d like to add it to your rack or rotation.
Thanks for joining me on yet another estate pipe restoration. Until next time, Happy Piping!
Here’s the finished pipe.


Now that’s a good looking classic pipe . Love the style and shape!
LikeLiked by 1 person
I went to the store and its gone now . Someone got a nice pipe.
LikeLiked by 1 person
Yes, I’m afraid this one didn’t last long. 😀
LikeLike