
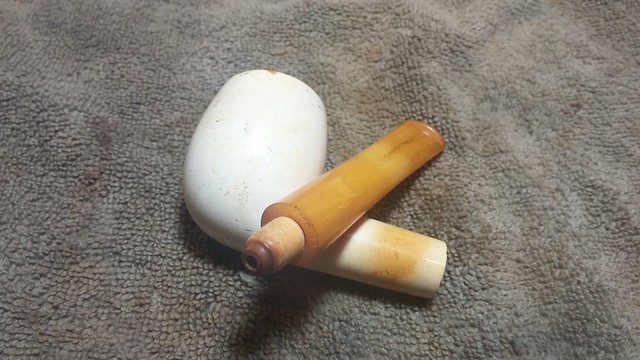
Back in November of last year, I wrote about a meerschaum billiard with a loose bone tenon joint. The threads in the meerschaum shank had worn and the tenon could no longer get a firm grip on the stummel.
My solution at the time was to build up the threads on the tenon with CA glue to tighten up the fit and correct the over-clocked stem alignment.
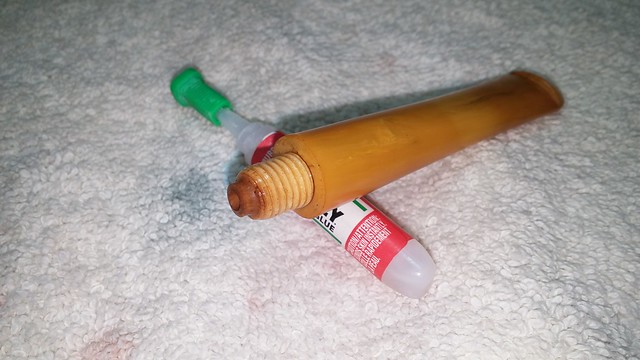
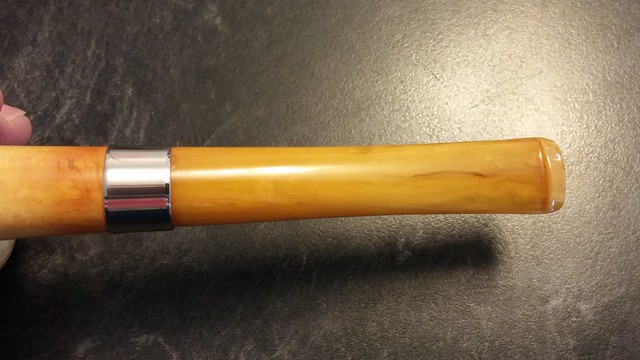
This worked, to a point – right up until I cracked the shank while attempting to screw in a slightly-too-fat tenon. Oops! A shank band corrected my error, and I did manage to get the tenon-to-shank fit right in the end.
Alas, my quick and dirty fix proved to be short-lived. After only a half dozen or so times removing and replacing the stem,the glue and/or the meerschaum threads gave out again. Back to the worktable!
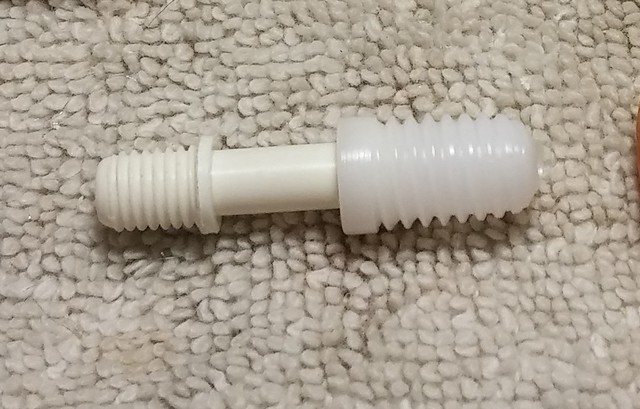
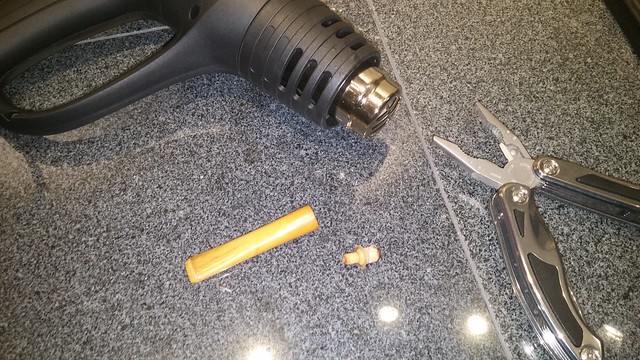
Determined to repair the pipe correctly this time, I included a few push-pull tenon sets in my next parts order from Tim West at JHLowe.com. He sells them in two sizes, 5/16″ and 3/8″. I bought a few of each, and used a 3/8″ set for this pipe. The tenon part of the fitting is on the left and gets fitted into the face of the stem; the fitting on the right is the mortise, and gets installed in the shank of the pipe.
I removed the old bone tenon from the Bakelite stem by heating the stem over my heat gun until the glue holding the tenon in place gave out. I used a pair of pliers to unscrew the tenon without burning my fingers.
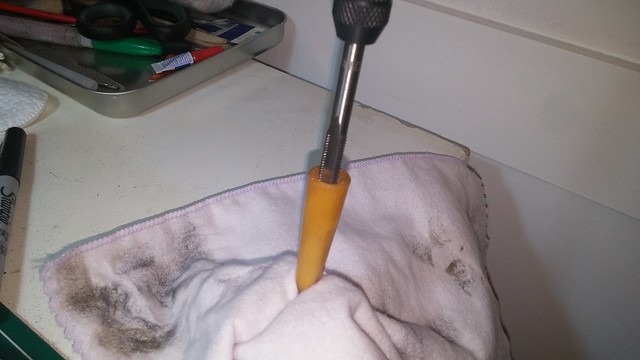
Following the specifications on Tim’s website, I drilled out the end of the stem to 15/64″ and threaded the new bore with a 7mm x 1 tap. The pic below shows the stem clamped in a small vise to keep it steady while I turn the tap by hand. Turning is the easy part – keeping things square is a bit trickier!
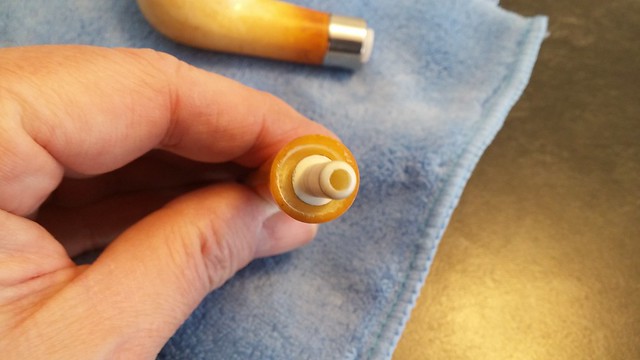
I also drilled a countersink in the end of the stem to allow room for the collar of the shank insert. You can see the “pocket” around the installed tenon in this pic.
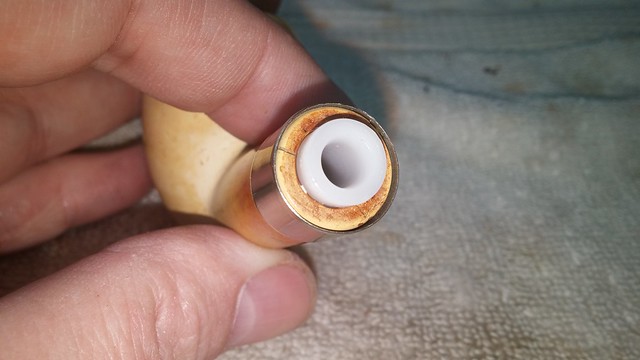
The shank end of this conversion was slightly easier to accomplish as the mortise was already drilled to the required 3/8″. I re-tapped the threads to 3/8-16 to match the insert. The fit was a bit loose due to the previous wear, so I added a drop of CA glue to help hold the mortise insert in place.
The stem to shank fit took a little bit of tweaking to finesse things into place, but everything is now ship-shape for the long haul. The tenon fits snugly in the new mortise without any of the wiggling it previously displayed.


All things considered, I found this Push-Pull mortise conversion easier than I had feared, though there are definitely a few things to keep top of mind during the process. Meerschaum is delicate, so any excessive force applied to it with drill bits or taps could cause cracking or other damage.
If you are planning to undertake a similar repair yourself, my advice is to work slowly and carefully, and be sure to keep the tap perfectly square when cutting your threads, unless you want your pipe stem to be at an angle.
Thanks for following along on this addendum to an earlier estate refurbishment. If nothing else, this post demonstrates that there is always another way to skin the proverbial cat and get the job done.
Until next time, Happy Piping!

Charles, I could have used this installment a few weeks ago! Thanks for the addendum. I have another Meer in queue and looking at me, but it takes a bit to work up the courage!
LikeLiked by 1 person
I understand your trepidation entirely, Dal. I had already cracked the shank fussing with this meer once. I really didn’t want to add insult to injury during this conversion!
LikeLiked by 1 person