
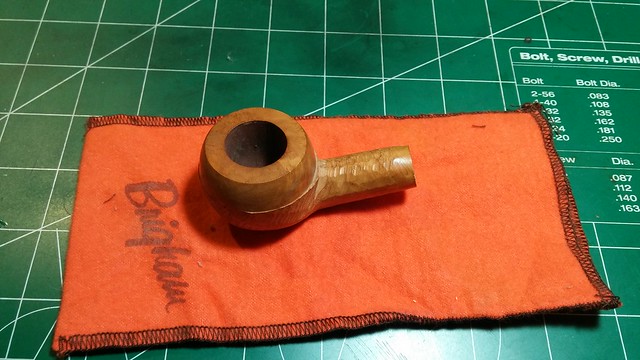
I was presented with this gift by fellow piper and blogger David Wilson of Home Grown Hobbies at the last pipe club meeting a few weeks ago. He had found this Brigham stummel at an antique shop near him and thought I could do something with it.
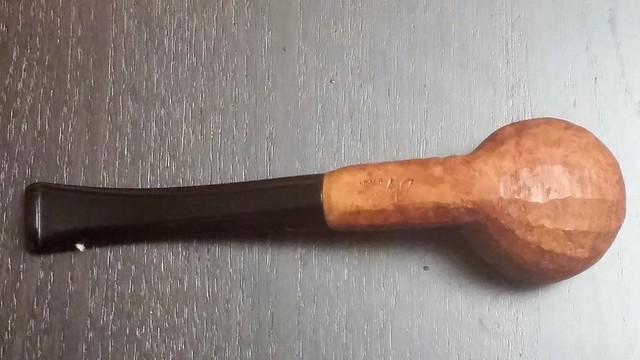
The semi-finished briar is a Brigham Sportsman circa 1980s. It is stamped only with “Brigham” over “Canada”. No shape number is indicated, but the pipe is clearly an Author, which would have been Shape 29.


Brigham describes the Sportsman series on their website as follows:
“Regular Brigham (filtered) pipes were taken from production prior to the final sanding, staining and finishing processes to create what we called “Semi-finished” or “Sportsman” pipes. They were originally created for the Ontario Sportsman show in Toronto where we used to sell a significant number of pipes. Times have changed, and the show is no longer a viable marketing tool for a pipe company, but the “Sportsman” designation remains….
The Brigham “Sportsman” pipe is ideal for situations where getting a little “knocked-around” is anticipated because you won’t need to worry about scratching the finish….there isn’t one!”
I was more than happy to take on the project, and with many thanks to David for his gift, I set about crafting a new stem for the pipe. As the stummel was unsmoked and deliberately unfinished, there was no work to be done on that end – a welcome change from tedious cleaning!
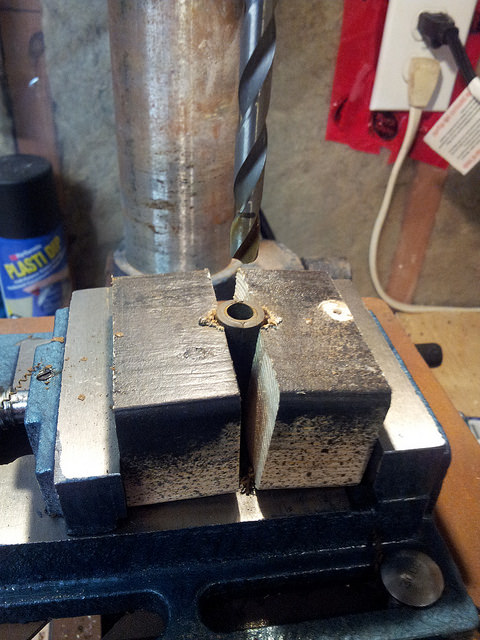
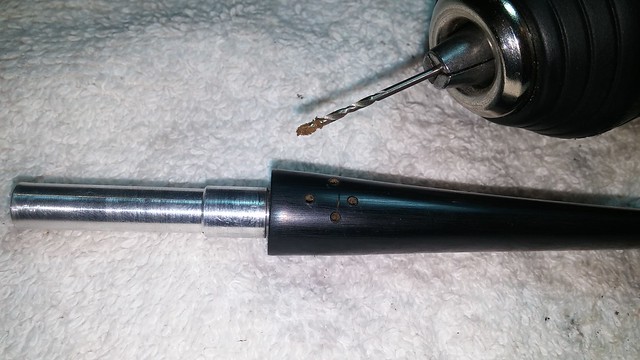
I was fortunate about a year ago to acquire a few New Old Stock aluminum tenons/filter holders from a retired Brigham repairman. I selected one of these to fit with a suitable replacement Vulcanite stem. To fit the tenon, I first cut the molded tenon off the new stem and then drilled the airway out twice – once for the Brigham rock maple filter, and a second time to create a mortise into which the tenon would be set. This pic shows my somewhat-less-than-rocket-science drilling jog clamped in place on the deck of my drill press. Apart from selecting the correct drill bits, the hardest part of the process is making sure the stem lines up perfectly with the drill.
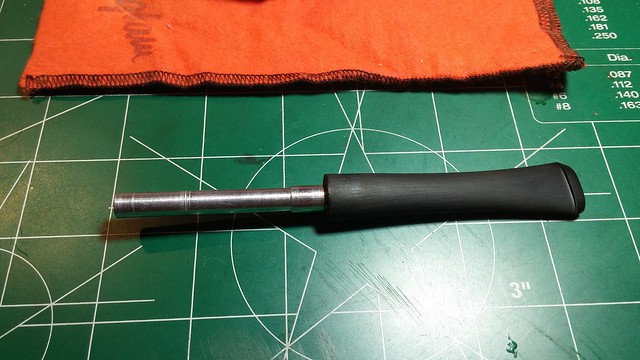
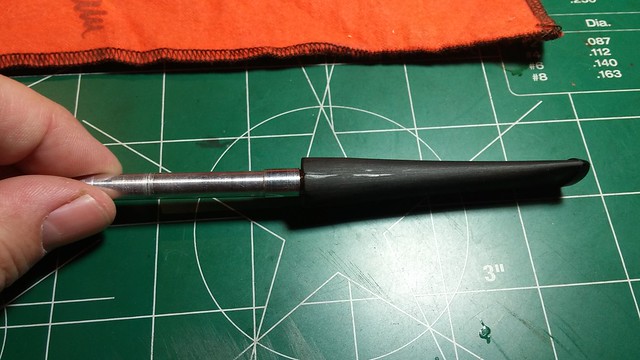
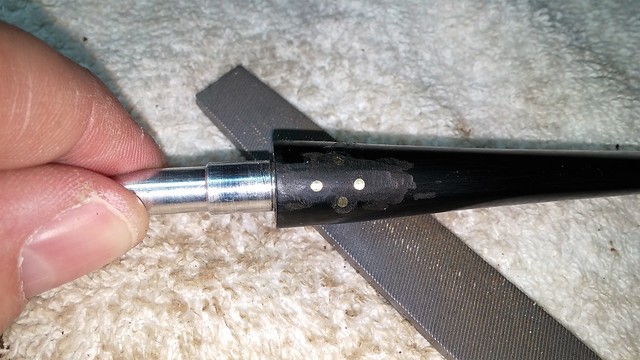
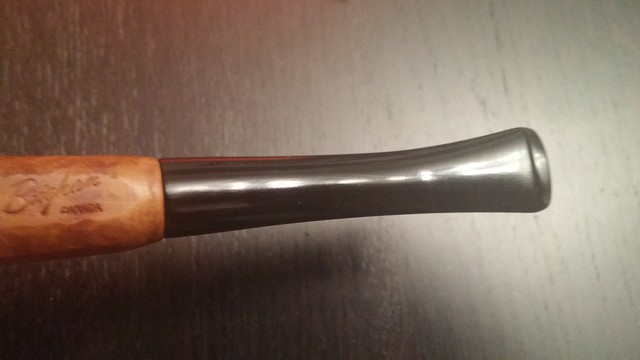
With the drilling accomplished, I glued the aluminum tenon into the stem. This pic shows the assembled stem after a bit of filing and sanding to remove the rough molding marks from the vulcanite. It will take a bit more work to erase the last of the molding lines.
The filter holder was much too long for the short Author stummel, so I used a cut-off wheel and my rotary tool to cut the filter holder to rough length. My eyeballed measurement was good enough to fit without a filter in place, but I’d have to tweak it a bit later.


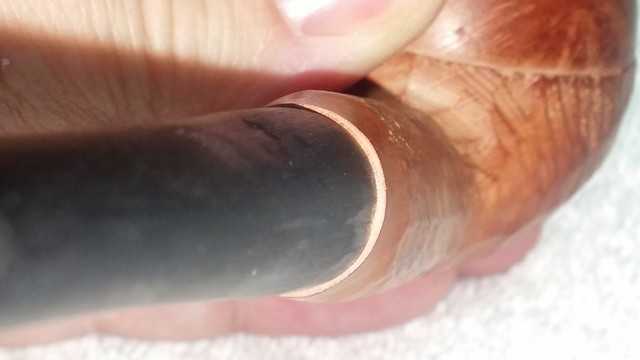
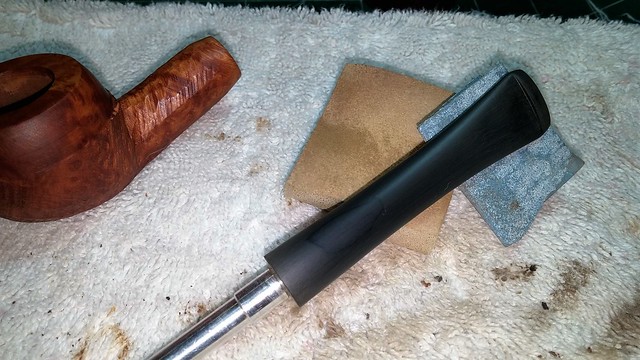
The shank of the Sportsman stummel was larger than the stem by about 0.75mm all the way around. I used needle files and sandpaper to take the briar down to create a smooth flow from shank to stem.
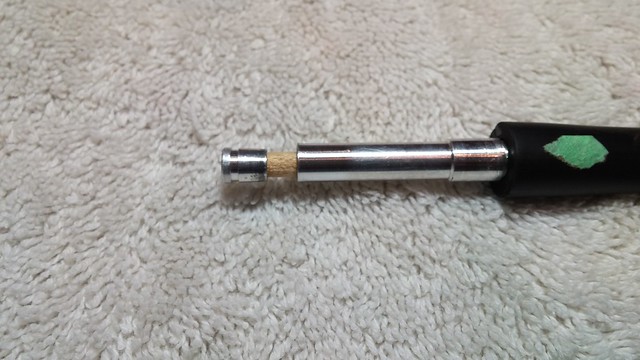
This pic shows how much longer the aluminum tube is with a filter in place. I used 220-grit sandpaper to remove the excess length from the filter holder to get the correct stem fit with filter in place. The bit of green tape on the stem marked the top of the stem to provide proper orientation while I worked.

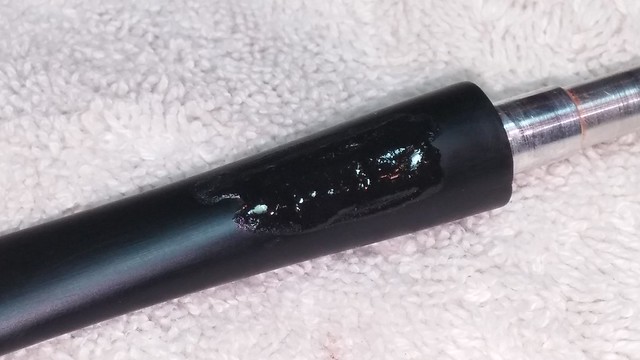
The stem had a bit of a divot on the top side which I wanted corrected, so I overfilled the area with a mixture of CA glue and charcoal powder. When the glue cured, I sanded away the excess to leave a smooth, even tapered stem.
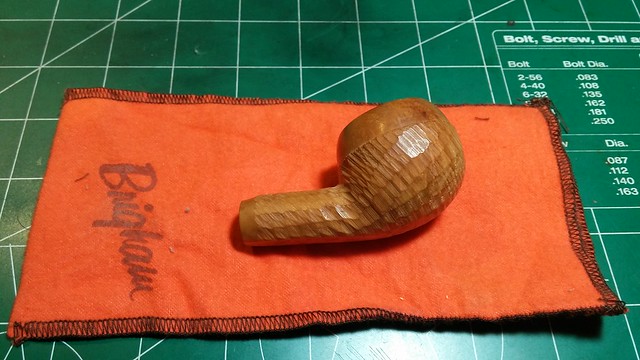
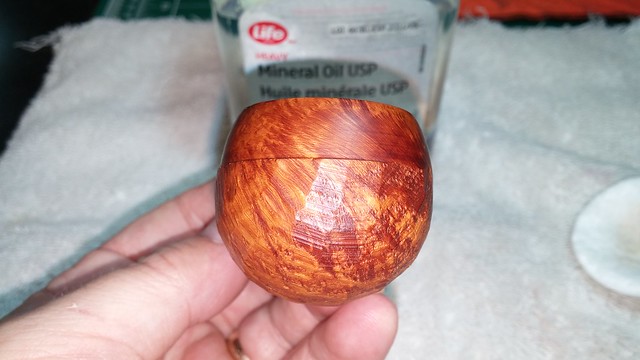
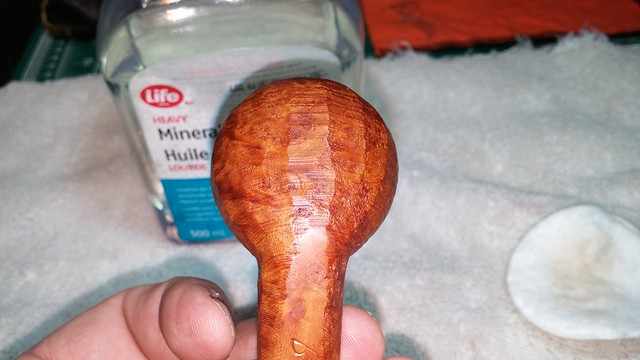
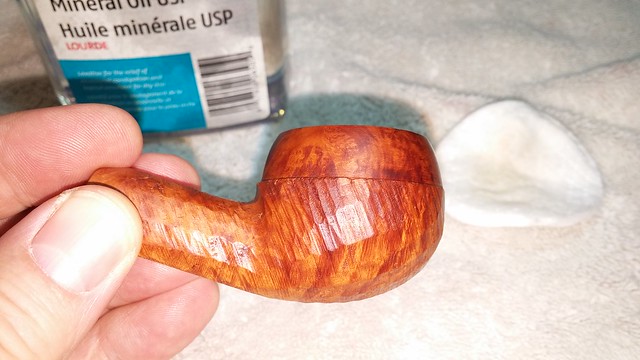
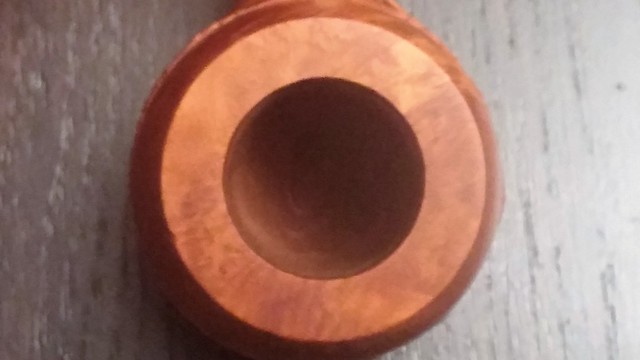
Apart from final polishing, the stem was more or less done at this point, but it needed the iconic Brigham Dots to complete the package. The Sportsman line was available in 300 through 500 grade pipes, so I wiped the stummel with mineral oil to get a good look at the grain. The oil revealed an attractive mix of Birdseye and Flame Grain, and no obvious pits or other flaws. In a smooth finish, this stummel may have rivaled the 5 Dot pipes in my collection, but I decided to pin this pipe conservatively as a 400 series, with 4 brass Dots in a diamond pattern.
I used an awl to mark out the pattern on the side of the stem before drilling the pin holes with a 1.25mm micro dill bit. The left-hand pin was historically used to secure the tenon in the rubber stem, so I followed suit, drilling this hole through the wall of the tenon. The remaining three pin holes do not penetrate the aluminum, as those pins are really just decorative.
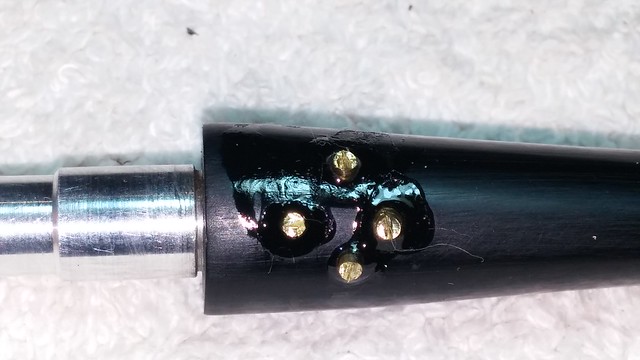
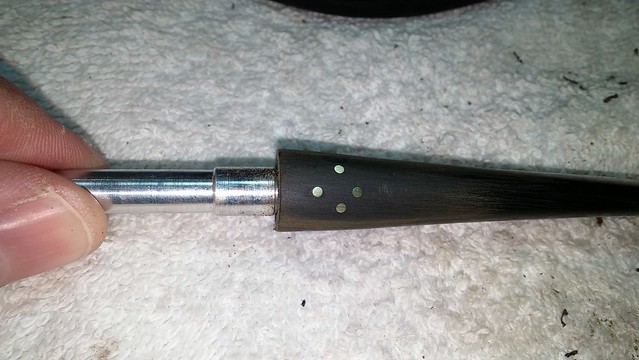
Working one pin at a time, I placed a drop of CA glue into the pin hole and then pressed in a length of brass rod. When the glue started to set, I snipped off the excess rod and moved to the next hole. This pic shows all four pins in place. The excess CA glue around each pin fills any gaps there might be, ensuring a smooth finish.
A file made short work of the stubs of excess brass rod, taking the pins down flush with the vulcanite. I used 220 and 320 grit sandpapers to remove the file marks and smooth things out.
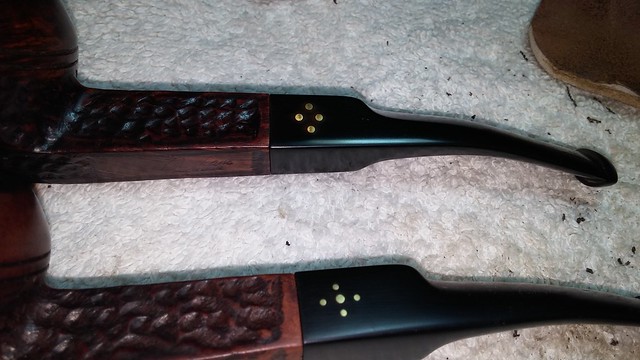
You’ll likely notice that the pins aren’t quite perfectly positioned. Drilling freehand on the rounded flank of a stem is tricky! I don’t feel too bad about the irregularities though, as the Brigham crafstmen were obviously pinning freehand as well, judging by these examples from my collection. In fact, no two of my Brighams show exactly the same pin layouts. My pins appear well within factory spec.
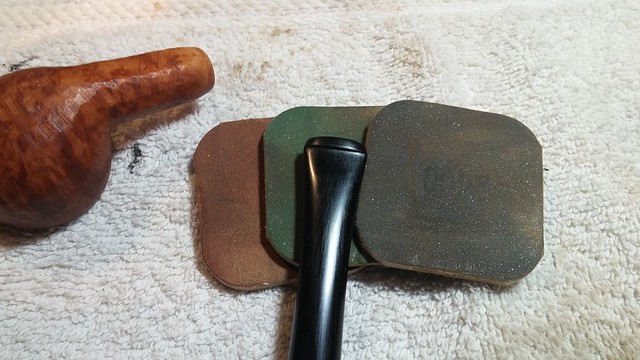
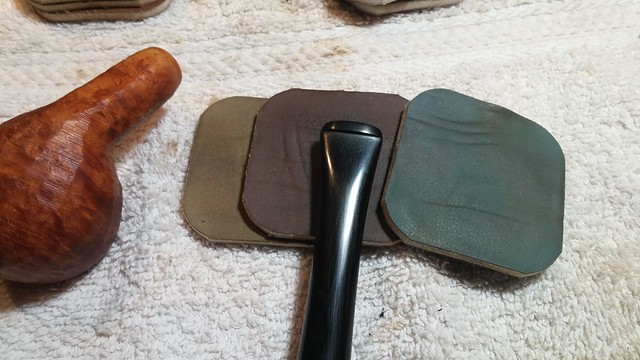
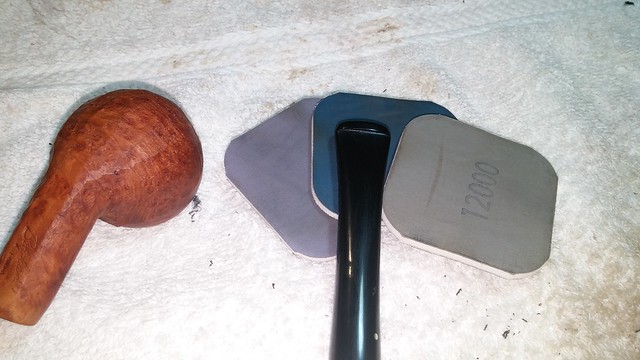
It was time to finish this stem, so I polished it up with a full course of micromesh sanding pads, wiping the stem down with mineral oil between each set of three pad.
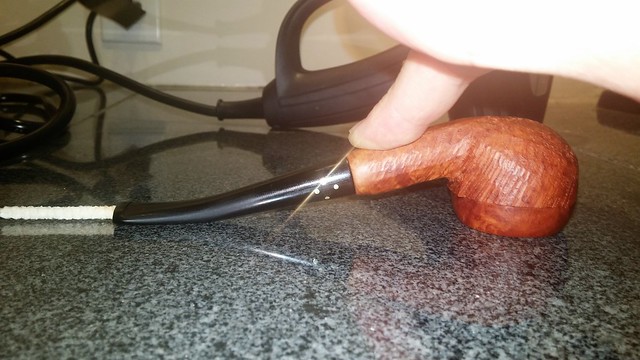
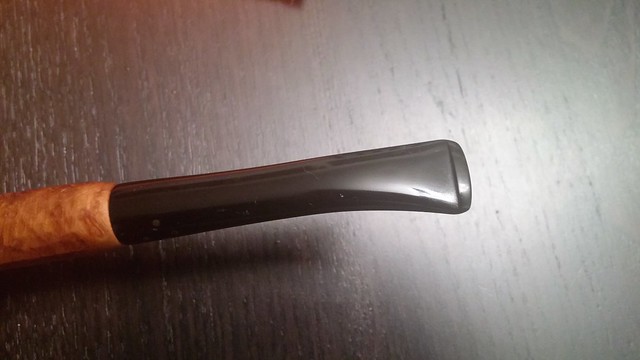
Bending the stem for this Author shape was accomplished by heating the stem over the heat gun until pliable and then pressing the pipe face down on a flat counter top. This produced a gentle 1/4 bend that placed the bit exactly even with the top of the bowl. Note the pipe cleaner in the stem. This ensured that the airway would remain open during bending.


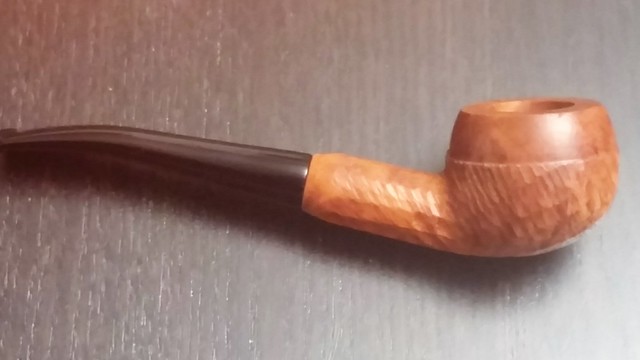
A quick buff of the stem with White Diamond compound on the wheel followed by several coats of Carnauba wax finished off this project. I gave the stummel a very light waxing to give a bit of protection to the wood, but otherwise it is raw, natural briar.
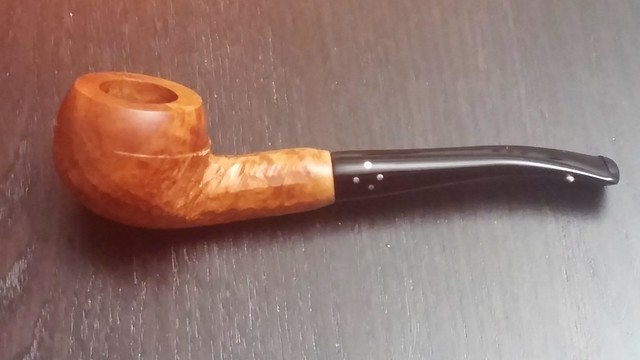
This Sportsman is ready to load up for its very first smoke, and given the spot-on drilling on this stummel, I expect it to perform admirably. Thanks to David, I can proudly add this pipe to my Brigham collection.
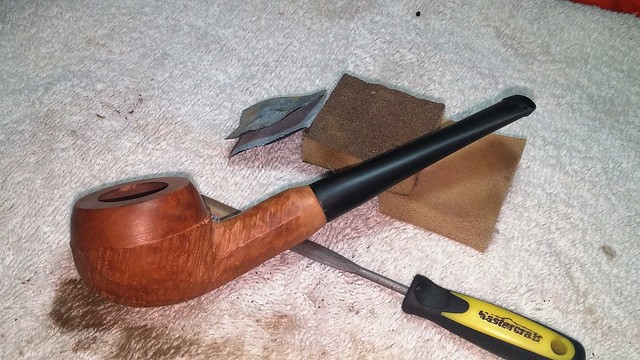
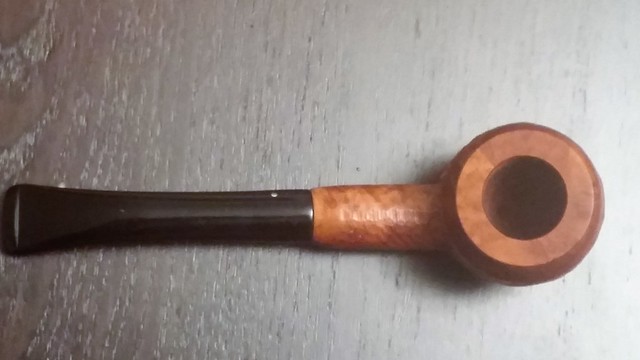
Here’s the finished pipe. Thanks for looking and until next time, Happy Piping!


Cool work on the pin repair, I had no clue that is how it was done. Where do you source the brass rod?
LikeLiked by 1 person
I’ve had good luck finding brass rod, tubing, adhesives, etc at my local hobby shop.
LikeLike
You did that one proud, Charles. I hope you enjoy your “new” pipe. Let me know how it smokes. 🇨🇦
LikeLiked by 1 person
I surely will! Thanks again, David.
LikeLike
Charles, looks like you created a factory finished pipe. Great work!
LikeLiked by 1 person