
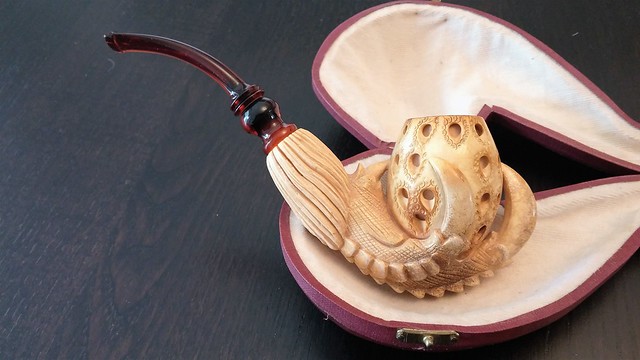
This is the second of five meerschaum pipes I acquired as part of my last estate lot purchase. The first meer from that collection was an unsmoked turn-of-the-20th-cenury Delacour meerschaum and amber bulldog I wrote about here. Being unsmoked, the bulldog was an easy pipe to prepare for a new owner; this intricately carved Egg & Claw meer would take a little more effort.
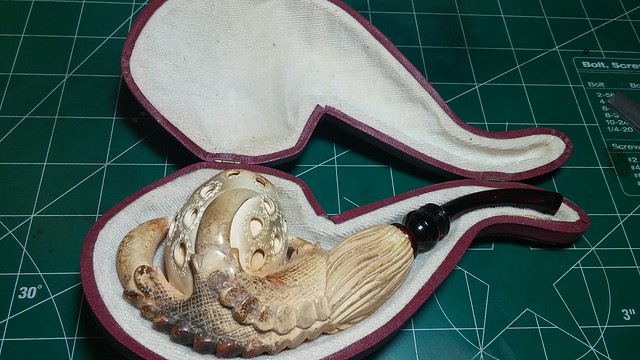
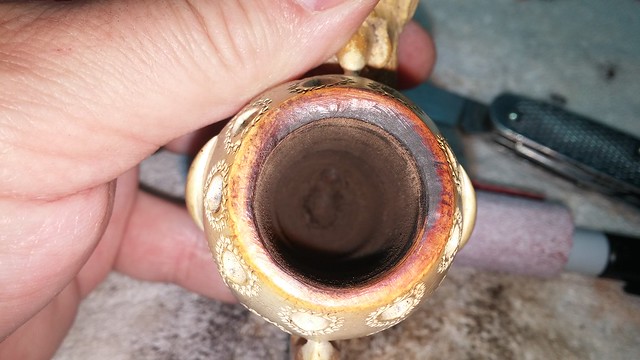
The pipe was in very good used condition when it arrived on the worktable. Like all but one of the meerschaum pipes in the collection, it came with its own custom-fitted hard case which had protected it from dings and dents. The pipe had been smoked enough to develop a layer of cake in the bowl – a no-no for meerschaum pipes – and a crust of tars on the rim.
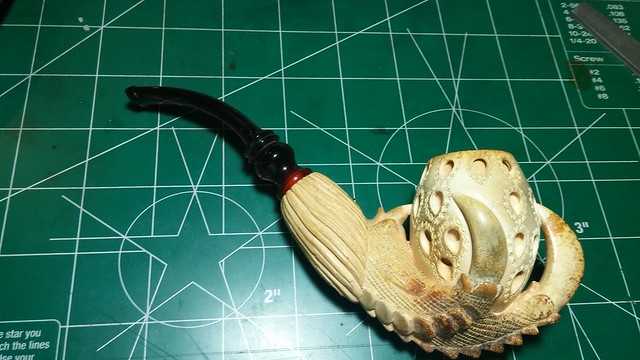
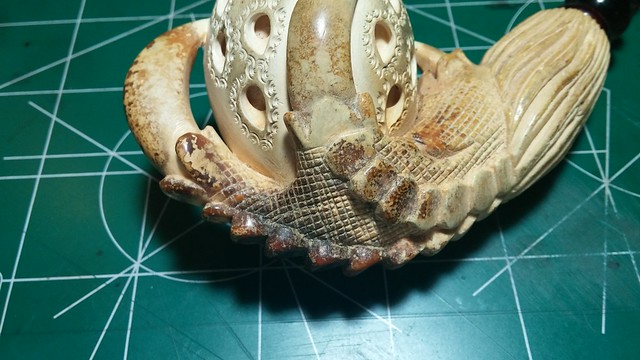
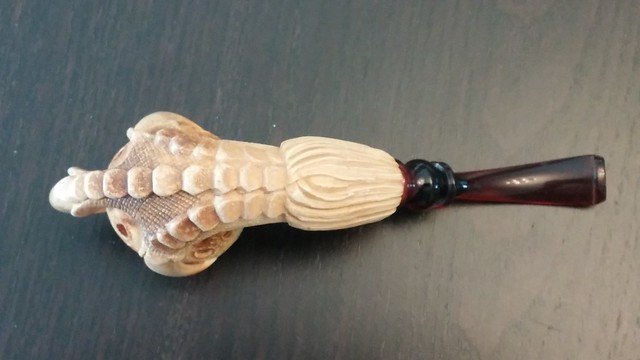
The meerschaum had begun to colour with use, mostly concentrated at the bottom of the stummel; the darkening visible in the pics below was also due partly to a fair bit of dirt built up on the surface of the stummel – perhaps from handling while the pipe was being smoked. The pics also show a concentration of old wax (presumably beeswax) that had collected along the ridge of the centre claw at the bottom of the stummel. In a few spots, the wax was thick enough to indent with a fingernail when pressed. The majority of the stummel showed no signs of wax at all, almost as if all the wax had melted and run to the bottom of the stummel by gravity.
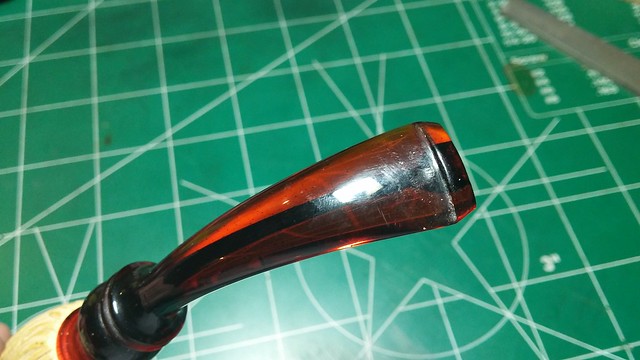
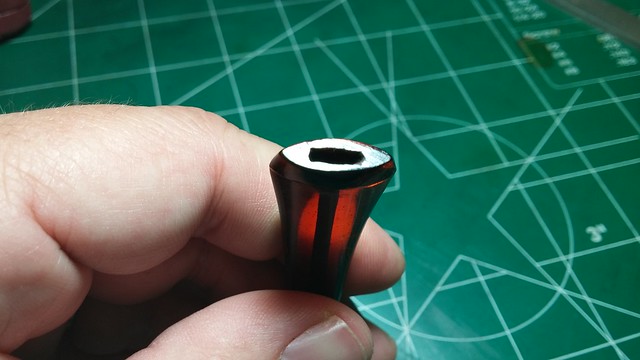
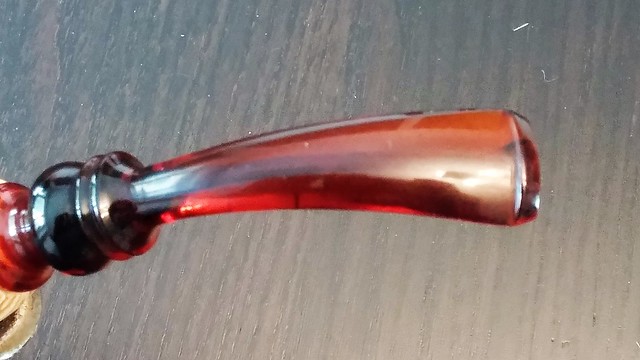
The Lucite stem was in good condition, with only one sizable tooth dent on the top. The pics below also show that the stem slot was a bit unevenly cut. The V-shape of the slot is slightly toward one side of the stem, and the opening at the button was a little ragged.
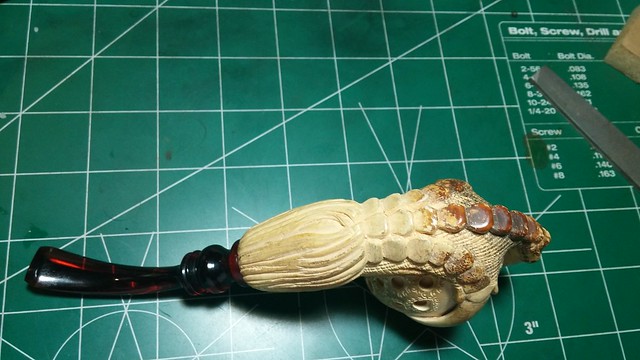

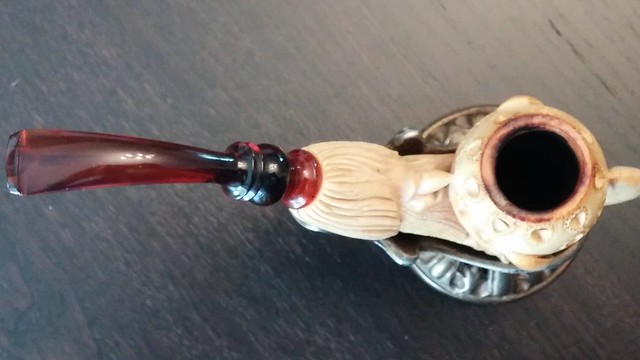
The pipe is a large one – it measures 3 inches from the rim of the bowl to the bottom of the stummel, and 7 inches from the front of the bowl to the button. The chamber is 7/8” in diameter and easily 2 inches deep. Despite the size, the pipe is very light (especially compared to an equivalent briar), weighing only 84 grams or 3 ounces. The balance is such that clenching the pipe for short periods would be fairly easy, though I imagine most pipers will hold this one in the hand.
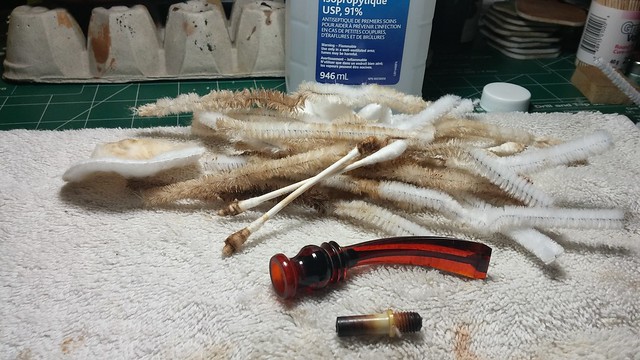
I began the cleanup by removing the threaded tenon from the stem and cleaning both pieces with pipe cleaners and alcohol to remove the tars built up in the airway. There was a fair bit of crud caught in the threads at the shank end of the stem that required some special attention to clear out.
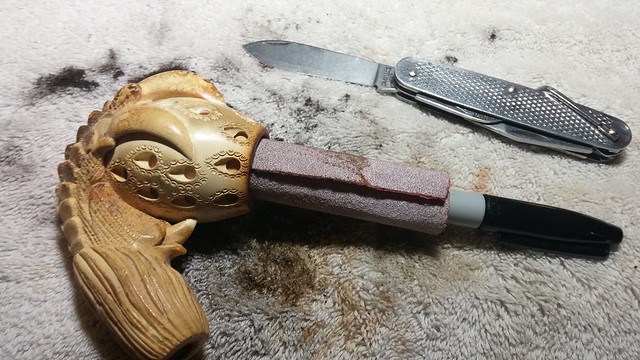
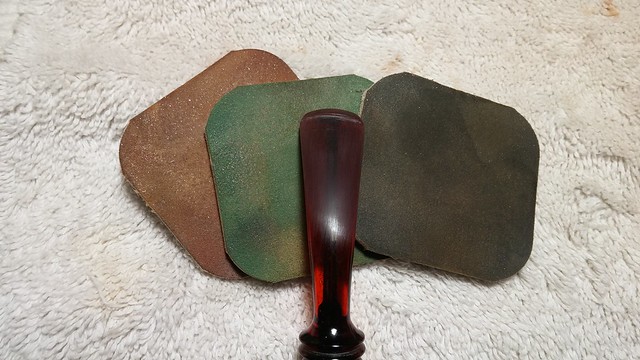
Instead of using my Castleford reamer to clear the cake from the bowl, I relied on my old trusty Army-issue pen knife and sandpaper to do the job. The reamer is not a good idea for meershaum pipes as the pressure required to use the tool could potentially crack the meer. Better to go slow with more basic tools. This pipe has a deep bowl – somewhat over 2 inches deep – so it was a bit of a struggle to get at the cake at the bottom. I used the sandpaper until I could see the meerschaum on the sides of the bowl; rather than risk thinning the chamber walls, I decided to leave whatever carbon remained on the bottom to its own devices.
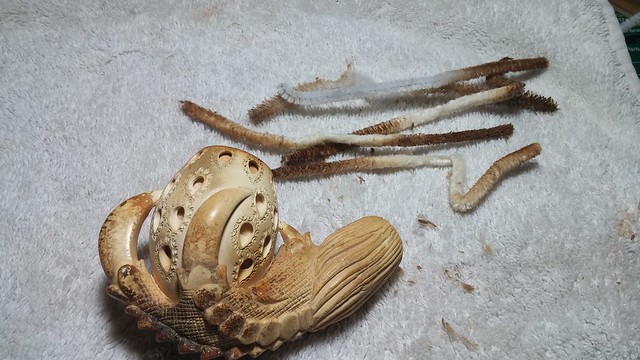
Pipe cleaners and alcohol were used to clear the airway through the shank. A lot of people are gun-shy when it comes to using alcohol on meerschaum, but there’s really no better way to clean the shank. Just don’t go nuts with the alcohol and do not soak the meerschaum. A retort or salt-and-alcohol treatment is also off the table for your meer. I used a combination of bristle and fluffy cleaners with the alcohol to loosen and remove the tars and gunk from the airway.
With the internals of the pipe good to go, I moved to the exterior of the stummel. I used an old toothbrush dampened with water to scrub the surface dirt out of the carving. I kept the water to a minimum and wiped the surface dry as soon as the dirt lifted. I let the meerschaum dry completely before addressing the wax buildup on the bottom of the stummel.
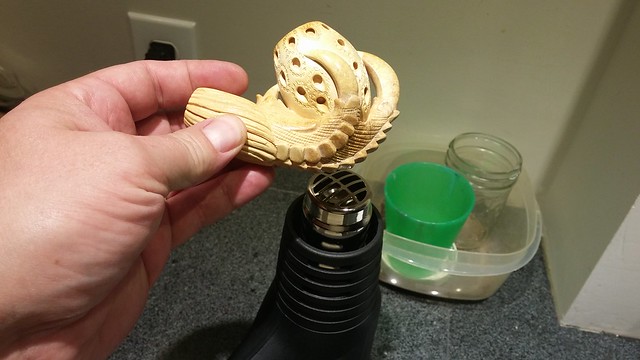
I used a heat gun and cotton swabs to remove the excess wax from the bottom of the stummel, first heating the meerschaum over the gun to melt the wax, then wiping the excess away with the swabs.

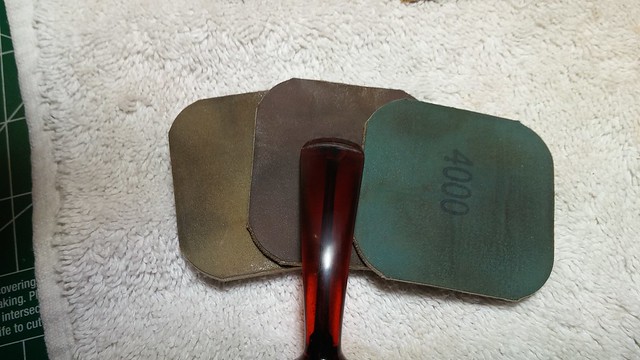
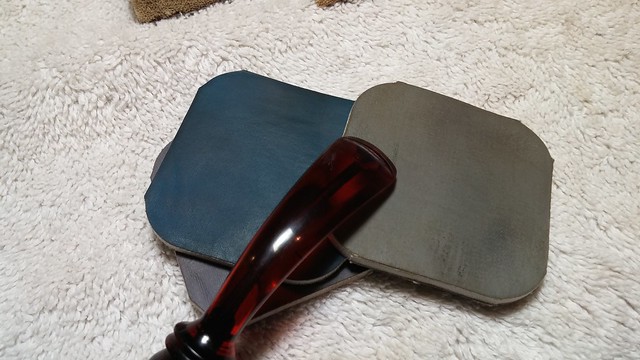
The stummel was ready for finishing, so I moved back to the stem to take care of those tooth marks. I used a needle file to sharpen the edge of the button and then sanded the bite area of the stem with 220 and 120 grit sanding sponges. This erased the smaller marks but left one tooth dent on the top of the stem. I used clear CA glue to drop fill the dent and set the stem aside to let the glue cure. When the fill was ready, I sanded the patch smooth and cleaned up the sanding marks with a full course of micromesh sanding pads. A quick buffing on the wheel with White Diamond compound and Carnauba wax finished the stem work.

I decided to re-wax the entire stummel to restore the shine and assist with the colouring of the meerschaum. When smoked, the meer heats up and the wax acts as a carrier, wicking the colour from the bowl to the outer surface of the meerschaum. I figured a fresh wax job would both spruce up the overall appearance of the pipe and help redistribute the colouring from the bottom of the stummel.
For the re-waxing, I bought a block of pure beeswax from my local craft store (check the candle-making supplies). I carved a small amount of wax from the block and dropped it into a small mason jar. The heat gun quickly melted the shavings and gave me a pool of liquid wax to paint onto the surface of the meer. I recommend using a pure bristle brush to apply the wax, as synthetic bristles tend to melt in the heat.

I used the heat gun again to warm the meerschaum, and painted a generous layer of melted beeswax over the heated area. The warm meerschaum absorbed quite a lot of wax – I’m not sure this pipe had been re-waxed since it was carved. It was thirsty!
I worked the melted wax into all the nooks and crannies of the carving to ensure even coverage. As I worked, I could see the coloration change as the wax sank into the meer. When I thought the stummel had absorbed sufficient wax, I set it aside on a soft towel to cool. I’m afraid I took no pictures during the waxing, as I had my hands full juggling hot wax, a paintbrush and a pipe, but the results are shown in the finished pics.
I buffed the cooled meer with first a bit of old towel, then with a microfiber cloth. This removed any excess surface wax and gave the stummel a nice shine. I got lucky the first time on this one and there were no sticky, waxy feeling patches on the stummel. If I had found any, a repeat heating and wiping with clean cotton swabs would have taken care of it.
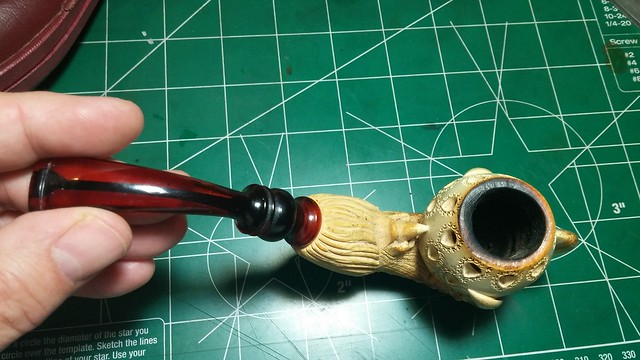
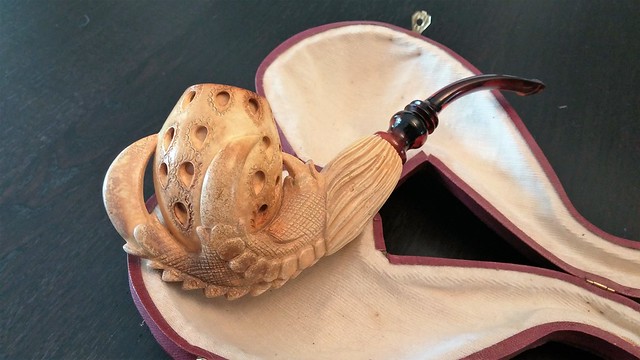
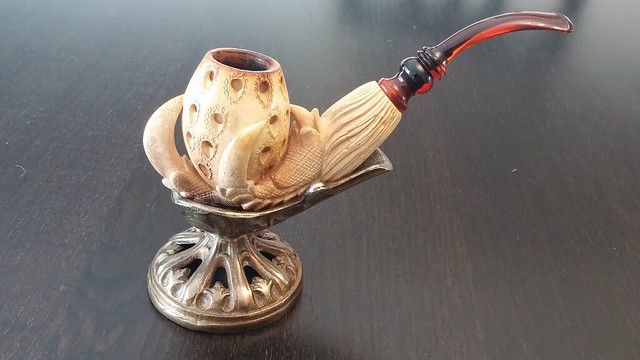
Unlike a briar pipe, there’s no way to return a meerschaum pipe to near-factory condition once it has been smoked. This big meer will always look and smell like a well-used pipe; fortunately for meerschaum lovers, the more a pipe is used the more sought-after colouring it takes on. This pipe, now clean and ready to go, will continue to develop as it is enjoyed by a new piper.
Here’s the finished pipe. Thanks for looking and until next time, Happy Piping!

I’m not much on figural pipes or meers but that pipe is VERY cool ! Nice job on refurbishing it .
LikeLiked by 1 person
Thanks, Troy. This was a fun project – lots of nooks and crannies to work around! My wife thinks it’s creepy, though, so it will be up on the store shortly.
LikeLike
Meers are hard to work on, and I envy you for the courage to put a knife to the chamber. Very nice restoration and pipe, Charles.
LikeLiked by 1 person
A case of luck favouring the brave, perhaps? 😀
LikeLike