
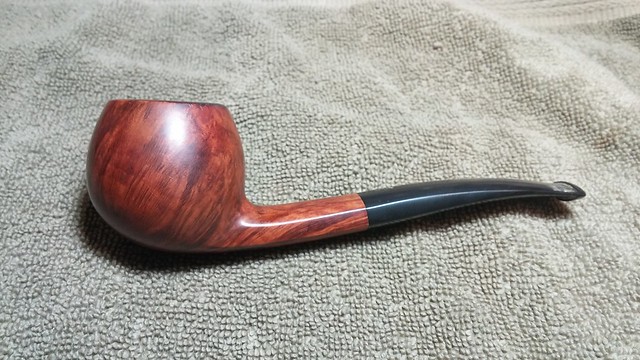
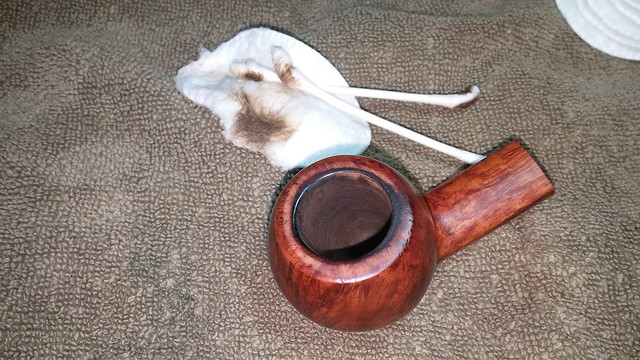
I thought I’d start working through my recent estate lot purchase with a relatively easy refurbishment. This Danish Sovereign 179 Bent Apple is a Stanwell sub-brand, designed for export and sold exclusively in Canada and the USA. My best guess is that this pipe was made sometime in the 1980’s.
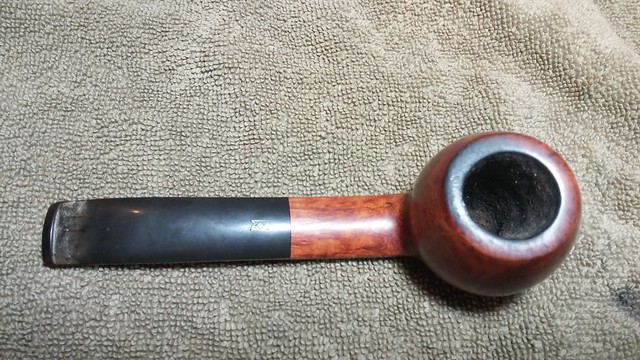
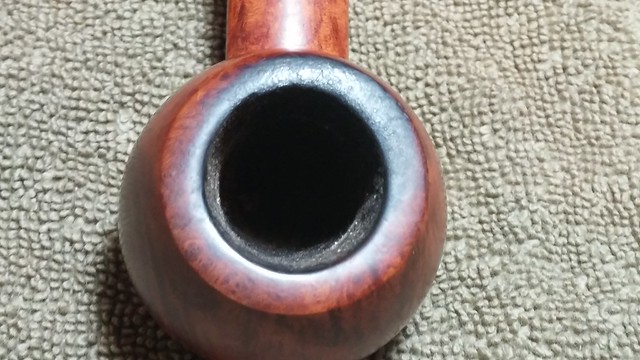
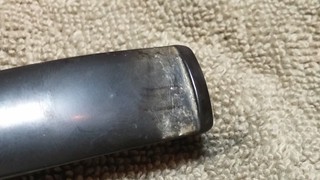
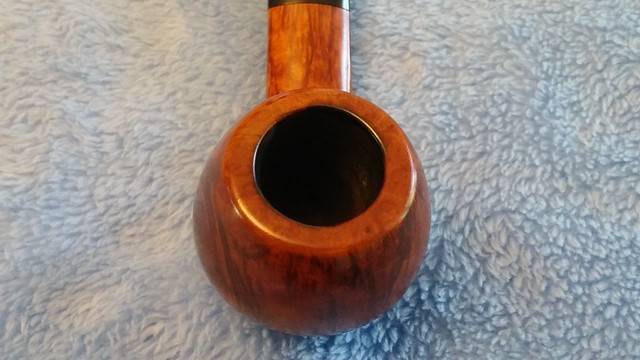
Judging by the layer of cake in the bowl, this pipe was a favourite in the original owner’s rotation. Though well cared for, it was showing signs of regular use and handling. The exterior of the briar was clean and, as far as I could tell, without fills, with only a thin film of tars on the rim. There were also a few small rim dents on the left rear edge. The stem bore a crust of mineral buildup at the bit but otherwise was free from tooth chatter or dents. The button was pristine under the salt crust.
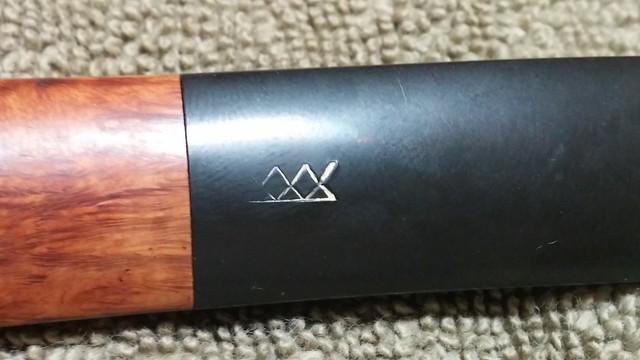
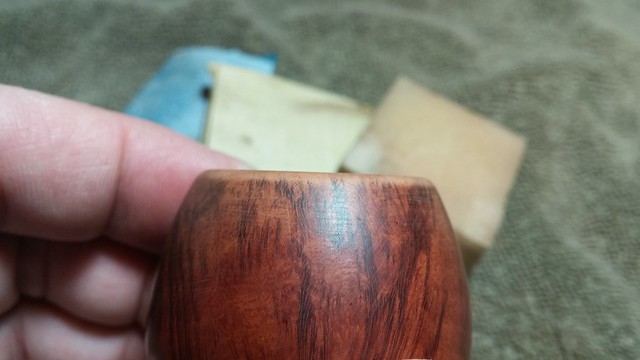
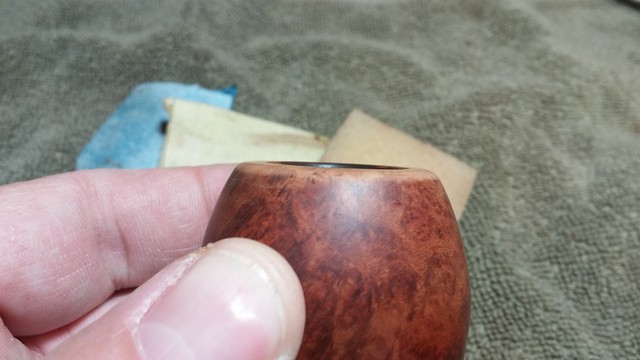
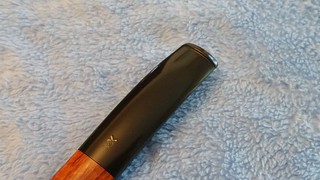
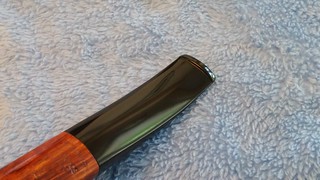
Apart from these small flaws, the only other issue with the pipe was a bit of overzealous buffing – the triple X logo on top of the stem was partially worn near the stem face. On the stummel, the “h” from the word “Danish”, the “gn” from “Sovereign” and the “k” at the end of “Made in Denmark” were very lightly stamped – a relatively common issue with oval stems. You can see in the pictures below that the left-hand end of these stamps is deeply struck through the crest of the oval stem, but then gets progressively lighter towards the extreme right end of the stamps.


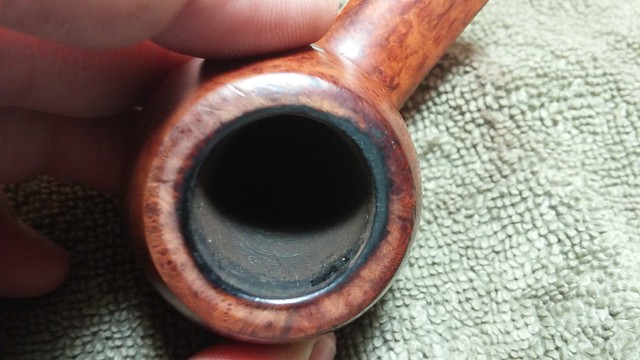
I started the work on this pipe with a thorough reaming to remove the old cake and expose the briar underneath. This cleans up the tobacco chamber for the next piper and allows me to inspect the chamber walls and draft hole for any damage. As I had anticipated, this pipe was well cared for; though the cake needed a trim, the chamber was otherwise in excellent shape.

I removed most of the light rim tars by wiping them with saliva on cotton swabs and a cotton pad. It sounds a lot like Gramma “cleaning” your face as a child, but saliva has some effective crud-dissolving properties, and it’s readily available. And fear not, I would properly clean and sanitize the pipe later in the process. The cleaning revealed a sliver of charred briar on the inside rim of the pipe.
The factory rim, instead of being cut flat across the top, was very gently crowned. I topped the bowl on some 220-grit sandpaper just far enough to remove the char mark, and then re-crowned the rim with an assortment of sandpapers and sanding sponges. The new rim is slightly flatter than the original, but the soft edges and flowing lines of the factory shape have been retained.
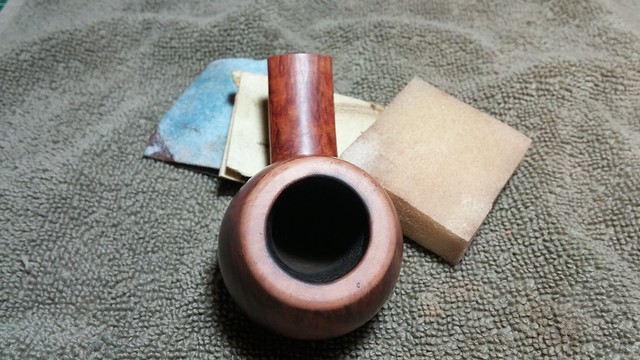
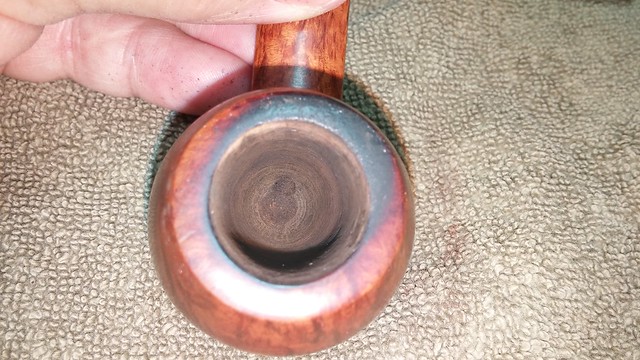
A quick touch-up with a stain marker blended the rim repair into the original finish.

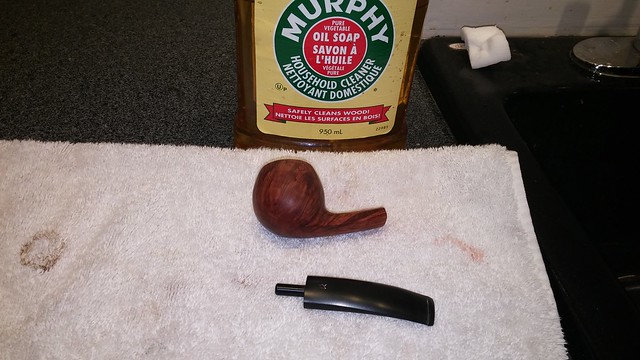
I then gave both the stummel and stem a quick scrub with Murphy’s Oil Soap to remove any surface grime, and cleaned the internals with alcohol and pipe cleaners. As you can see, I didn’t need a lot of cleaners on this one. With the pipe clean, I wiped both parts with mineral oil and let the oil soak in.

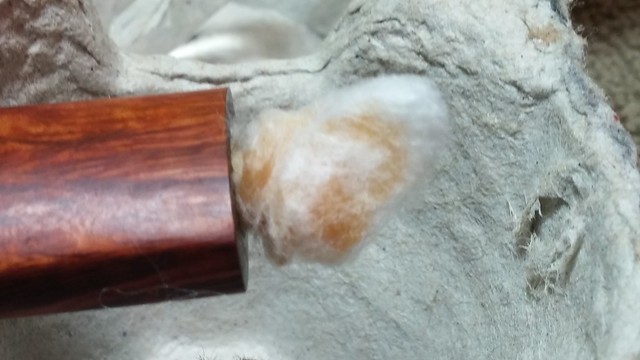
Before final buffing and polishing, I gave the stummel the salt and alcohol treatment to remove any remaining tars and also deodorize the briar so it’s fresh for the next piper to enjoy without the ghosts of tobaccos past. I took this series of pictures over the 24 hours of the treatment. The first pic shows the pipe with a cotton ball twisted into the shank and the bowl full of kosher salt. I use an eye dropper to add isopropyl alcohol to the bowl until I see it wick out to the end of the cotton twist. If you do this, try not to dribble alcohol down the outside of the stummel as it could dissolve the finish.

After only a few minutes the alcohol had begun to work on the tars, wicking the contaminants into the cotton ball in the shank.
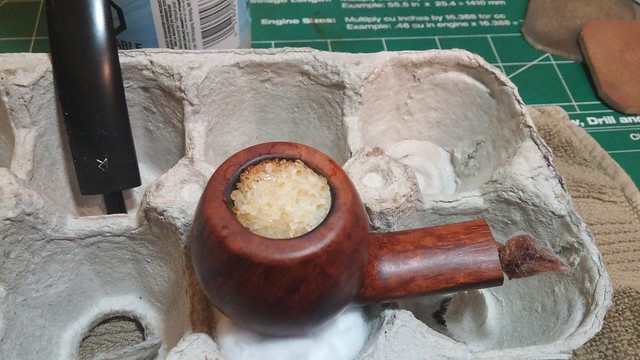
This last pic shows the stummel after a full 24 hours. The alcohol has penetrated deep into the briar and pulled the old tars, and odours, into the salt and cotton. I dumped out the salt, removed the cotton ball and gave the internals a quick wipe to remove any loose tars or lingering salt crystals.
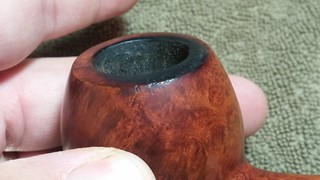
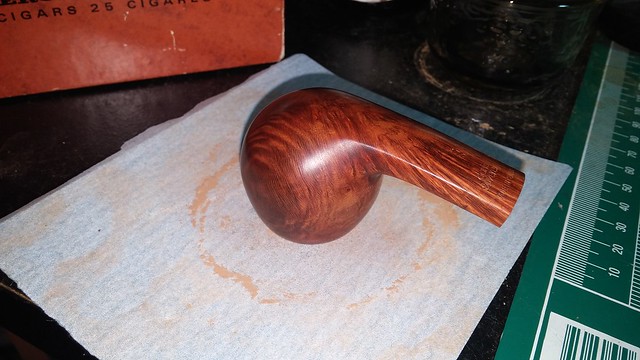
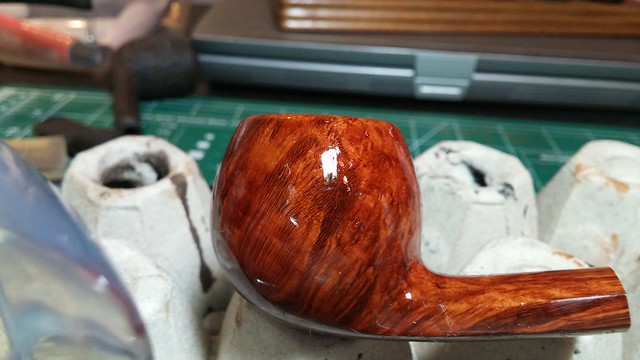
Then it was off to the buffer for a run of White Diamond compound and several coats of Carnauba wax. The buffing blended the rim repair and re-staining even further into the original finish and gave the briar a shine even before the wax was applied.
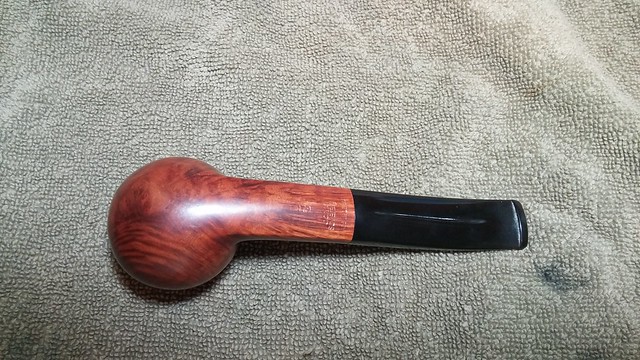
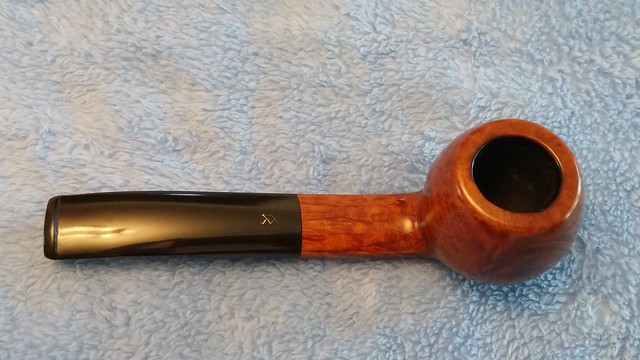
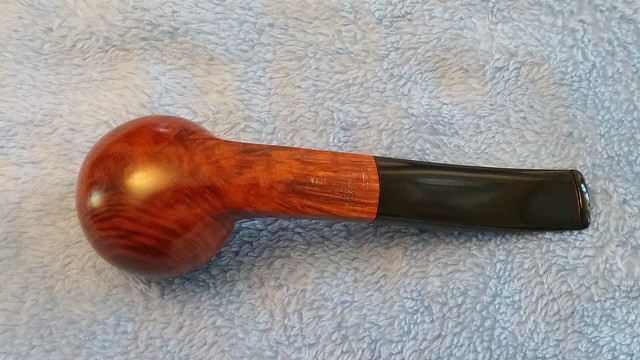
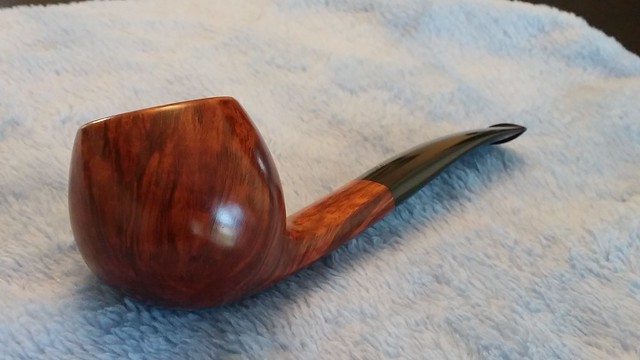
After waxing, the pipe glows with new life, highlighting the beautiful grain. If there are any fills in this stummel, they are so small that I can’t find them. It’s truly a fine piece of briar, and ready to be enjoyed by a new piper. Watch for this Danish Sovereign Bent Apple on the DadsPipes Store. It is sure to serve as a fine companion for at least another 30 years.
Here’s the finished pipe. Thanks for looking, and until net time, Happy Piping!


Hah…looks like you found time to write. Another fine piece of work, Charles. That one looks like a great clencher for when on the riding mower. If only it were was a Dublin…
LikeLiked by 1 person
Cheers Dave! I may well turn one up that’s a bit more to your liking before too long 😀
LikeLiked by 1 person
I see three in your most recent lot I’m keeping a watch for!
LikeLiked by 1 person
You certainly do not dawdle, Charles. Already at the bench working. Are you retired, or do you somehow fit this hobby into your free time? Q: Why kosher salt instead of ordinary salt?
LikeLiked by 1 person
I am fortunate to be able to work at home so my schedule is flexible 👍
Kosher salt has no iodine in it to foul the pipe.
LikeLike
What fouling effect does iodine cause? Does it alter the flavor of the briar?
LikeLike
Iodine is bitter on the tongue. It won’t hurt you (in fact the body needs it), but to avoid the chance of making the bowl bitter, you’re better off using non-iodized salt.
LikeLike
Charles, only one photo of the finished stem and a small bit of shank shows up on my tablet. From what I can see, it is another fine job. Keep working on them. Glad you have the time to be able to post.
One thing I’ve tried with good success when using the salt/alcohol method is to put as many Qtips, side by side, as the mortise will hold and tightly insert them until the cotton heads are just recessed in the mortise. Then you fill the bowl with salt and alcohol. The alcohol stays within the mortise and will not drip out on the shank. Of course you have to angle the pipe with the mortise end a bit high. The Qtips come out loaded with tar the next day.
LikeLiked by 1 person
Sorry for the technical glitch on your tablet. Hope you get the full view soon. Great tip on the qtips – cotton balls seem to walk away around here so it’s good to have alternatives!
LikeLike