
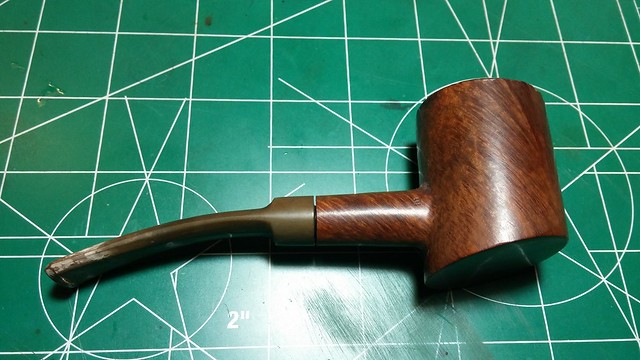
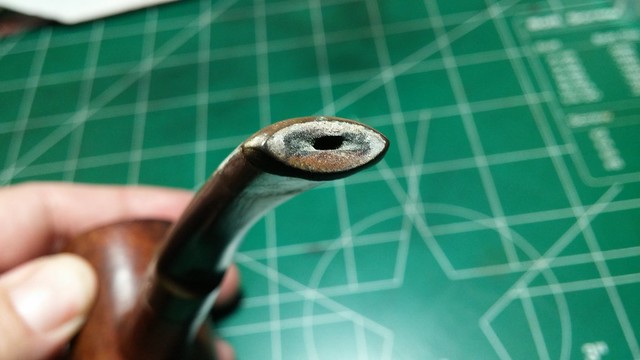
I acquired this poker-sitter in a recent estate lot purchase. It arrived on my worktable with a few issues, and I’d find a few more surprises before the refurbishment was complete. A dense, uneven cake lined the bowl and a fairly thick layer of lava covered the rim, but not quite enough to conceal some deep knocking dents around the front left edge of the bowl. The stem carried a few tooth dents as well as calcium and oxidation on the surface, and the slot was packed nearly completely with tars and debris. There must have been an equal amount of gunk in the shank, as the stem would not fit all the way into the mortise, leaving a gap of about 1mm between the face of the stem and the end of the shank. This pipe would need some serious cleaning before it could be made usable.
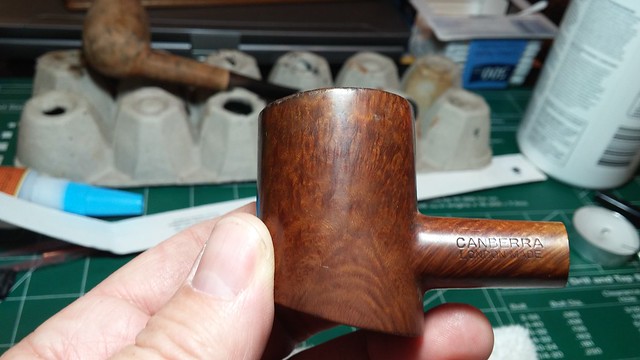
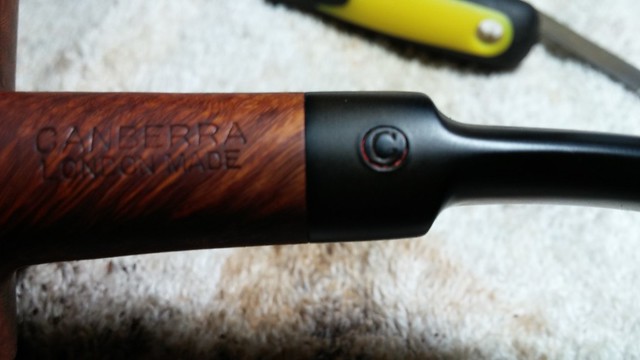
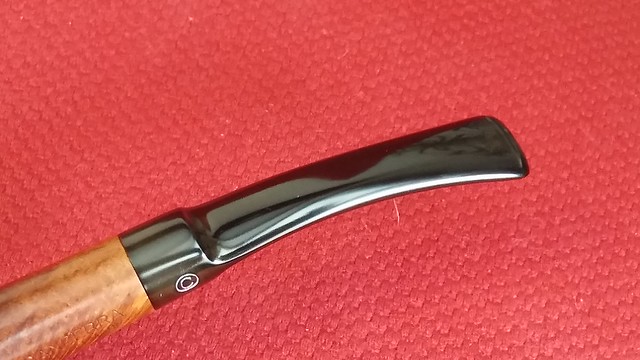
Ironically, for all its obvious use, the body of the pipe was nearly pristine apart from a layer of dust. The stampings were deep and well-struck, reading “Canberra” over “London Made”on the left shank, and a single-digit shape number, “2”, on the right shank near the shank/bowl junction. The pipe stem was marked with a “C” in a circle logo.

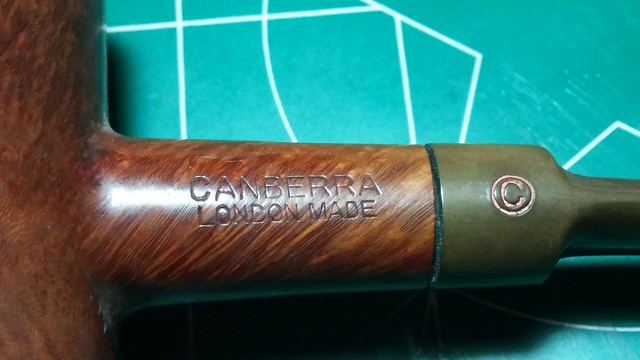

I did a bit of research and found that Canberra is a brand of John Redman Ltd, founded in London in 1928 and finally dissolved in 2012 after more than a decade as a “dormant company”. (You can find that information HERE if you’d like to have a look.) I also found a digitized version of part of a John Redman catalog from the 1960’s on VKPipes.com, which positions the Canberra line as an upper-middle brand for the company. Filling in the John Redman brands are such marques as Aristocrat, Buckingham, Buckingham Palace, Captain Fortune, Dr John, Golden Square, Redonian, Richmond, and Smokewell.
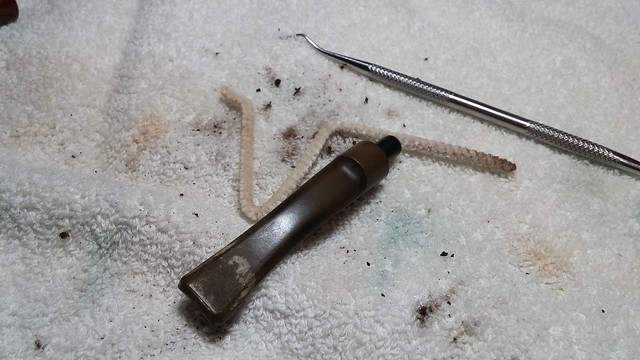
Now that I had some sense of the pipe on the bench before me, I began the lengthy cleaning process. I wanted to soak the stem in an Oxyclean bath to soften both the exterior oxidation and the crud blocking up the airway. Before dropping the stem into its bath, though, I took a few minutes to pick the buildup out of the slot and pass a pipe cleaner through the stem to ensure that the Oxyclean solution could flow all the way through the stem. When the airway was open, if not clean, I left the stem to soak overnight.
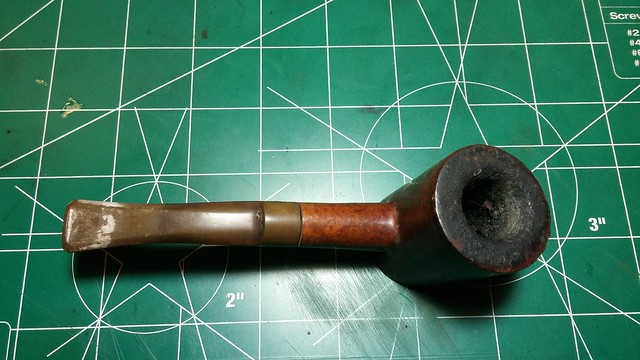
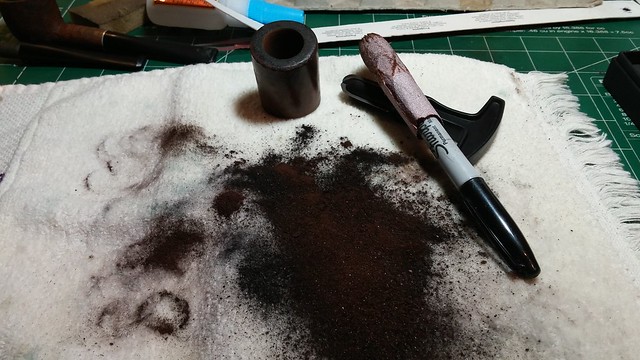
The state of the stem should have warned me about the amount of cake in the bowl of this pipe, but I was still a bit shocked at the pile of carbon dust I reamed out of the chamber with my Castleford reamer. I followed the reamer with a scrap of sandpaper wrapped around a Sharpie marker to remove the last bits of cake and smooth out the chamber walls.
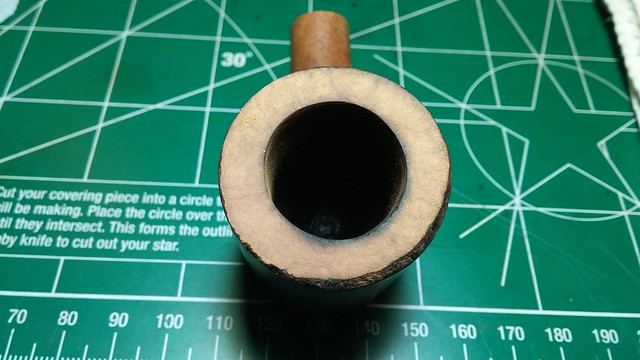
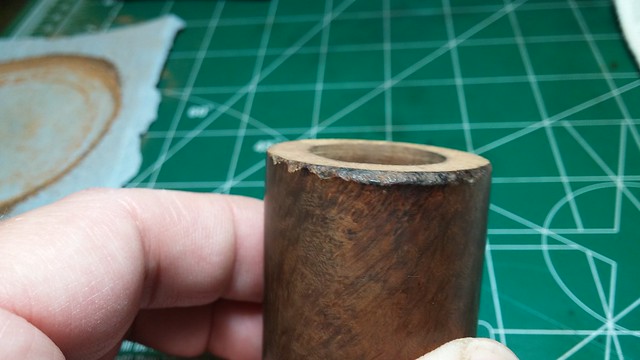
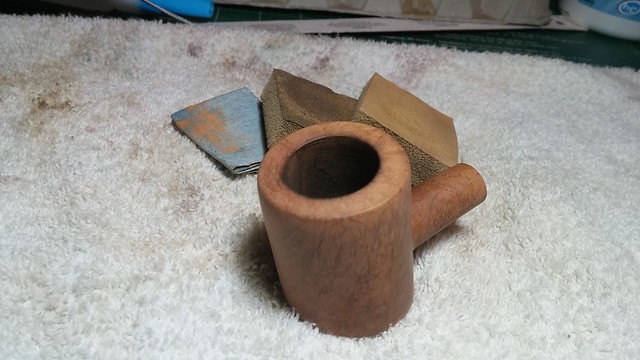
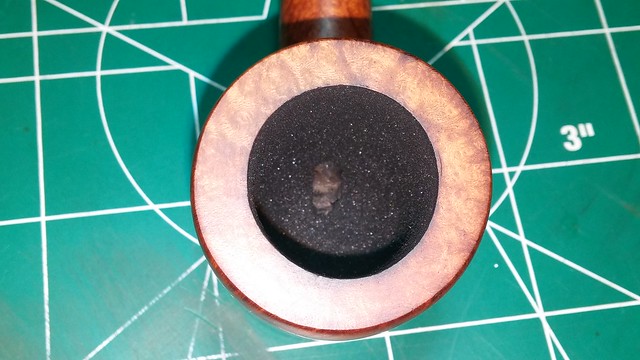
My first pleasant surprise of the cleanup was finding no internal damages in the tobacco chamber, although my elation was tempered by the discovery of a deeply over-reamed chamber which had left the draft hole nearly 3/8” above the chamber floor. I’d have to remedy that or risk burning through the bottom of the pipe the next time it was smoked.

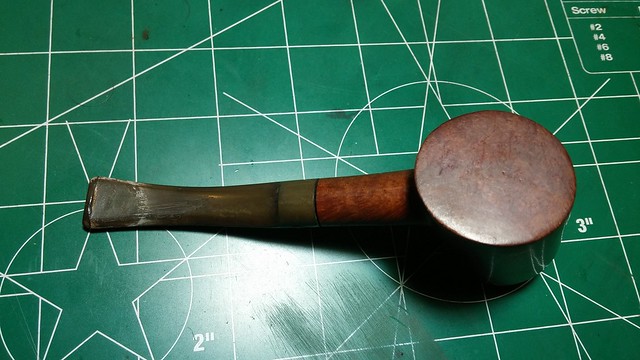
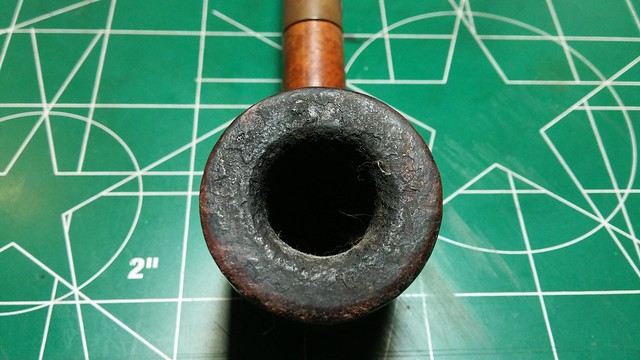
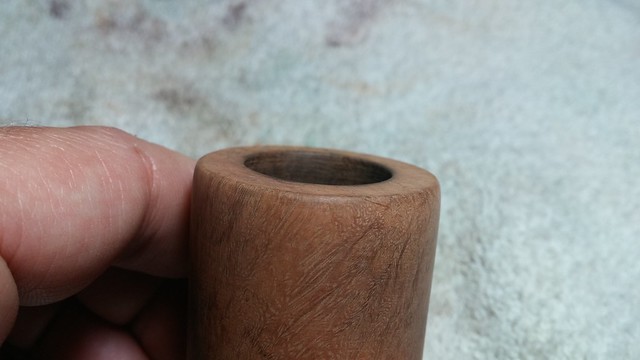
I took this next series of pictures to show both the extent of the rim damage and the beautiful grain in this piece of briar – nearly straight all the way around the bowl, and without any fills or pits. I’d have to get creative if I was to avoid adding any fills during this repair. I dropped the stummel into an alcohol bath for a few hours to help loosen the crust of lava on the rim and remove any remnants of old finish or wax from the exterior.


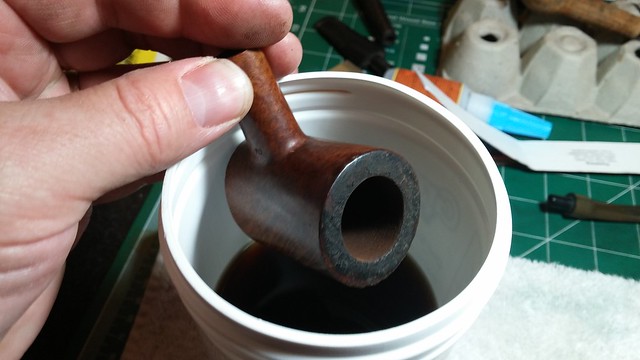
After the soak, most of the tars wiped off the rim with a little encouragement from a rag, after which I topped the bowl on some 220-grit paper to true up the rim surface and gauge the extent of the rim damage.
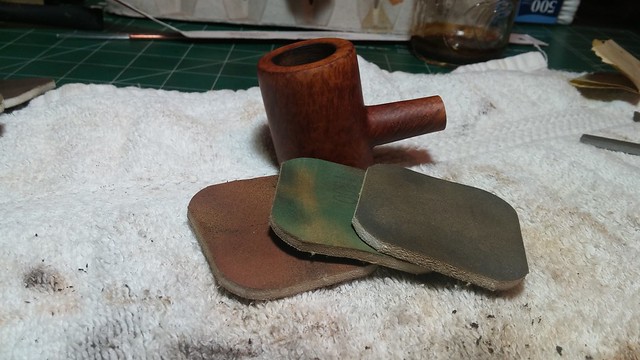
I scrubbed the exterior of the briar with Murphy’s Oil Soap and a toothbrush, rinsed it under fresh water and reassembled the pipe. I snapped this pic to show the progress to this point. There’s still quite a ways to go. The stem doesn’t fit properly yet and that rim damage stands out like a circus clown in Parliament (if you could spot one through the clowns that are paid to be there….).
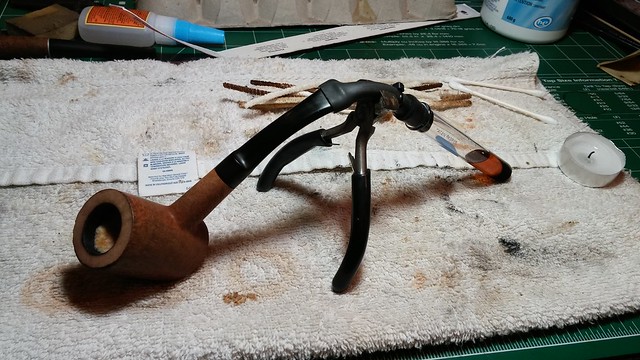
As I’ve mentioned before, a stem that won’t seat properly is an indication of a dirty shank. To remedy that, I hooked the pipe to the alcohol retort to clean and sanitize the internals of both the stem and stummel. I boiled several tubes of alcohol through the pipe before admitting defeat – each tube of alcohol came out just as dark as the previous tube, despite the amount of tars and dirt absorbed by the cotton balls stuffed in the bowl.
I’d have to resort to sterner stuff if I was to banish the accumulated muck from the pipe. A few carefully selected drill bits were used to auger out the shank. Always do this by hand, not with an electric drill, unless you don’t mind accidentally drilling right through to the bowl.

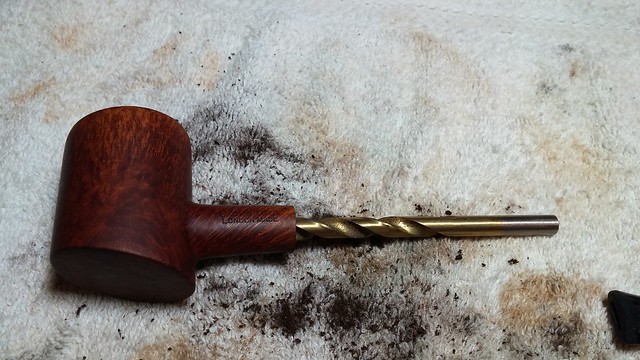
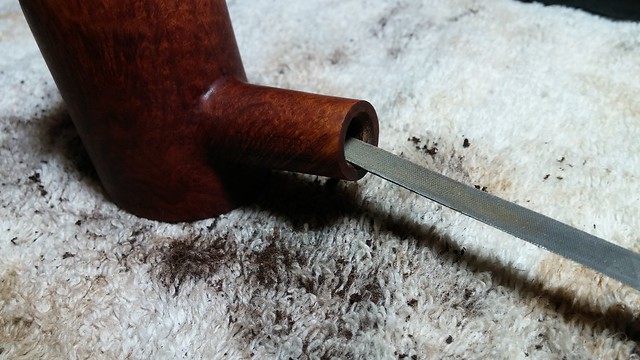
With the offending crud out of the mortise, the stem slid snugly home with just a little adjustment with a needle file.
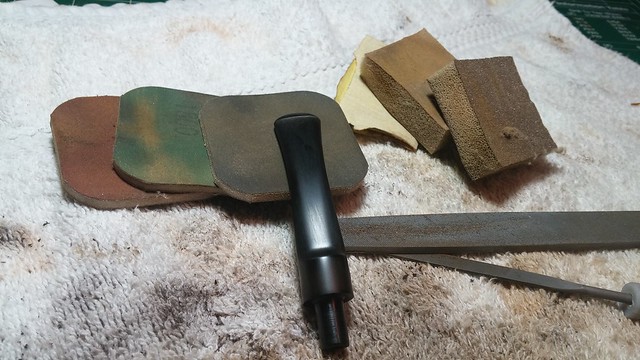
While I had the stem in hand, I sharpened up the lines of the button with needle files and removed some tooth chatter with sandpaper and sanding sponges. Once the vulcanite was smooth, I polished the stem with Micromesh pads in 1500-2400 grits.
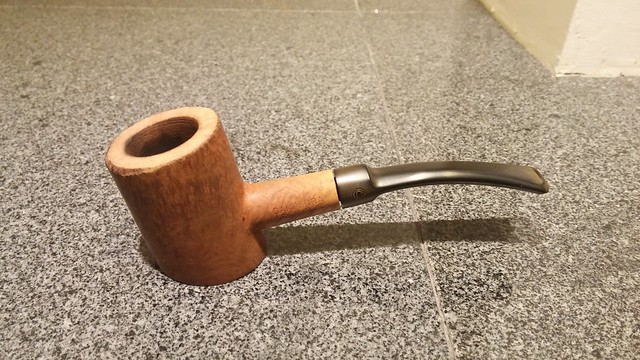
Moving back to the stummel, I decided to begin reducing the rim dents by giving the entire stummel a light sanding. I worked through 220-grit sandpaper and medium and fine sanding sponges, avoiding the stampings, and snapped the following pic. This small reduction in bowl diameter really improved the look of the rim.
A very slight bevel in the outer rim removed the last traces of the knocking dents. Though the bevel changed the original lines of the pipe slightly, I felt it was a better solution than removing over 1/8” of bowl height.
A wipe with mineral oil refreshed the briar and highlighted the grain. I liked the look of it so much I decided to retain the original virgin finish, going only as far as giving the stummel a quick polish with 1500 – 2400 grit Micromesh pads.

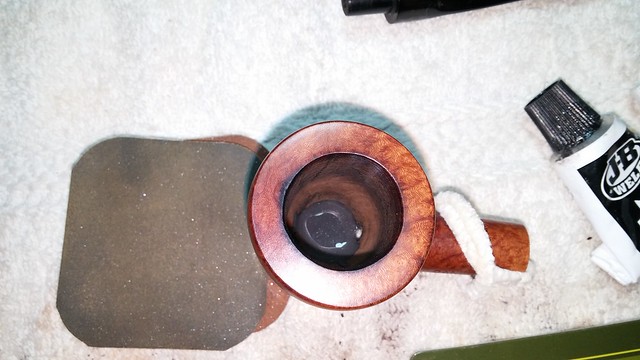
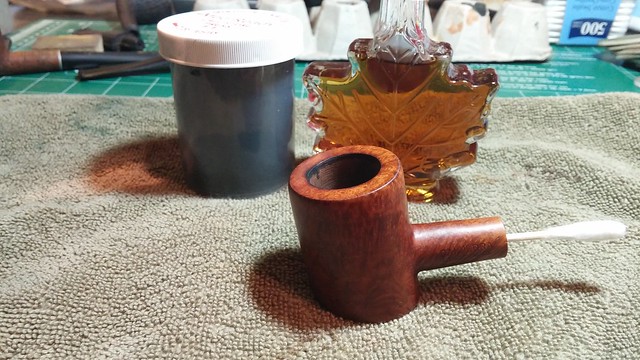
Before final buffing and polishing, I needed to address the over-reamed, burnout-waiting-to-happen chamber floor. If a lesser amount of fill had been required, I may have chosen to use traditional pipe mud for this repair, but I can’t see cigar ash and water doing the trick here. Instead, I decided to fill the over-reamed area with JB Weld.
After slipping a pipe cleaner into the shank to keep the fill material out of the airway, I used a toothpick to drip freshly-mixed JB Weld into the chamber until it just met the bottom edge of the draft hole. After the fill had cured, I ran a drill bit through the draft hole to ensure a good open draw on the pipe.

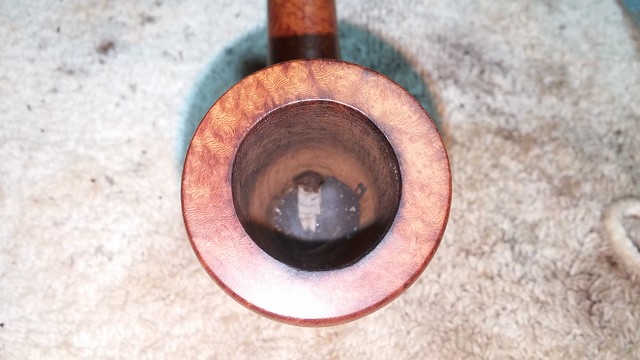
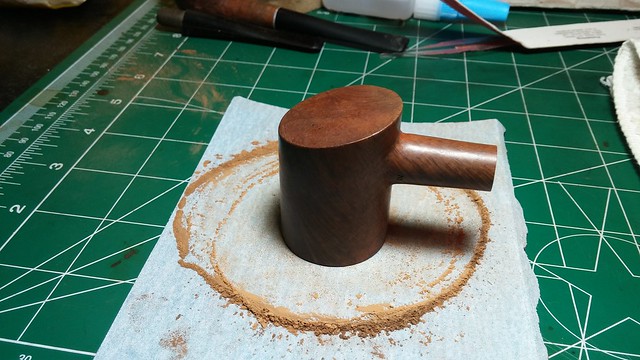
To finish off the bowl repair, I applied a quick bowl coating of maple syrup and activated charcoal powder to the interior of the tobacco chamber. The coating will cover up the grey JB Weld and also provide a good base coat for the creation of new cake.
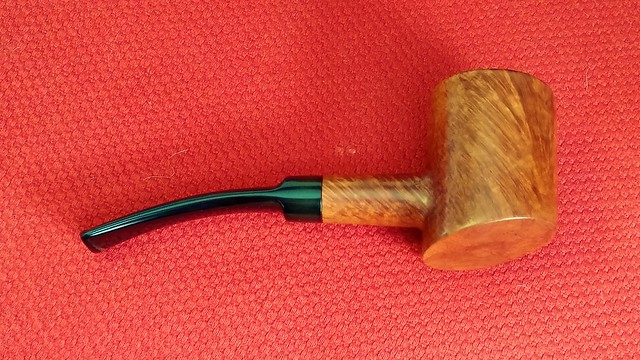
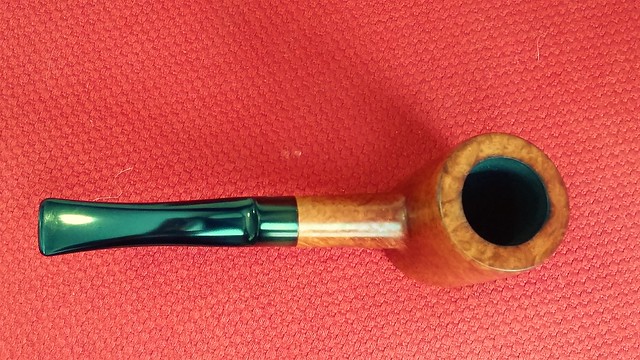
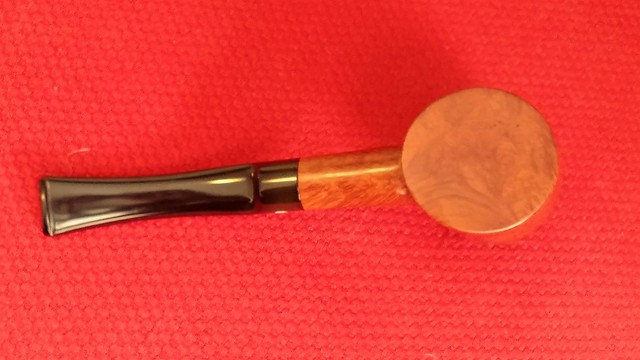
Then it was finally time to take this Canberra to the buffer. A run of White Diamond compound and a few coats of Carnauba wax has this old pipe looking like new again. The pipe actually looks a little larger now that it’s not clogged full of old carbon and the virgin finish lets the natural beauty of this flawless briar shine through. This Canberra is ready to become a favourite companion to a new piper.
Here’s the finished pipe. The colour in the pictures is a little off – the pipe is actually a few shades darker than shown (my camera apparently has trouble with reds. Time for a new background!)
Thanks for looking, and until next time, Happy Piping!


Perfect topping job. The rim looks factory fresh. Very nice restoration, Charles. I like the virgin briar finish.
LikeLiked by 1 person
Thanks! This briar was just too nice on its own to hide under stain.
LikeLike
Nice sitter it would be a nice add to my collection
LikeLike
Thanks Chris. Send me an email @ lemoncrmobile@gmail.com.
LikeLike