
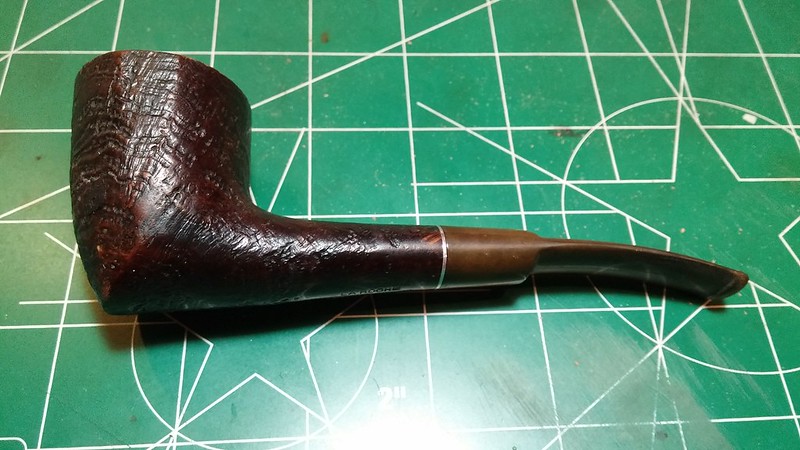
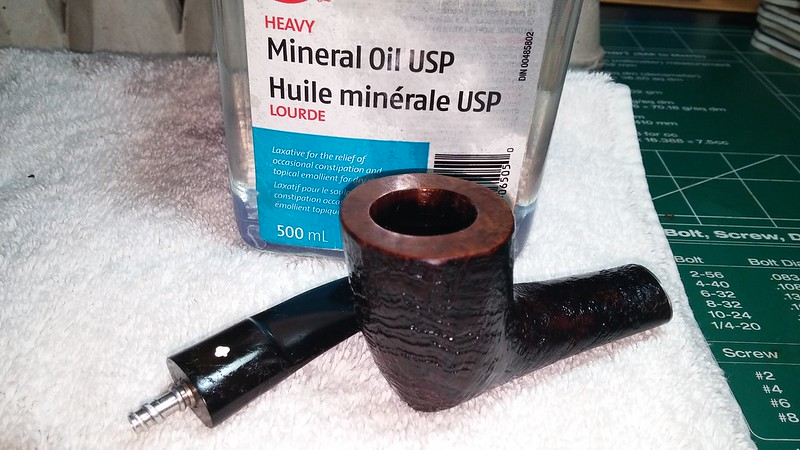
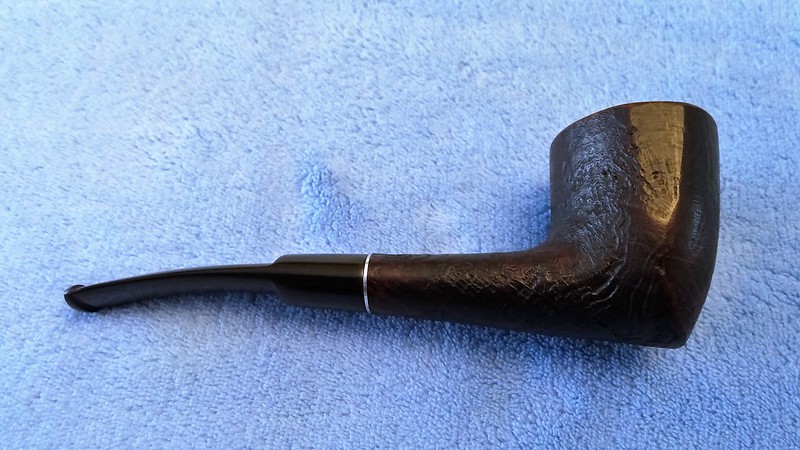
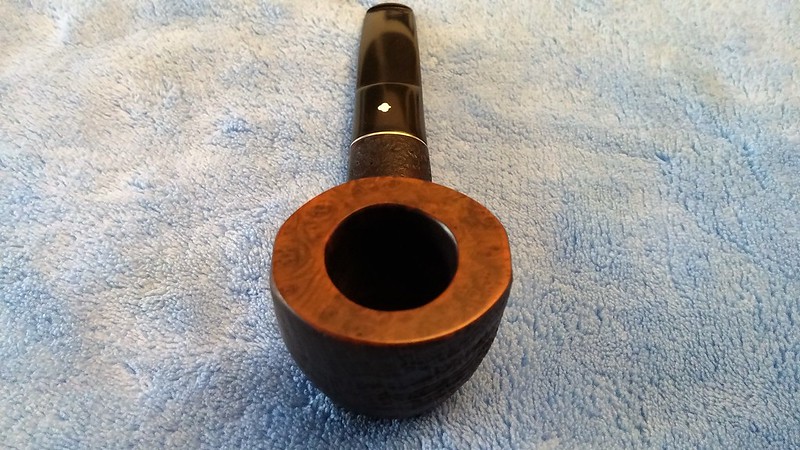
I spotted this Kaywoodie pipe on a recent eBay auction and had to get it in my hands. I quite like the shape – to my eye, a rather Danish-inspired 1/4 bent Dublin – and the oval panel bowl stands out from the crowd. I had previously worked on another English-made Kaywoodie and was keen to have a look at another.
My research into this pipe turned up more questions than answers. As posted in my other English Kaywoodie writeup, Kaywoodie USA partnered with Comoy’s of London in about 1938 to produce Kaywoodie pipes for the European market. That partnership lasted until 1970 when Comoy’s bought out its partner.
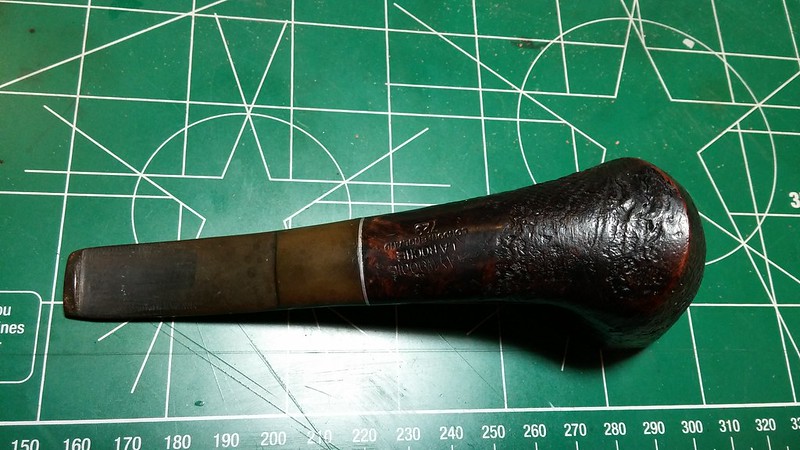
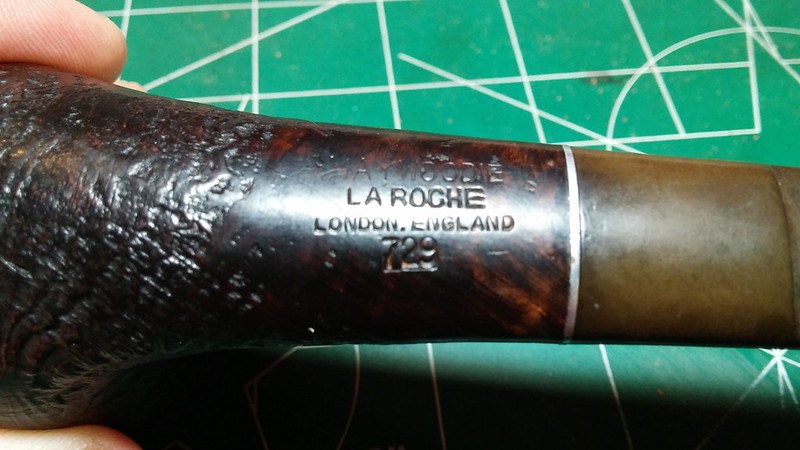
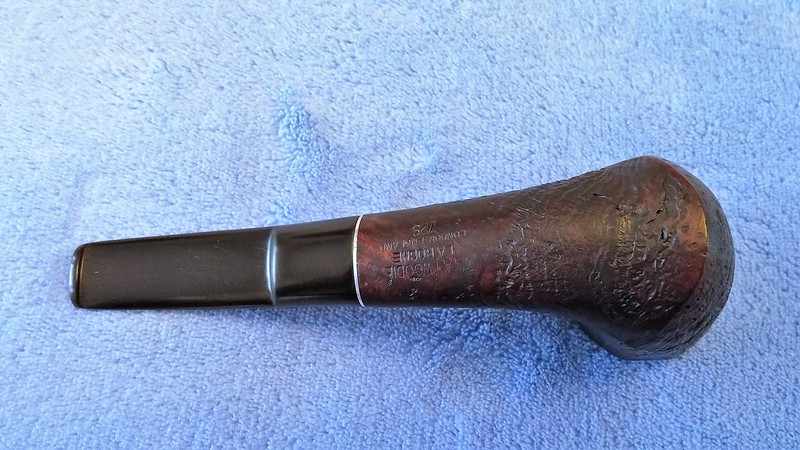
Several sources, including Pipephil.eu, place the manufacture of the Kaywoodie La Roche line firmly in St Claude, France, yet this one is clearly marked “London, England”. Interestingly, this post on the Pipes Magazine forum identifies a possible relationship between Kaywoodie and GBD – in this case an example of Kaywoodie (England)’s “Minerat” line looks suspiciously like a GBD shape number 9665.This tidbit of information reminded me of the Peter Piper billiard I restored a while back, which was also marked “London, England” but made in St Claude, France by GBD.
To throw a little more mud in the water, the shape of the La Roche dublin is very close, if not identical, to Comoy’s shape 623, described in the Comoy’s lists (including this 1975 catalog) as a “modern panel dublin with saddle stem”. That certainly fits the bill nicely, but the shape number stamped on my pipe is “729”, which does not show up in any GBD or Comoy’s list I could find. Could this be a post-Cadogan pipe produced in the GBD factory at St Claude but sold through either its London sister company or Comoy’s? Or is it simply a Comoy’s 623 stamped with its own unique shape number as an English Kaywoodie? Unless further evidence turns up, the pipe’s provenance will remain unclear.
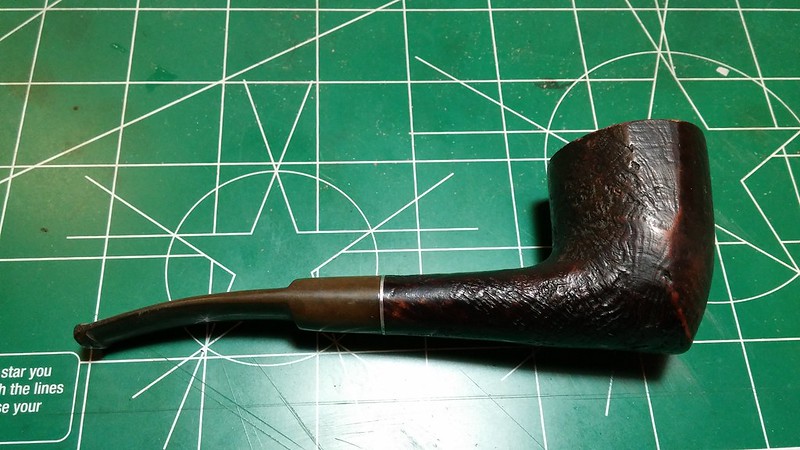
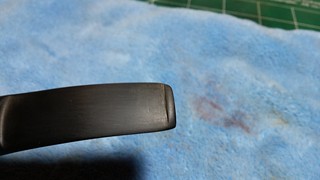
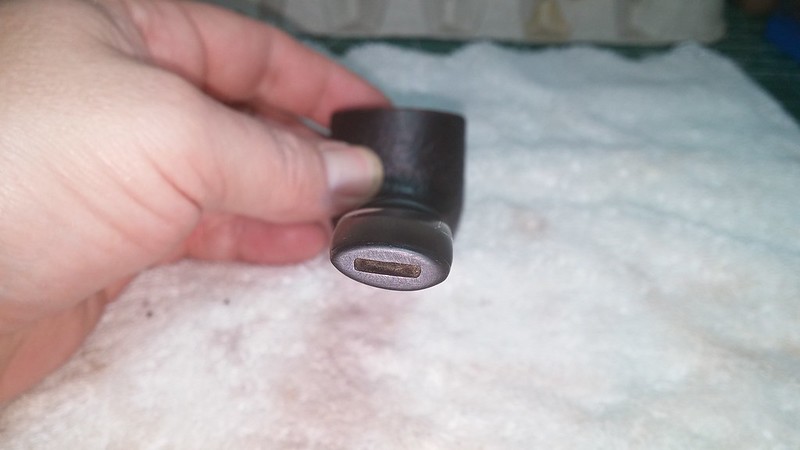
Having reached the end of my research trail, I turned to the actual cleanup of the pipe. It arrived in fairly good shape for a disused estate piece. The exterior of the pipe was dirty, and the rim had a film of residue across its surface, but by and large the stummel looked in good condition. There were a few rim chips and dents that I’d have to address. The stem was heavily oxidized and the top edge of the button was rounded with wear. I suspect the stem was originally outfitted with a 3-hole stinger, but it had been cut off just above the aluminum threads. A lot of Kaywoodie owners cut the stingers in the fashion as it made passing a pipe cleaner that much easier.


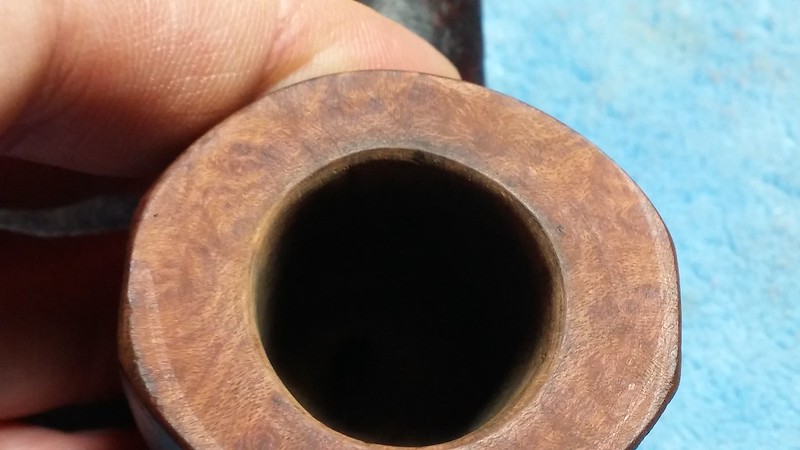
I reamed the bowl back to bare briar using a piece of 100-grit sandpaper wrapped around a dowel. The tobacco chamber on this pipe is conical in shape, so my Castleford reamer is less than optimal. The chamber was in very good shape under the old cake. No problems to deal with there.
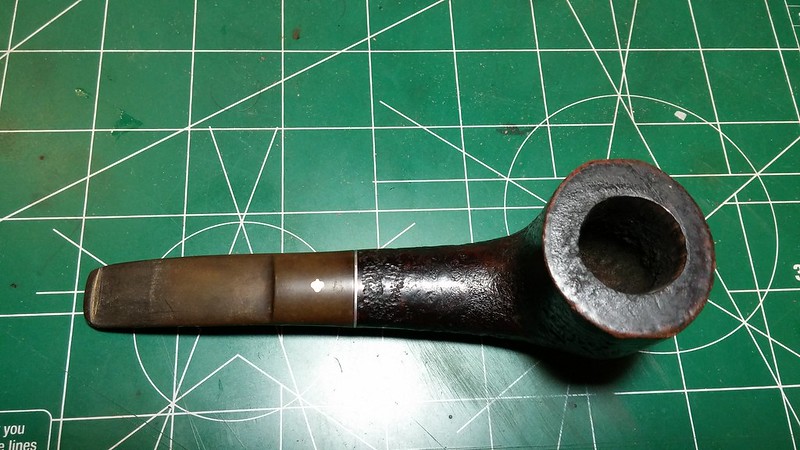
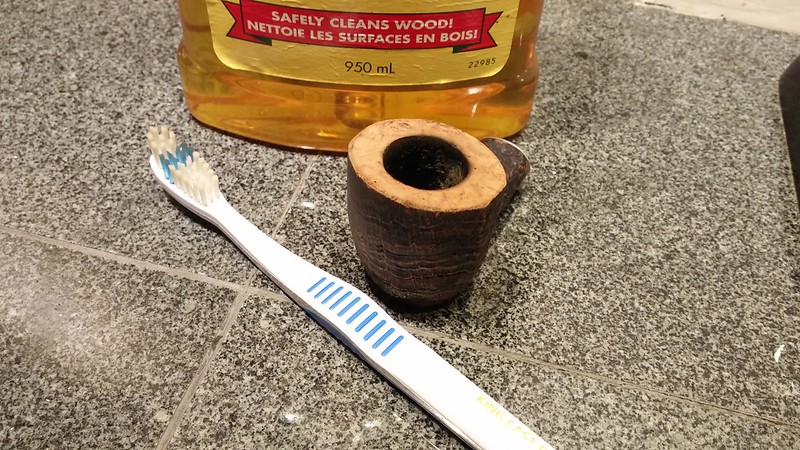
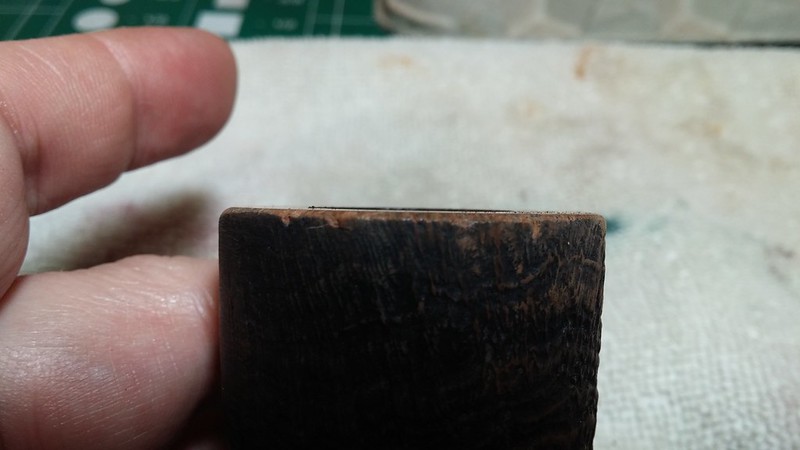
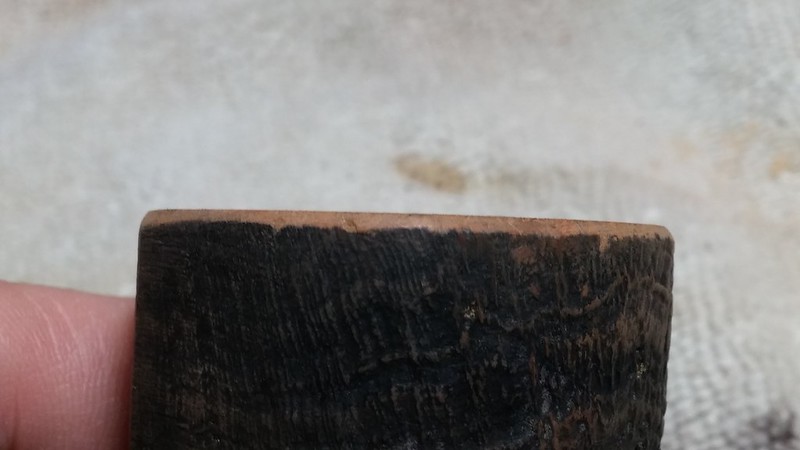
I scrubbed the outside of the stummel with Murphy’s Oil Soap to lift the grime from the sandblast finish. After rinsing the soap away, I gently topped the bowl on 2000-grit wet sandpaper to remove the thin crust of tobacco residue. The damage to the outer rim is visible in the pics below.

I decided to smooth out the rim edge with a scrap of worn 220-grit sandpaper. I sanded the thinnest of bevels into the outer rim, just enough to take care of the dents. In the pics below you can see the before and after shots of the worst rim chips. The chips, at roughly the 8 o’clock position on the rim, if the stem is 12 o’clock, were tiny but sharp enough to catch my finger. A few moments with the sandpaper took care of them, leaving the rim smooth and with just a hint of a taper. I also beveled the inner rim slightly to clean up a few knife-blade gouge marks that were giving the bowl an out of round appearance.
The finish on the stummel was quite worn, with patches of bare briar here and there. It would need to be refinished, so I dropped the stummel into an alcohol bath to dissolve what remained of the old finish. The soak would also help clear out the gunk built up on the airway. I’m always surprised by just how much old stain and tobacco residue the alcohol bath pulls from a pipe. This series of pics shows the stummel going into fresh isopropyl and the changes after 2 hours and again after 8 hours.

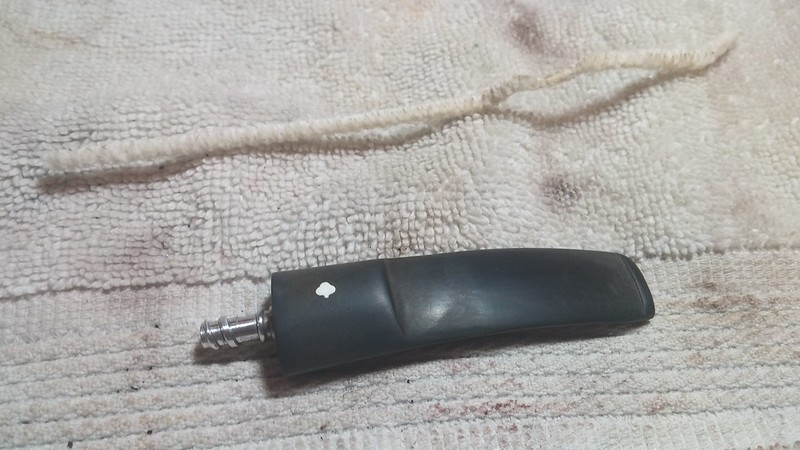
While the stummel soaked, the stem sat in its own bath of Oxyclean and warm water. I pulled it out the next morning and scrubbed away the oxidation with 0000 steel wool and Magic Eraser followed by 1000 and 2000 grit sandpapers.
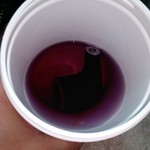
I pulled the stummel from the now dark alcohol bath and worked on the internals with pipe cleaners and more alcohol. There was a lot more crud hiding inside the shank than I had anticipated. After the first handful of pipe cleaners showed no improvement in the state of the shank I decided to pull out the retort for some deep cleaning with boiling alcohol.

In all, I ran five tubes of alcohol through the pipe. It was incredibly dirty in there, which surprised me as I could pass a pipe cleaner through the shank from the get-go. Usually there is quite a bit of resistance to a cleaner if the shank is that gunked up. The first pic below is of the first tube of alcohol just starting to collect dirt. The second was, believe it or not, taken after the fourth tube of alcohol!

The lengthy retort cleaning did the trick – it only took a few pipe cleaners to wipe out the remaining dirt and tars. Not surprisingly, the draw on the pipe is now wide open.

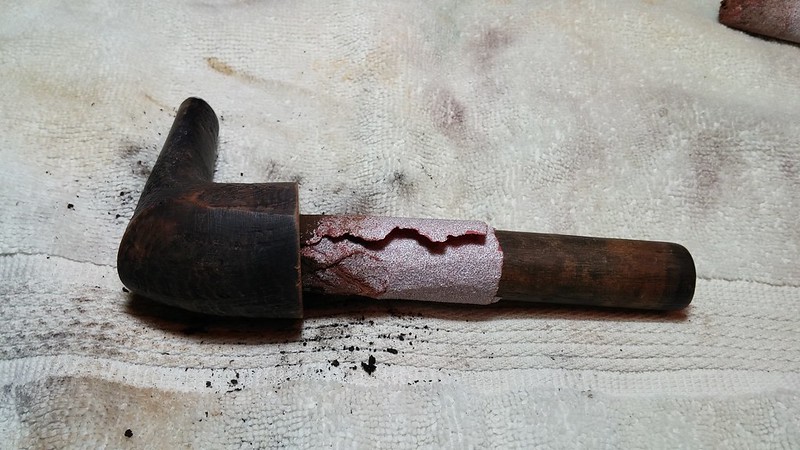
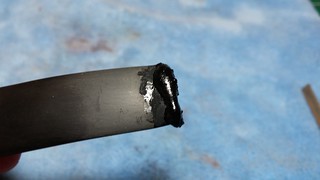
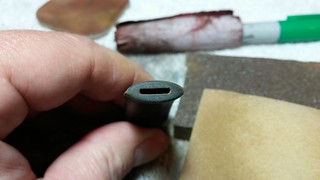
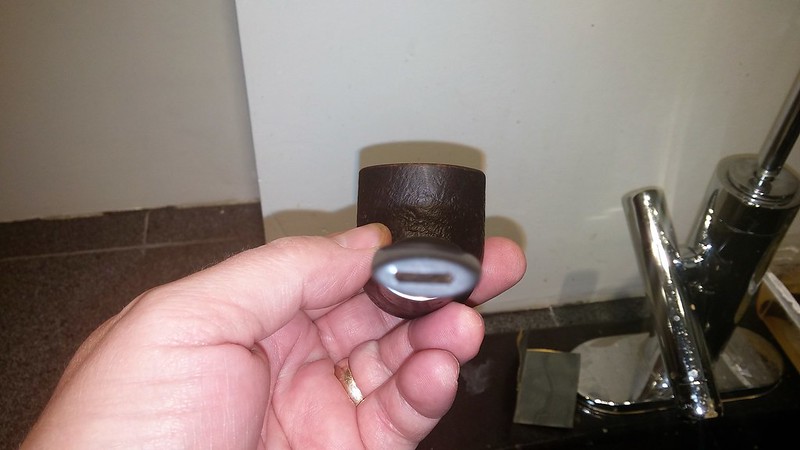
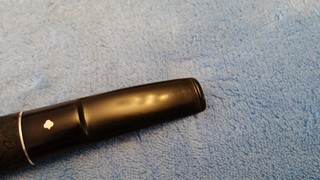
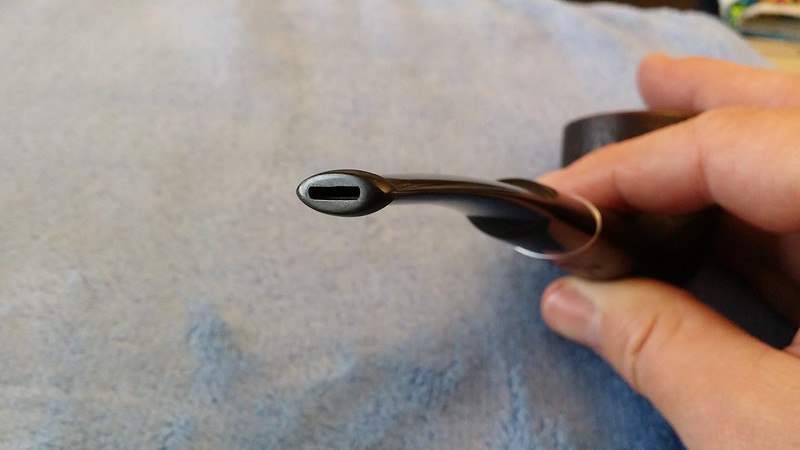
Moving back to the stem, I addressed the worn button. The bottom of the button was worn, but more or less acceptable, but the top of the button had been worn down significantly – the previous owner may have had a habit of pulling the stem through his teeth?
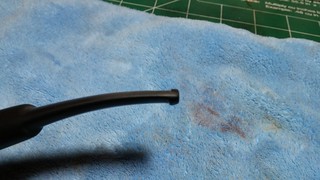
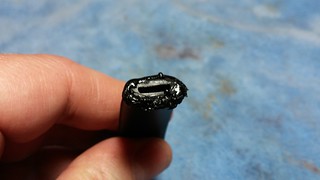
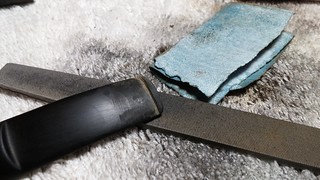
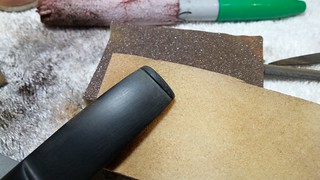
I mixed up some CA glue and charcoal powder and applied the material to both sides of the button. This is the ugly stage of button repair – the cured fill always looks rough and unappealing. A bit of work with files and sandpaper, however, begins to reveal the new button hiding under the mess. With the button roughly shaped in, I switched to 220-grit sandpaper to smooth out the file marks and refine the button shape, finishing off with medium and fine grit sanding sponges and a wet-sanding with 2000-grit paper.
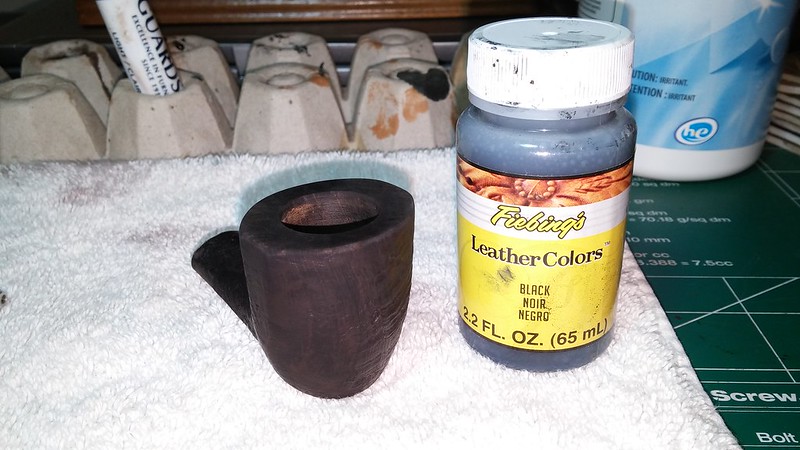
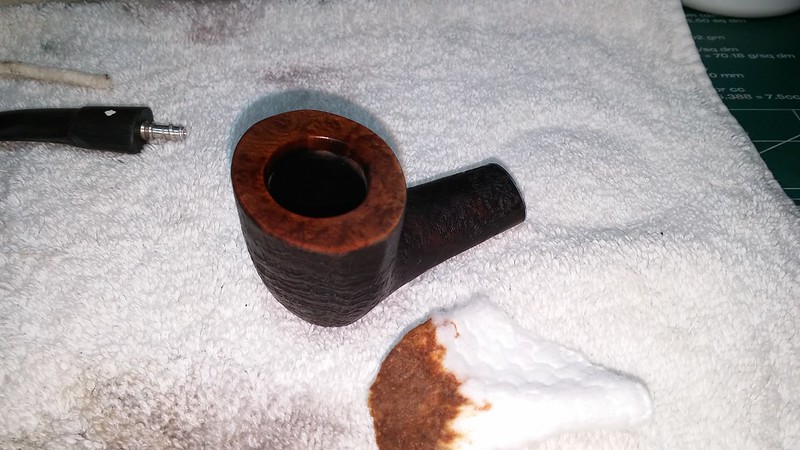
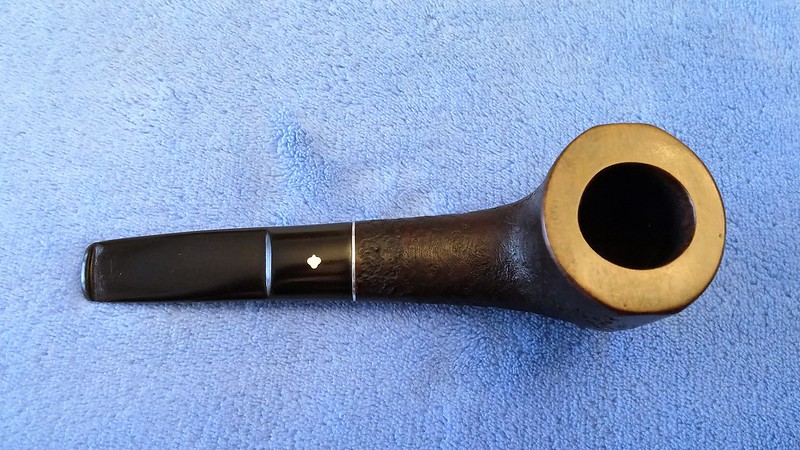
With the stem ready for the buffer, I re-stained the stummel with Fiebing’s Black water-based leather dye. I applied the dye full-strength over the entire stummel, let it dry, then wiped most of the colour off the rim with a bit of damp 0000 steel wool to highlight the mostly birds-eye rim grain. I re-stained the rim with a mix of Fiebing’s Saddle Tan and Dark Brown dyes to provide a nice contrast to the black grain. When the stain was dry, I rubbed off the excess with an old towel and applied a light coat of mineral oil.
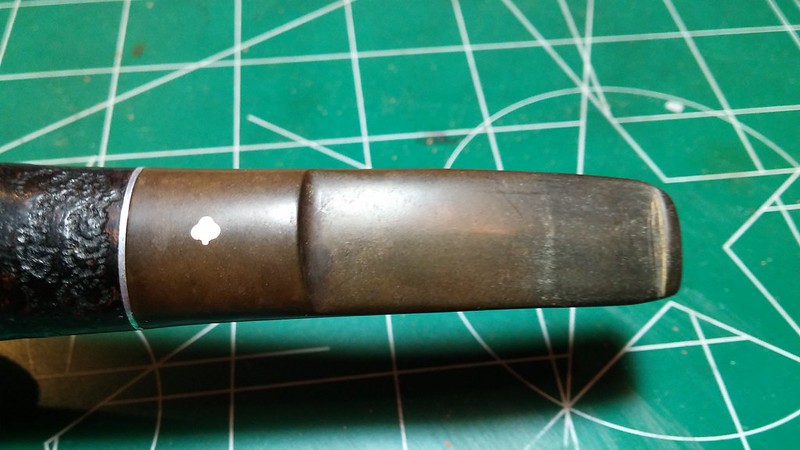
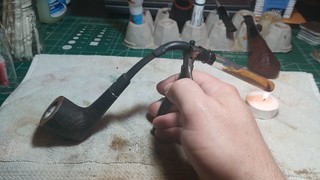
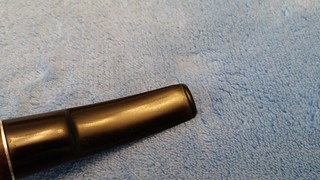
I was actually heading to the buffer when I noticed something I had previously missed – the stem was twisted. Likely a result of years of threading and un-threading from the mortise, the button end of the stem had developed a clockwise twist. I corrected this by heating the stem over the heat gun until pliable and then gently twisting the stem back to straight. The pics below show the stem before and after straightening.
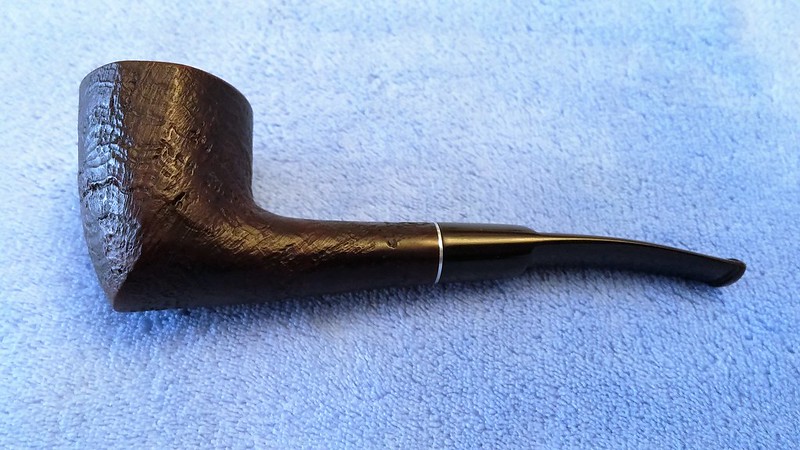
With that little detail sorted out, I continued to the buffer where the pipe got a run of White Diamond compound on the wheel followed by several coats of Carnauba wax. The finished pipe looks almost as good as the day it emerged from the Kaywoodie London/Comoy’s (GBD??) factory. I like the chunkier, Scandinavian take on the Dublin shape, and the pipe feels great in the hand. This La Roche is ready to be put back into rotation for many more years of service.
Here’s the finished pipe. Thanks for looking and until next time, Happy Piping!

It’s interesting that this pipe is marked London, England but was made in France. I own a small pipe that says Made in France, but was sold in Birmingham, England back in 1904. It was assumed by the previous owner – who was an avid collector of WW2 militaria – that as the pipe was purchased from a collector shortly post-WW2 that it was made in that same era. It was only after the markings: an RJ and a lion, that an extra 40 years was stuck on its age!
LikeLiked by 1 person
Hallmarks and other stamps can be invaluable when dating a pipe. Dunhill date stamps all their pipes but most makers do not. Makes dating a particular piece a bit of a challenge at times!
LikeLiked by 1 person