
I managed to squeeze one more restoration in before heading away for a bit of Christmas R & R with the family. The pipe was sent to me by a fellow member of the Brothers of Briar pipe forum. He had been given this old Hardcastle but needed the stem repaired before he could use it. I offered to help, and before too long, the pipe arrived in my mailbox. I took this series of pics to show the pipe’s original condition.


As you can see, it arrived in well-used vintage condition. The finish was worn and spotty, with much of the tan/natural undercoat exposed where the black topcoat had been rubbed off by years of handling. The rim was tarry but otherwise looked okay, with no major dings or dents to the sandblast finish. The bowl had a light layer of cake, with a thicker ring of carbon about two-thirds of the way down the chamber. The pipe is stamped “Hardcastle’s” over “British Made” over “Jack O’London” on the flat bottom of the shank, along with a shape number, “172”. Pipephil.eu’s logo database places the pipe in the Hardcastle Family Era which ended in 1967 when Dunhill took over the Hardcastle firm.
The stem was oxidized and had fingerprints embedded in the grime; and then there was the aforementioned stem damage – the entire underside of the bit was missing, and the upper bit/button had two cracks running lengthwise down the stem from the slot area. Bits of old tobacco and other grime decorated the inside edges of what used to be the Y-shaped slot. The damage notwithstanding , this Hardcastle was in pretty good shape for a pipe that was likely made between about 1945 and 1967 when Dunhill took over the Hardcastle operations completely. It should clean up nicely.
My brief from the pipe’s owner was really only concerned with repairing the damage to the stem, but I couldn’t resist sprucing the rest of the pipe up a little as I went. Reasoning that I couldn’t possibly repair a dirty pipe, I dropped the stem into an Oxyclean bath for an overnight soak and used my Castleford reamer to remove the cake left in the bowl by its previous owner. It didn’t take long to trim out the carbon and restore the chamber’s original lines. Then I cleaned the exterior of the stummel with Murphy’s Oil Soap and an old toothbrush. This gentle scrub lifted the oils, waxes and plain old dirt from the ridges and furrows of the sandblast finish, and loosened up the rim tars, allowing me to clean them off with a gentle application of 0000 steel wool.


As you can see in the pics above, the Murphy’s scrub made a significant difference in the appearance of the briar. The stain is still uneven, but I wasn’t about to re-stain a vintage pipe without the express consent of the owner – the mission here was to clean and preserve, not to restore. With the exterior of the stummel clean, I moved to an internal cleaning, using bristle and soft pipe cleaners and isopropyl alcohol to clean the tars and other residue from the bowl, shank and airway. I finished up the stummel with a light wipe of mineral oil to bring out the colour and impart a bit of moisture to the briar.
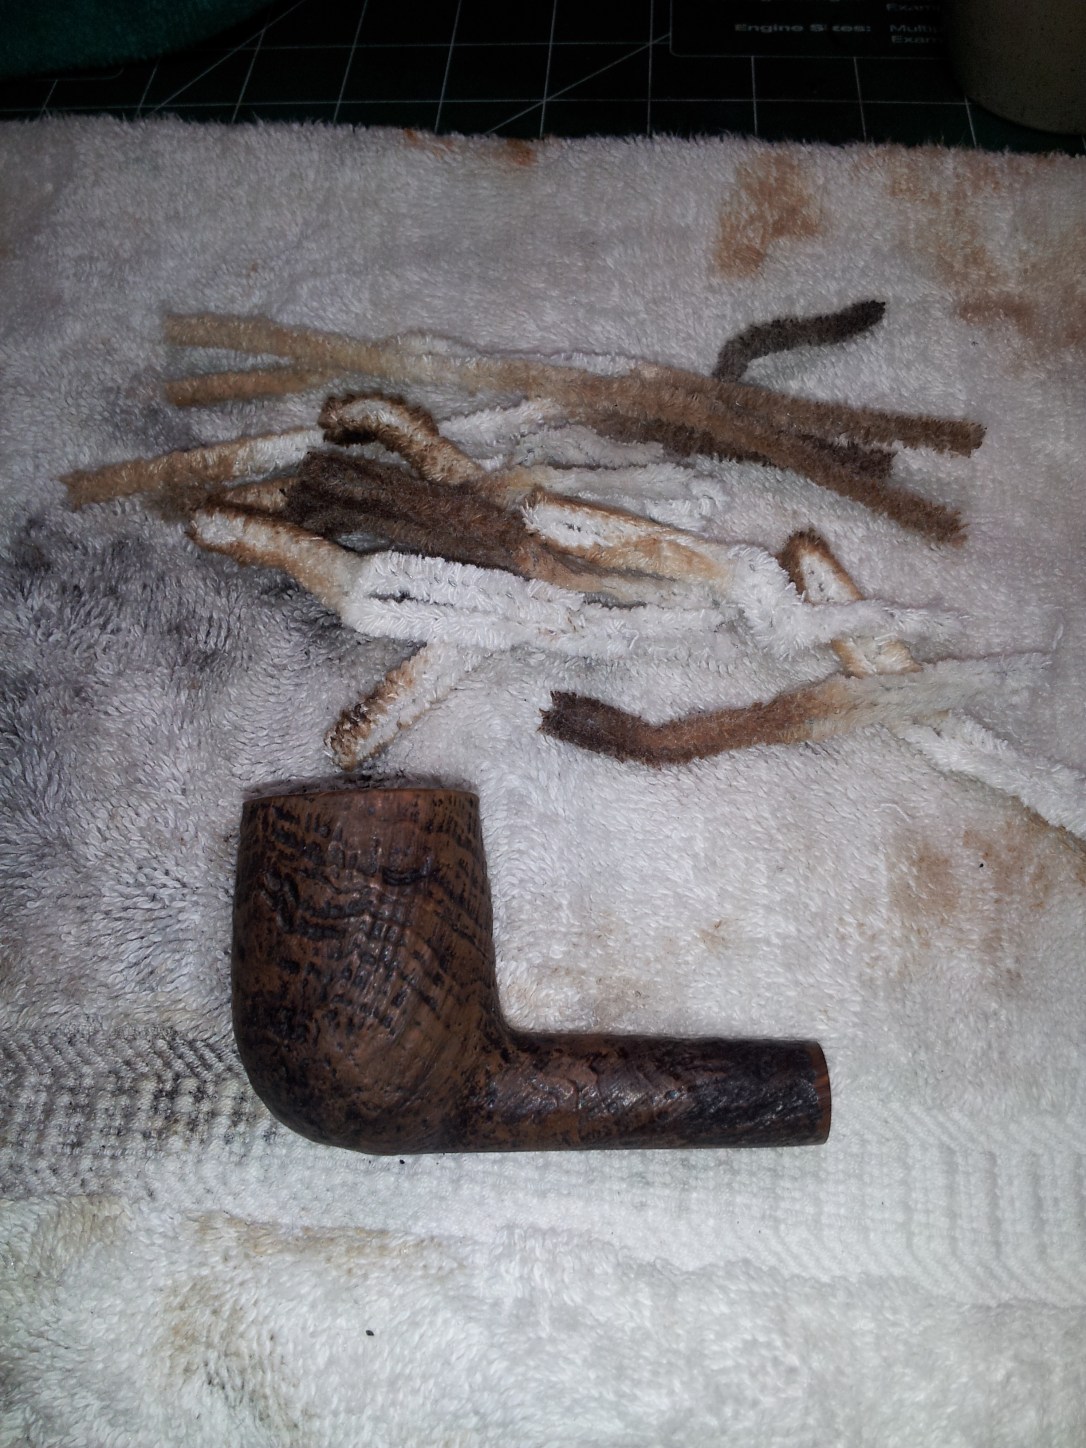
The next morning, I pulled the stem from its Oxyclean bath and scrubbed the raised oxidation off the stem surface with Magic Eraser and 0000 steel wool followed by a course of 600 -1000 grit wet sandpaper to smooth and polish the vulcanite. Then it was time to clean the internals, which, other than the last half inch or so of the stem, were pretty clean.

I reassembled the pipe and took a few pics to show the progress at this point. The stummel looks good but there is still a lot of stem work left to do.


Before I got too far into the stem work, I wanted to make sure that the parallel cracks in the stem’s upper button area didn’t cause problems during the button rebuild. I flowed a layer of CA glue into both the top and bottom surfaces of the bit to stabilize things while I worked.


Then it was time to get on with the stem rebuild proper. I cut a cardboard shim to fit snugly in the slot at the end of the stem, and wrapped it with tape to stop the CA glue from sticking to it. I fit the shim firmly in the slot and then flowed a layer of CA glue mixed with charcoal powder over the entire repair, filling in the area of missing vulcanite. I let the patch cure for a few minutes and then added a few more layers of CA and charcoal to build up the repair to provide enough material to carve out a new button. I also added material to the top-side button area ti fill the larger tooth dents and bulk up the worn button. I let the stem cure fully, and then used an array of files, sandpaper and MicroMesh sanding pads to cut and shape the new button. This series of pics shows the progression from ragged break to nearly finished stem:


Then it was time for the buffer. I gave both stummel and stem a run on the wheel with White Diamond compound, working gently on the briar while giving the stem more attention to ensure a smooth finish across the repaired area. Then the entire pipe received several coats of Carnauba wax to shine everything up.
I snapped this last series of pictures before boxing up the pipe to ship back to its owner, just in time for Christmas. I’m quite pleased with the way the pipe came out – this Hardcastle’s Jack O’London is functional once again, and despite a rather thorough cleaning and polishing, the pipe’s vintage appearance has been preserved. I hope its new owner enjoys the pipe in good health for many years to come!


Thanks for looking, and Merry Christmas to all! I hope everyone gets the chance to enjoy a bowl in the company of loved ones this Holiday season. Looking forward to more pipe restoration adventures in 2016!

Nice work on that one Charles. Well done on the stem rebuild.
LikeLiked by 1 person
Thanks, Steve!
LikeLike
Reblogged this on rebornpipes and commented:
Charles is getting proficient at the stem rebuilds and this is another fine example of his craft. Well done.
LikeLike
That stem repair is nothing short of amazing. How much time would you say you put into it?
LikeLiked by 1 person
Thanks Tim. The cleaning always seems to take more time than the repair, but there’s probably 1 – 1.5 hours in the stem repair start to finish. The CA glue cures quickly; the time is in the sanding & polishing.
LikeLiked by 1 person
Thank you Charles, for sharing this refurbish. The pipe, and especially the stem came out great. Merry Christmas to you, and your loved ones.
LikeLiked by 1 person