
Here we go with another bulldog! I don’t really know how I managed to acquire yet another example of this classic pipe shape, but there you have it. This one is a BBB 2-Star straight bulldog that arrived in pretty good shape. The rim was tarred and had a few small dings around the edge, and there were three or four dents around the outside of the bowl. The stem was oxidized and grimy, and looked like it had been seriously over-waxed at some point – the brass BBB logo inset in the stem was completely filled in – but otherwise had only a small amount of tooth chatter in the bite area. The pipe is stamped on the left shank with the BBB diamond logo over a pair of asterisks (thus the “two stars” of the entry-level BBB line-up). The right shank bears the stamps “London England” over a shape number, “401”. The stem carries the BBB logo as a brass plaque inset in the left side. This is a bit odd, as the 2-Star line usually has the logo stamped into the stem, leaving the brass plaques for the higher product lines. My guess is that this is a replacement stem, though not a great one, as the plaque leans a bit to the right.


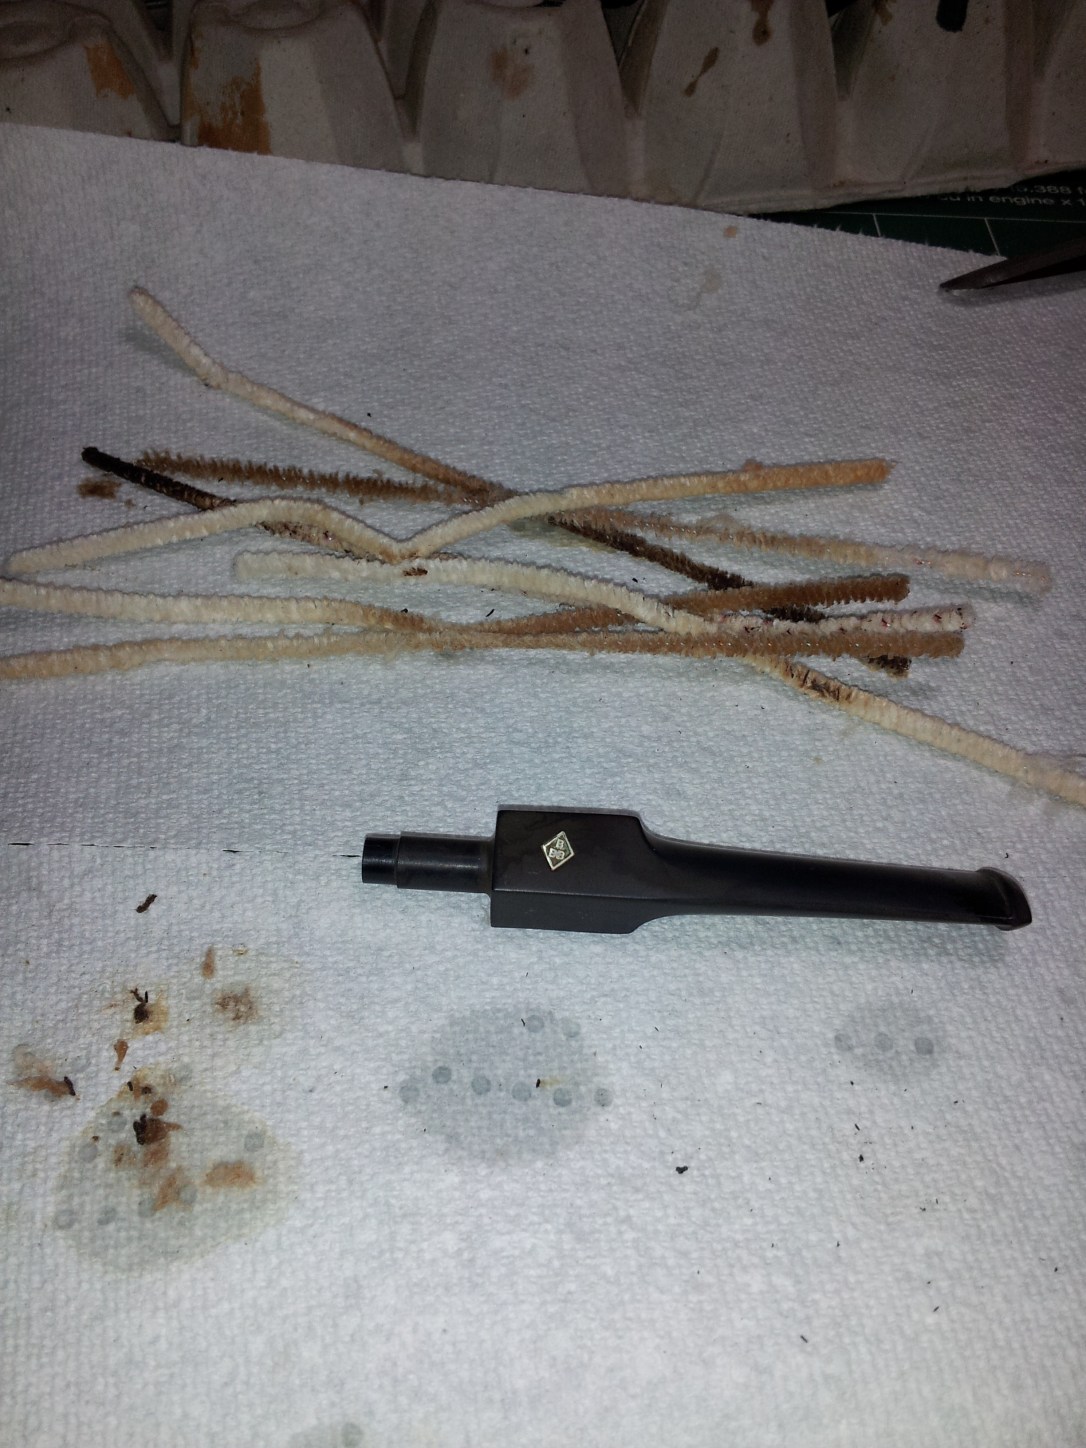
My hope was to steam out the shallow dents in the stummel and simply buff and polish the briar to bring it back to life. Before I got started with this, though, I soaked the stem in an Oxyclean and warm water bath to raise the oxidation and soften any built-up tars in the airway. The stem soaked overnight, after which I scrubbed the exterior with Magic Eraser and then 600-1000 grit wet sandpapers to remove the oxidation and smooth the surface. The soak also helped break down the wax and other gunk that was imbedded in the brass logo insert. This was followed by a thorough airway cleaning using bristle and soft pipe cleaners and isopropyl alcohol.
I reamed the bowl back to briar using my Castleford reamer, inspected the chamber for any damage (there was none), and then lightly topped the bowl to remove the layer of tars and smooth out the nicks around the edge of the bowl.


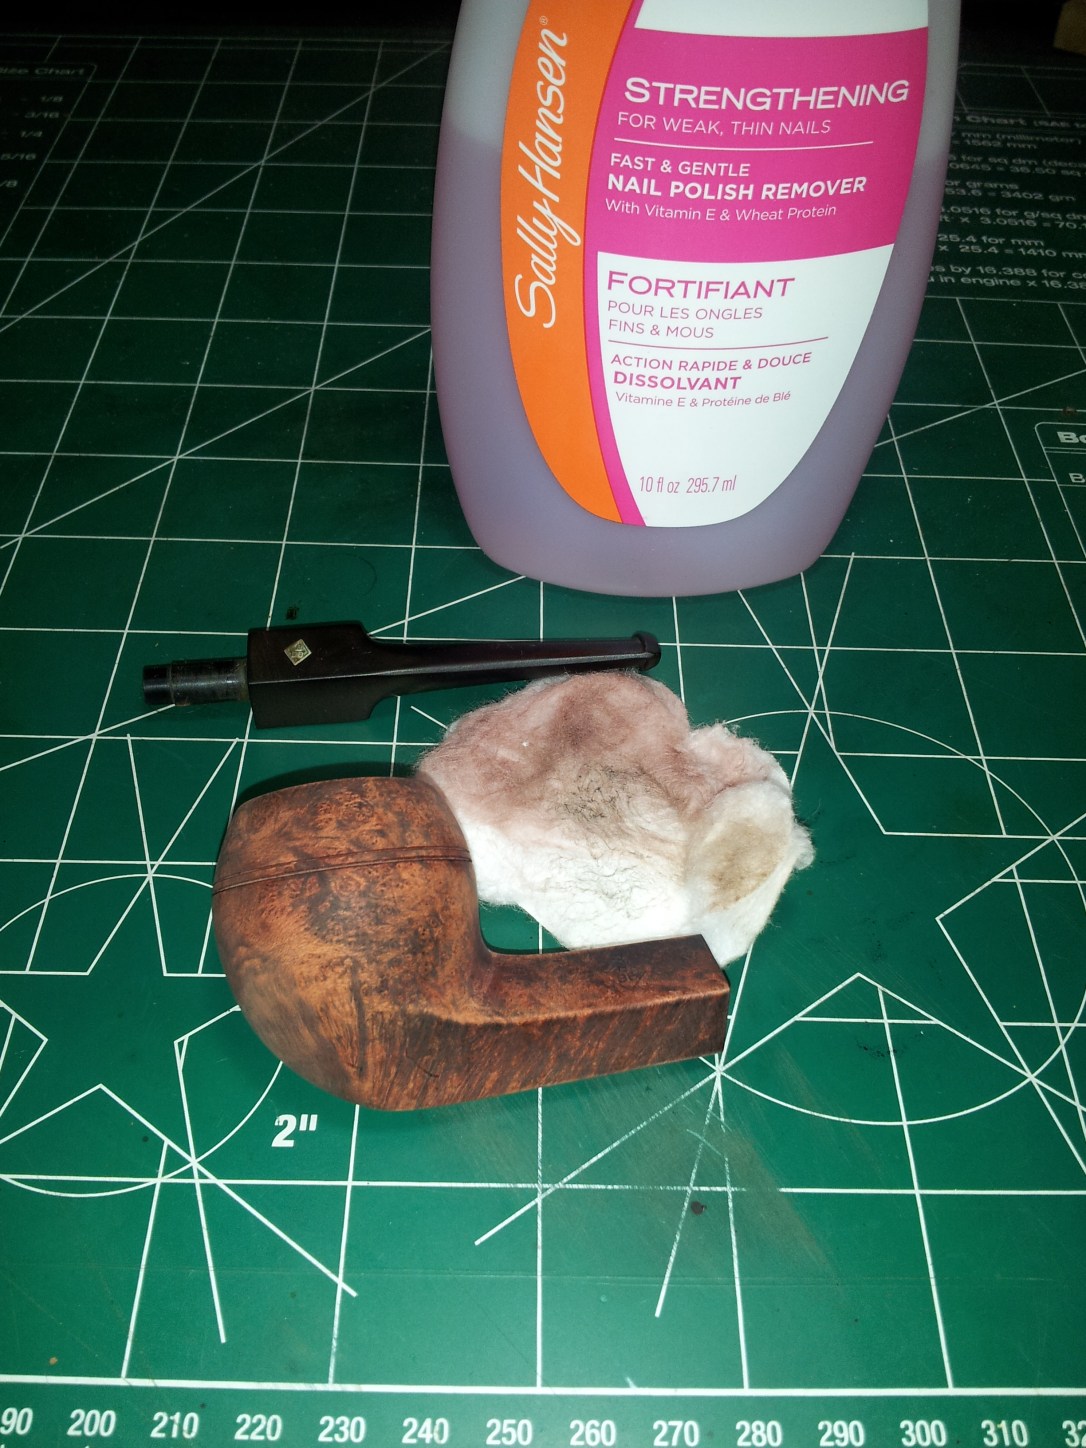
On closer inspection, one of the larger “dents” on the right side of the bowl was revealed to be a shrunken fill. Well, so much for retaining the original finish! I knew that sanding a fresh fill would require re-staining the stummel, so I dropped the briar into an alcohol bath for a while to soften the remaining putty fill and dissolve any wax left on the stummel. When the stummel came out of the alcohol, I rubbed it dry and then wiped it down with acetone to further clean the surface in preparation for filling. Here’s the pipe at this point in the refurb.
I used a dental pick to scrape out the remaining putty from the old fill and repaired the damage with a mix of CA glue and briar dust. When the glue had cured, I sanded it flush to the briar using 220-grit sandpaper and both medium and fine sanding sponges.
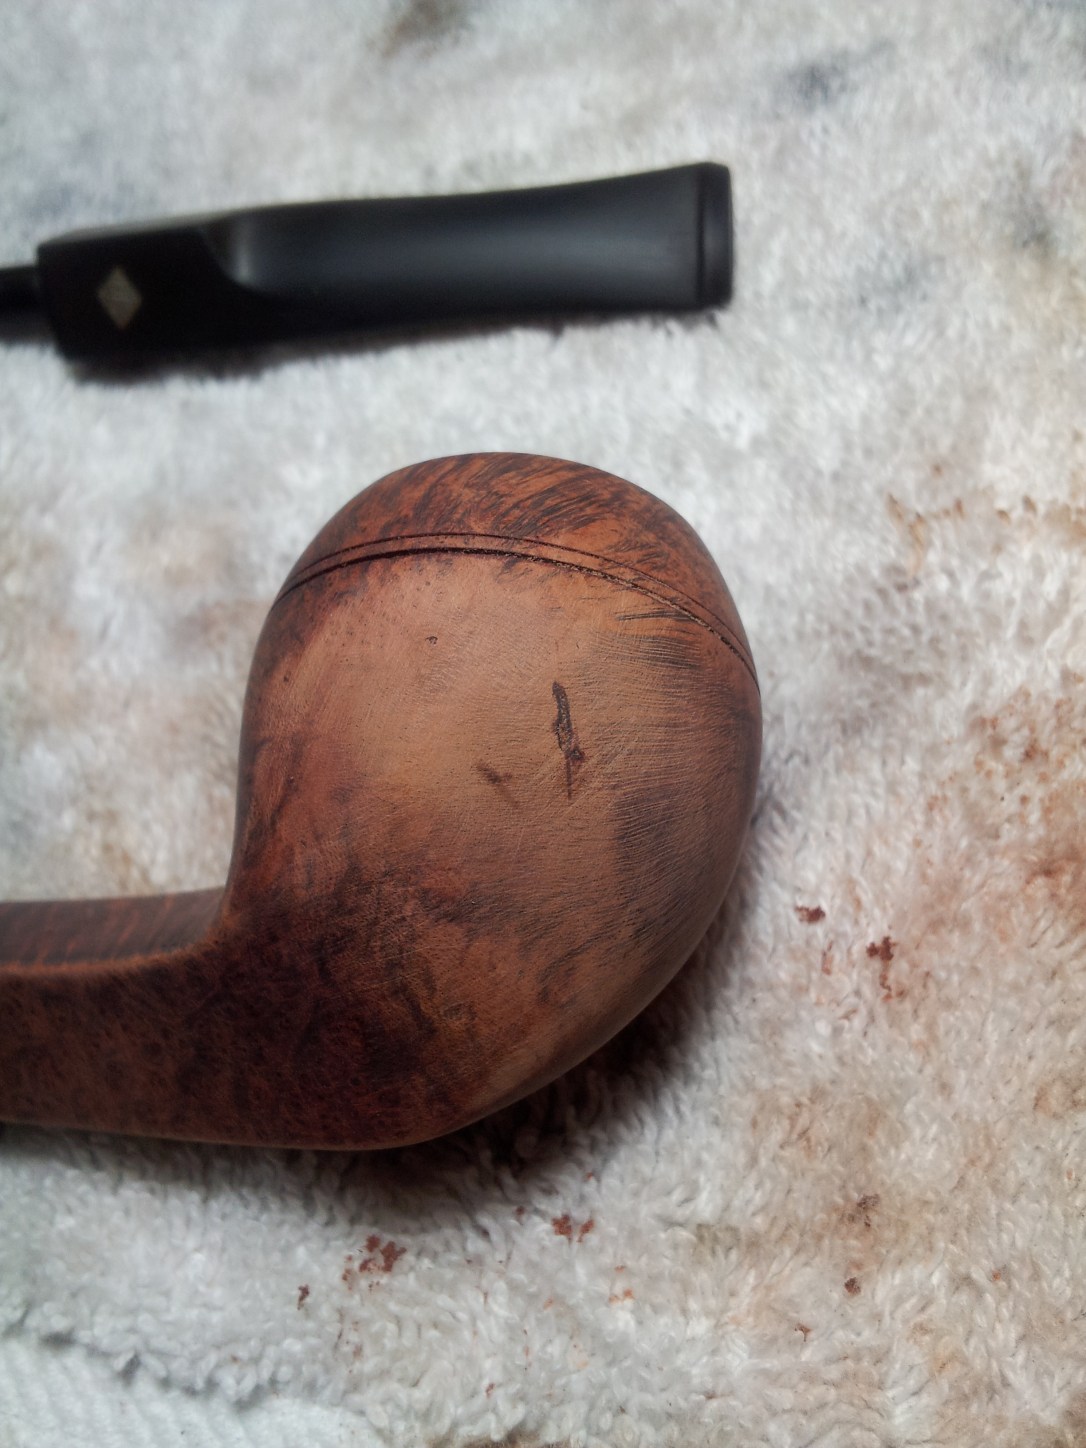
Then it was time to steam out the remaining dents. The pic below shows two dents in the right side of the lower shank/bowl junction. To lift the depressed areas, I heated the screwdriver attachment on my old Army pocket knife over a tea candle for a few minutes. Then I placed a damp cotton pad over the dents and applied the hot steel to the pad. The resulting steam is directed at the dents, essentially “fluffing” the depressed wood upwards towards the surface of the stummel. I repeated the steaming process several times to make sure I raised all the dents, then finished off with a light sanding with a fine-grit sanding sponge.


Then it was time to re-stain the briar. I liked the original finish of the pipe, so I tried to get as close as I could to that colour scheme. I gave the stummel a coat of Black leather dye, which was partially removed after it dried. I use the Fiebing’s water-based dyes, so removing the black undercoat is a simple matter of a light scrub with 000 steel wool and a bit of water. The dye sticks in the softer grain, making it “pop” under the lighter top colour. In this case, I made up a medium-dark combination of Saddle Tan and Dark Brown dyes and applied several coats over the black undercoat. When the colour dried completely, I hand-buffed the stummel with an old towel and then applied a light coat of mineral oil to enhance the grain and add depth to the finish.


Finally, stummel and stem were reunited and taken to the buffer for some White Diamond compound on the wheel and several coats of Carnauba wax. This BBB 2-Star is all spruced up and ready for many more years of smoking enjoyment. Given the number of bulldog pipes I’ve refurbished lately, I’d be happy to make this one available for sale or trade to anyone interested. Here’s the finished pipe. Thanks for looking.


