
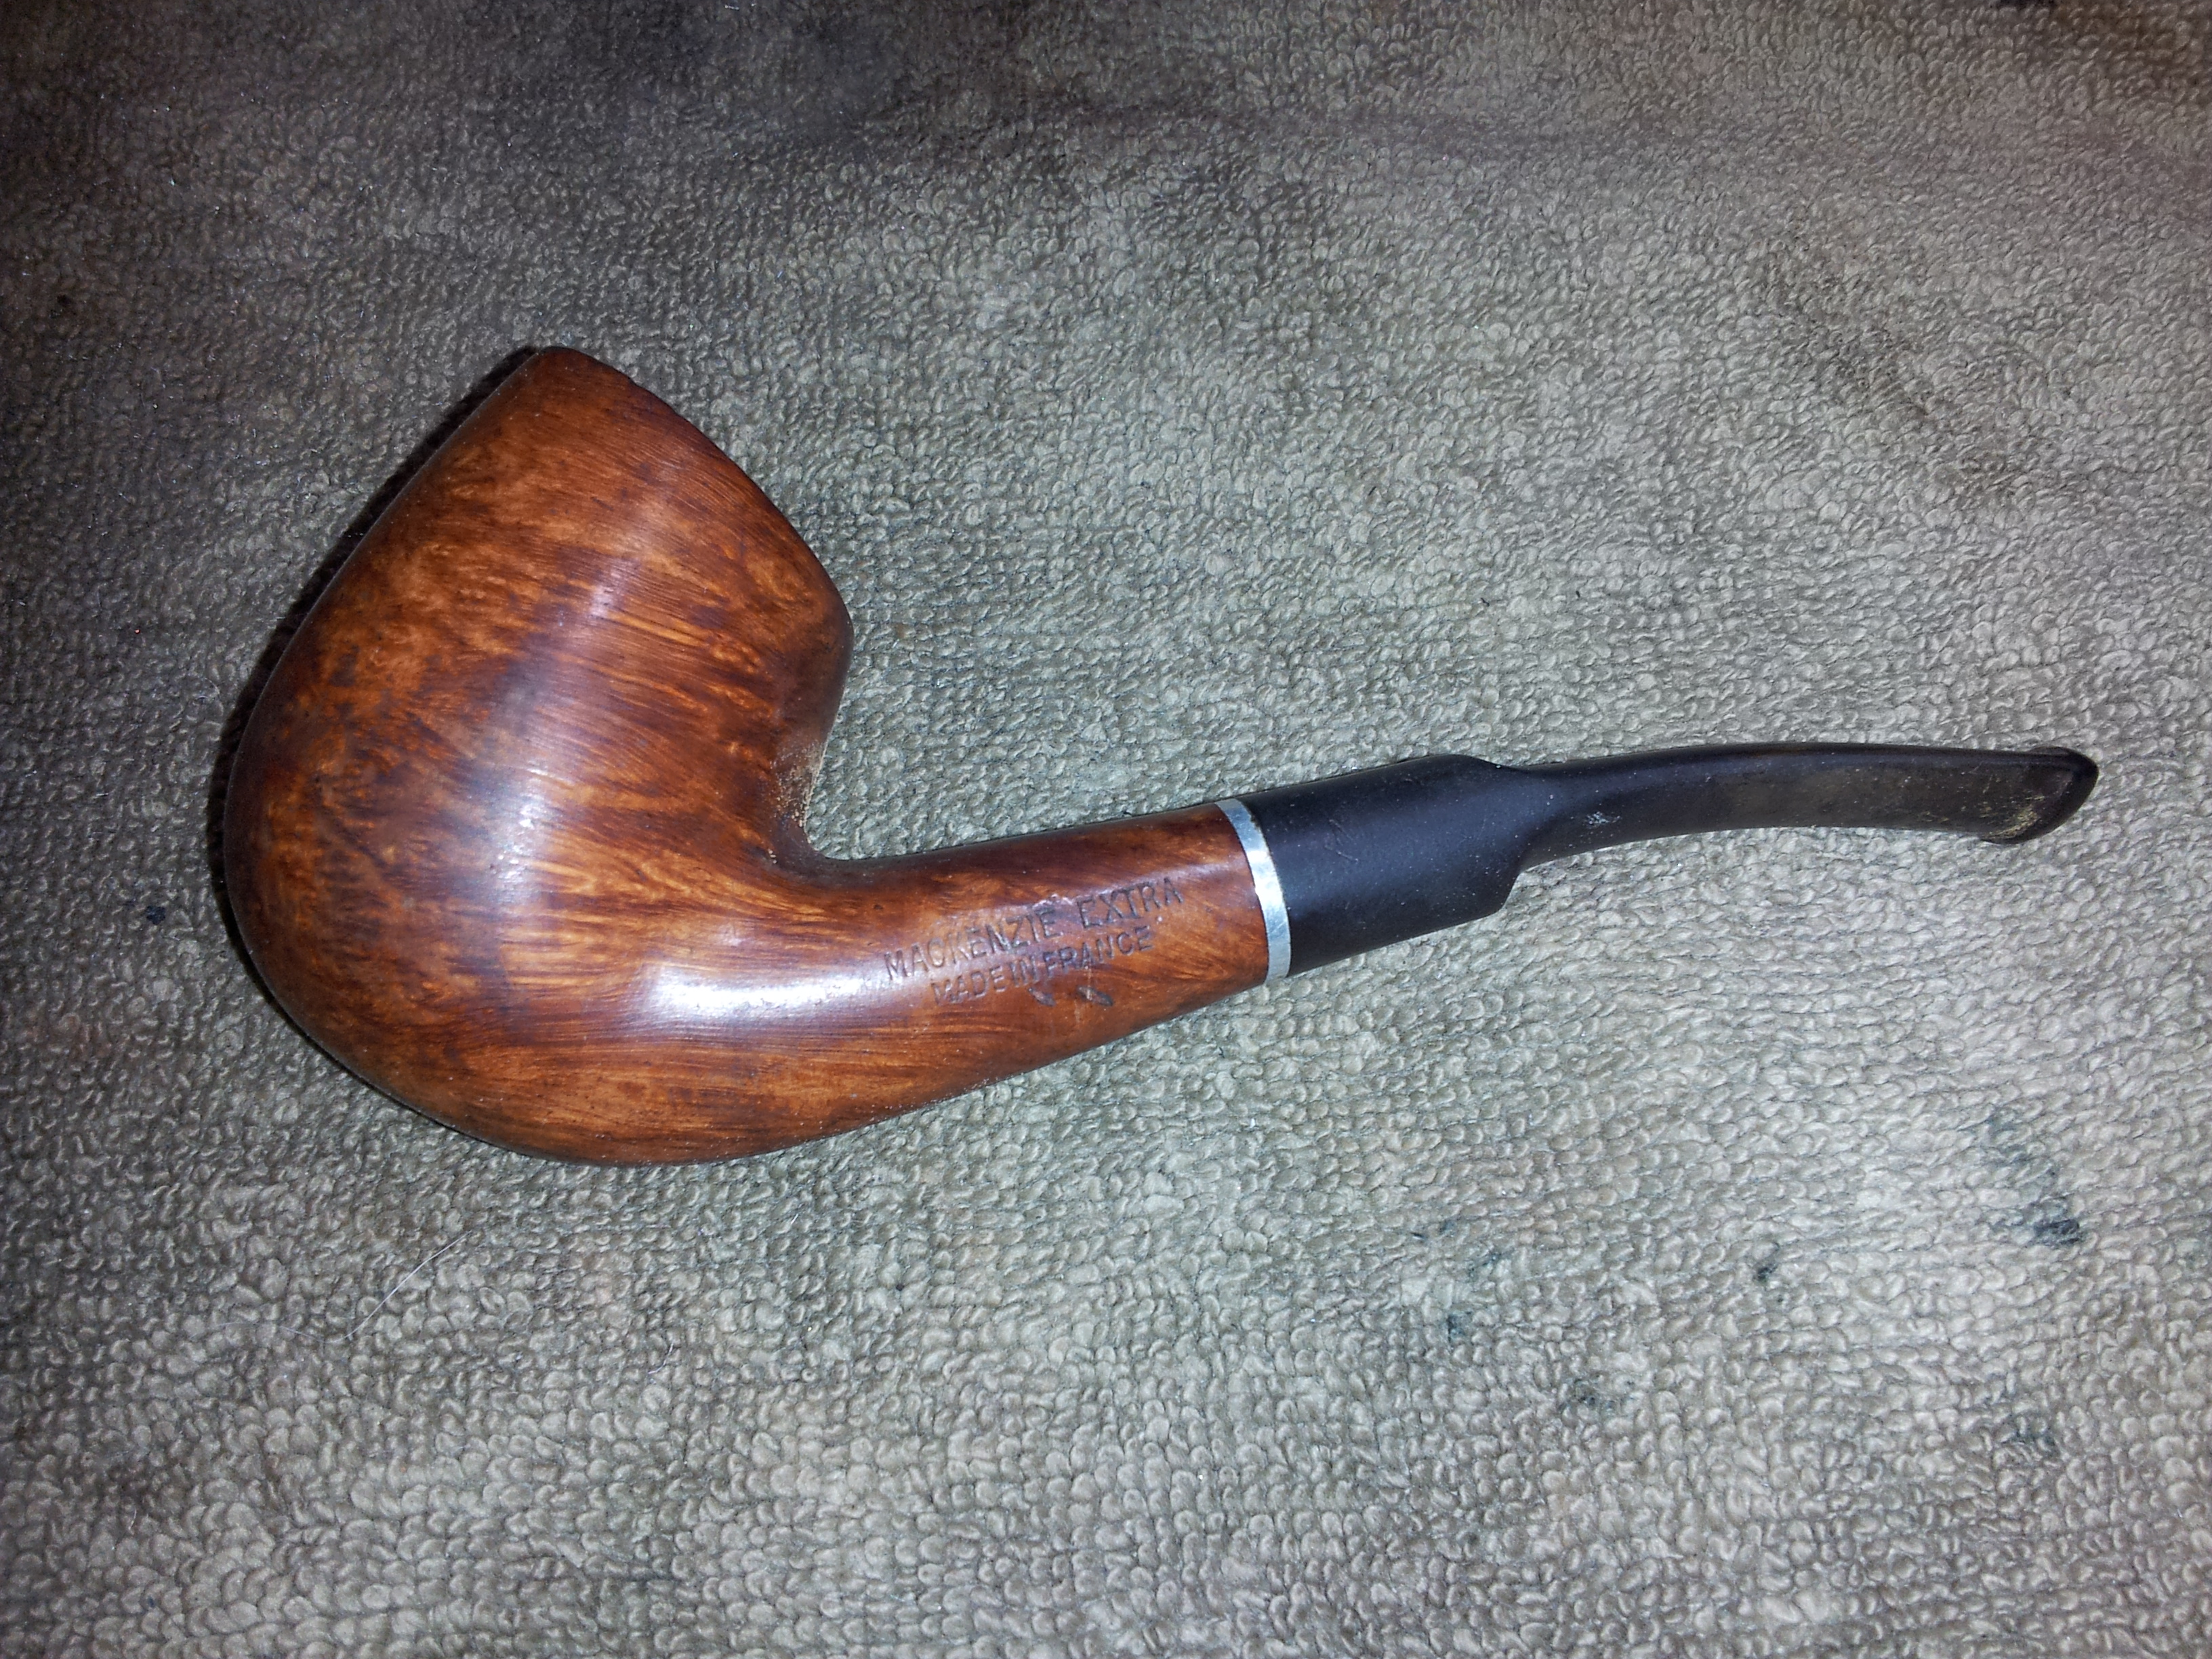
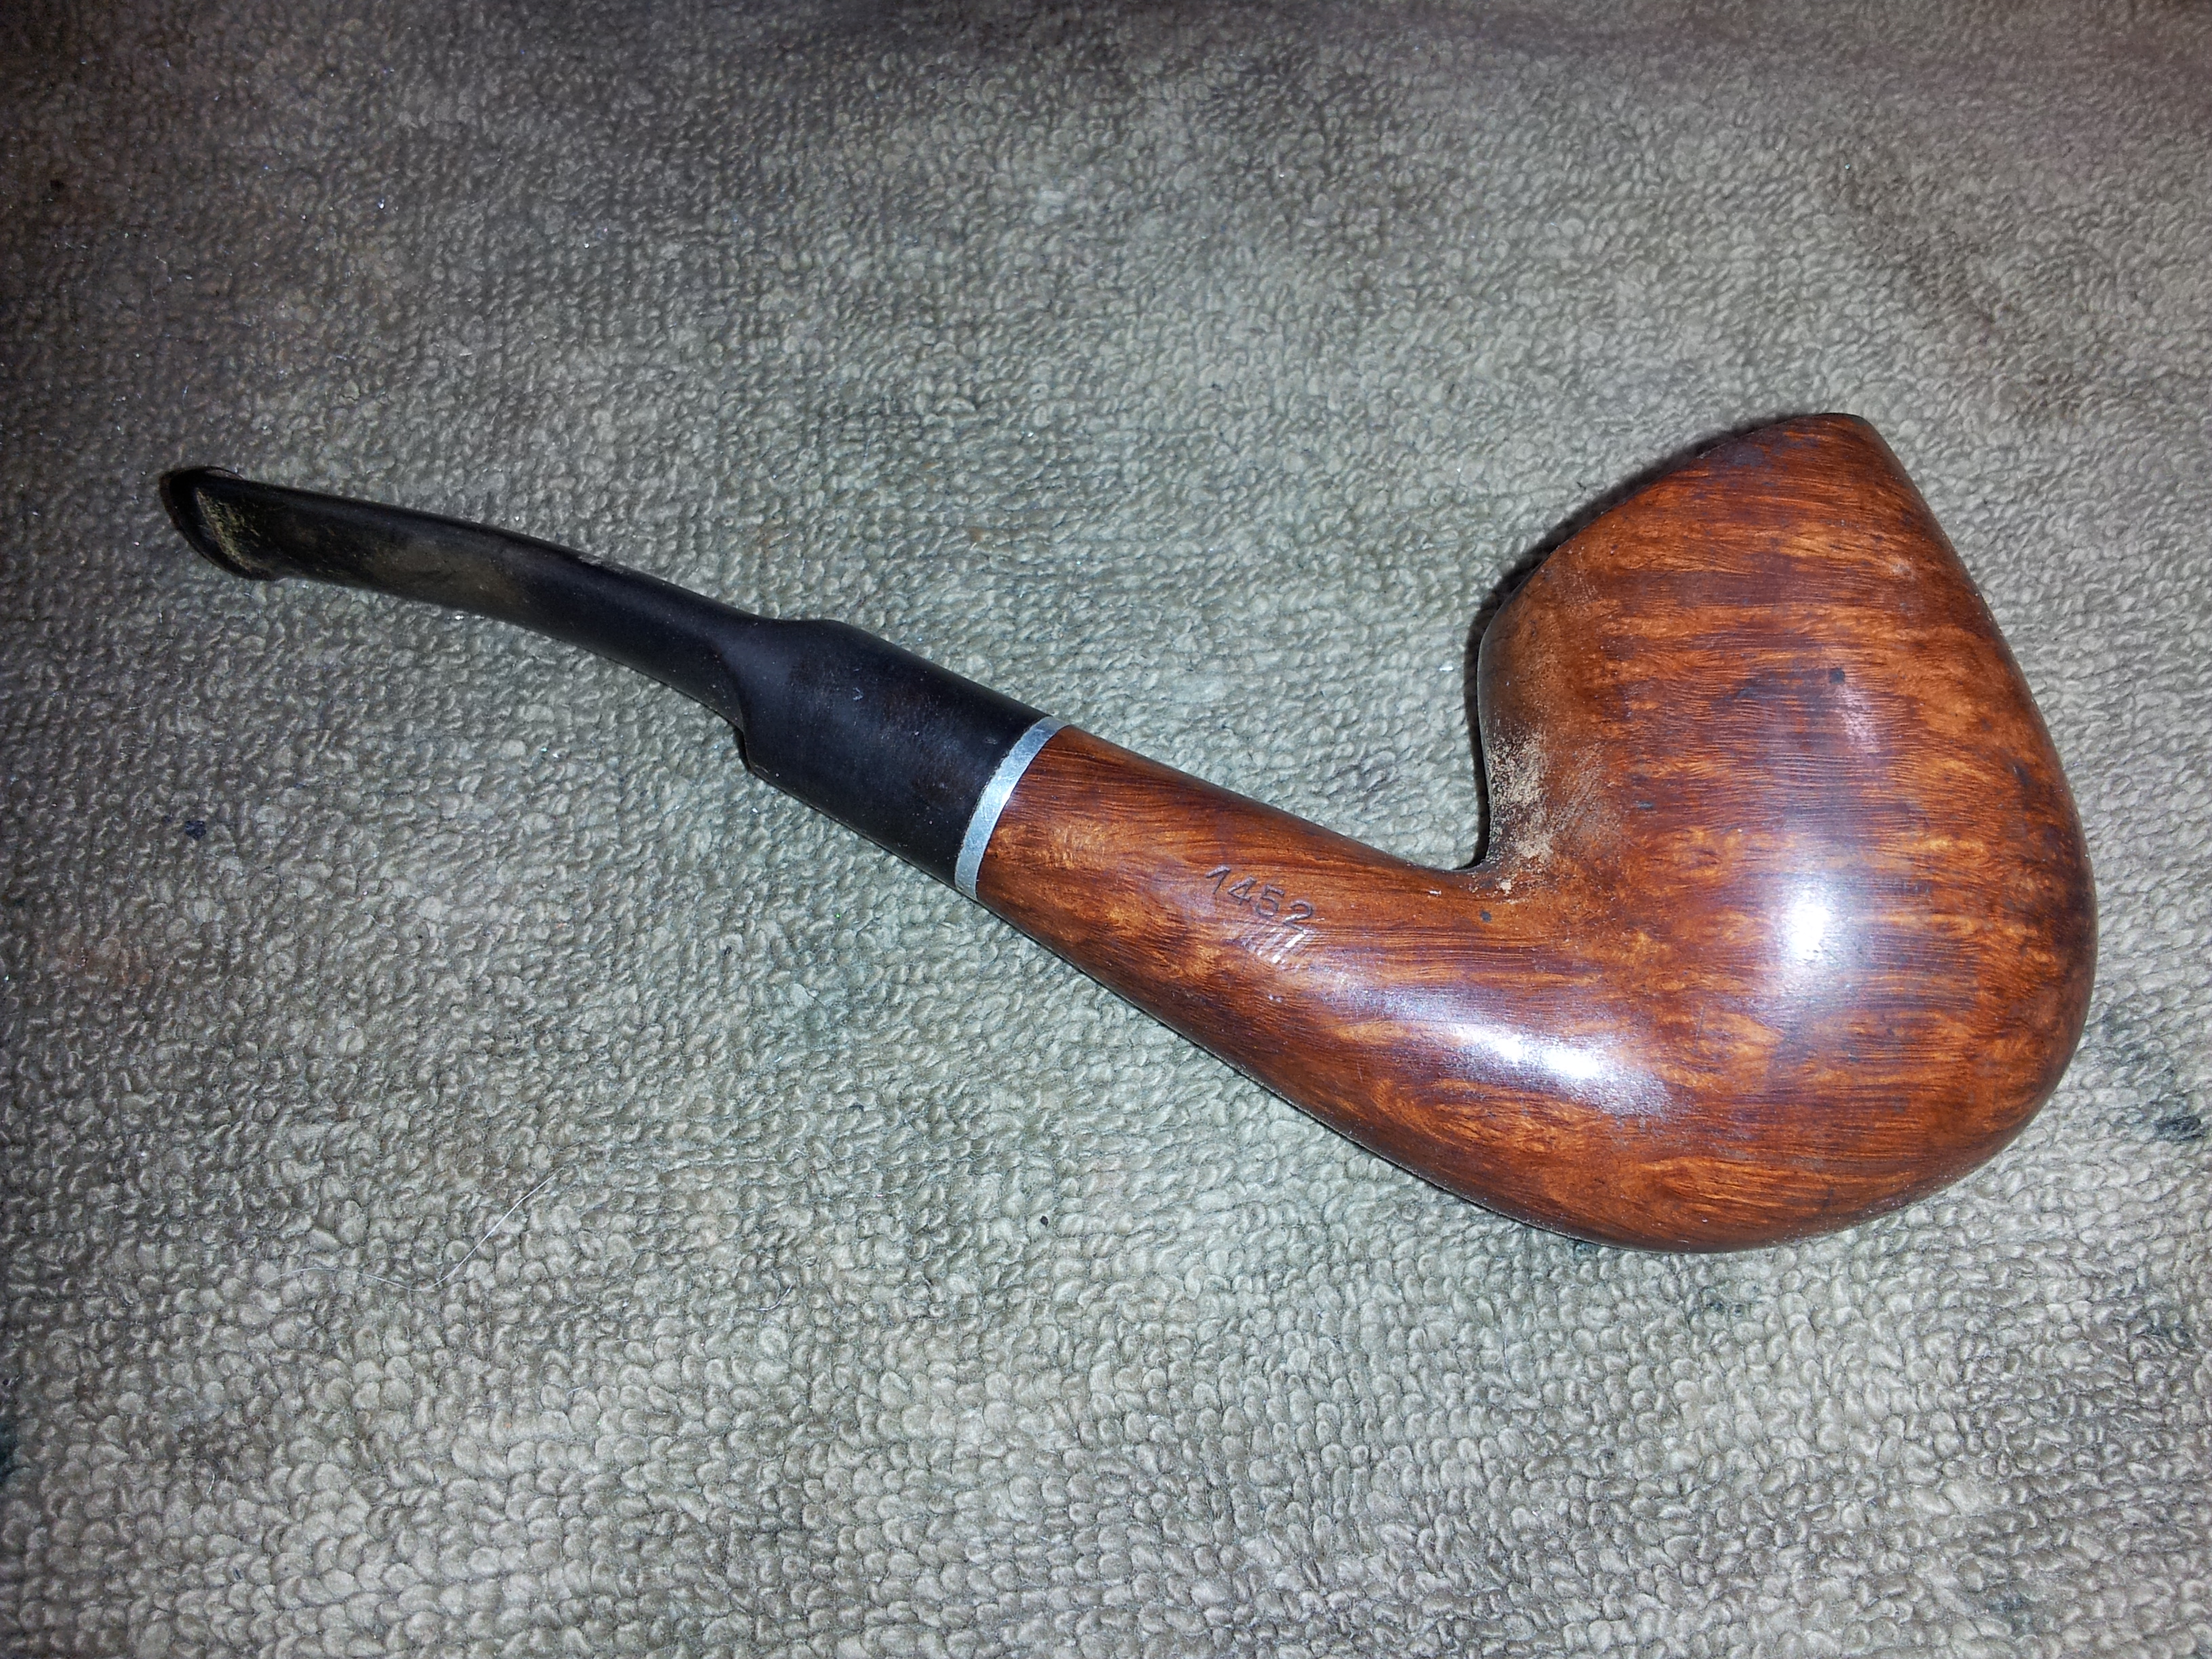
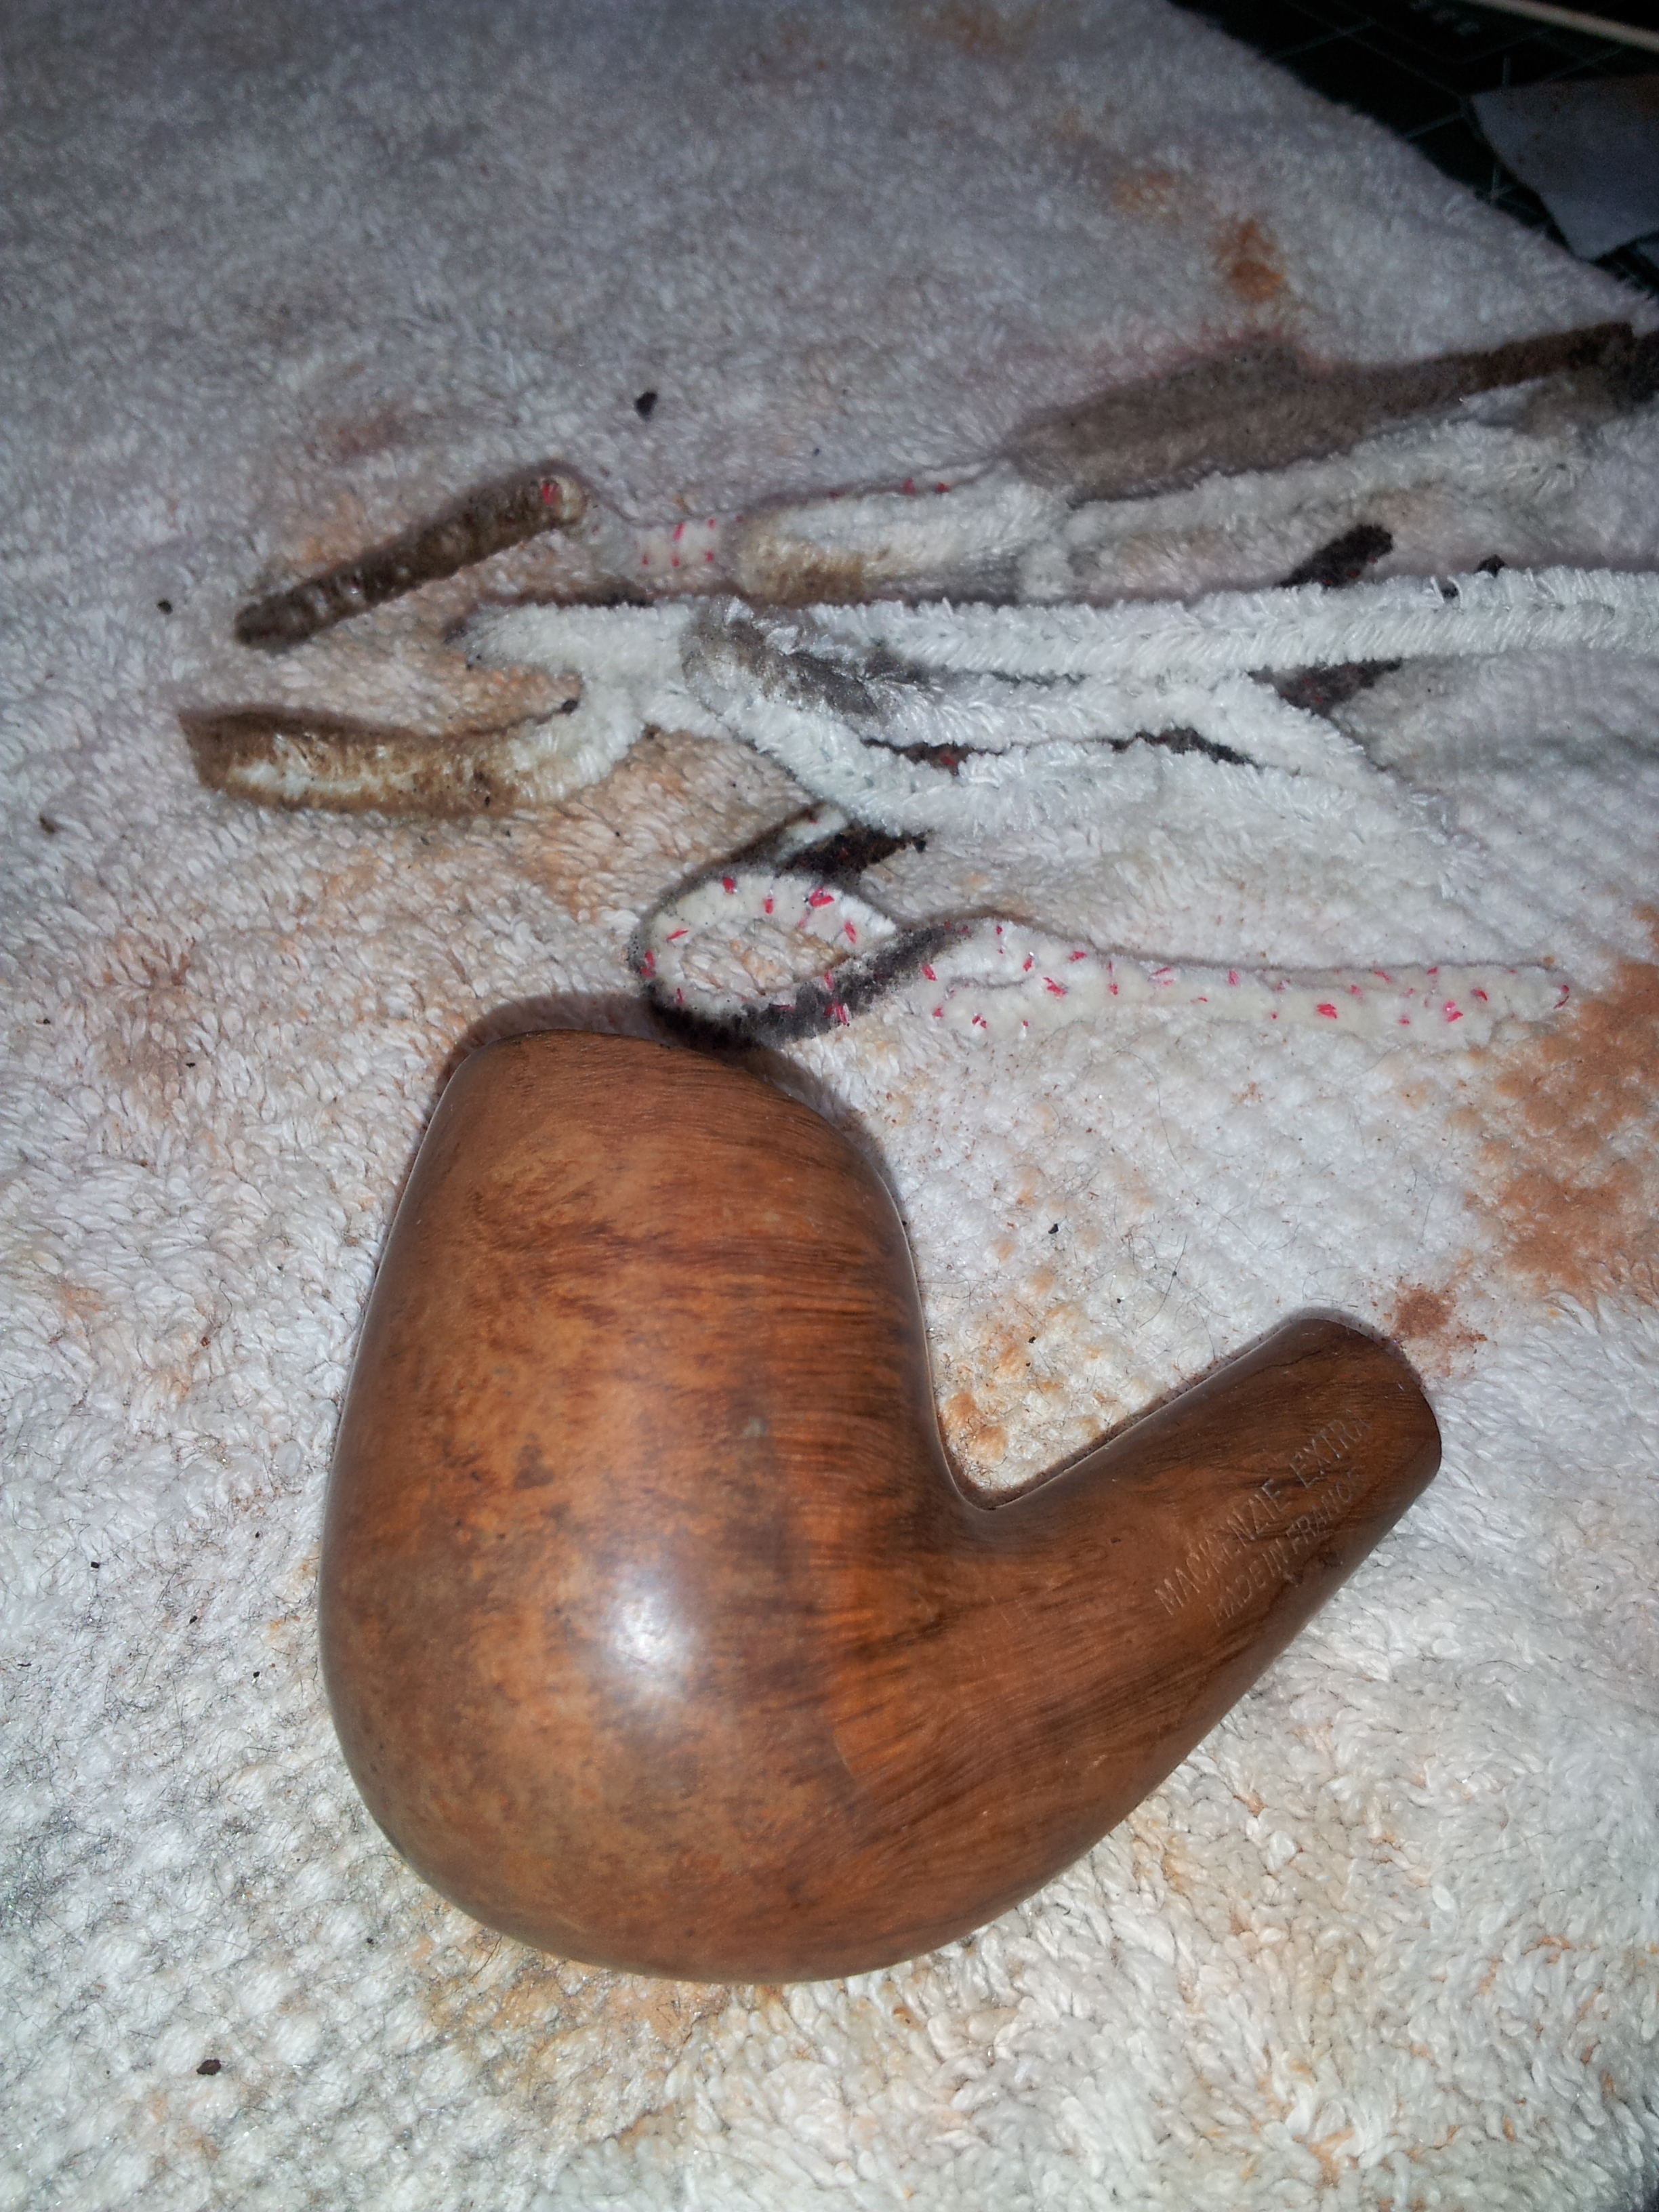
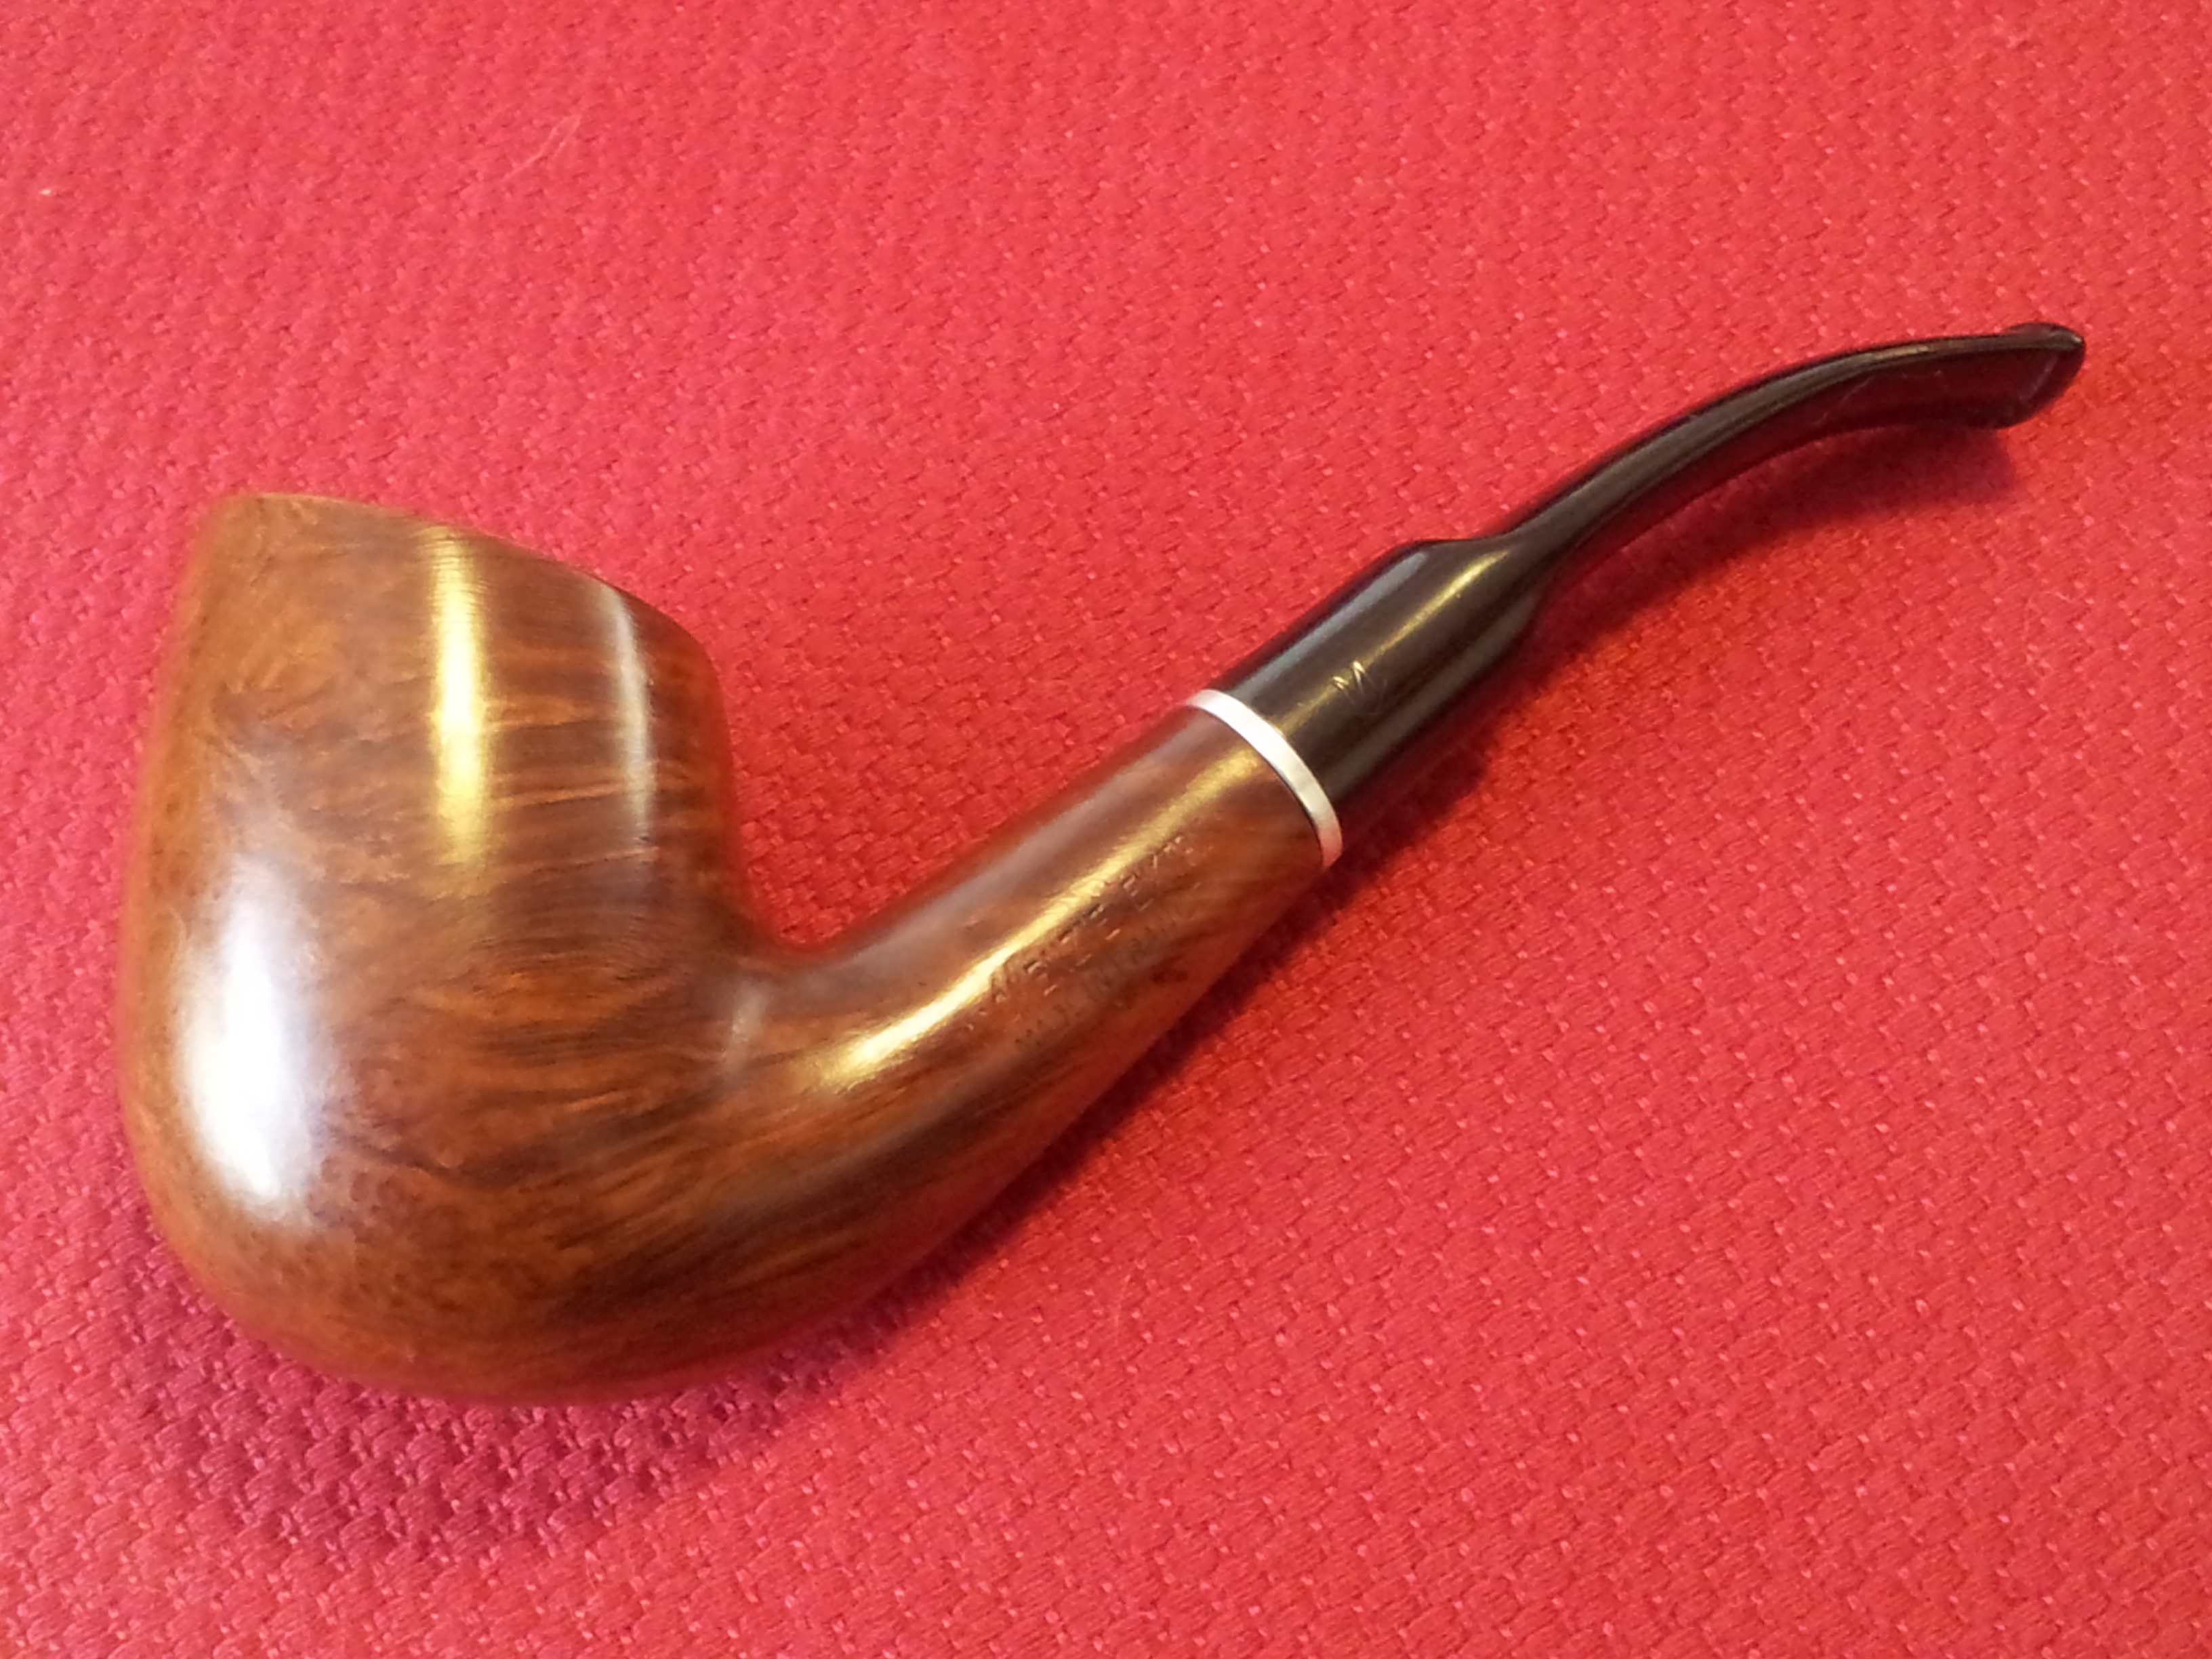
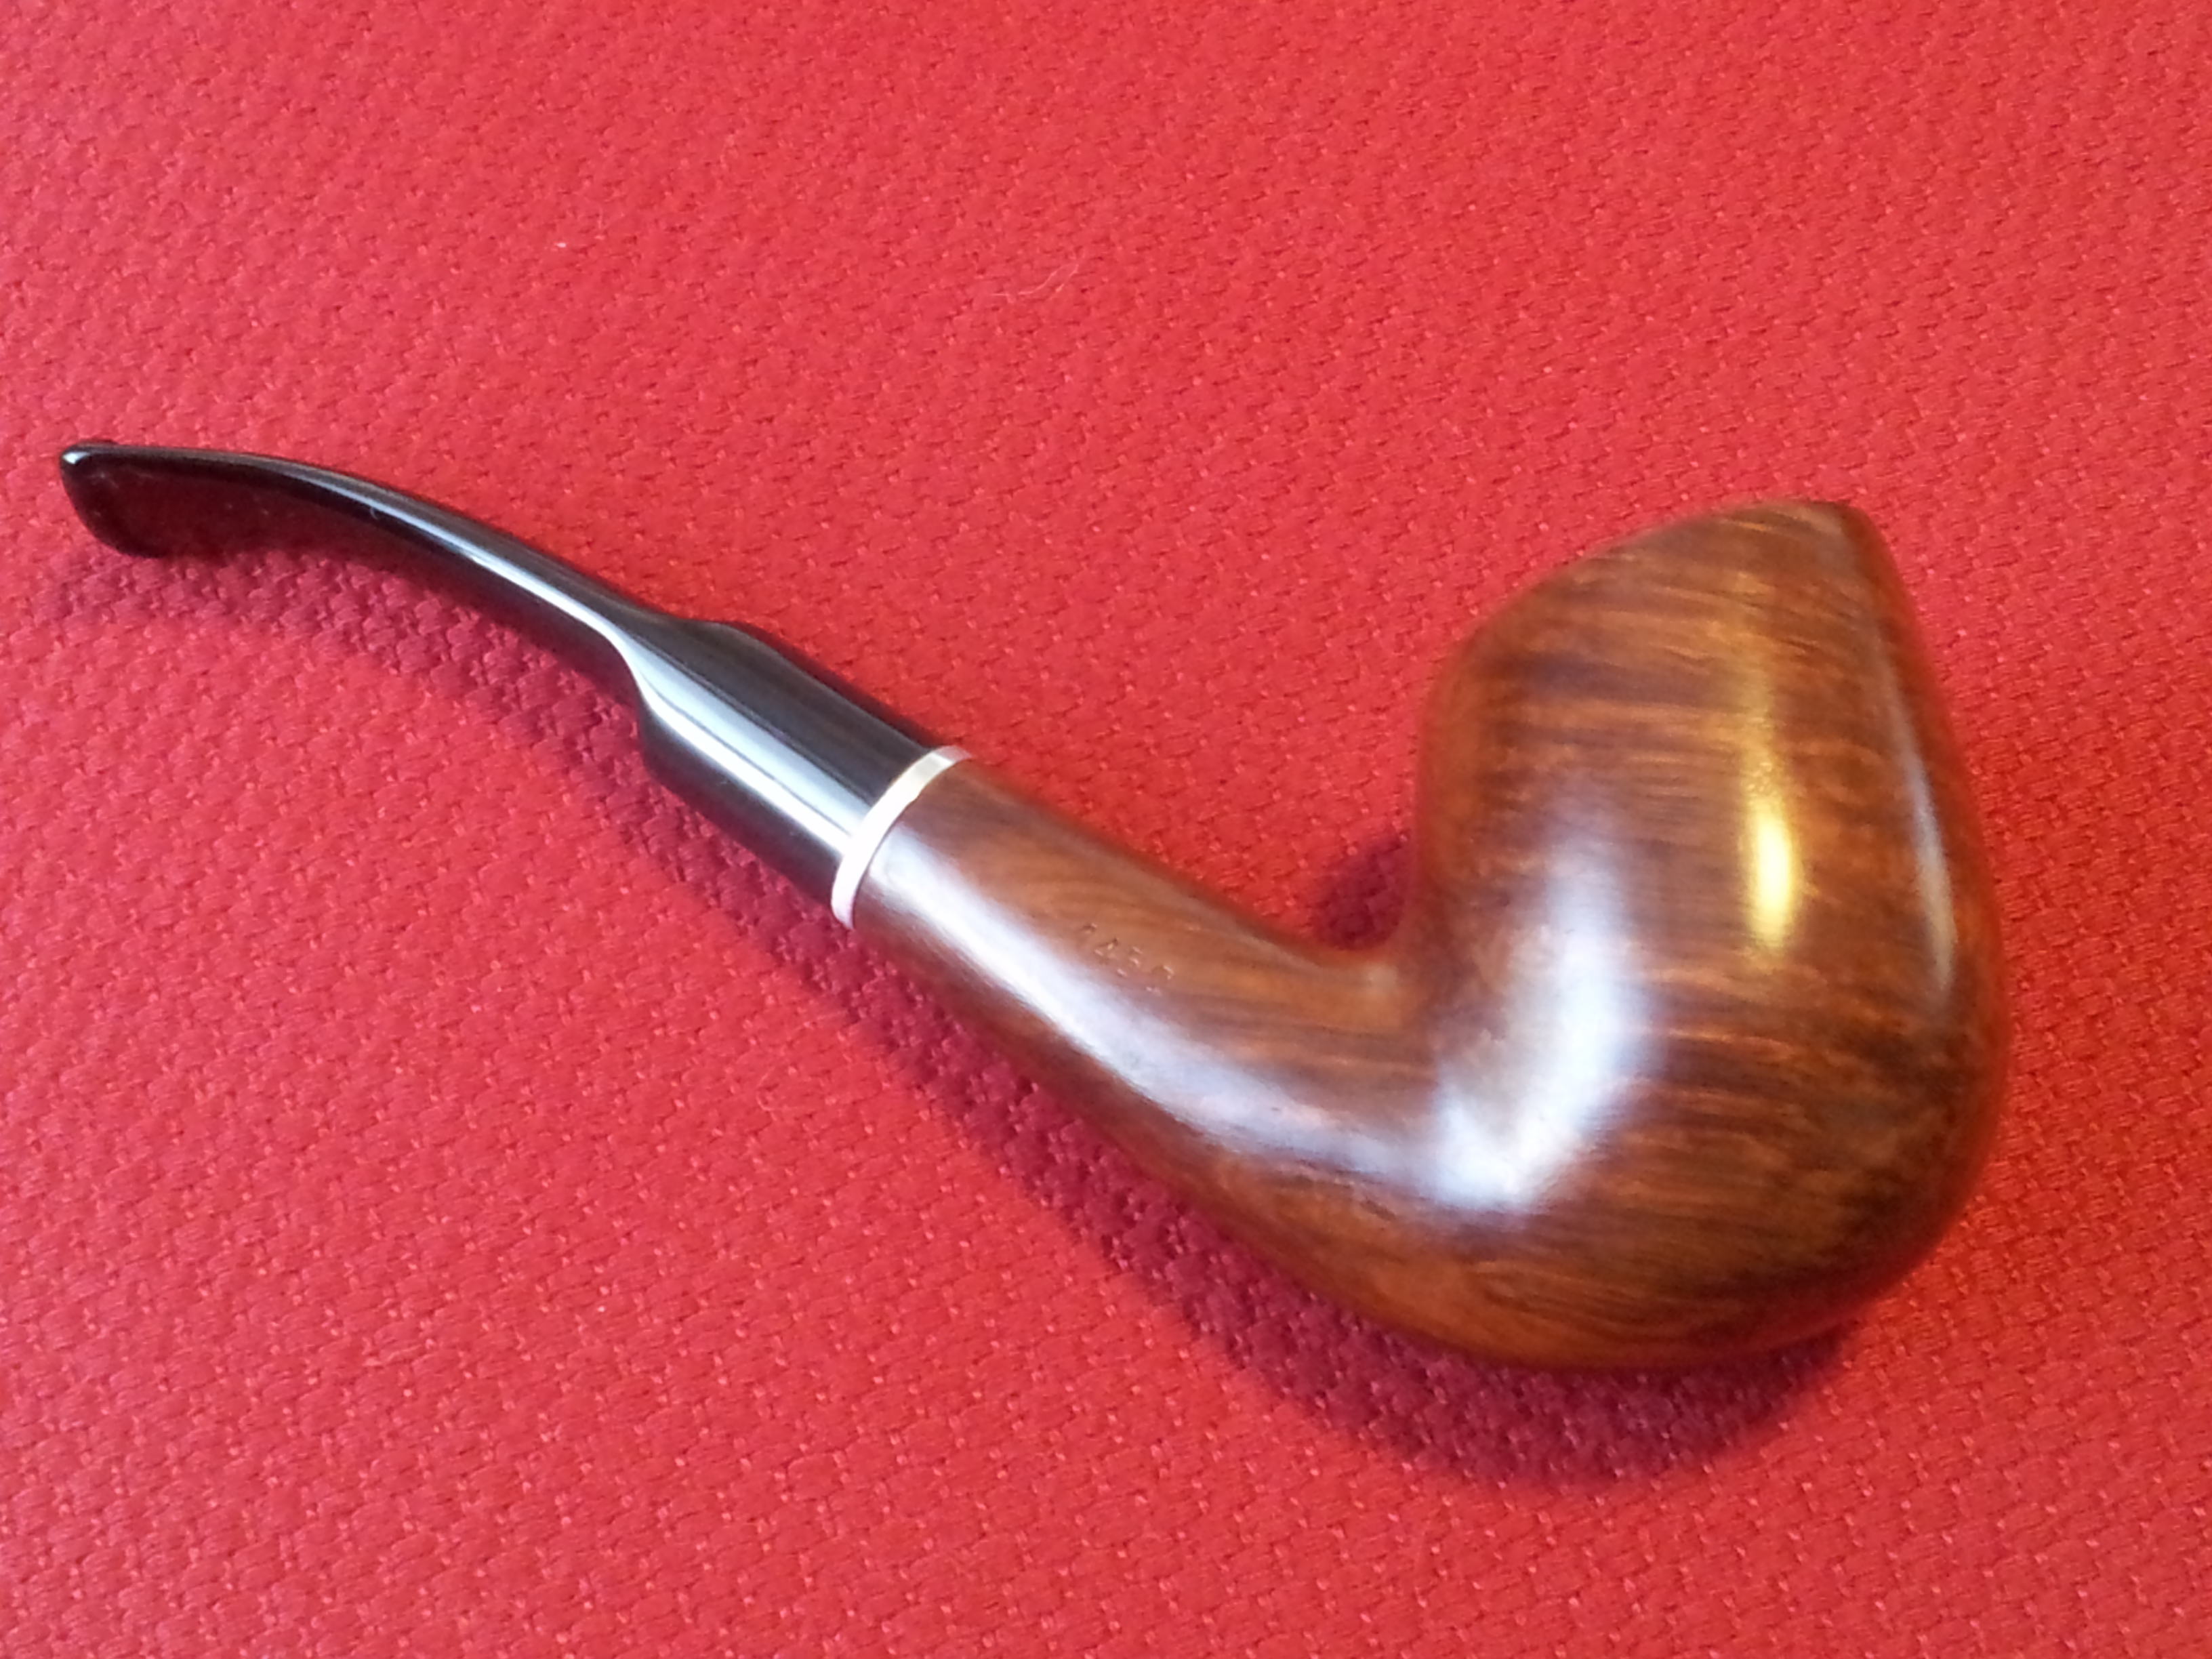
After a few more challenging refurbs, it was nice to change things up with a relatively straightforward one. This Mackenzie Extra bent pipe came out of my refurb box quite dirty – tarry rim, dings and dents, oxidized stem, etc – but even through the dirt one could plainly see that the grain on this one would be something special. Cross-grain on the sides and shank, and birdseye up the front of the bowl would really pop after a good scrub.
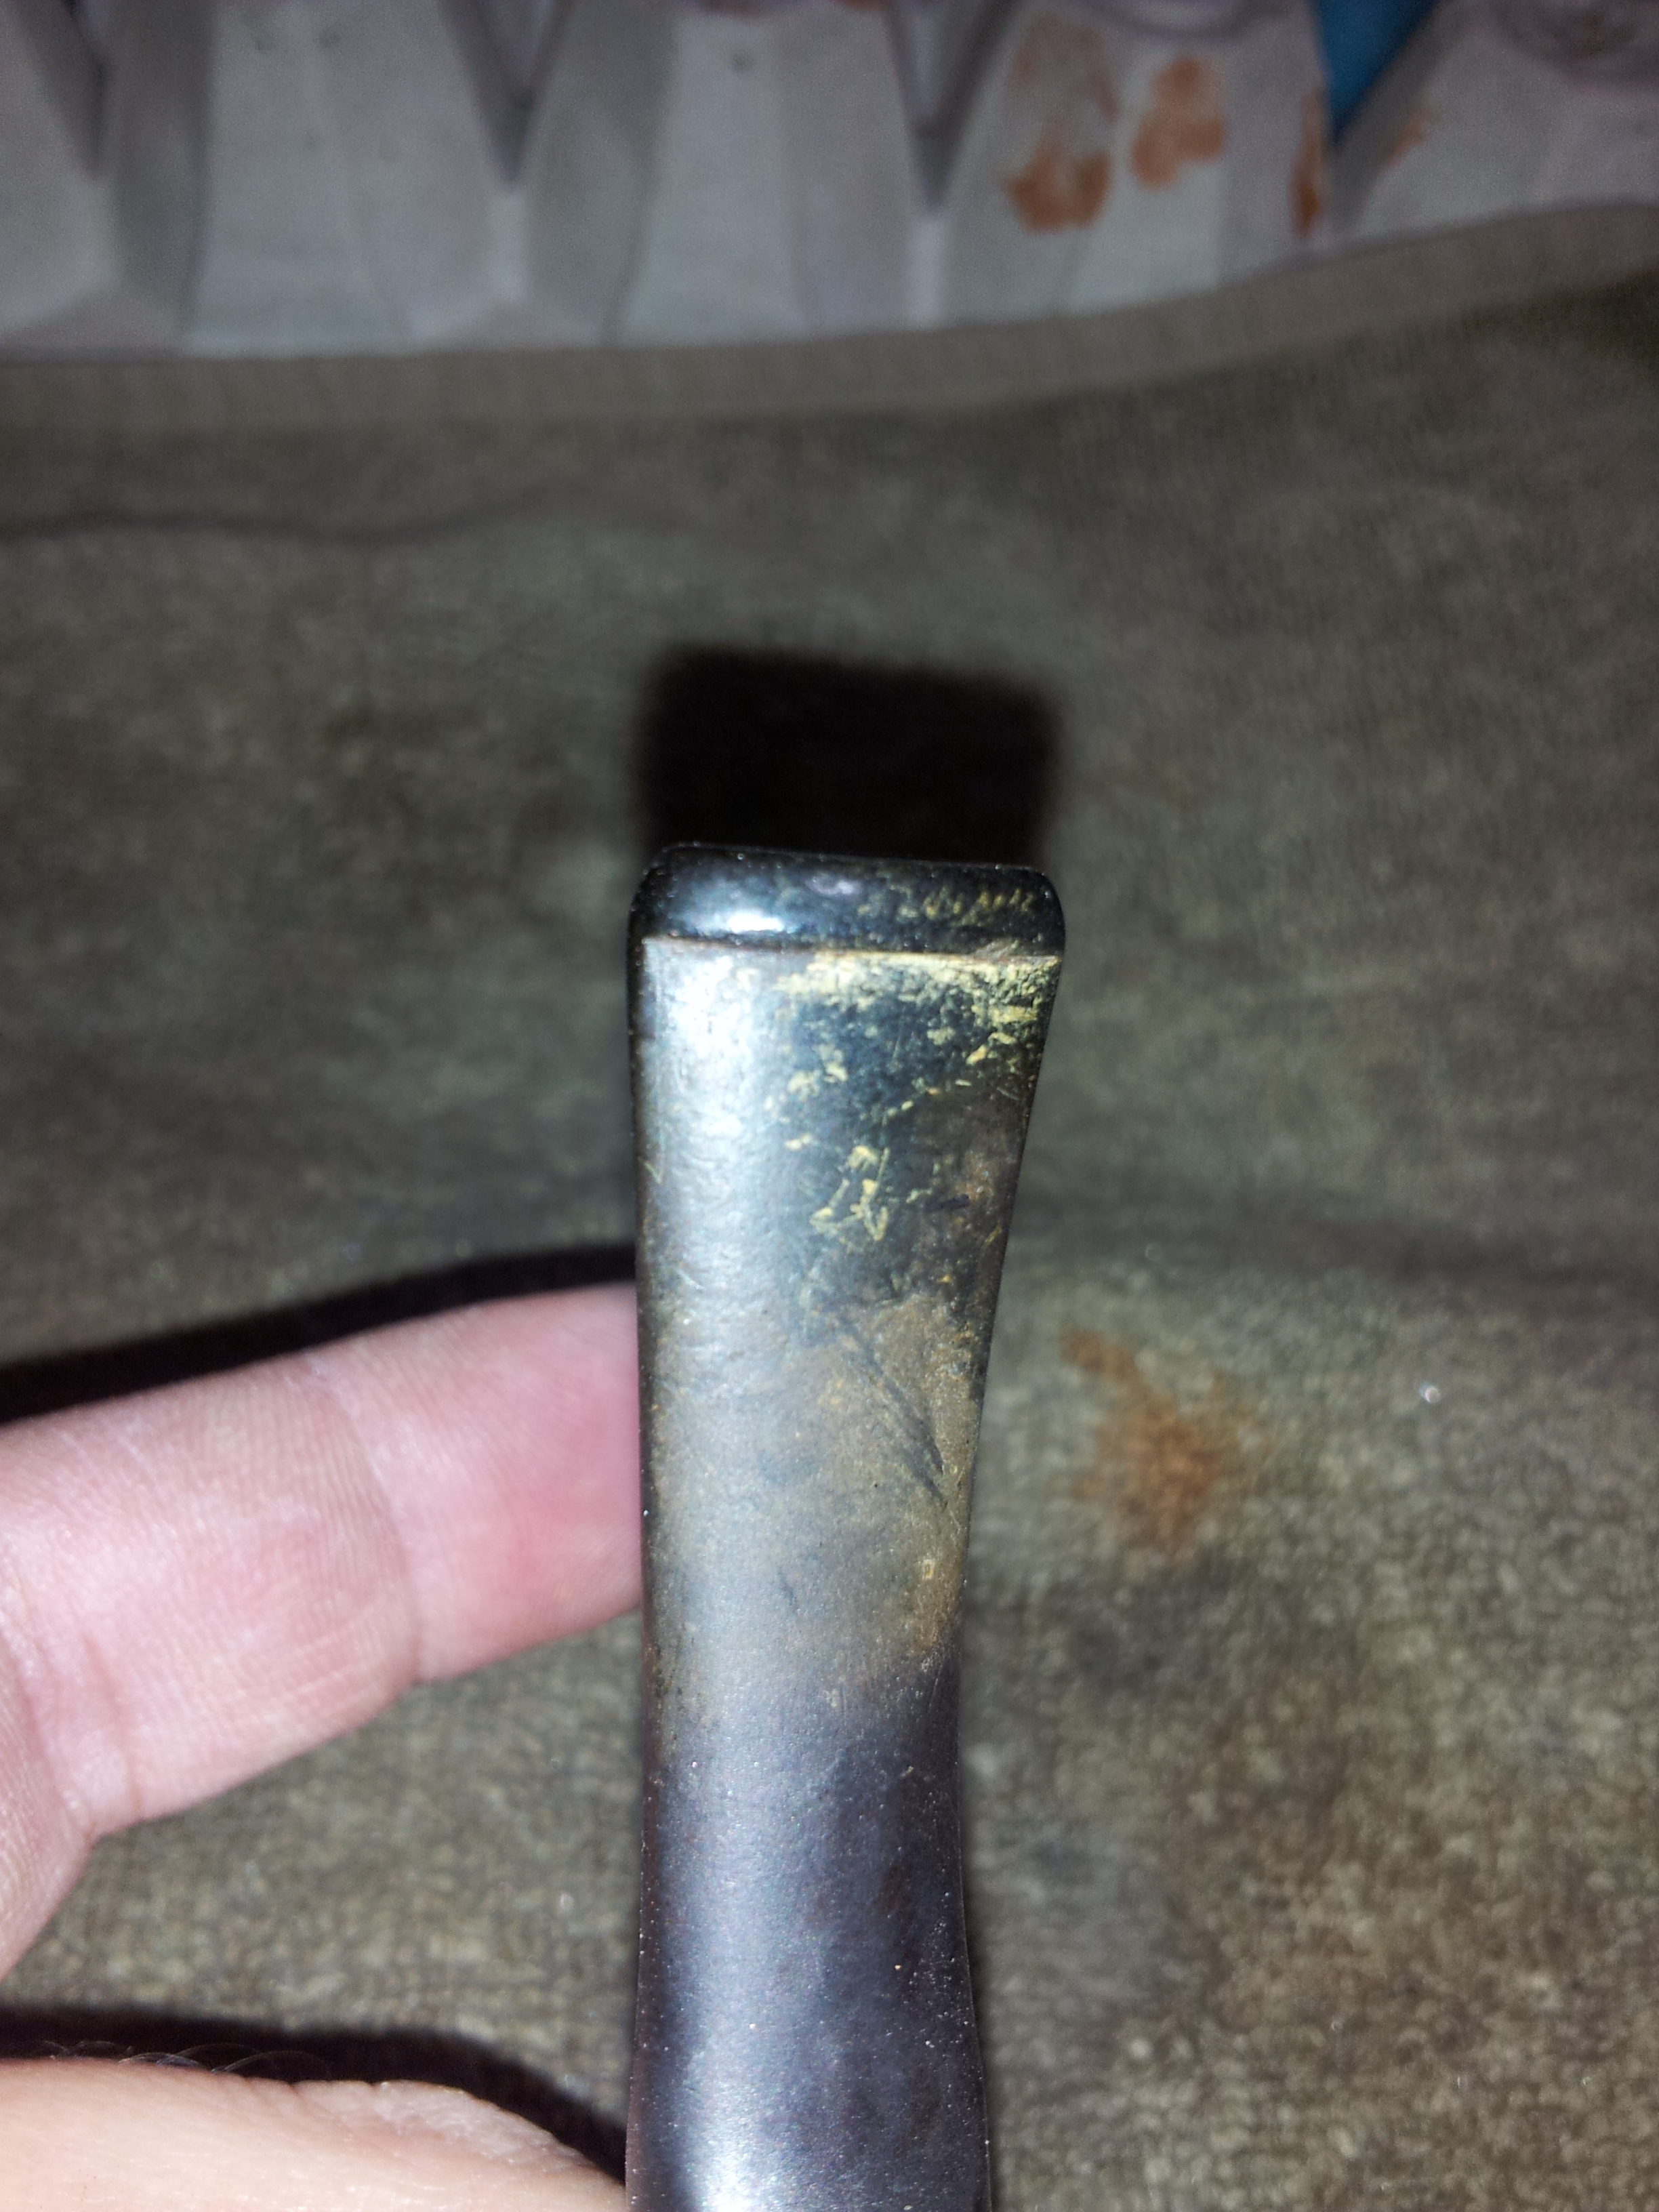
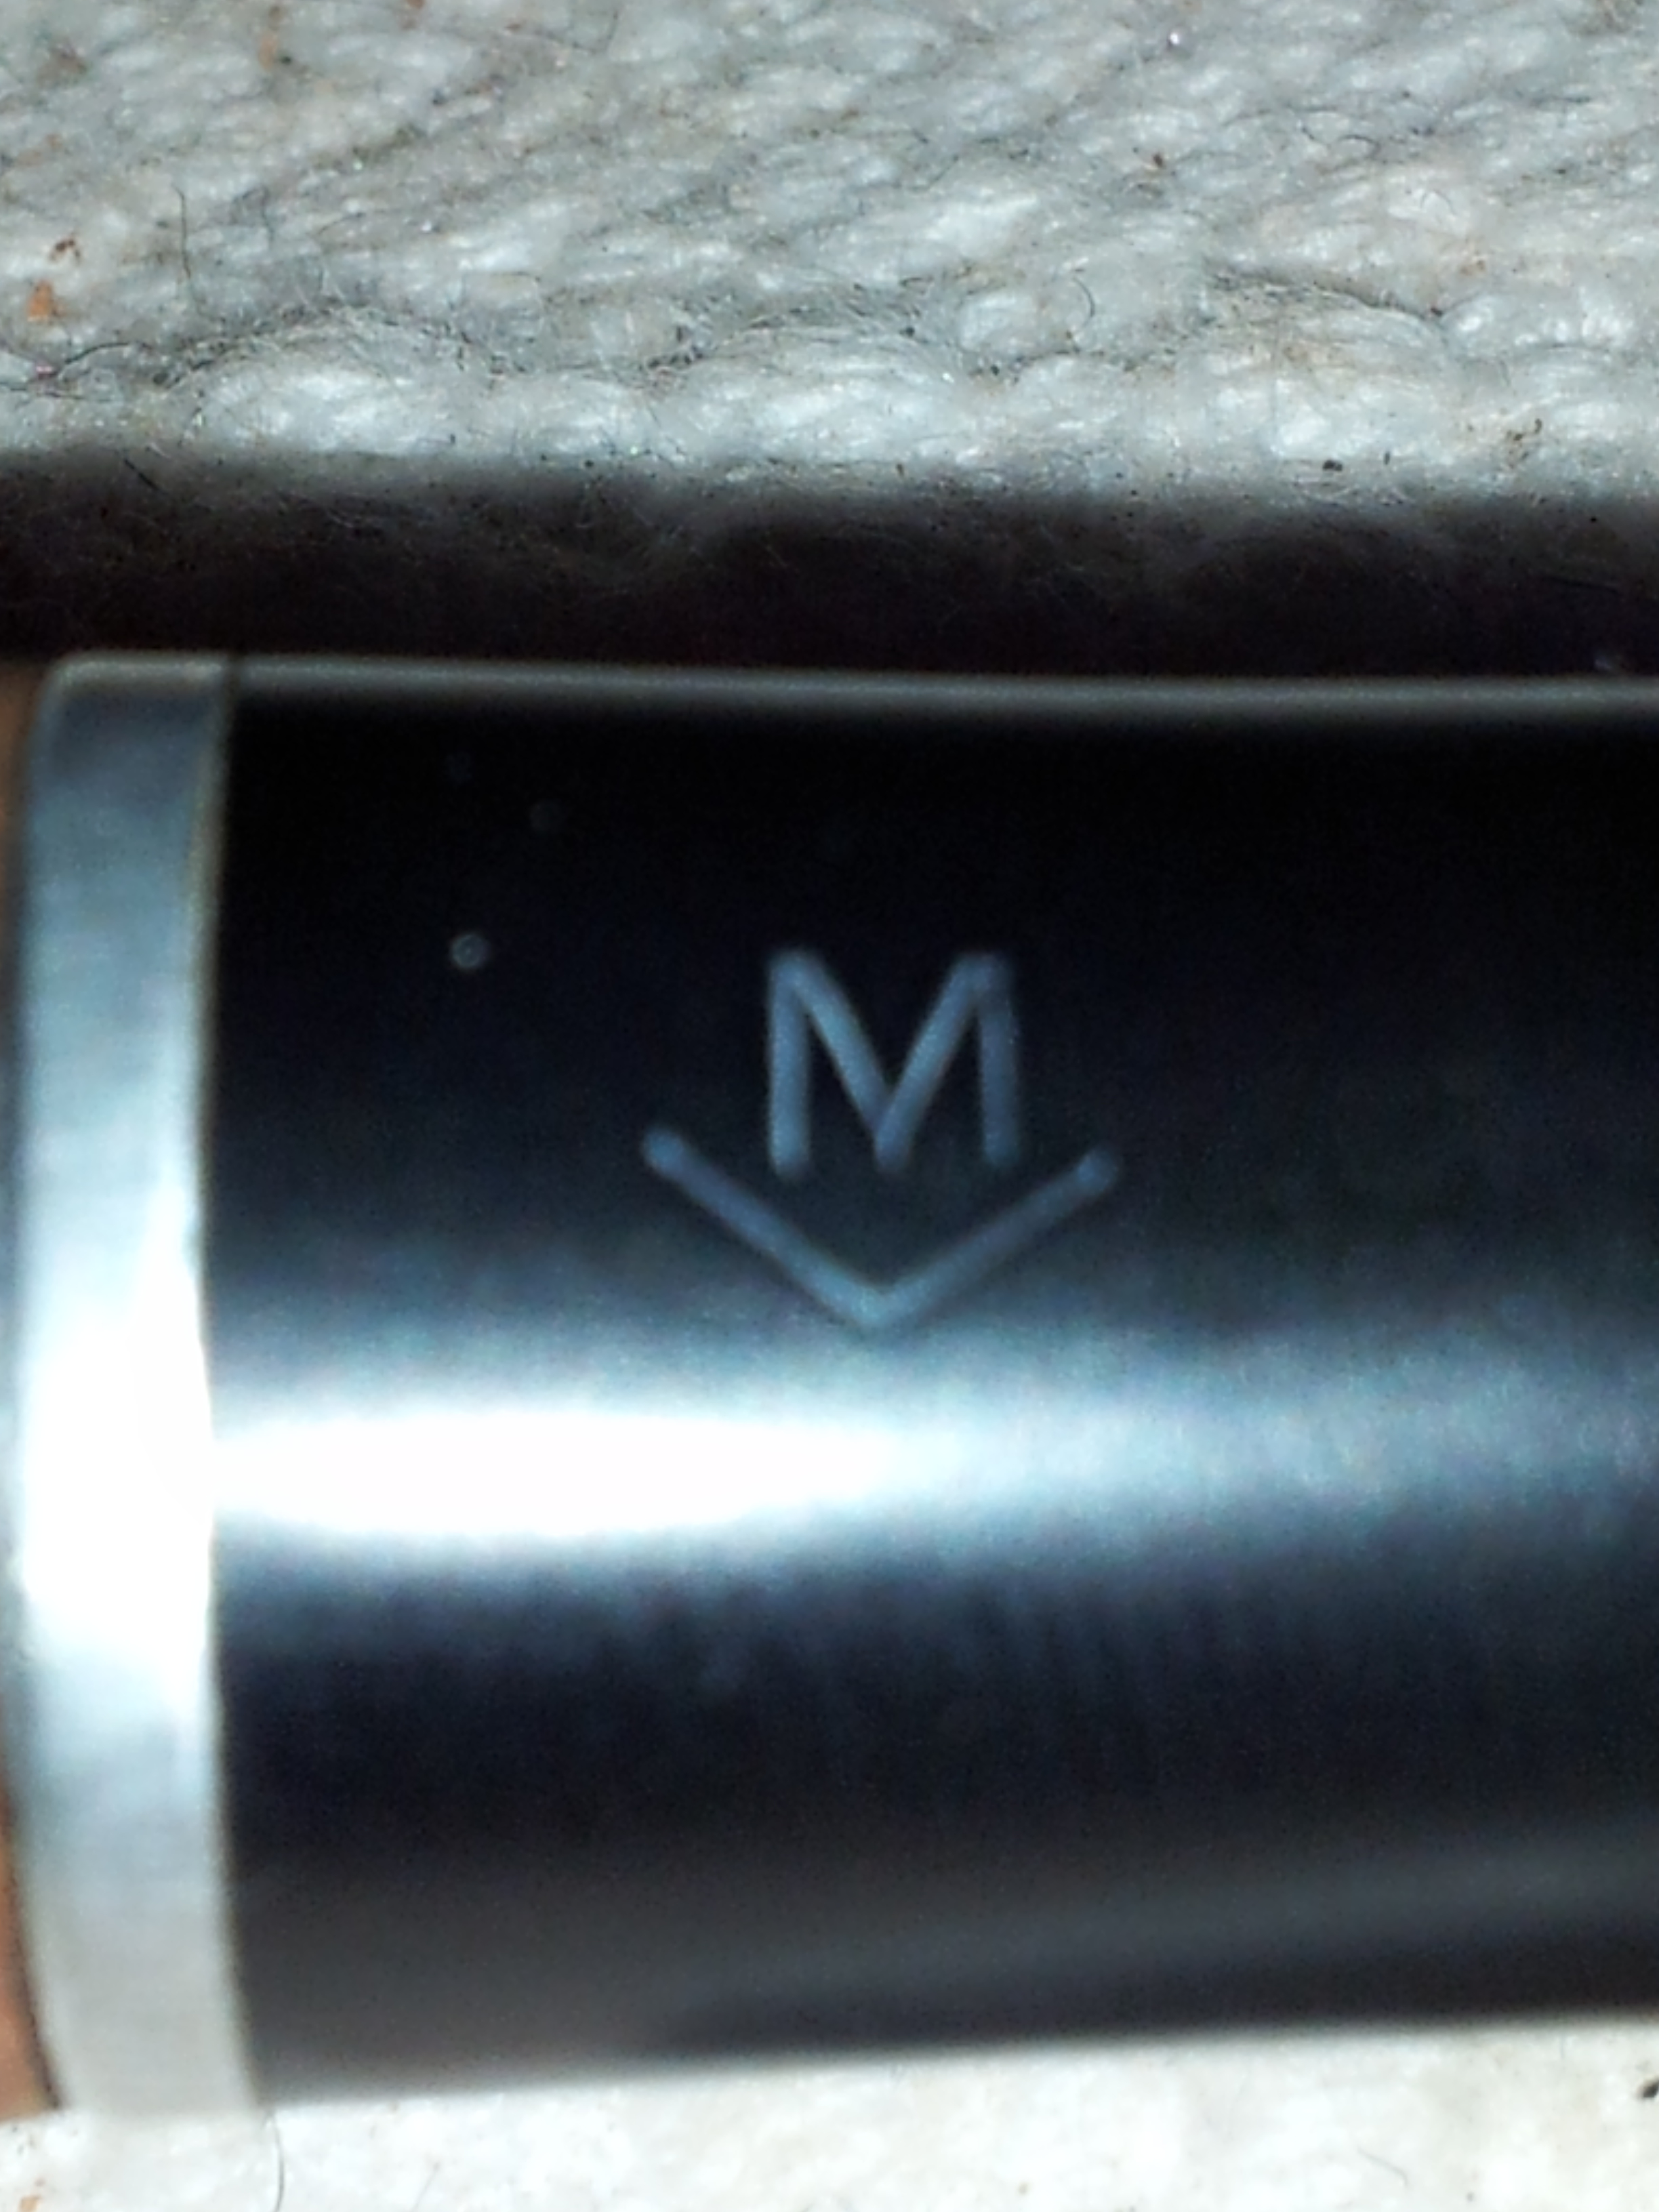
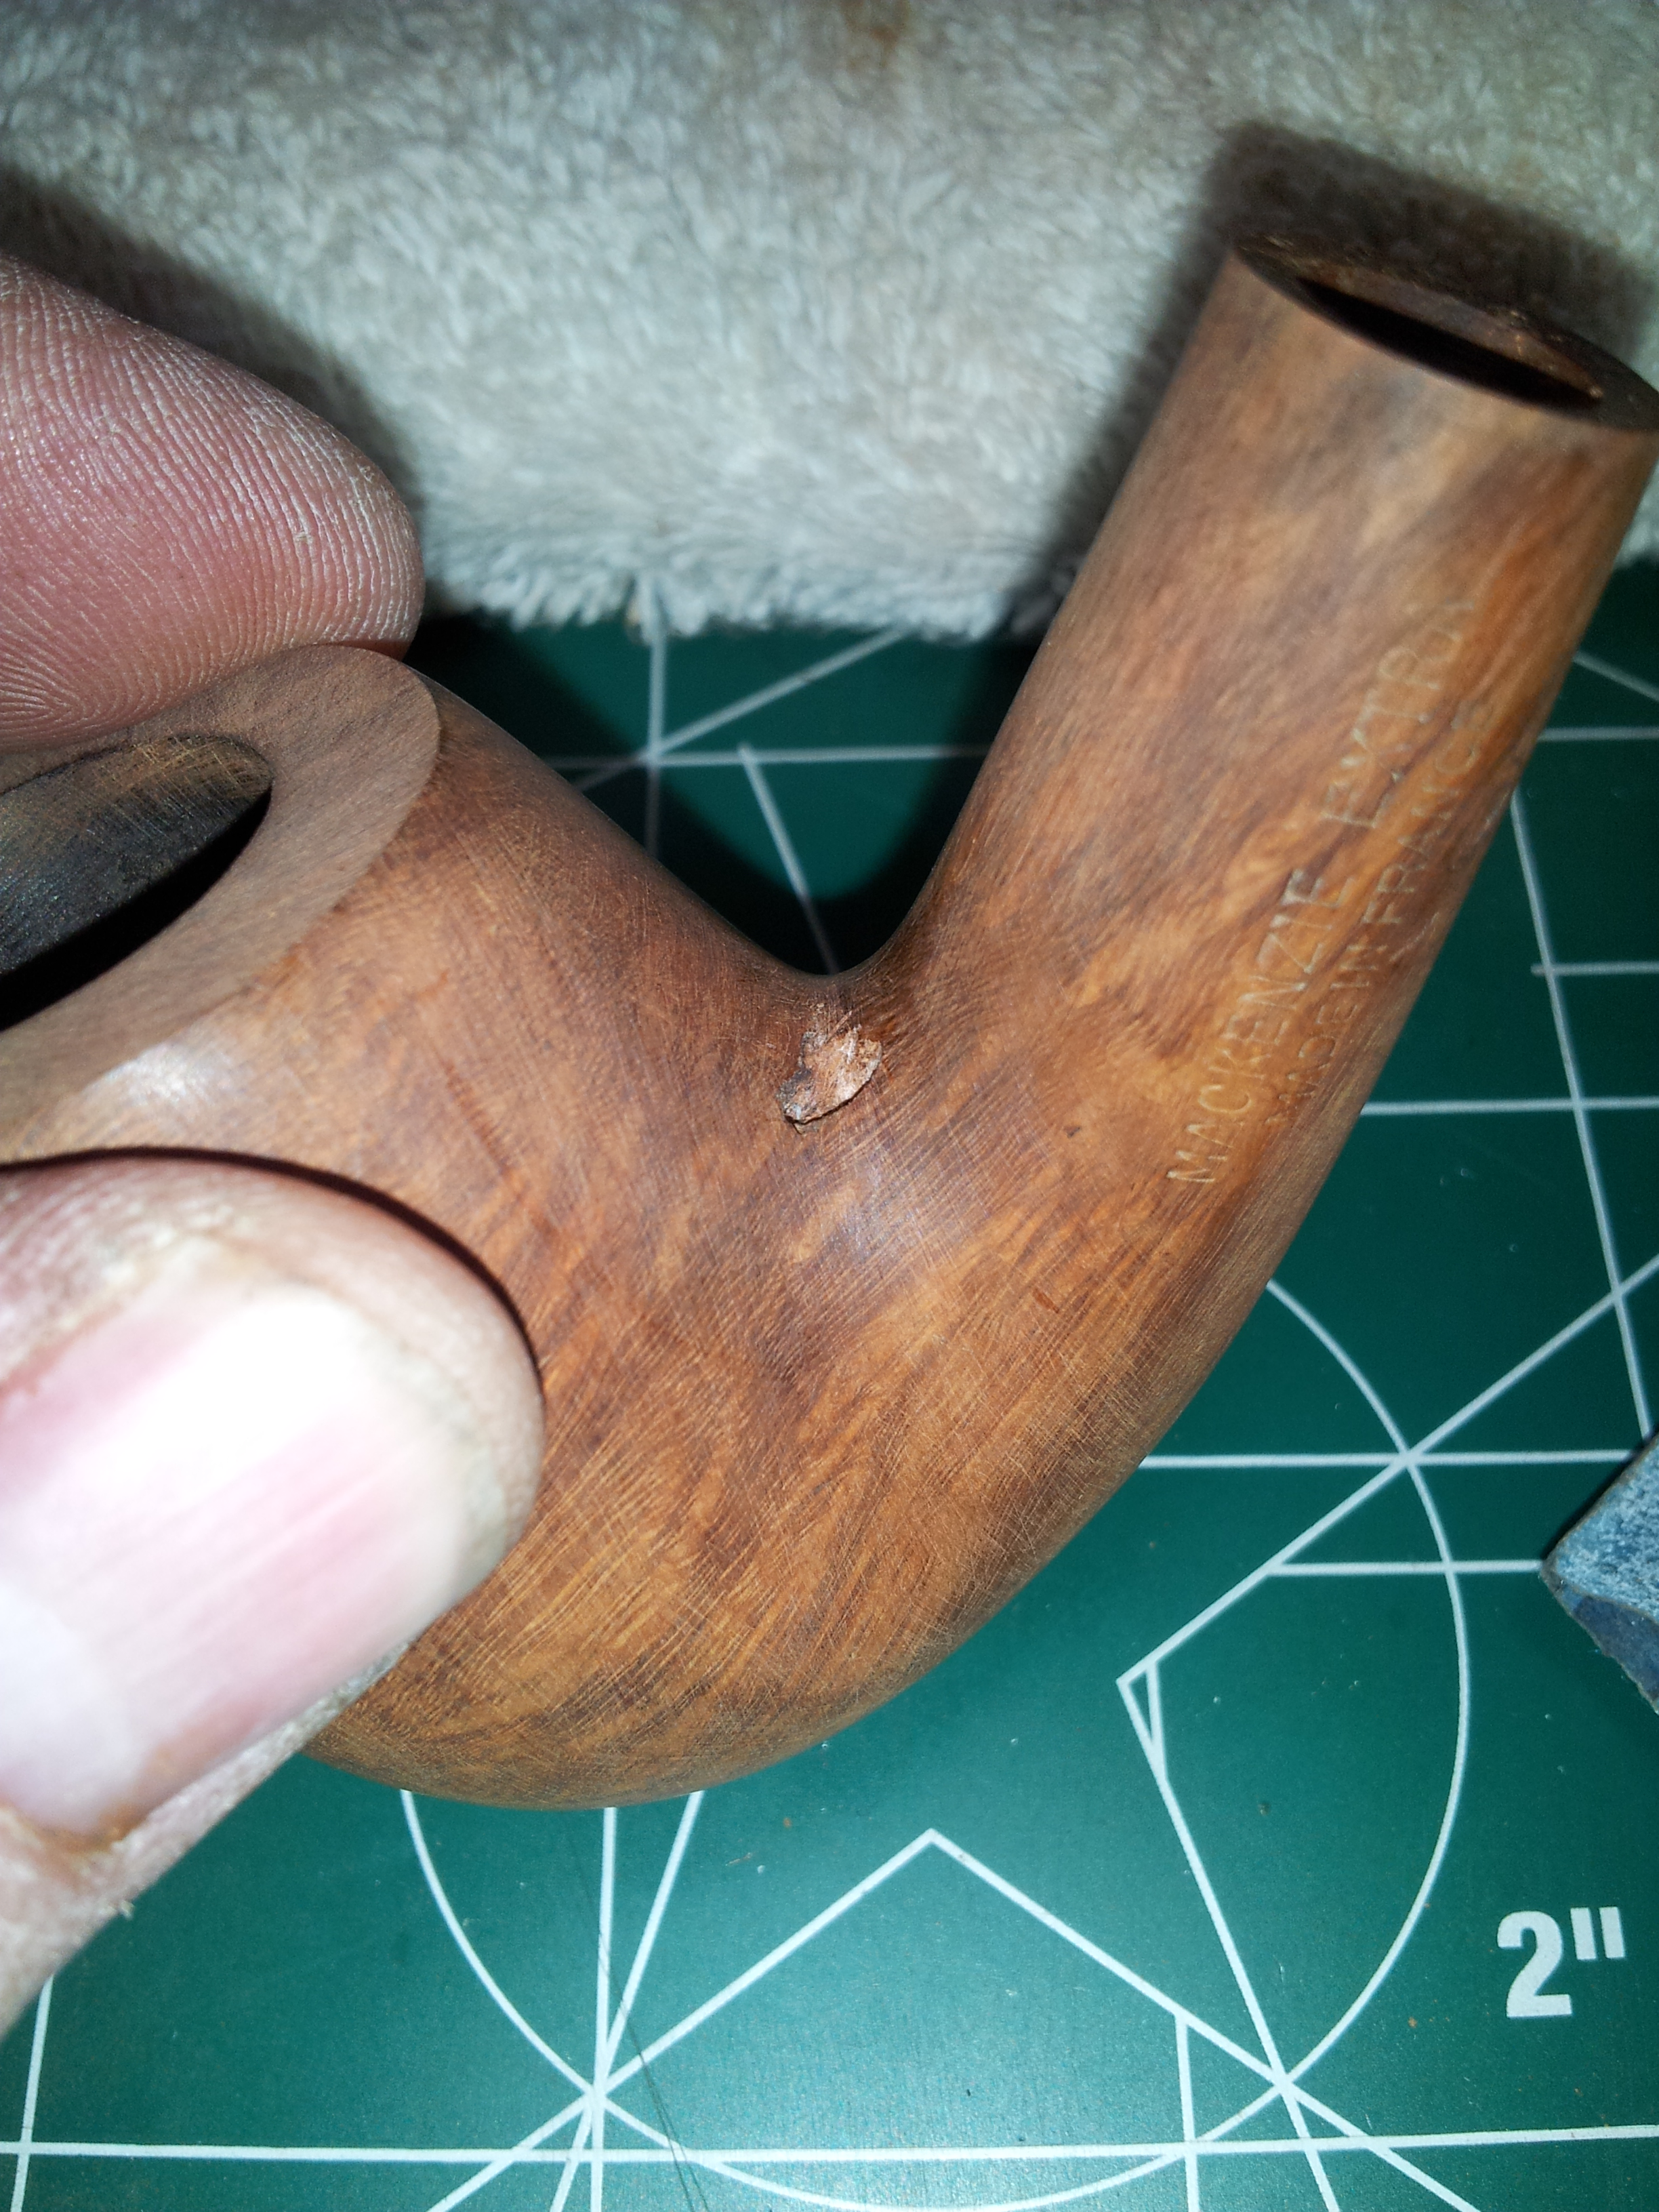
Mackenzie is identified as a BBB seconds brand on Pipephil.eu and Pipedia notes that the “Morrel Mackenzie” pipes were the first to be fitted with a paper filter as early as 1891. Mackenzie pipes were produced until the 1960’s; I presume this Mackenzie Extra was produced near the end of the brand’s run. It is stamped “Mackenzie Extra” in block letters over “Made in France” on the left shank, while the right shank bears a shape number, “1452”. The left side of the stem is stamped with an”M” over a chevron.
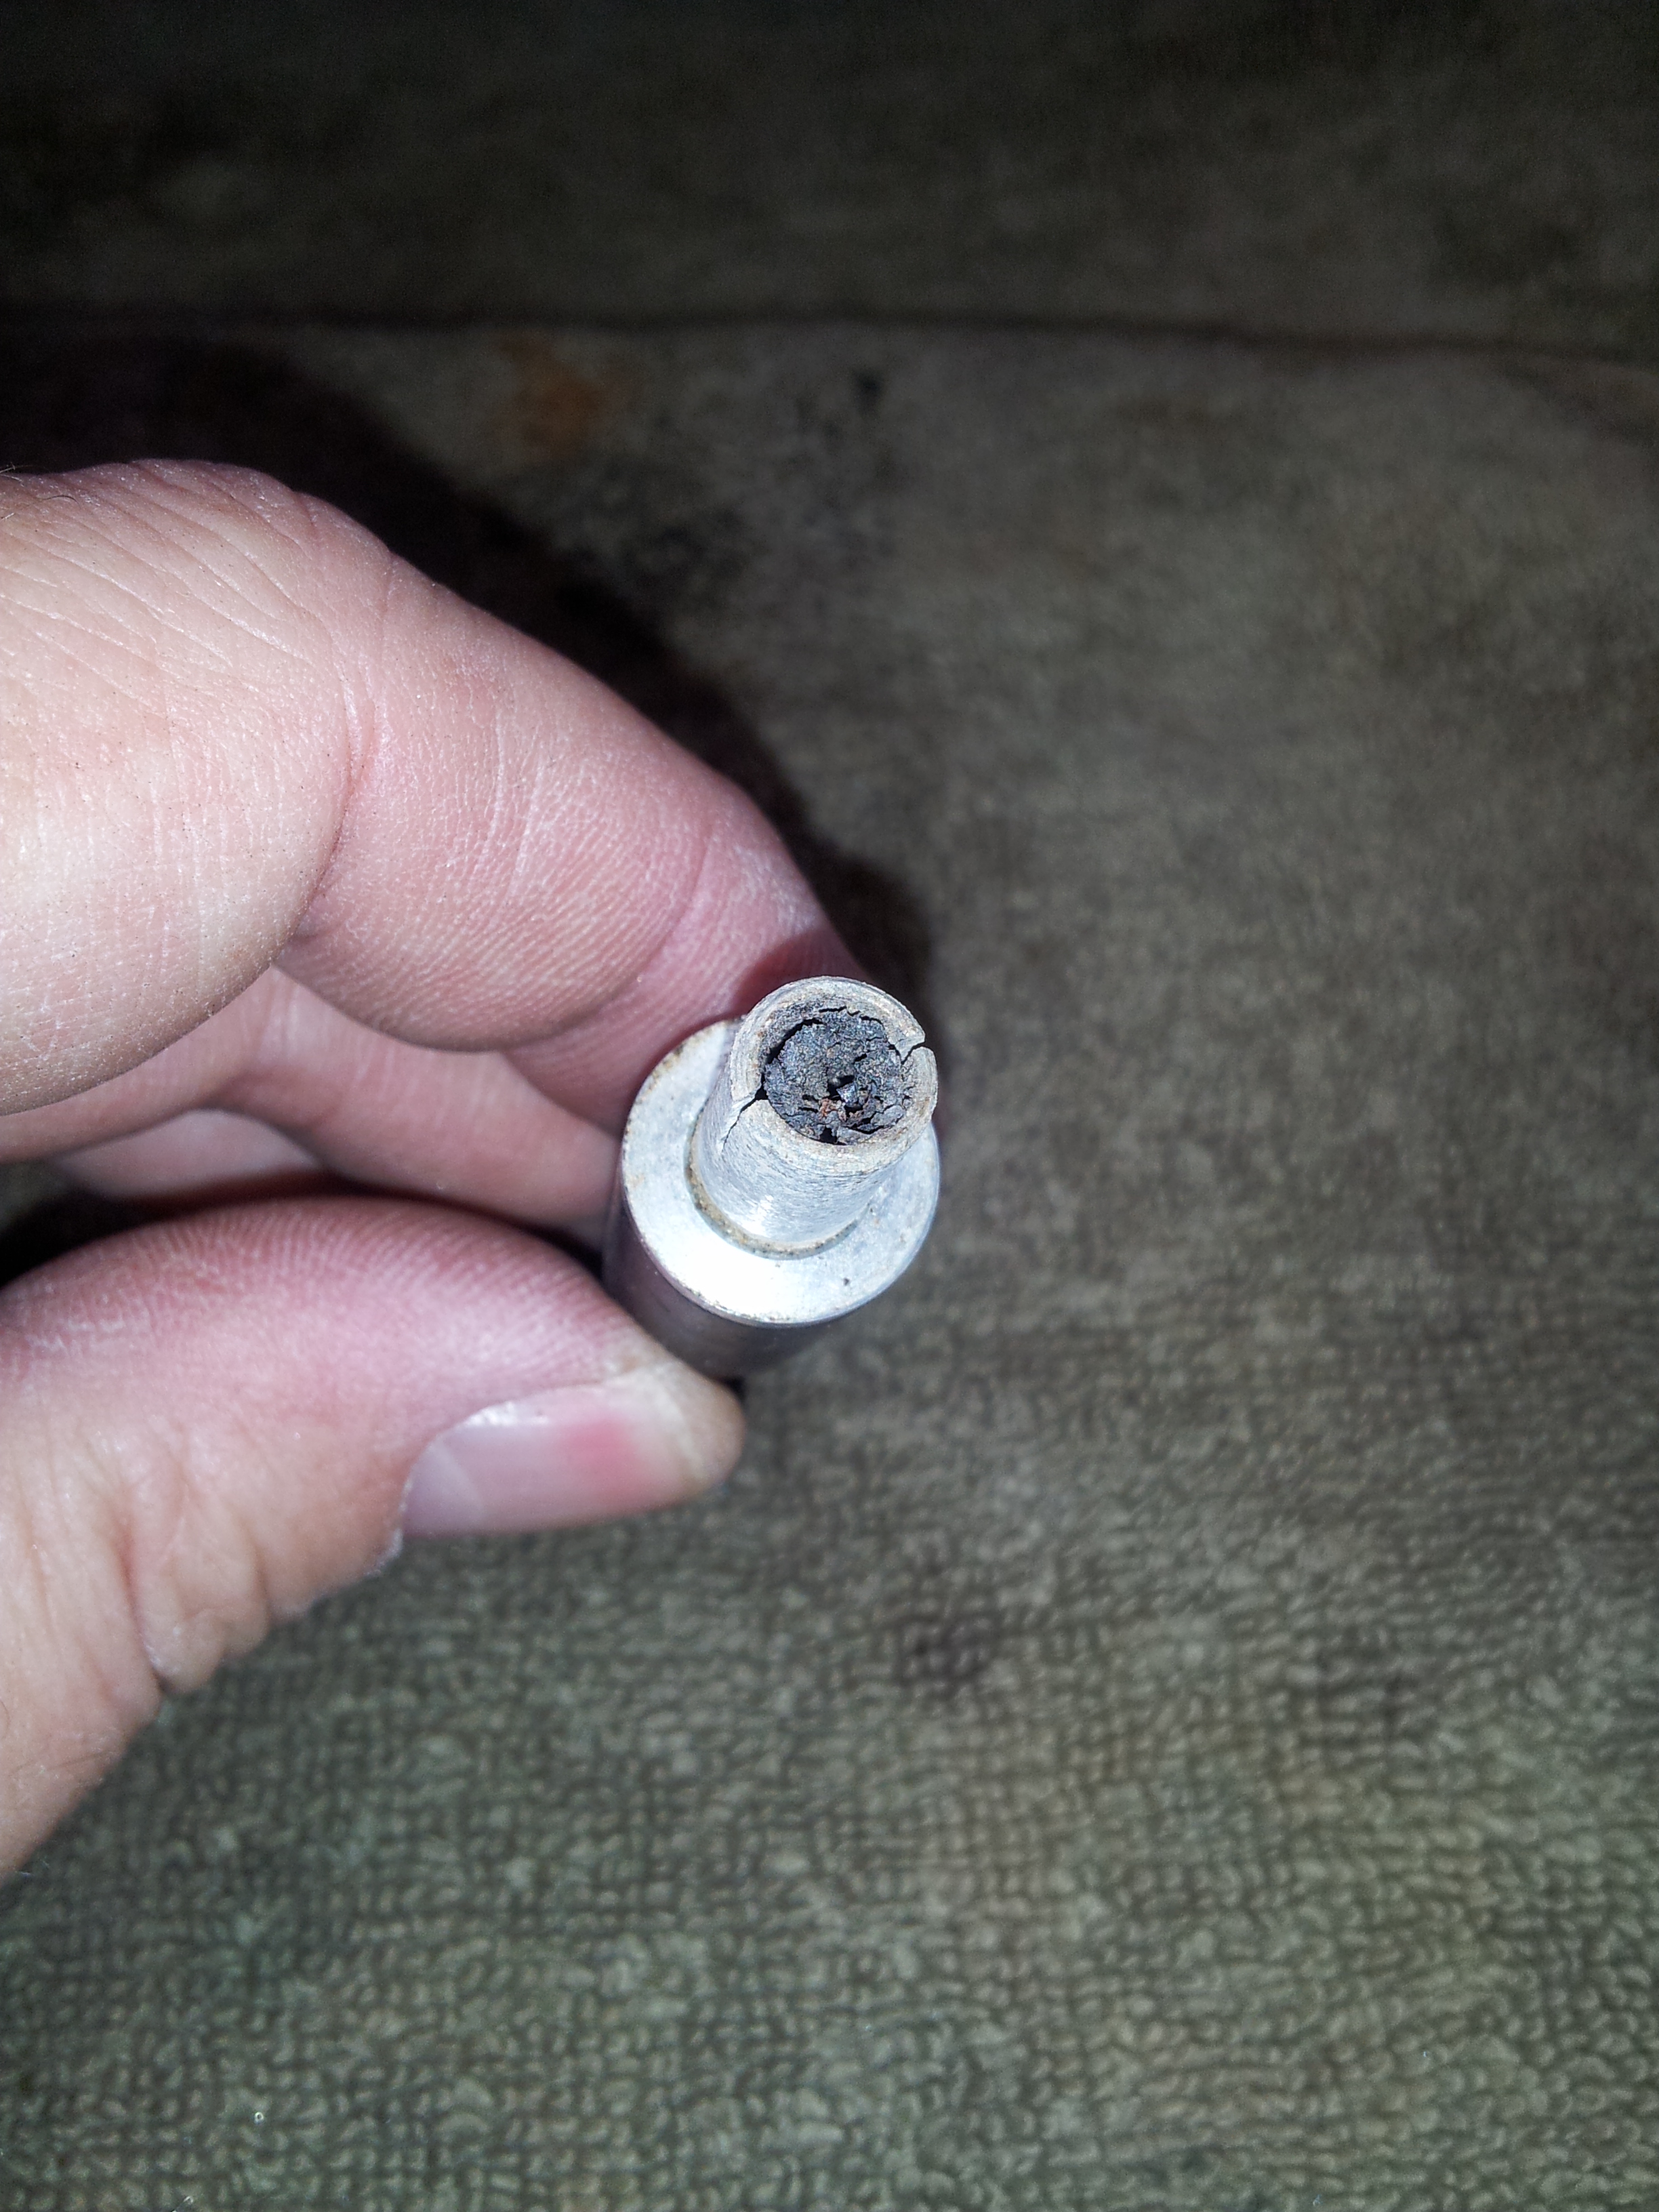
I did run into one speed bump immediately – the stem was firmly stuck in the mortise. Try as I might I could not budge it. An hour or two in the freezer usually shrinks the tenon sufficiently to allow the stem to be removed, but even after this treatment, I had to resort to a judicial shot of WD40 to get the stem moving. It turns out that corrosion on the aluminium tenon and a stem full of tars and bits of tobacco had combined to form a very effective glue.

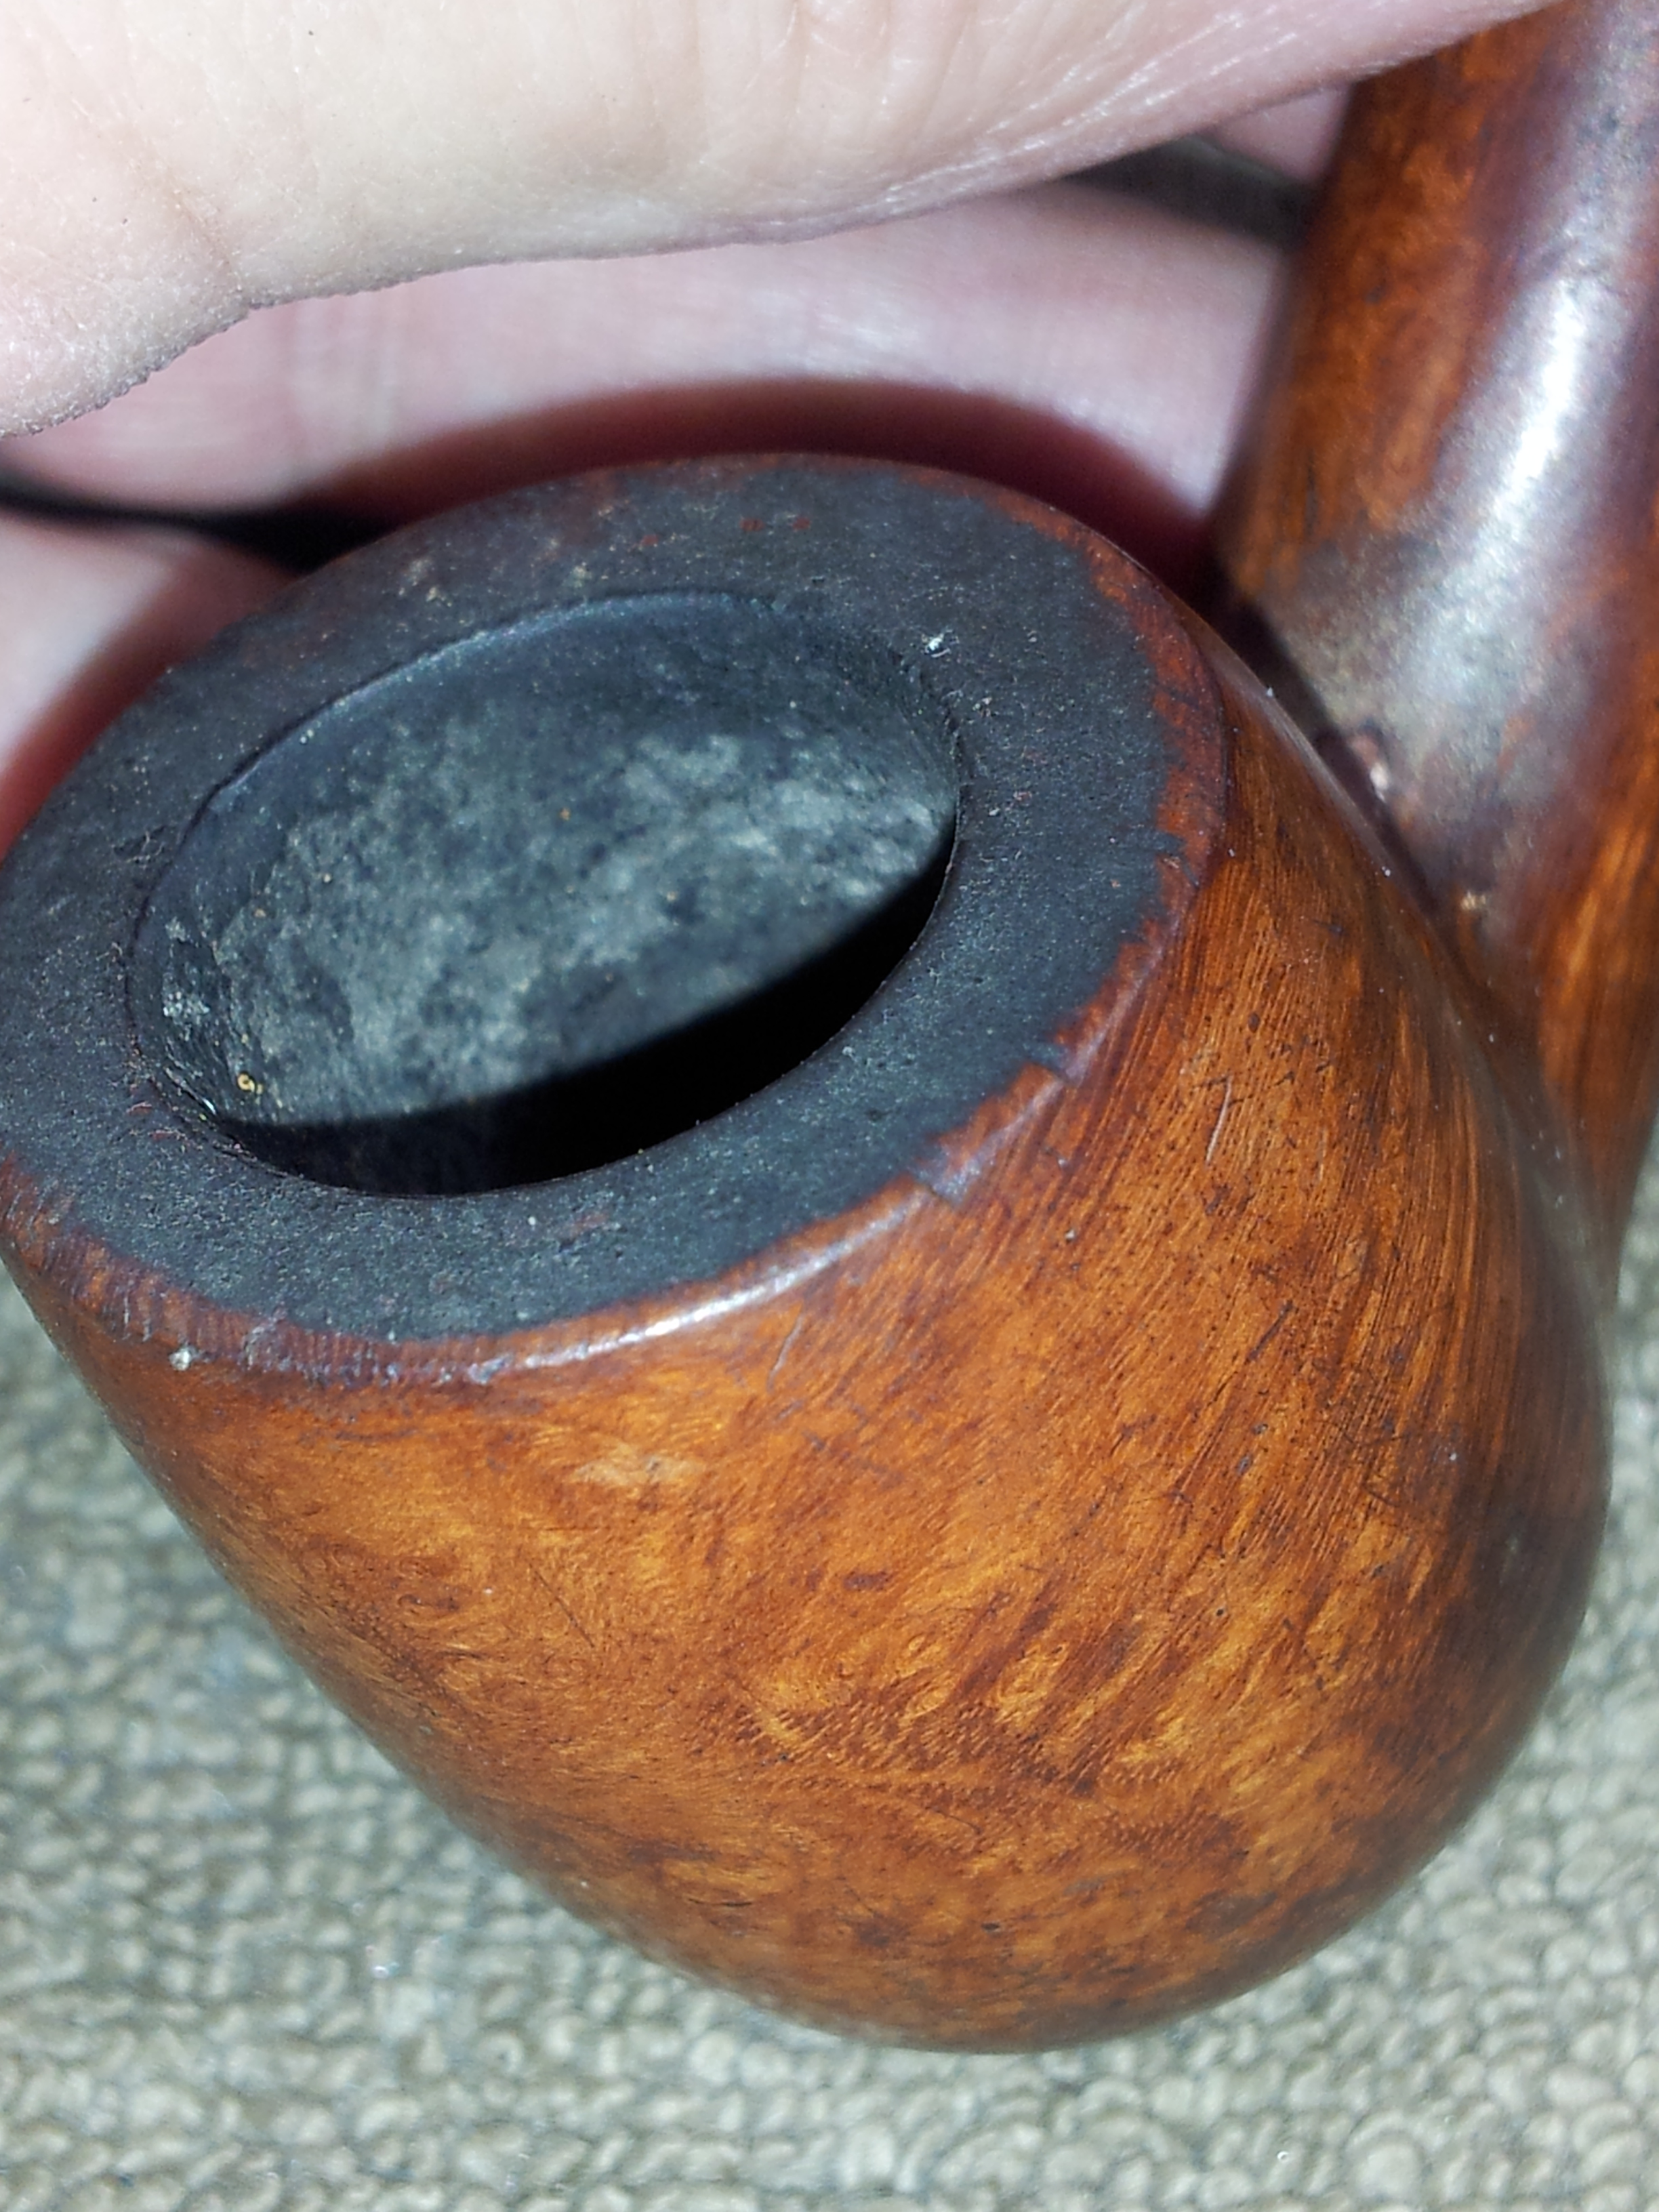
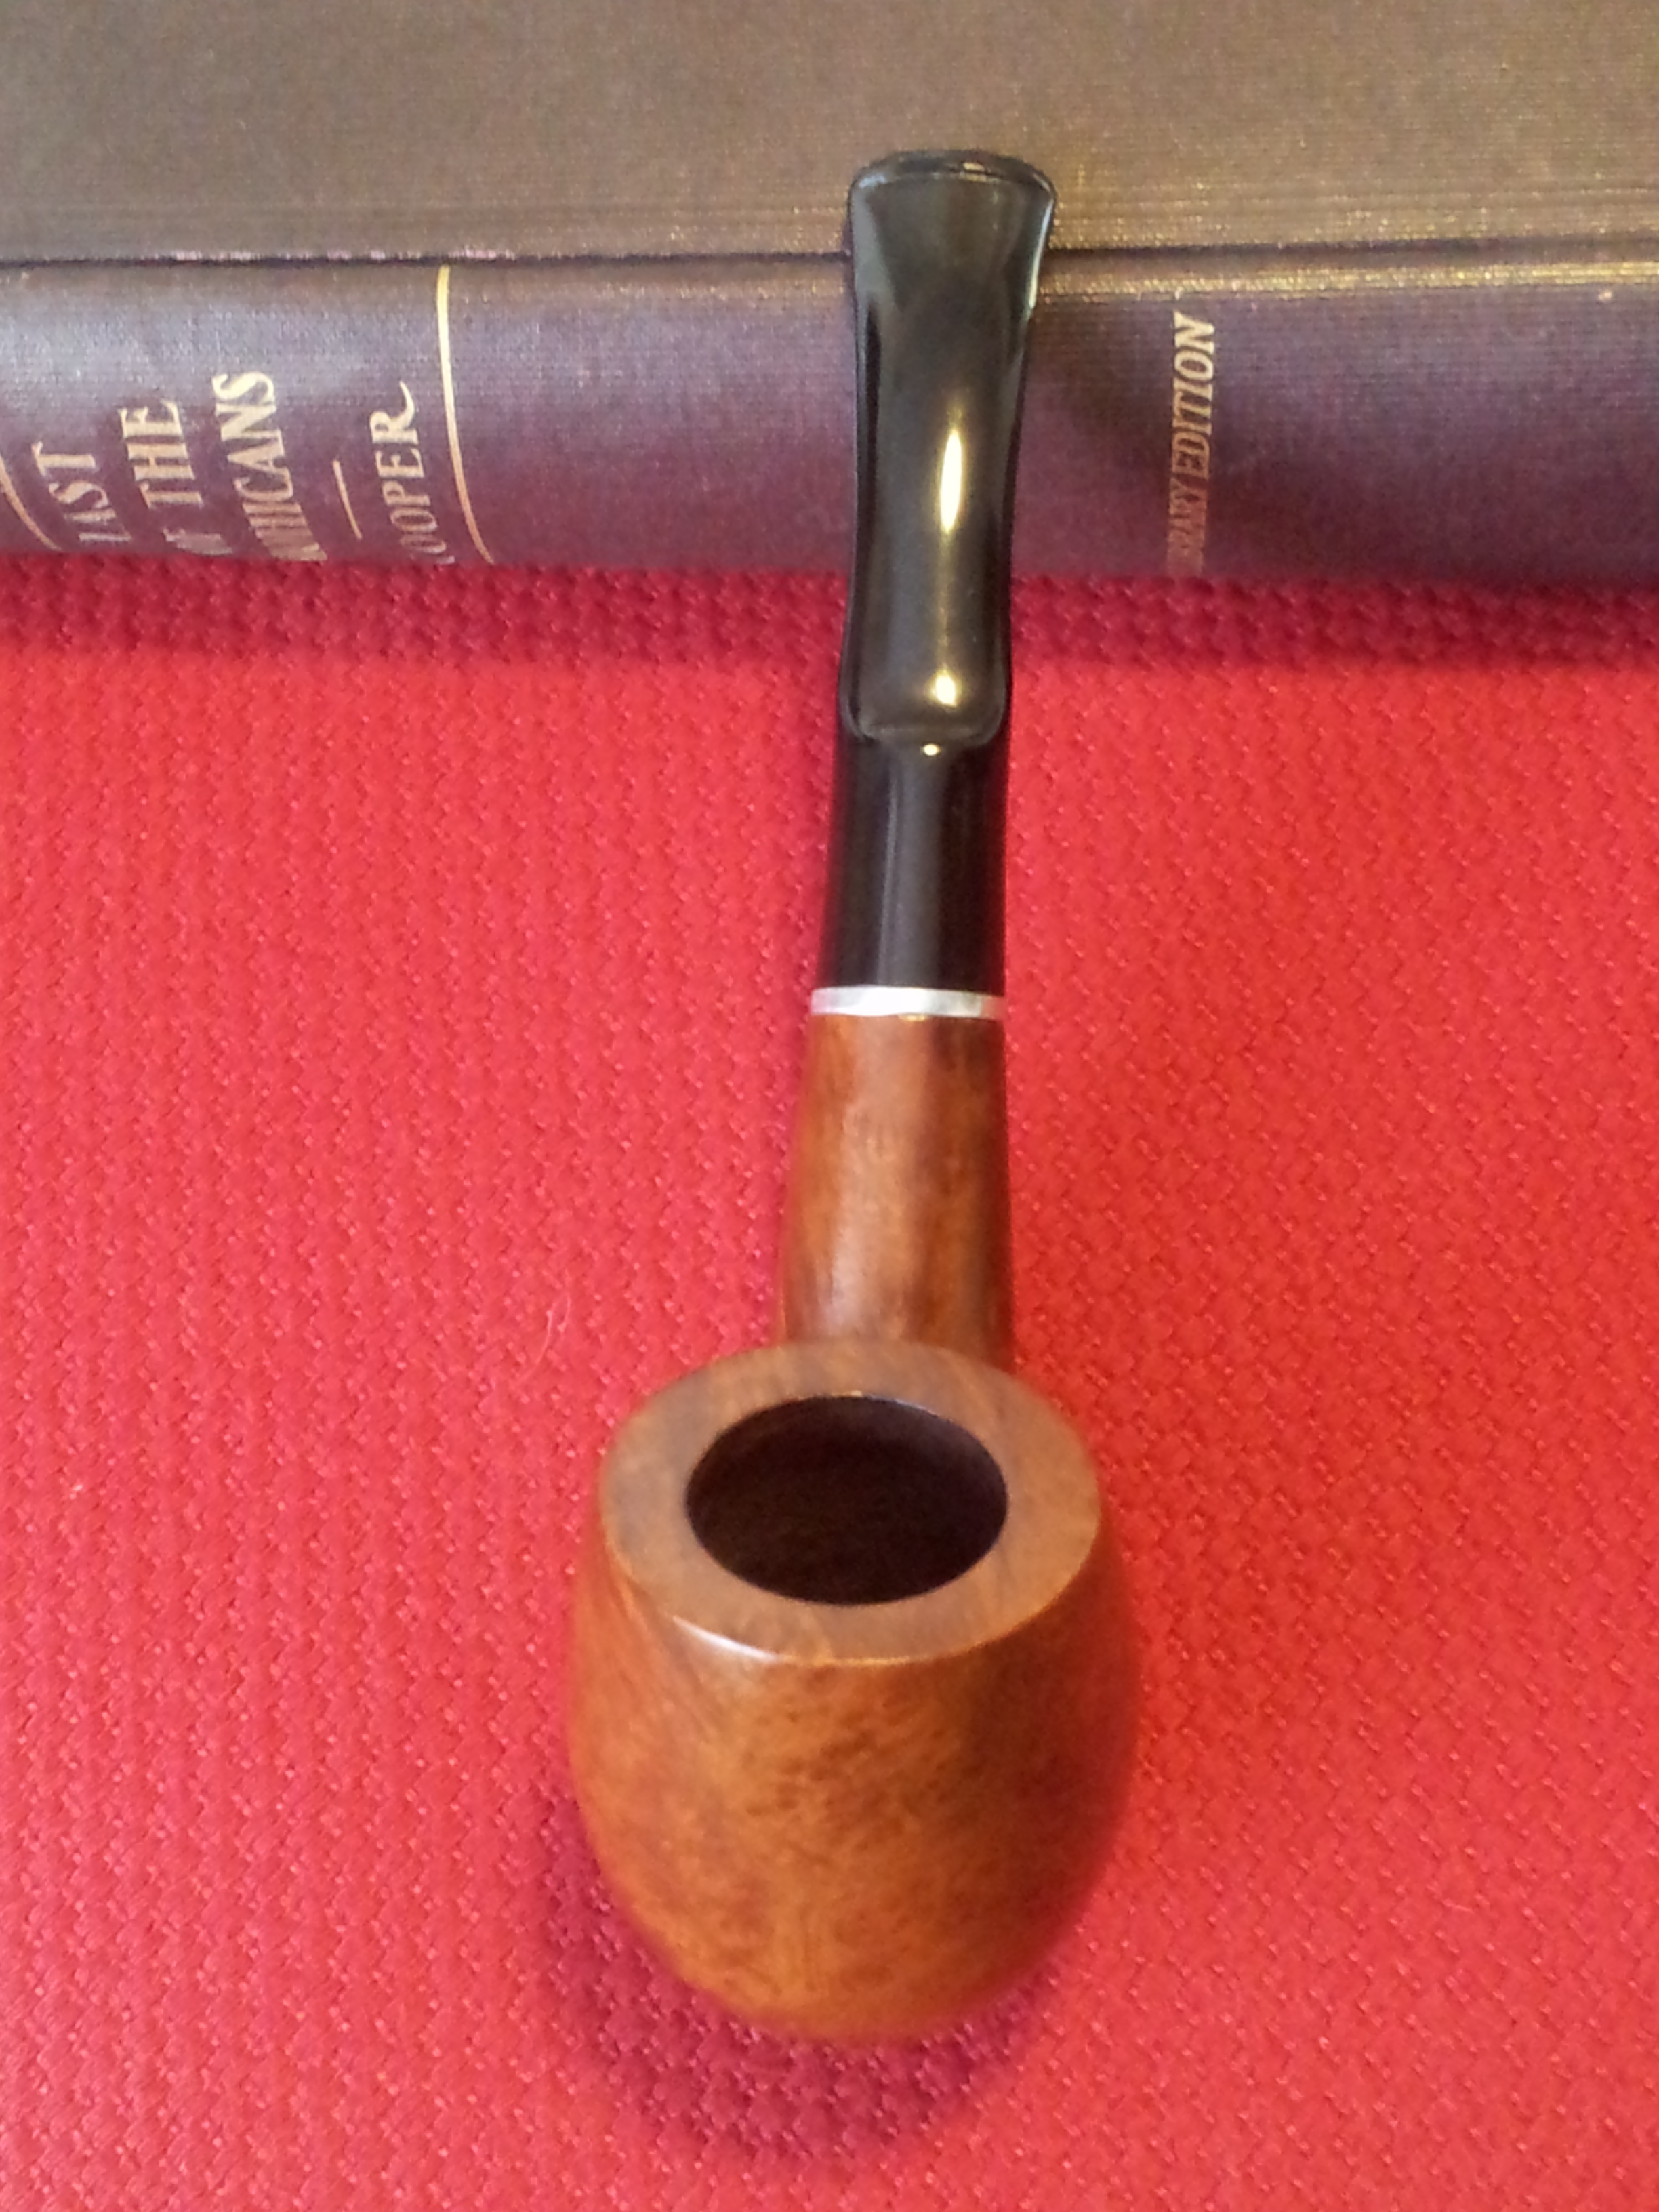
I reamed the bowl back to briar using some 100 grit sandpaper wrapped around a dowel. The bowl looked good – no cracks or burnouts to worry about this time. Satisfied, I dropped the stummel into an isopropyl alcohol bath to soak off the old finish and dissolve the tars on the rim and in the bowl and shank.
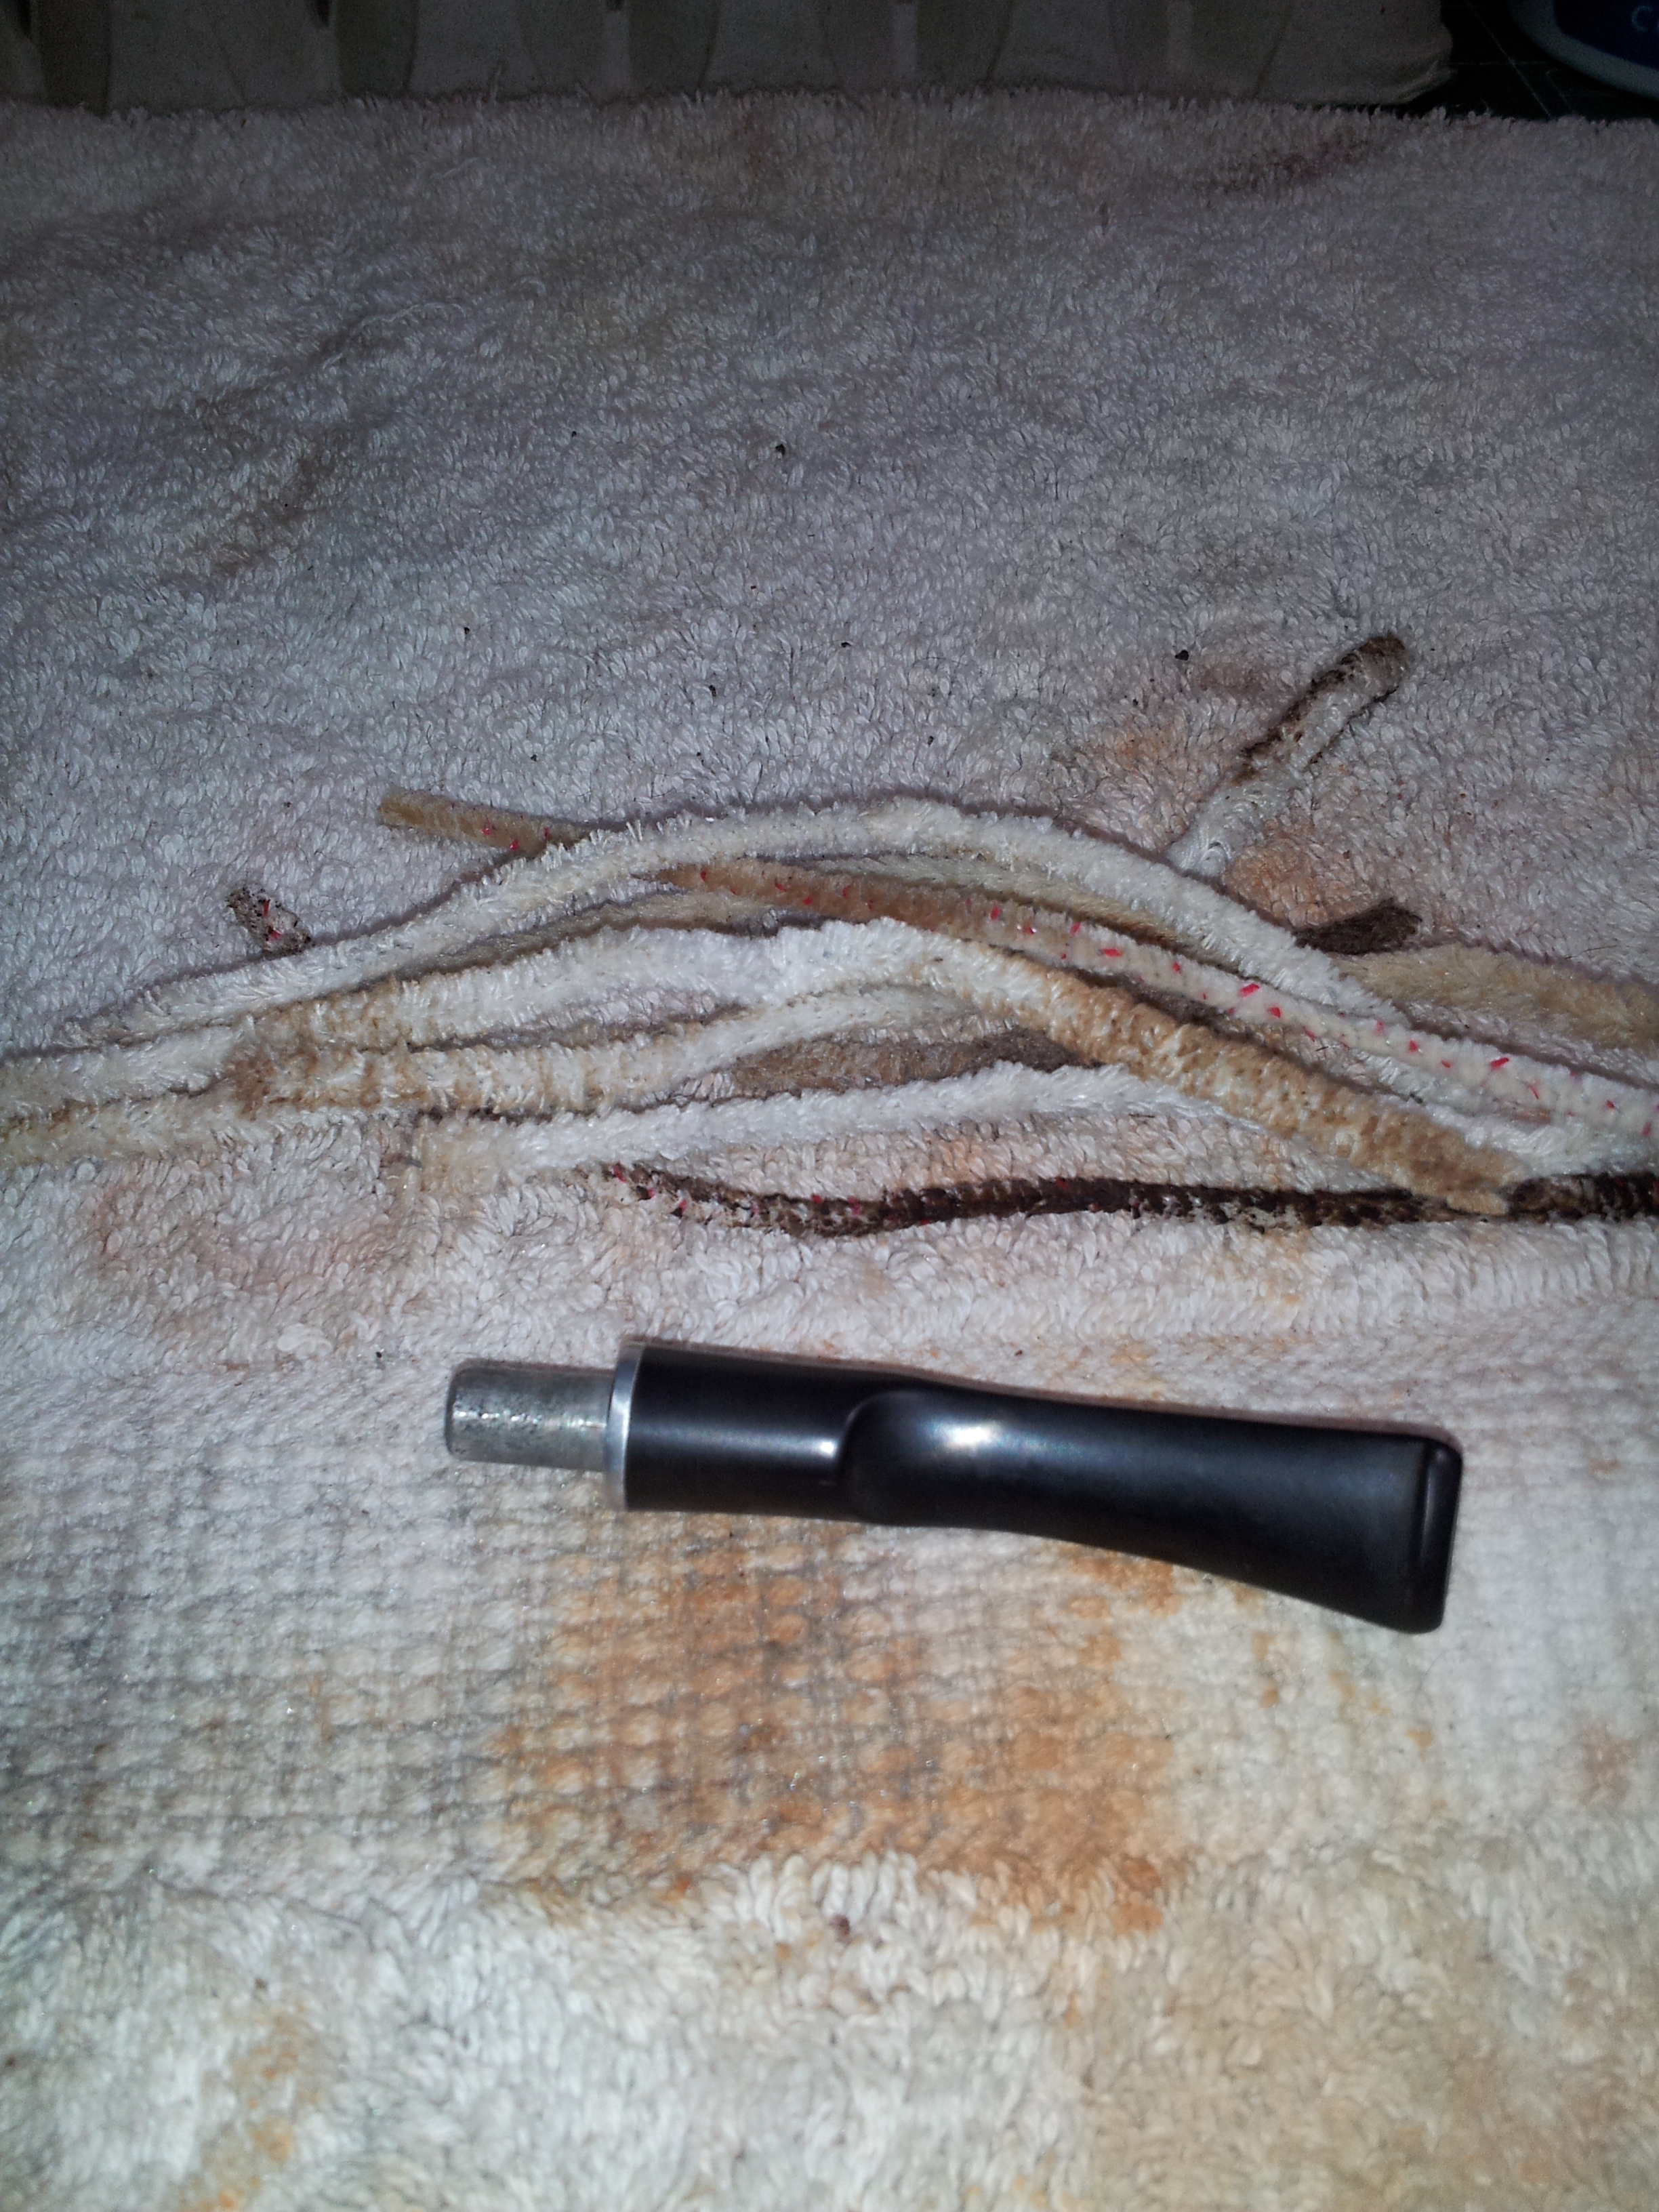
While the bowl was soaking, I cleared out the built-up crud from the stem’s airway. The worst of the blockage was at the tenon end, so once I got this area cleared, the stem went into an Oxyclean soak to soften the rest of the gunk in the airway and lift the oxidation to the stem surface.
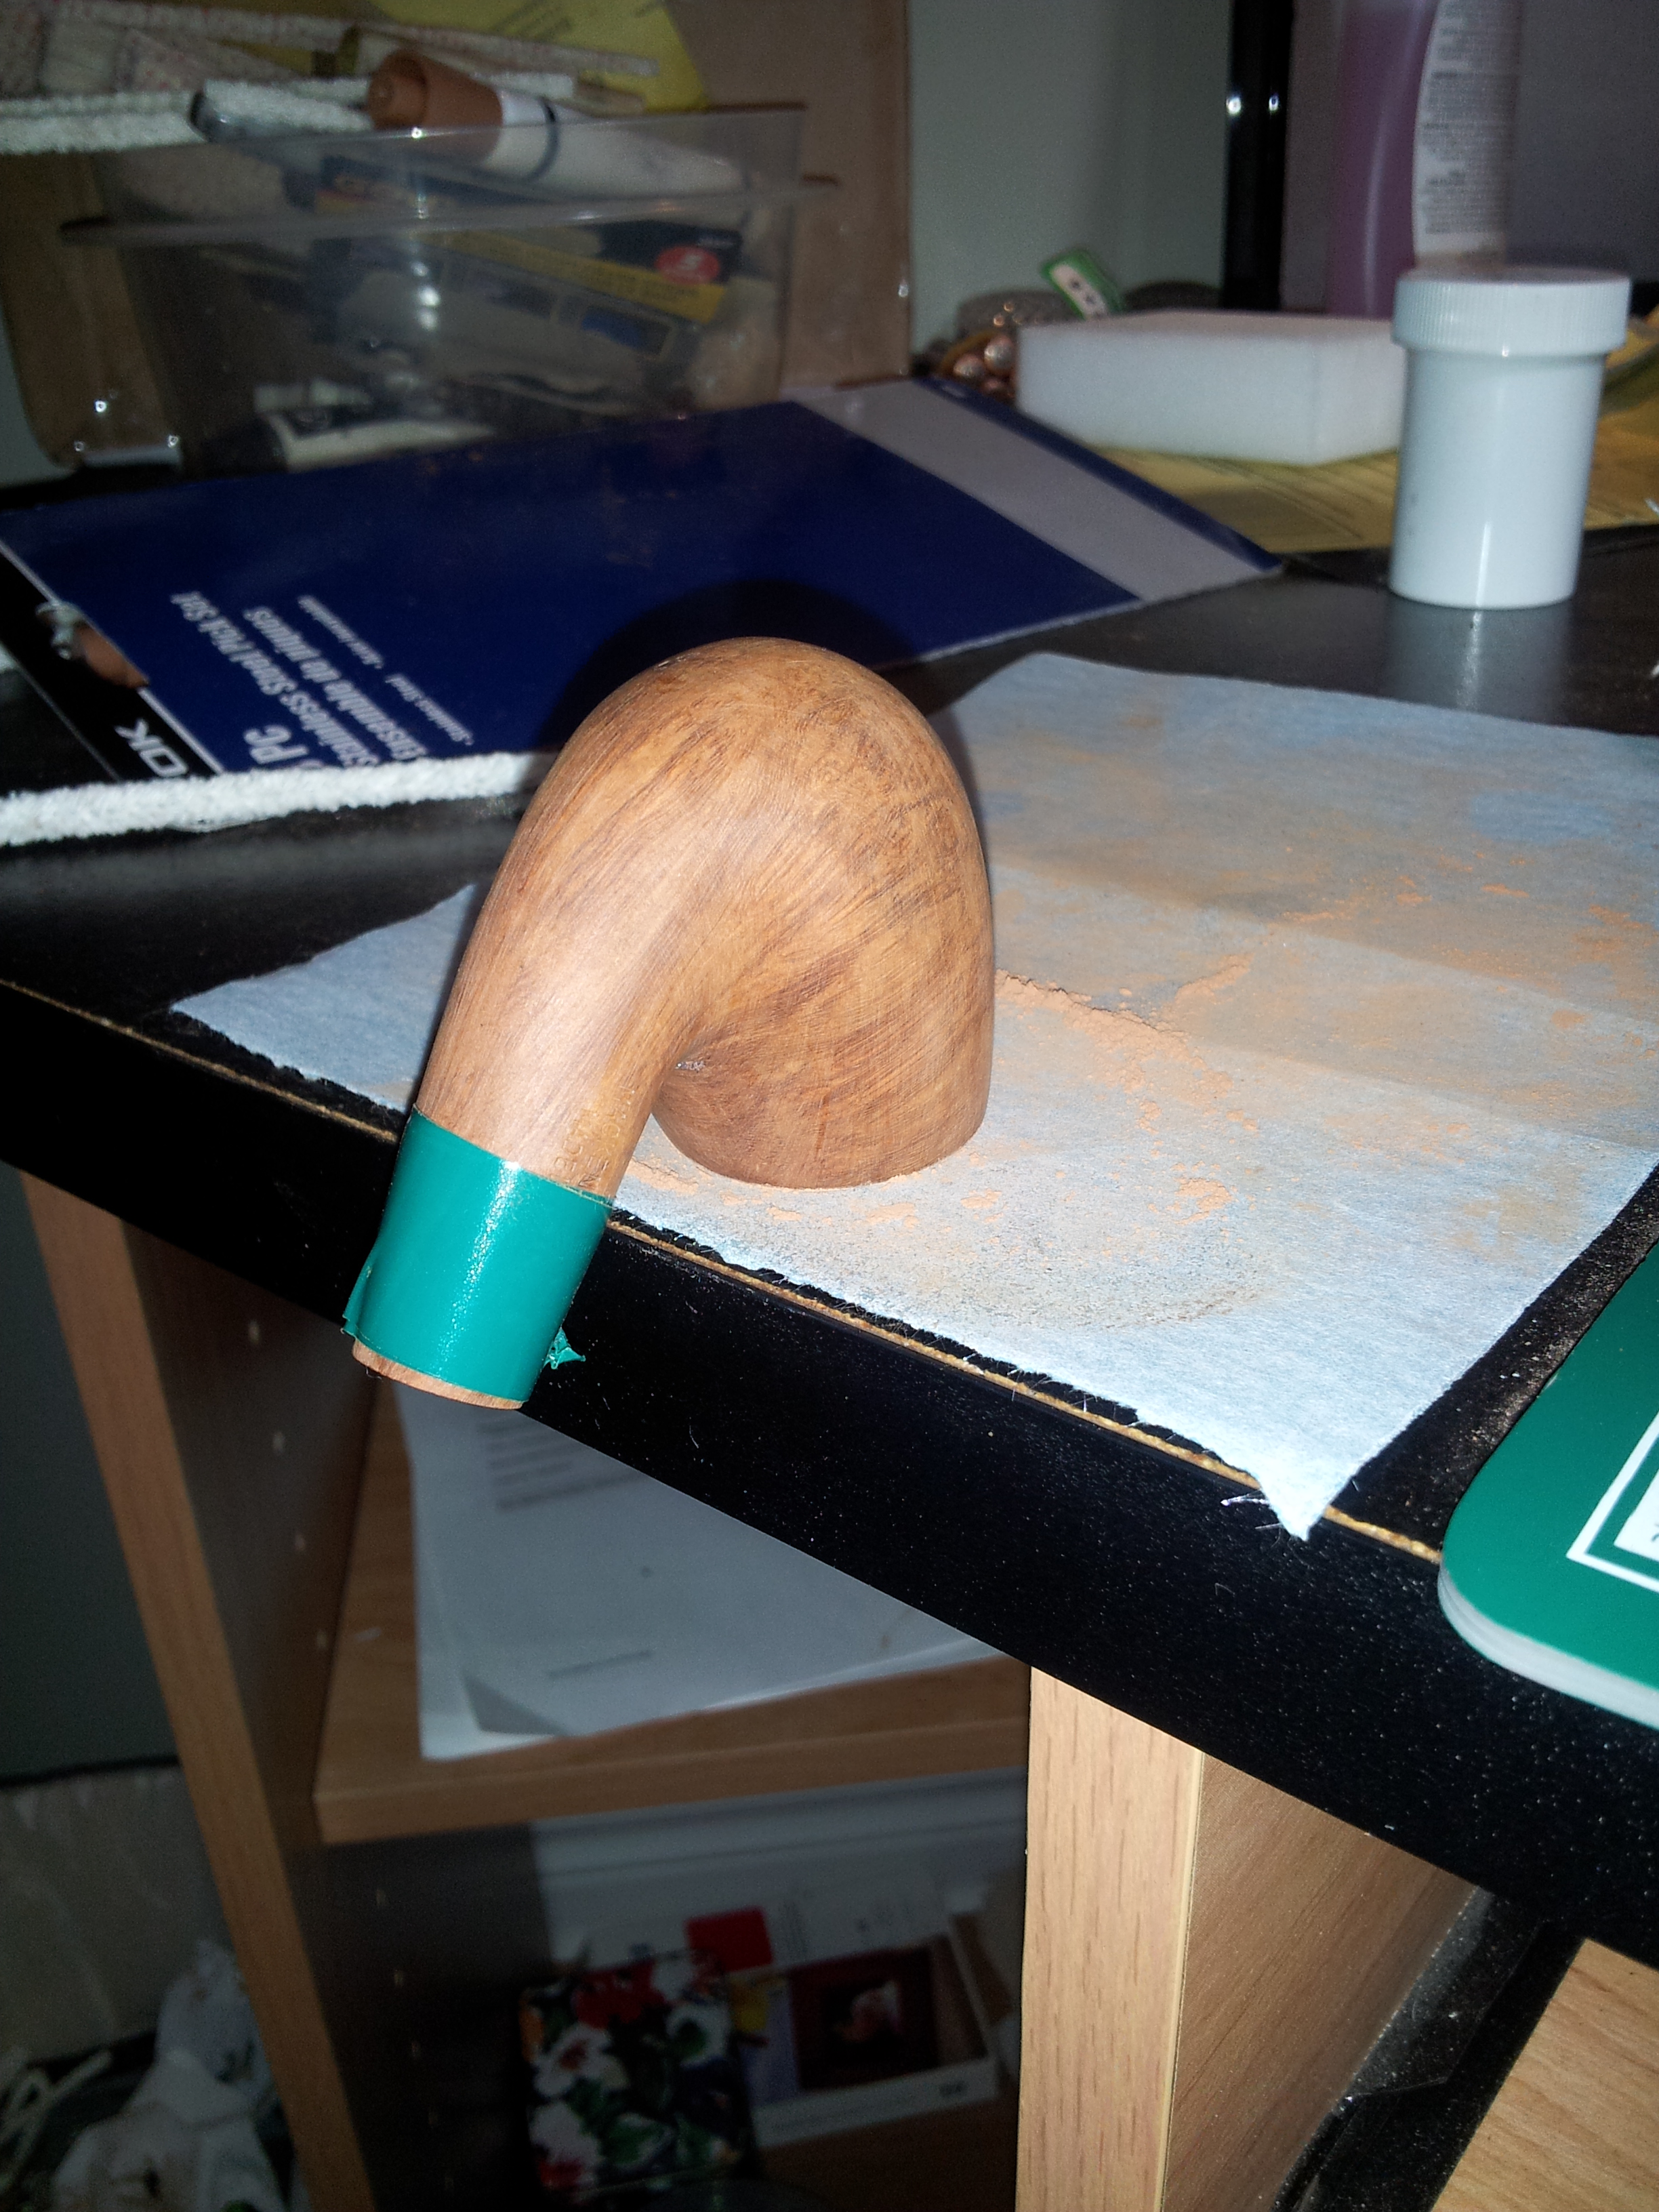
Moving back to the stummel, I pulled the briar out of the alcohol bath and cleared the internals using pipe cleaners and more isopropyl, It wasn’t terribly dirty, but the alcohol soak did identify several loose fills that would need replacing before I could refinish the pipe. I picked the old putty out and then gently topped the bowl to remove the last of the tars on the rim and to smooth out several small dings. You’ll notice in the pic below that I wrapped a bit of electrical tape around the shank while I did the topping. This served as a nice buffer against accidentally sanding a notch out of the shank.
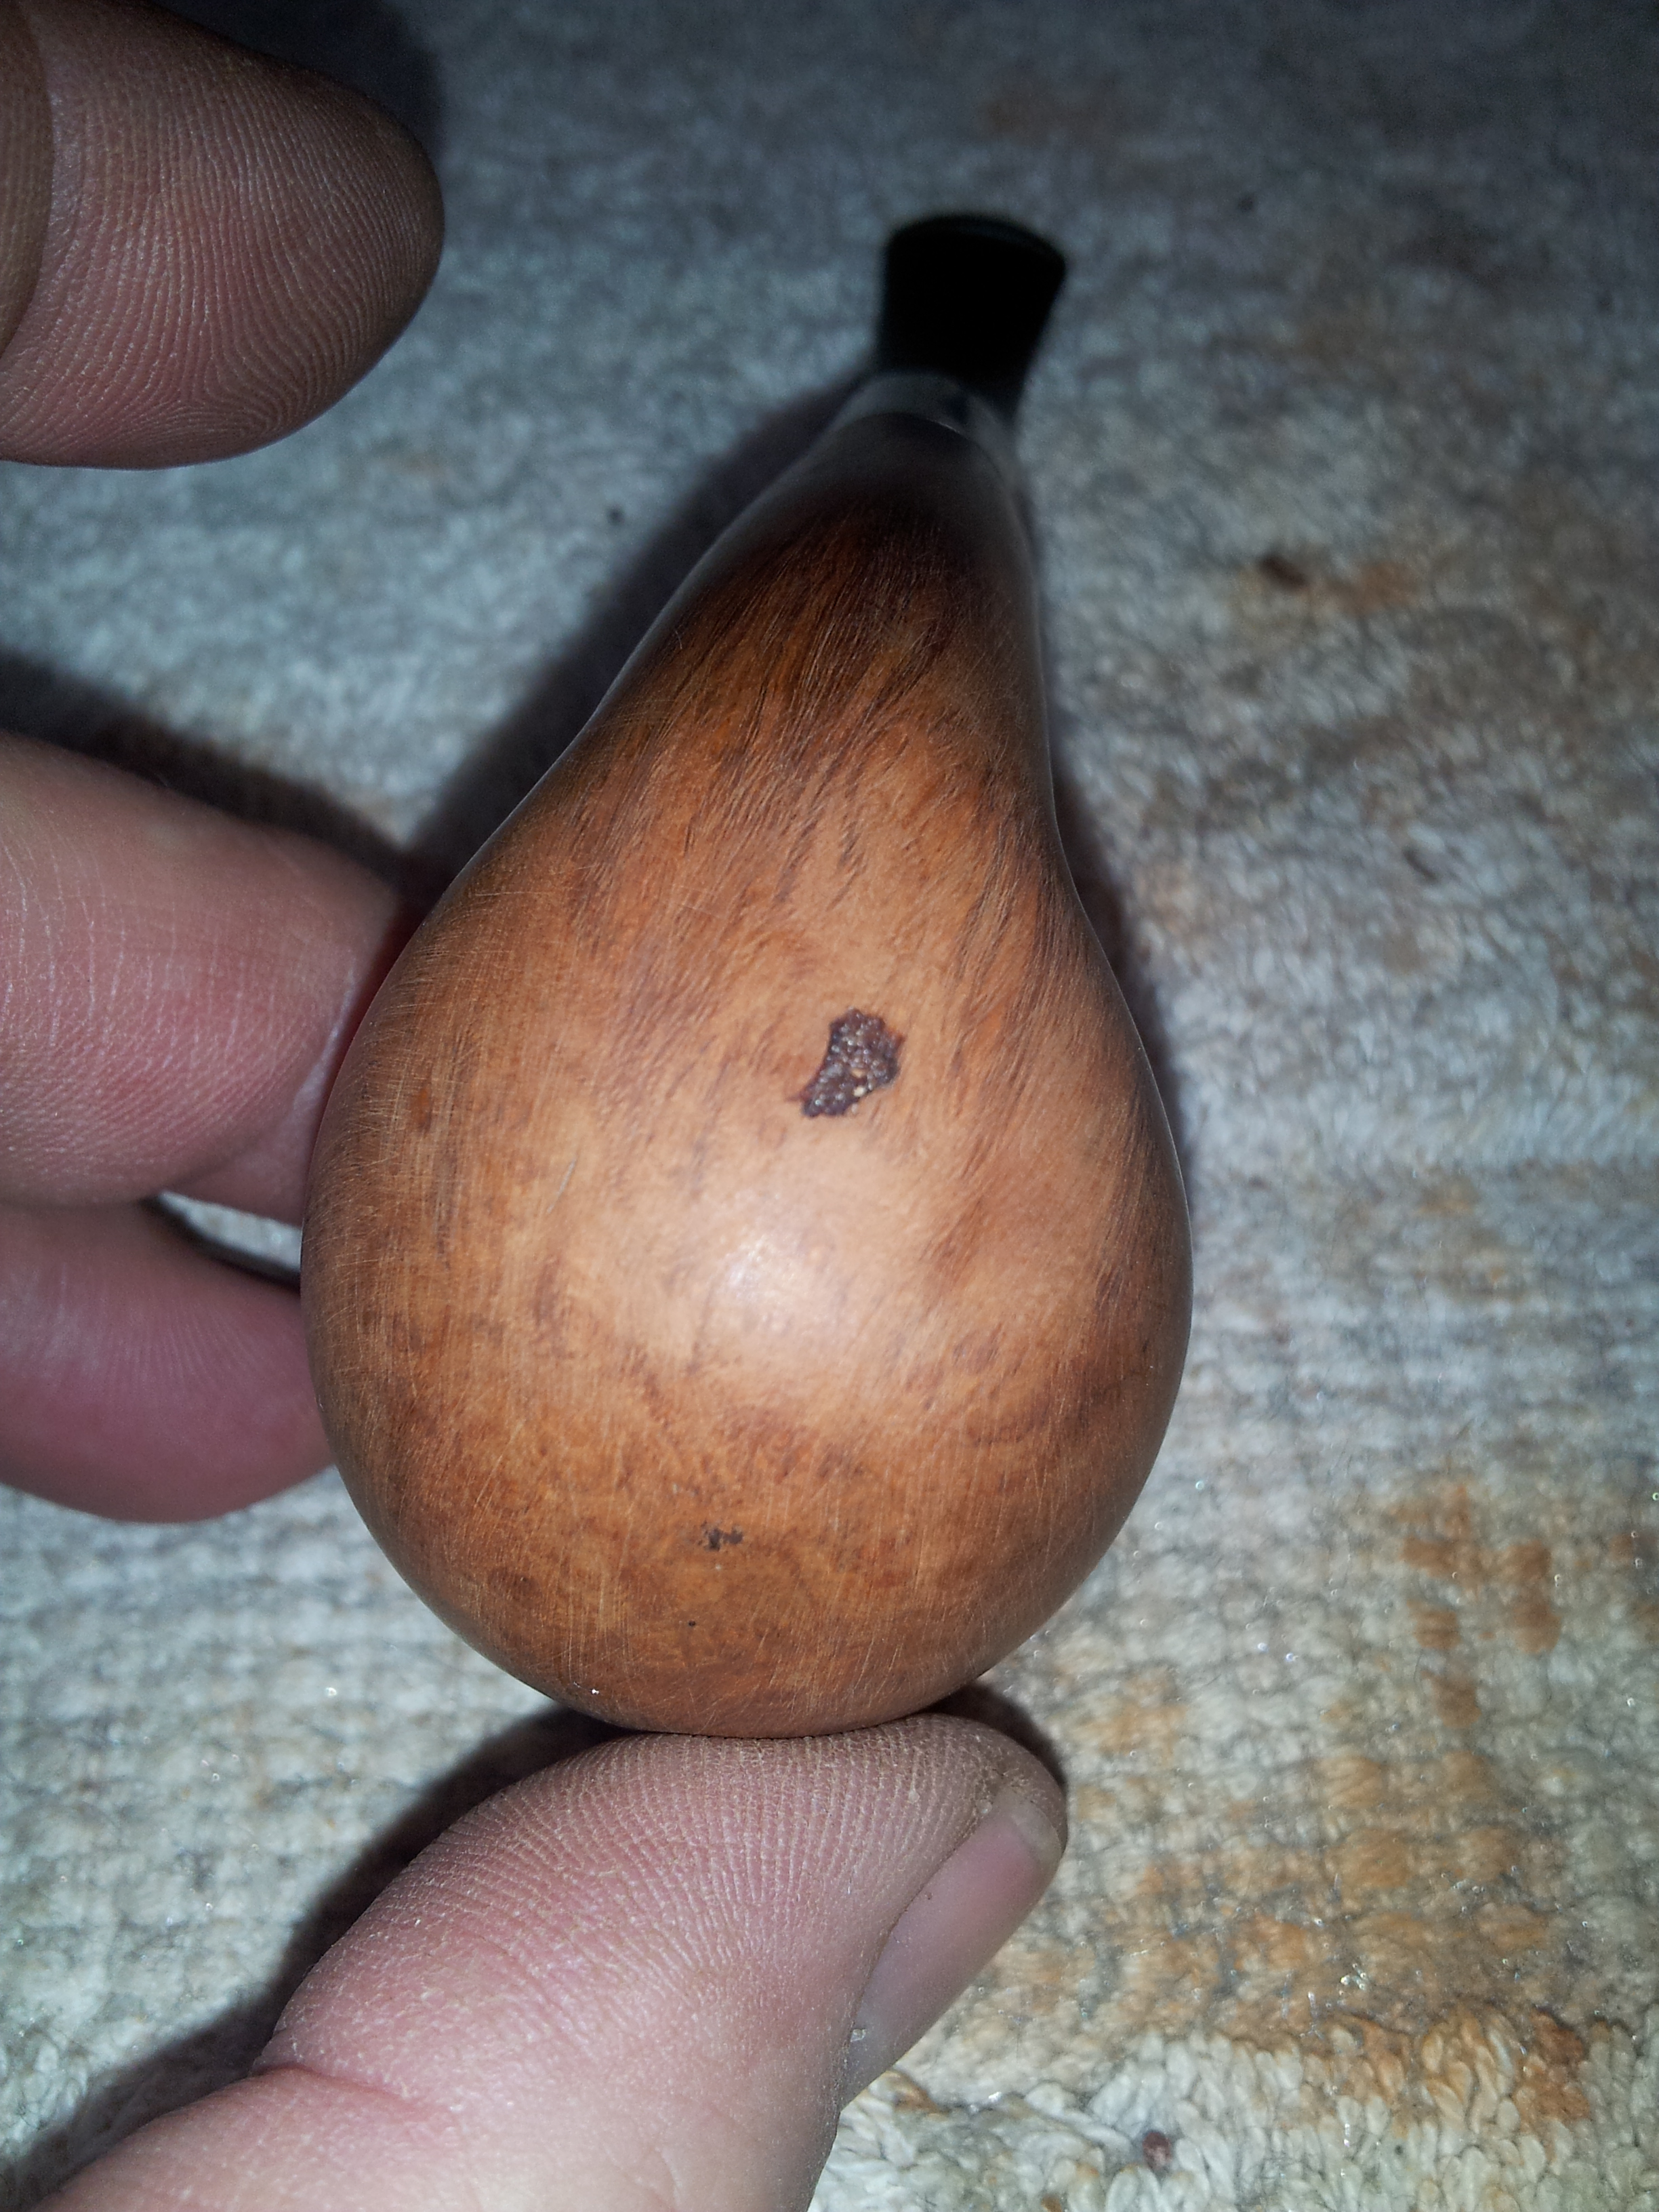
I replaced the missing fills with CA glue and briar dust and set the stummel aside to allow the glue to cure before sanding the fills smooth. The pics of the fills in progress seems to have gone AWOL, but the pics below show the fills after sanding.

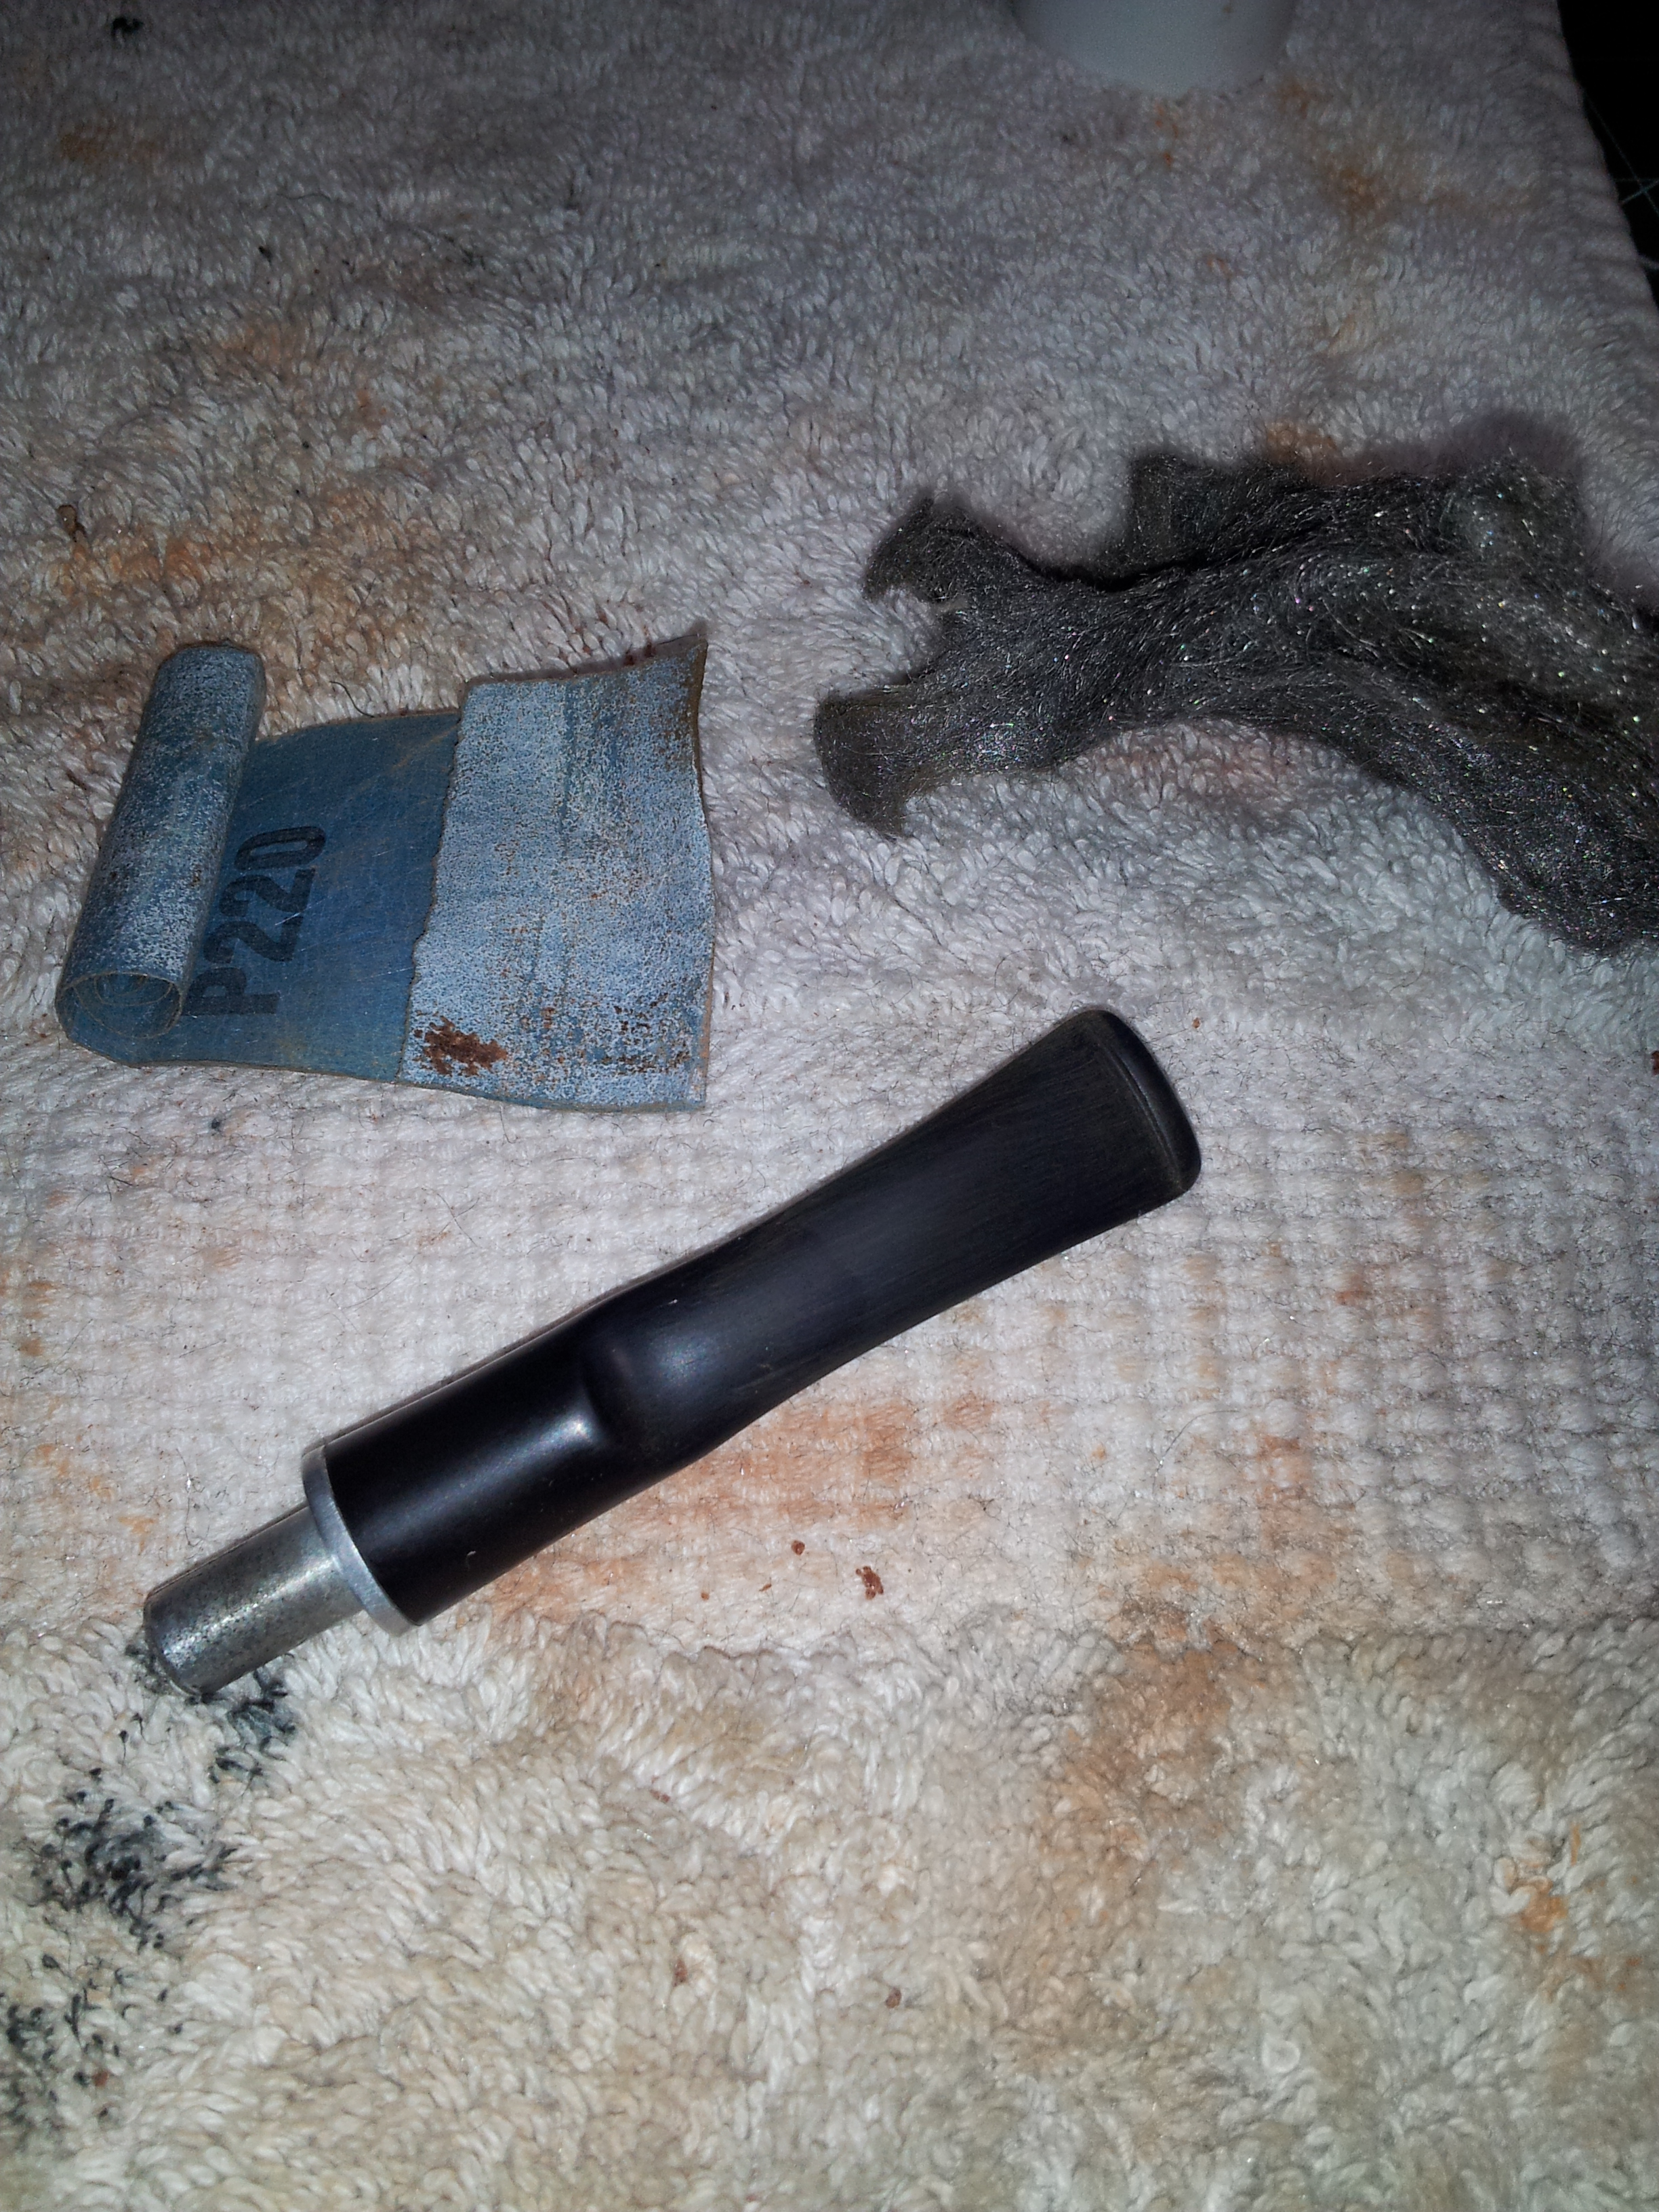
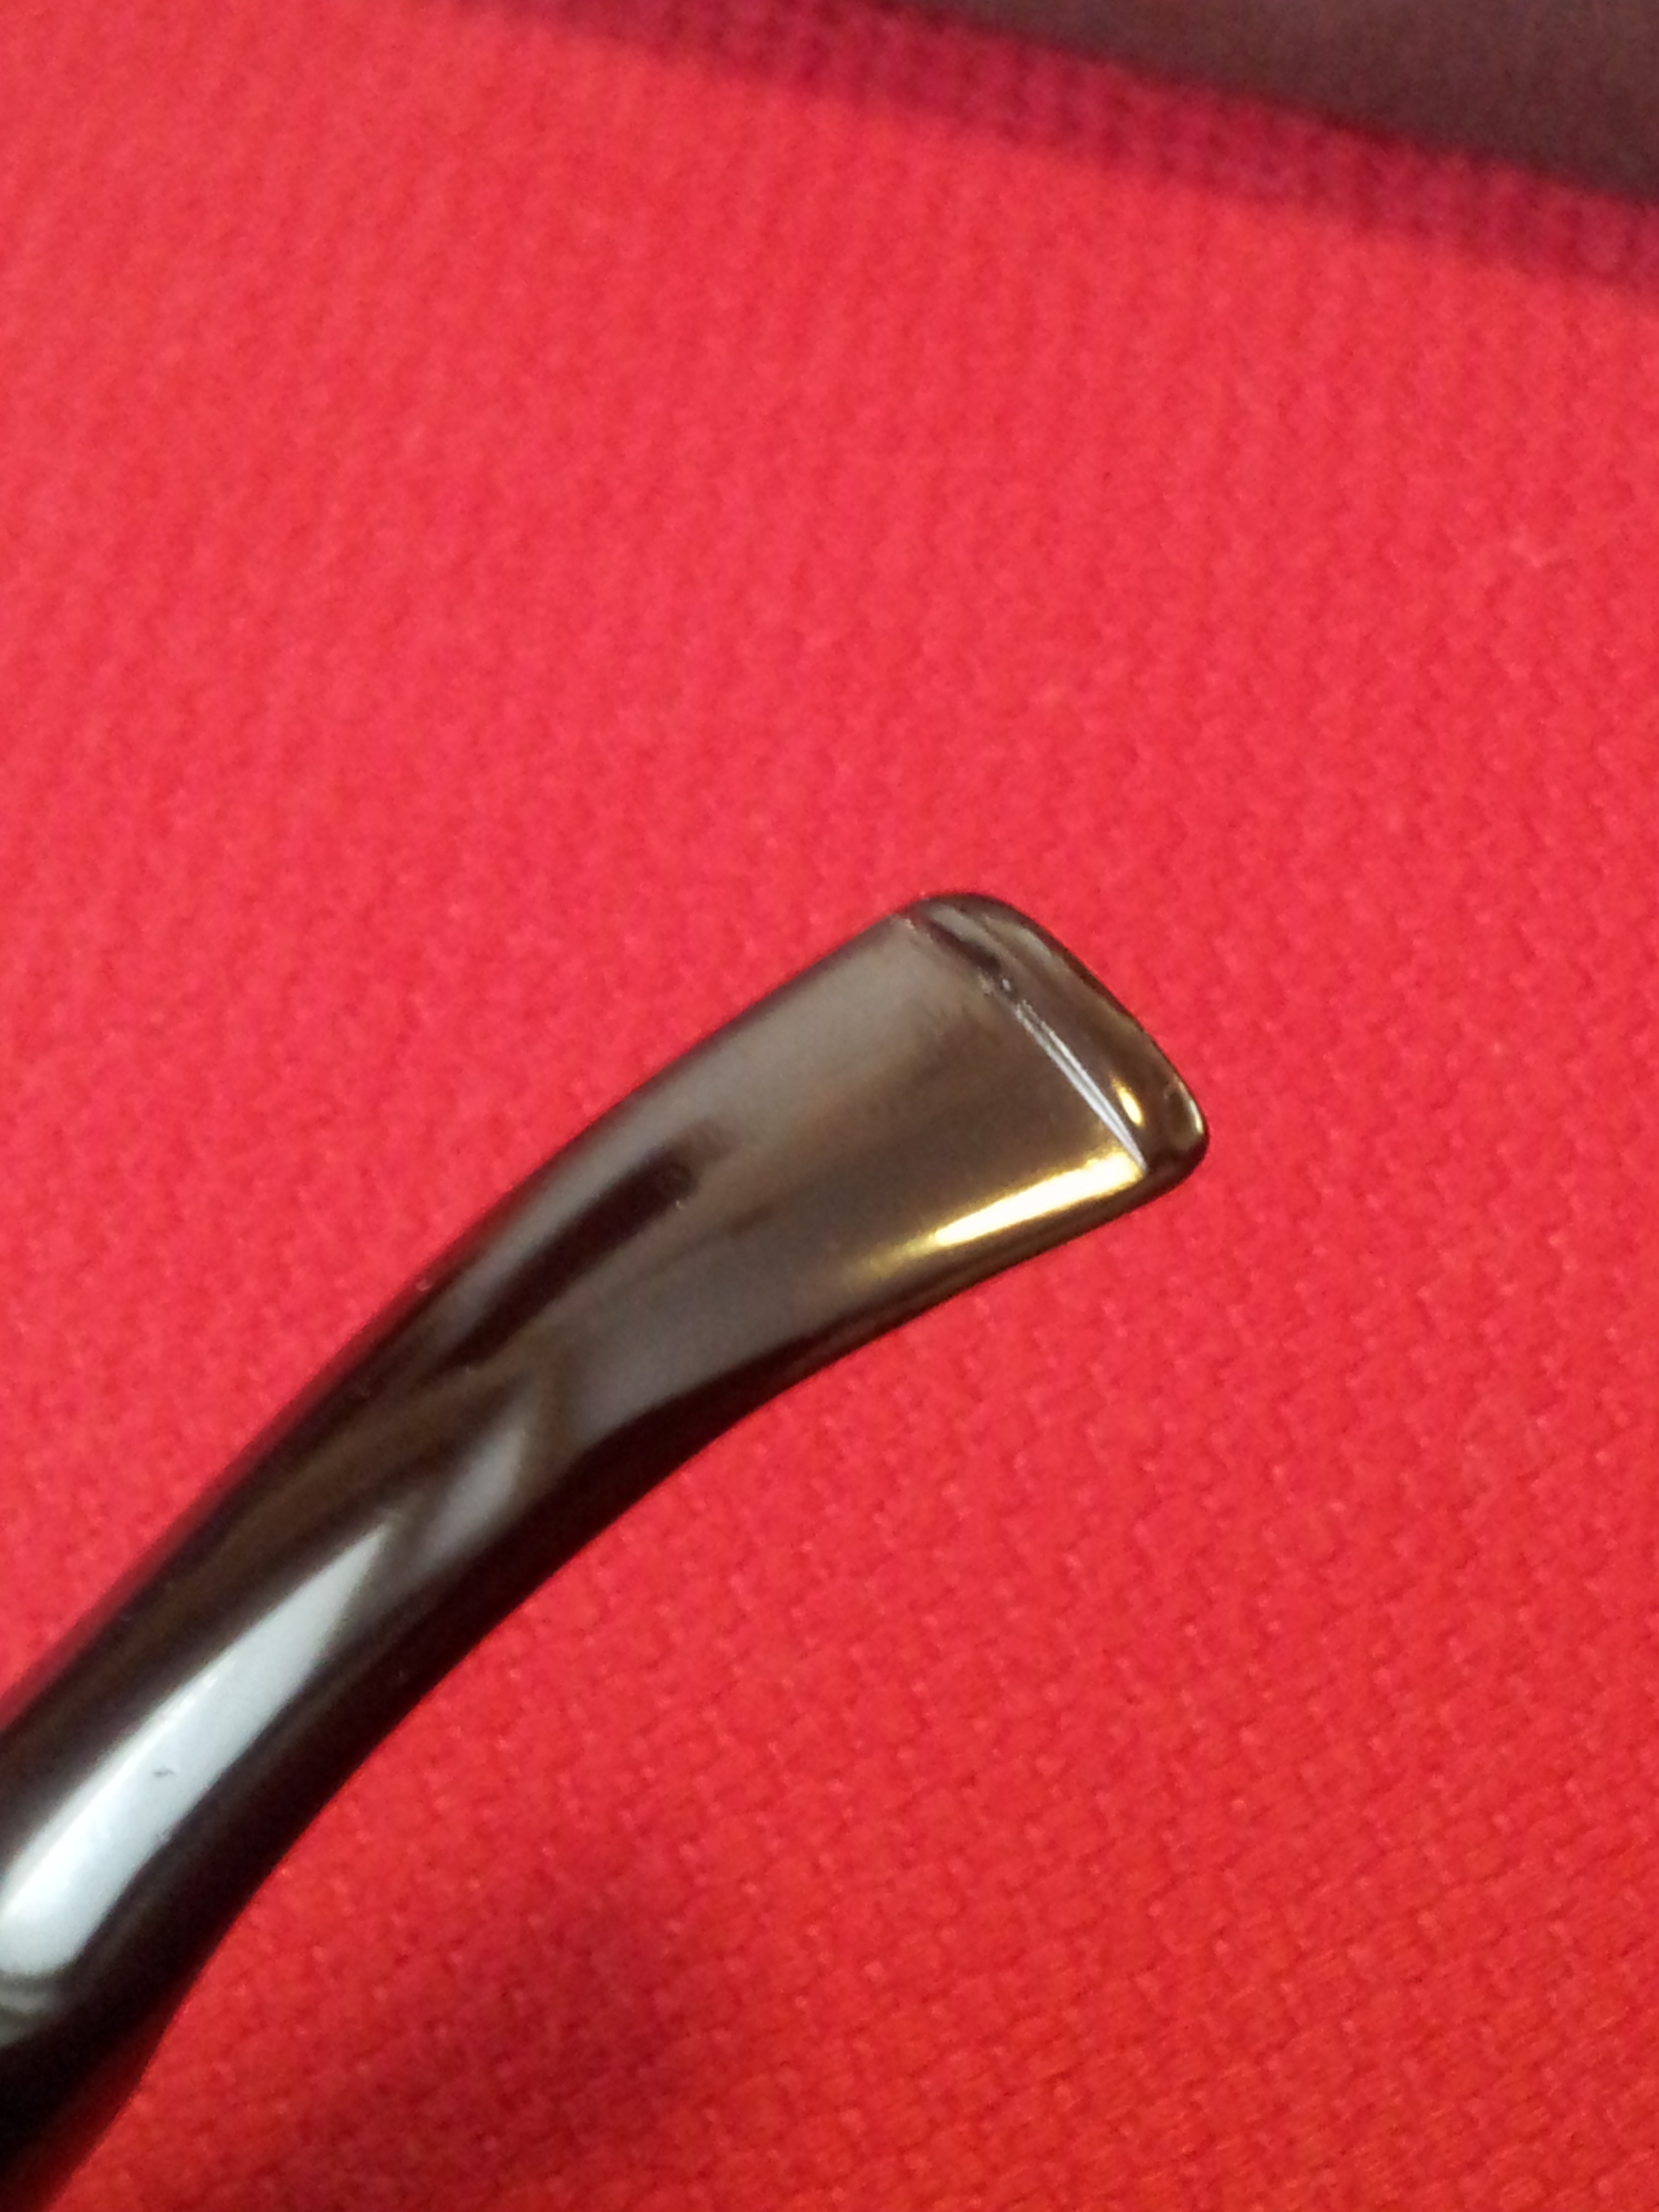
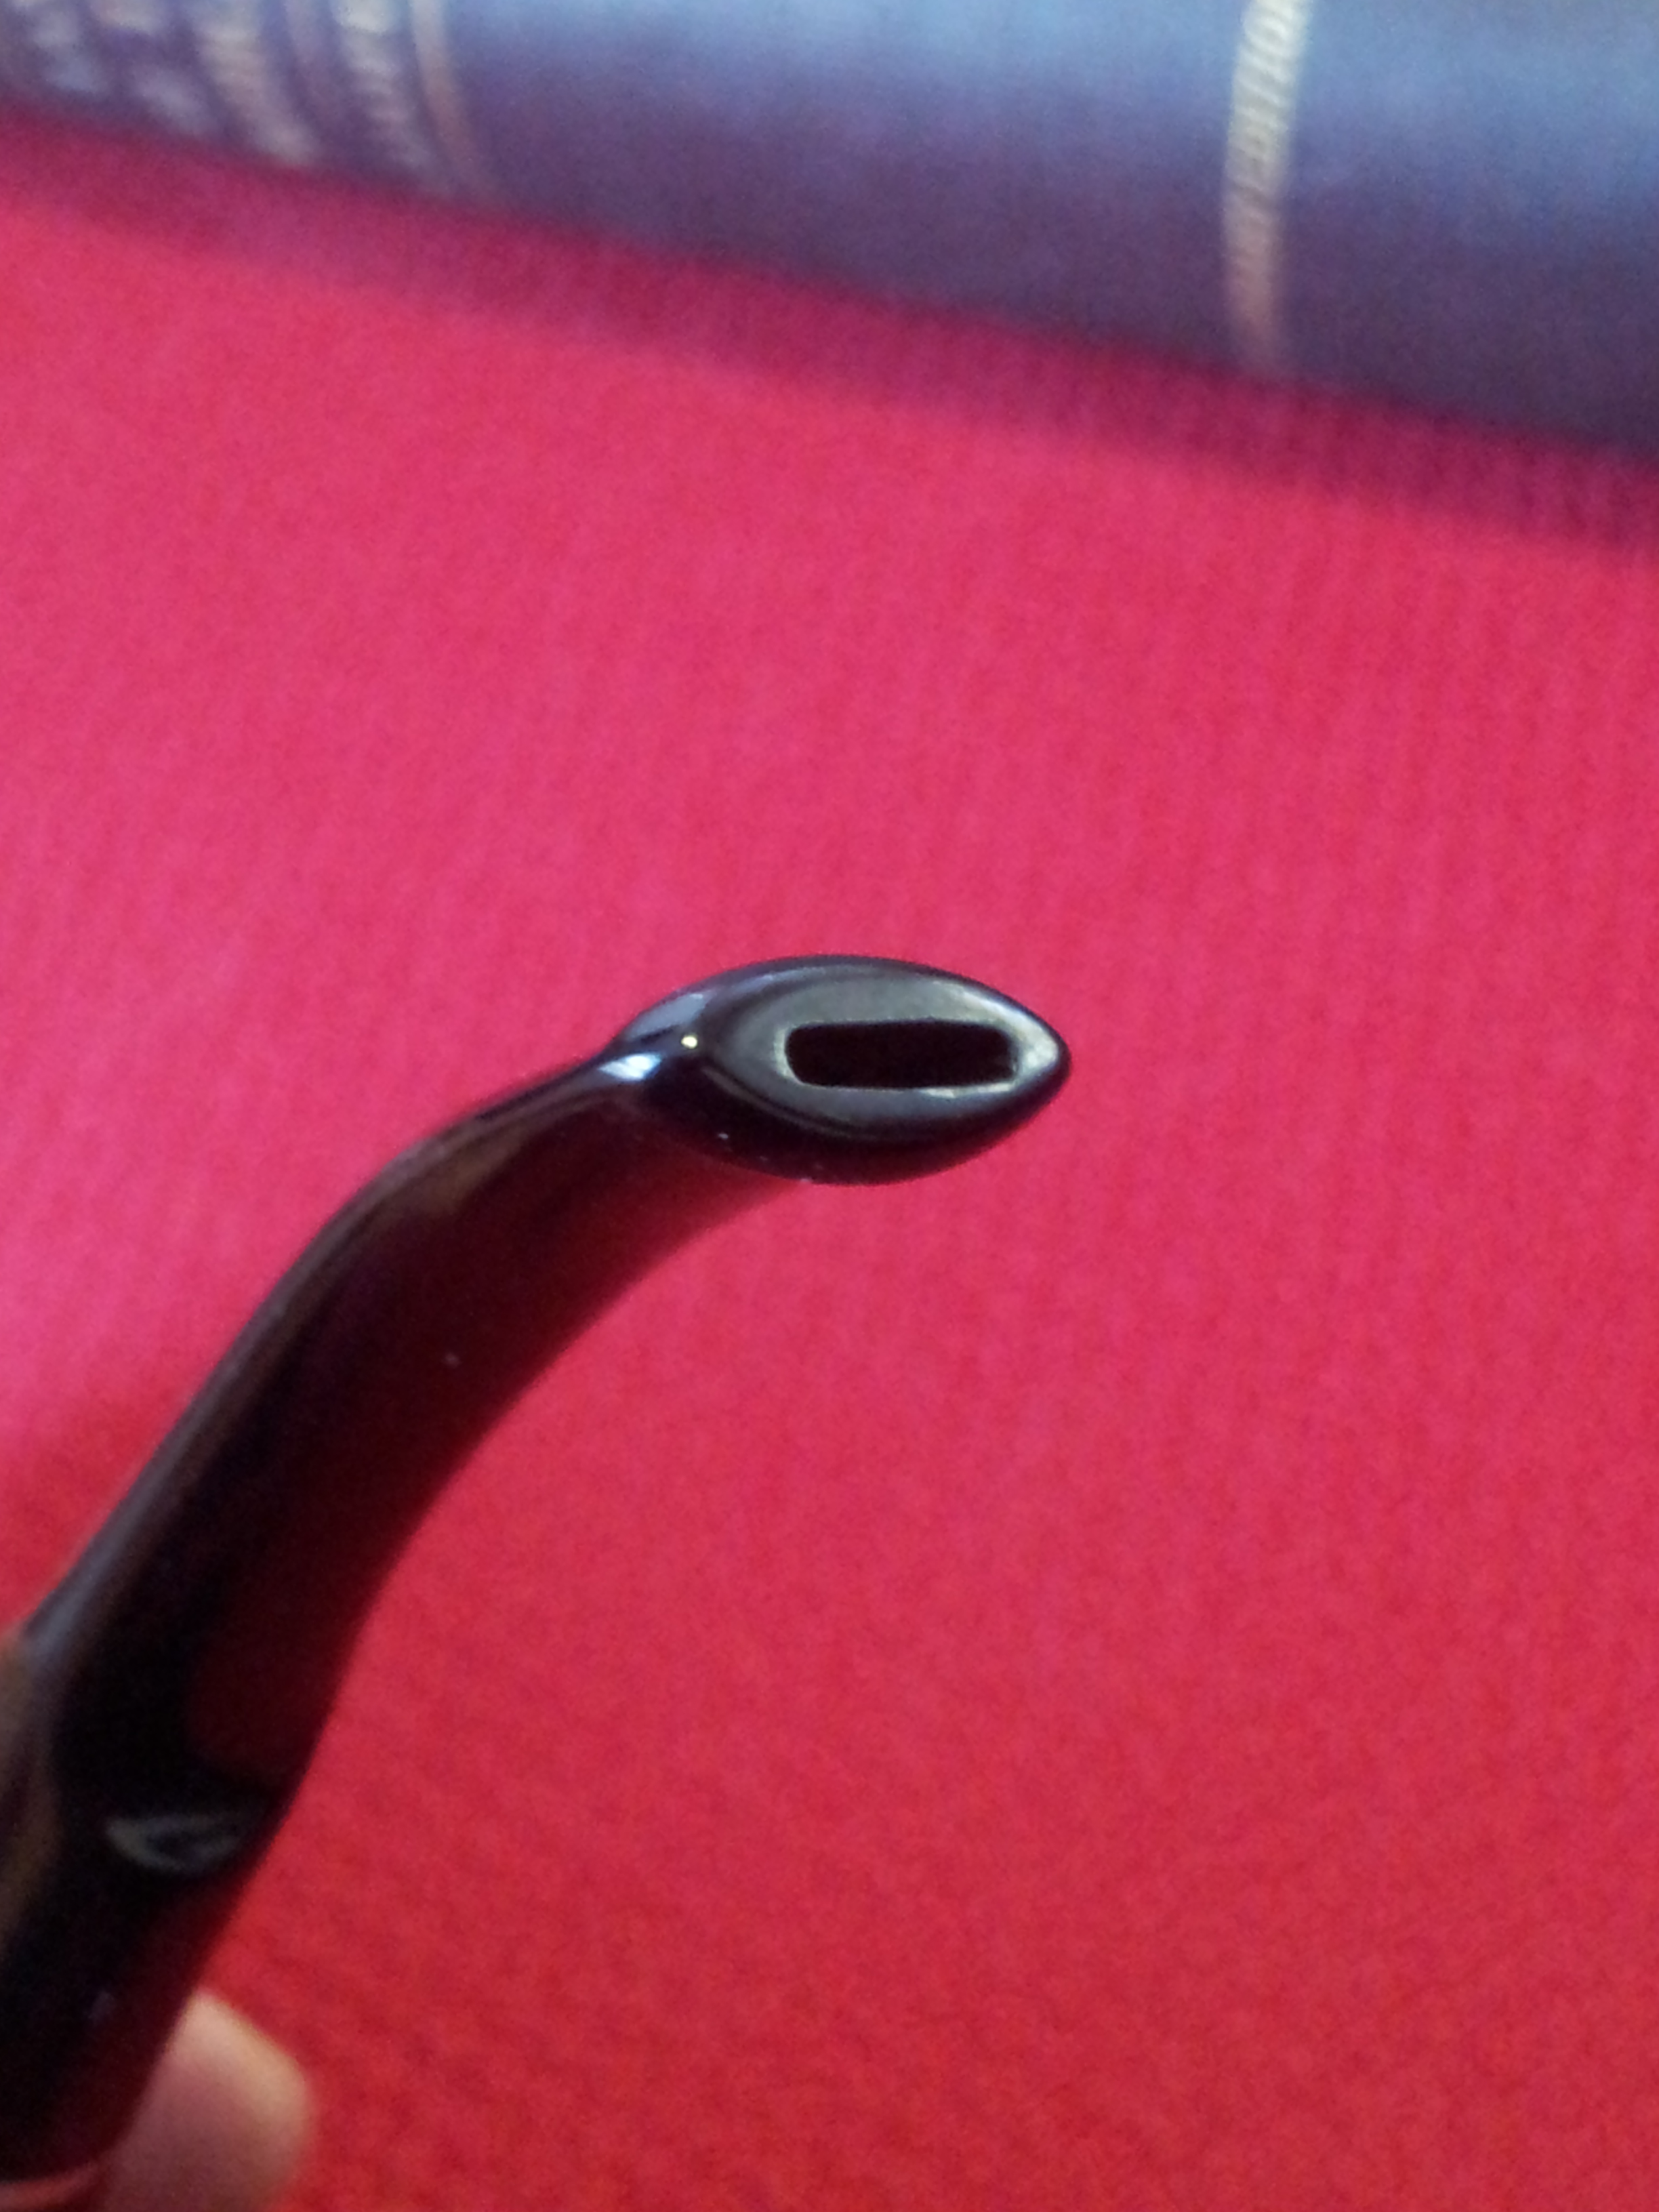
While the fills cured, I worked on the stem, first scrubbing the oxidation off with 0000 steel wool and Magic Eraser, then smoothing out a bit of tooth chatter with 220 and 320 grit sandpapers. The internals were cleaned with pipe cleaners and alcohol , and then I finished off the stem work with a full course of MicroMesh sanding pads in 1500 – 12000 grits. With the dirt and corrosion removed, the stem is, ironically, a bit loose in the mortise. I applied a small amount of beeswax to help hold it in place. The mortise should tighten up after a few smokes as moisture from the tobacco is reintroduced to the briar.
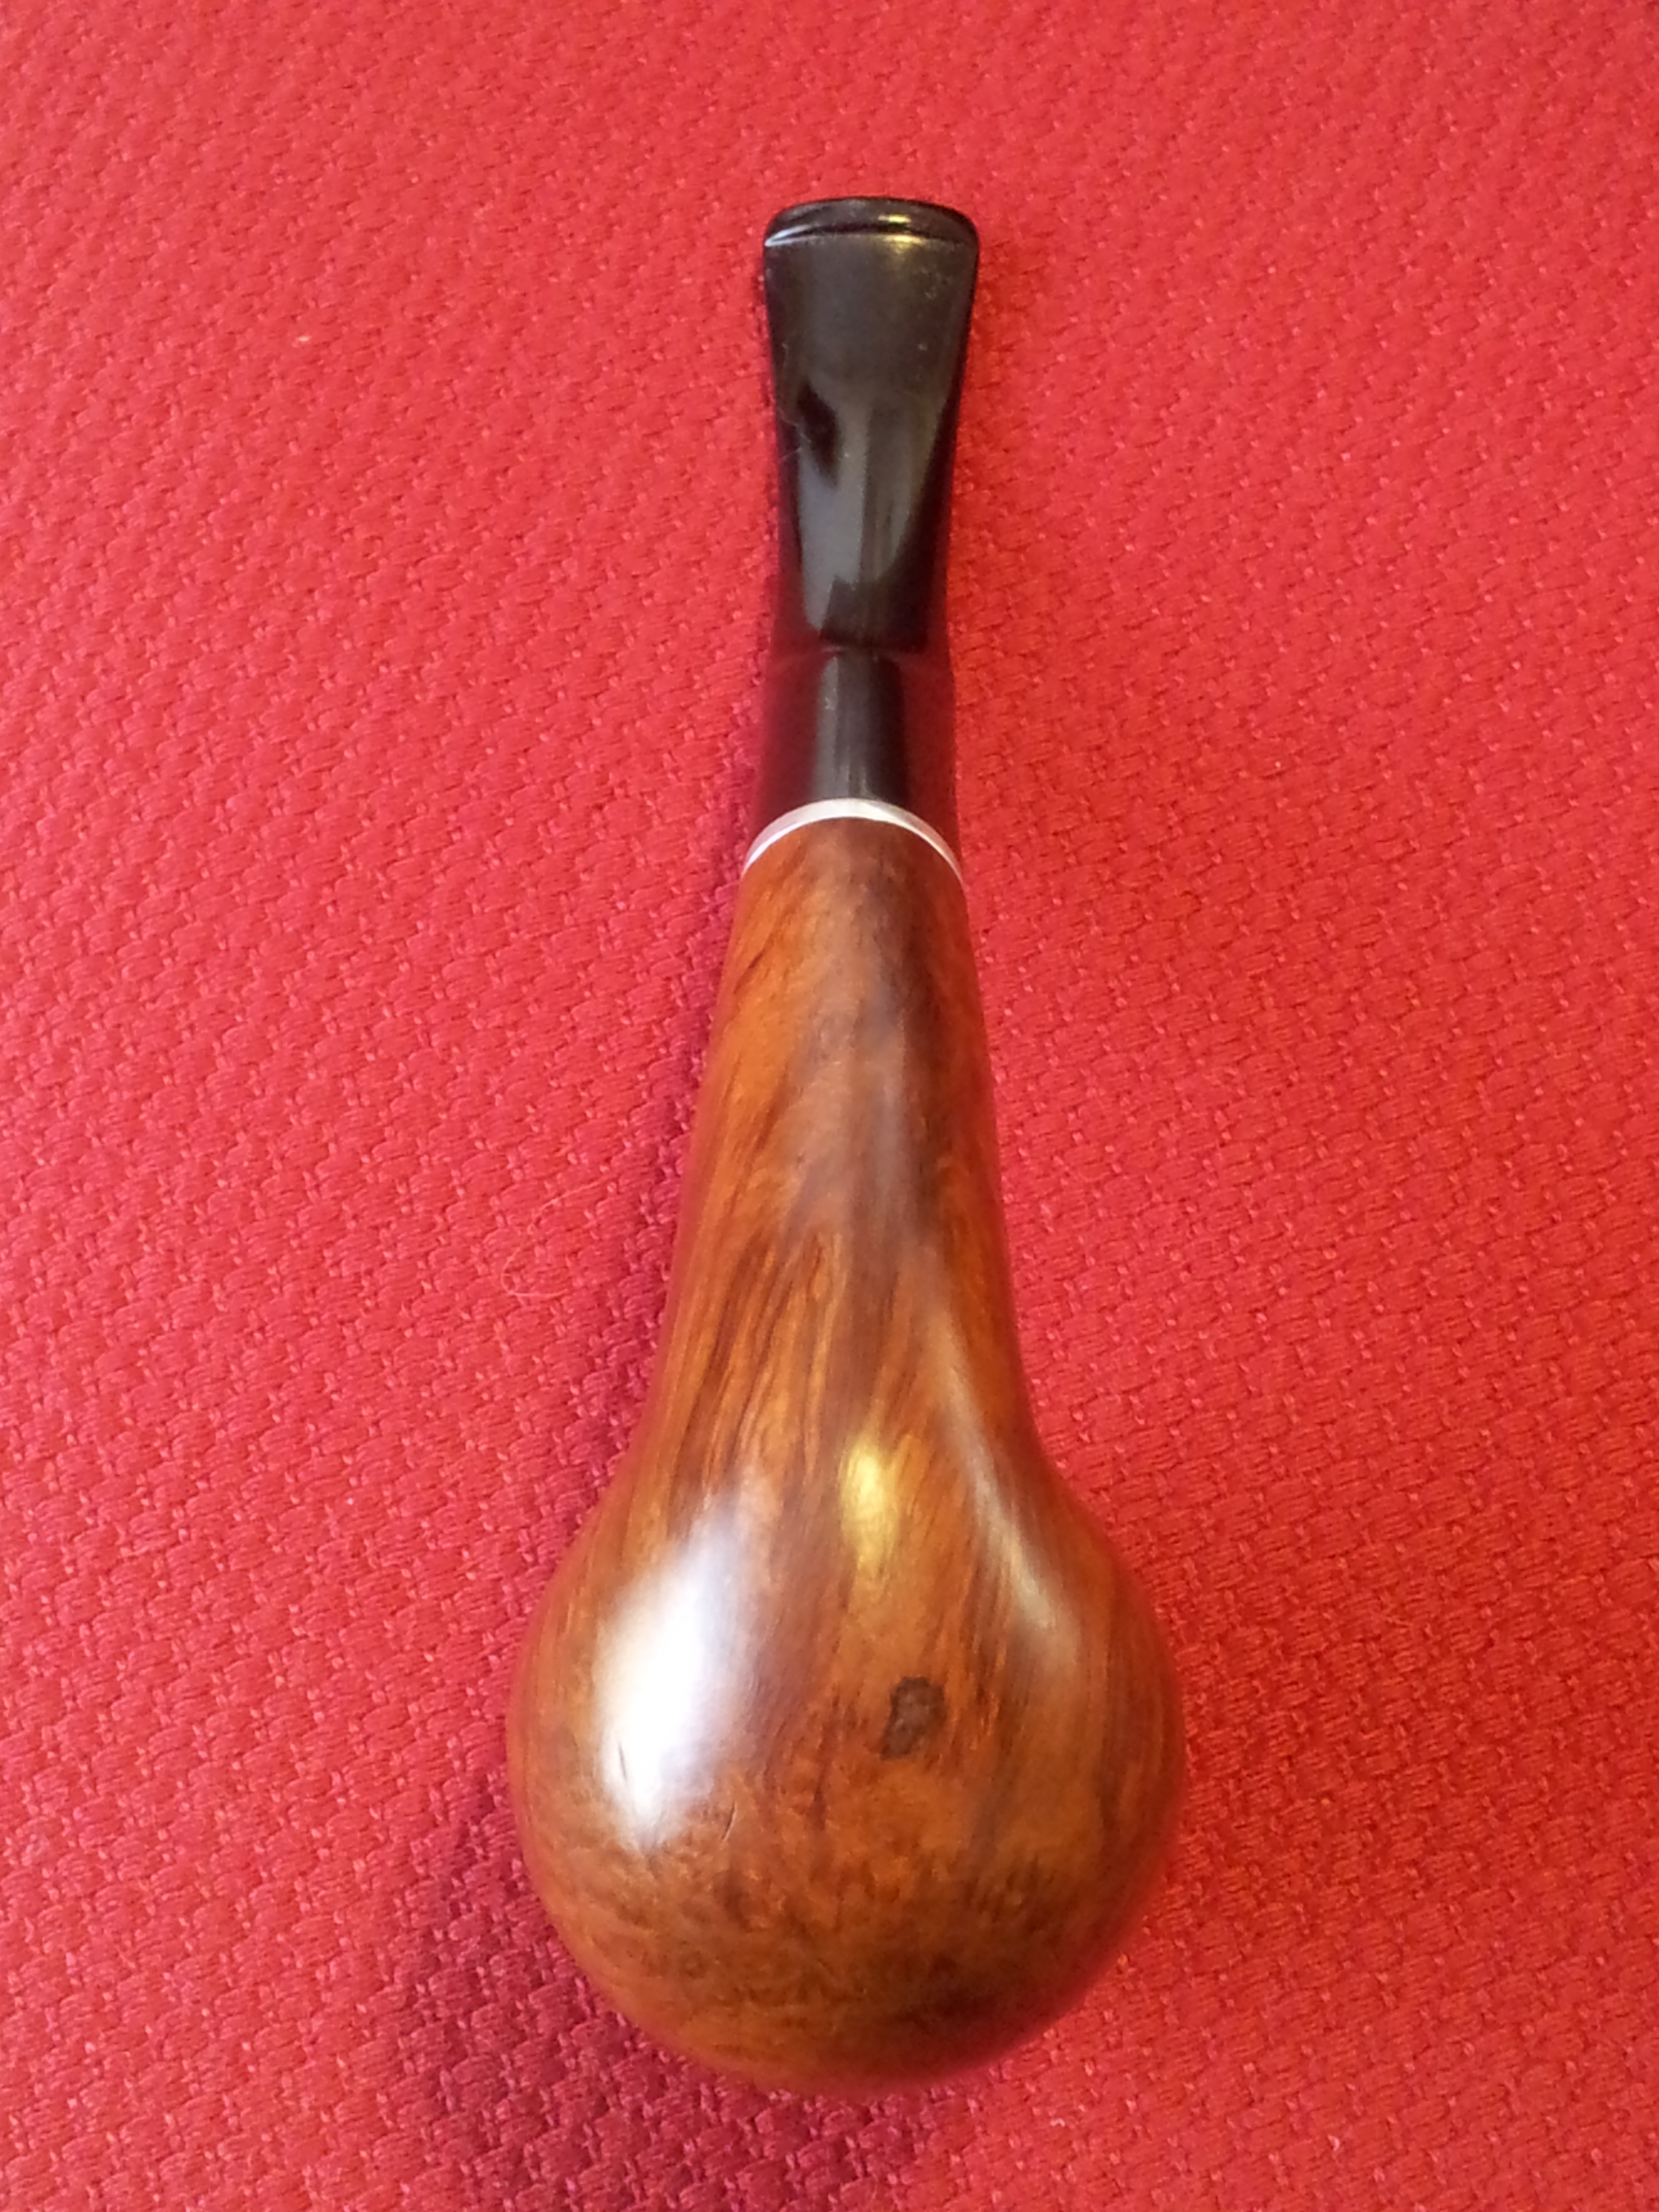
 With the stem finished, I restained the pipe in a Black and Brown contrast finish to make the most of the briar’s grain. Then the pipe was reassembled and buffed on the wheel with Red Tripoli and White Diamond compounds before receiving several coats of Carnauba wax.
Here’s the finished pipe. I think it turned out quite well, and the super grain and the rakish shape of the bowl combine to give the pipe an air of understated class.

A worst to first restore, Charles! I love the look of that pipe. That bowl does have a certain rakish look to it. Excellent staining job too.
LikeLiked by 1 person
Thanks Al. This was the cleanest pipe in my box of refurbs. Guess that makes this a “best of the worst to first” restoration?? 😉
LikeLike
Haha! That is certainly a mouthful, Charles. Sometimes what looks like an easy restore can turn into a nightmare. I think I take more care to get a beat up pipe in shape than one that needs minor work. And, the beat up one usually comes out nicer. That may also be an “I worked hard on this pipe and it better look good” comparison to a less time taken view on my part.
LikeLike
I think we get attached to the pipes we work on. The more work, the bigger the transformation, the stronger the attachment.
LikeLike