
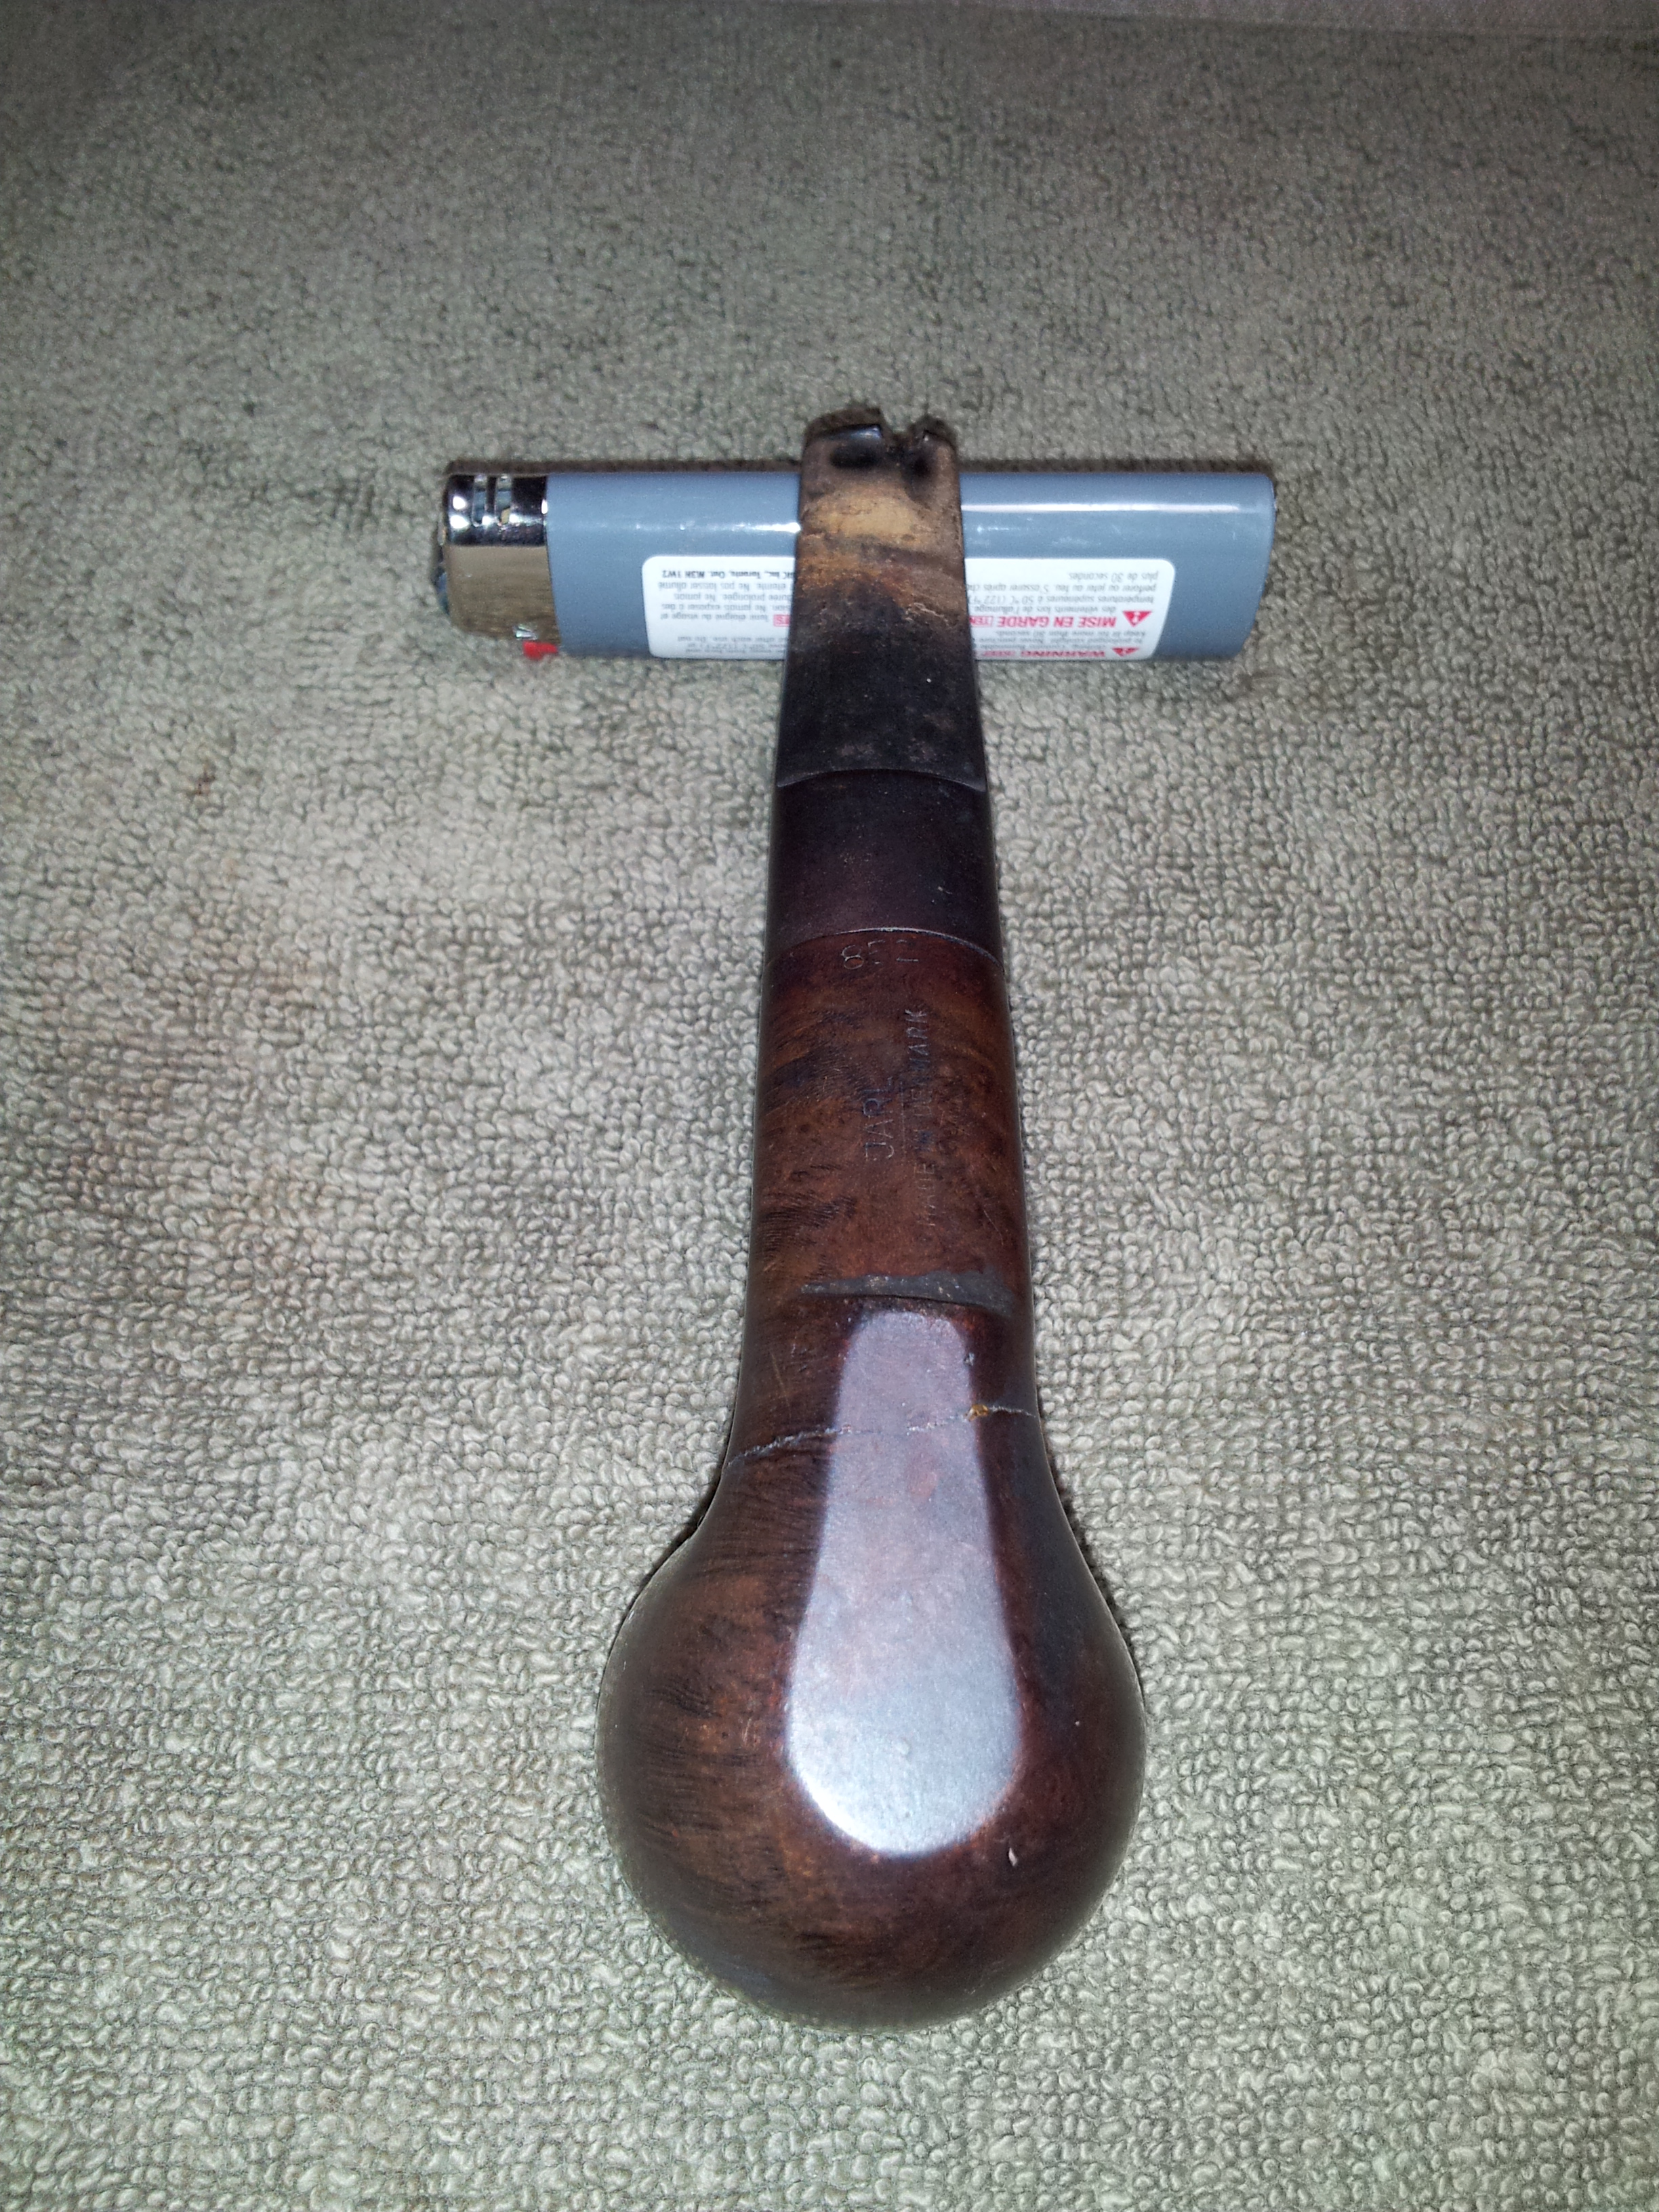
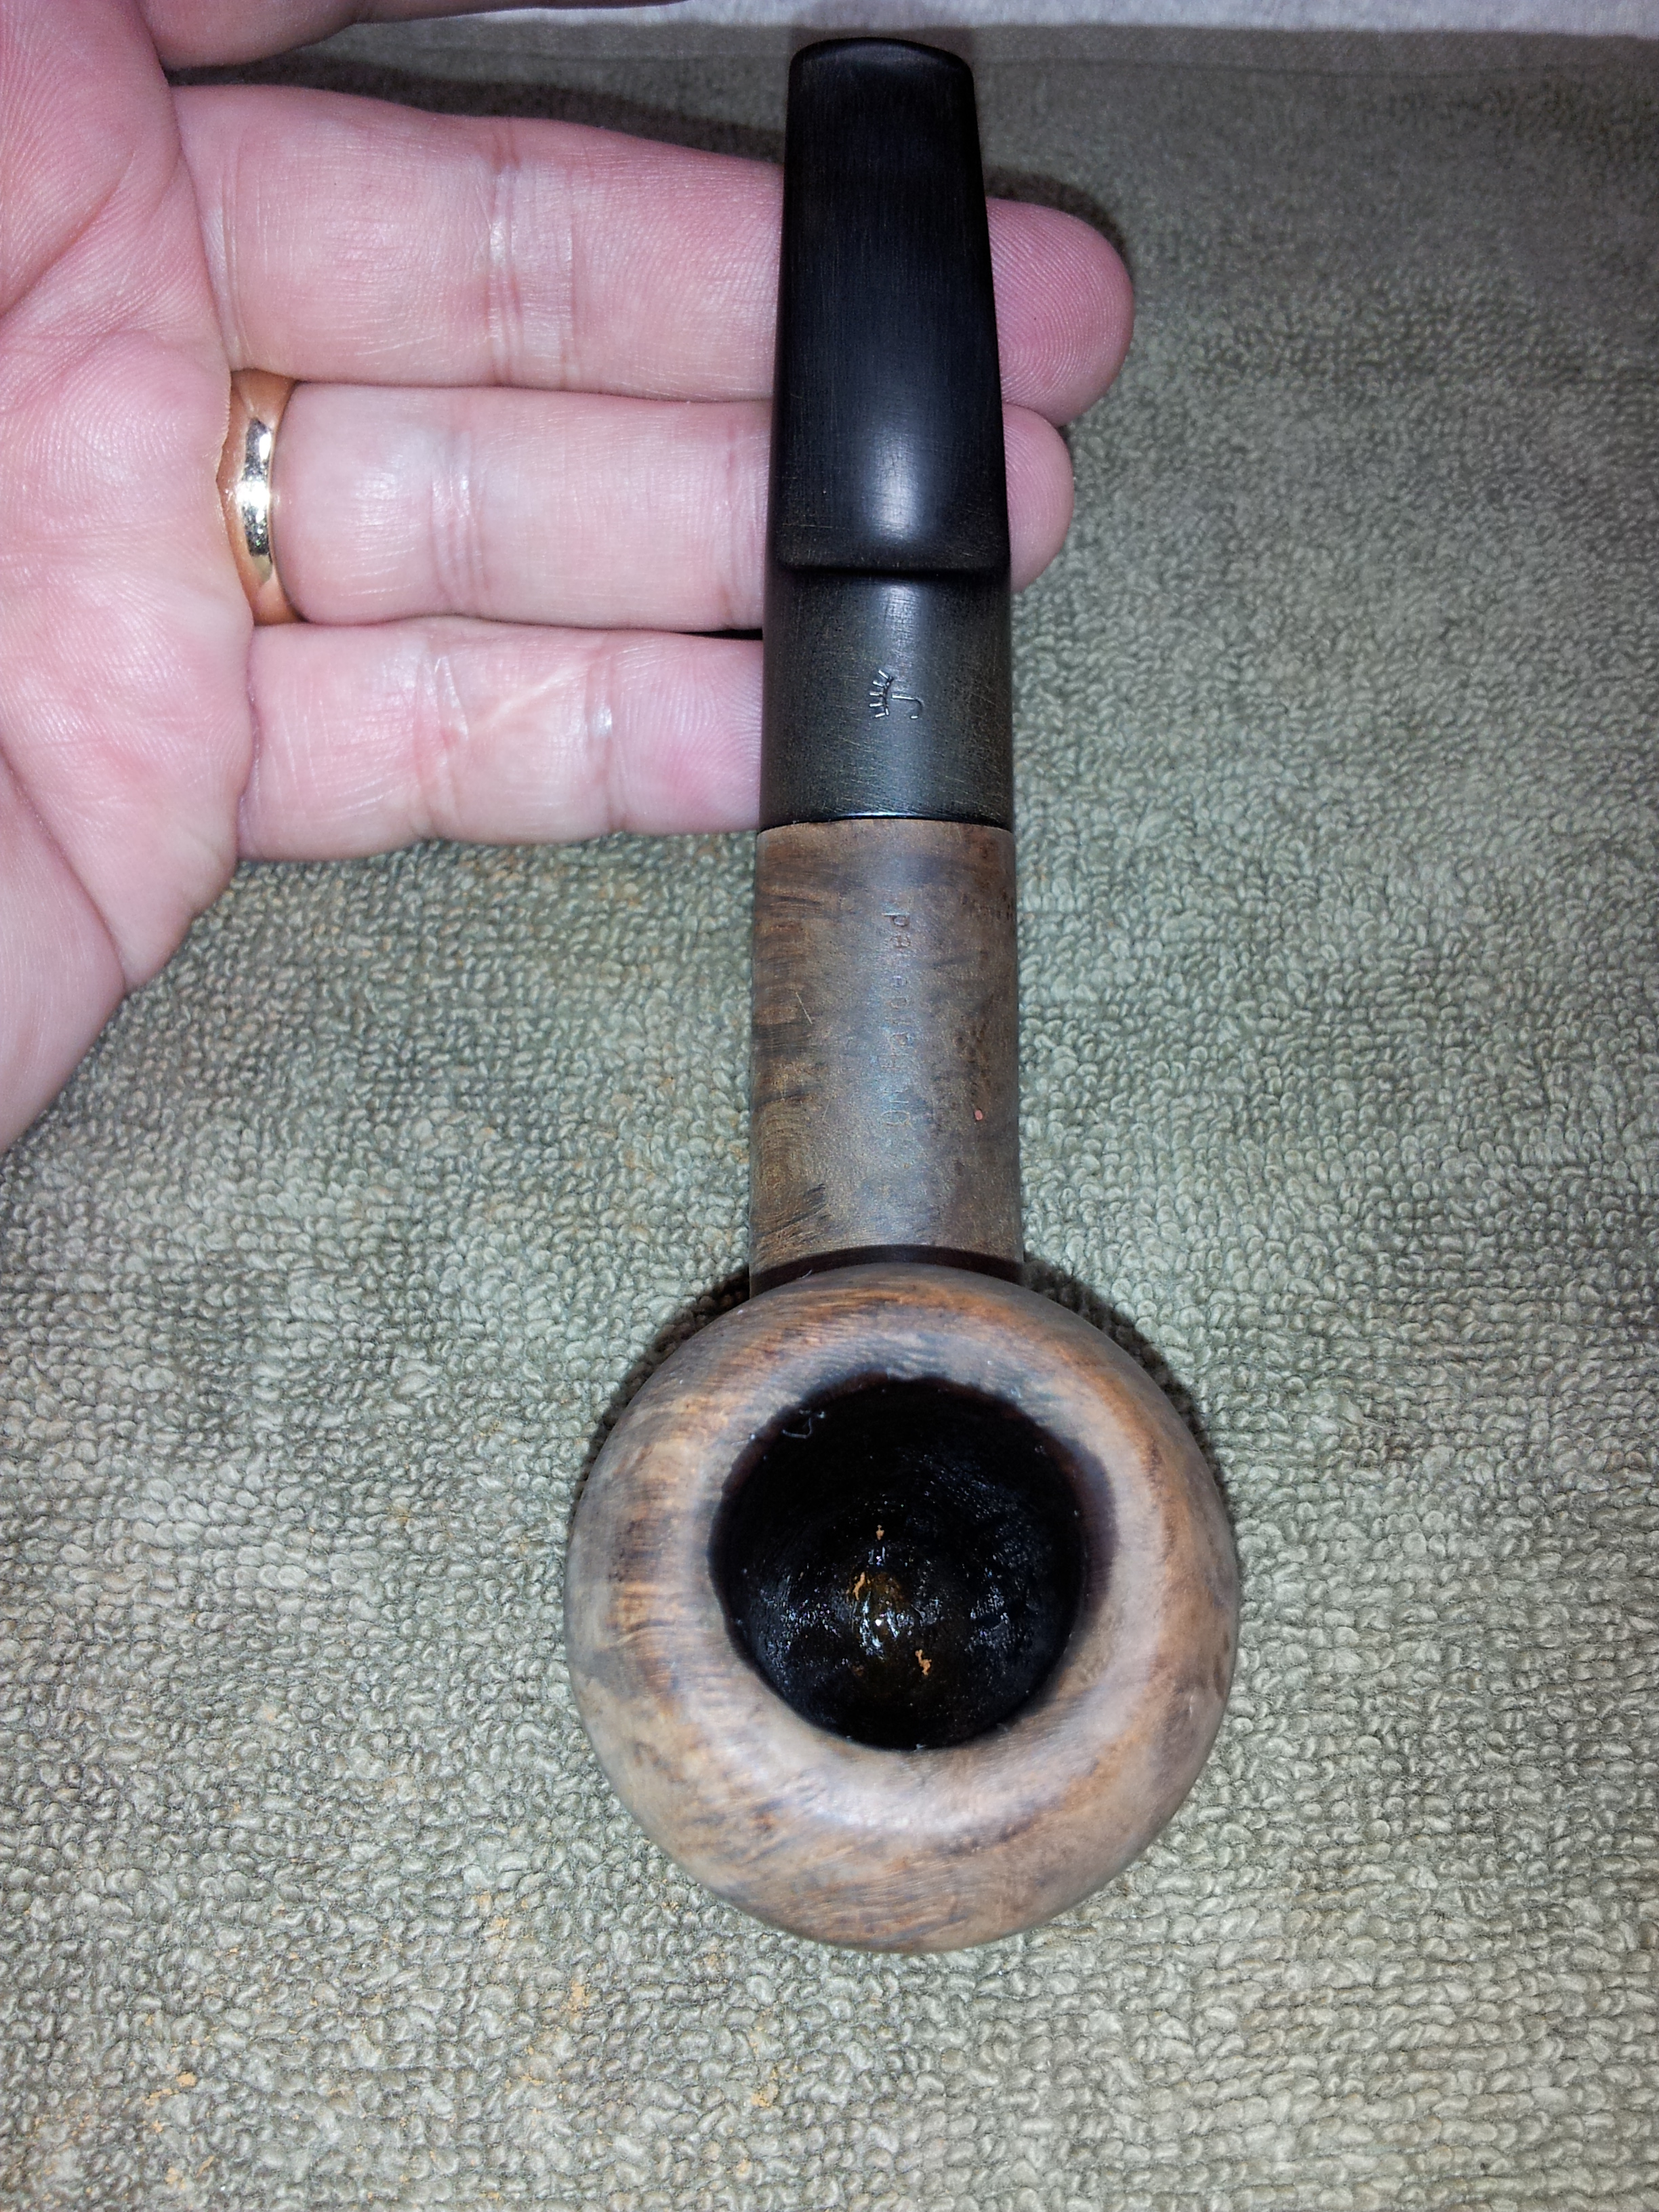
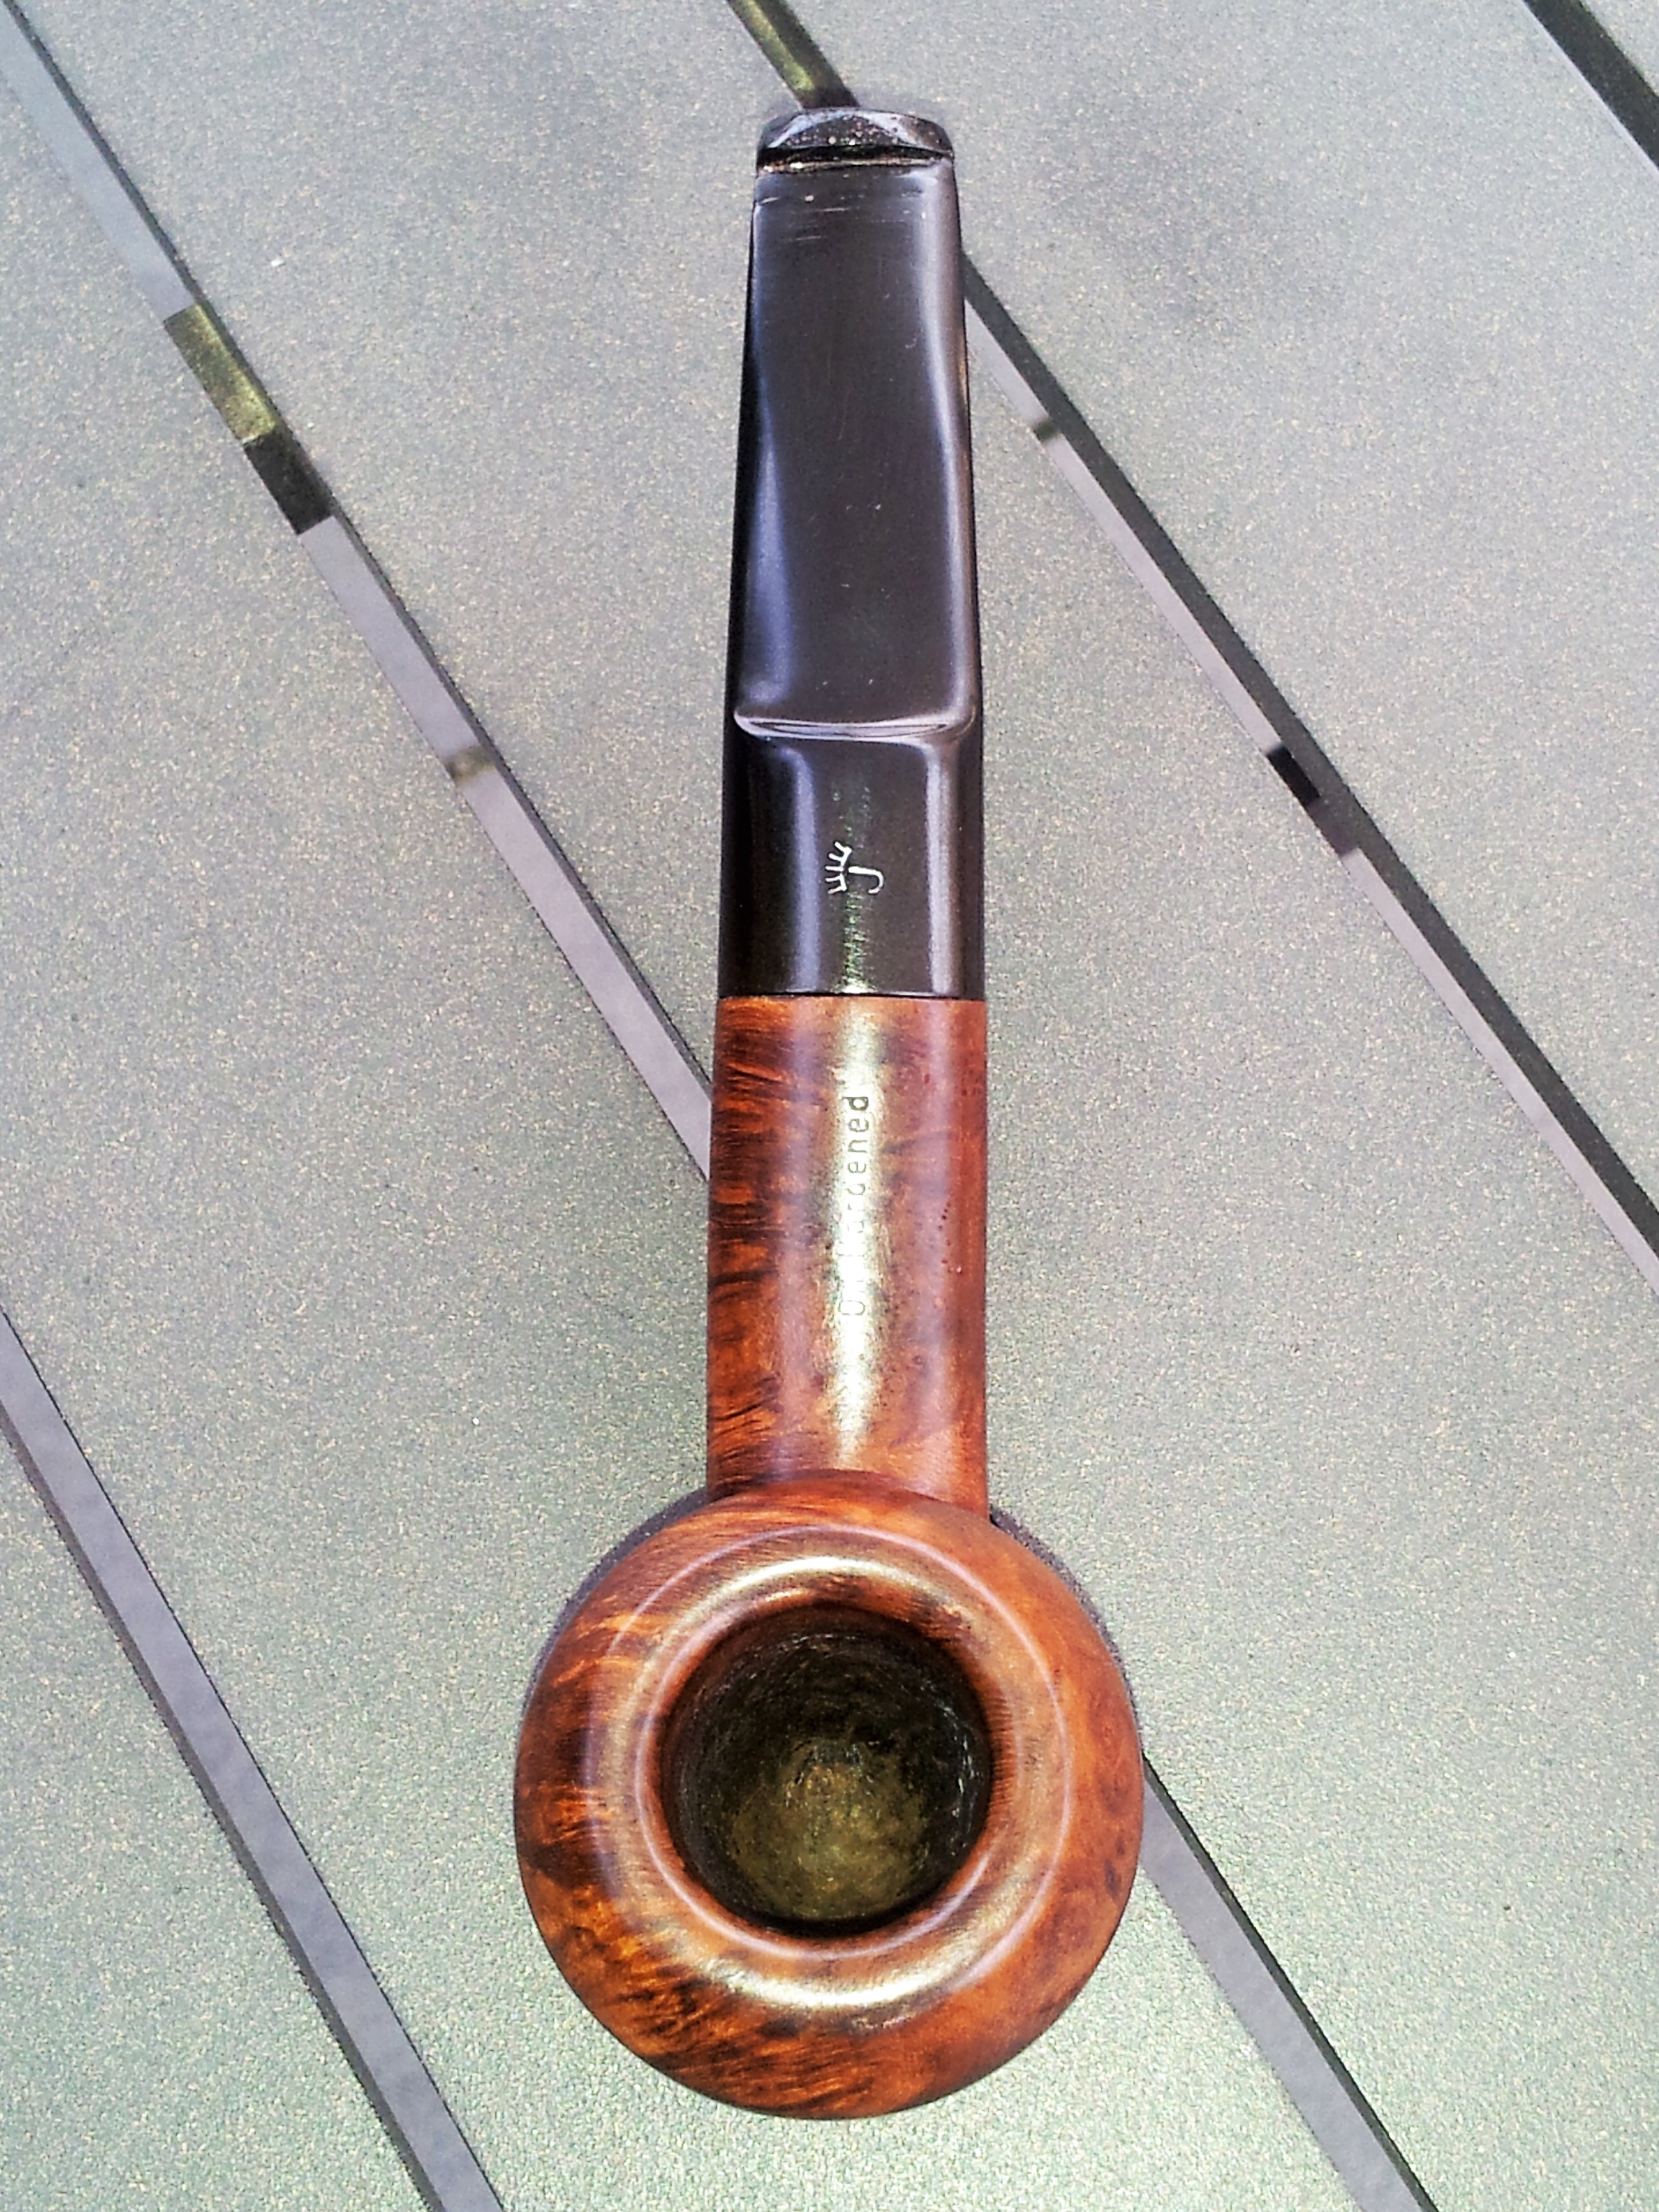
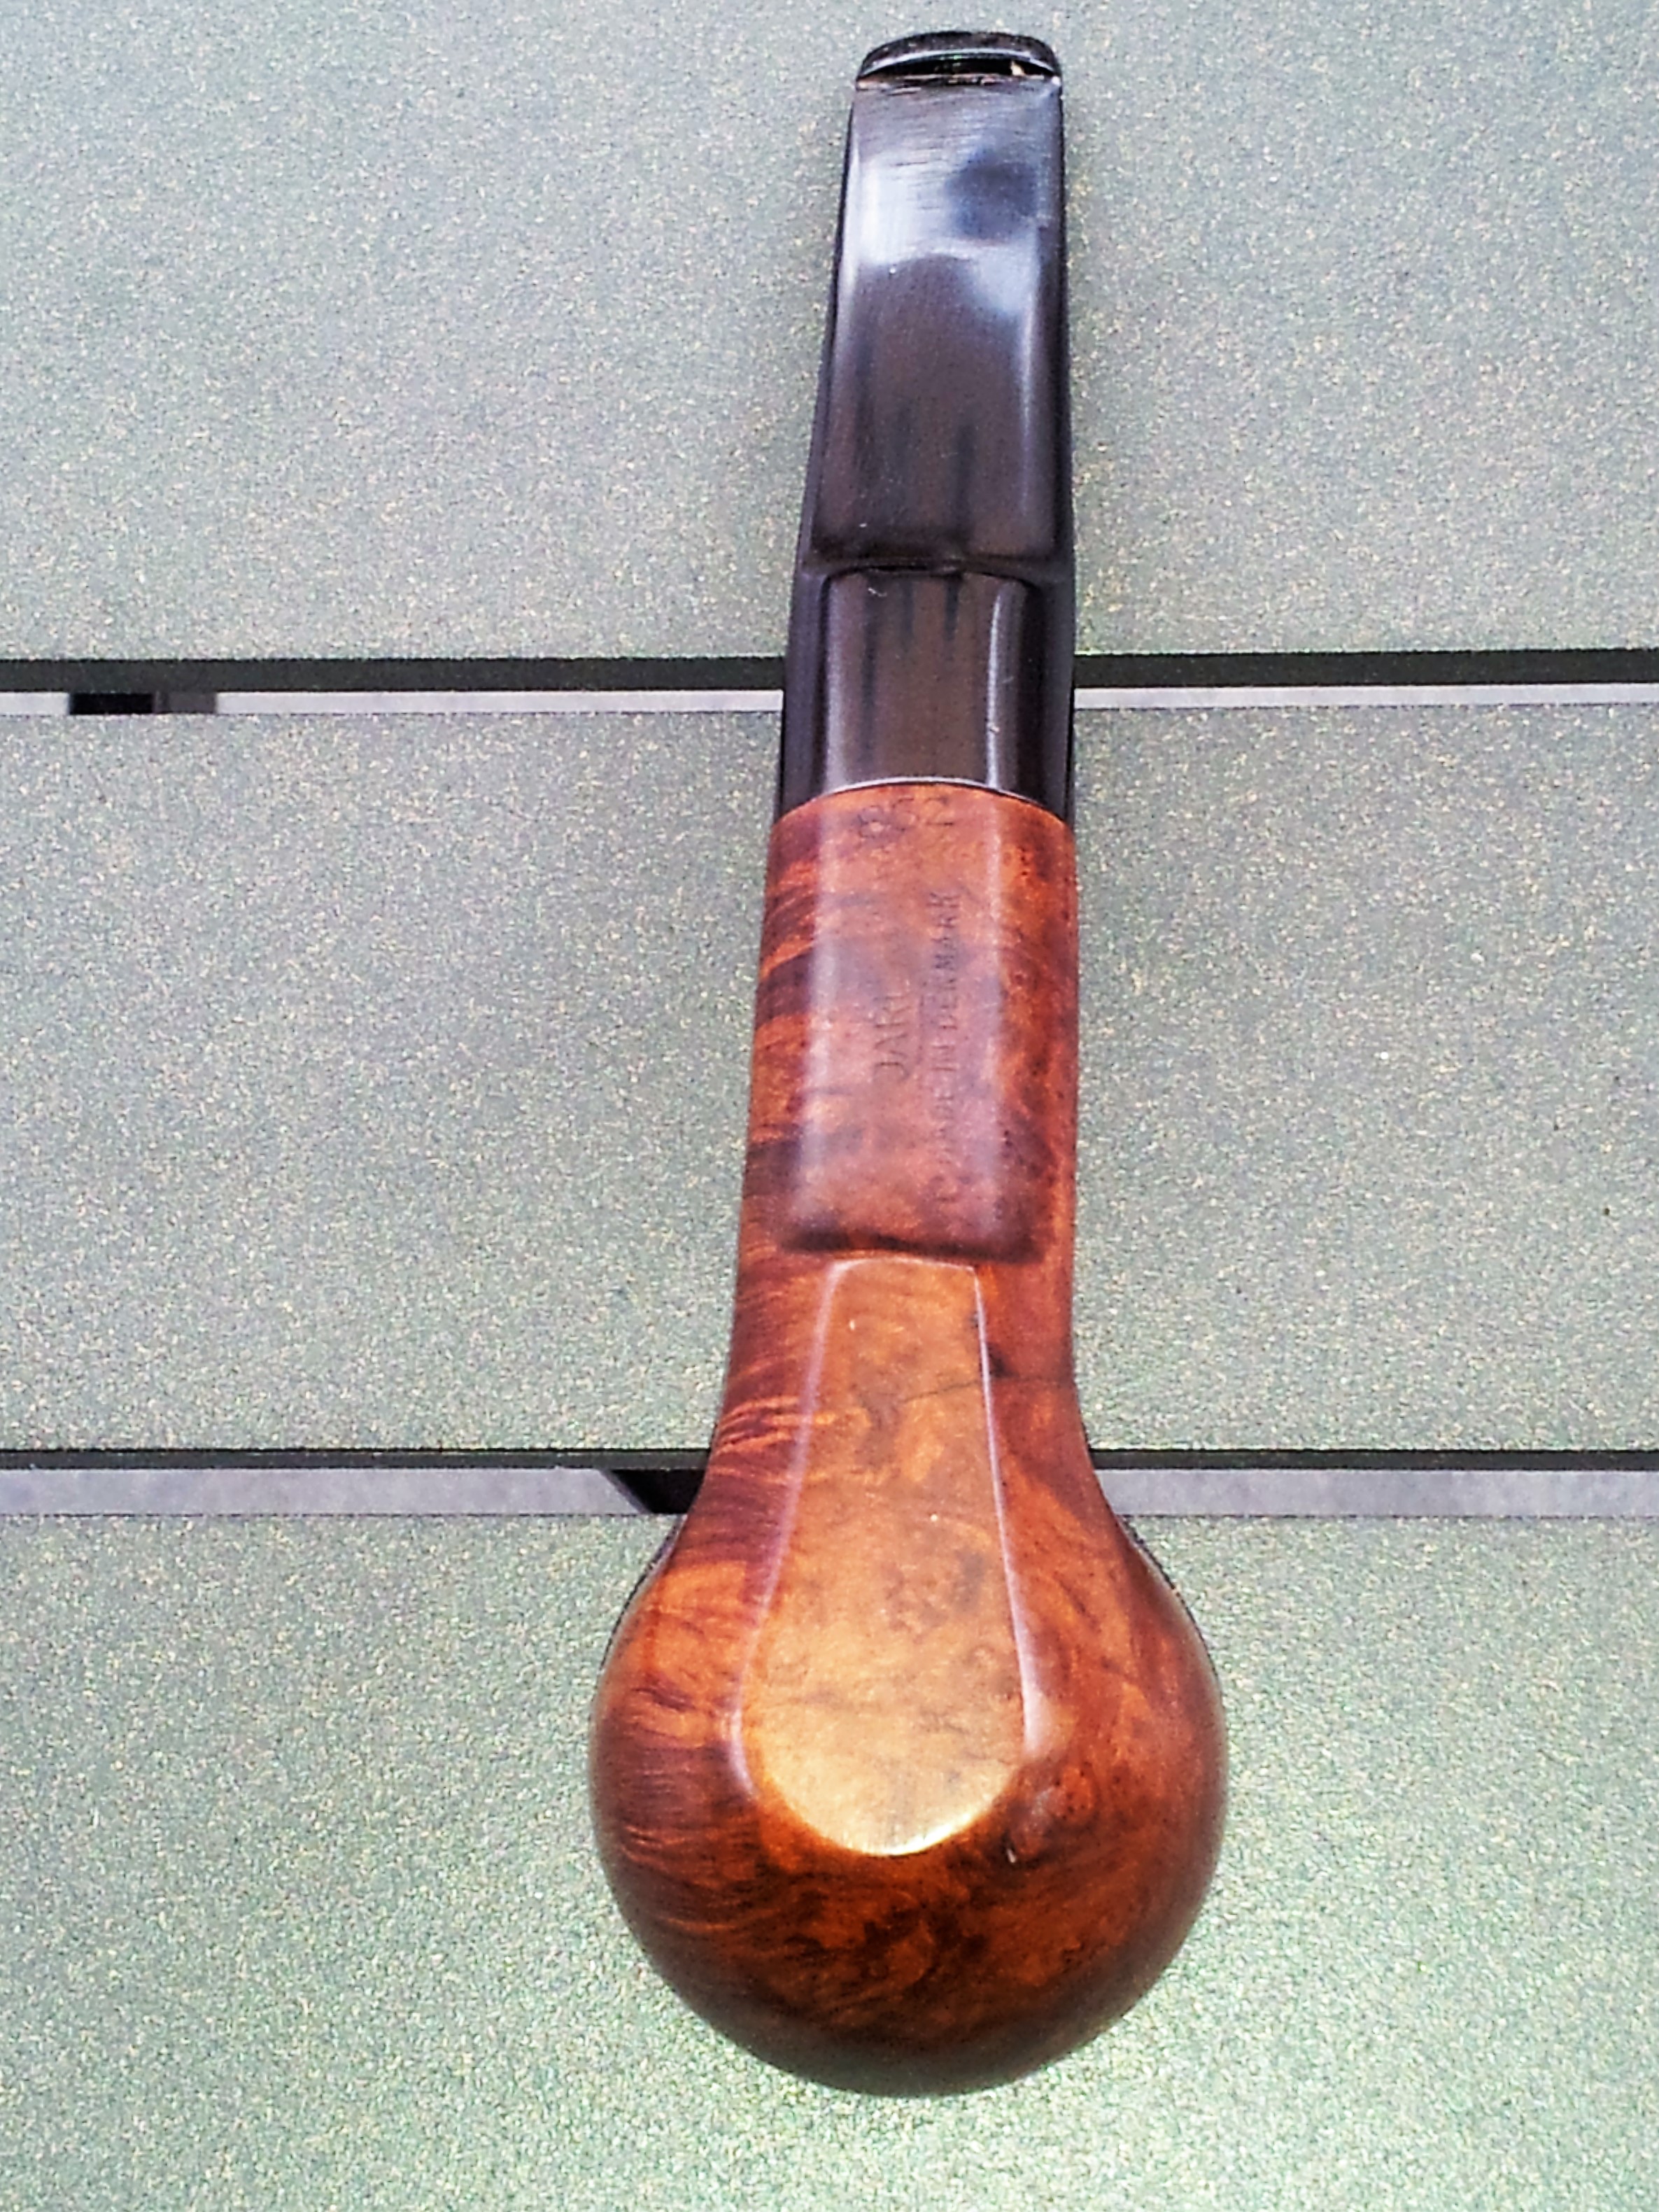
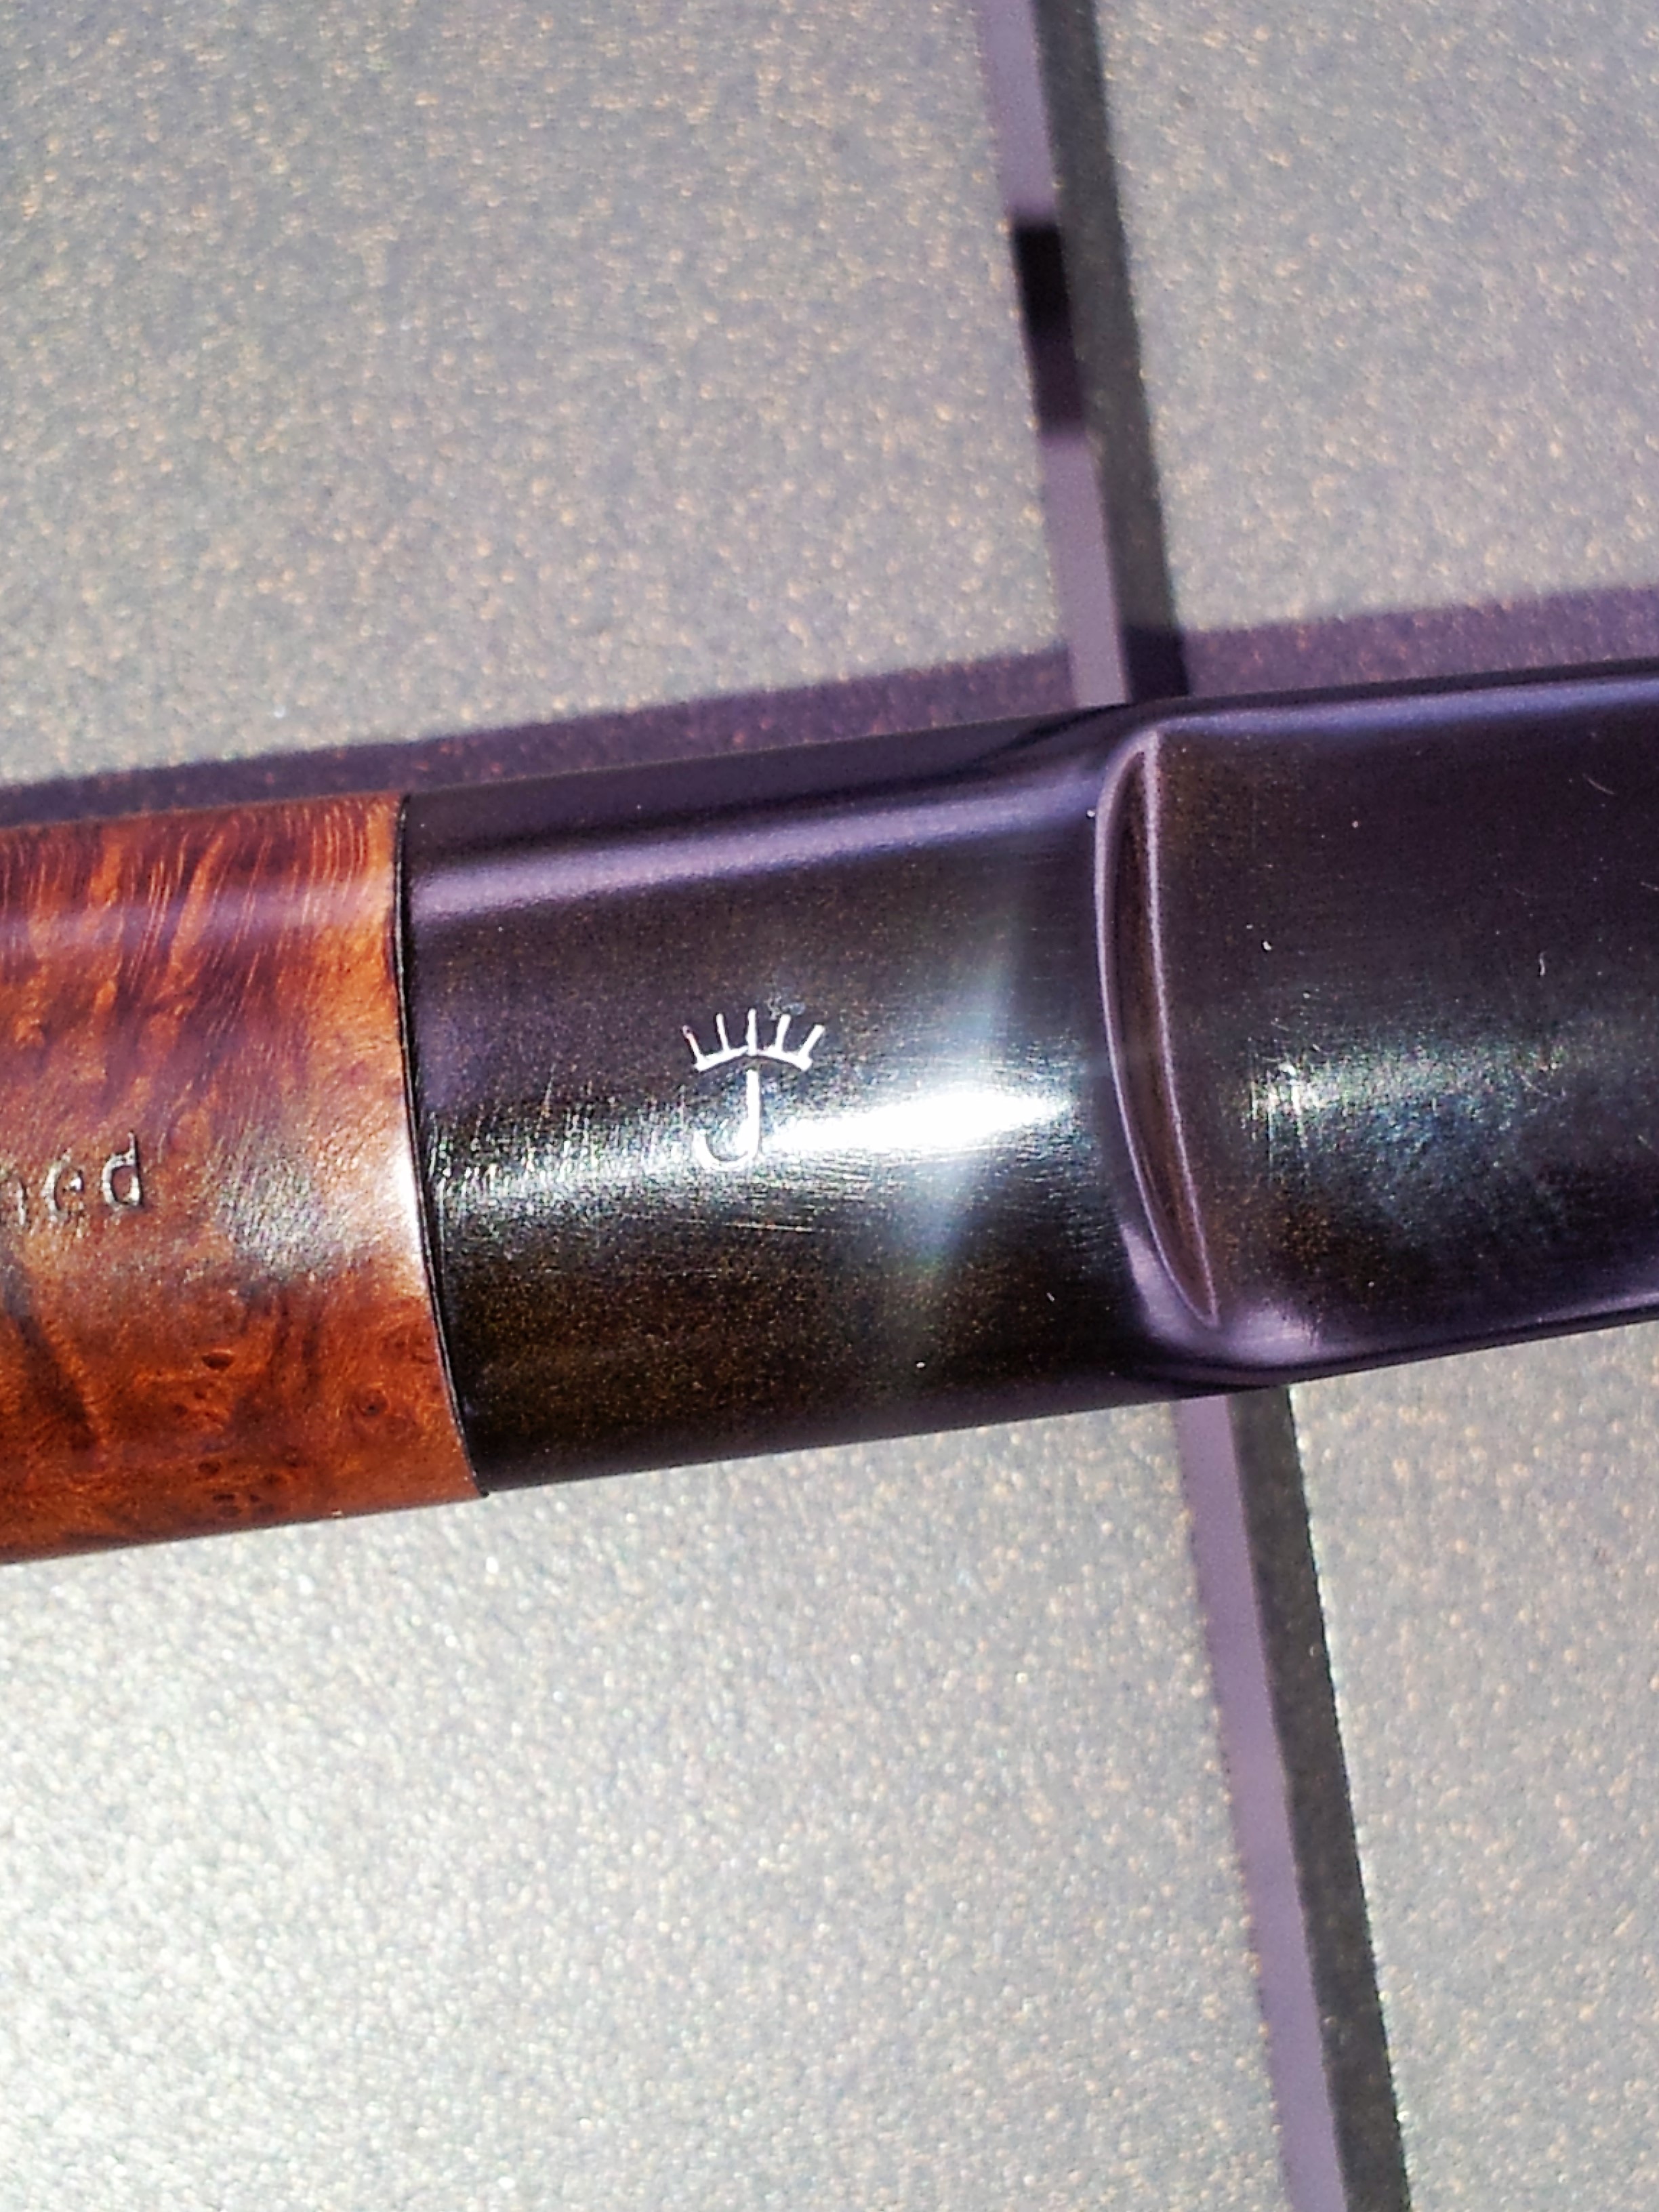
This Jarl Sitter pipe (pictured third from the top in the left-most column in the pic below) is stamped “Oil Hardened” on the top shank and “Jarl” over “Made in Denmark” on the bottom shank. Across the shank at the mortise end is stamped “852”, and the stem sports a nicely defined “crowned J” Jarl logo.

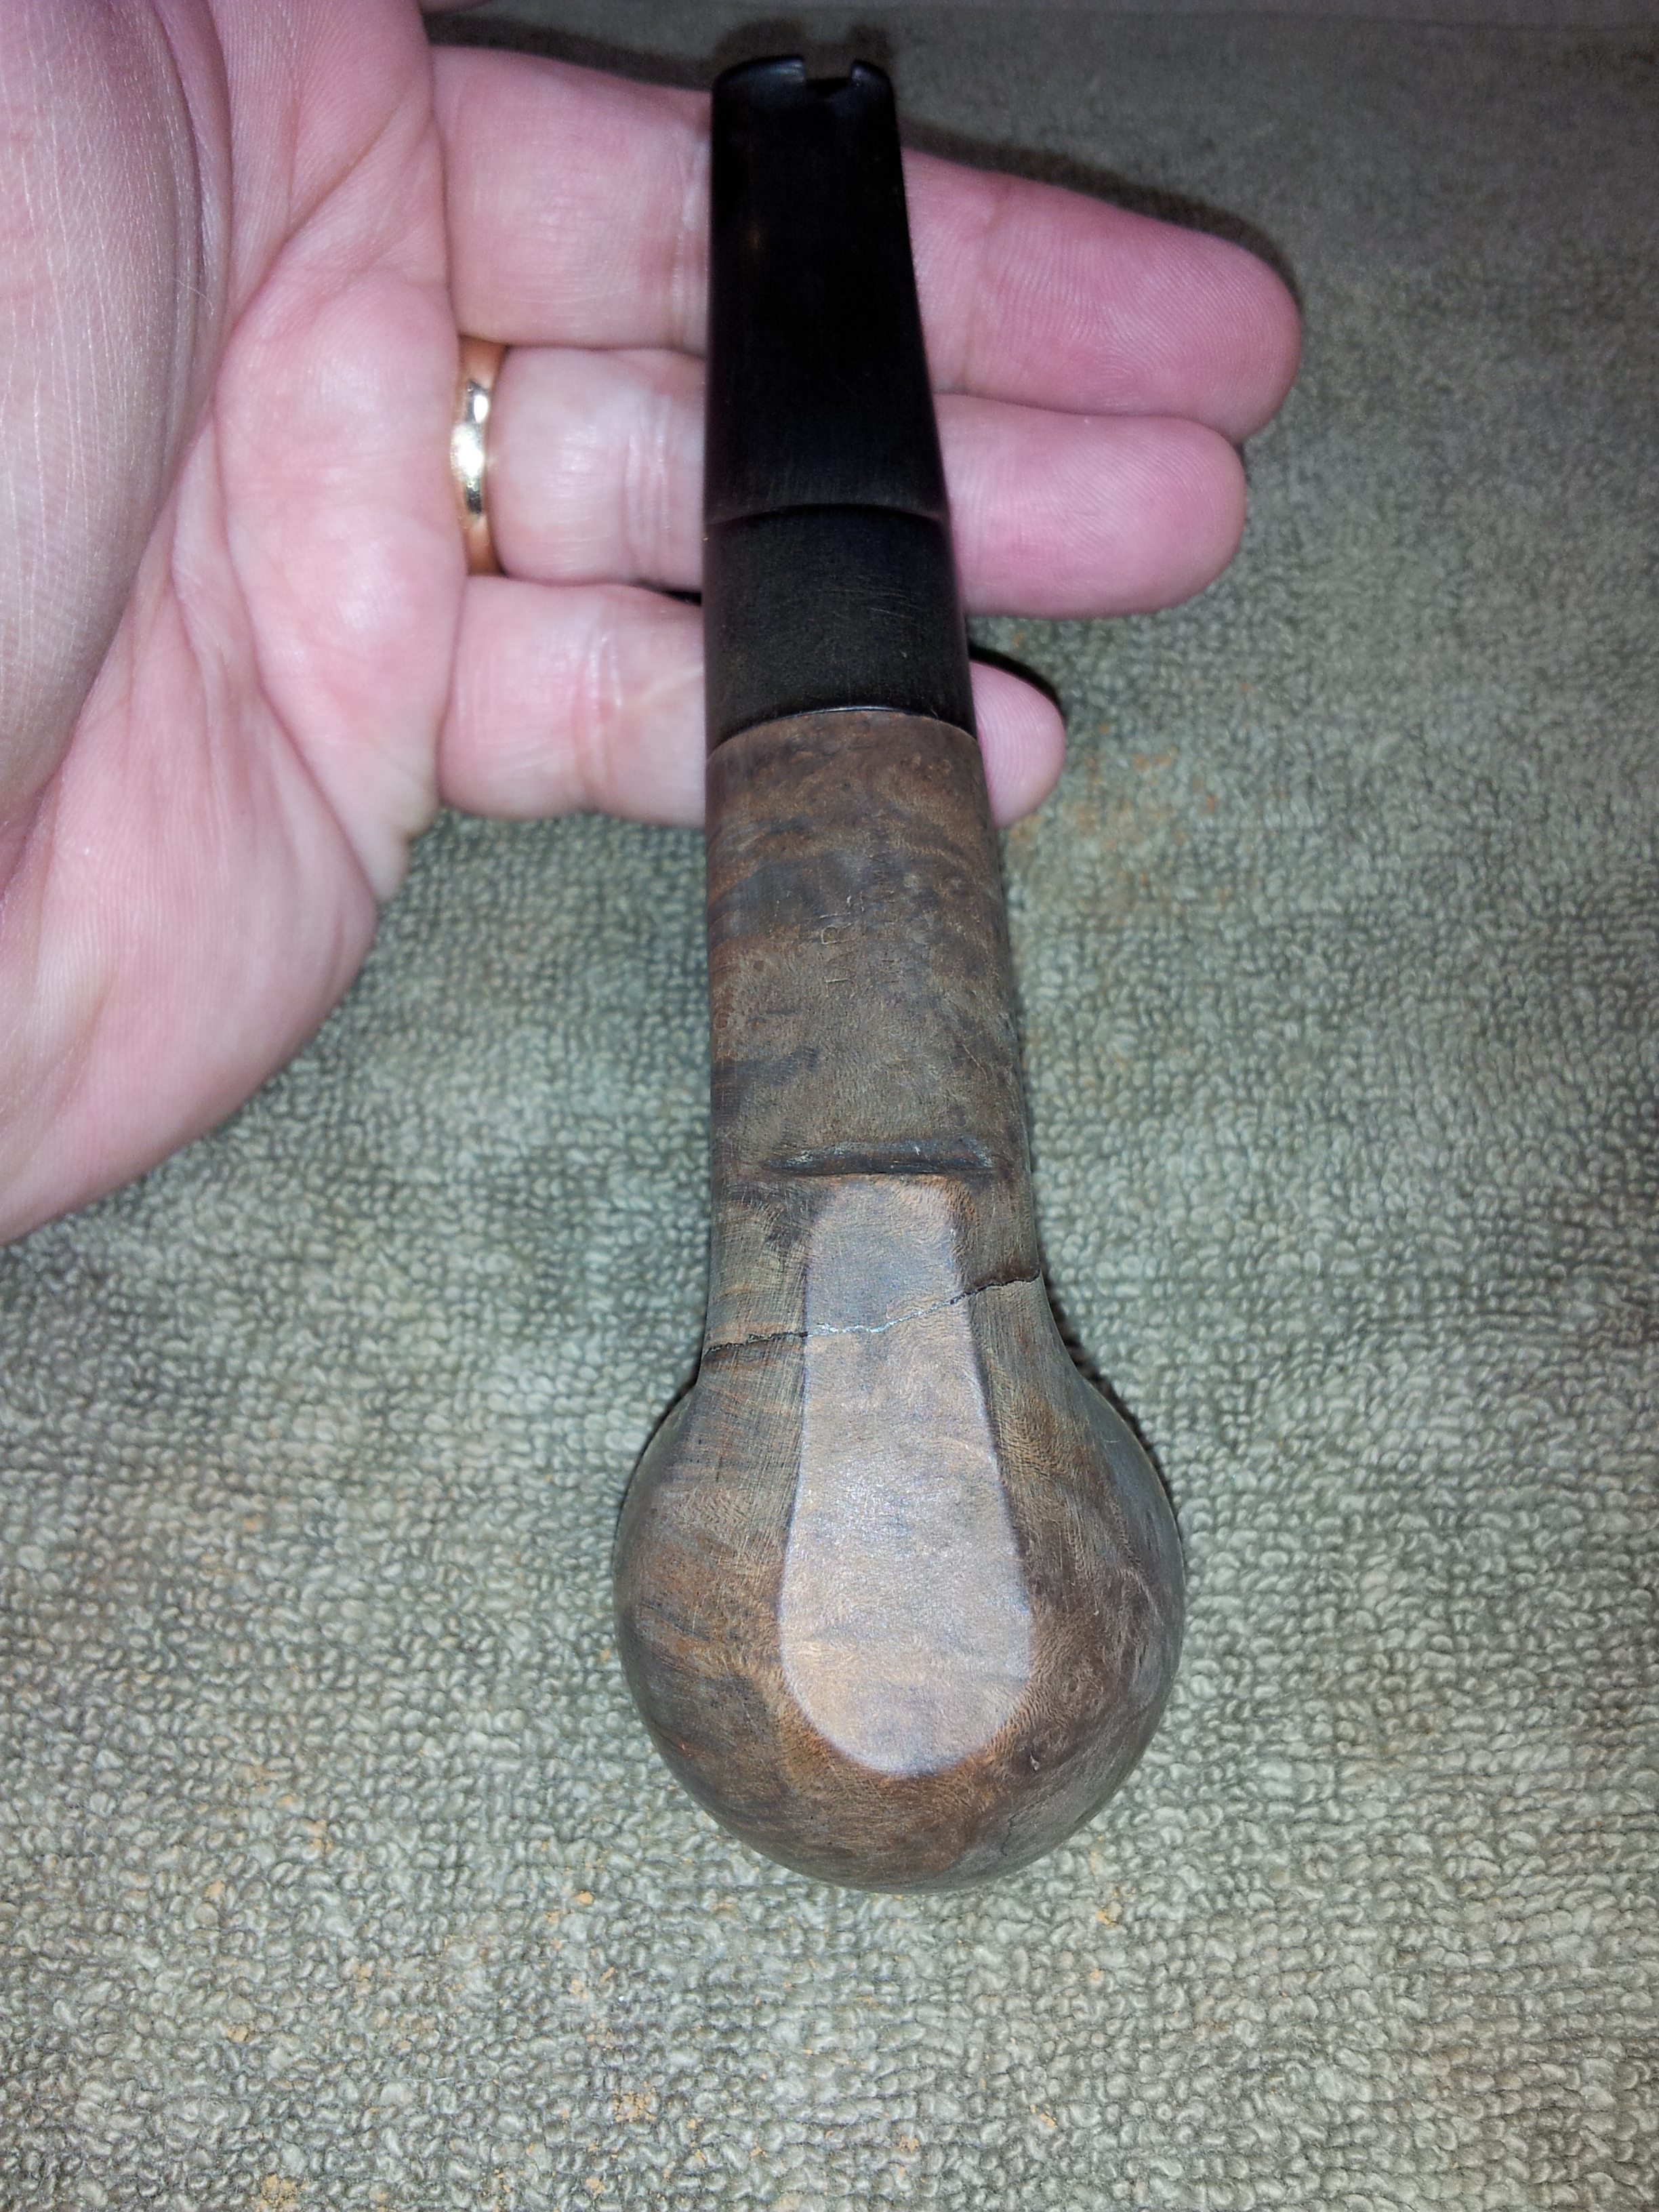
The pipe was DIRTY when it came out of the box. Greasy and grimy from head to toe, the pipe was caked up to the point of blocking off the airway, and sported a number of dents and dings on the rim underneath a nice lava flow of tars. The stem was heavily oxidized, especially at the button, which was also covered with a heavy whitish salt/calcium buildup.
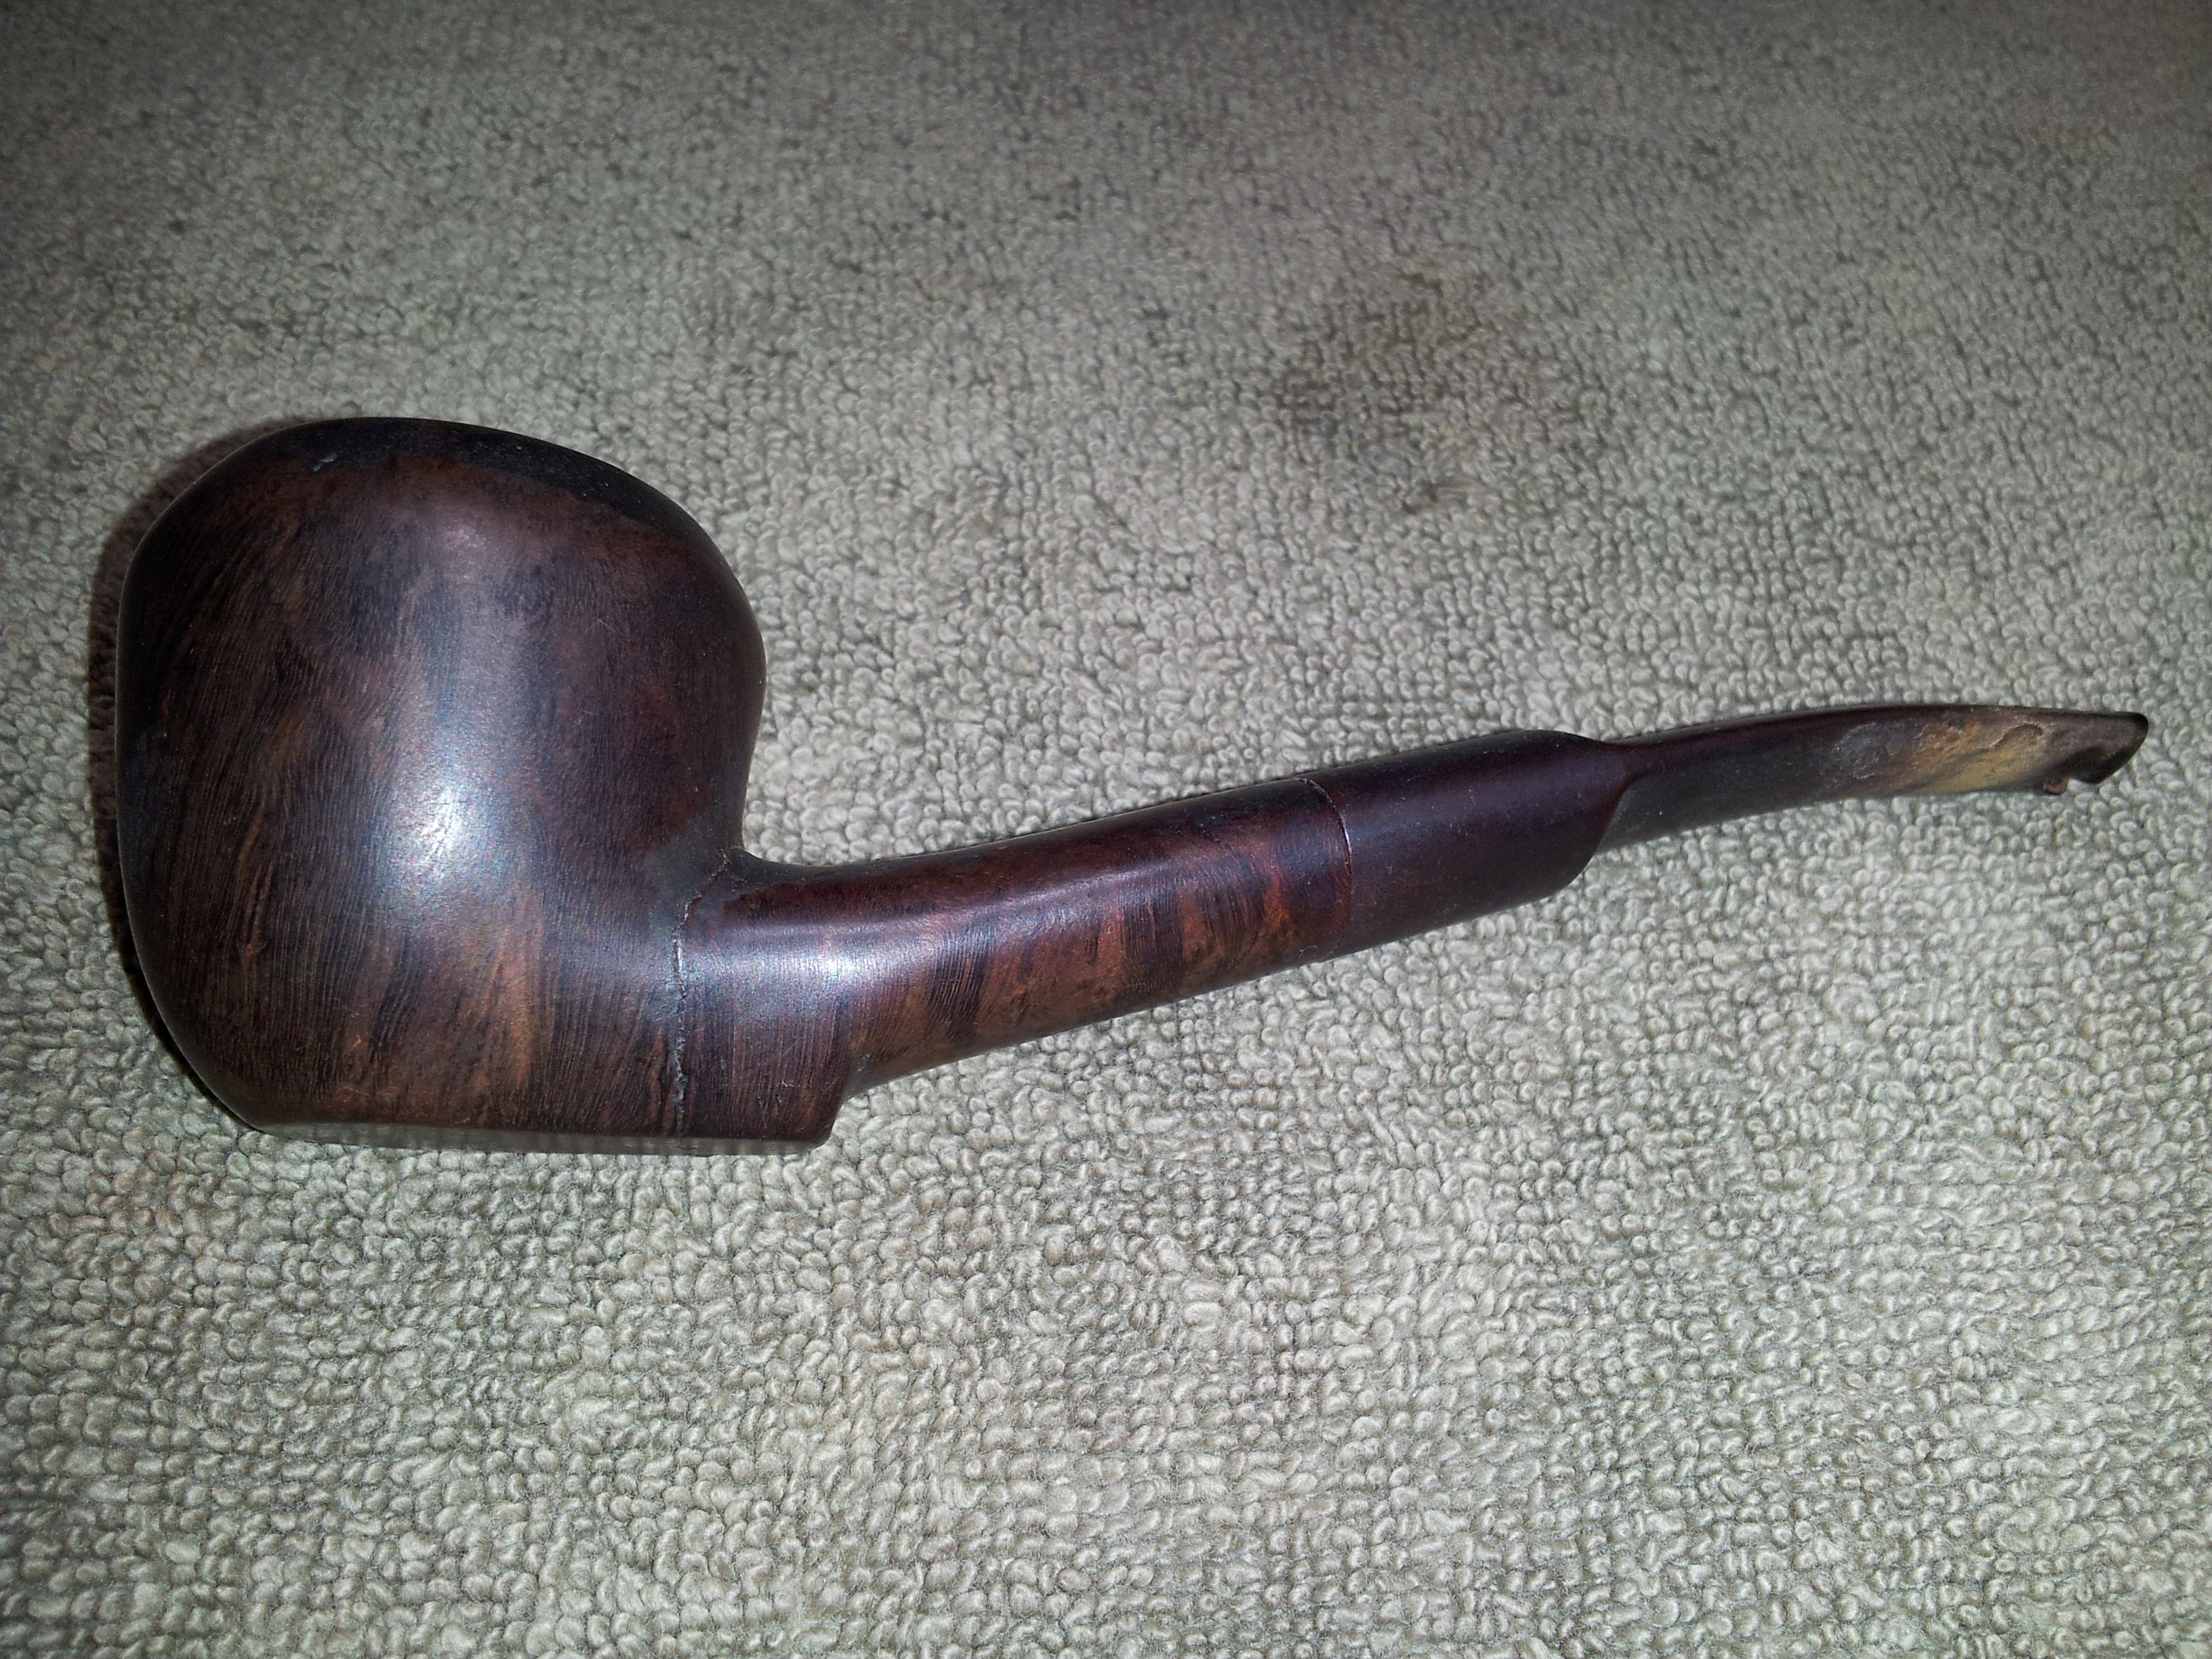
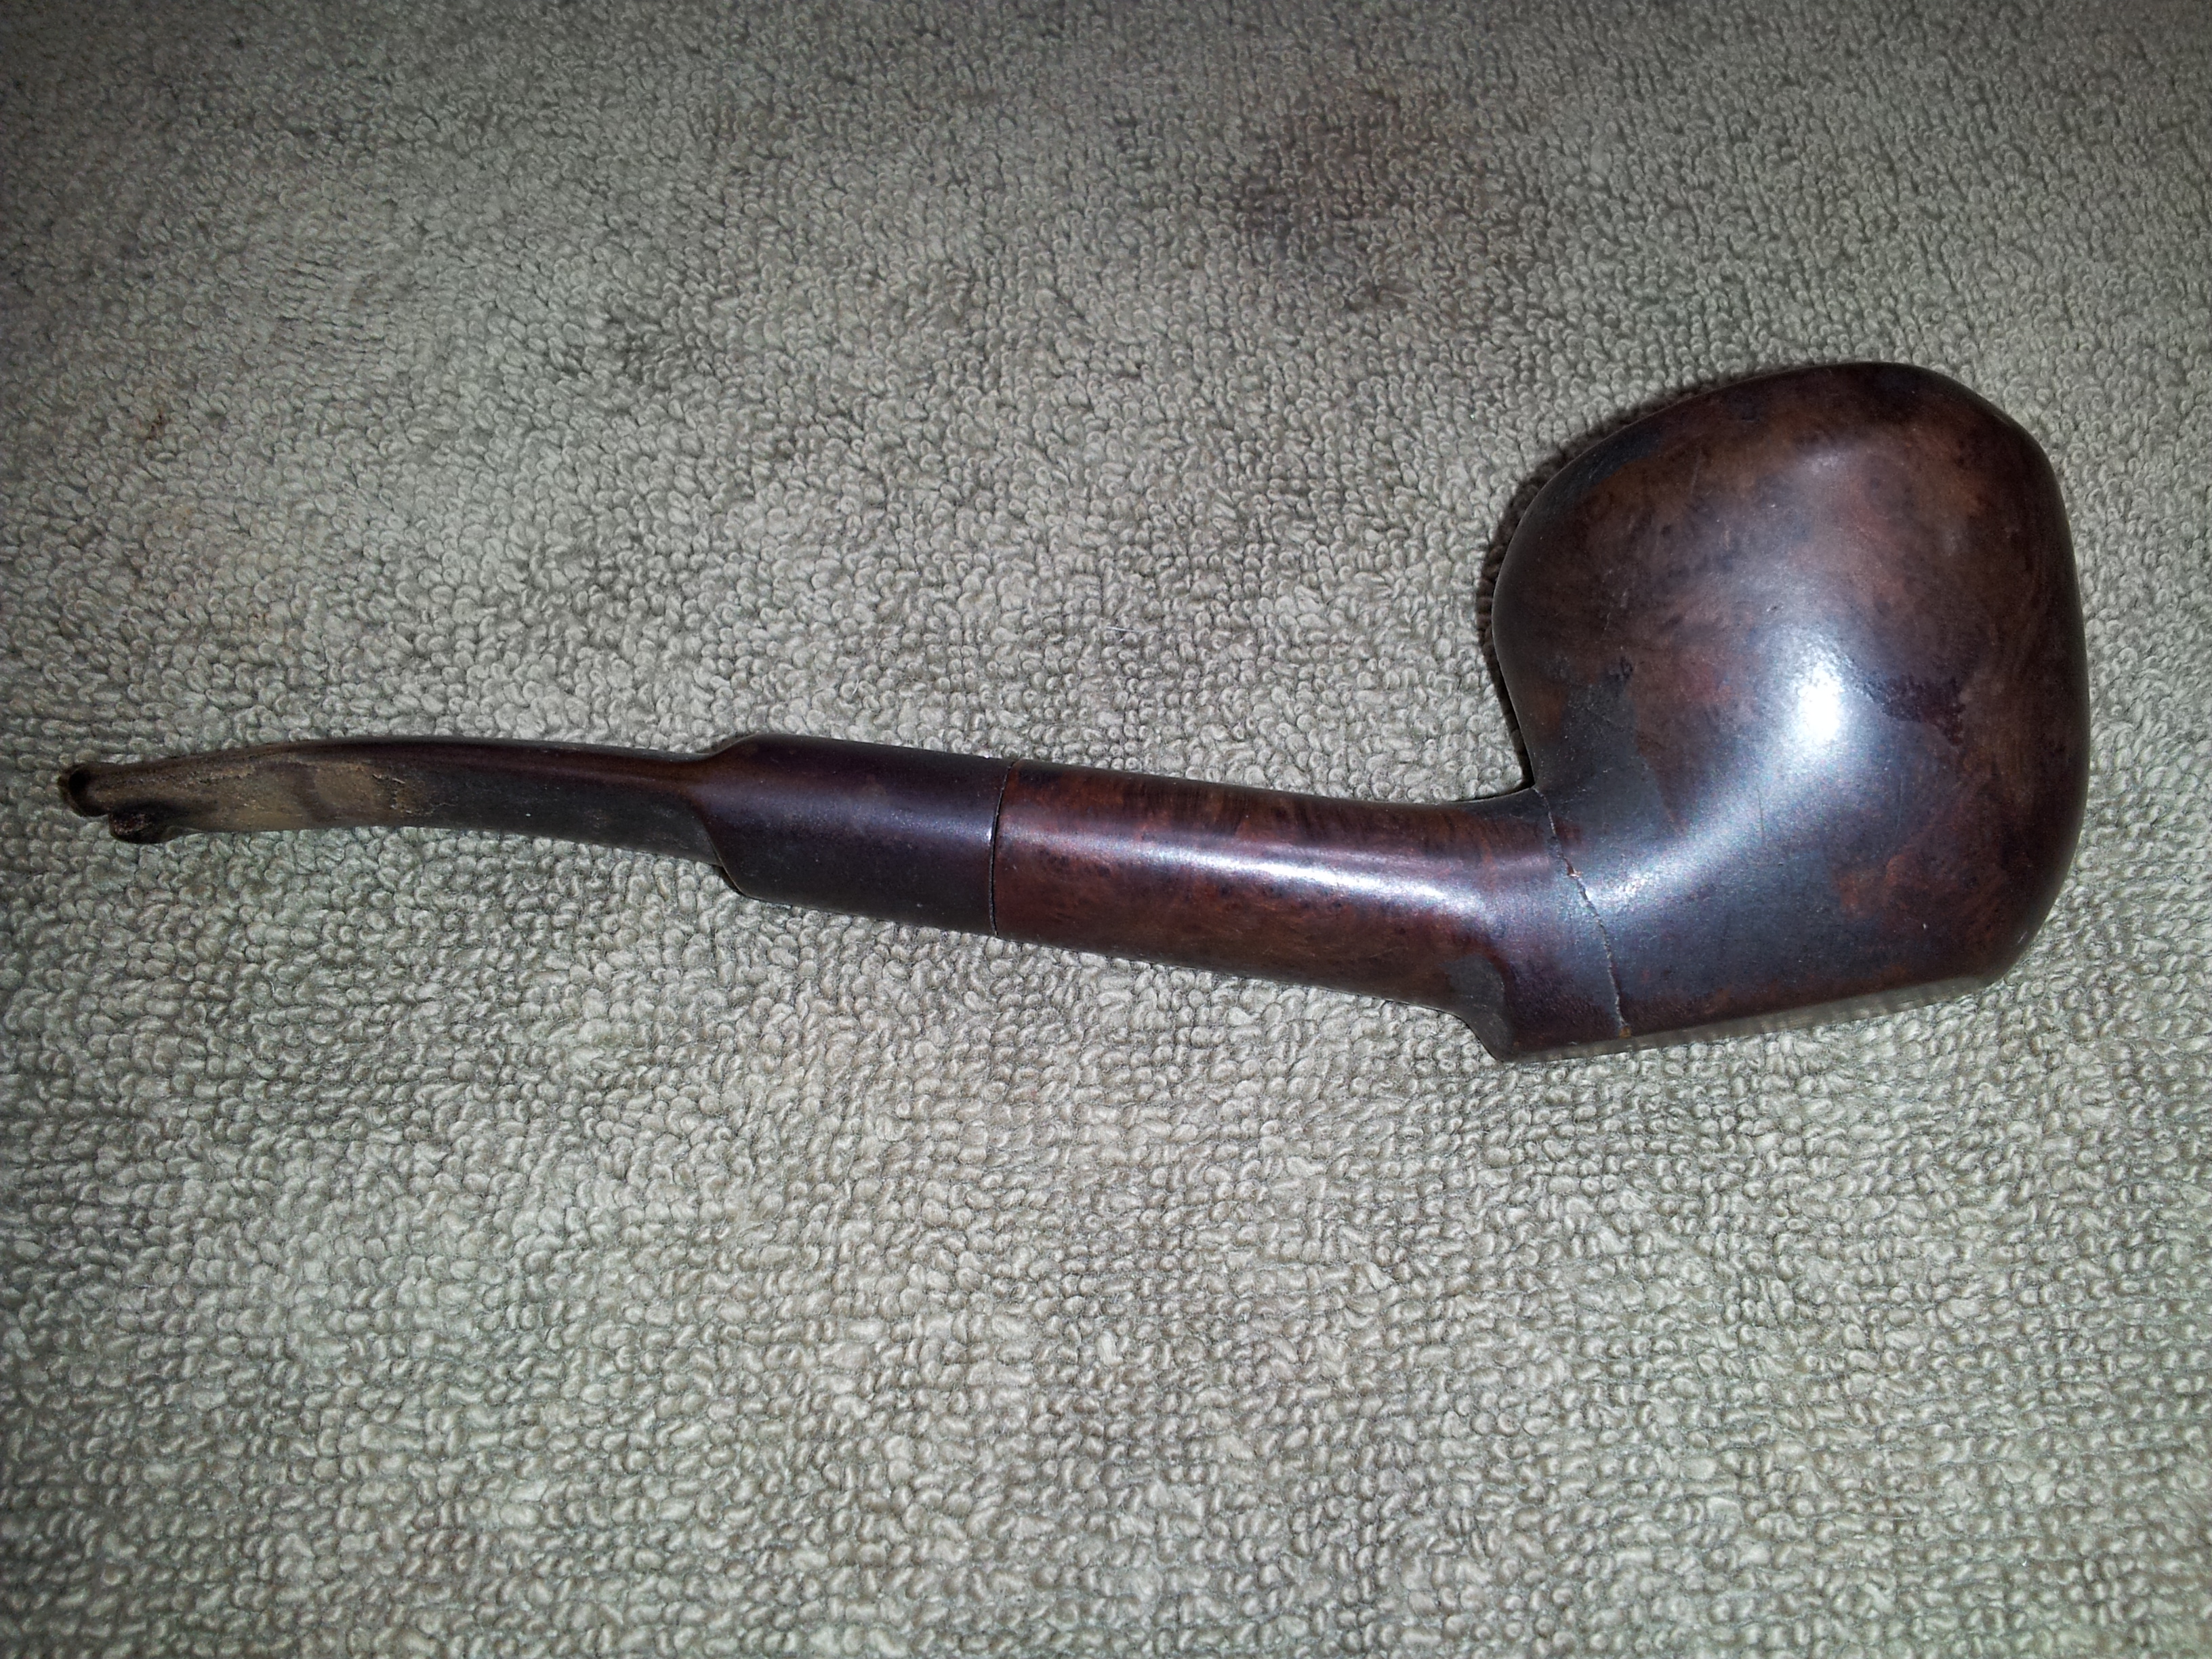
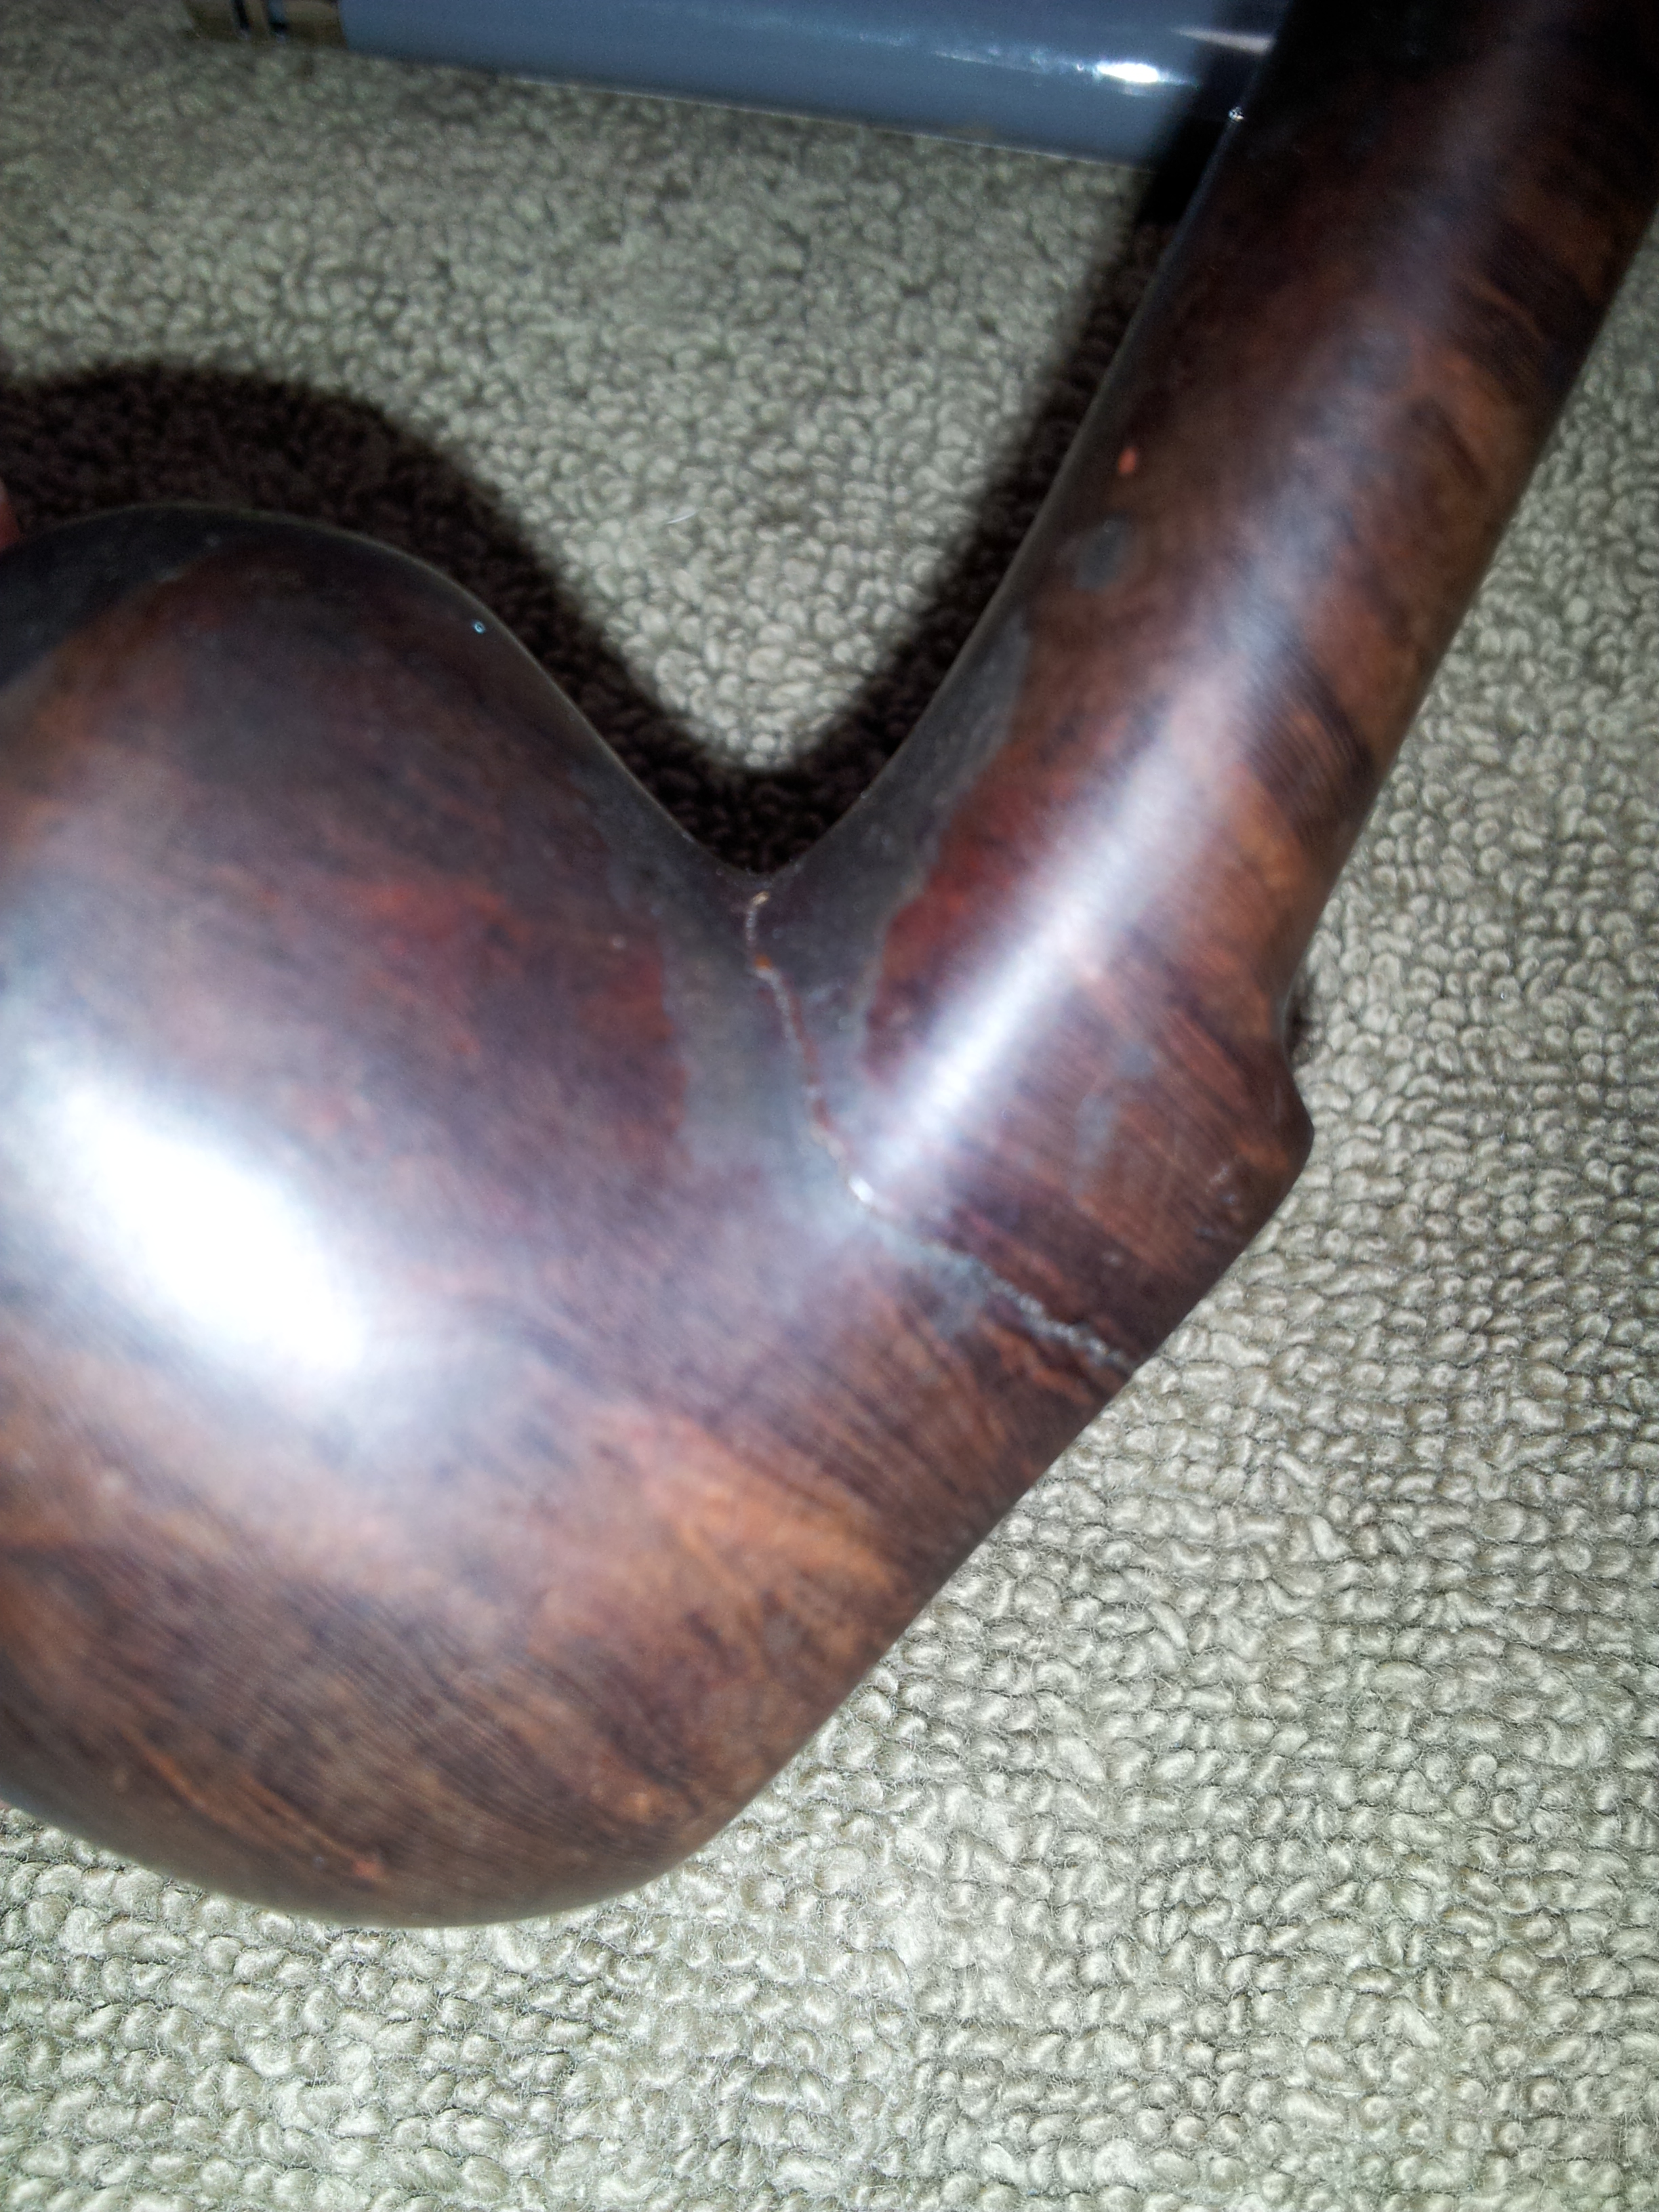
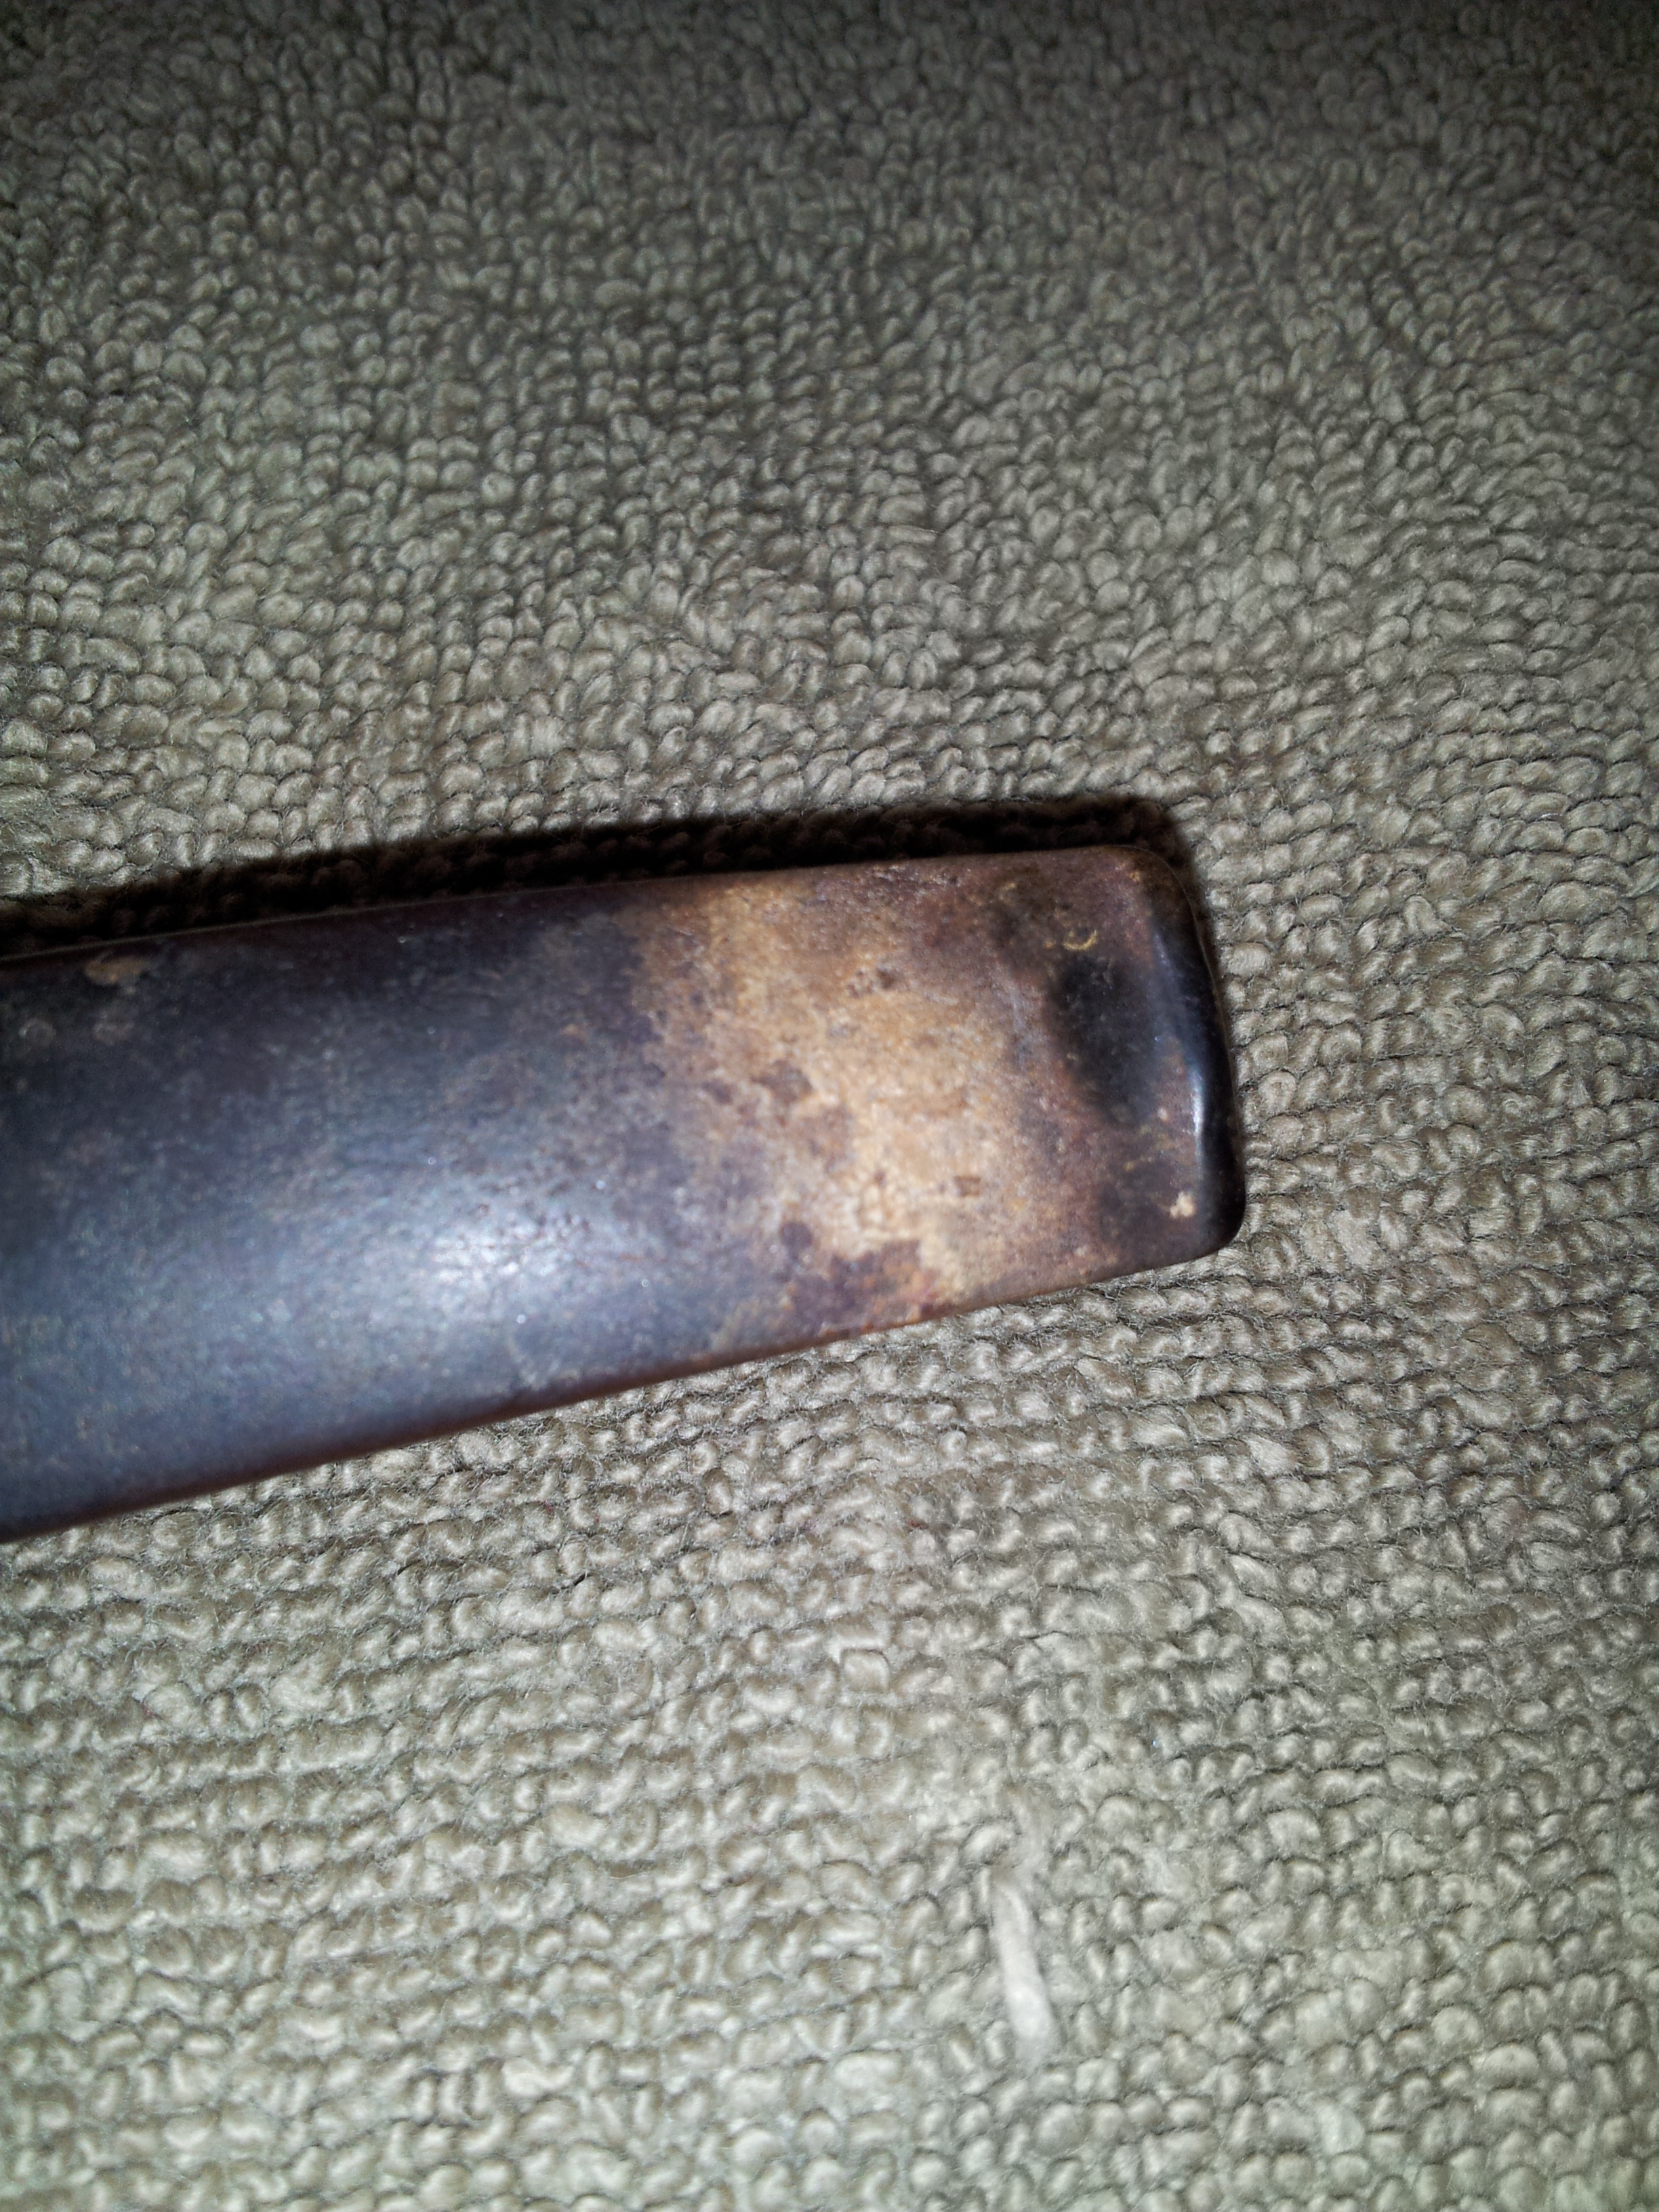
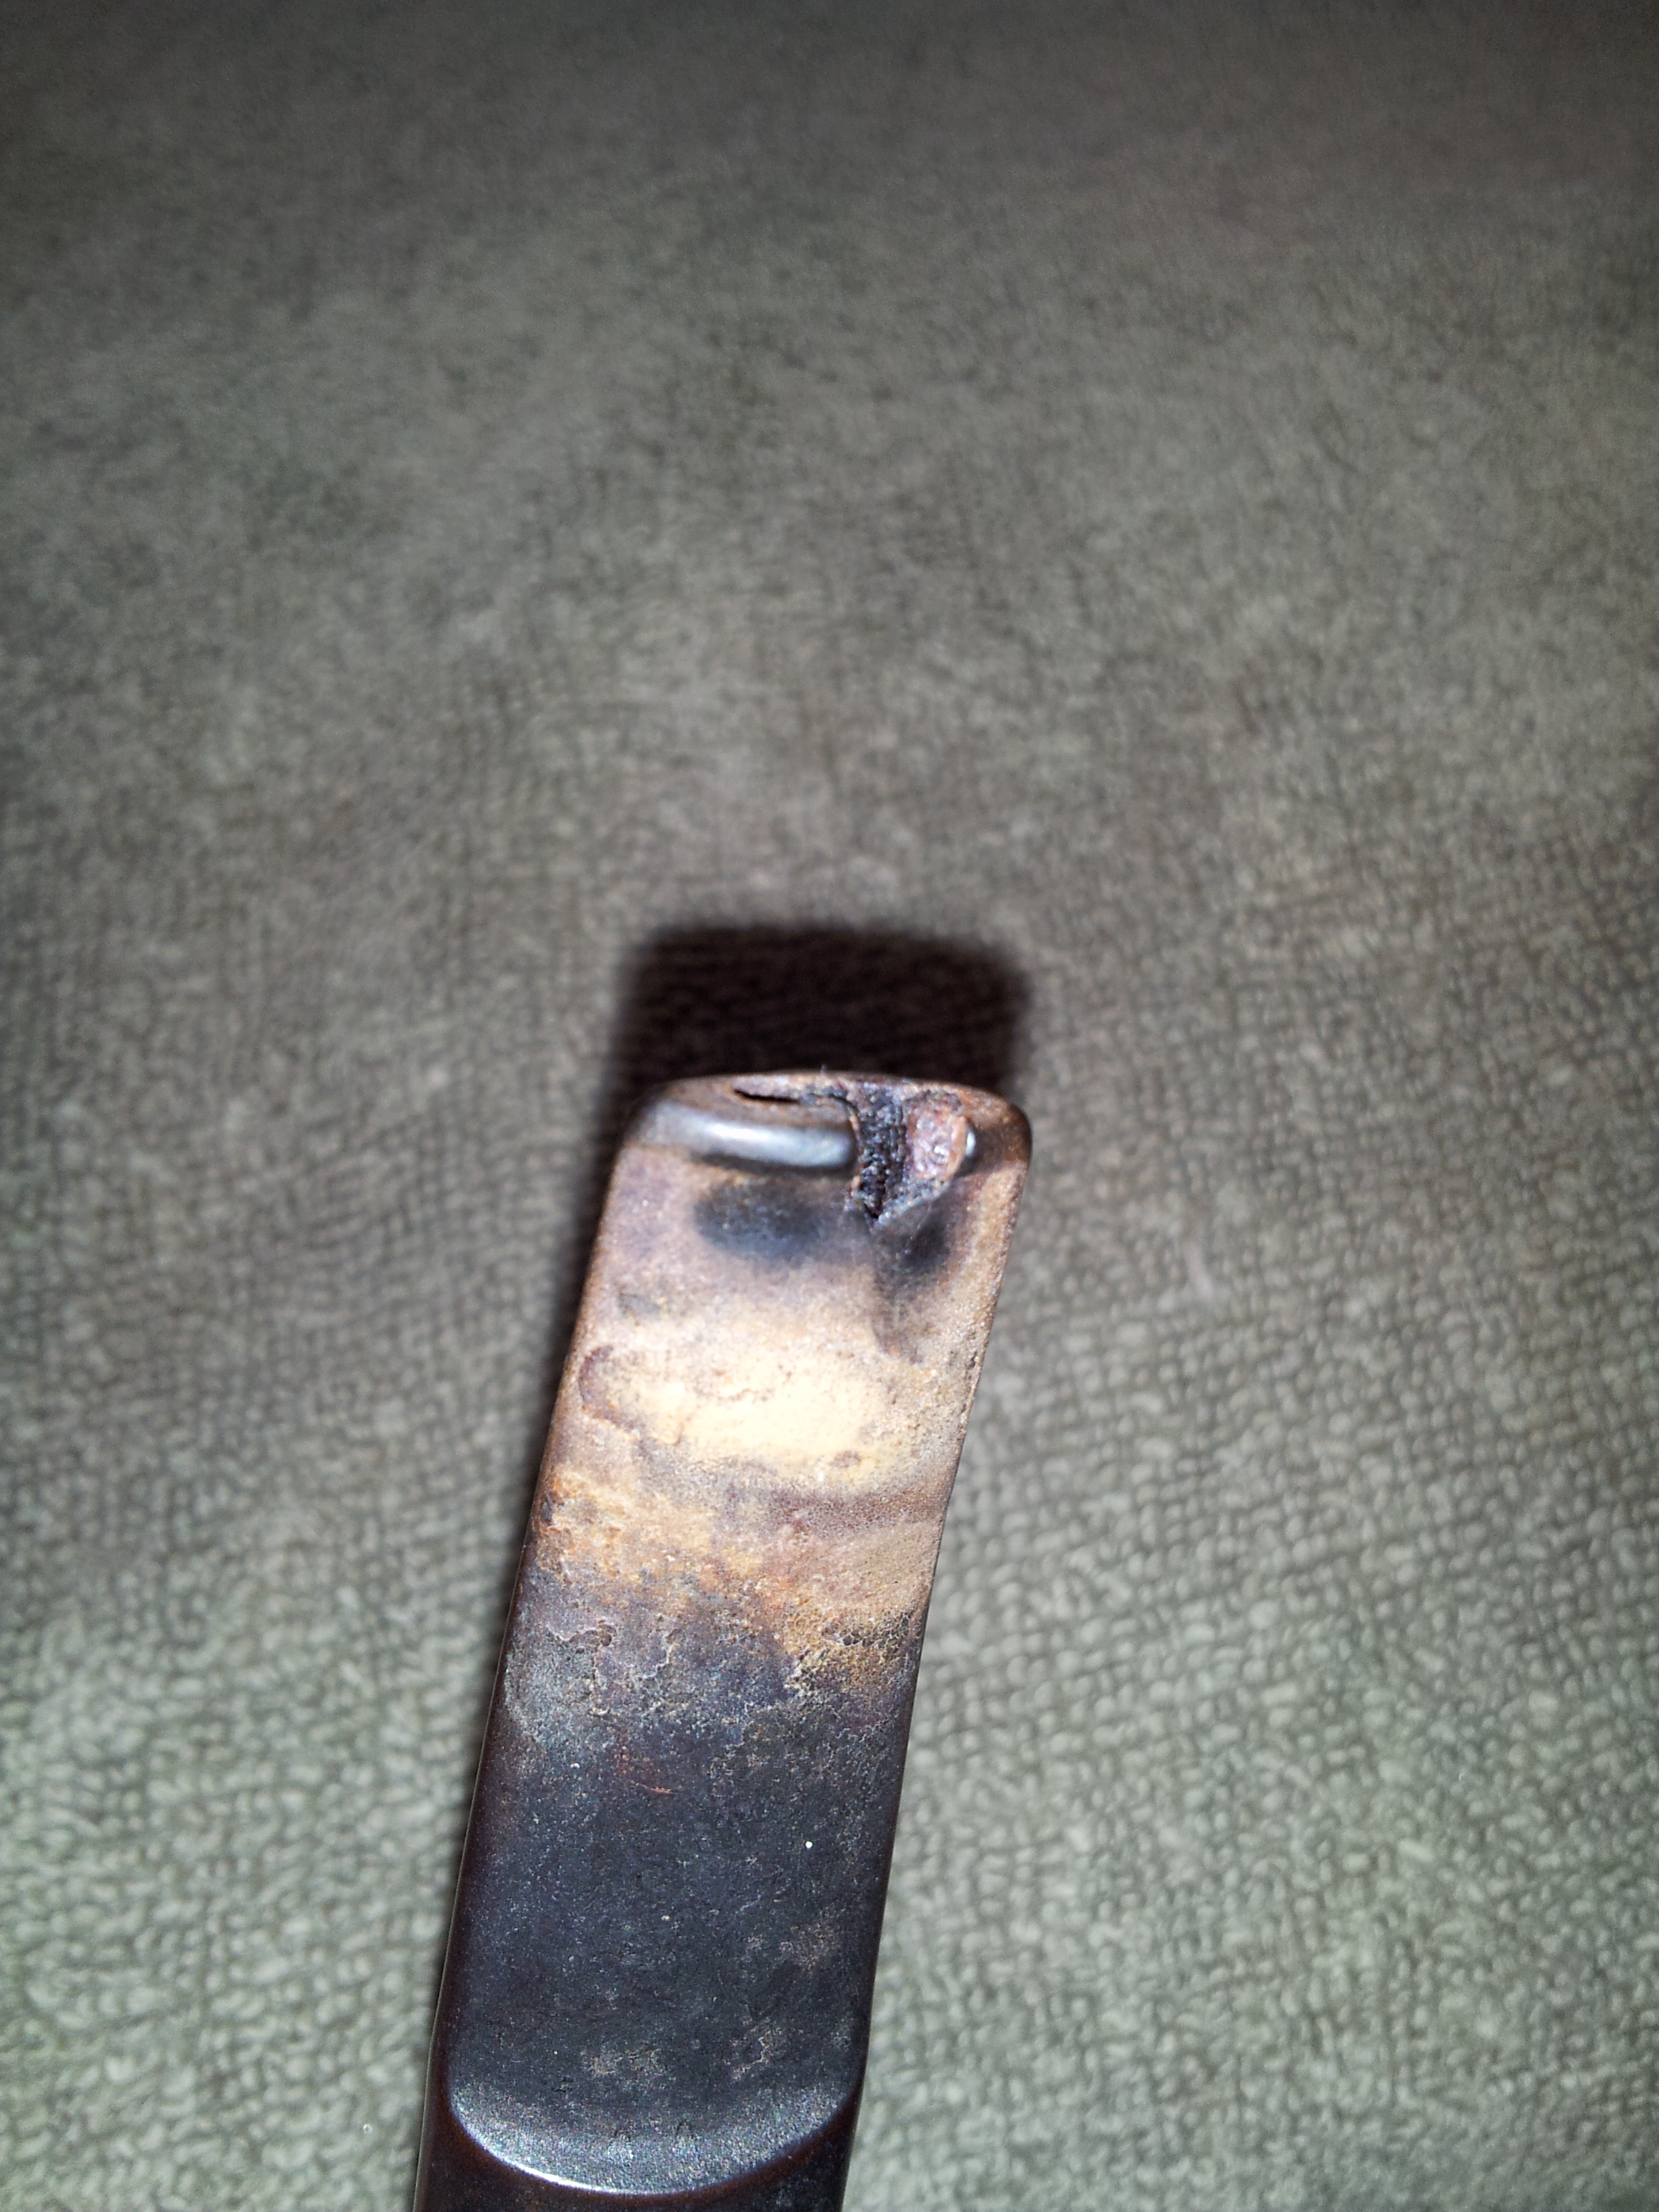
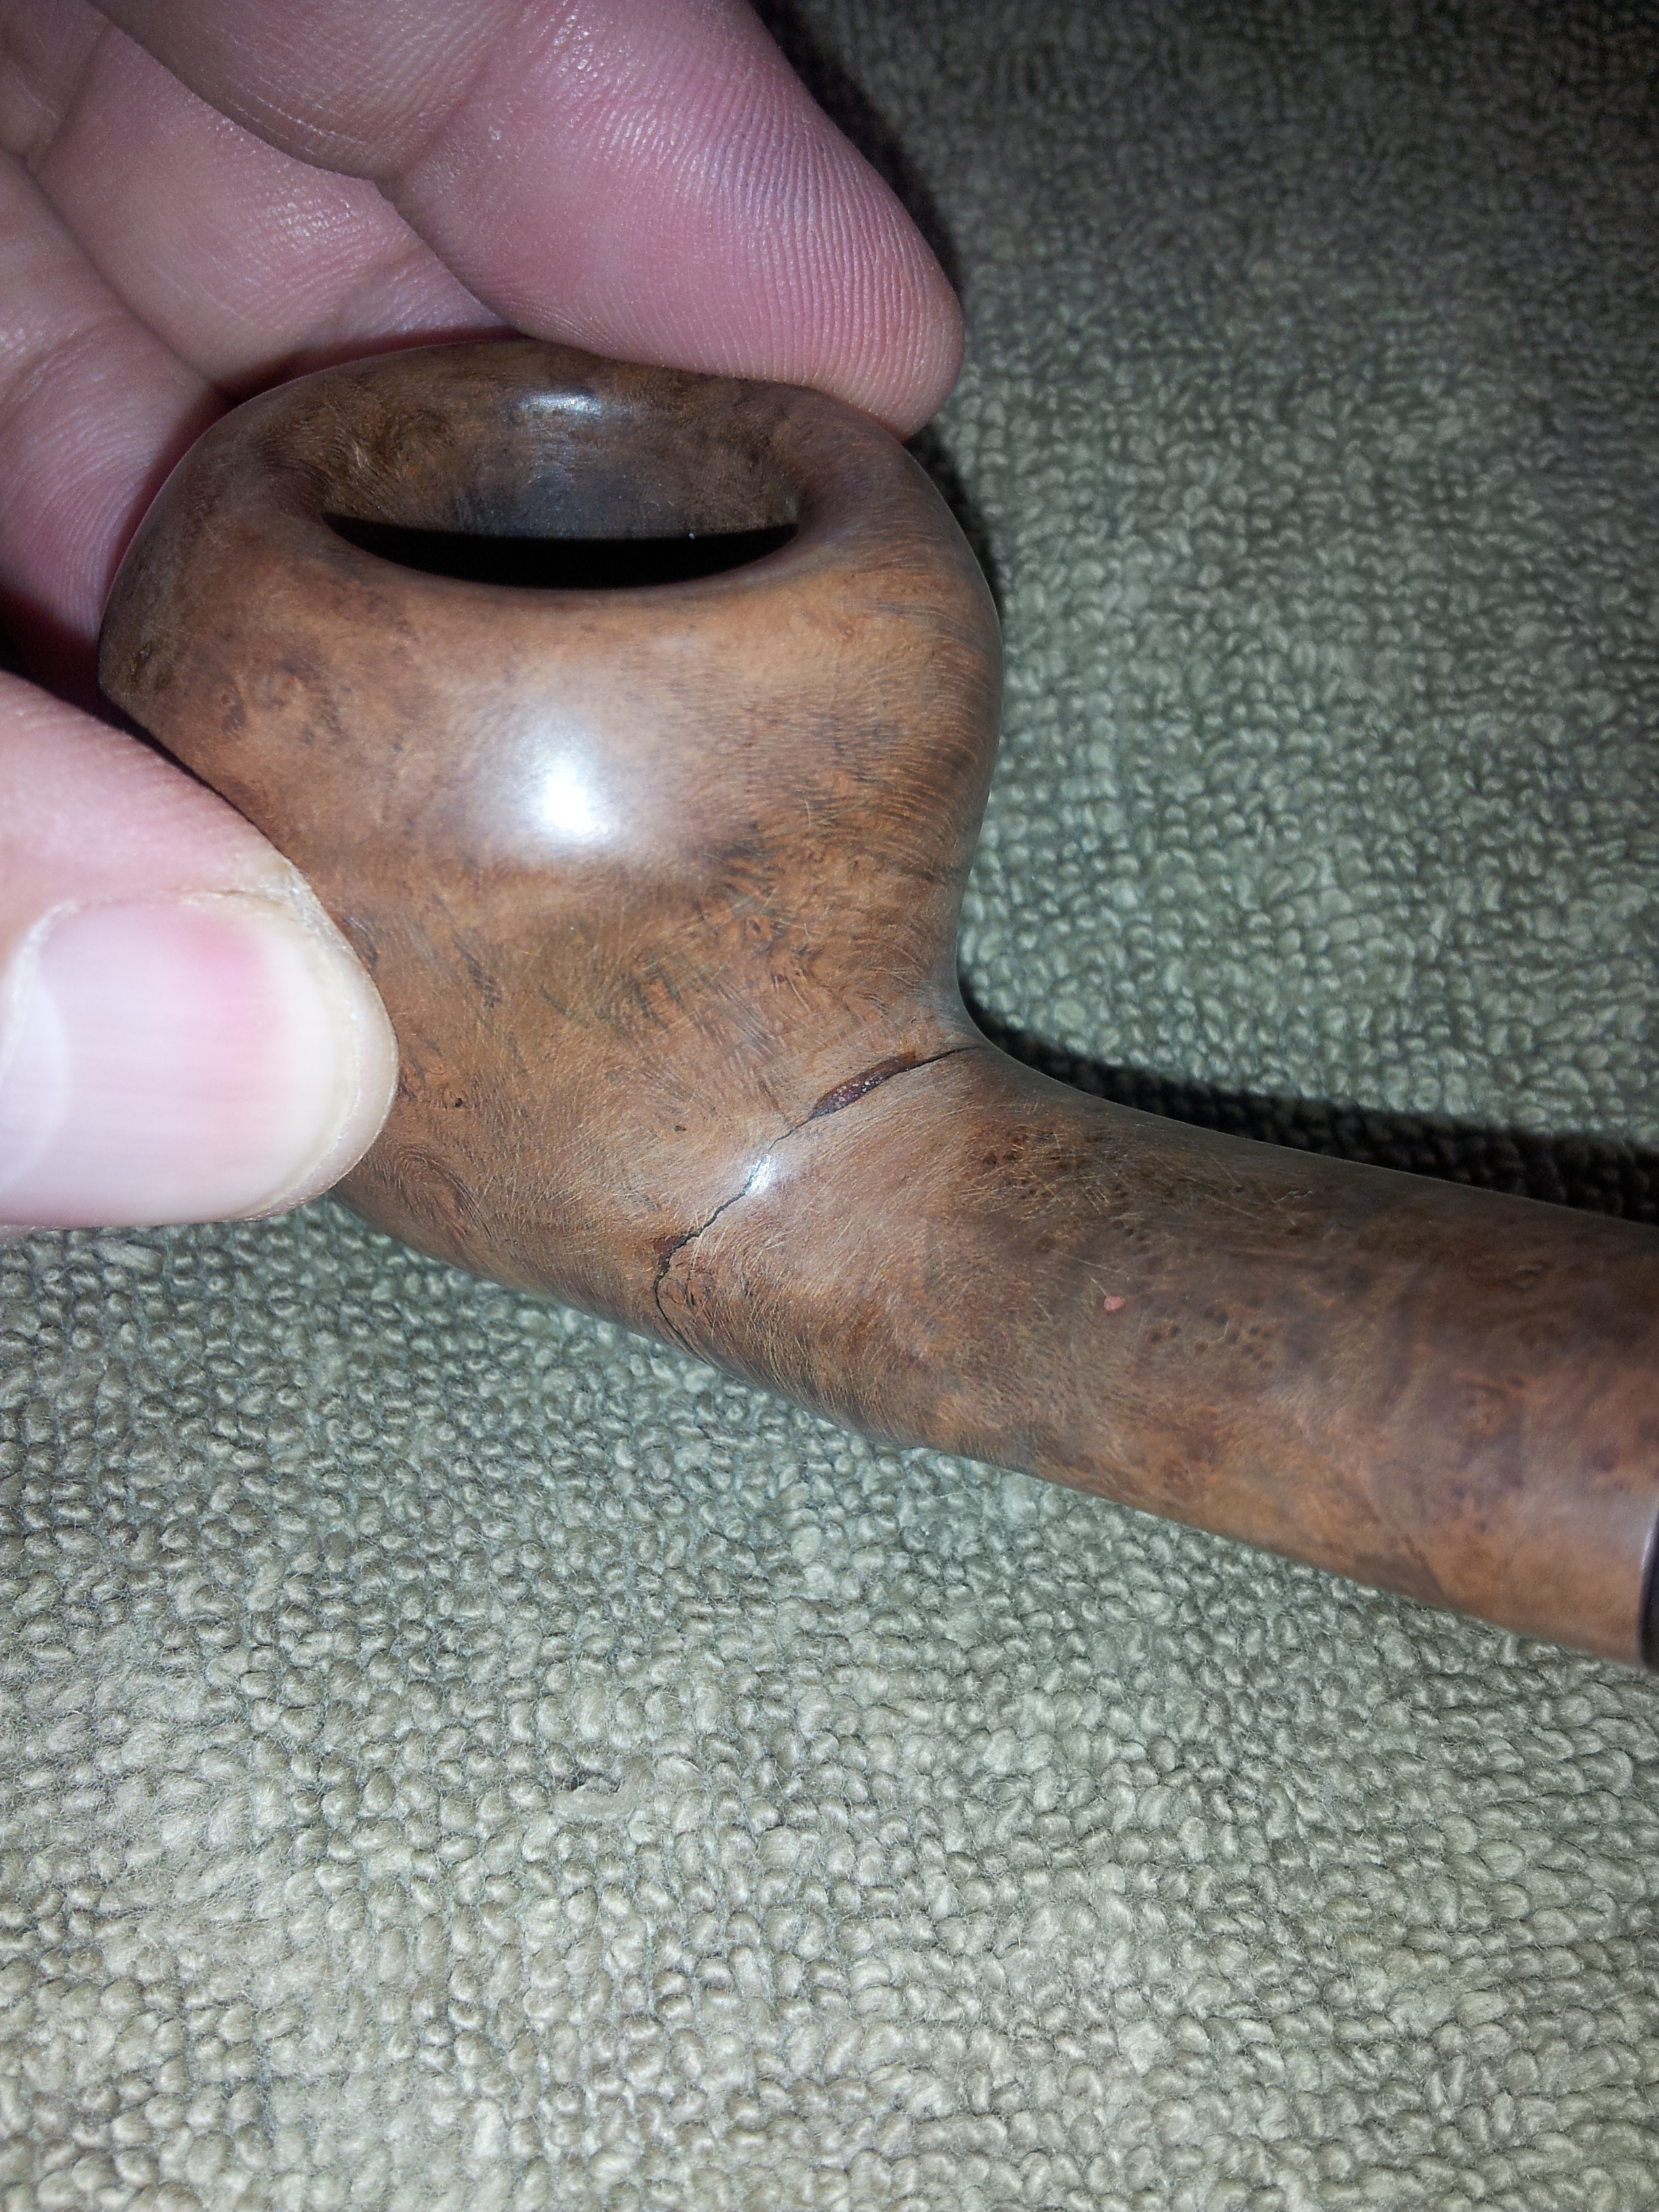
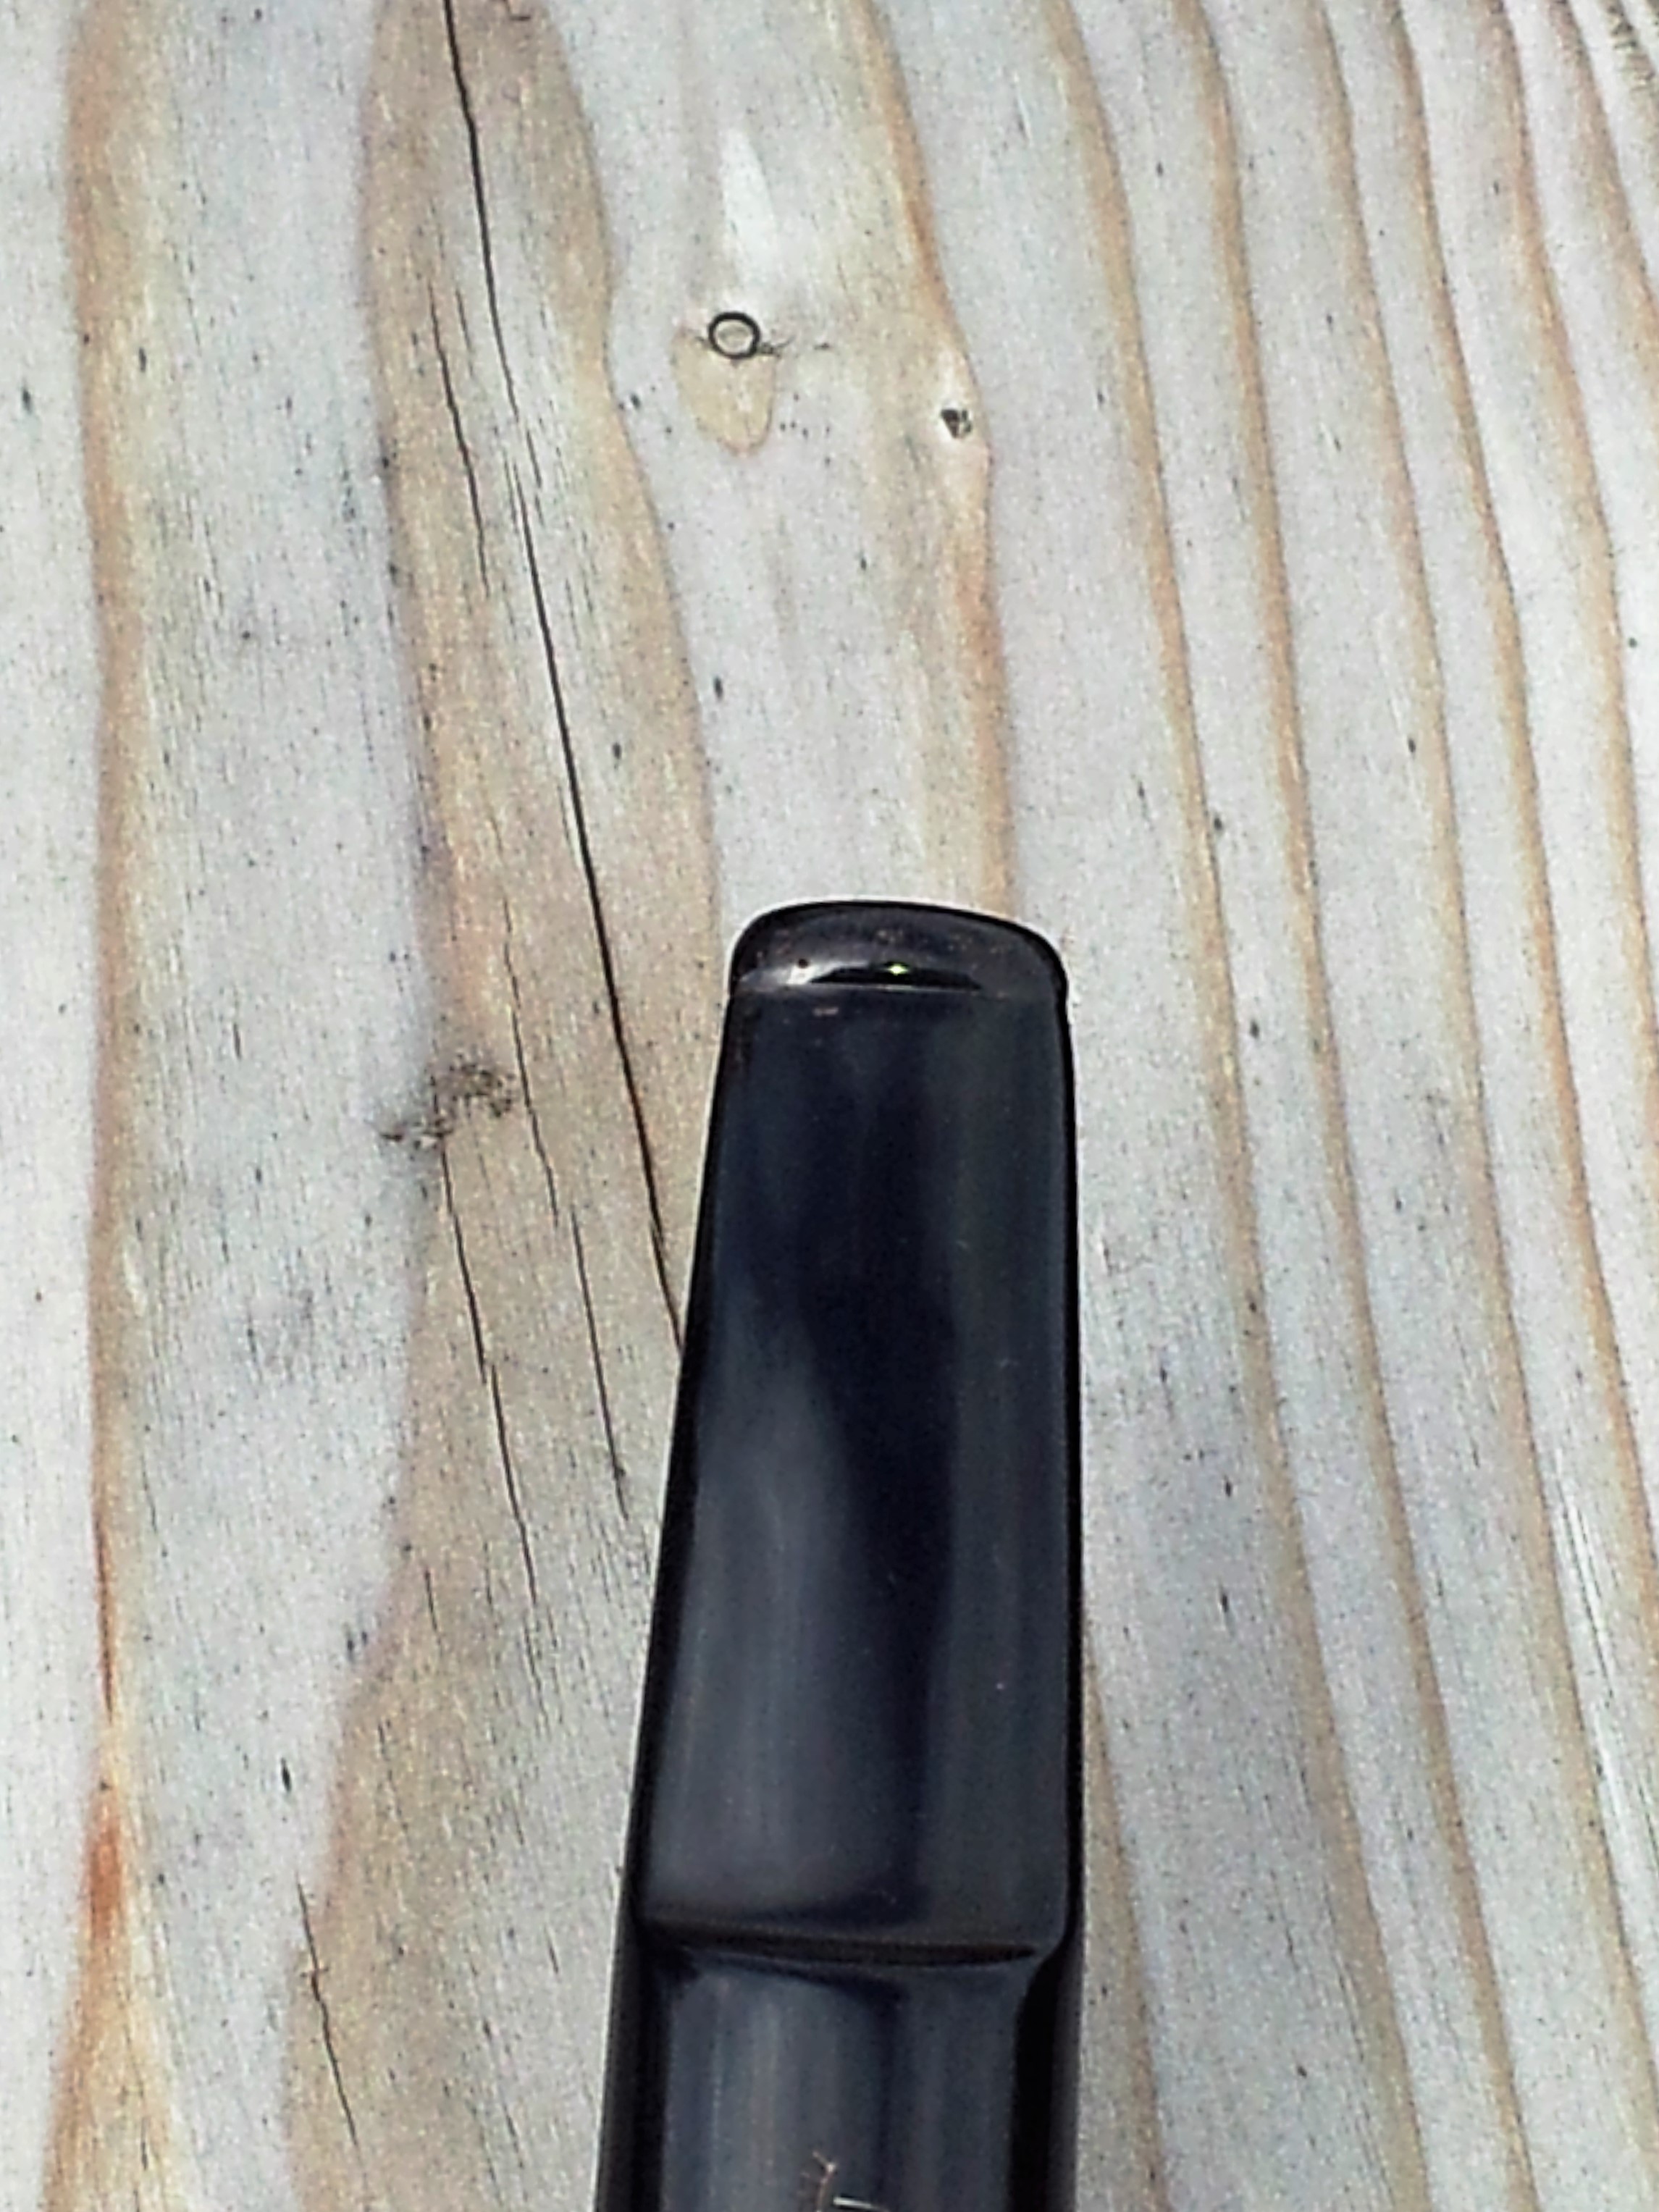
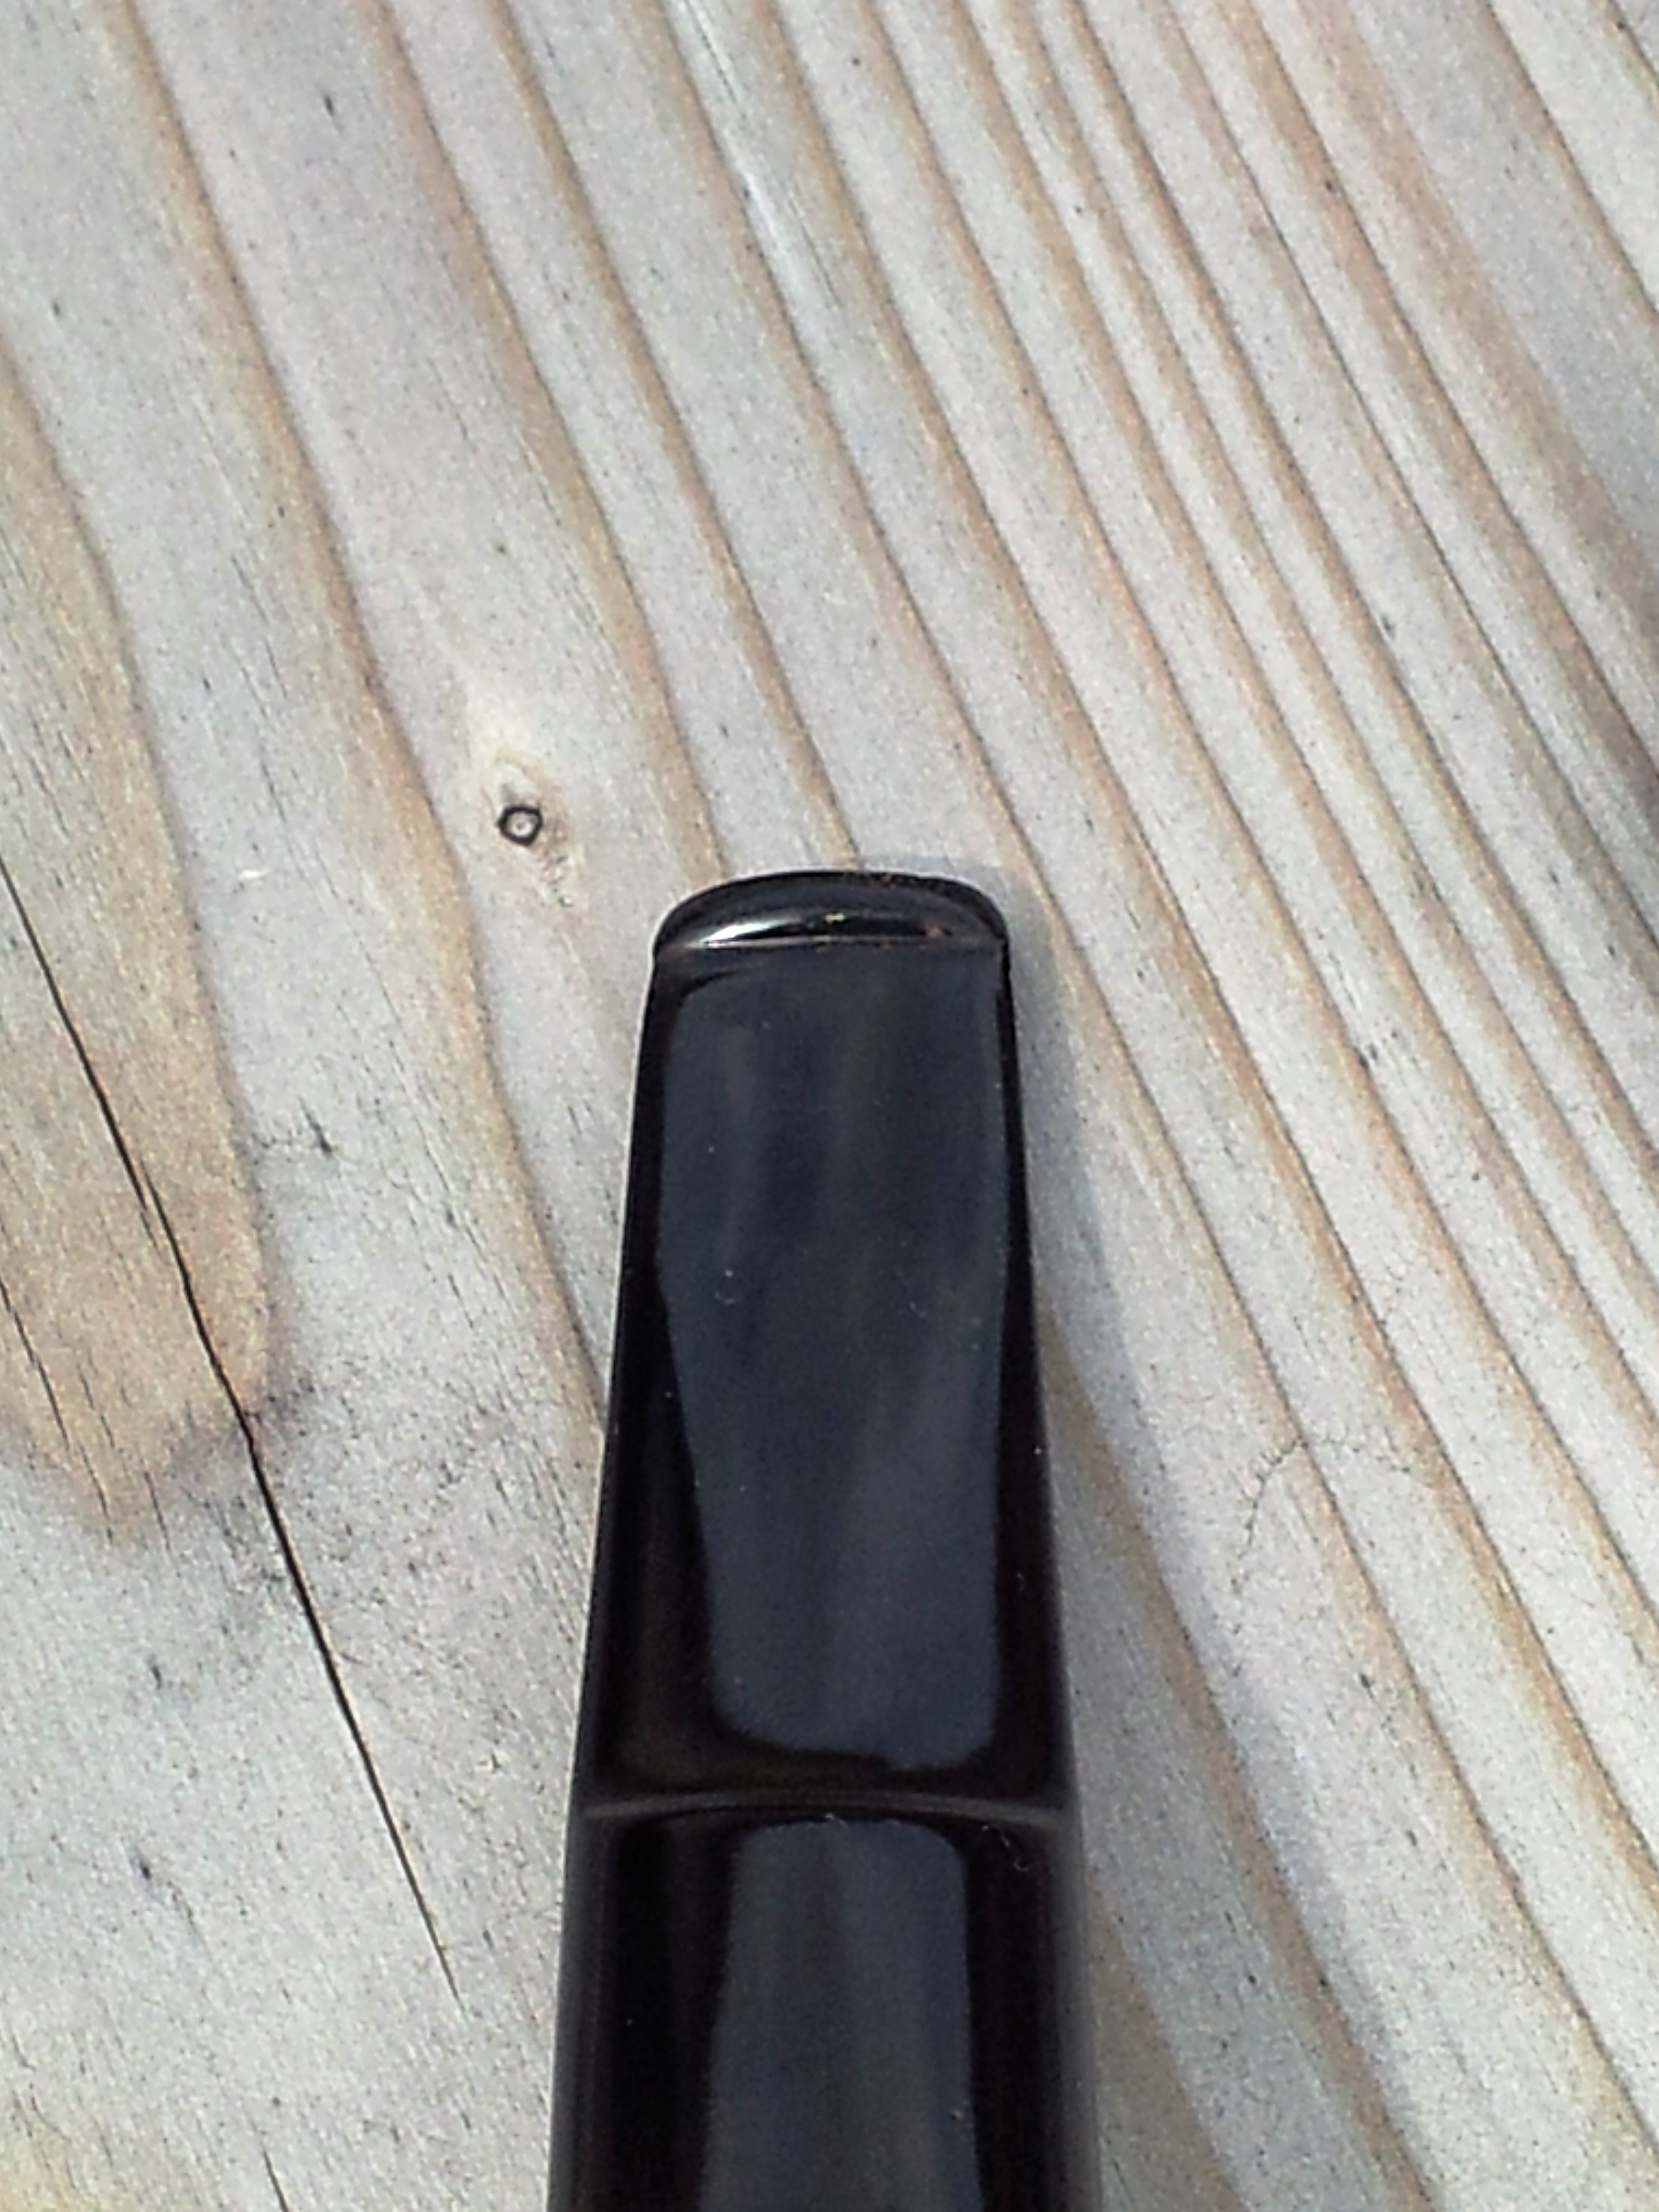
Apart from its generally neglected state, this old Jarl showed two major signs of previous trauma – the shank had cracked off the bowl and been reglued at some point, and there was a fairly large chunk missing from the button end of the stem.

As with all my pipe refurbs, this job began with reaming the bowl back nearly to bare briar using a pen knife and a piece of 80-grit sandpaper wrapped around a suitably-sized dowel. Then the stummel went into an alcohol bath while the stem went into a solution of warm water and Oxyclean. The parts were so dirty I left them to soak overnight before continuing.
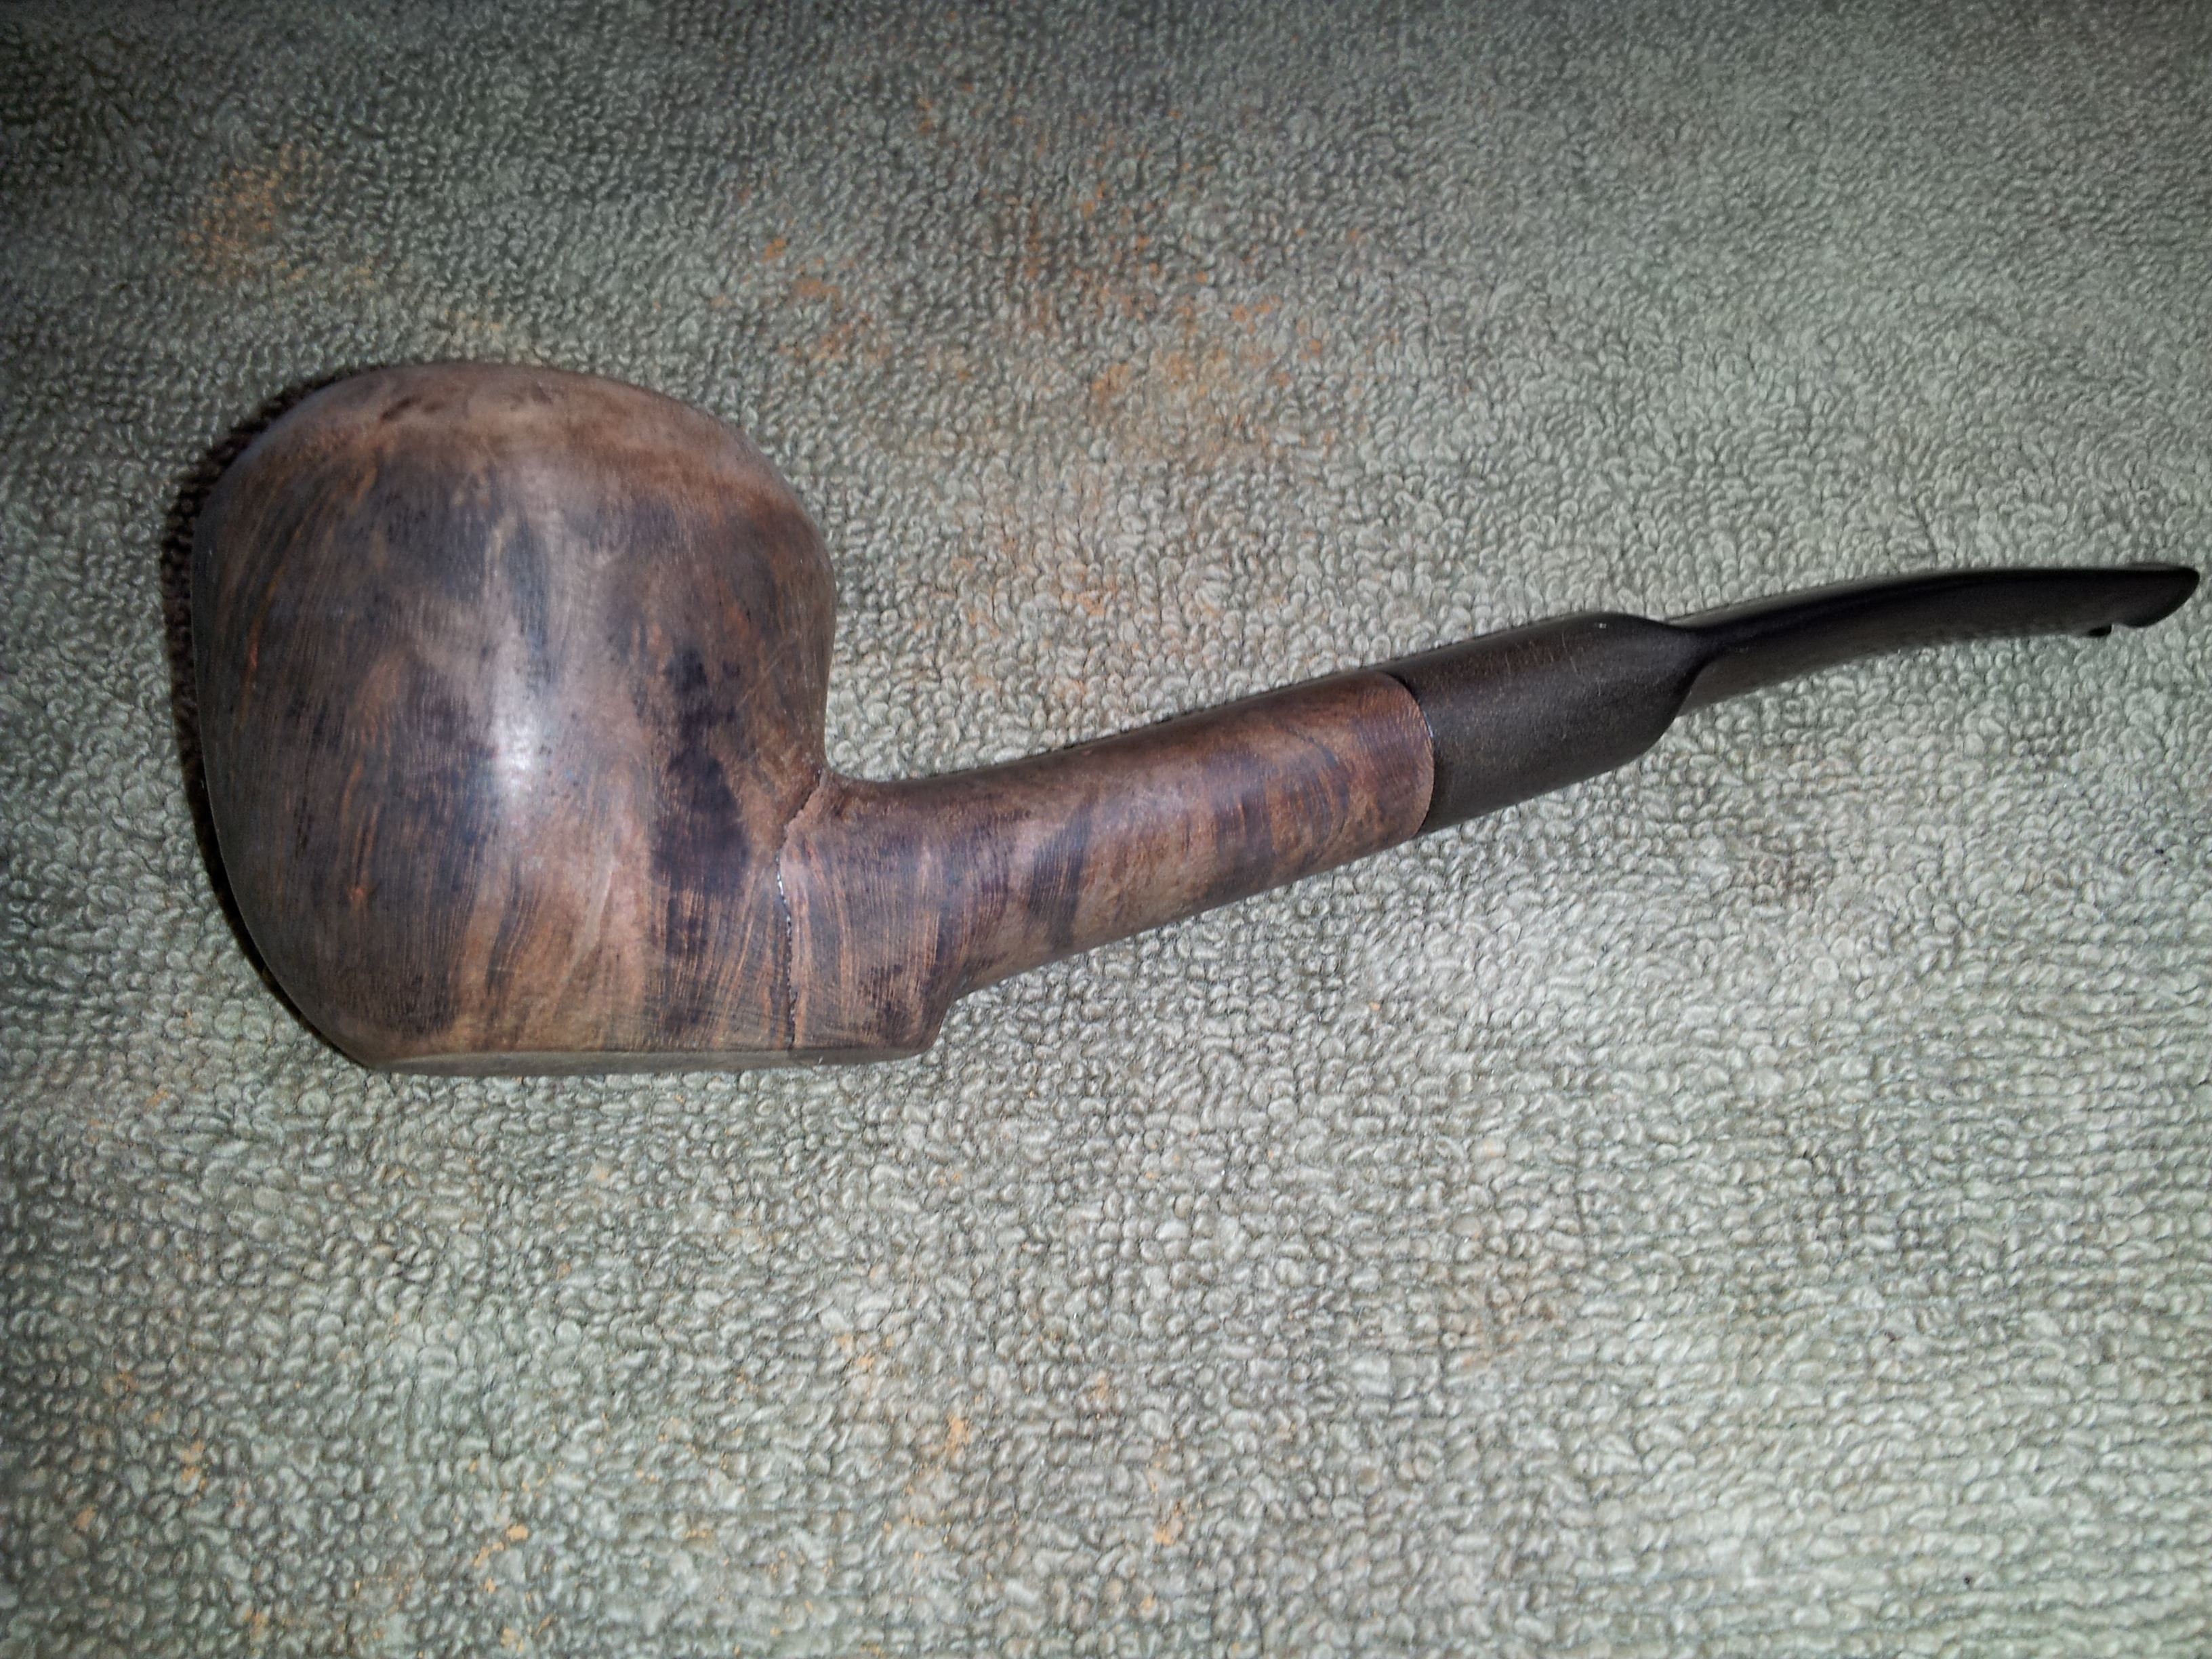
The baths did their work, and next morning the stummel was scrubbed down with a Magic Eraser before I attacked the internals with a pile of pipe cleaners and isopropyl alcohol. I removed the stem oxidation with a medium grit sanding sponge, 0000 steel wool and Magic Eraser before cleaning out the grungy old tars and flecks of tobacco from the airway. With both stem and stummel clean, the pipe was reassembled and wet-sanded with 600 through 2000-grit paper to remove the fine scratches and rim dents.
Here are a few pics of the pipe at this point.
I moved on to address the old shank repair. The old glue was solid, so I mixed up a batch of CA glue and briar dust to make a fill to cover the old wound.
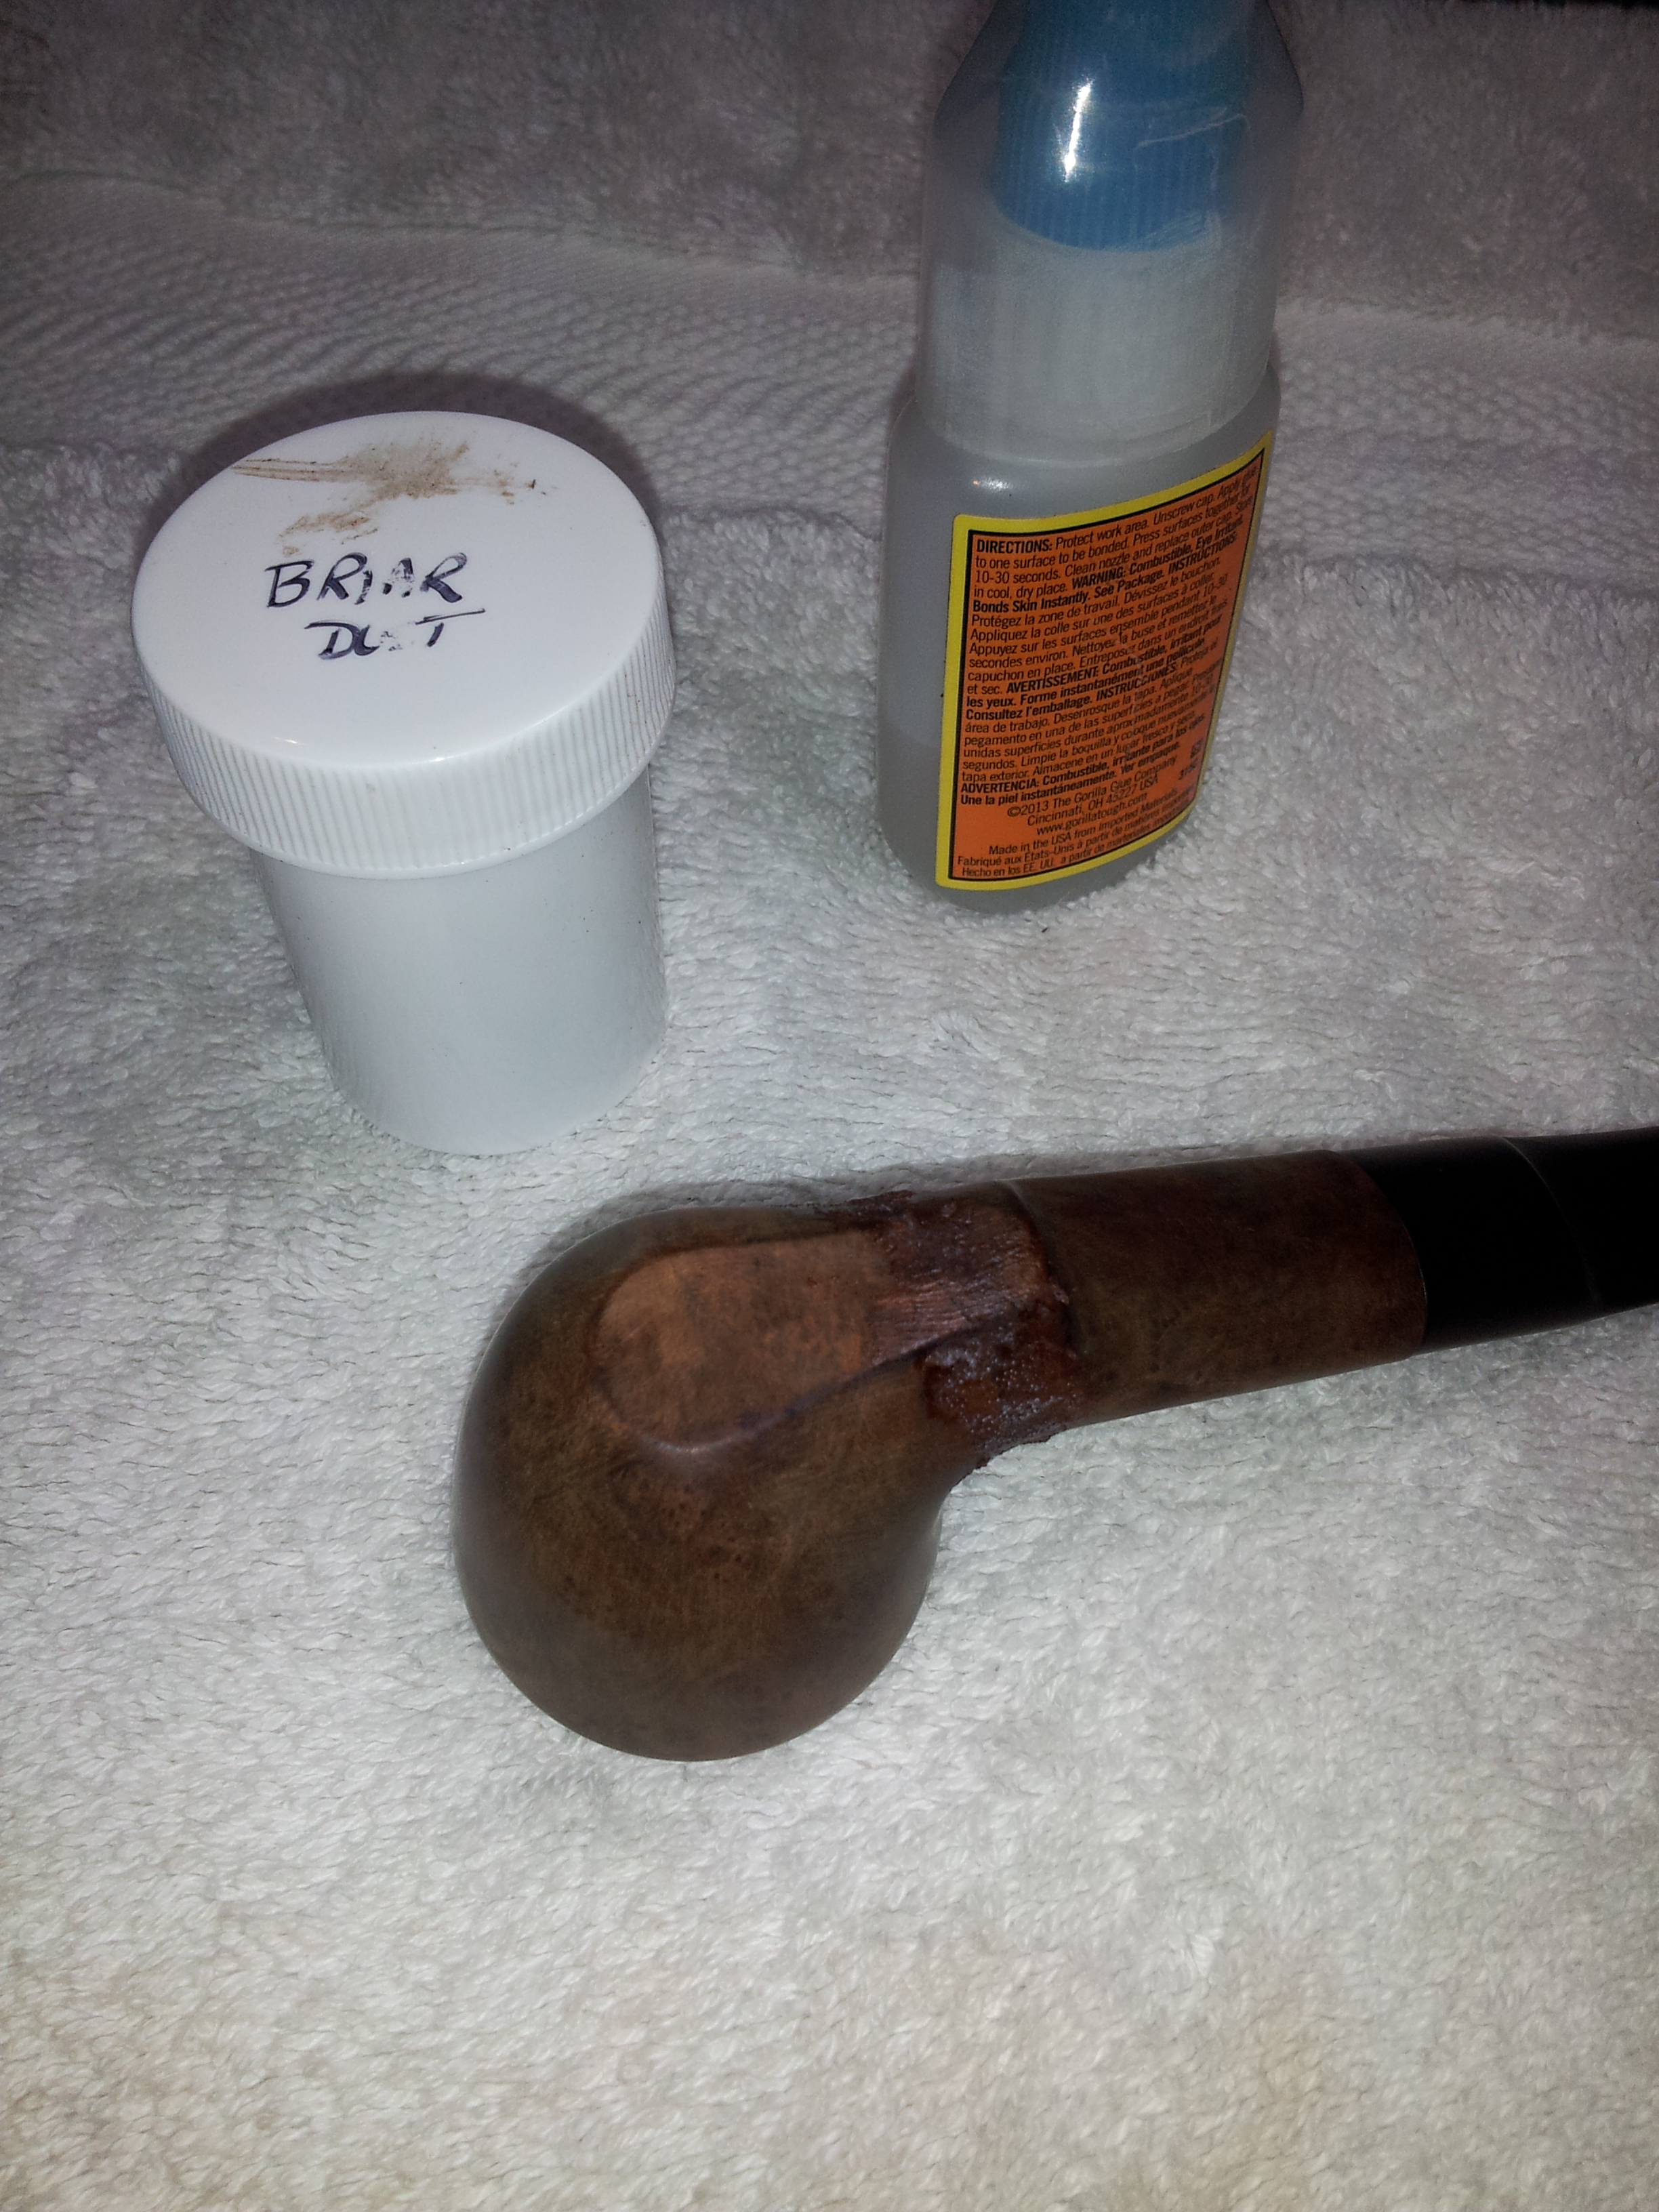
After the fill cured, it was time to sand, sand and sand some more. I worked on the briar dust patch with 220 and then 320 grit paper to level the patch and conceal the repair underneath.
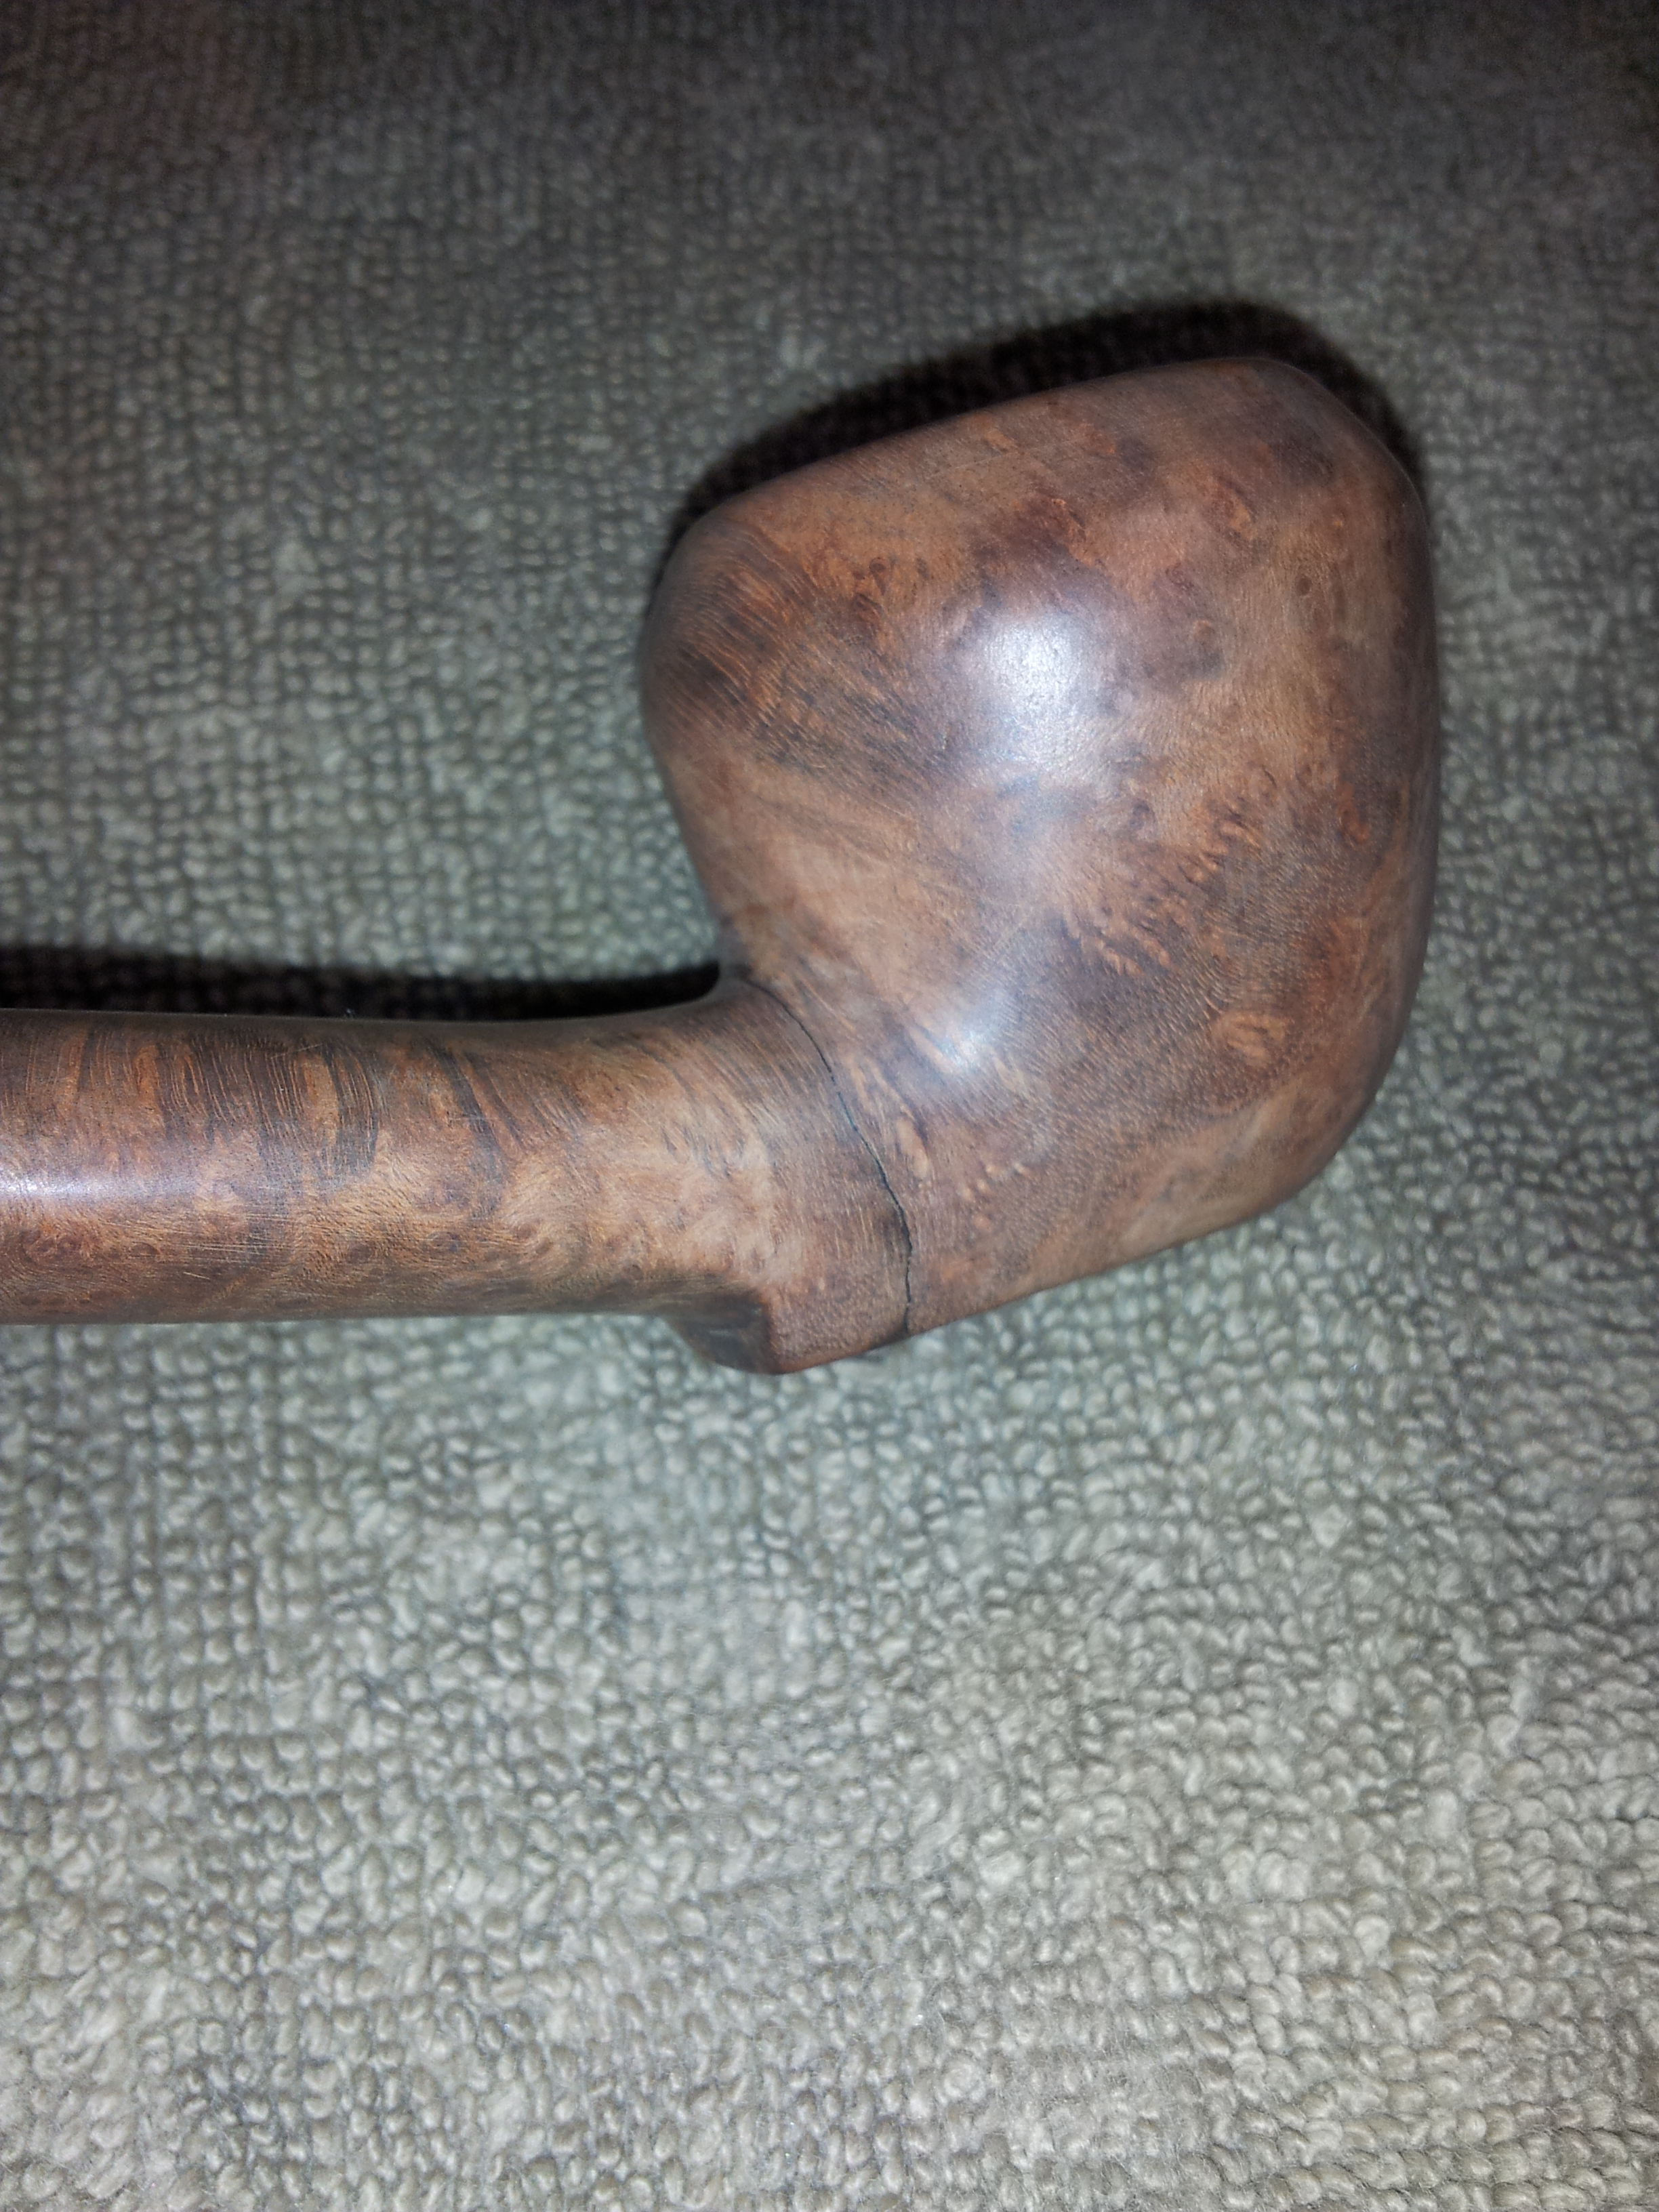
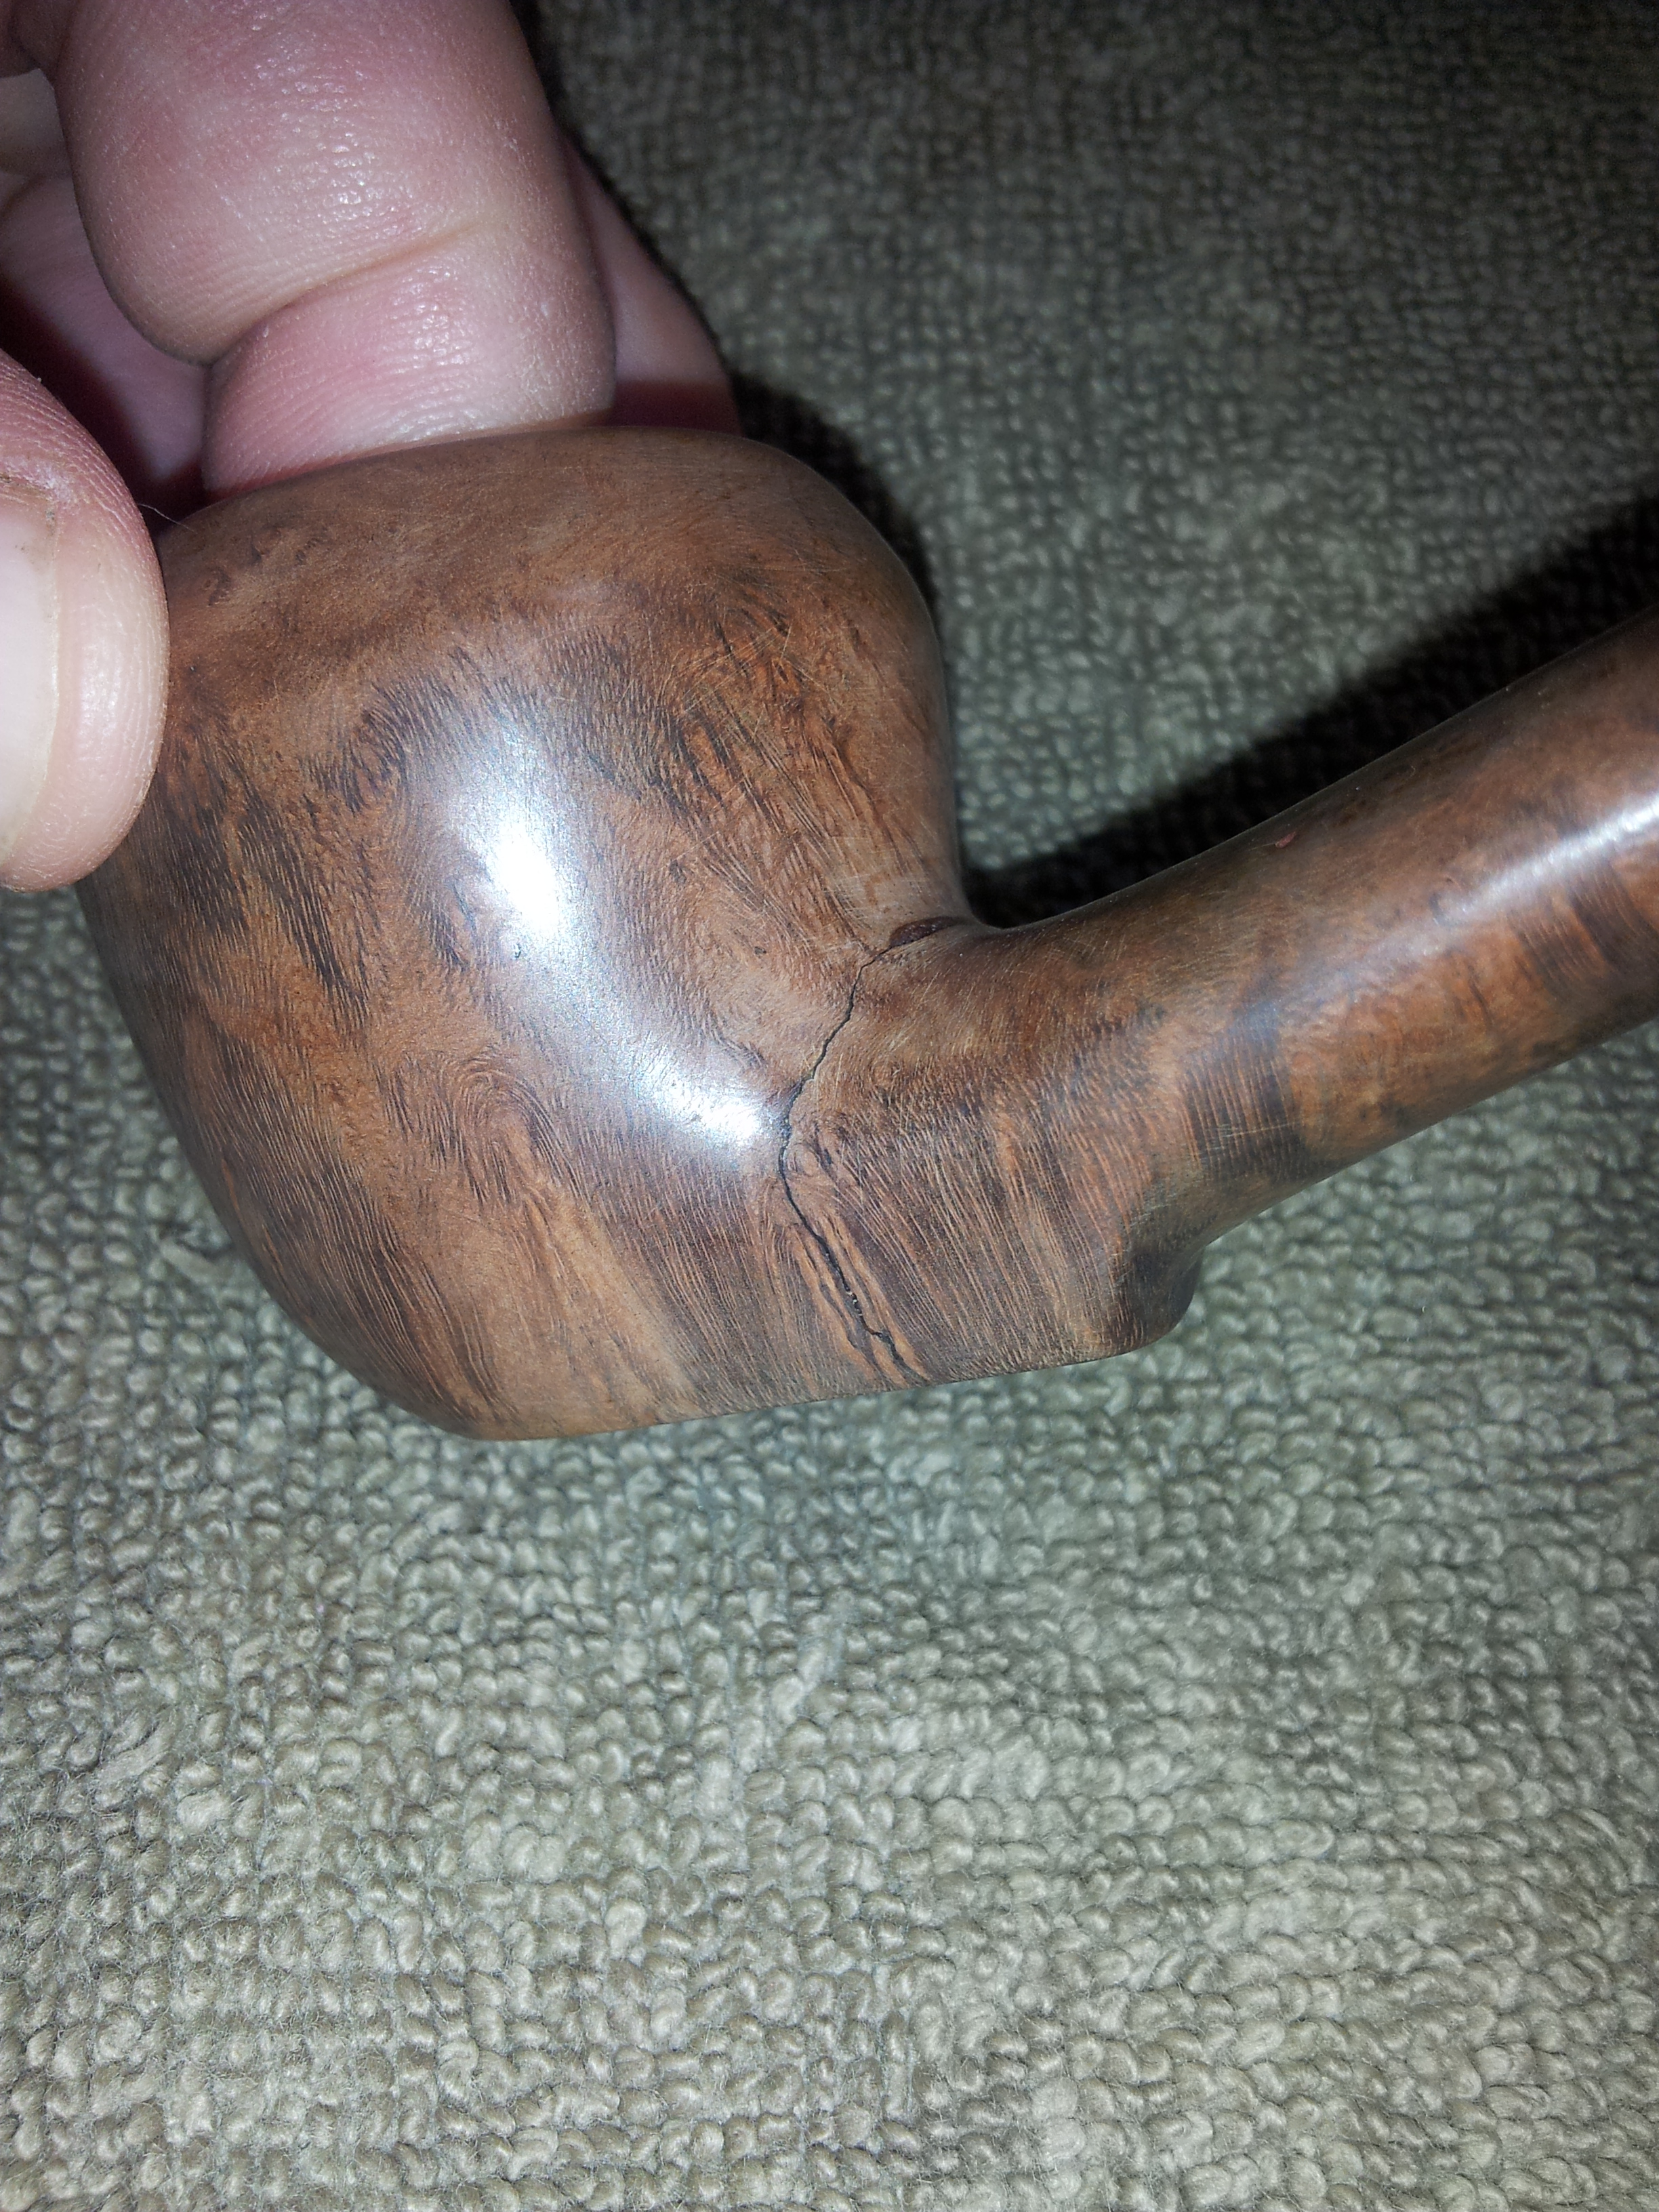
At this point, the repair is still very much visible, but I had a hunch that I would be able to hide it in the grain of the briar when I applied the new finish. To make sure, I gave the pipe a wipe with mineral oil to accent the grain. Hunch verified!

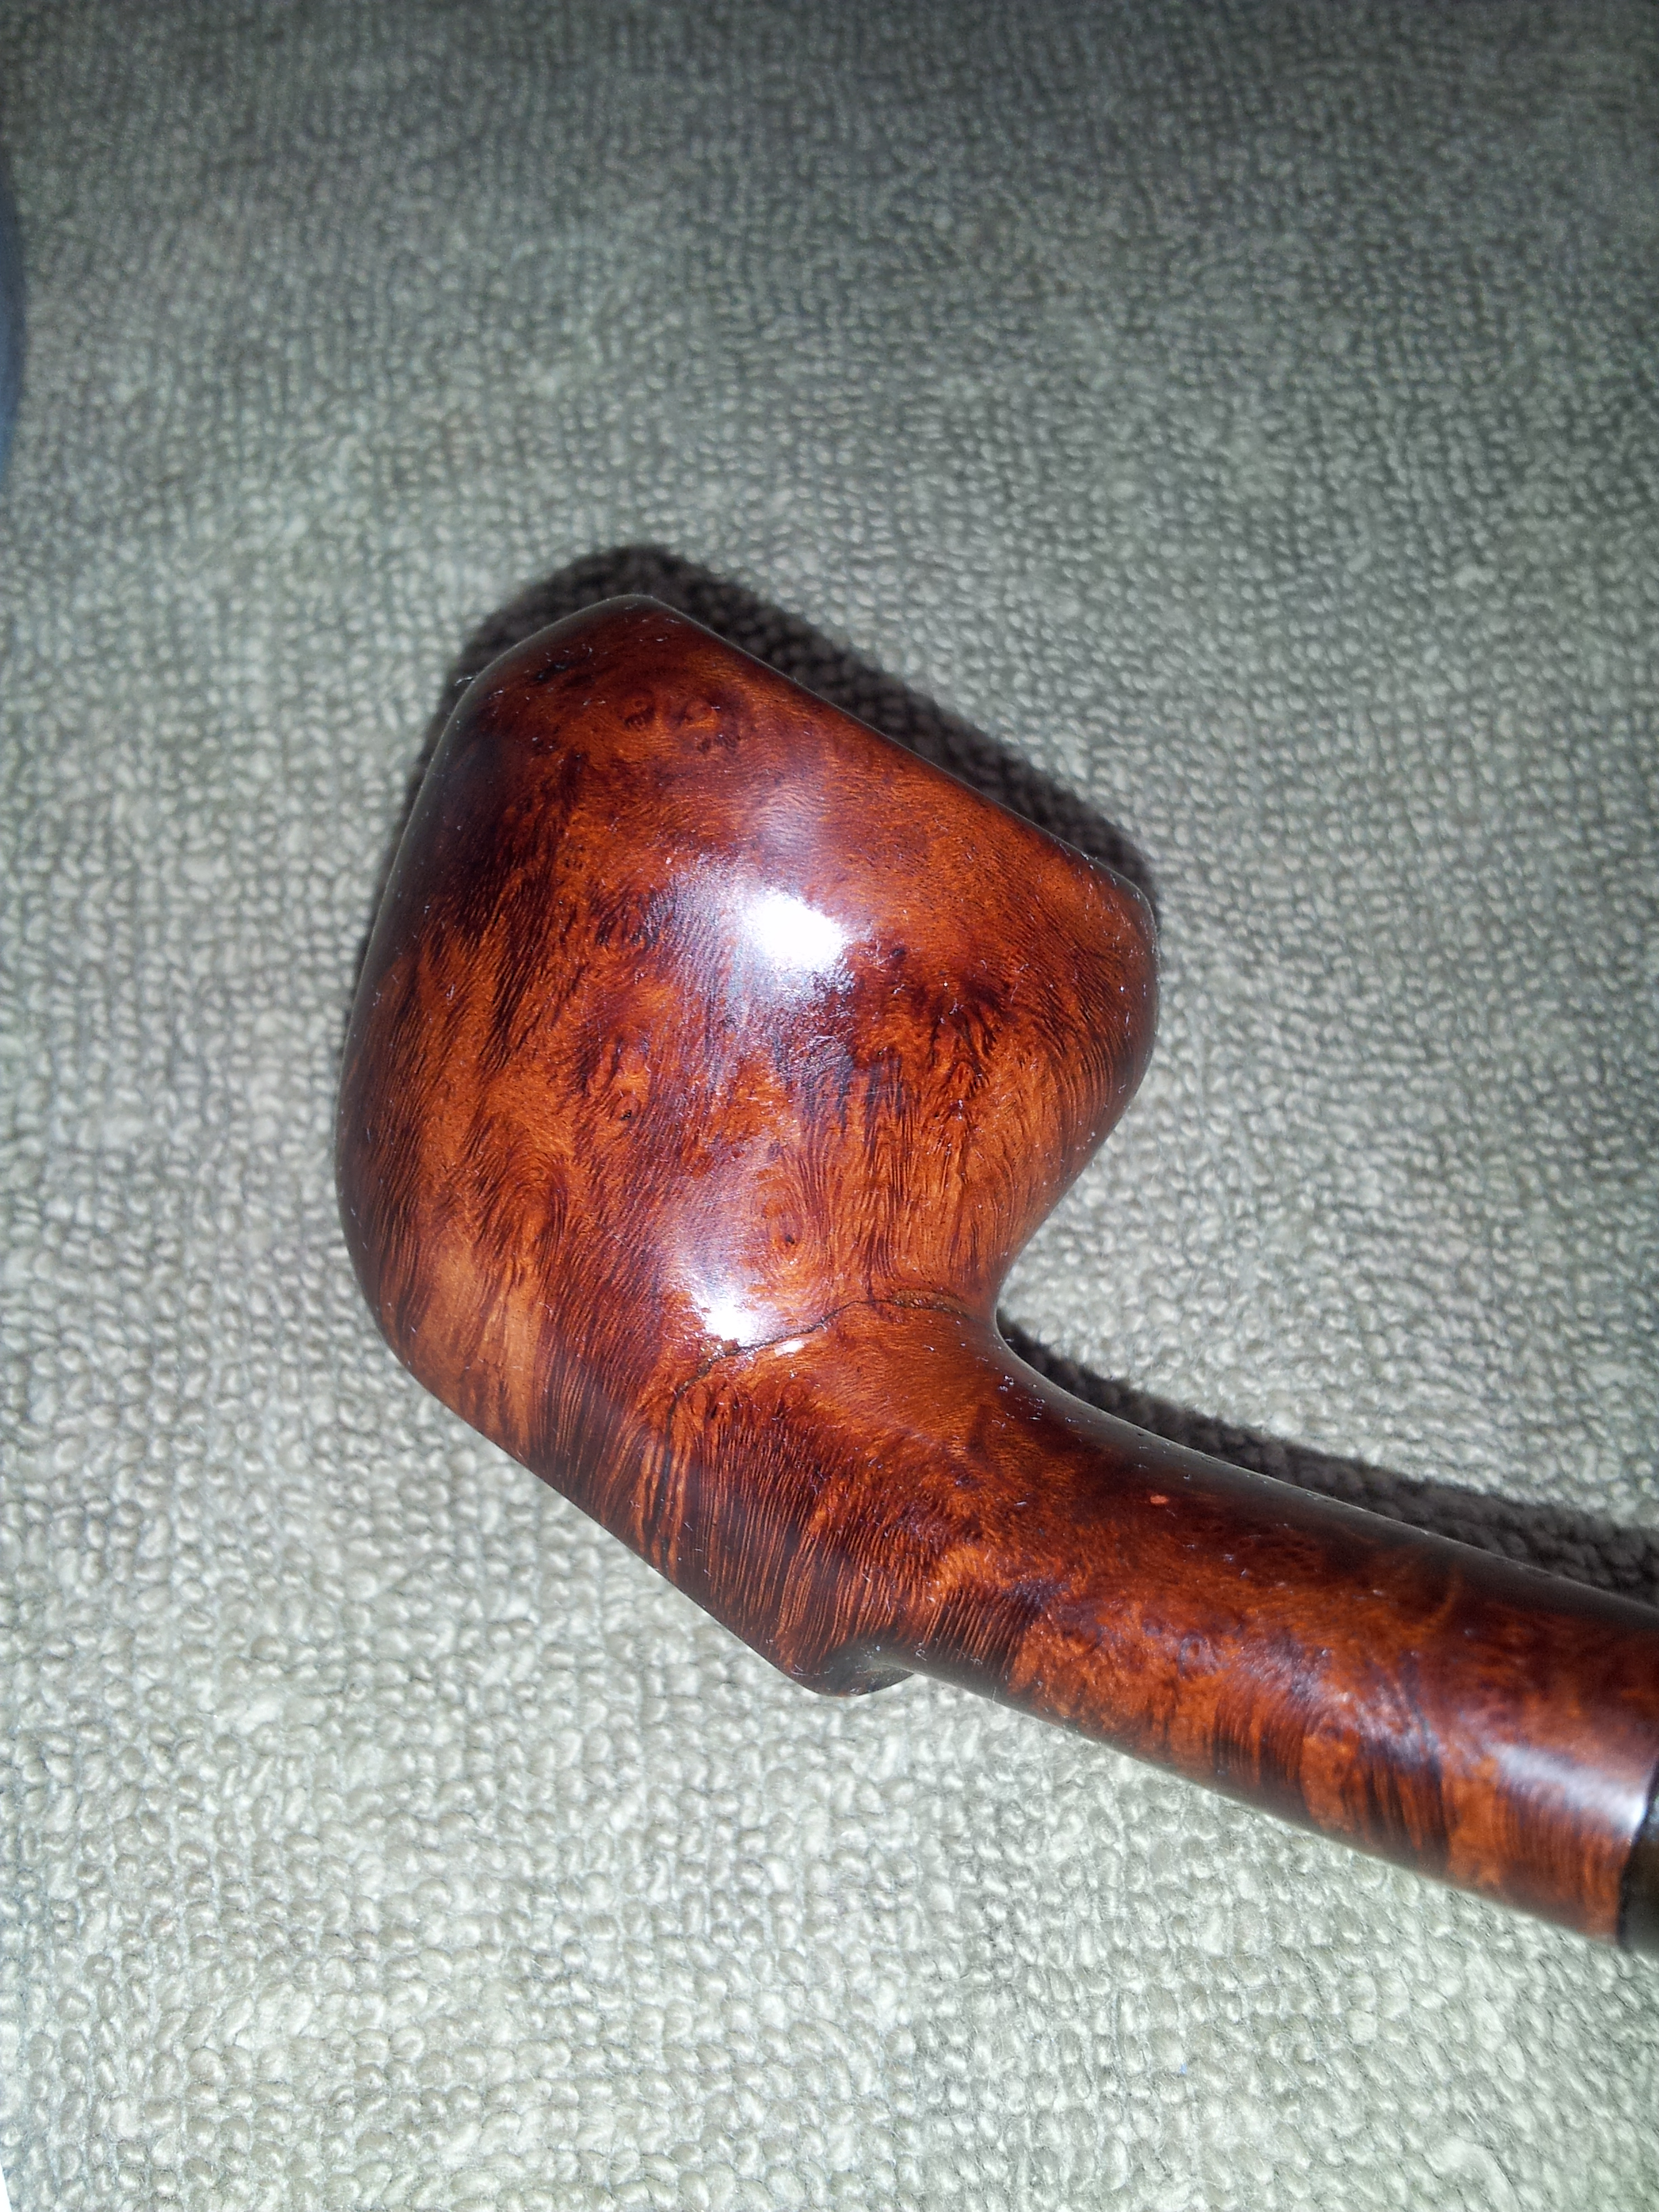
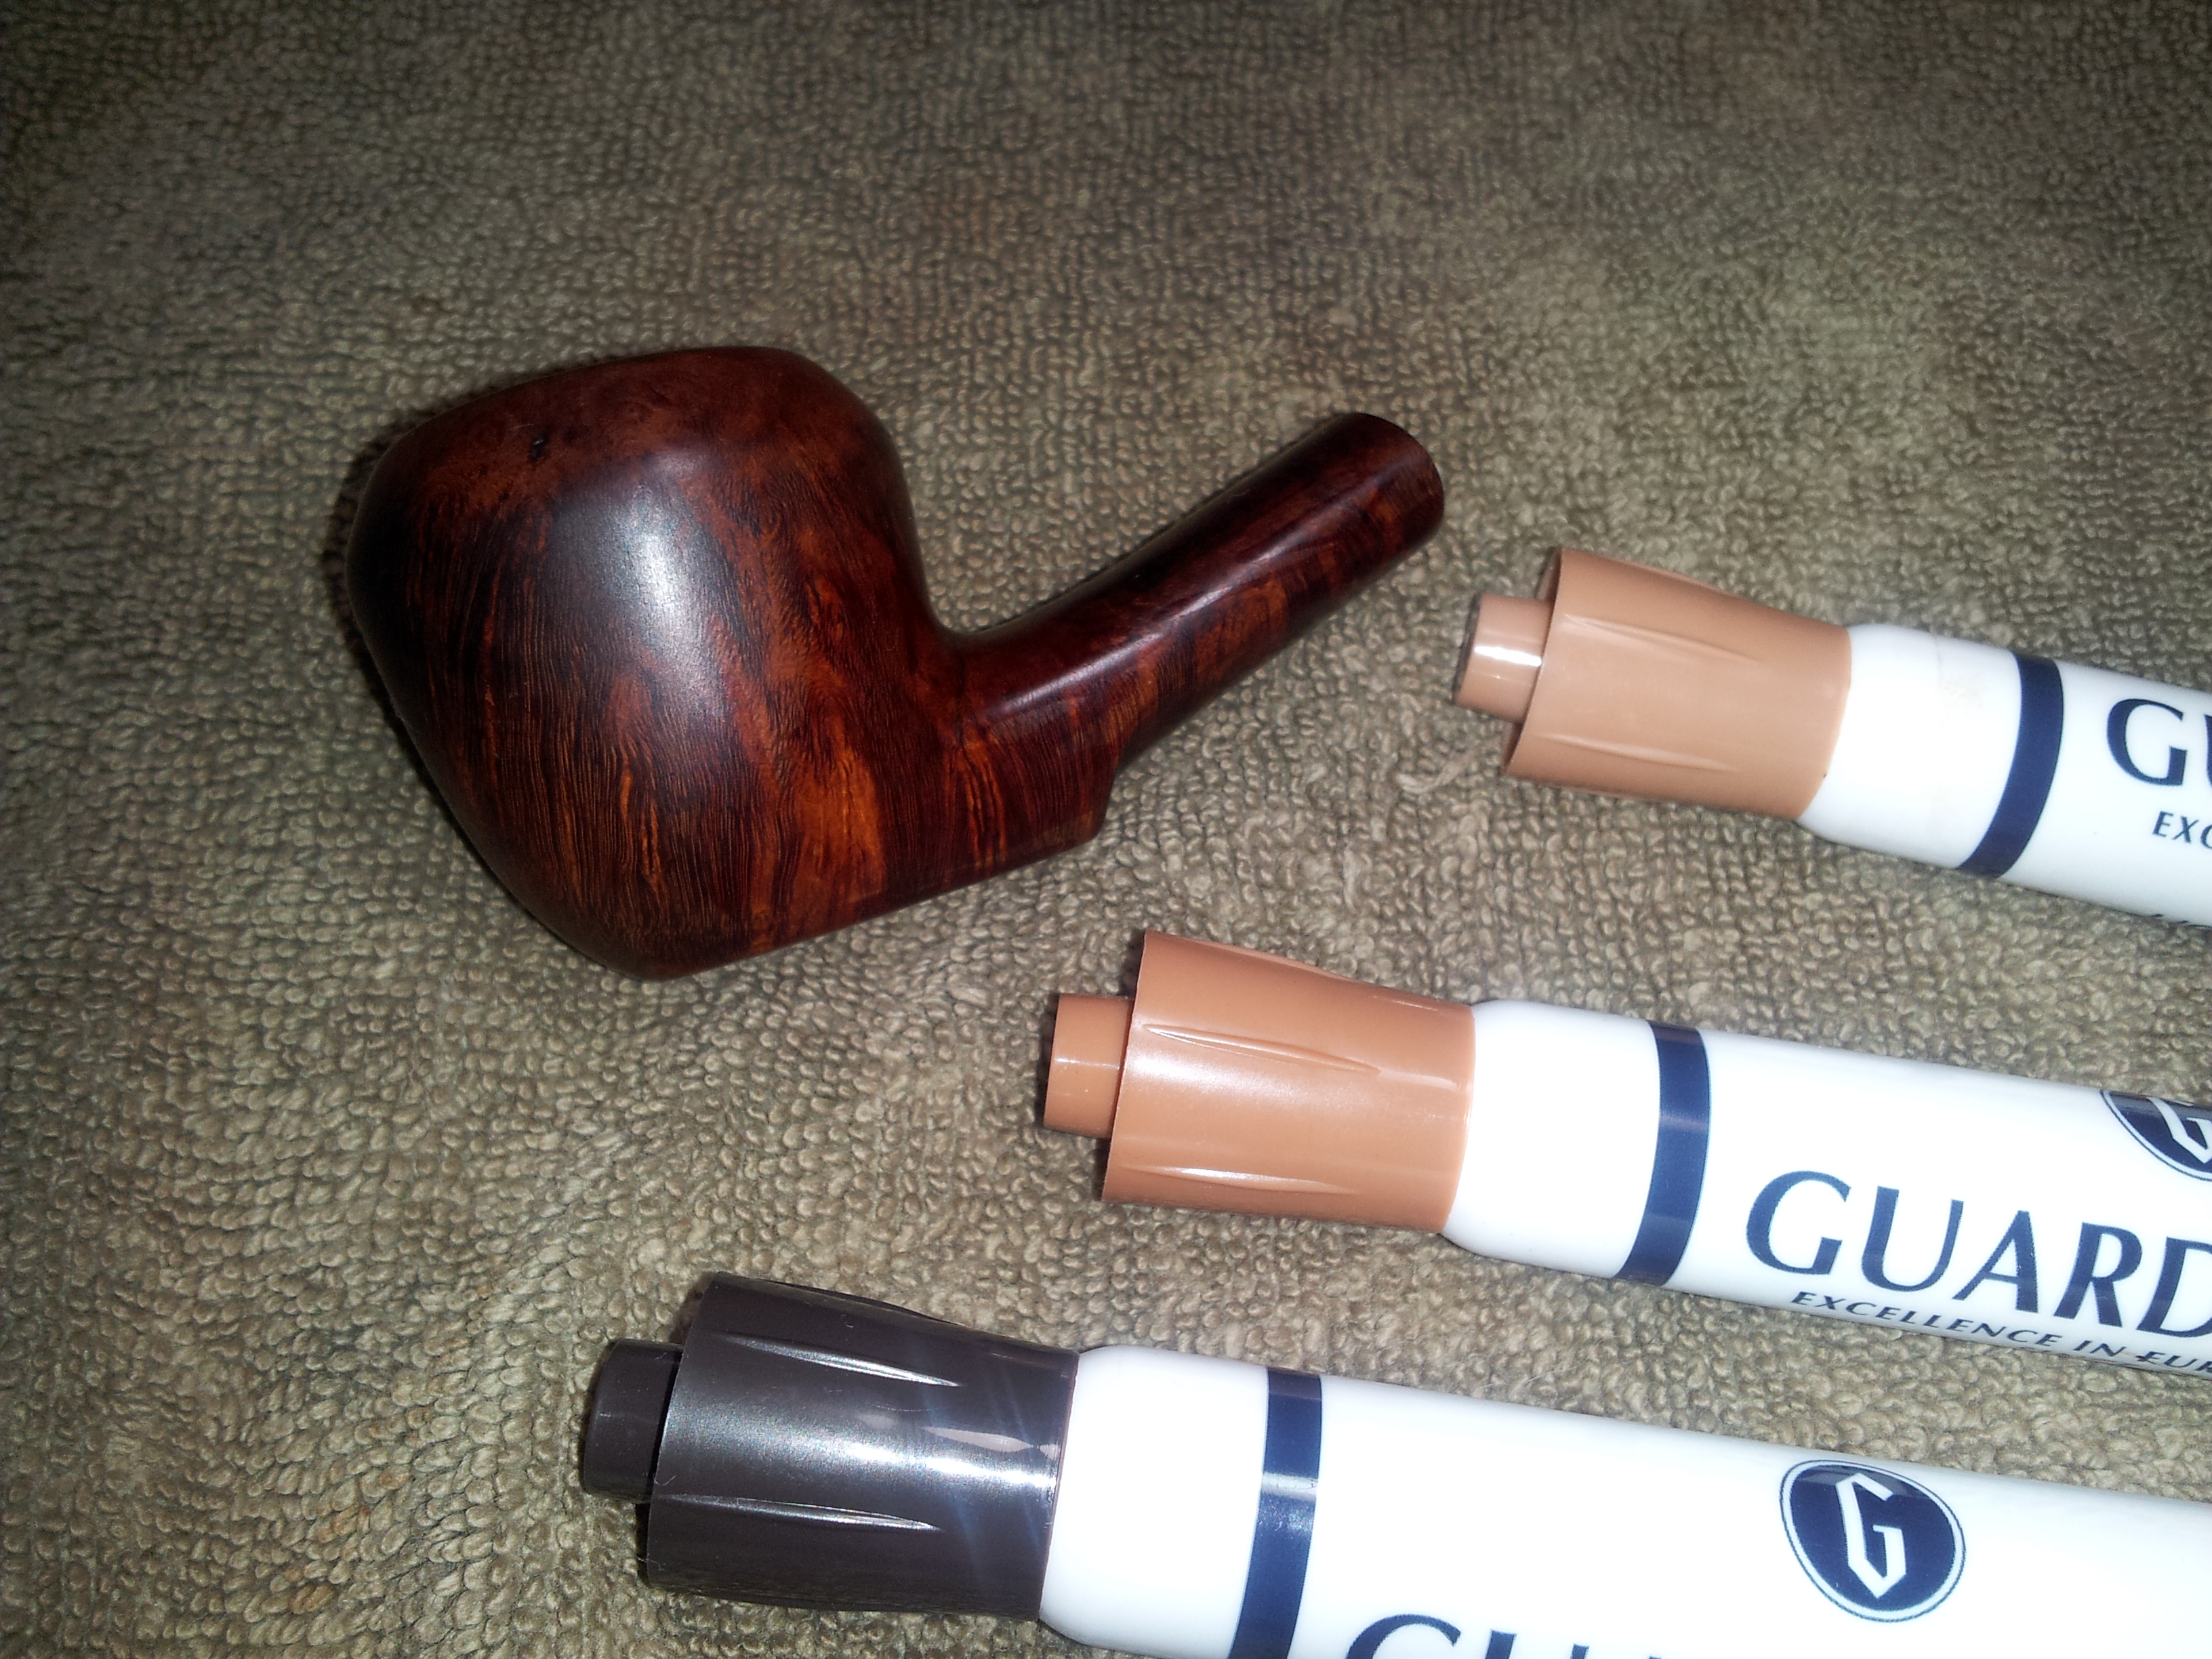
Instead of applying an overall stain, I elected to simply touch up the sanded areas using stain pens. They worked like a charm!
With the stummel sorted out, it was time to turn my attention to the stem. I had not tackled such an extensive stem repair before, so I did my homework first. Steve Laug’s great work and detailed explainations on rebornpipes.com proved invaluable to me on this repair – thanks, Steve!
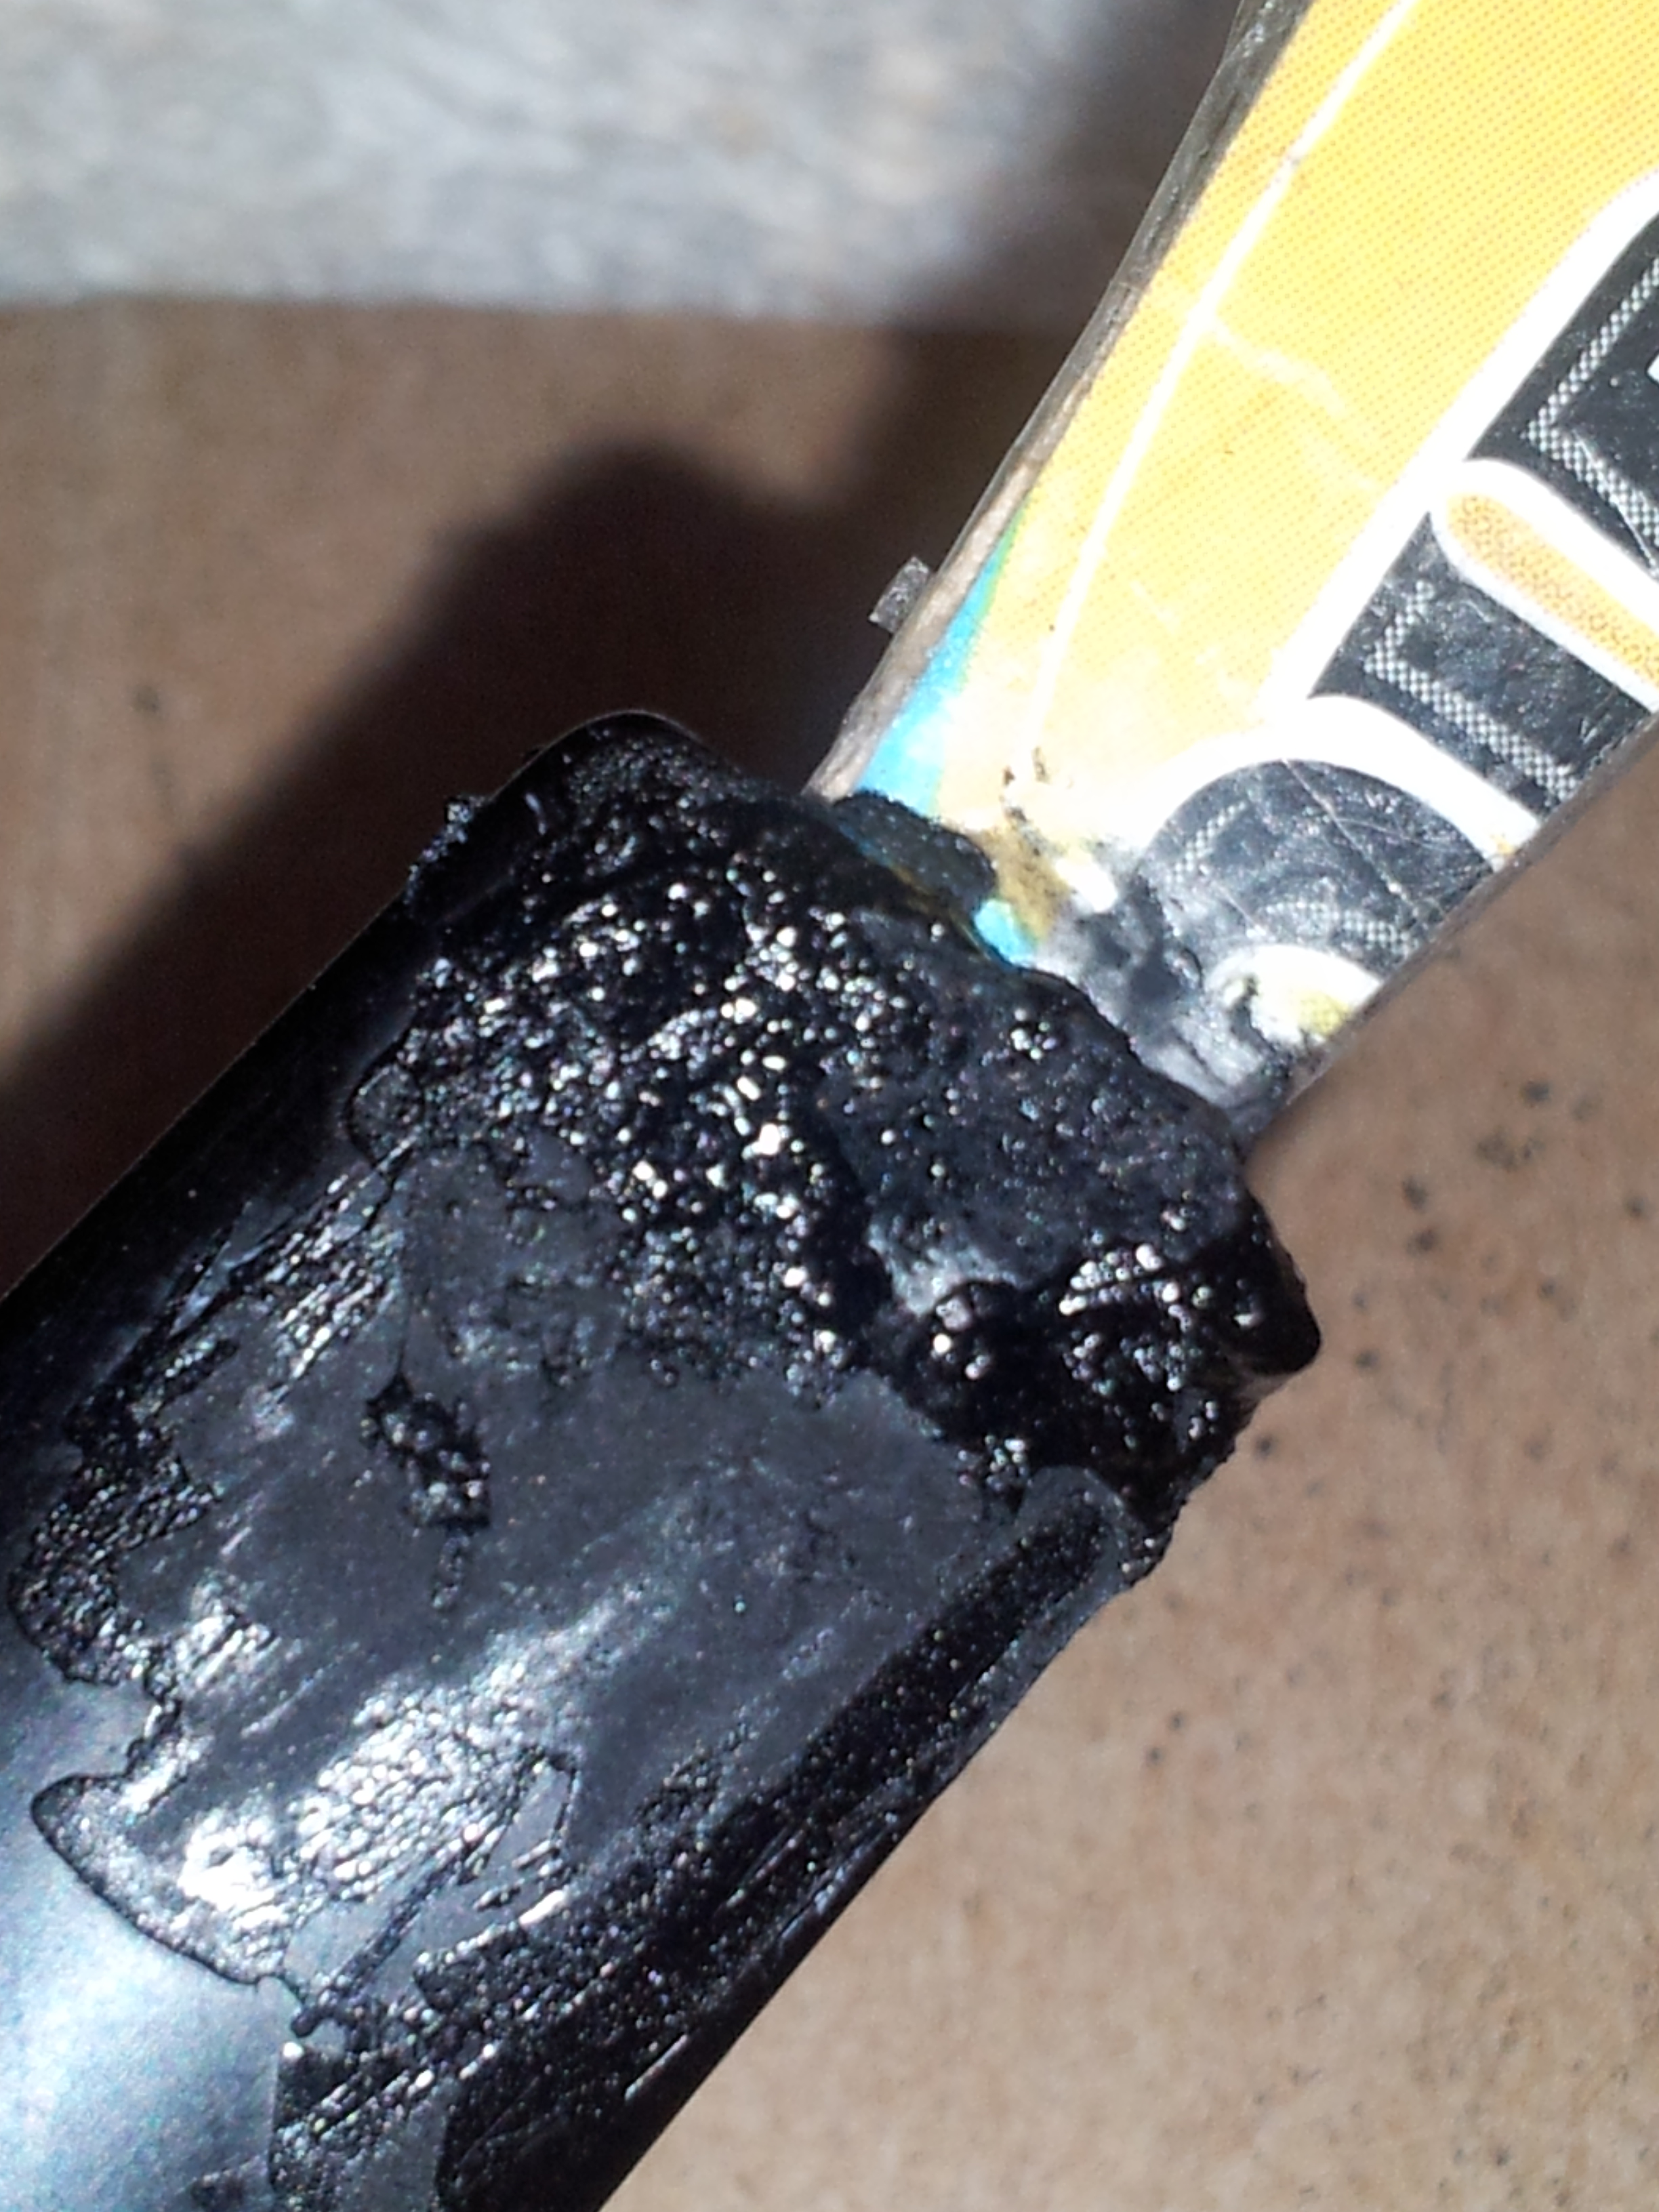
I started by making a cardboard form to fit into the v-shaped opening in the bit. Once shaped to my satisfaction, the cardboard was wrapped in clear tape – perhaps the one substance known to man to which CA glue will not stick – who knew??
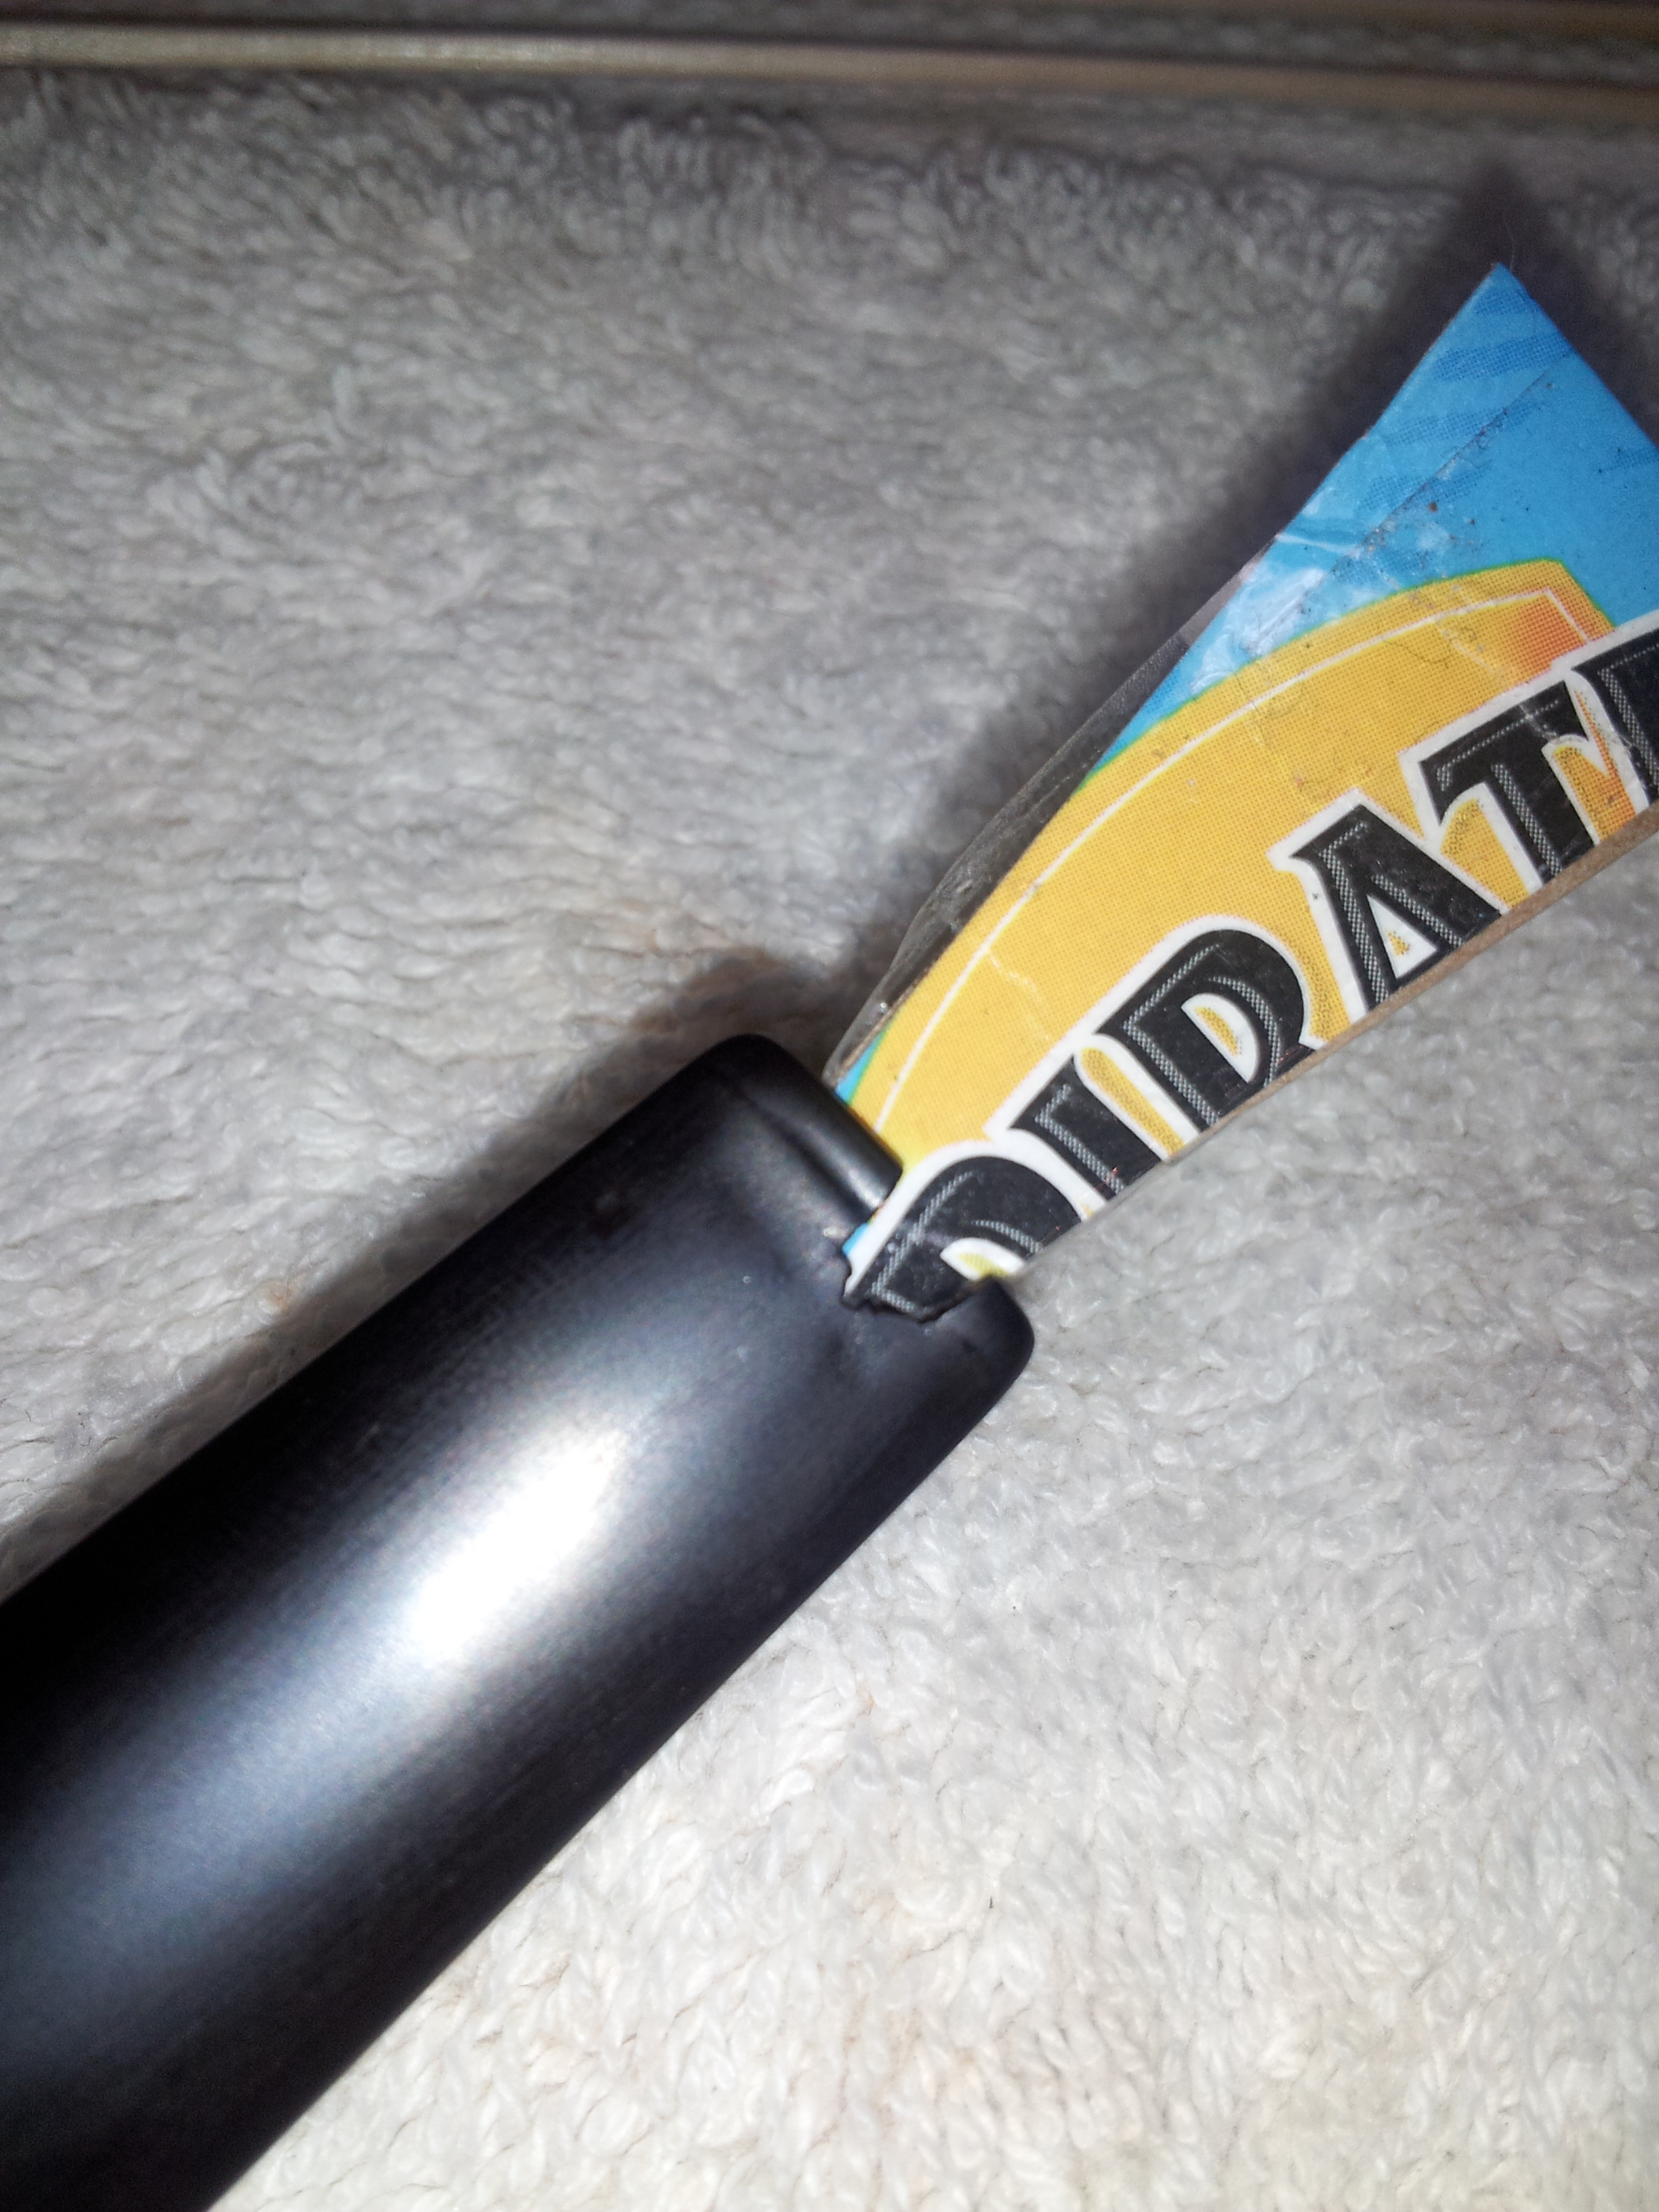 With the form firmly in place in the stem, I mixed up a batch of CA glue and charcoal powder and used it to fill in the missing area on the stem. When the glue cured, the cardboard and tape form popped right out.
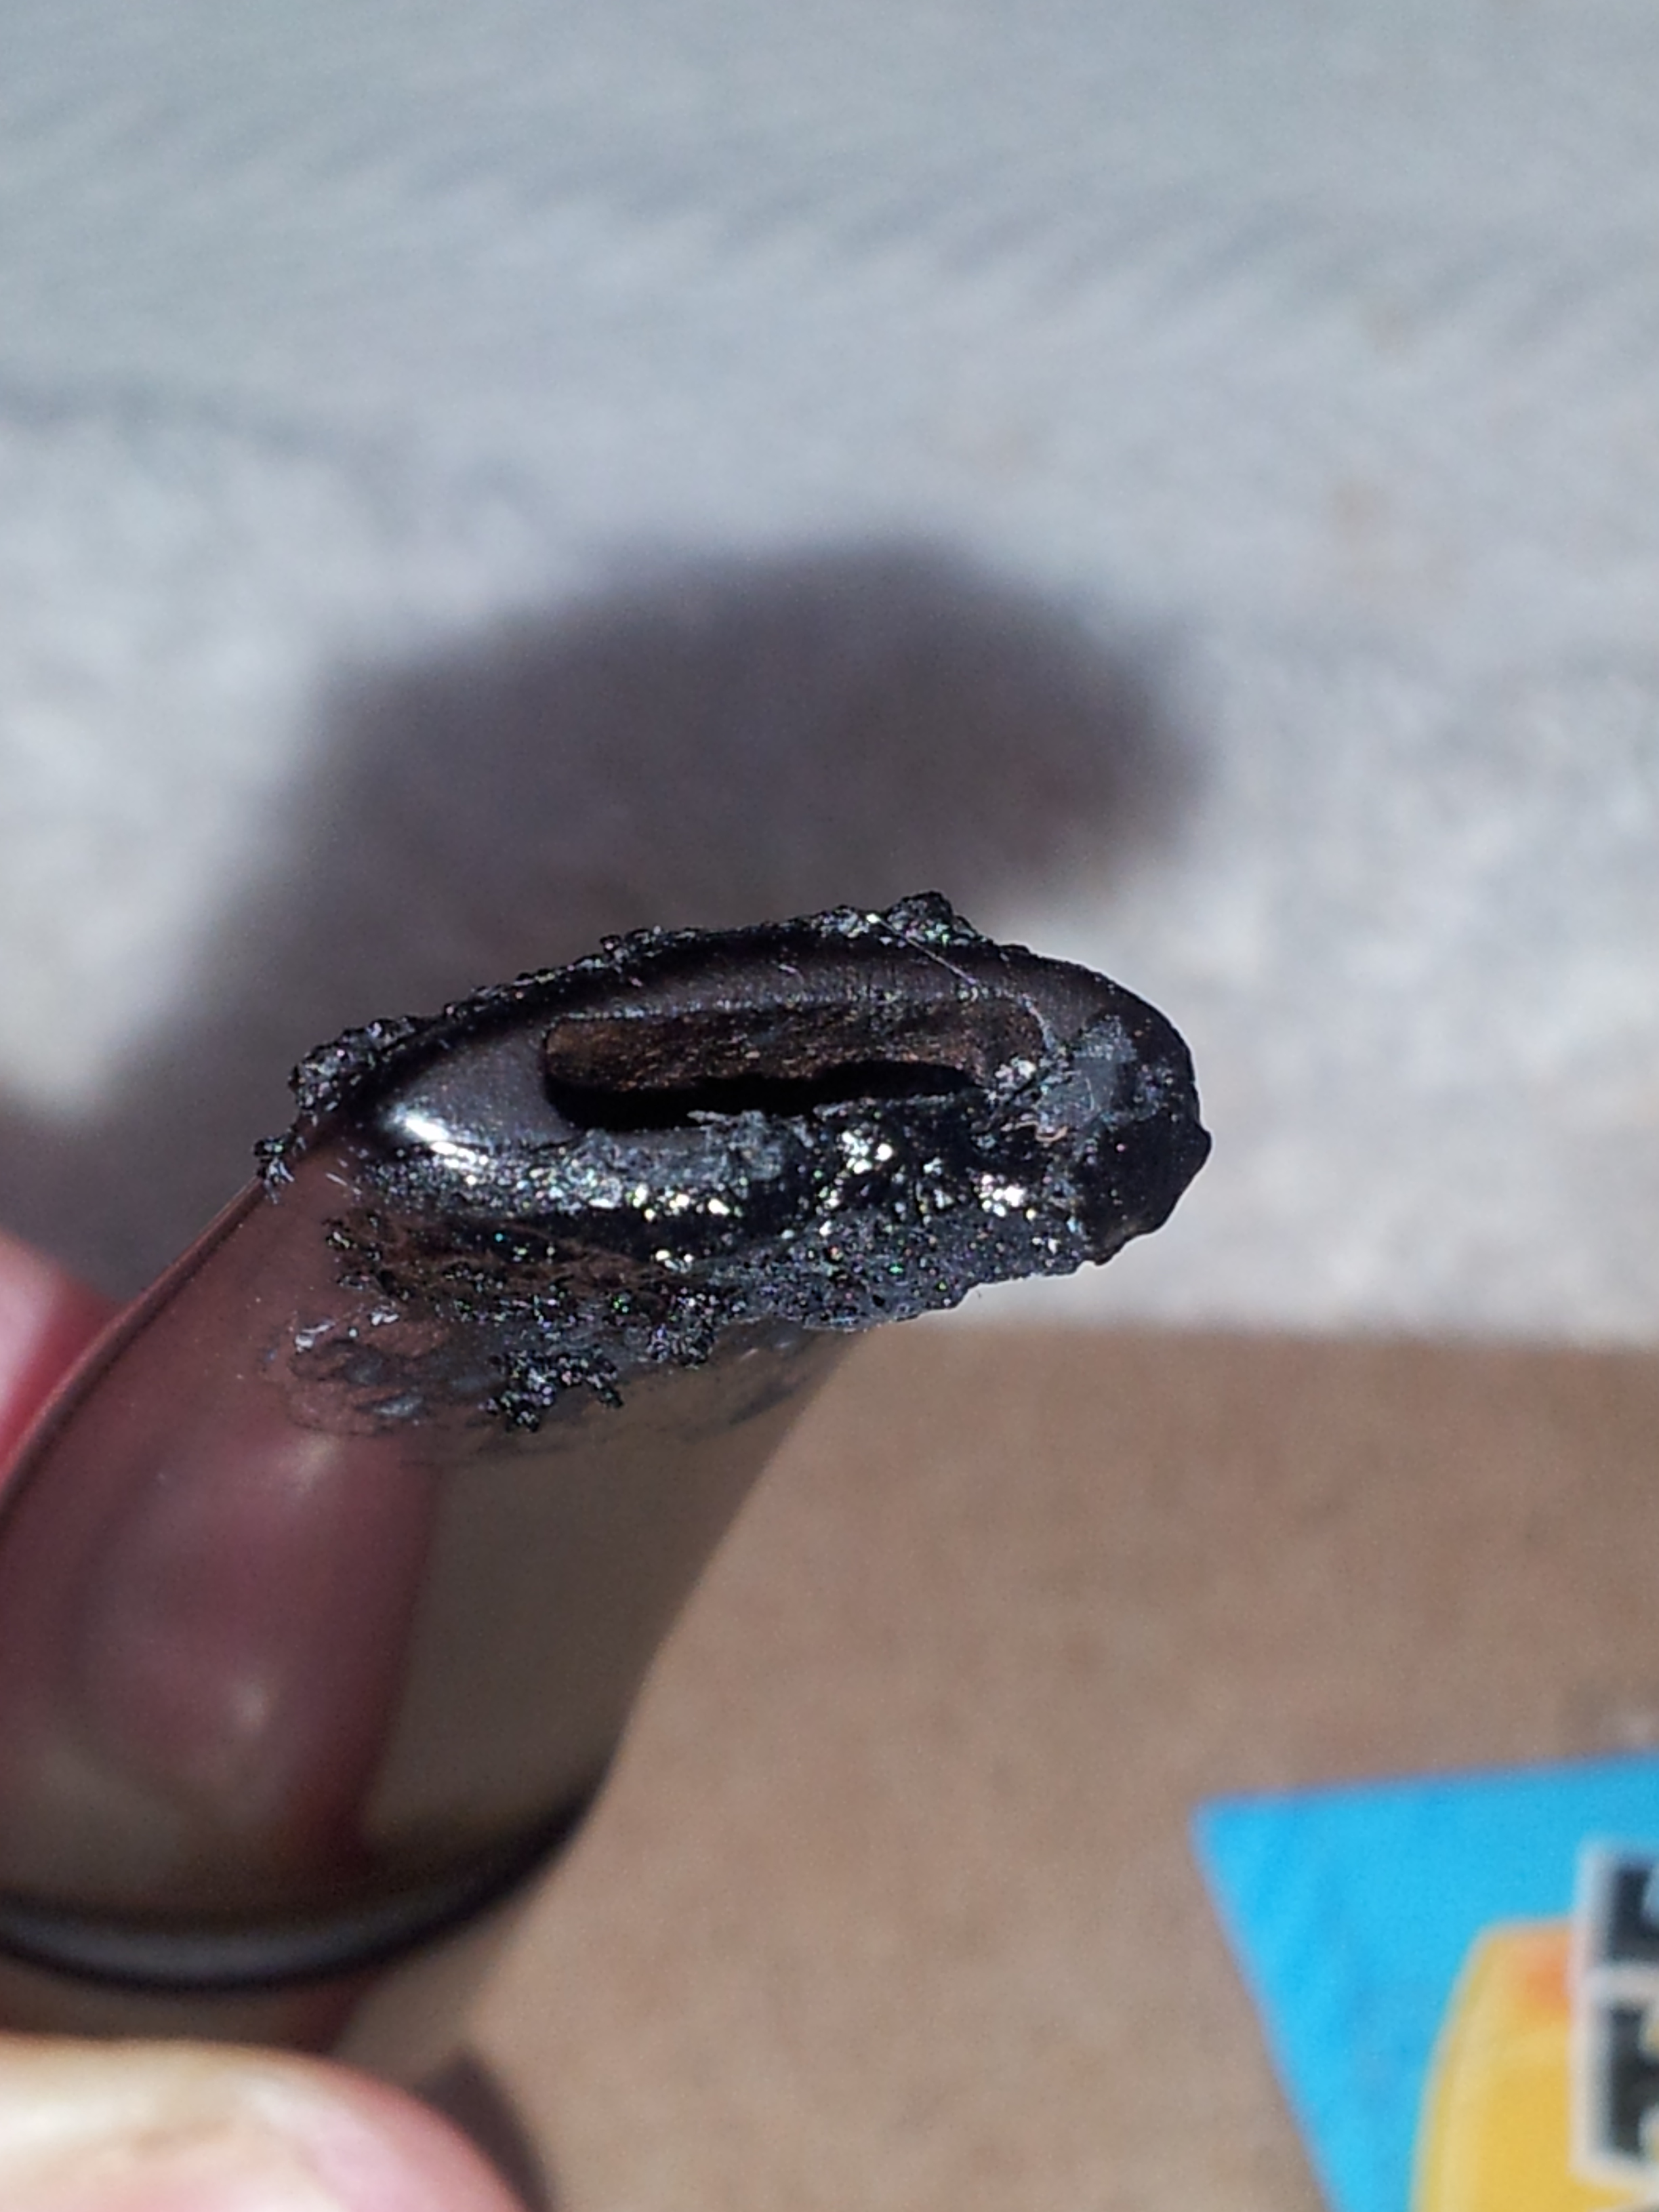
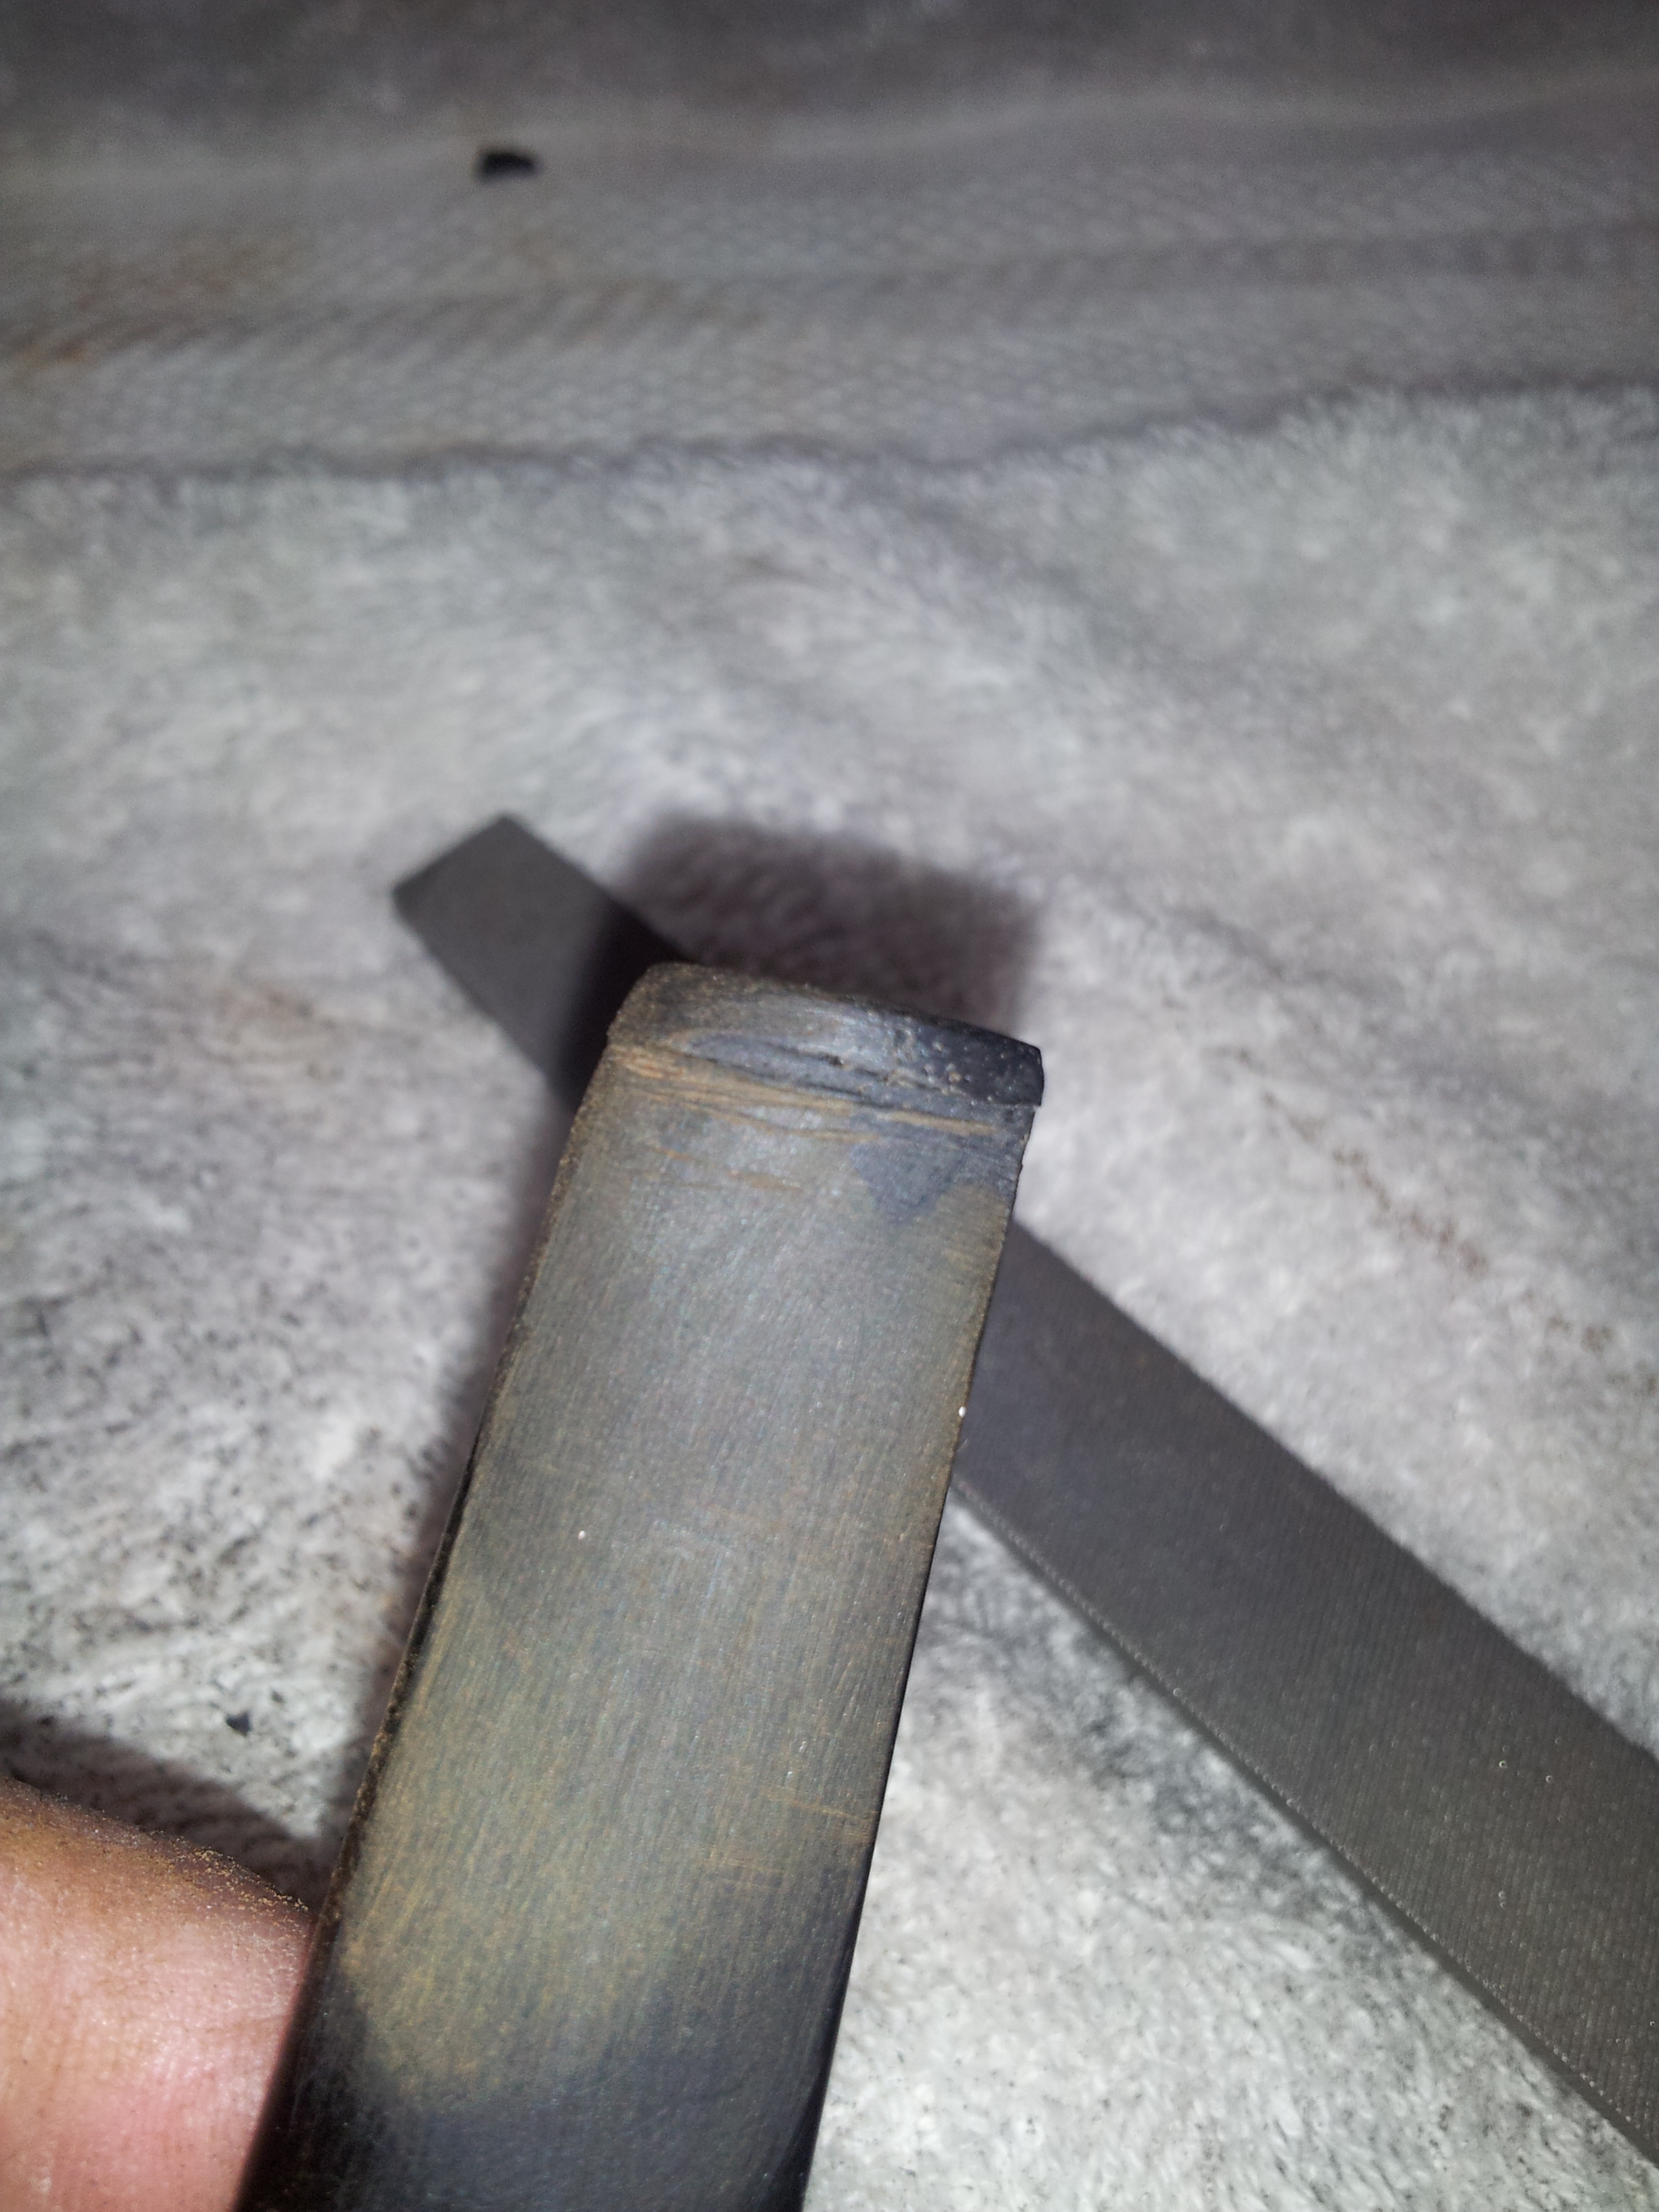
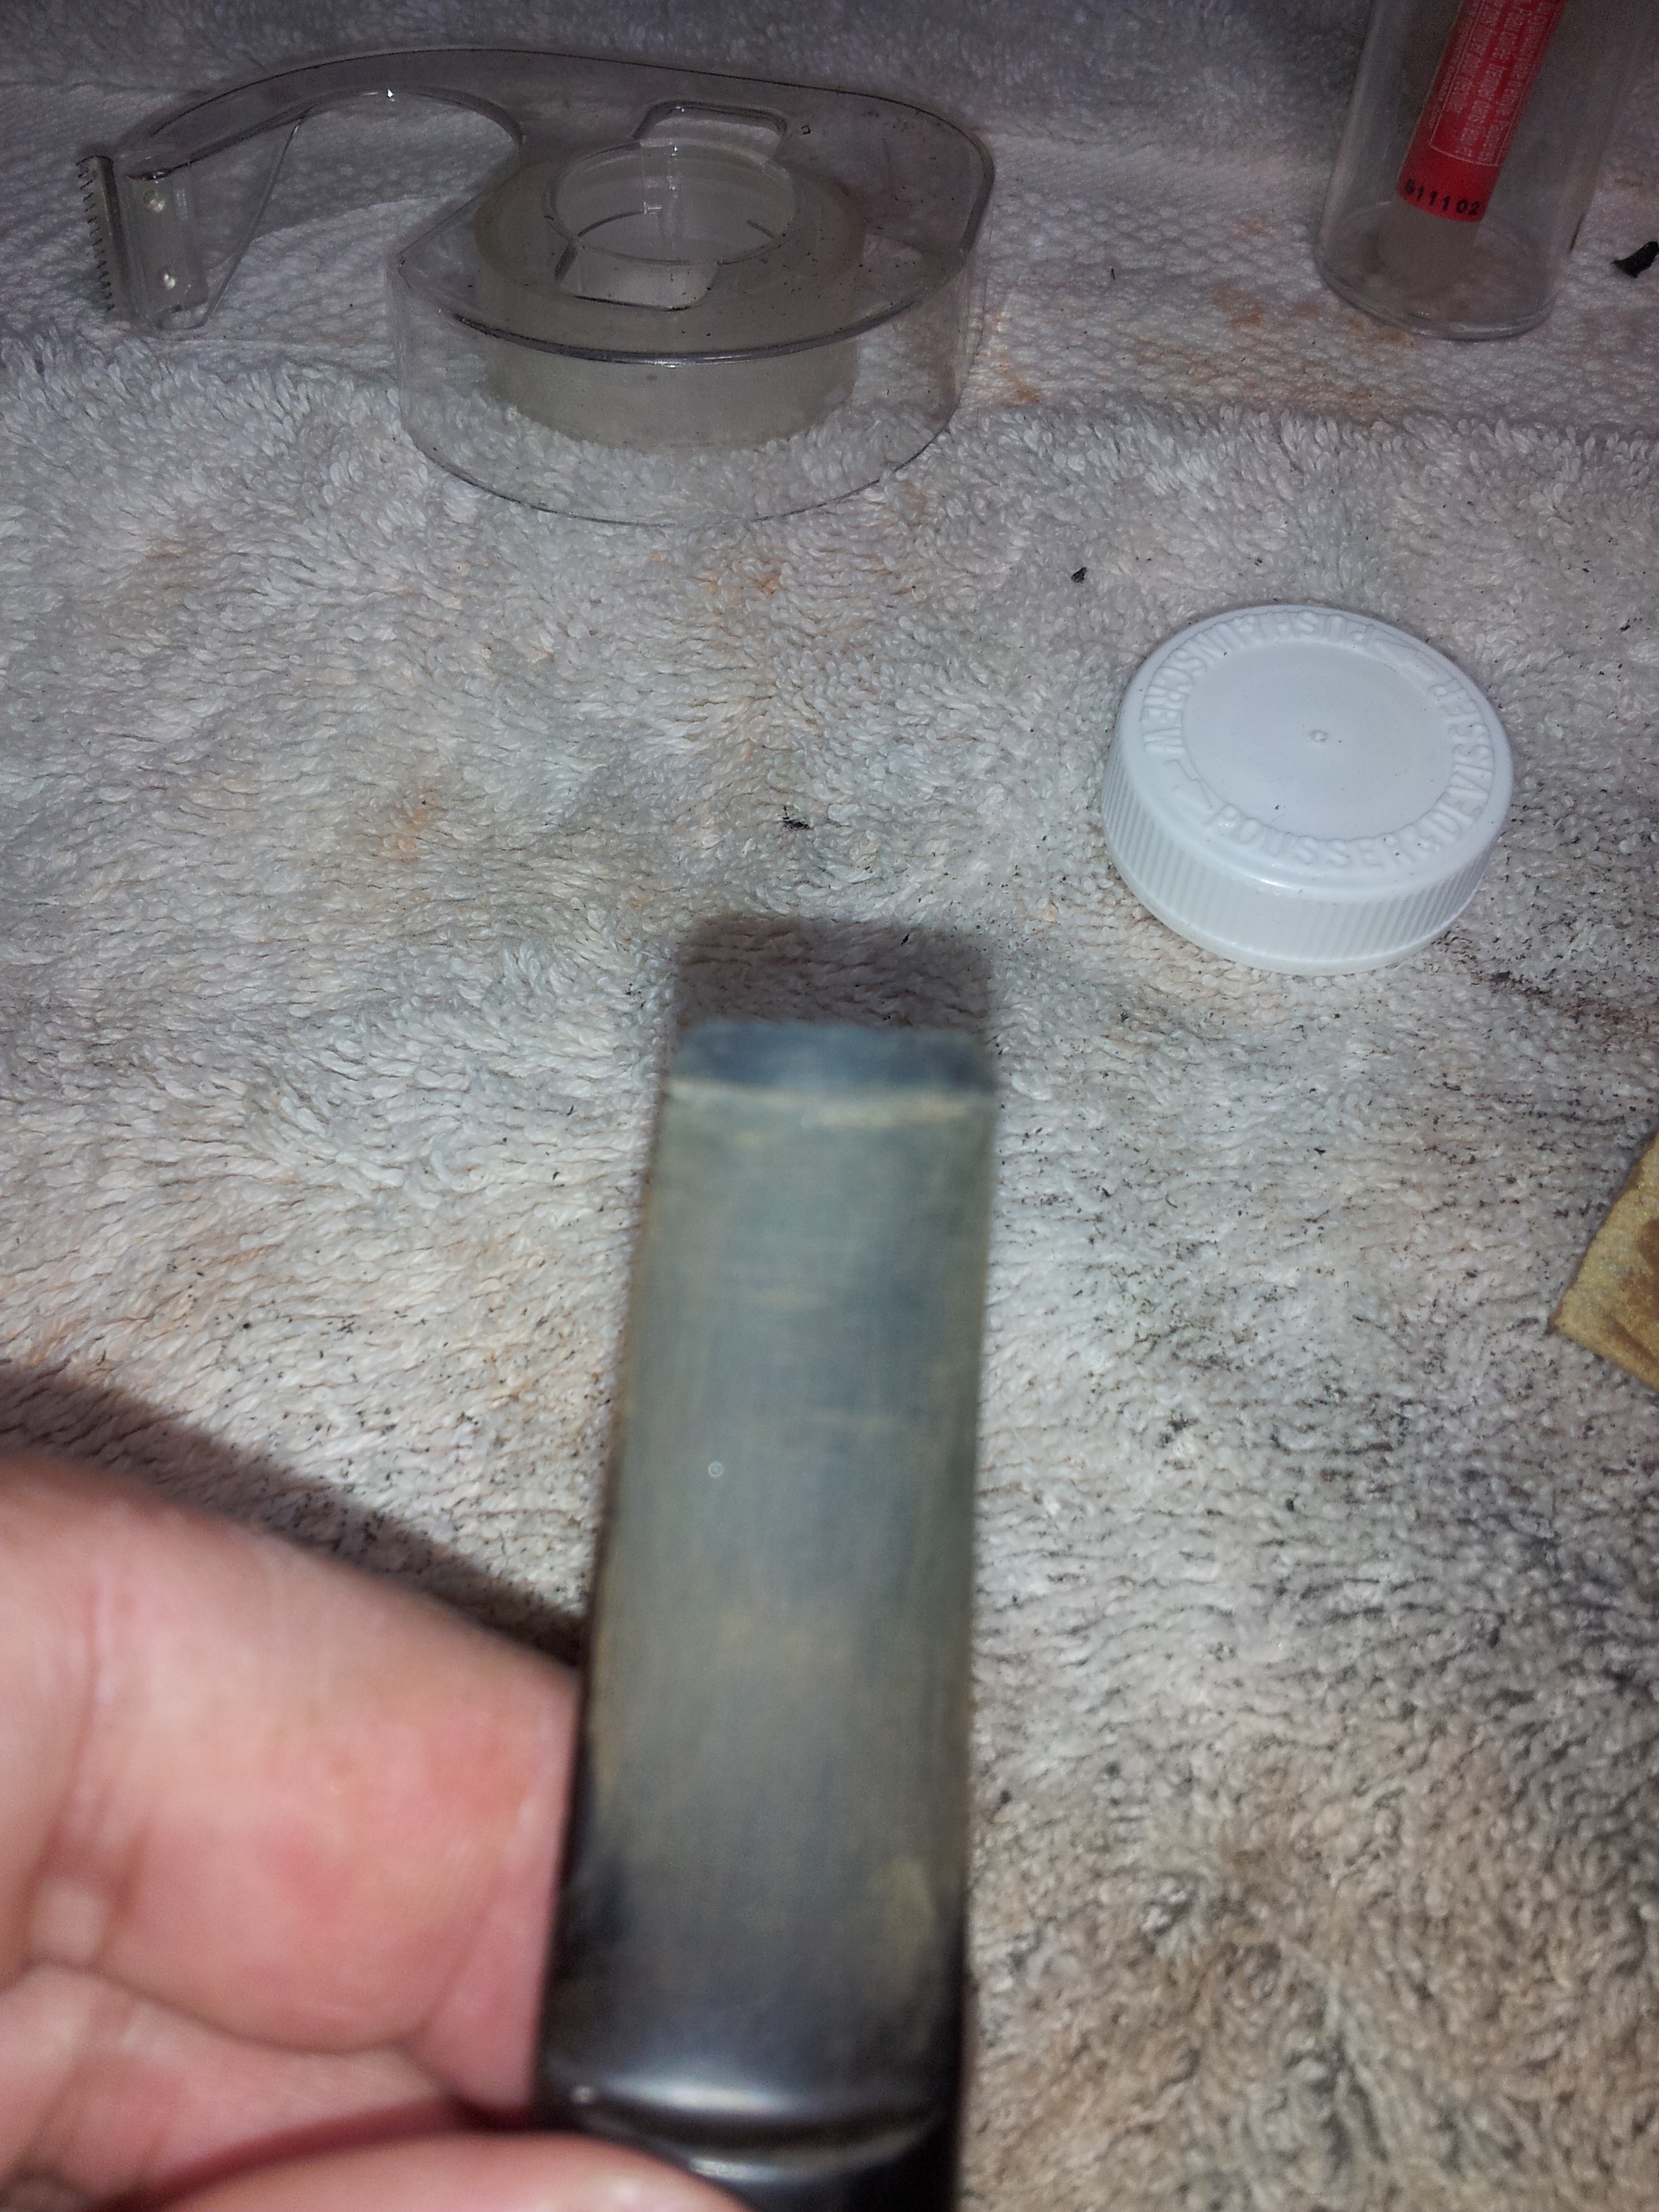
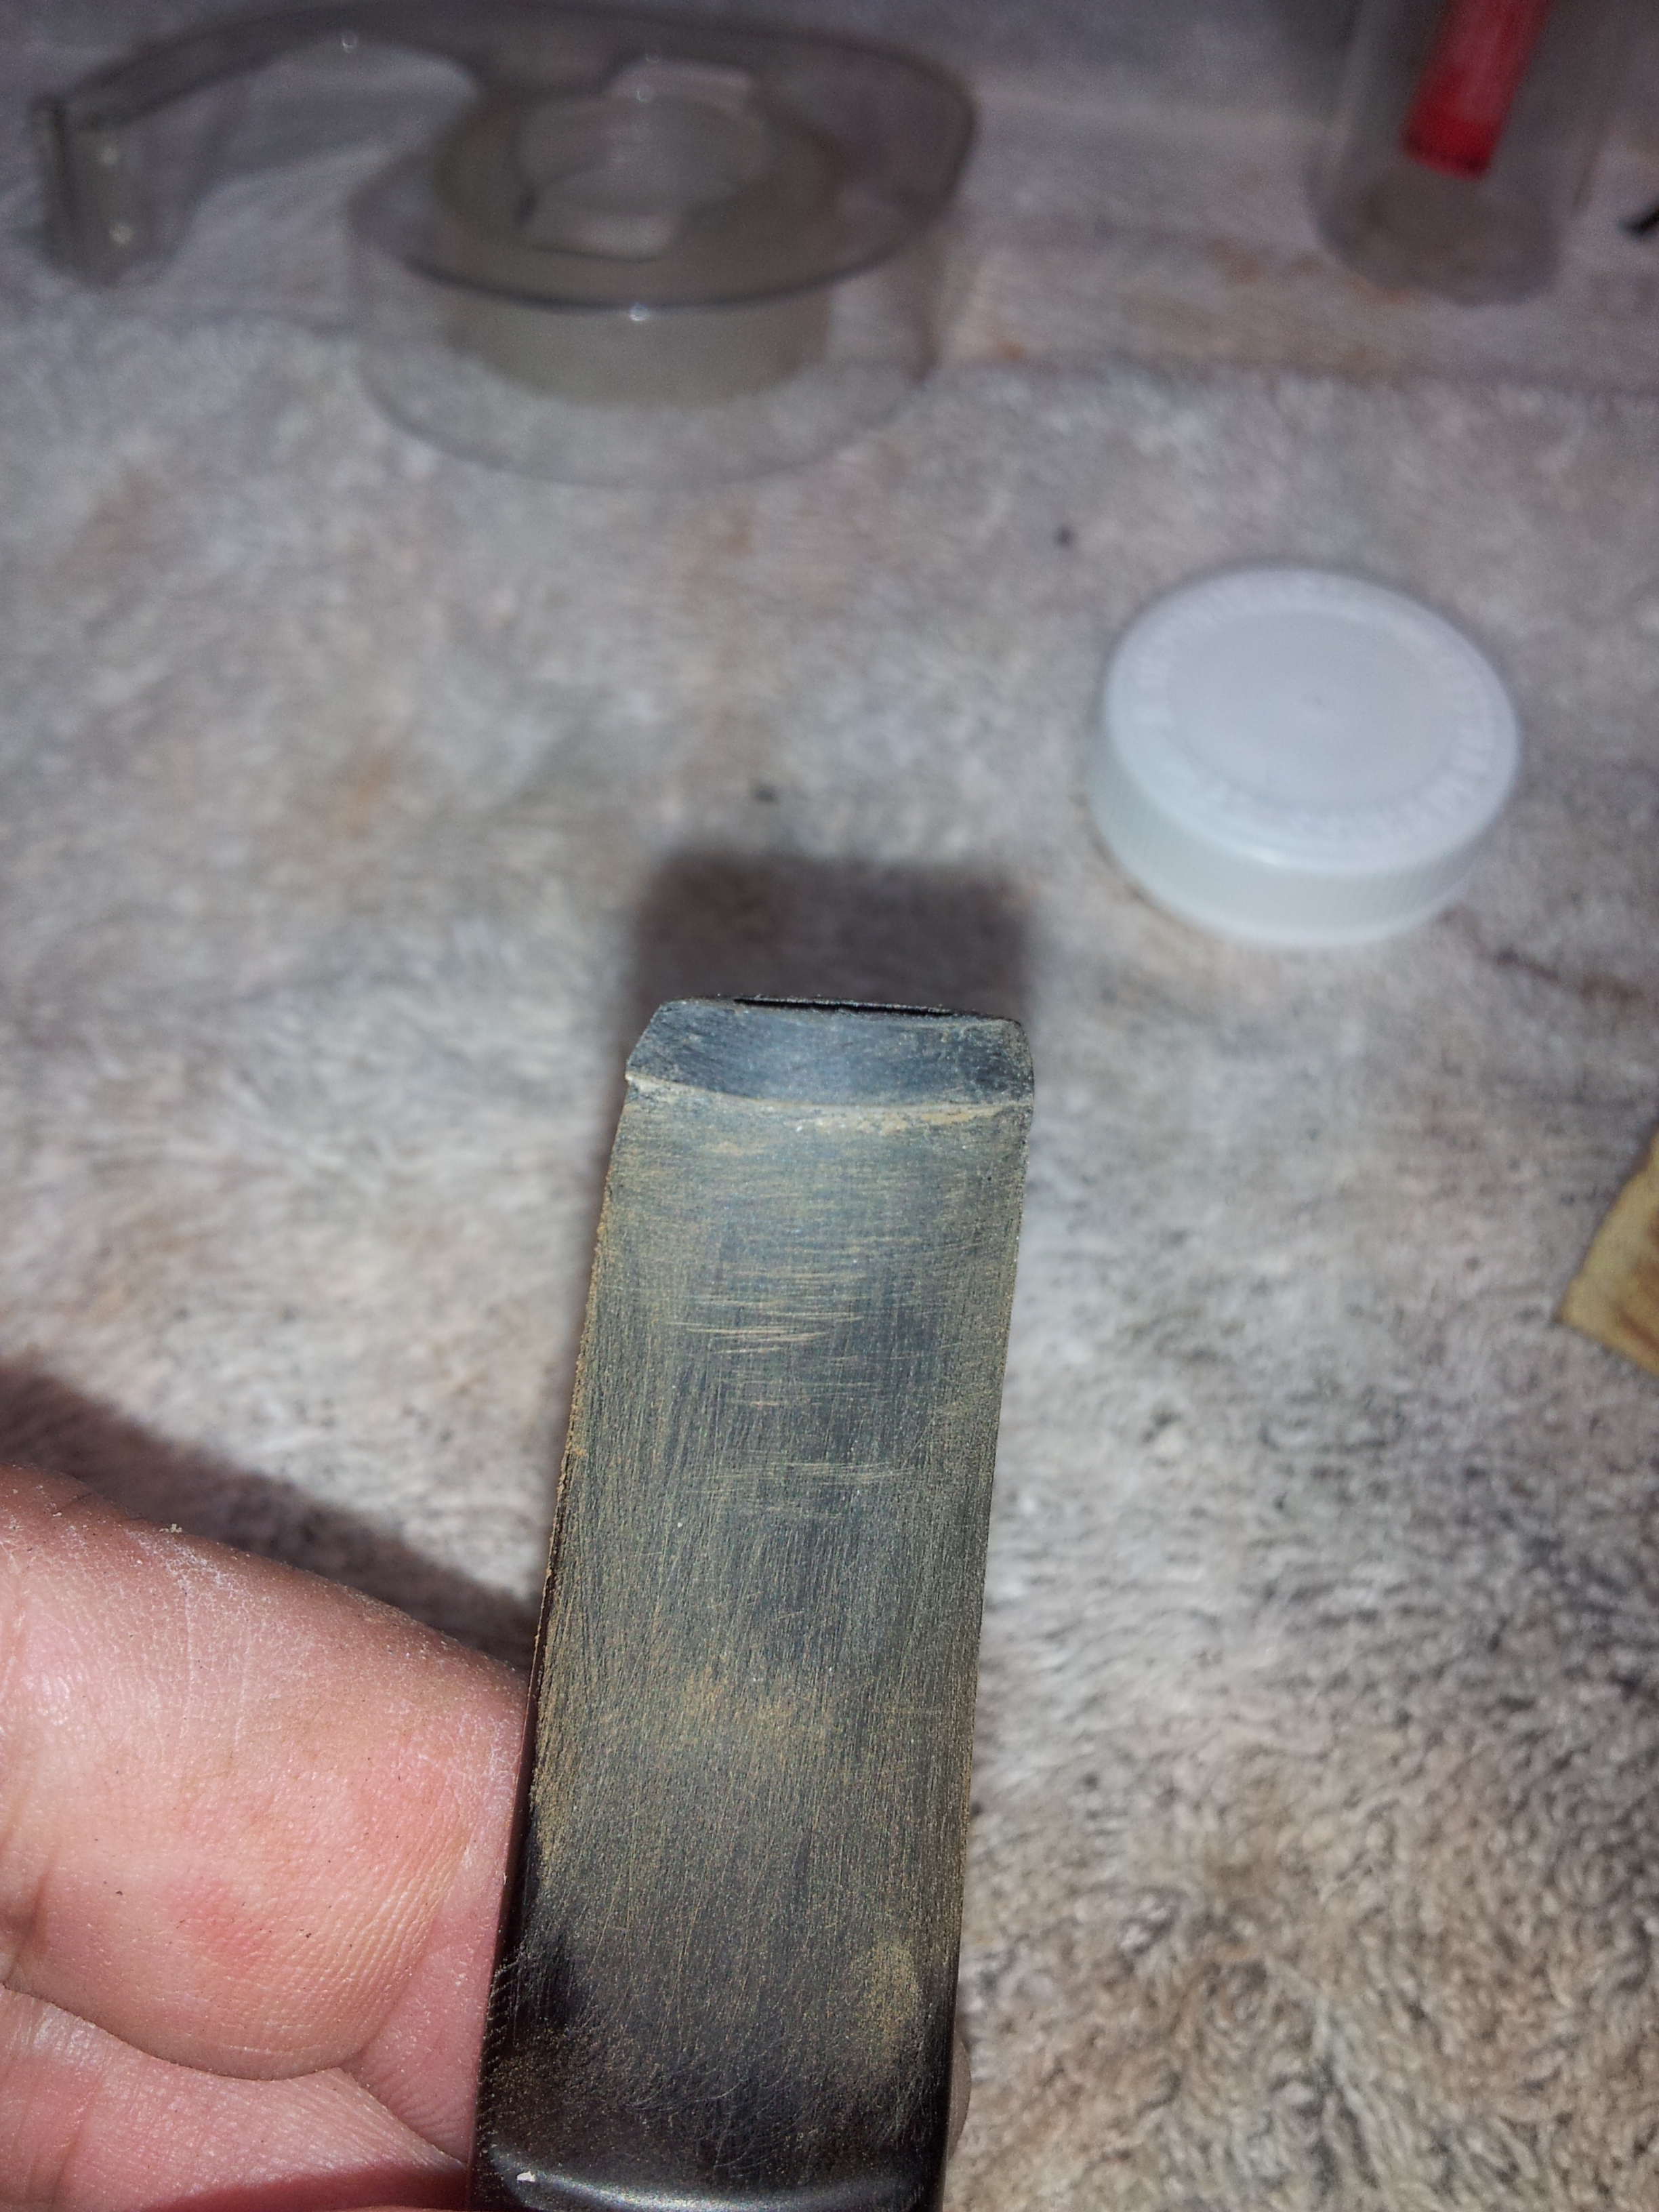
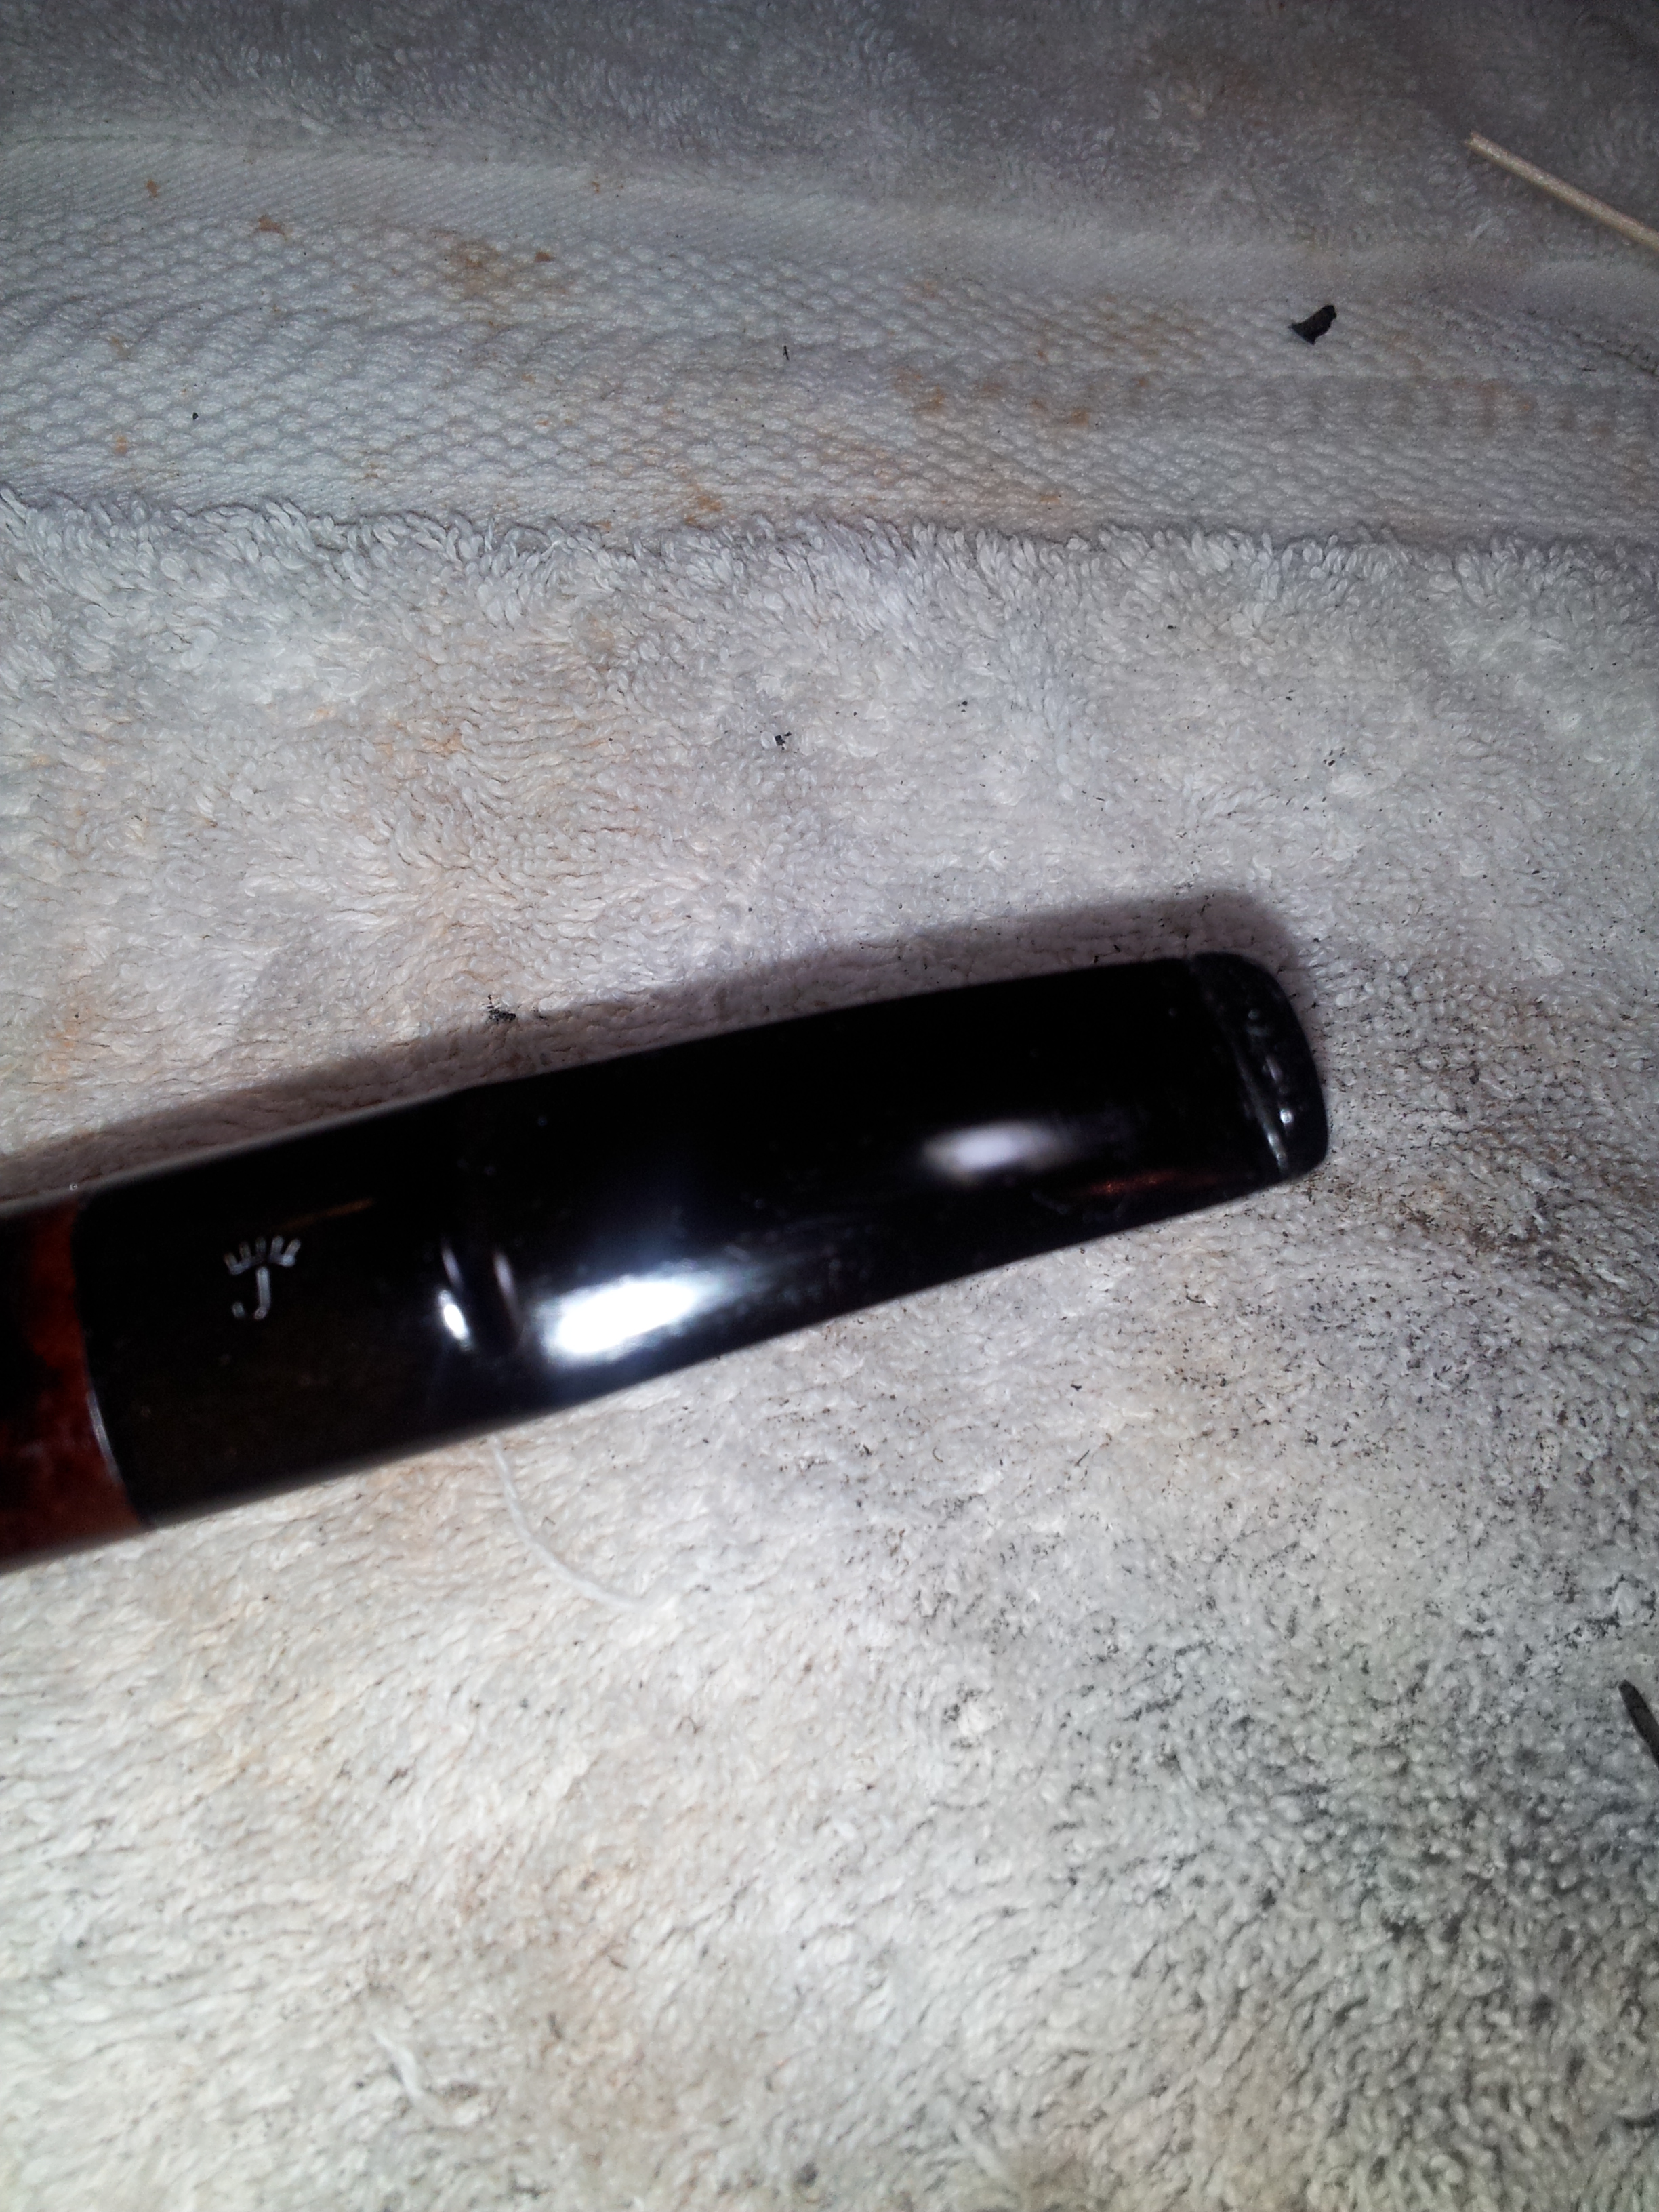
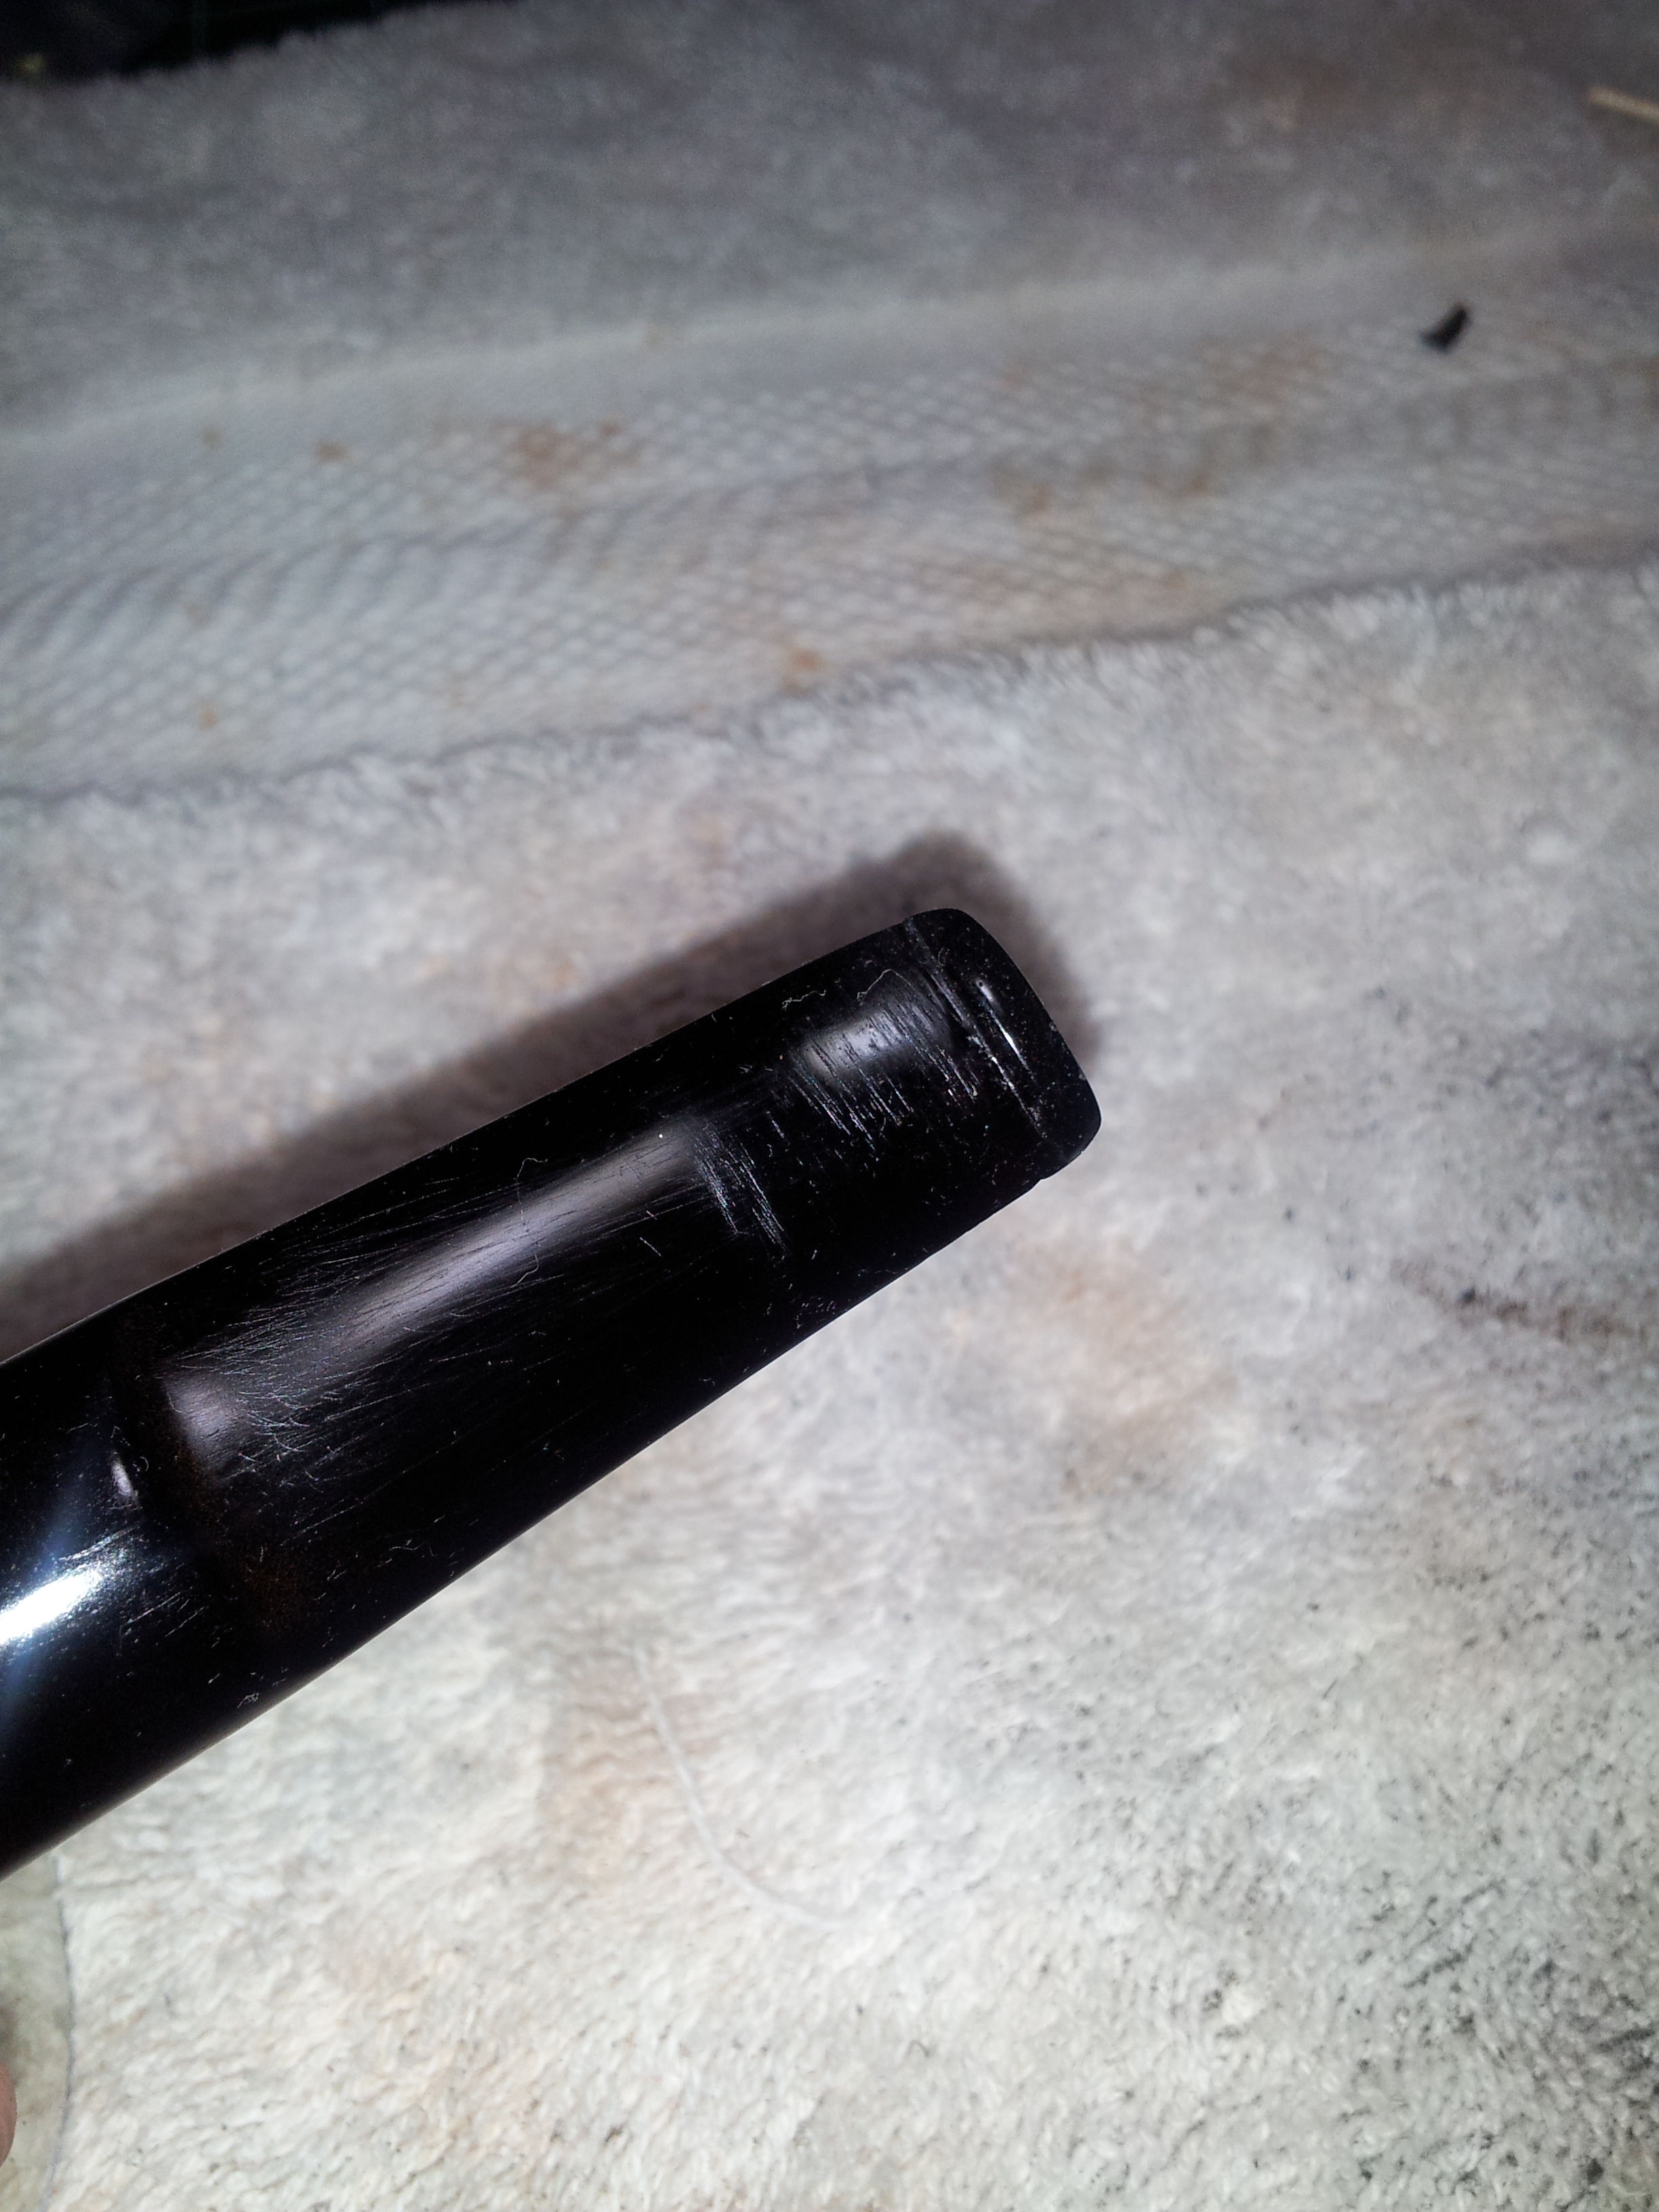
Now the shaping began. I used a file to do the rough shaping, followed by 220 and 320-grit sandpaper. I reapplied CA glue at several stages to fill small areas the charcoal mixture missed, but little by little, the misshapen blob began to look like a button. When the shaping was complete, I sanded and polished the stem with 600-2000 grit wet paper and then wiped the stem with mineral oil. The next series of pictures shows the progress of the work. Note that the white stringy bits in the last shot are not scratches, but bits of lint from the tissue I used to apply the oil – oops!

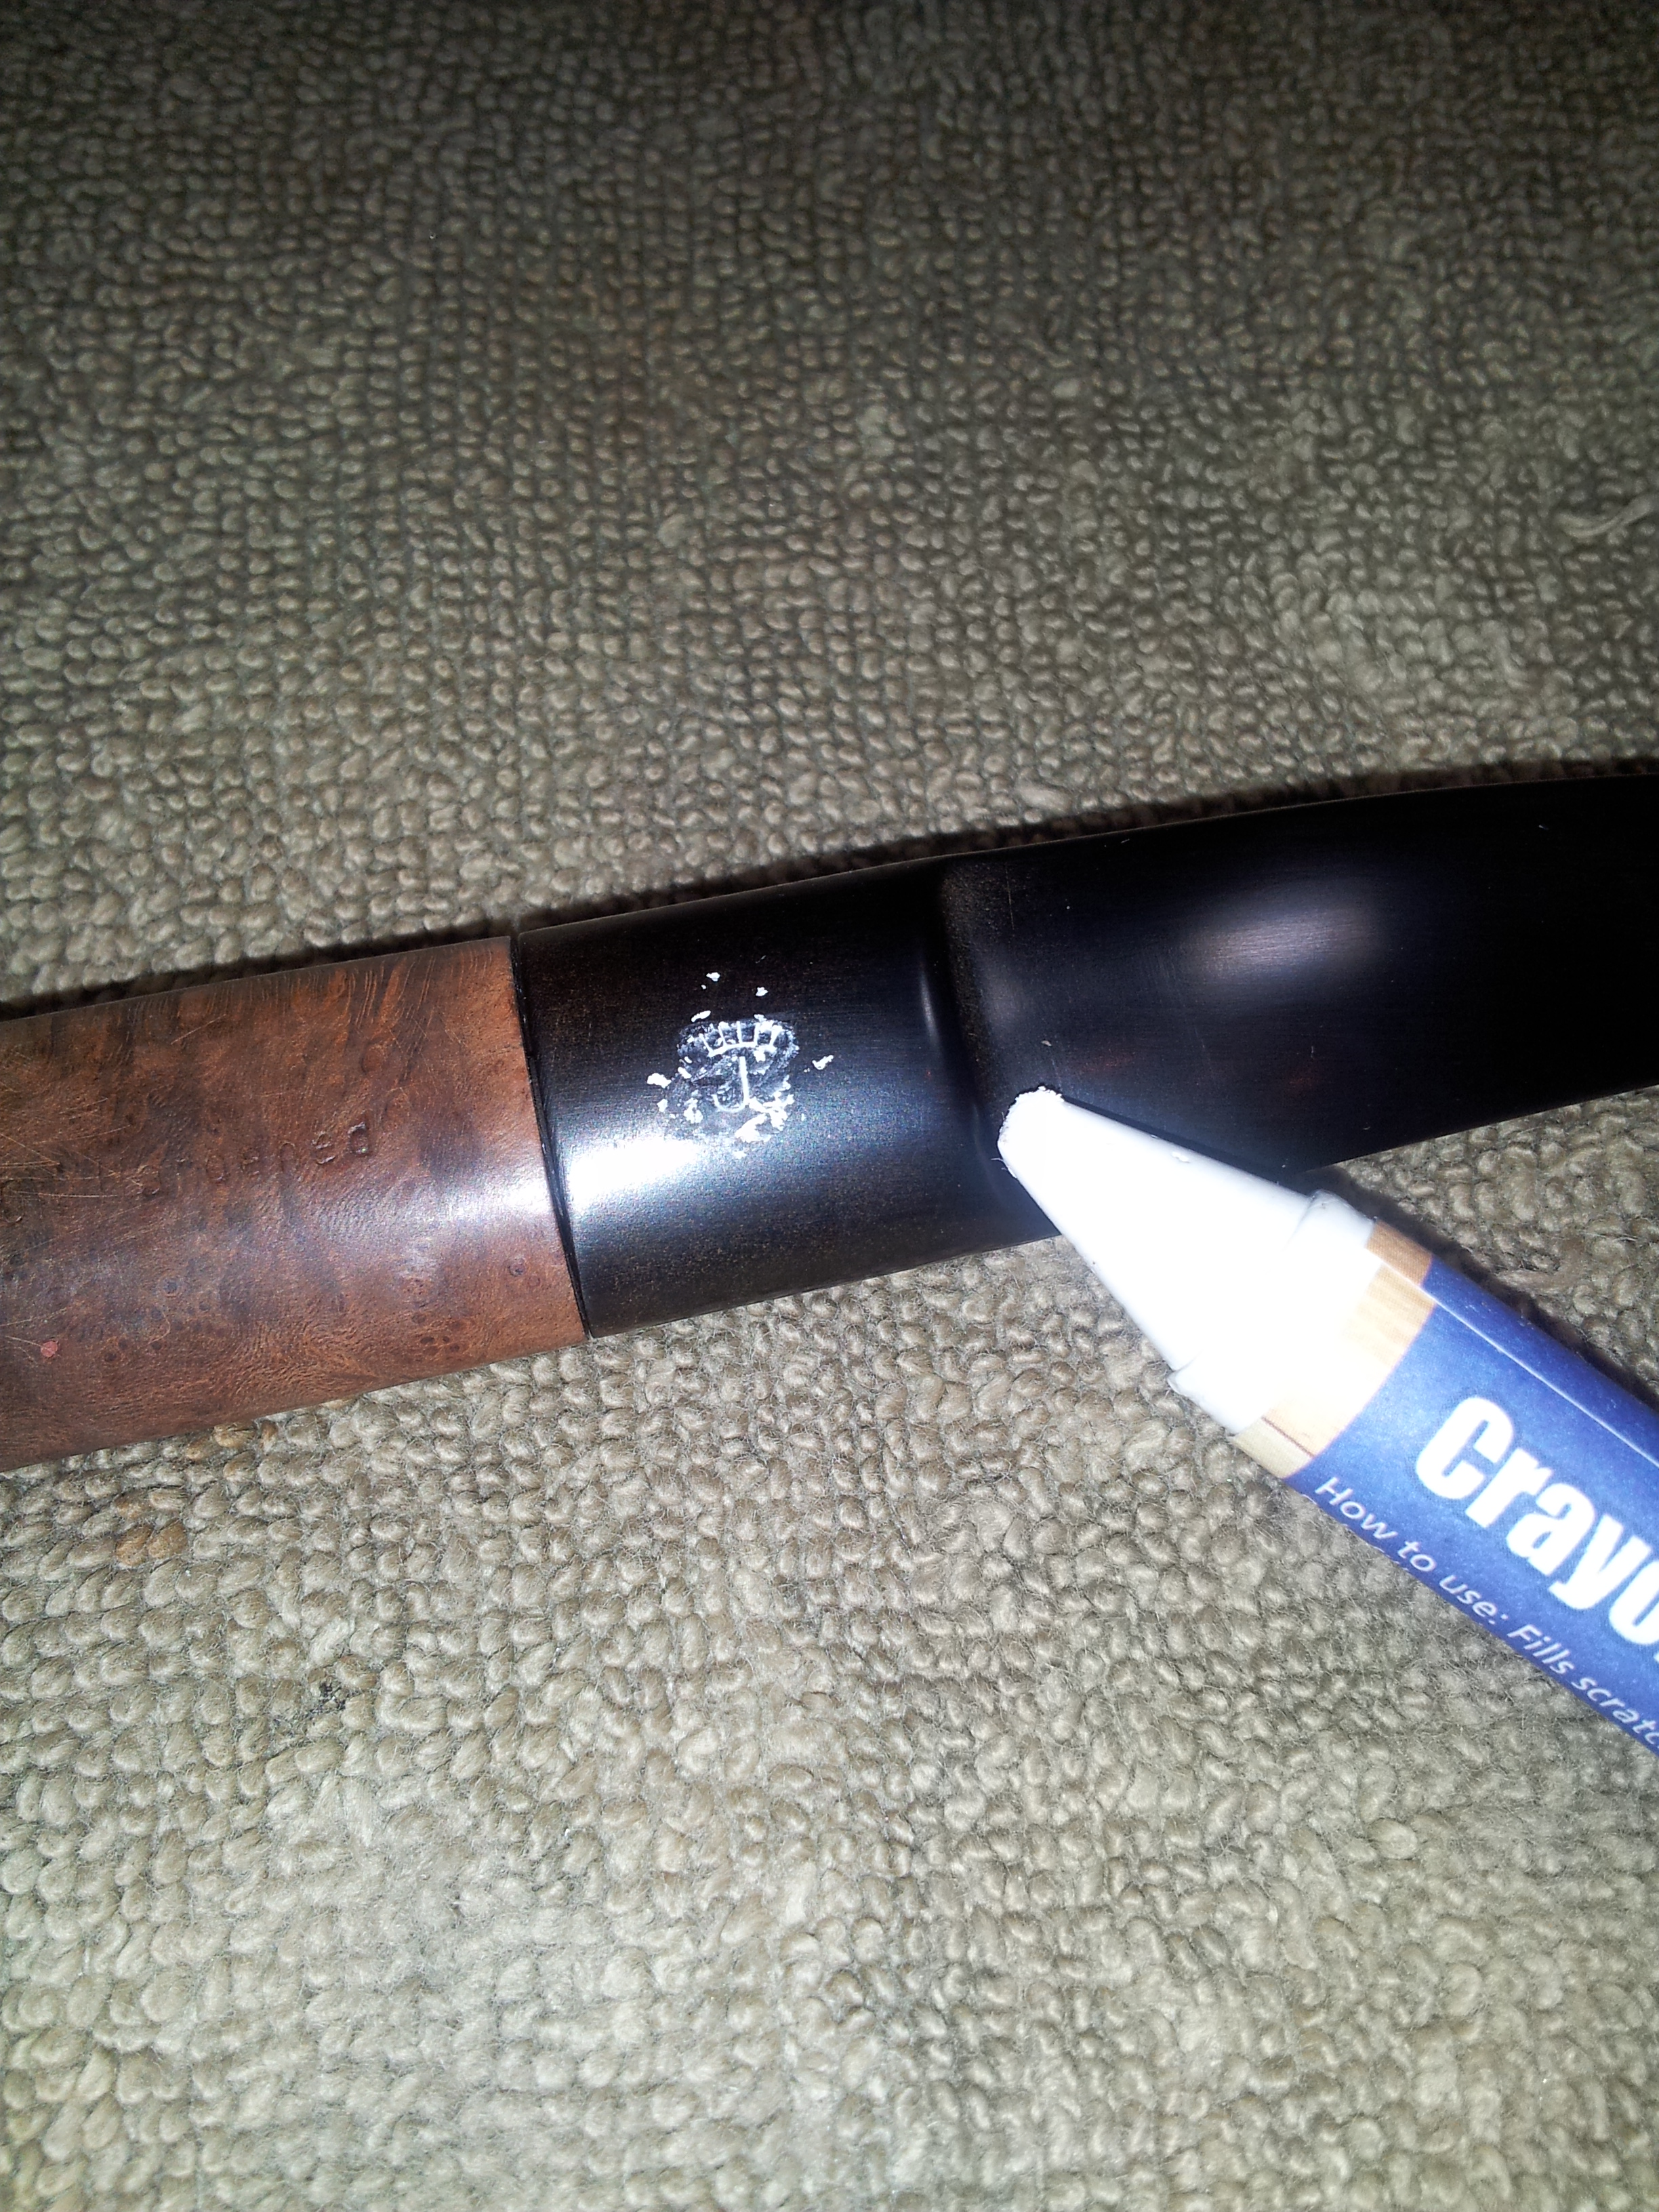
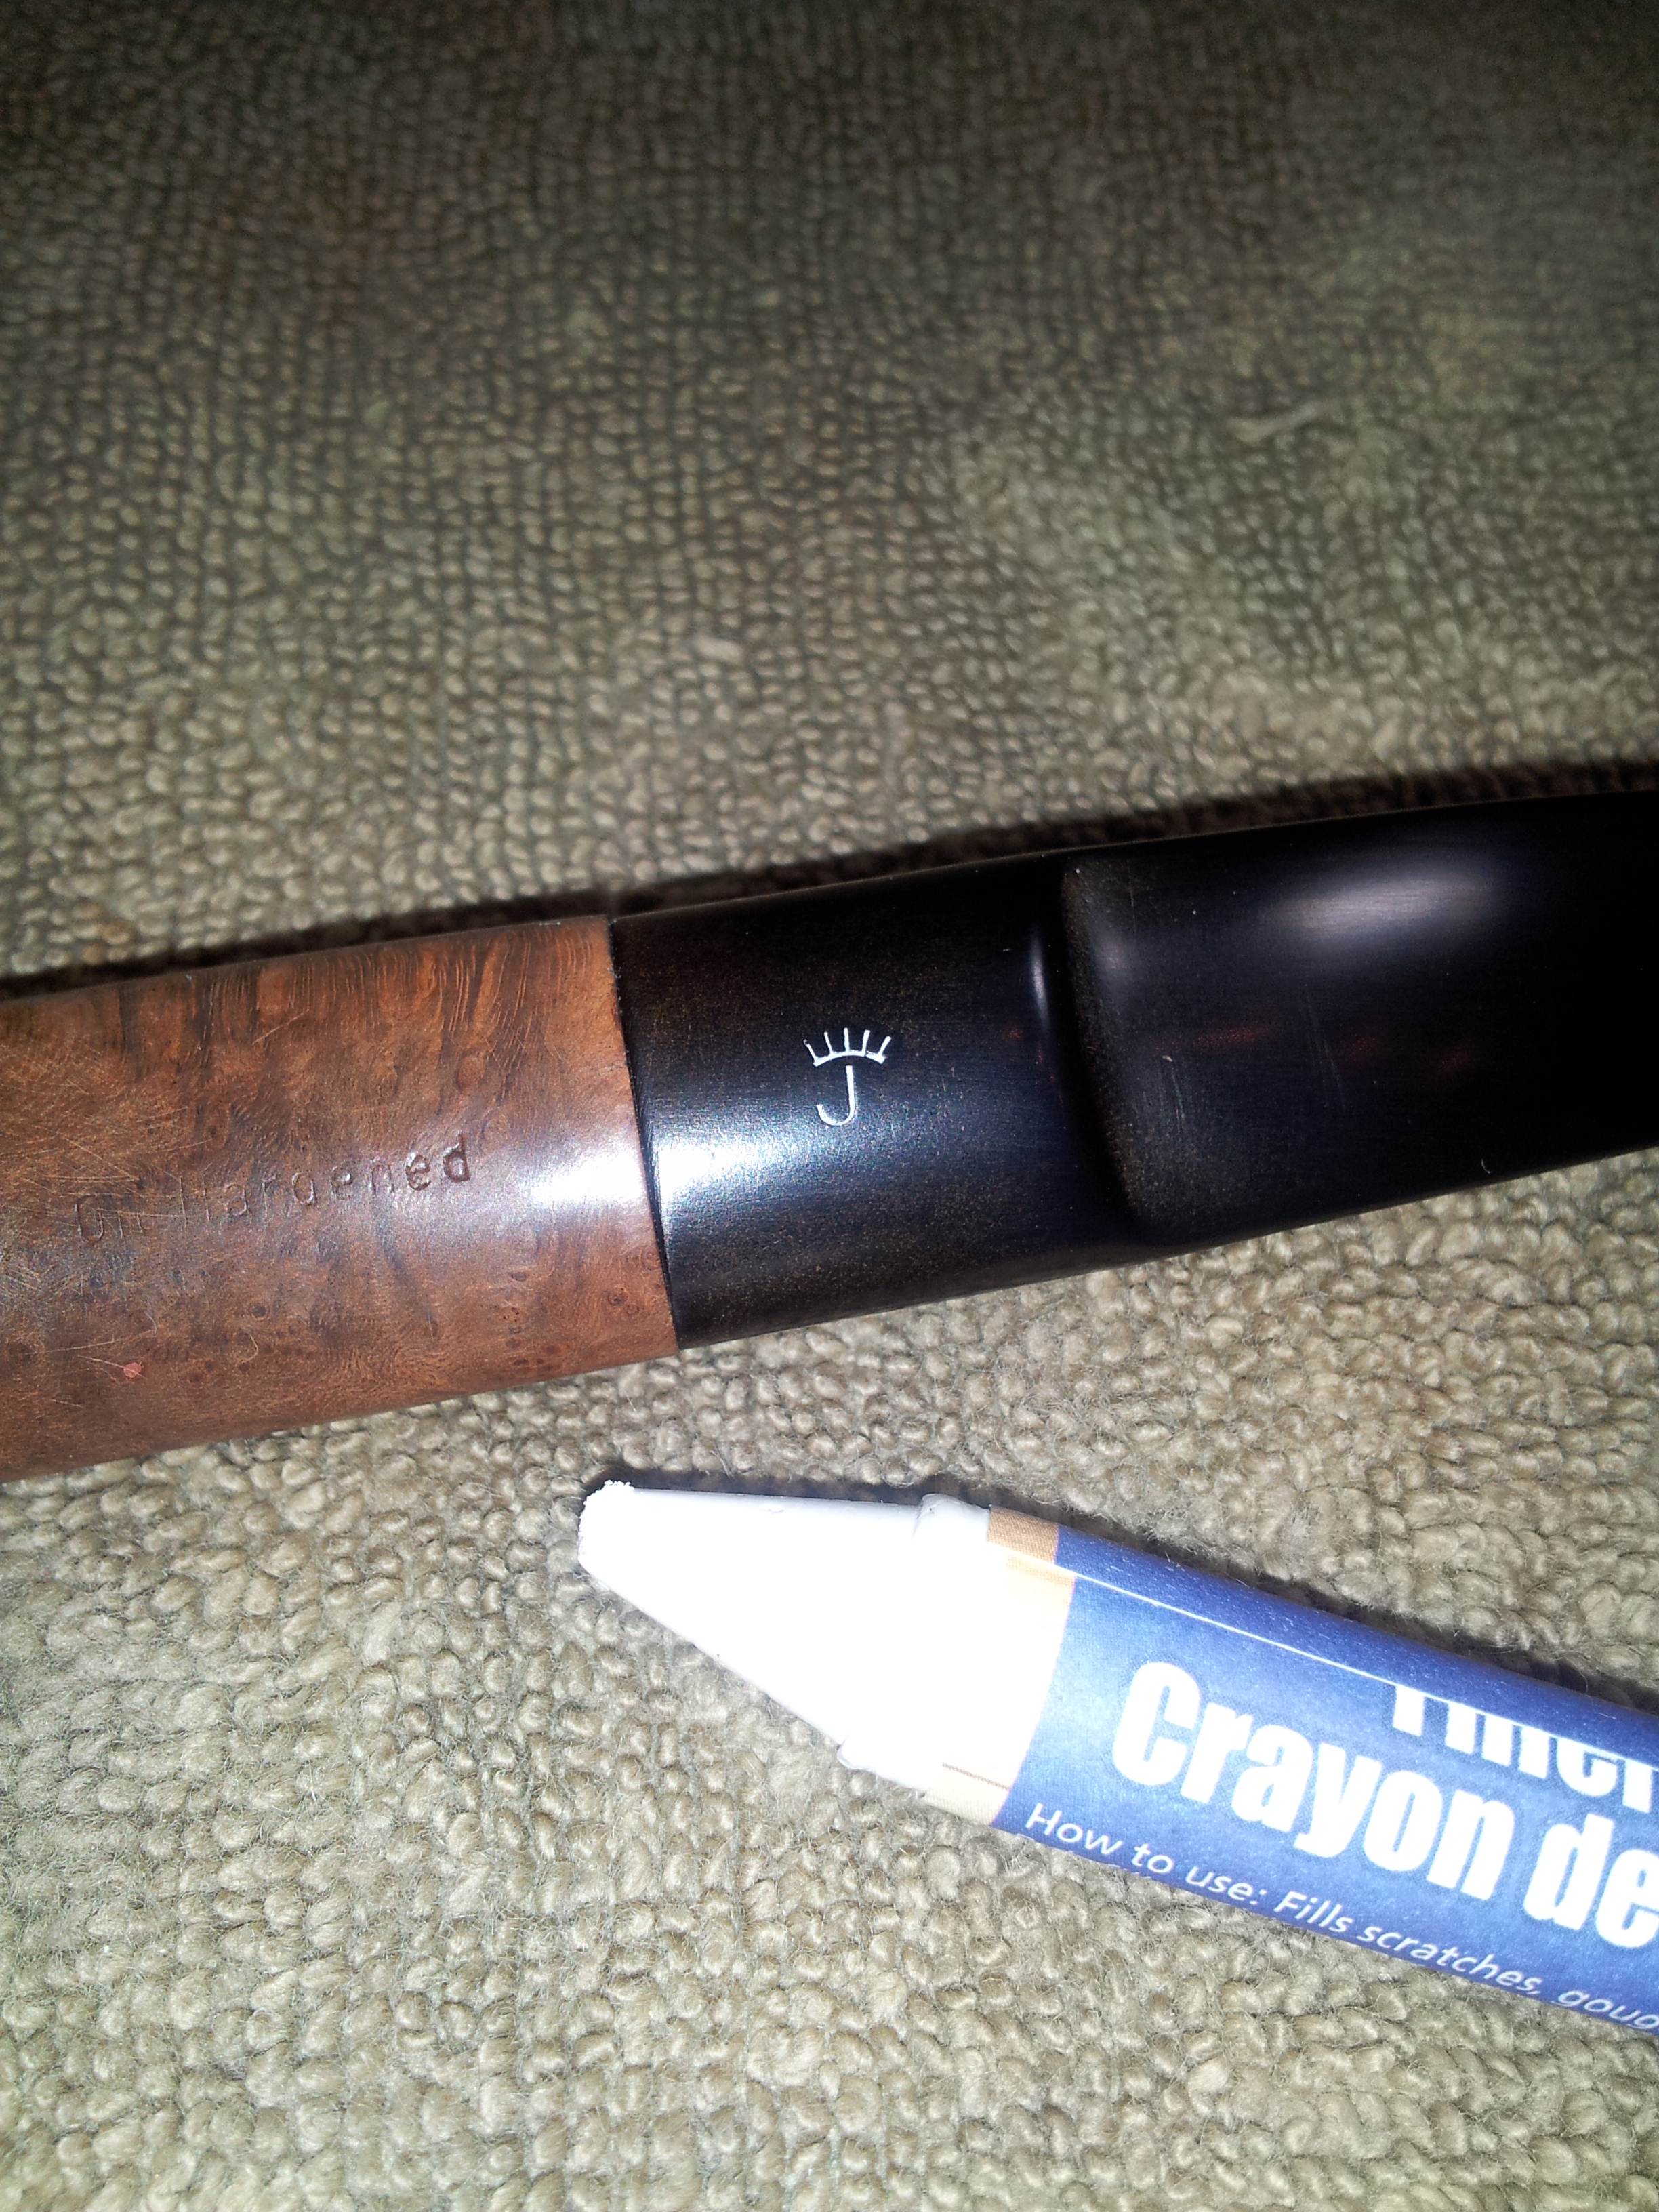
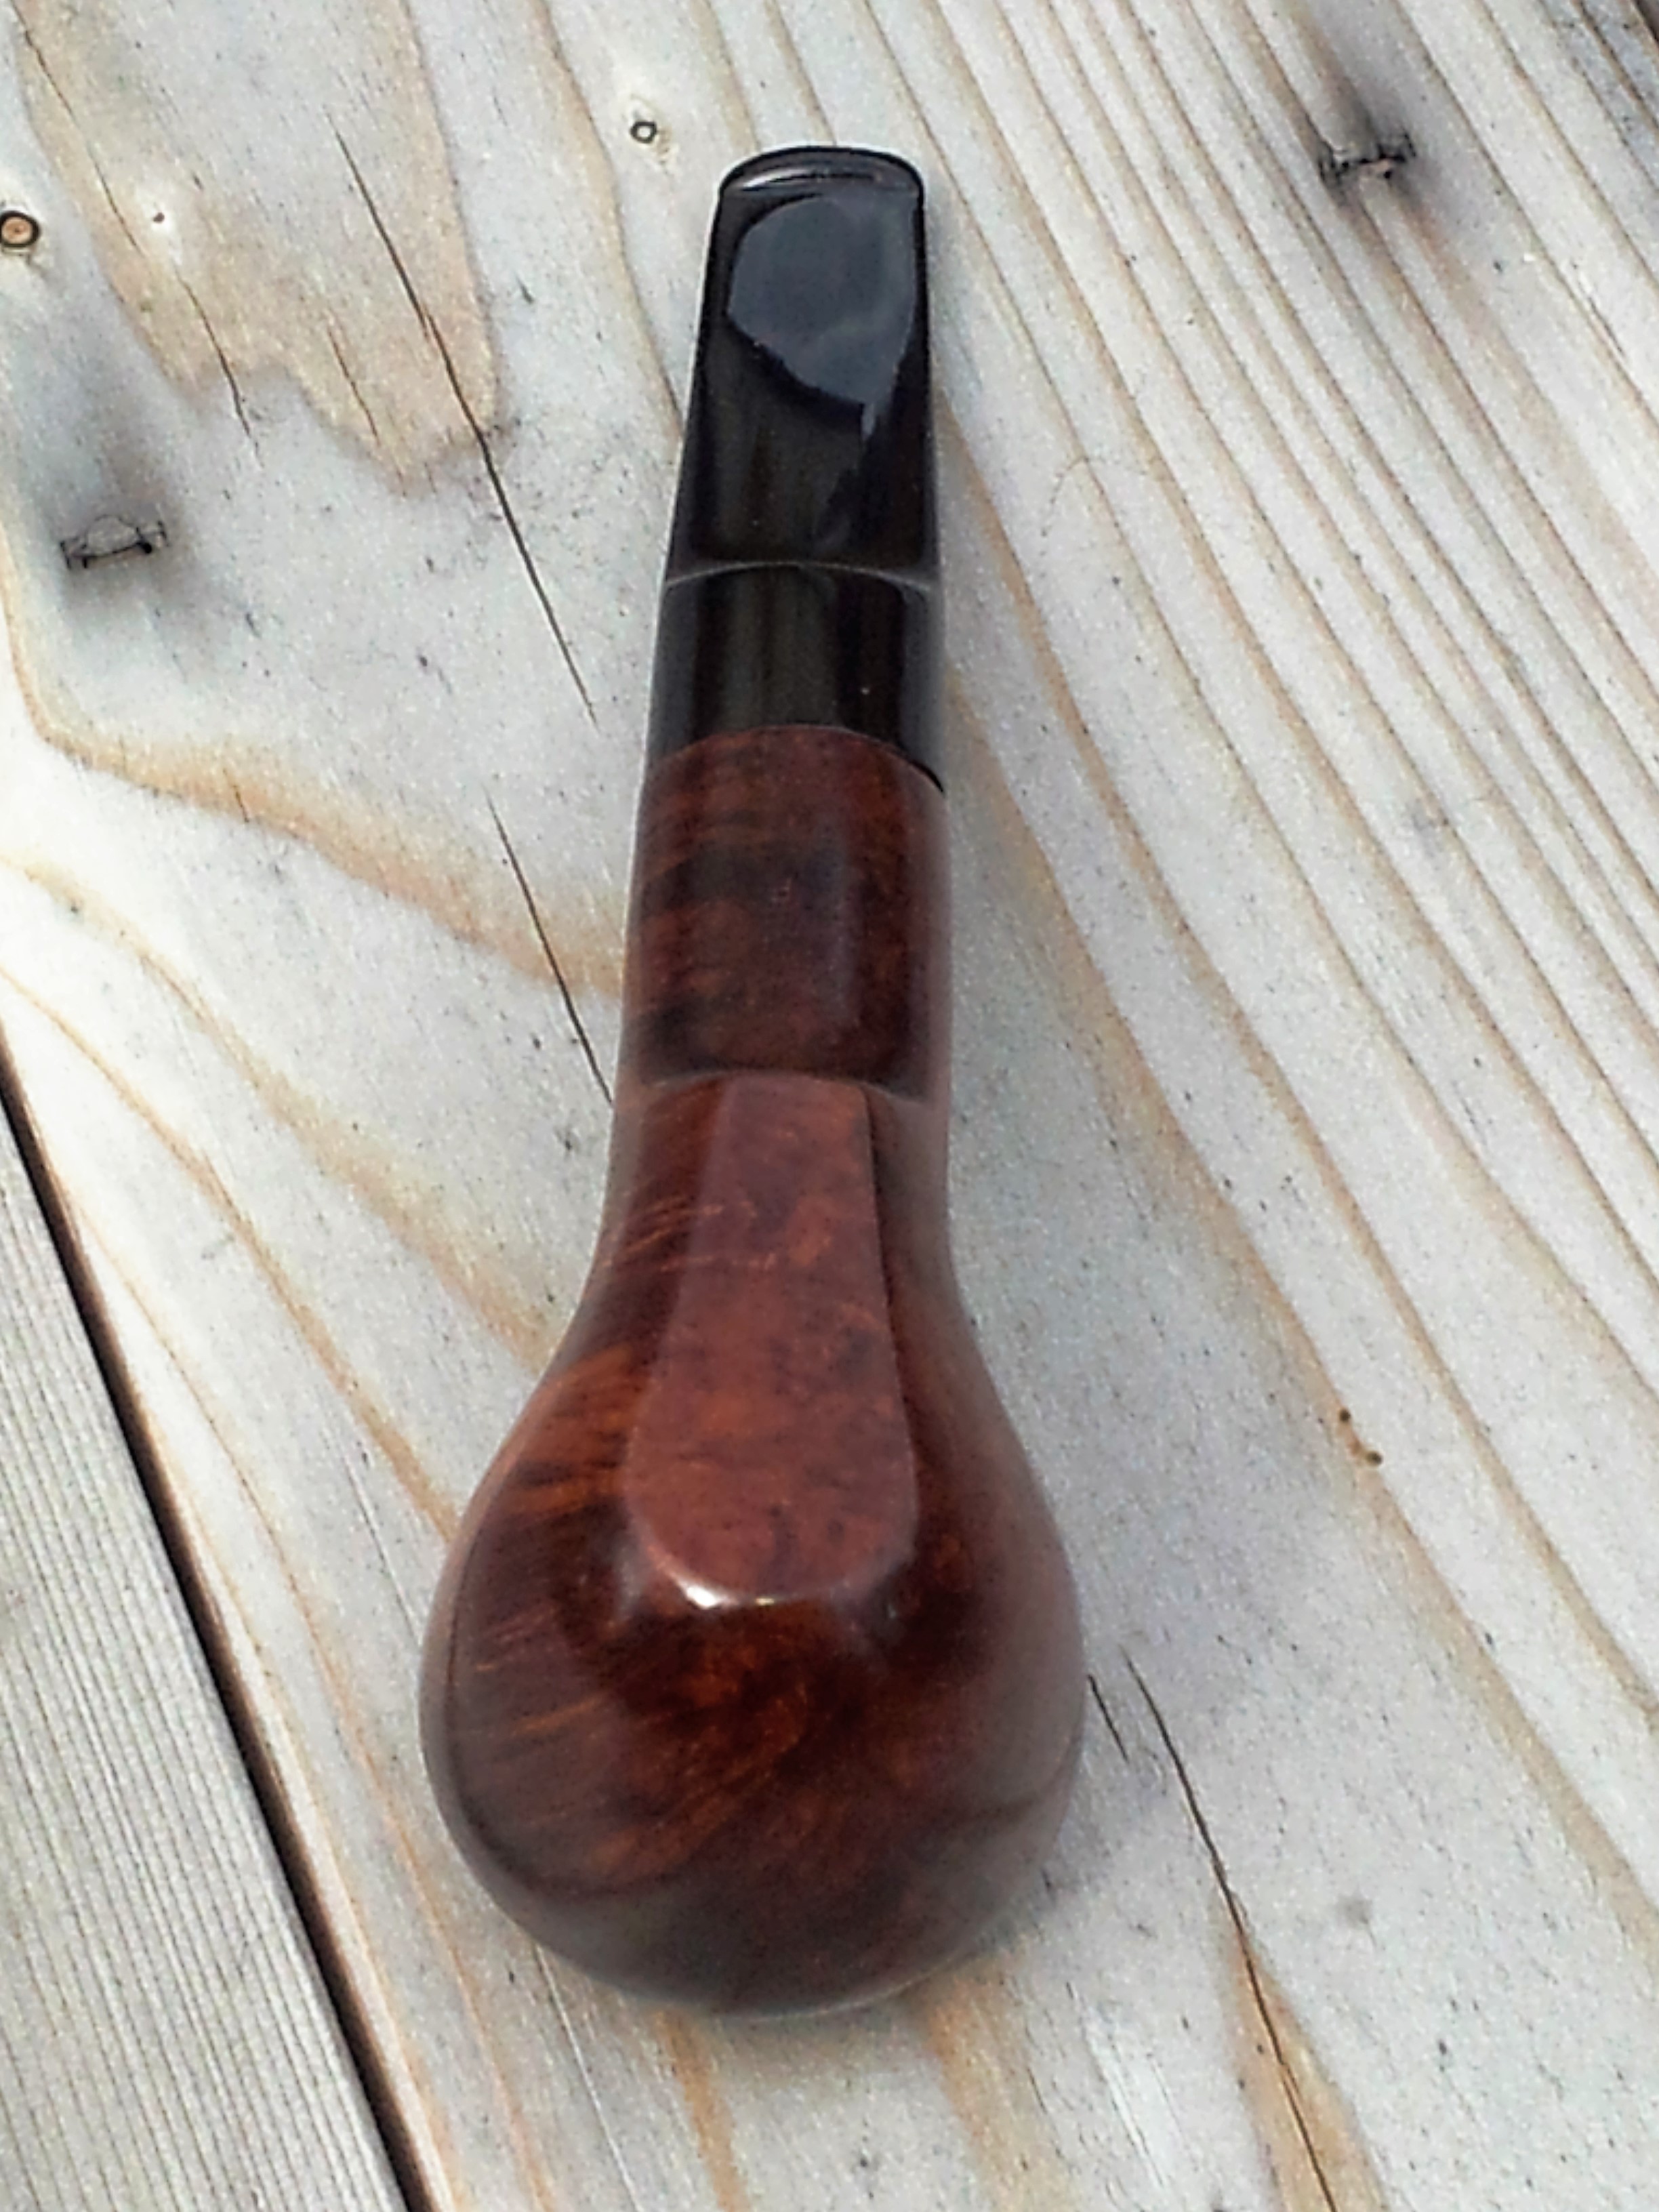
The finishing touch was to bring back the Jarl crown logo before buffing and waxing. This was quickly accomplished using a white wax wood filler stick.
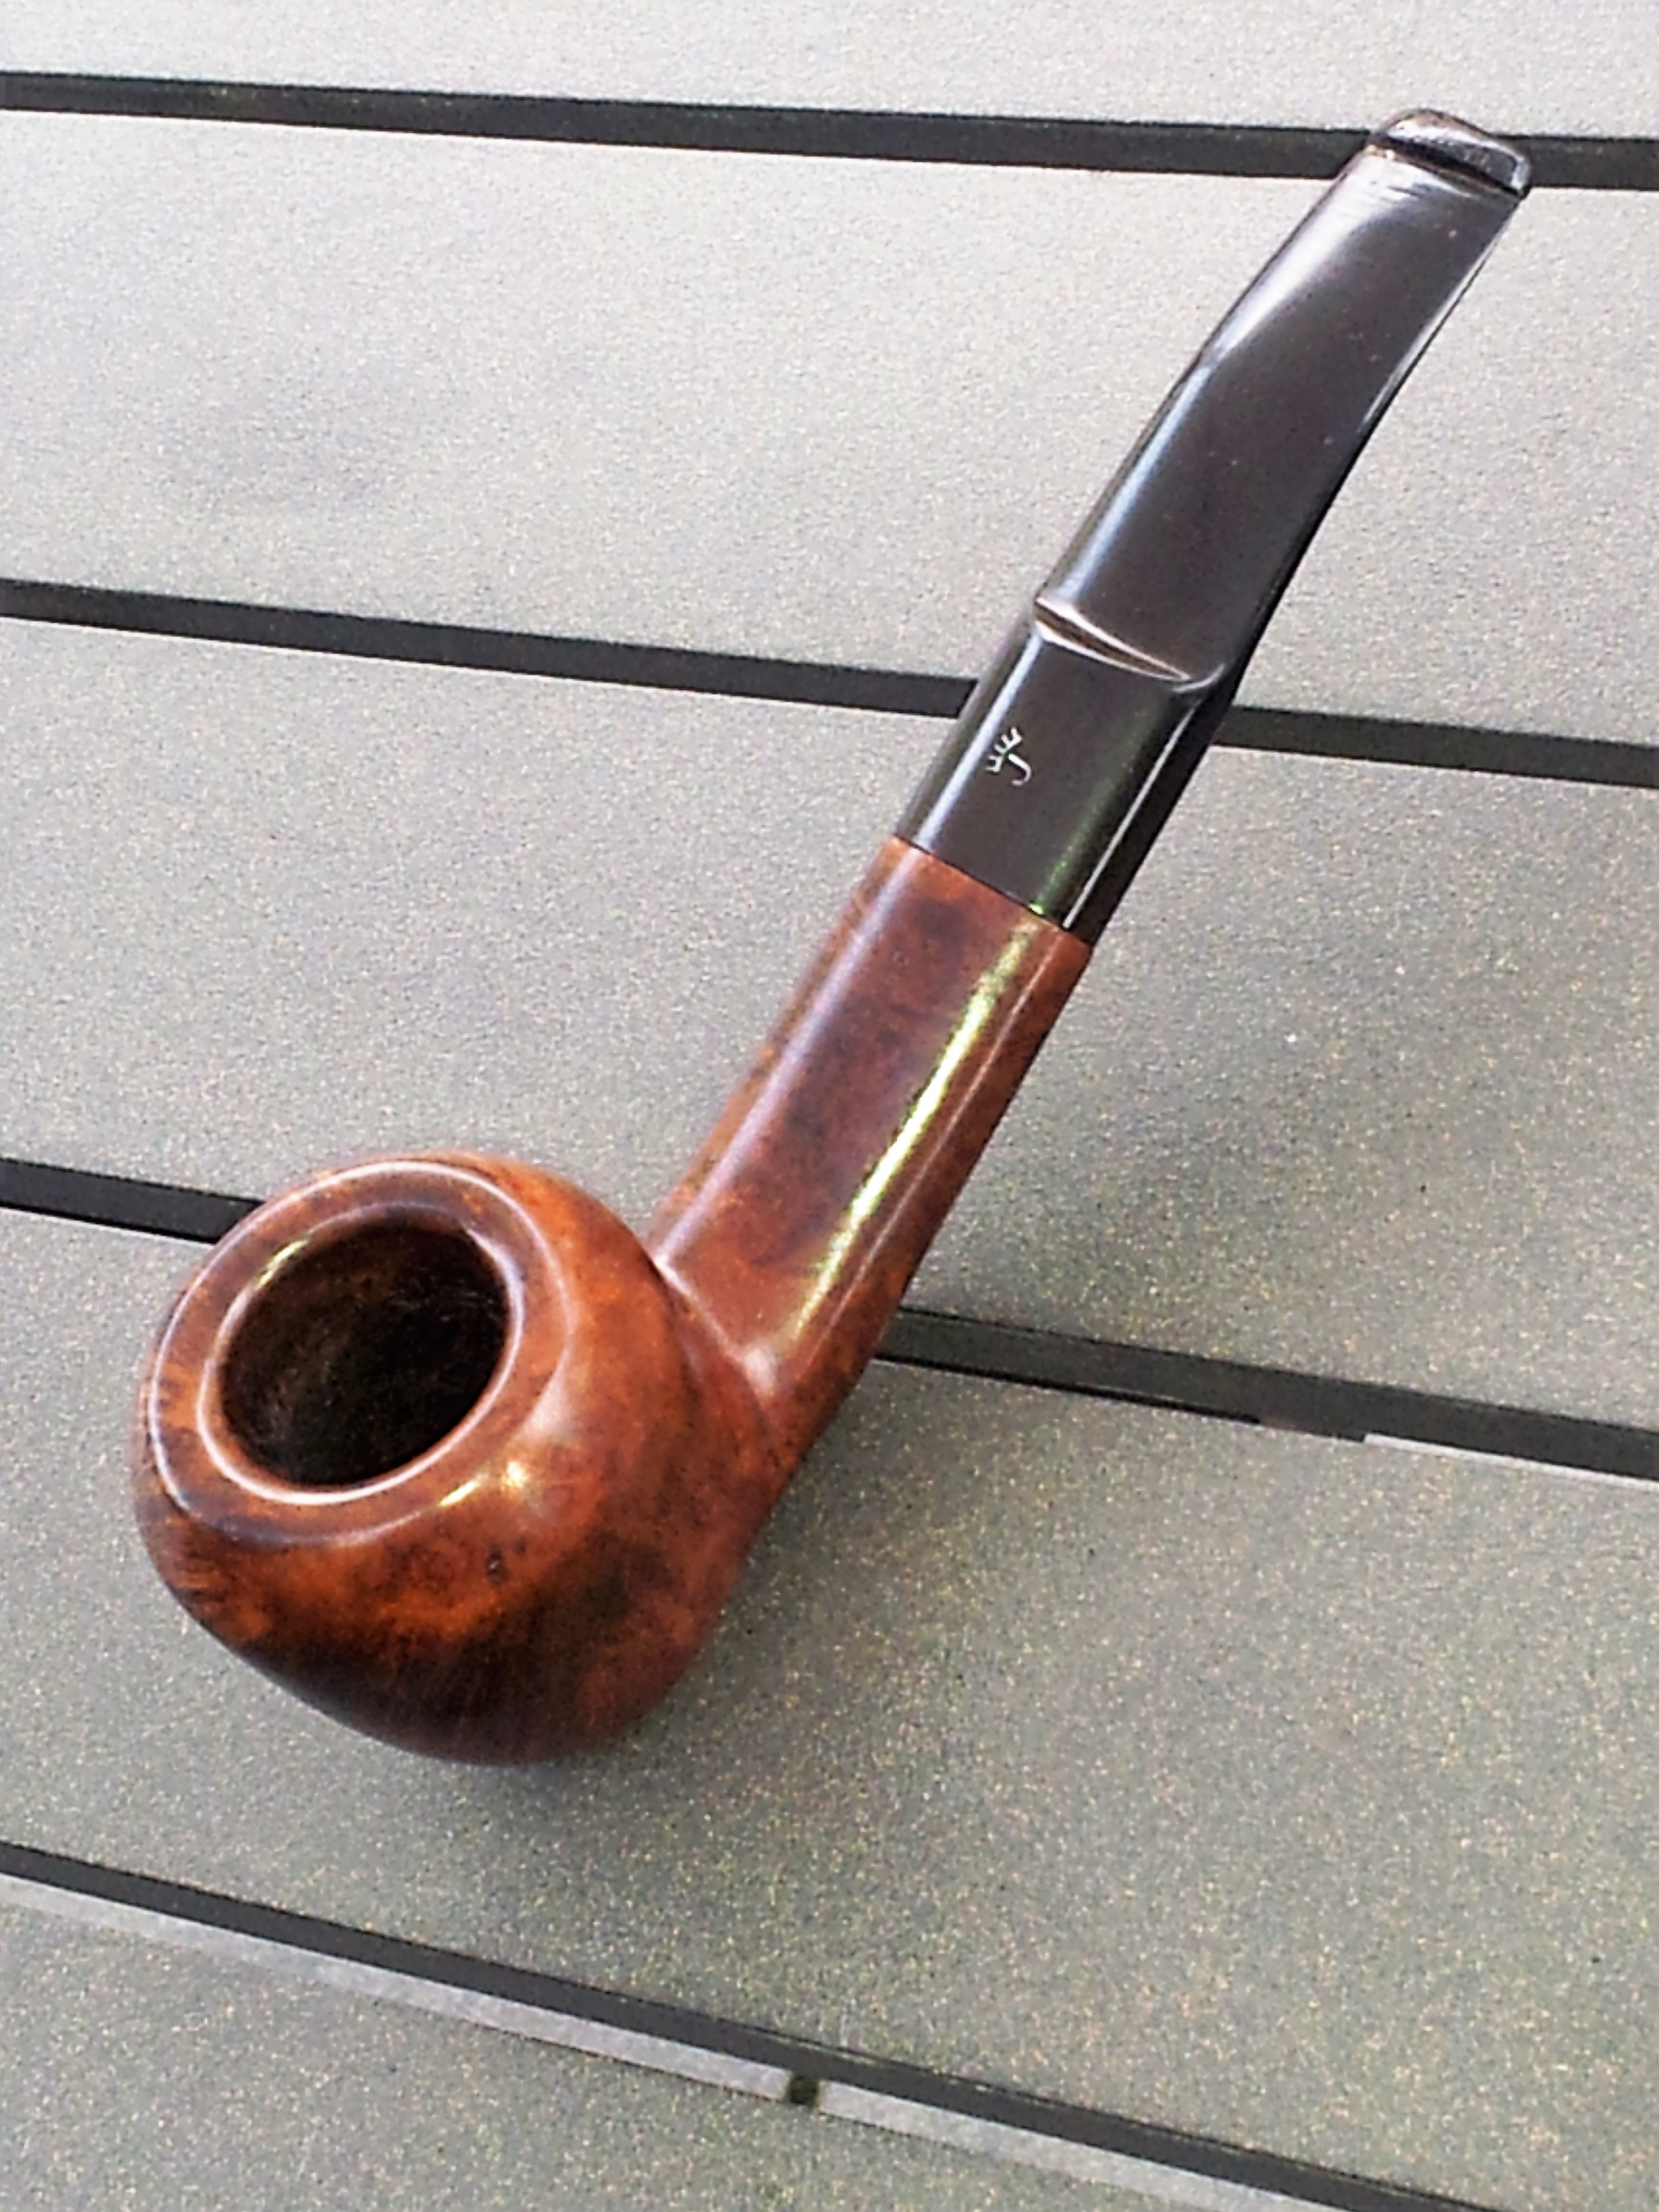
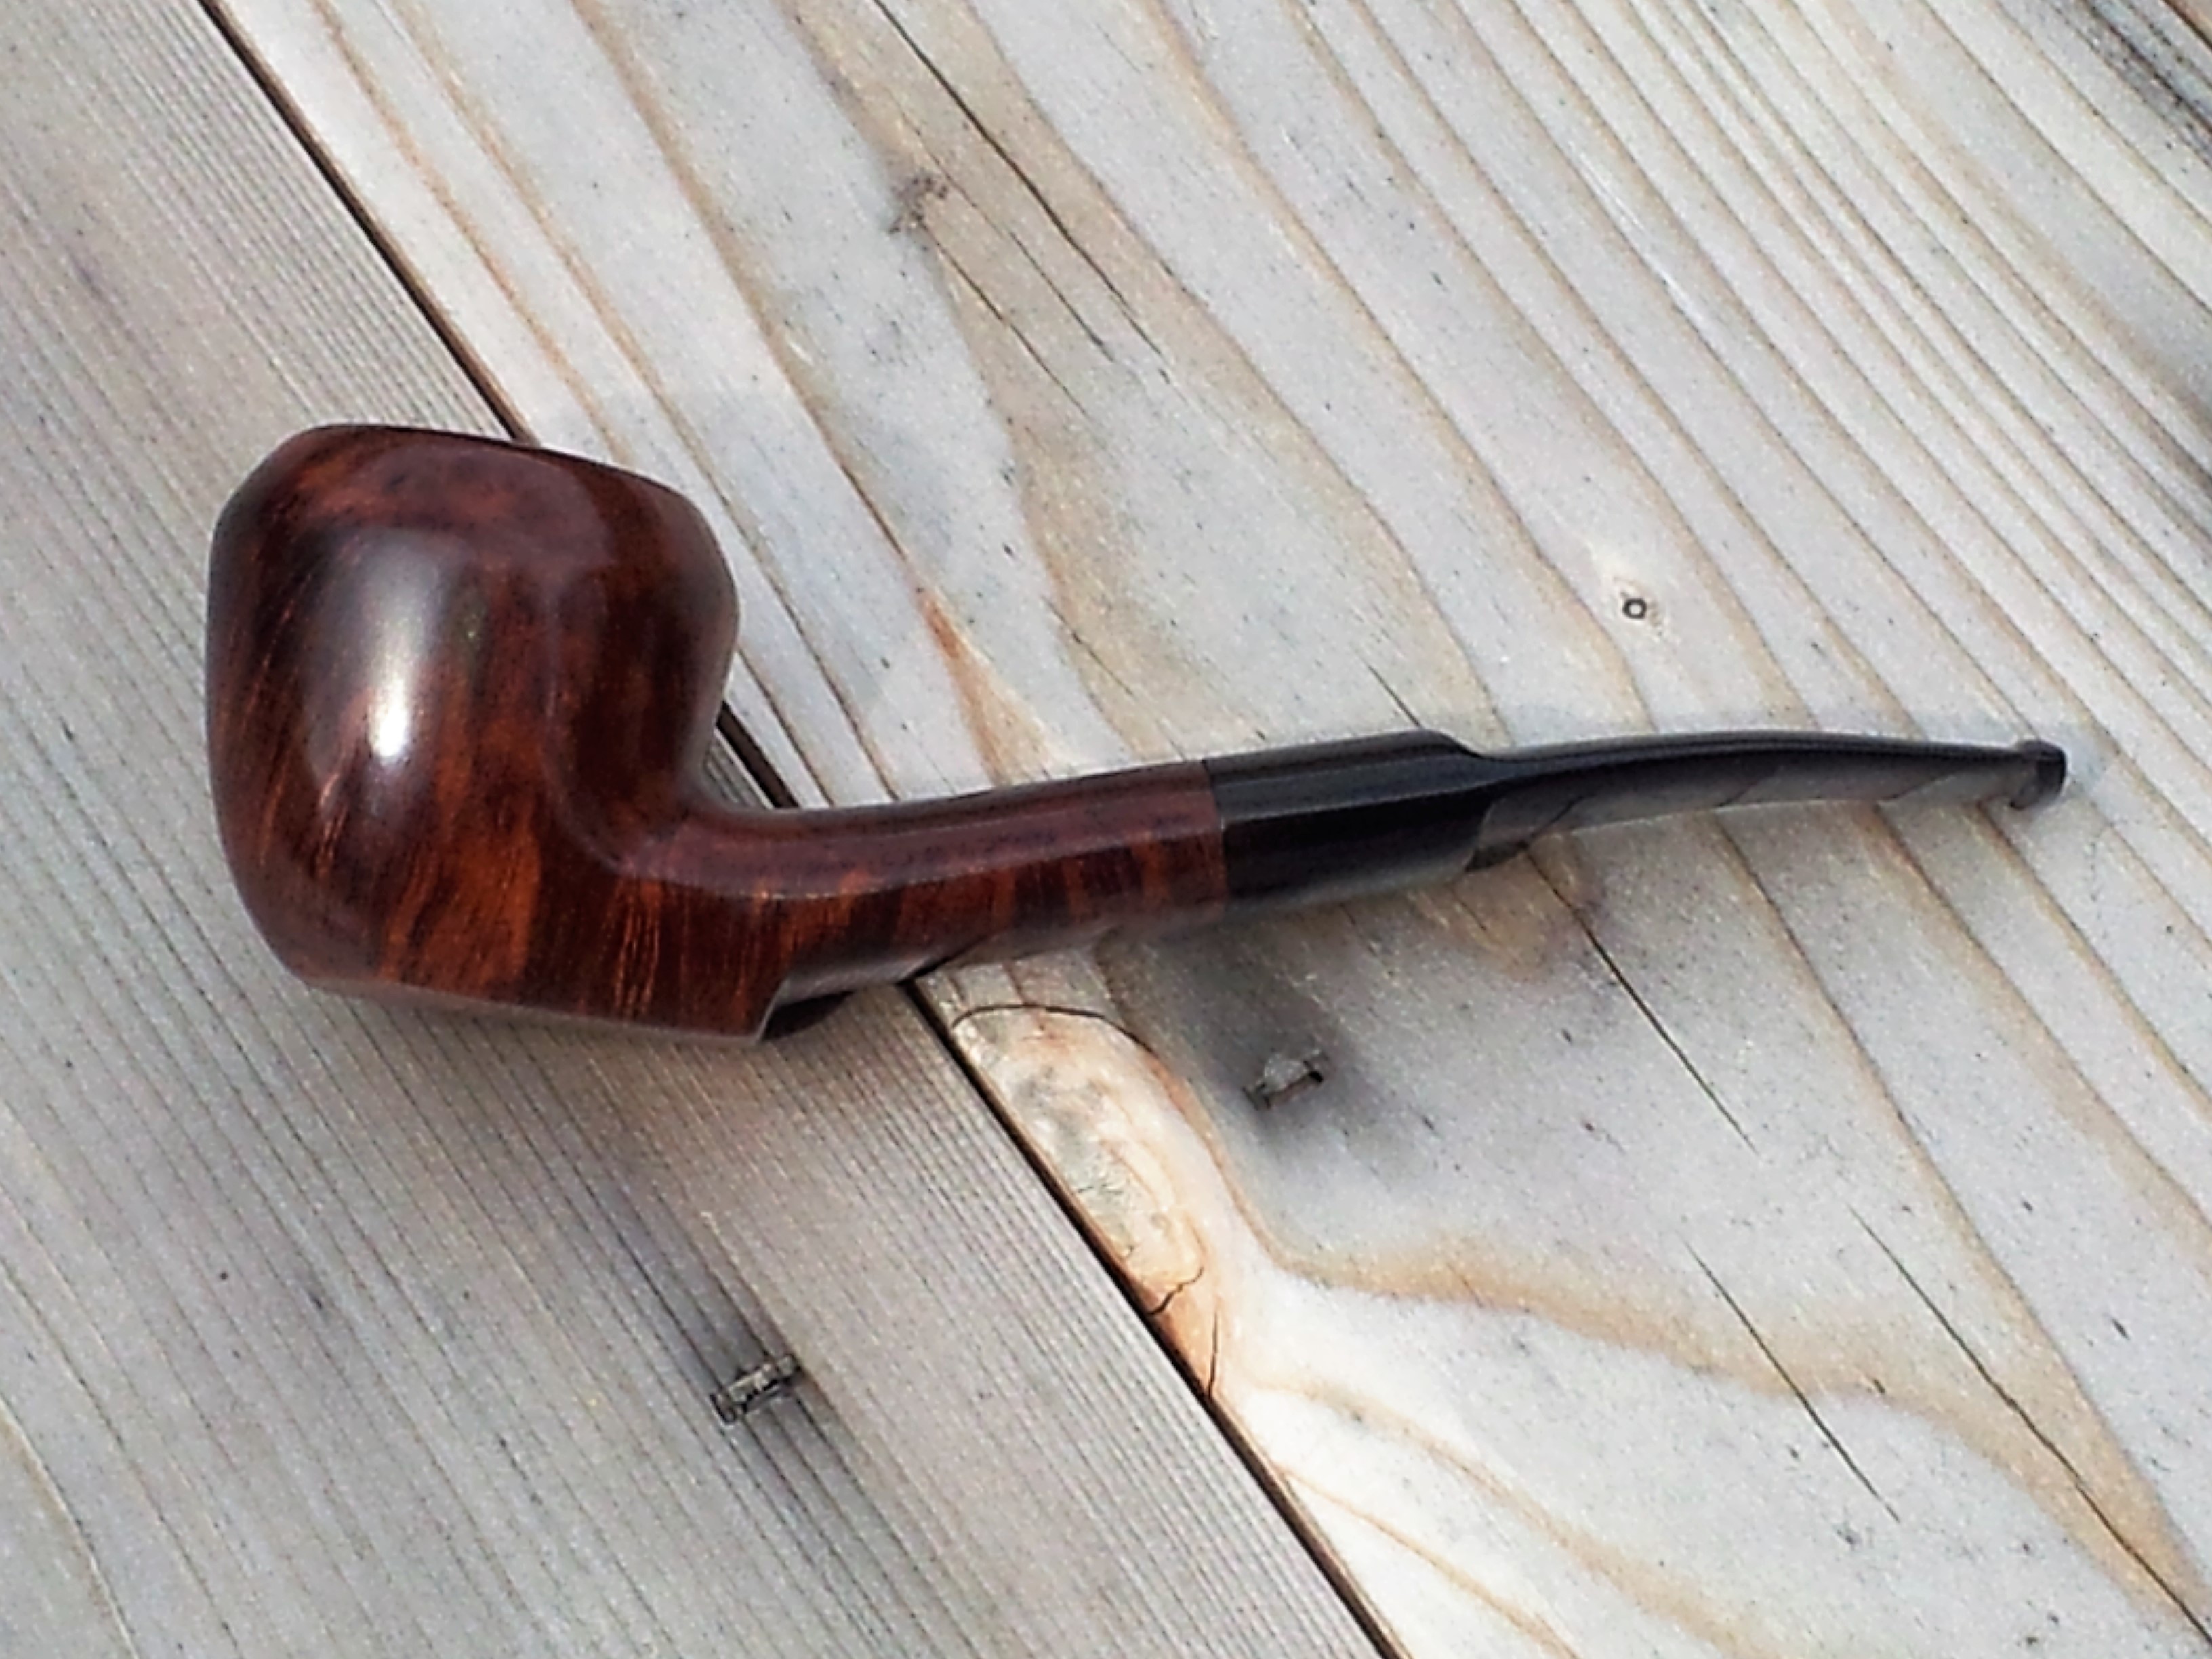
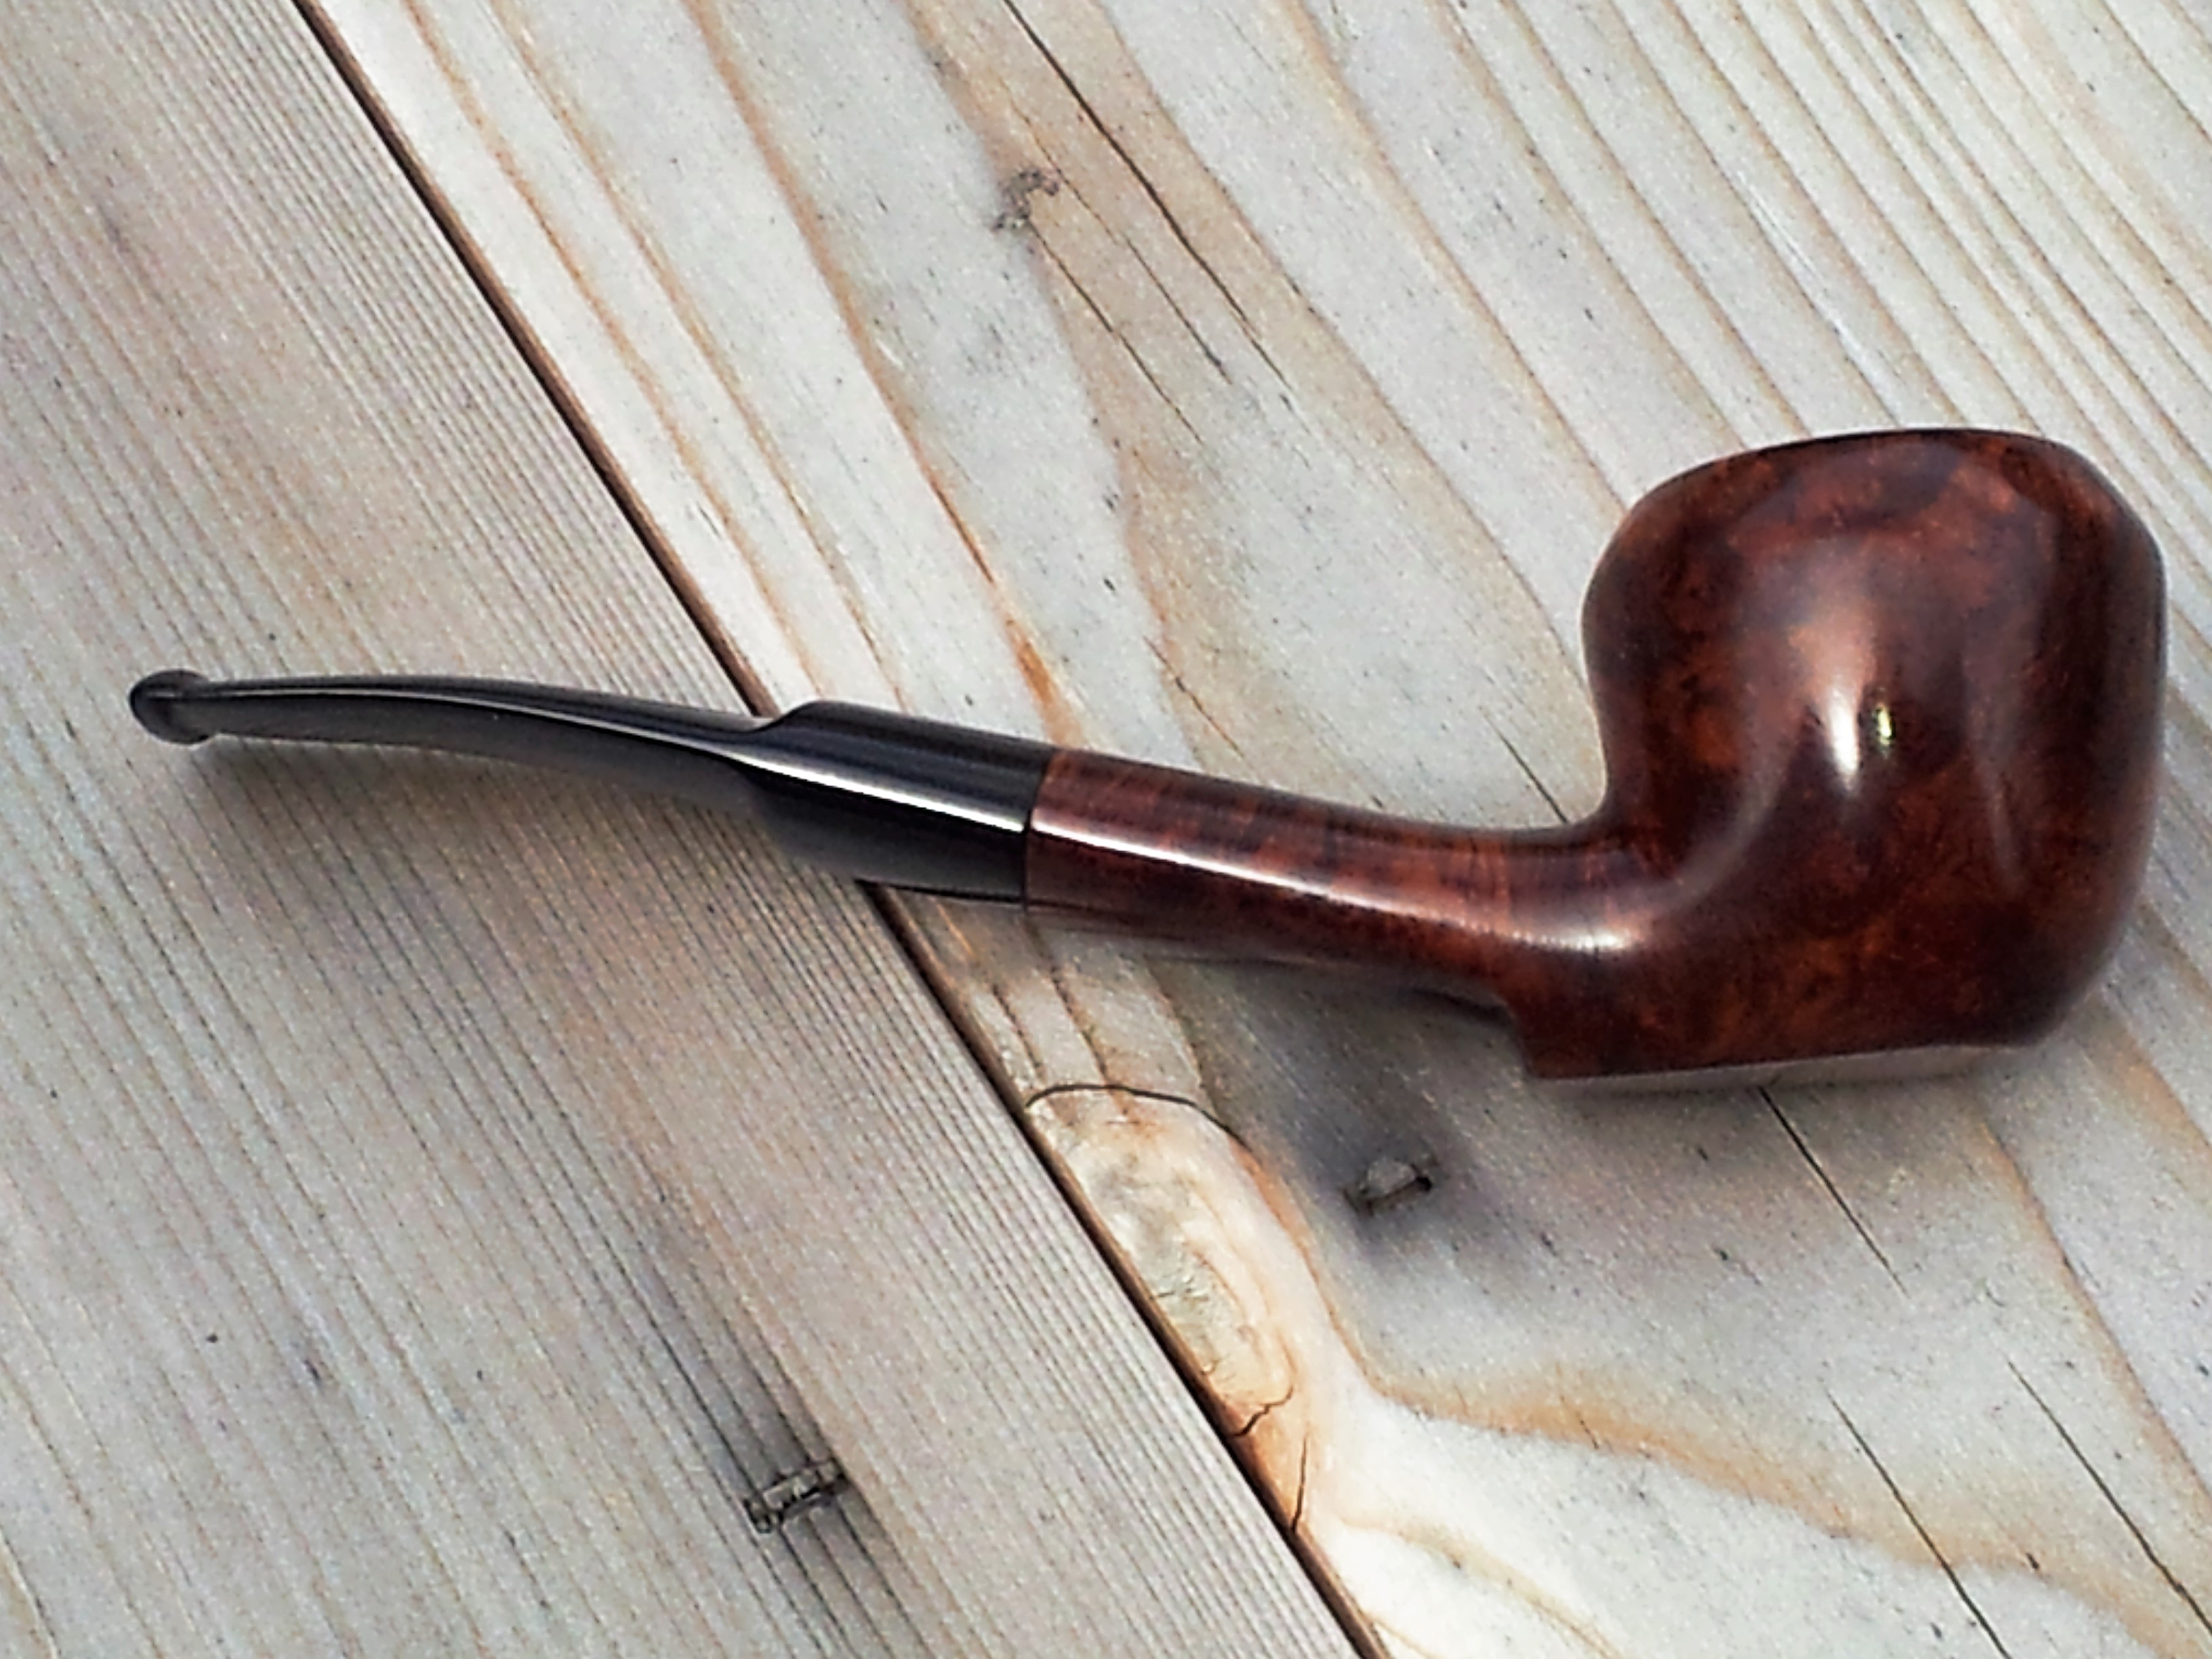
The complete and reassembled pipe was buffed with Red Tripoli and White Diamond before being given several coats of wax. The finished pipe is shown below. Jarl used a premium piece of briar for this one – superb grain and I only found one pinhead-sized factory fill. This lovely sitter has gone from being ready for the junk bin to being ready to take pride of place in a new piper’s rotation for years to come.
Thanks for looking.
Addendum: The pics above brought to light some remaining fine scratches in the button work. I will work these out when my order of MicroMesh sanding pads comes in and post a few pics. – Charles
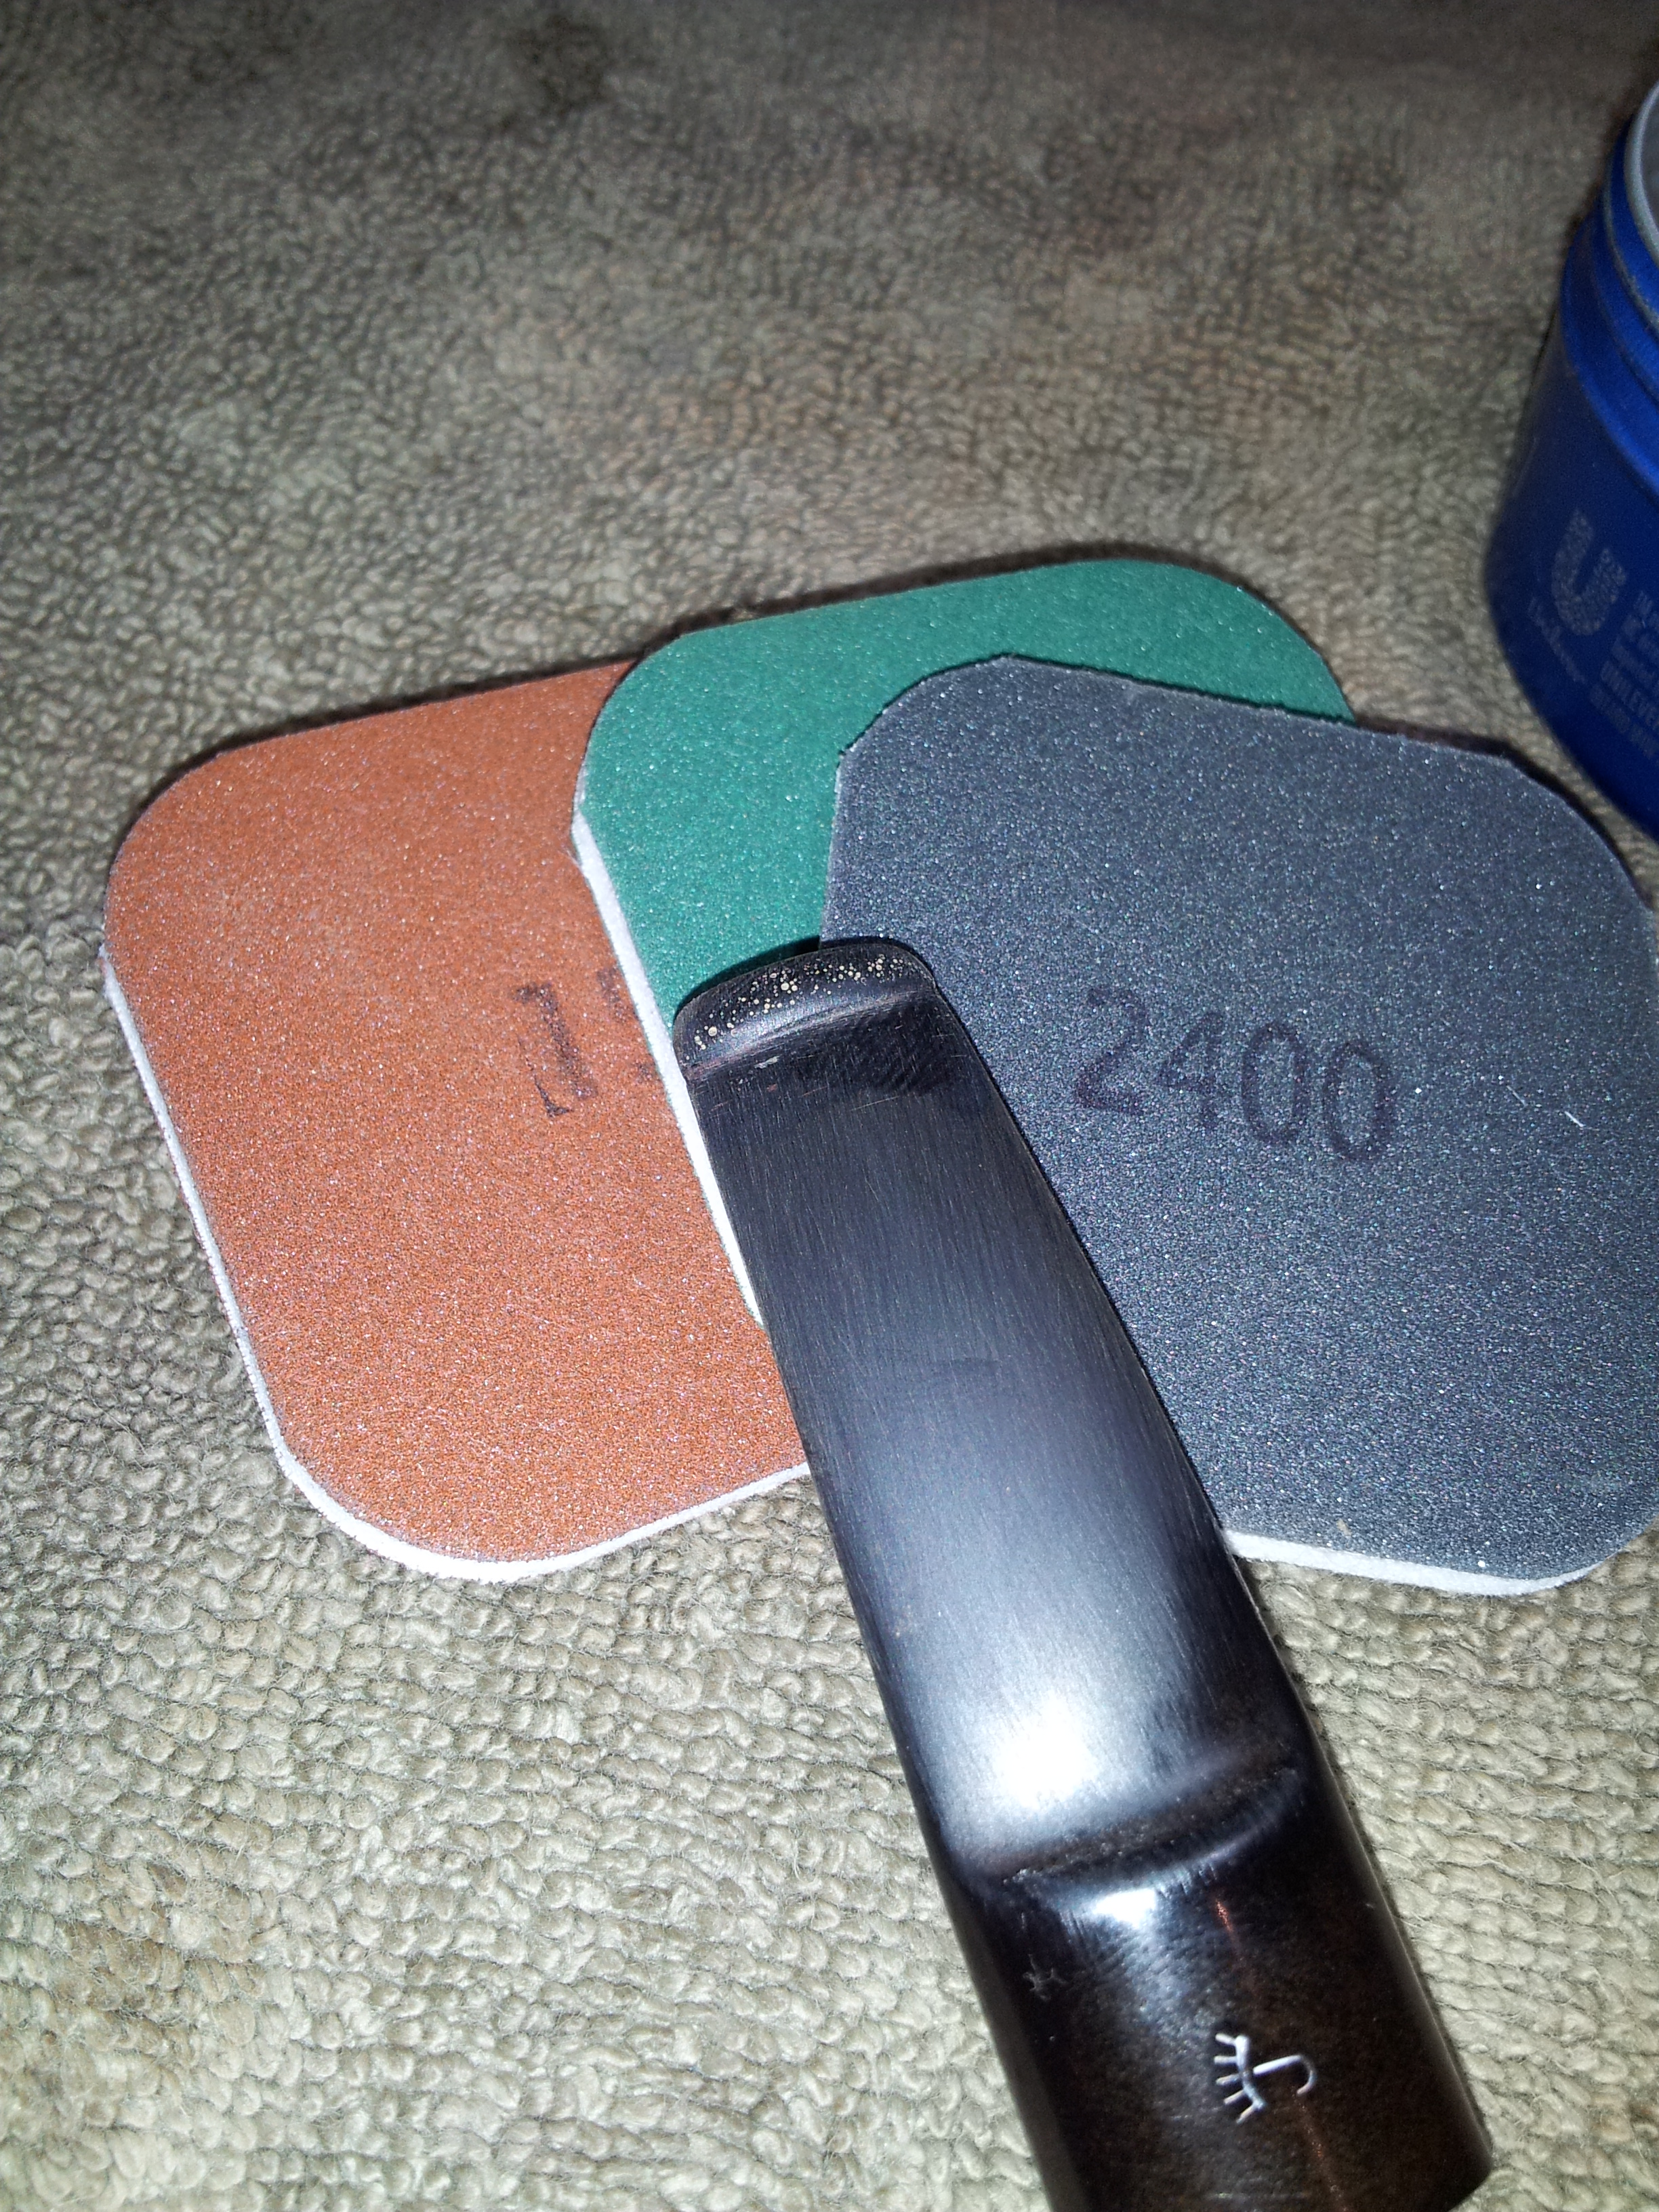
UPDATE (9/9/15): My order from Lee Valley arrived today, including a fresh set of MicroMesh sanding pads, so I opened them right up and finished up the stem work on this pipe.
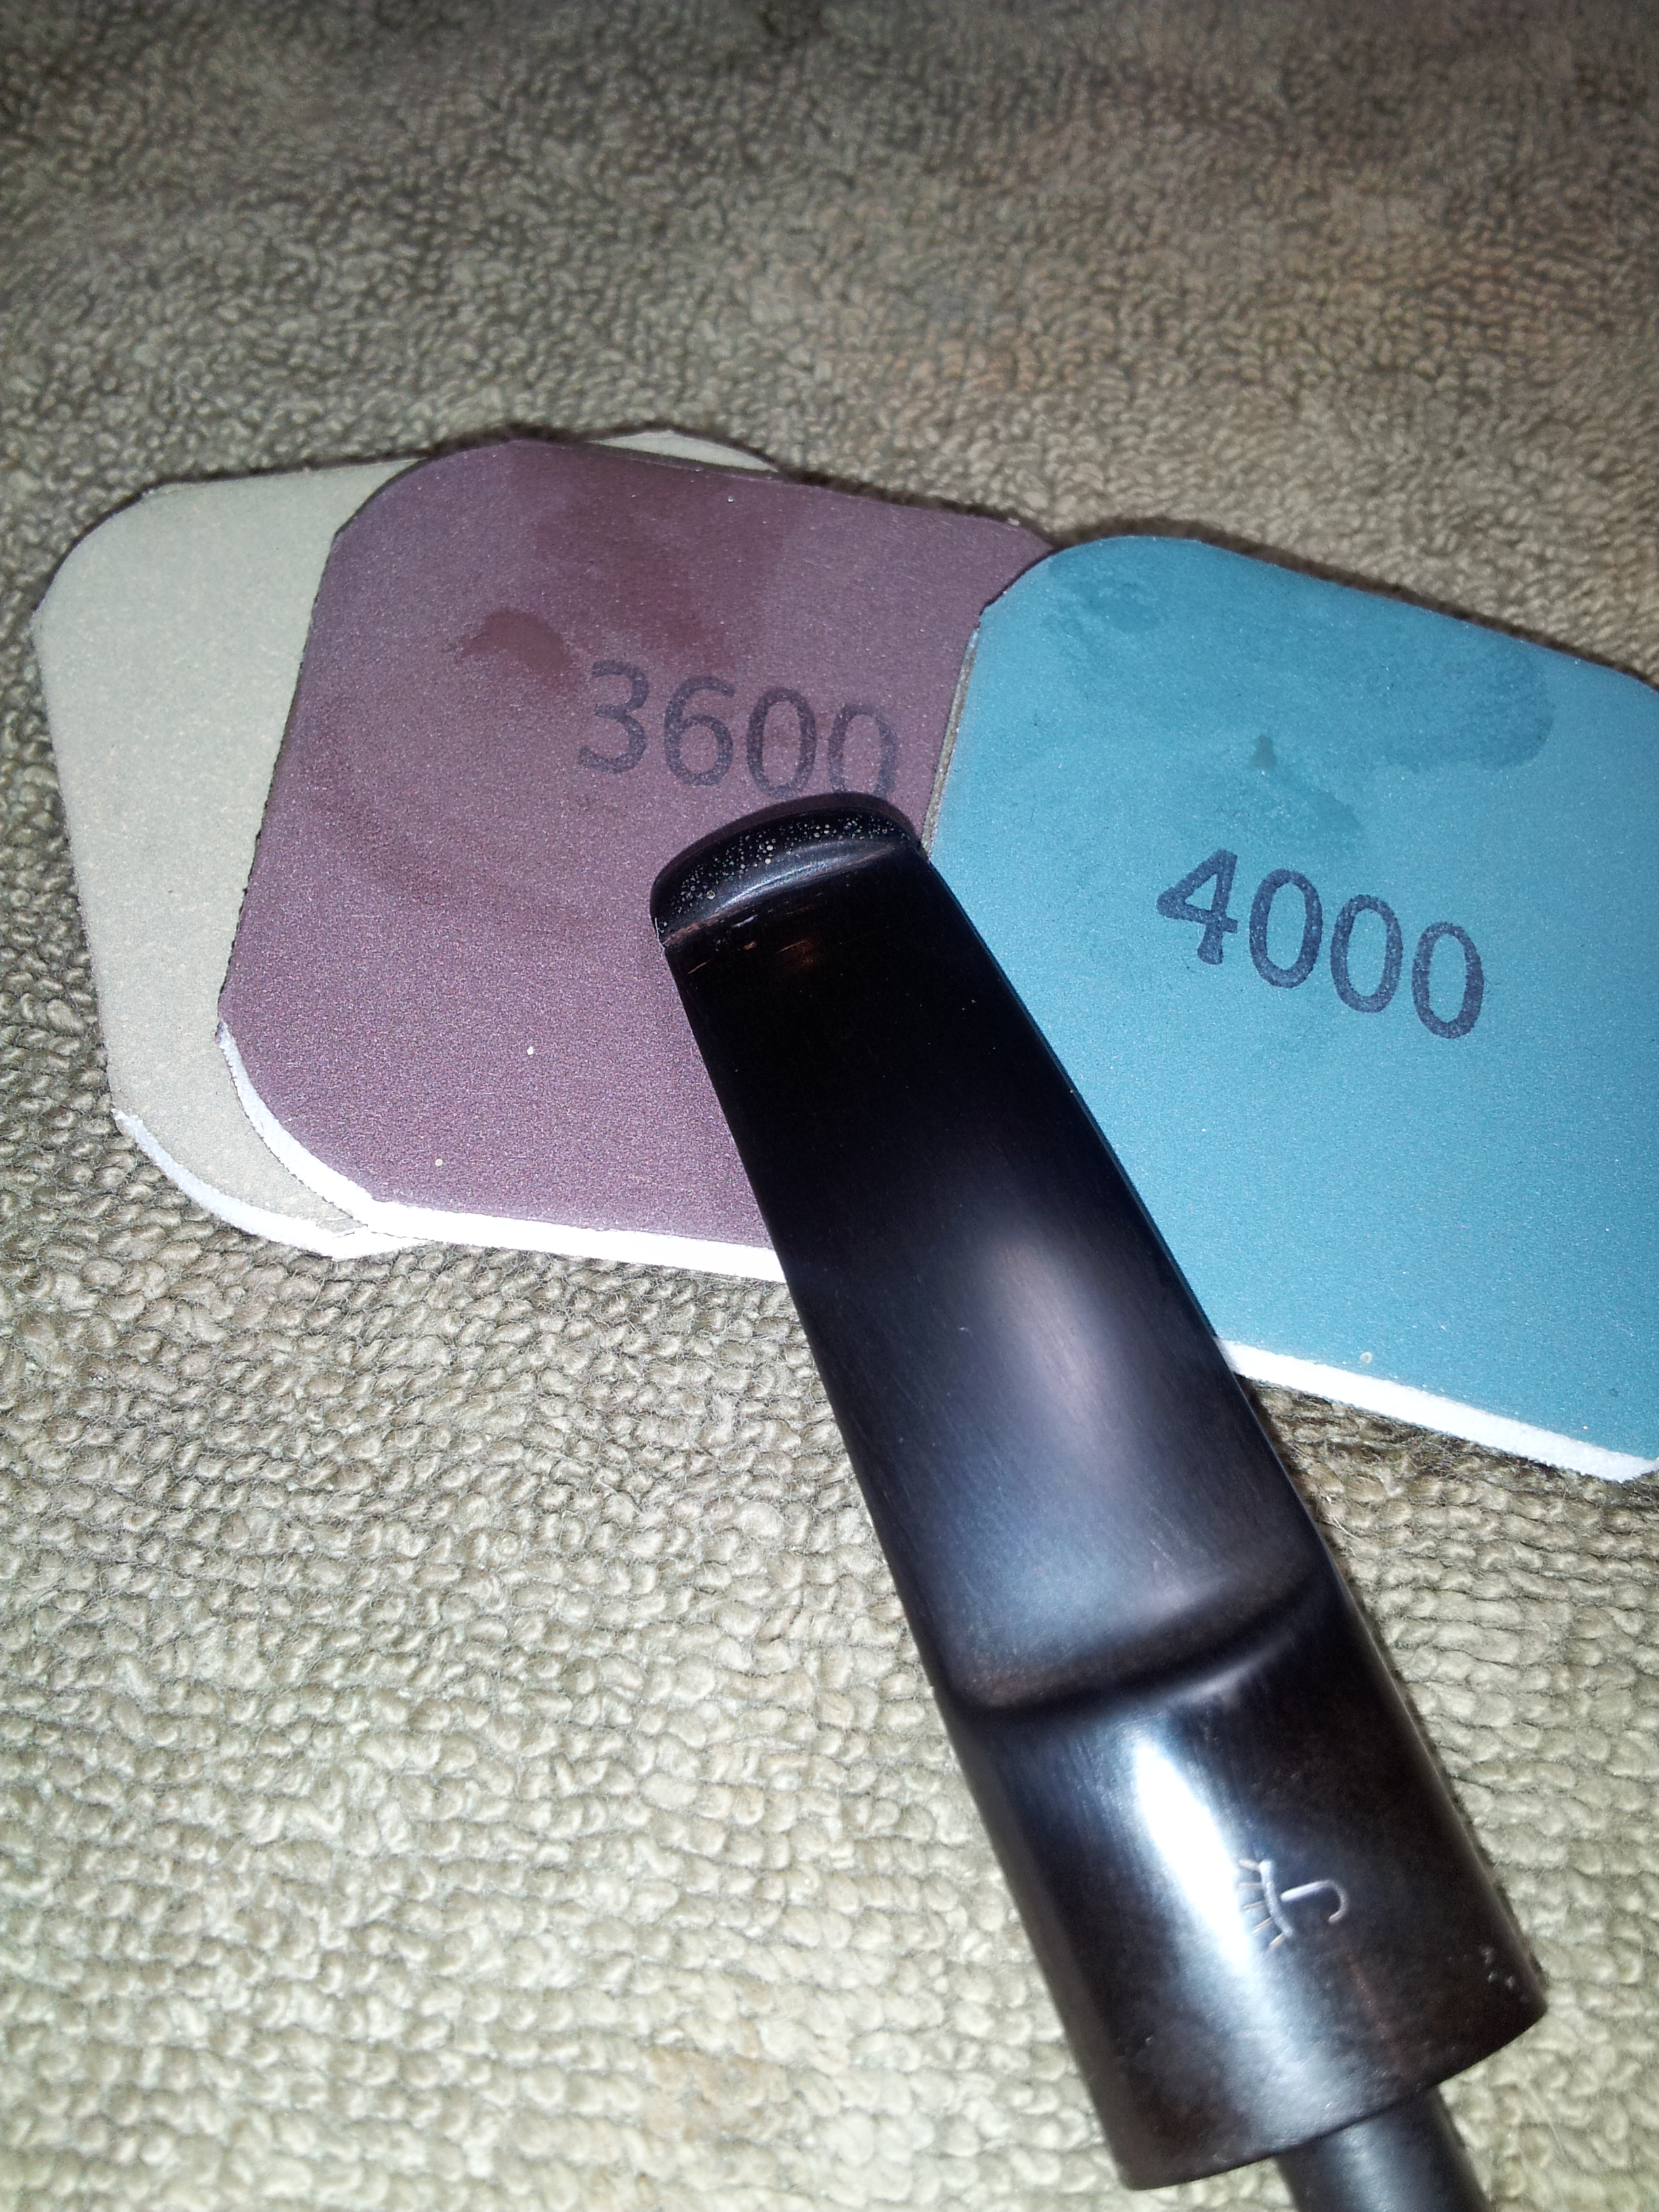
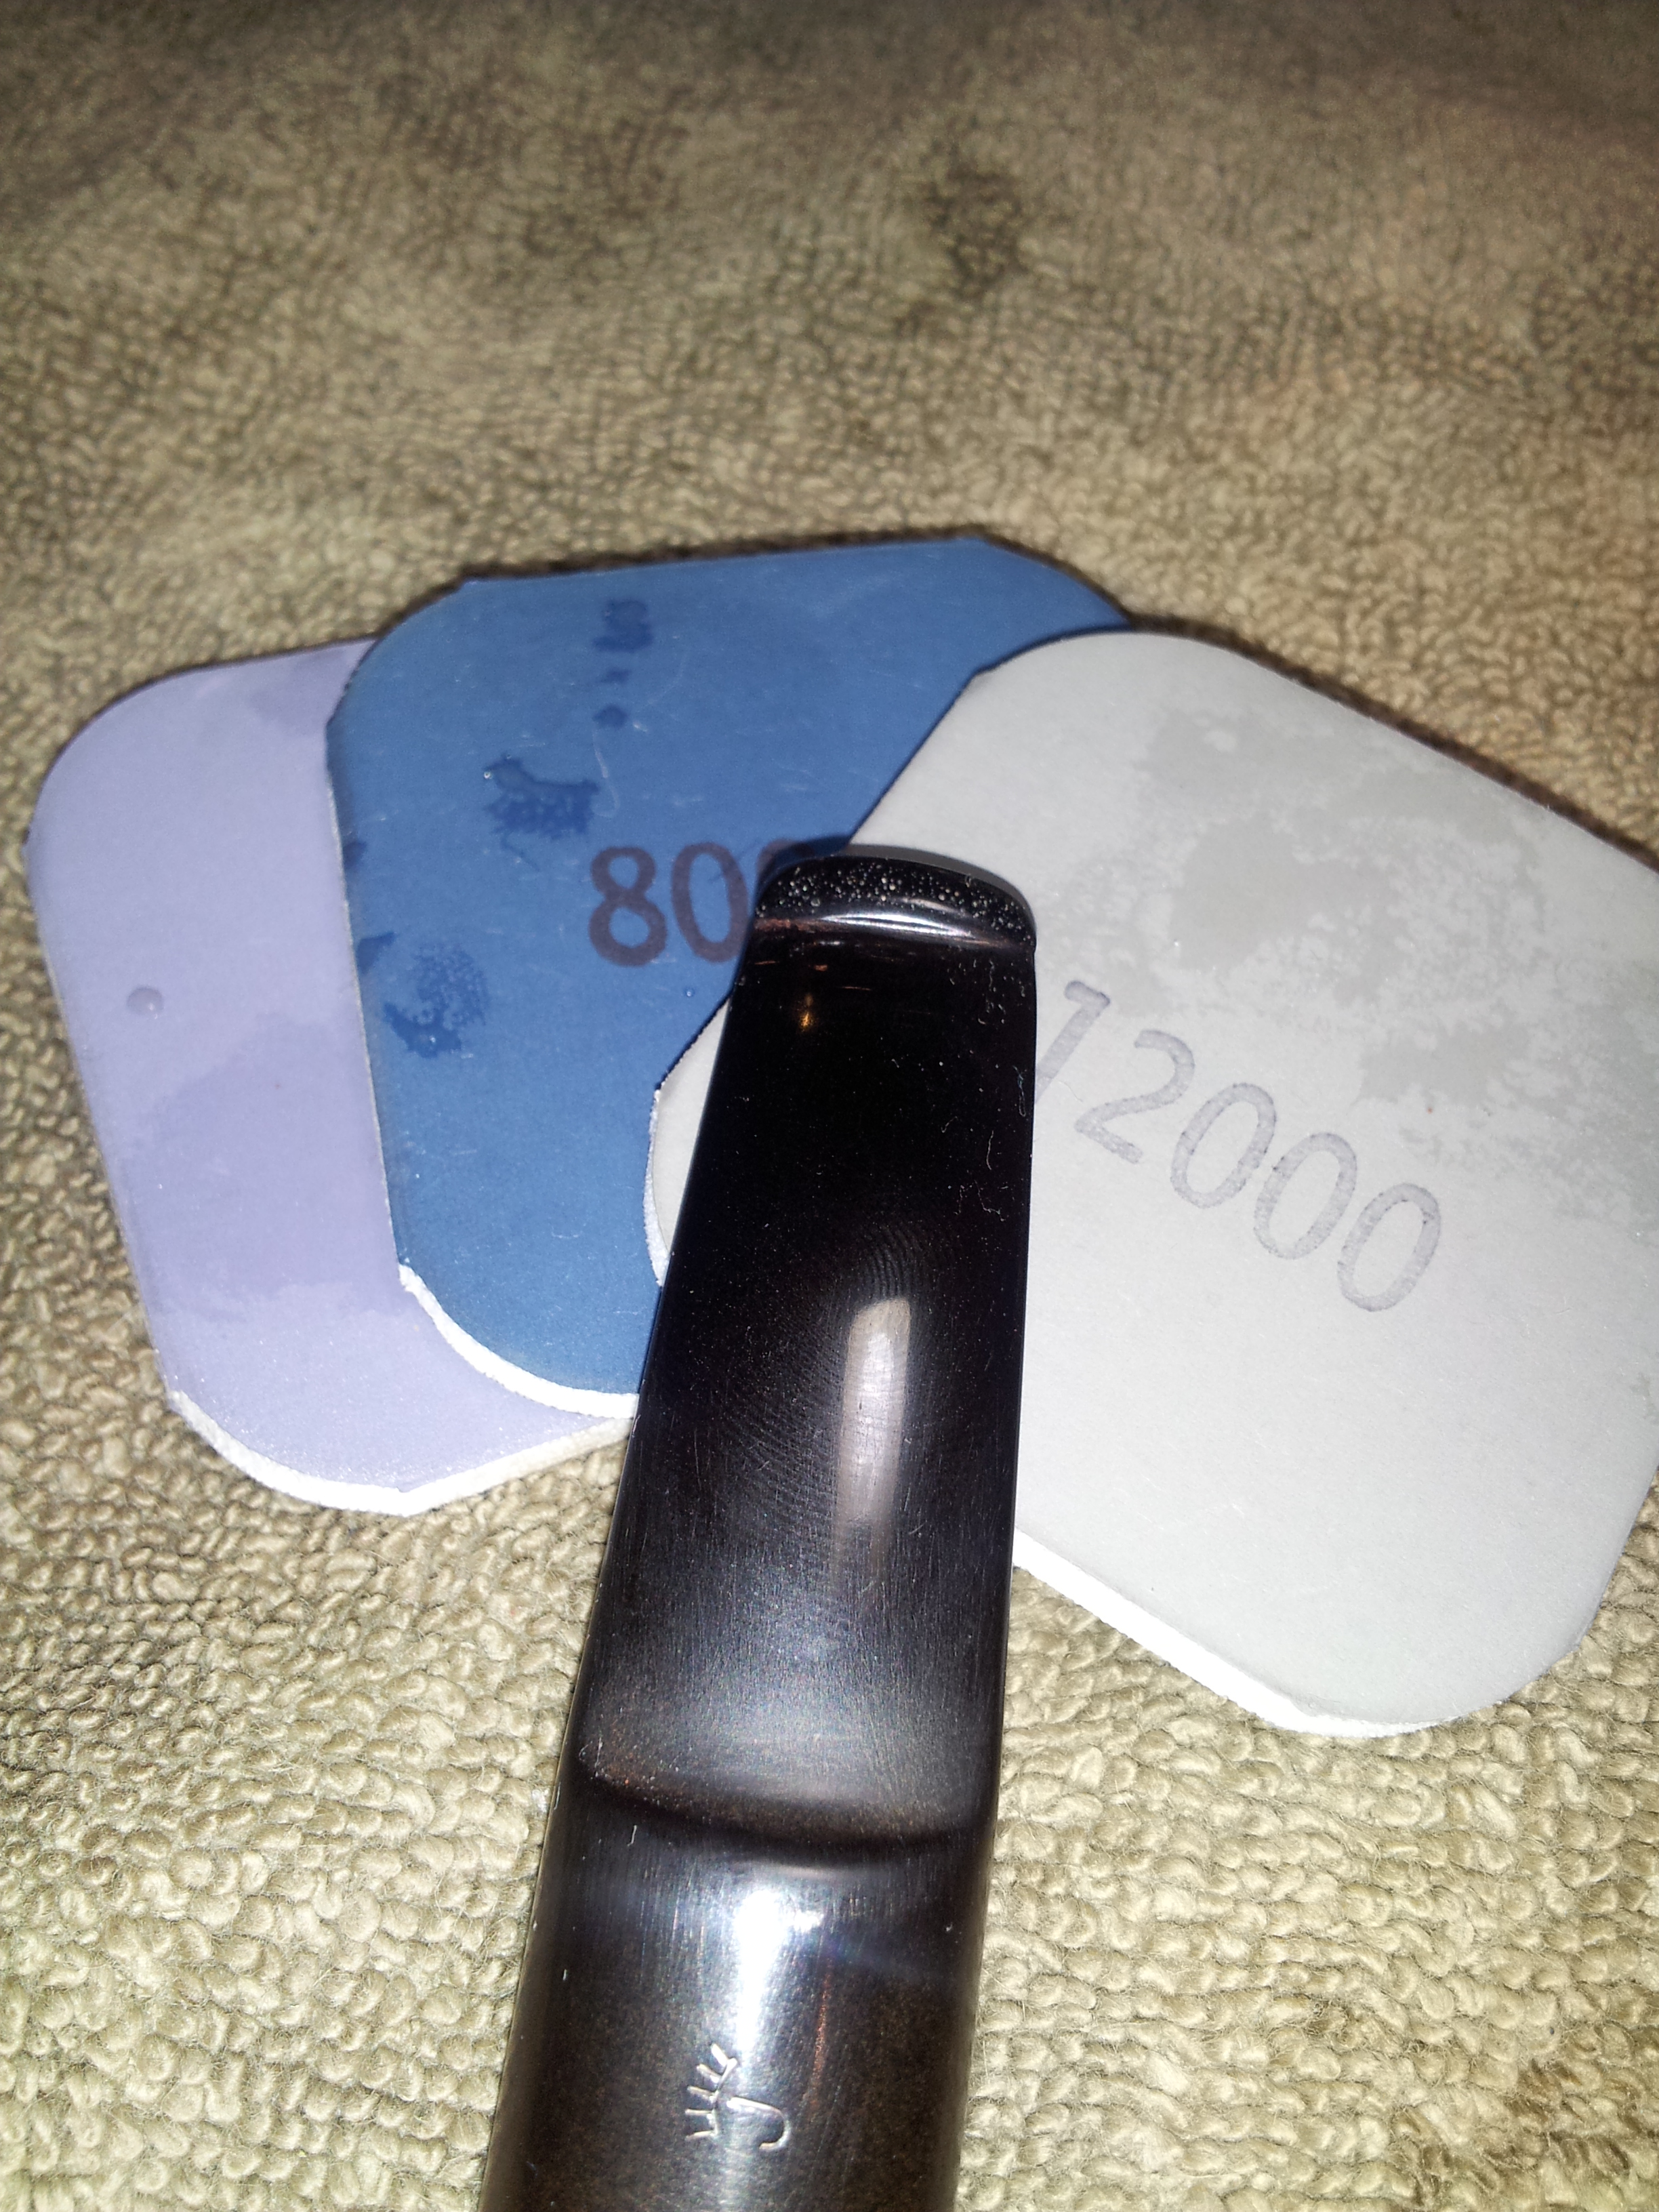
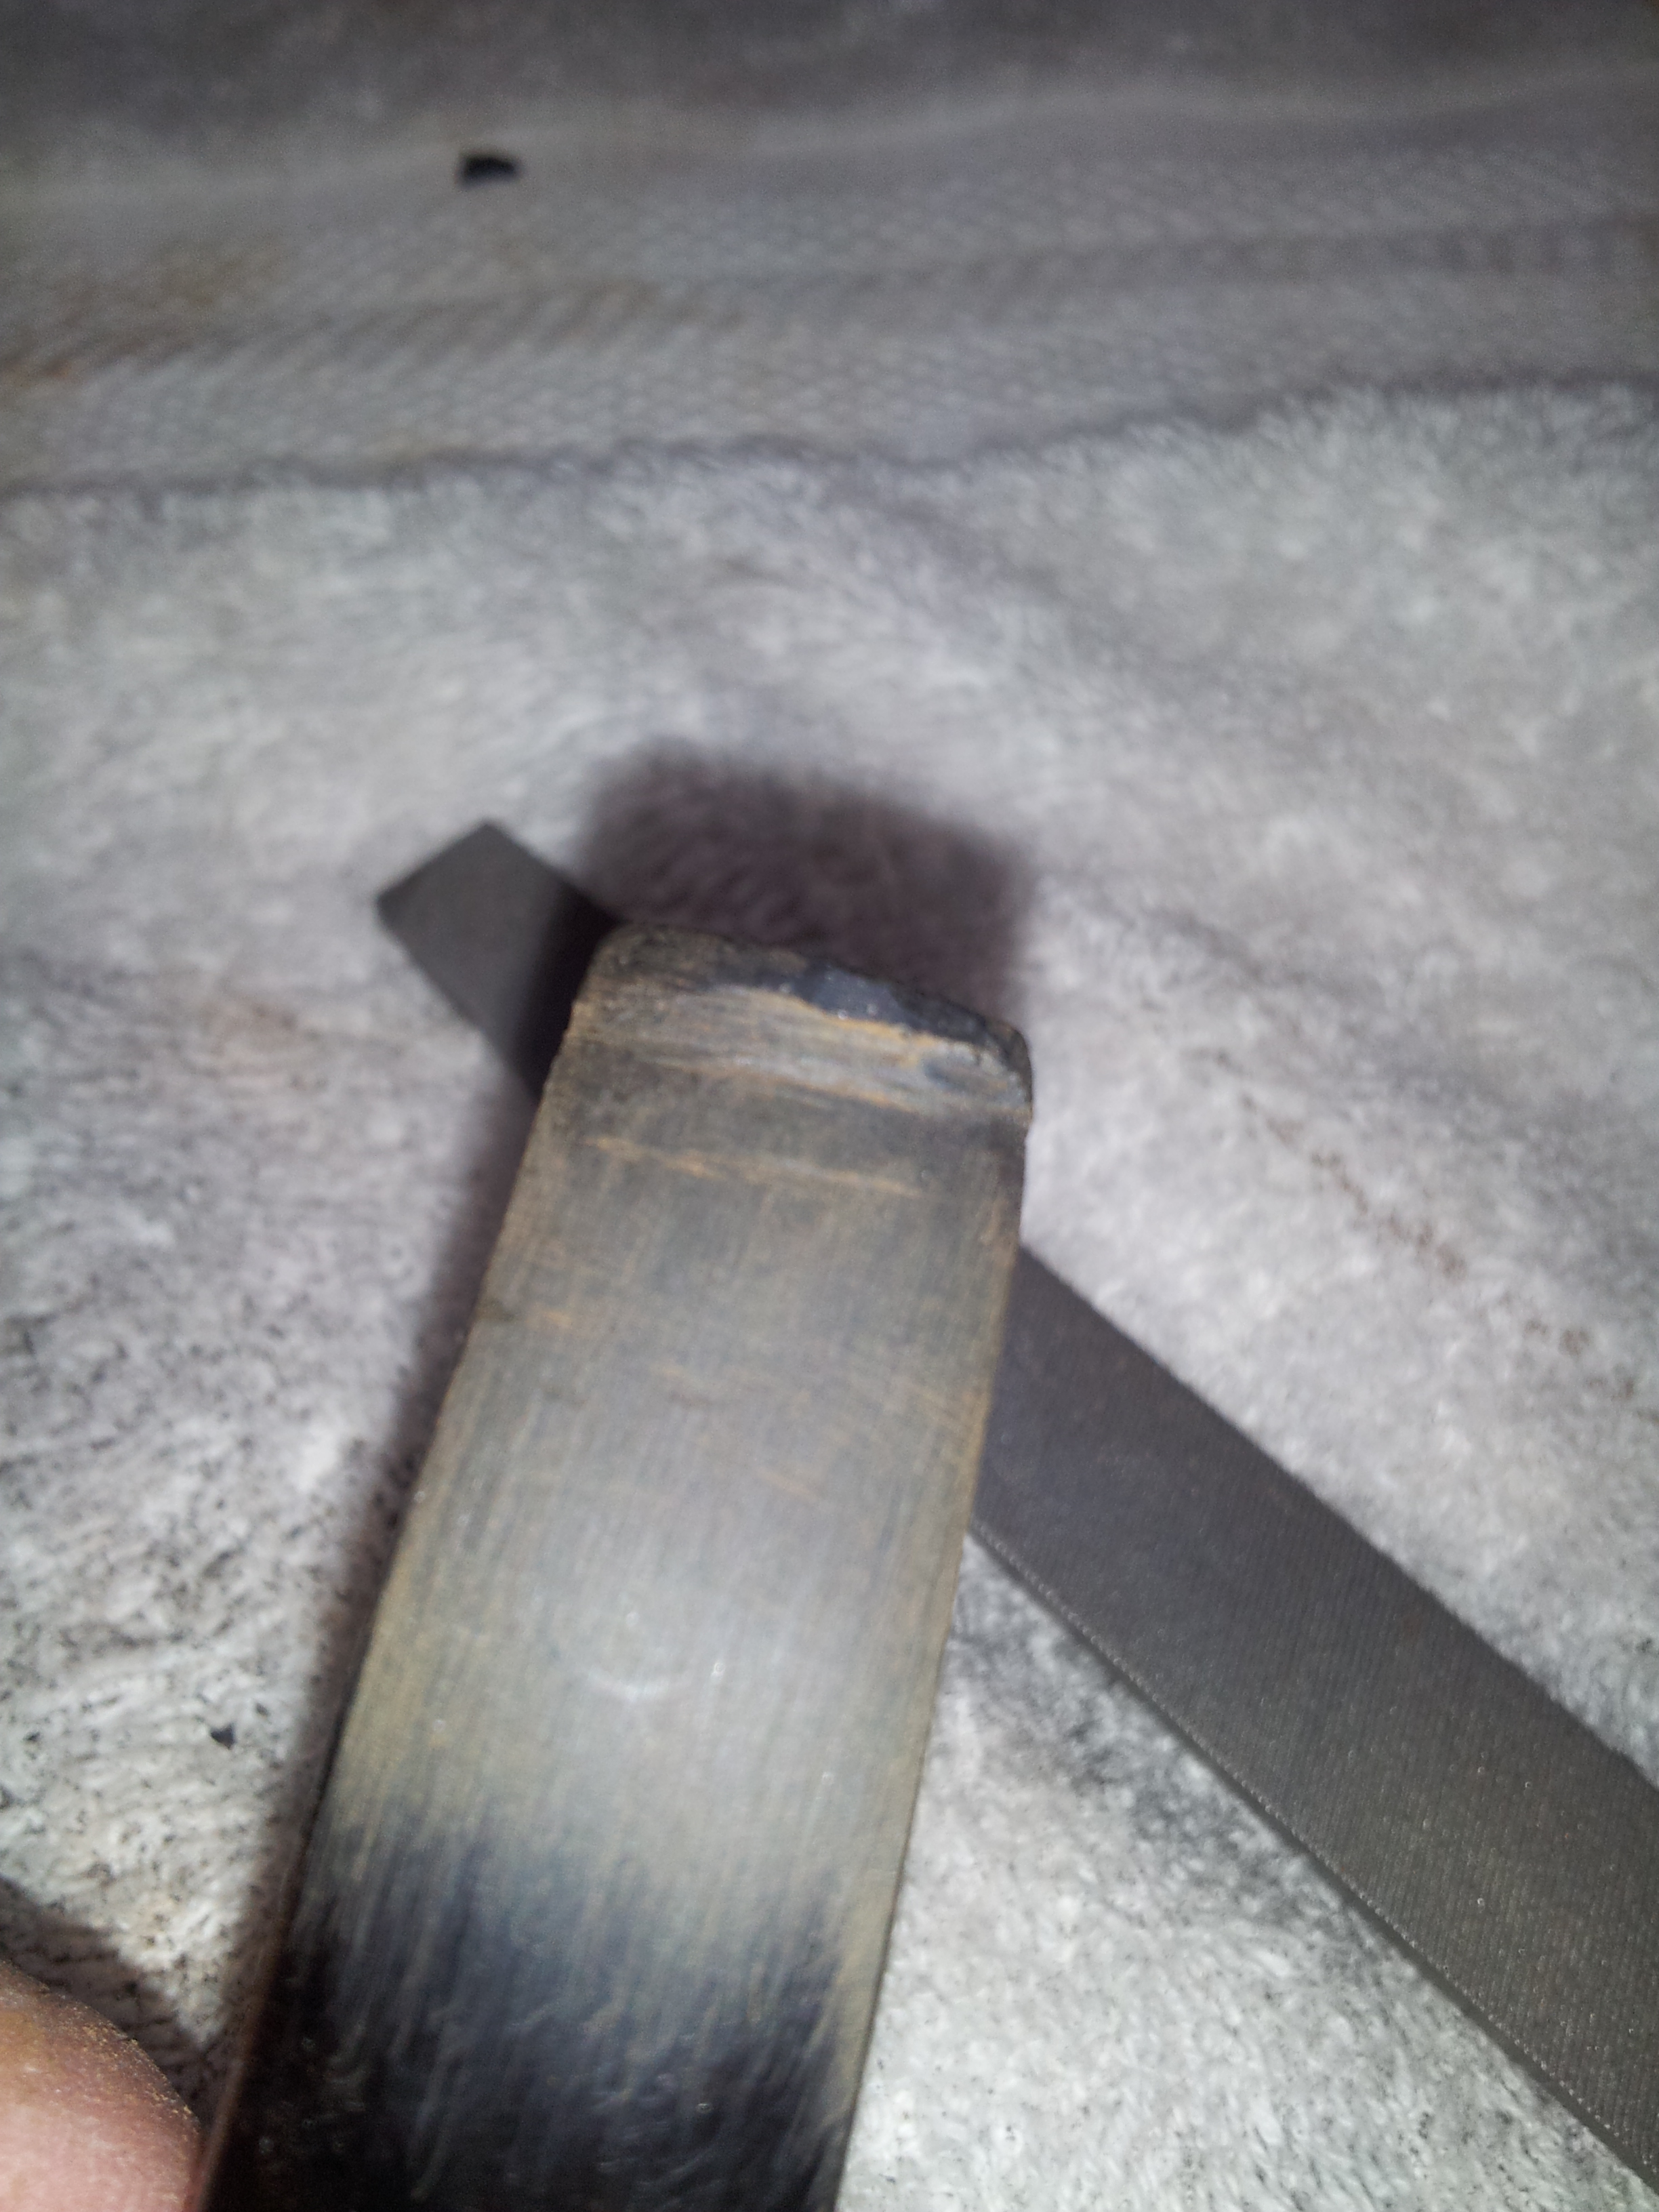
The Micro Mesh pads cover a range of grits from 1500 – 12000 over nine pads. I dry-sanded with 1500-2400 grit, then wet-sanded with 3200-6000 grit, wiped the stem down with mineral oil and finished wet sanding with the 8000-12000 grit pads.
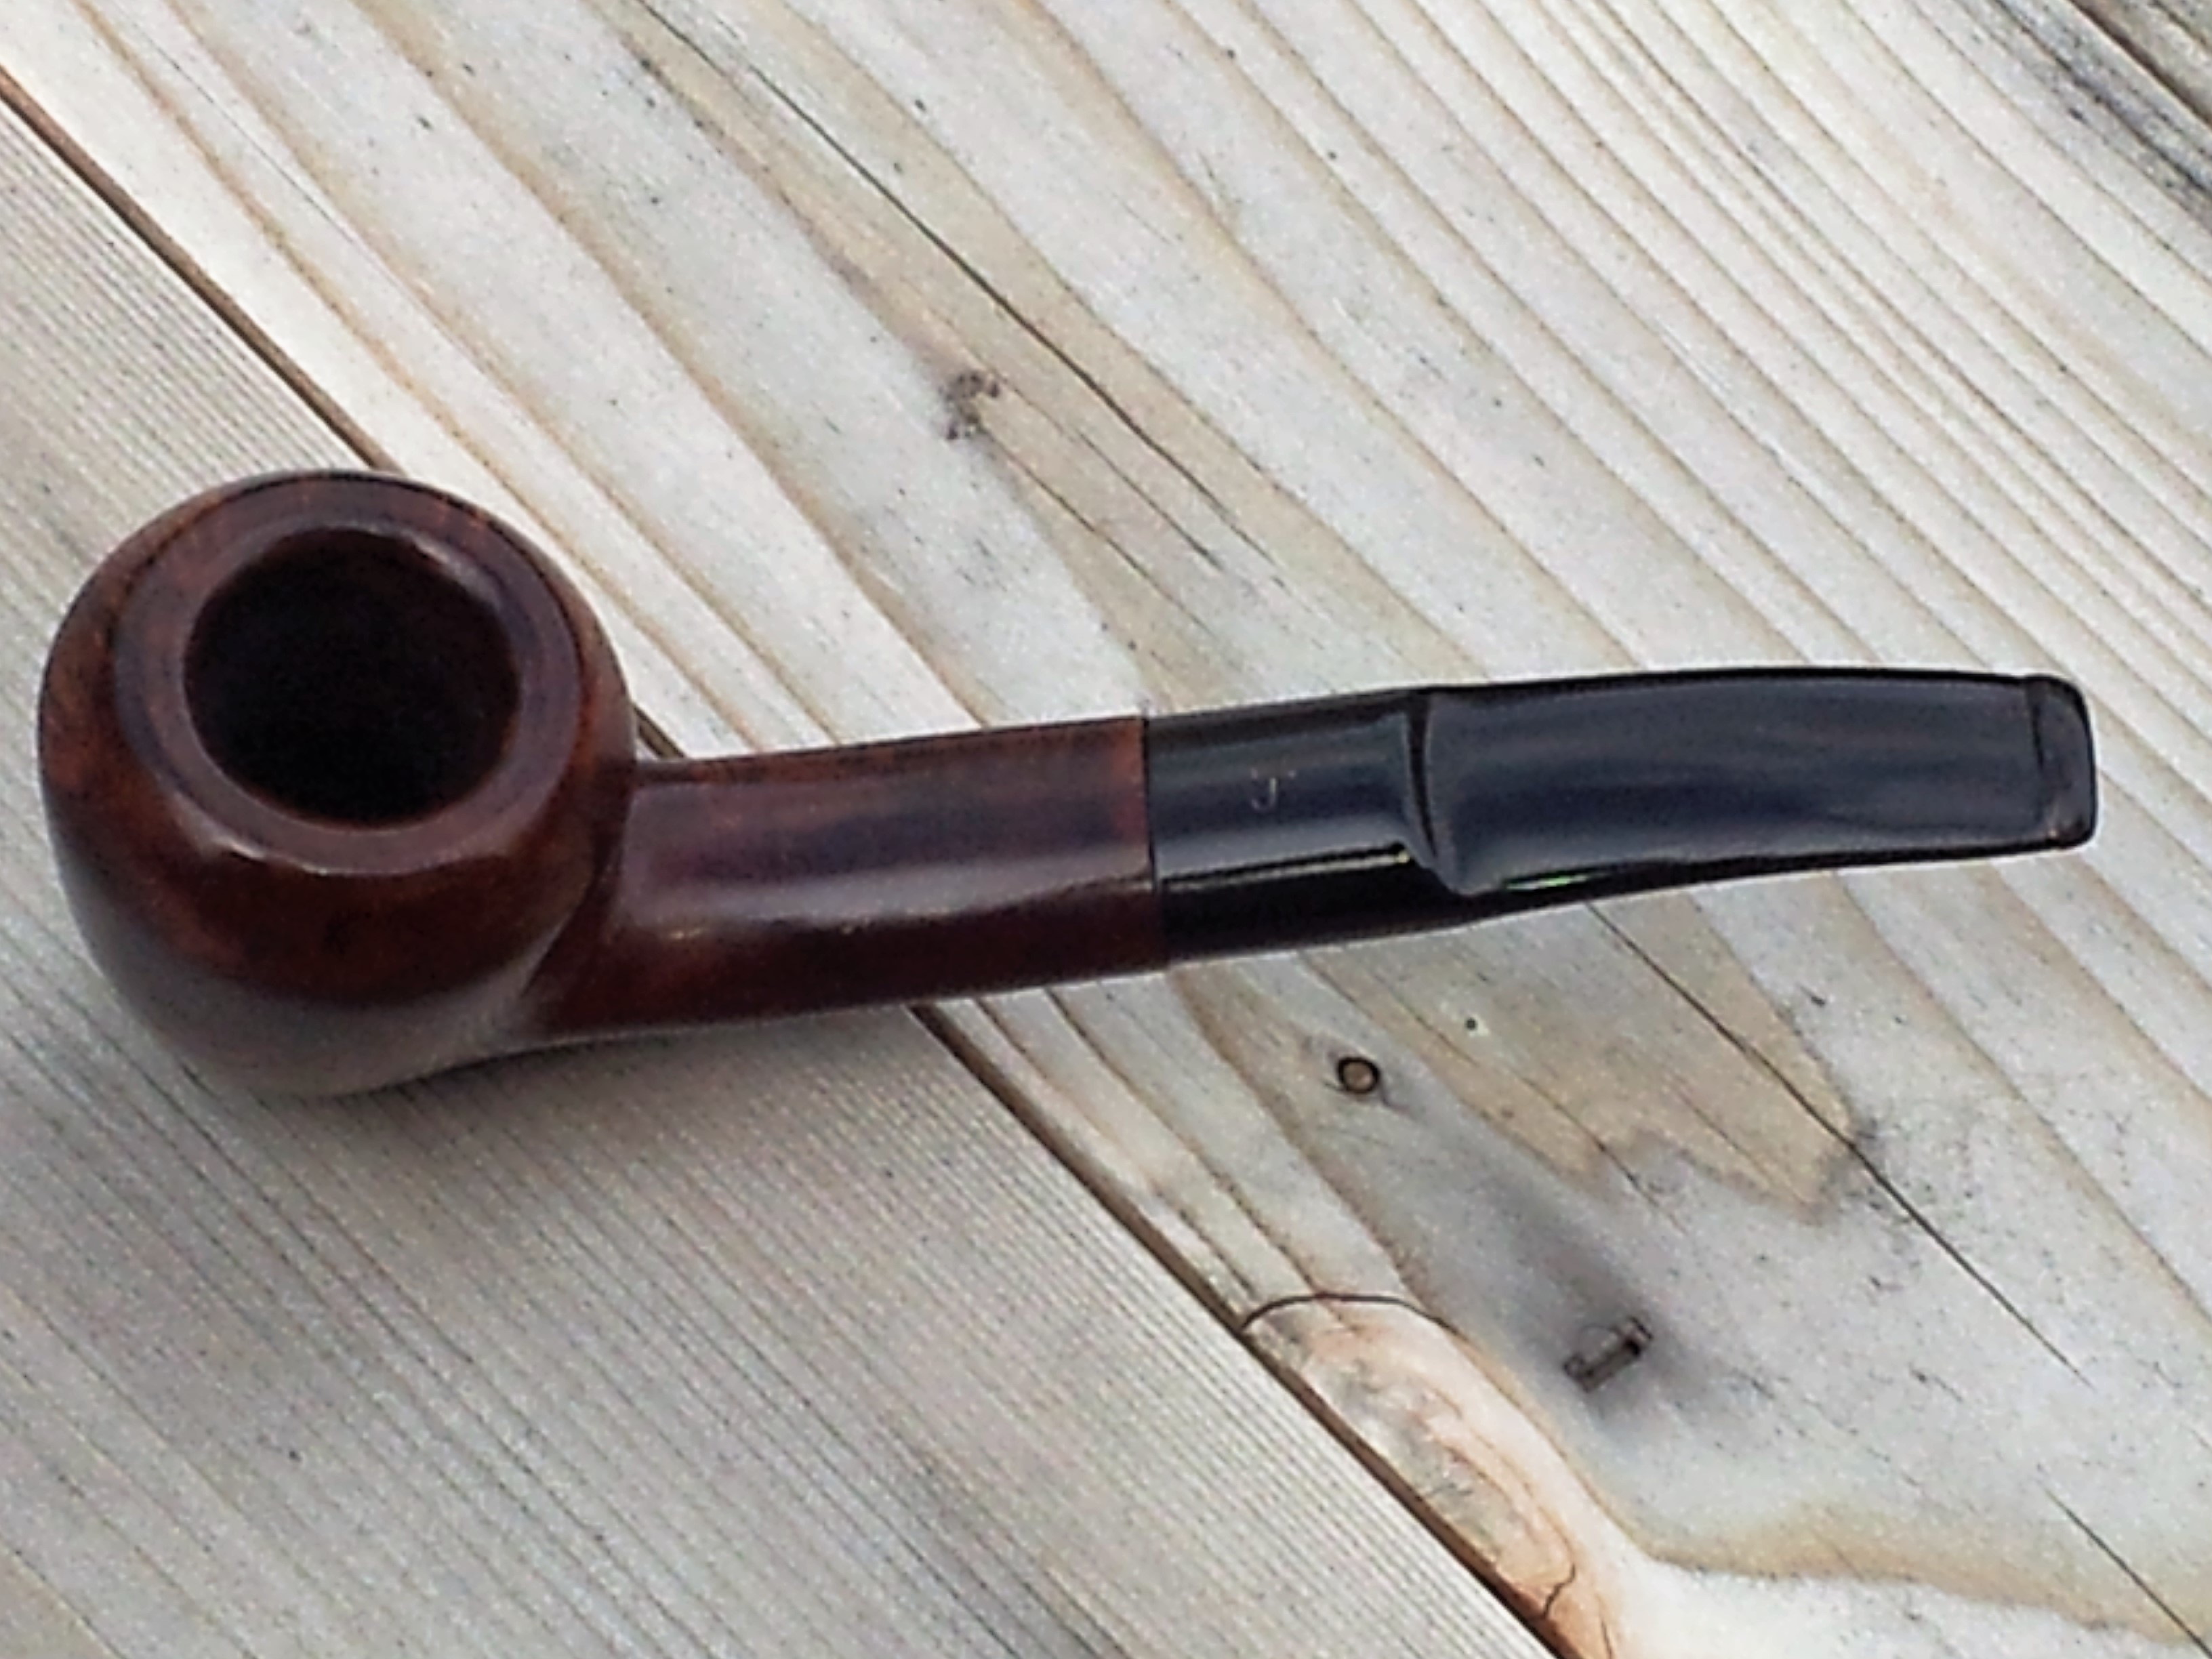
I wiped the stem down with mineral oil before taking it to the buffer, where it was polished with Red Tripoli and White Diamond compounds. Then the whole pipe got two coats of Carnauba wax.
Here (again) is the (really) finished pipe.


Good job. Funny how the camera shows those kind of things. I can’t tell you how many times I go back and do more sanding.
LikeLike
I think at a certain point my eyes just will not register things anymore, but the camera never seems to fail. 🙂
LikeLike
That is one of the perks of taking photos along the way for me. The camera picks up things I no longer seem to see.
LikeLike
Reblogged this on rebornpipes and commented:
Nice work on this one – lots of valuable tips.
LikeLike
Wow! Very nicely done. Impressive. I like how you fixed and disguised the cracked stummel. Well executed work there and on the stem. Great save and great ideas.
LikeLike
Thanks very much. Sometimes I get lucky with a combination of a tight-fitting crack and bold grain in the wood .;)
LikeLike