
In somewhat startling contrast to today’s pipe collecting and preserving mindset, there was a generation of pipe smokers who saw their briars as mere utility objects, tools for capturing and delivering the smoke from all-days blends. Bowls were cleared of dottle and ash by knocking them against the closest convenient surface, chambers were rarely, if ever, reamed to remove the built up carbon cake and pipe cleaning only happened when the airway clogged.
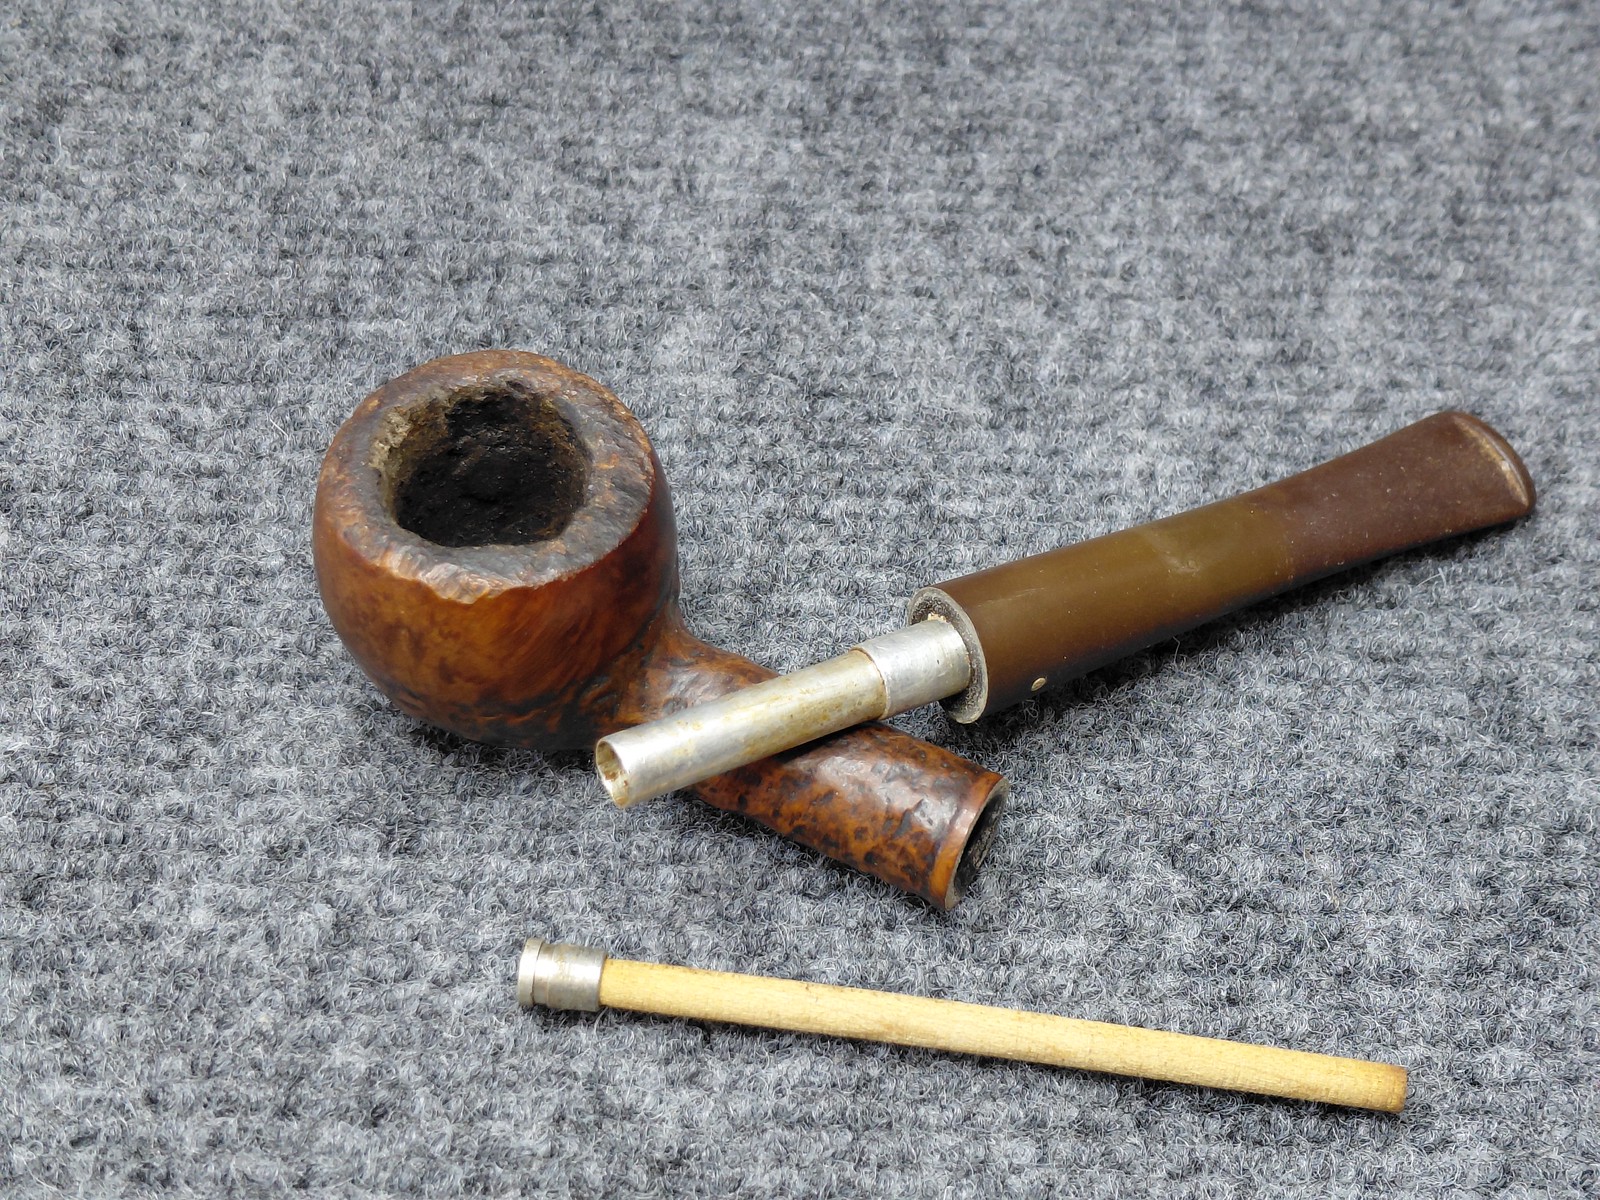
It’s been a while since I had one of these pipes on the bench, but this Brigham 1-Dot certainly fits the “knocked against hard objects” bill. The rim on this pipe, which likely began life as a Brigham 109 Apple, was badly damaged, leaving it uneven, warped and ragged.


The stamps on the flat underside of the stummel had been completely worn away, so there’s no definitive way to date this pipe, but given the amount of damage and wear, I’d guess it was produced in the 1950s or 1960s.

Here are some closeup shots of the very wonky rim. I had my work cut out for me if this bowl was to ever look respectable again!


Thankfully, and somewhat surprisingly, the original aluminum tenon was in very good shape under a light layer of dirt and grime. The stem was oxidized and also had a few tooth dents near the button, but the pipe’s steward decided to have the stem restored as-is, warts and all, in deference to the pipe’s age and history.

Before getting into any sort of cleaning effort, I jumped right on on the rim rehabilitation. To reduce the rough, jagged peaks in the briar, I gently topped the bowl on a sheet of 220-grit sandpaper. The flat tile underneath helps ensure a crisp edge and a true rim surface.

I’ve removed very little material here as I don’t want to shorten the bowl any more than is absolutely necessary. As you can see, the rim is mostly flat now, but there are deeper dents at the front and especially the rear.


Rather than simple sanding everything down to the lowest height, I mixed up some filler material of roughly 50/50 thick CA glue and briar dust and applied it liberally into and over the damaged areas to build them up.

The pipe is quite ugly at this stage, with cured filler material hanging over edges.

I set the stummel aside to rest for the night and allow the filler to cure completely before I did anything else. While I waited, I dropped the stem into a bath of Oxyclean and water to soften the oxidation. It too sat overnight.

When I came back to the shop the next morning, the Oxyclean bath had turned from white to a sickly yellow-brown as it had dissolved the tars lurking inside the stem and softened the oxidation on the stem’s surface.

I removed the stem from the Oxy bath and scrubbed the surface with 0000 steel wool followed by Magic Eraser to remove the softened oxidation layer. The internals needed a bit more work with pipe cleaners, long cotton swabs and 99% isopropyl alcohol to remove years of tarry deposits, but in the end the stem was clean and fresh.

The Oxy soak had removed quite a bit of the oxidation, but as you can see, the Vulcanite wasn’t exactly a uniform black yet. A bit of wet sanding with 2000-grit paper and a run on the buffers would take care of the rest.

I set the stem aside again to work on the stummel, first removing the bulk of the filler material while trying to re-establish a flat, true rim surface.

The rim is still a bit of a Wonky Donkey, with work remaining to tiny things up.

To smooth out the outer rim and at least mitigate the gouges in the inner rim, I hand sanded the stummel with 220-grit sandpaper followed by 320 and 600 grit abrasives. Much better!

This closeup shot reveals one of the drawbacks of my filler – as the CA glue cures, it creates tiny air bubbles, which can get caught in the glue as it sets up. Sanding reveals thses micro-bubbles as a star field of tiny dimples in the filler.

The solution to the micro-bubbles is two-fold. First, I colour the filler with a stain pen chosen to match or at least blend in with the final stain on the pipe. Then I flow a layer of thin CA glue over the patches. The thin glue flows into and over the bubbles and traps the stain in between layers of CA glue.

I let the stummel again rest overnight while the CA cured, then repeated the topping and sanding to smooth everything out. A quick scrub with a few cotton swabs dipped in alcohol removed a surprisingly light amount of old tars and dust from the shank and airway.

I finished cleaning the restored stummel by scrubbing the briar with Murphy’s Oil Soap and a toothbrush. As you can see, the scrub removed a lot of dirt, dust and old wax from the briar.


The last stage in the stummel’s rebirth was to refinish it with vintage-correct colours. The rusticated sections were stained with Black leather dye before the entire pipe received a coat of Dark Brown dye. I flamed the dye to set the colours then hand buffed away the excess with a soft towel.

A wipe with mineral oil really brought this stummel back to life, deepening the colours and adding depth and glow to the finish.

Older Brigham pipes can suffer from loose fitting stems after all the cleanup is complete. It’s party due to general wear and tear on the mortise walls and party because aluminum oxidizes. When the tenons are cleaned up, a small amount of aluminum comes off with the dirt, resulting in a loose fit in the shank.
Brigham hasn’t made aluminum tenons for about 25 years at this point, so replacements are simply unavailable. My solution to the problem is pretty simple – I coat the business end of the tenon with clear nail polish to bulk it up.
I apply the nail polish, let it cure completely, then test fit the stem in the shank. If it’s still loose, the tenon gets another layer of nail polish. If the stem is too tight, a quick sanding with 600 grit wet sandpaper reduces it until it fits securely in the shank.
Leaving the nail polish to cure for at lest 12 hours is important here, as semi-cured polish can turn into surprise glue when you fit the stem to the shank. Let’s not do that!

With stummel and stem reunited at last, I took the finished pipe to the buffers for a run on both the Red Tripoli and White Diamond wheels to erase any stray sanding marks and brig up the shine. A few layers of Carnauba wax add more shine and a layer of UV protection for the Vulcanite.
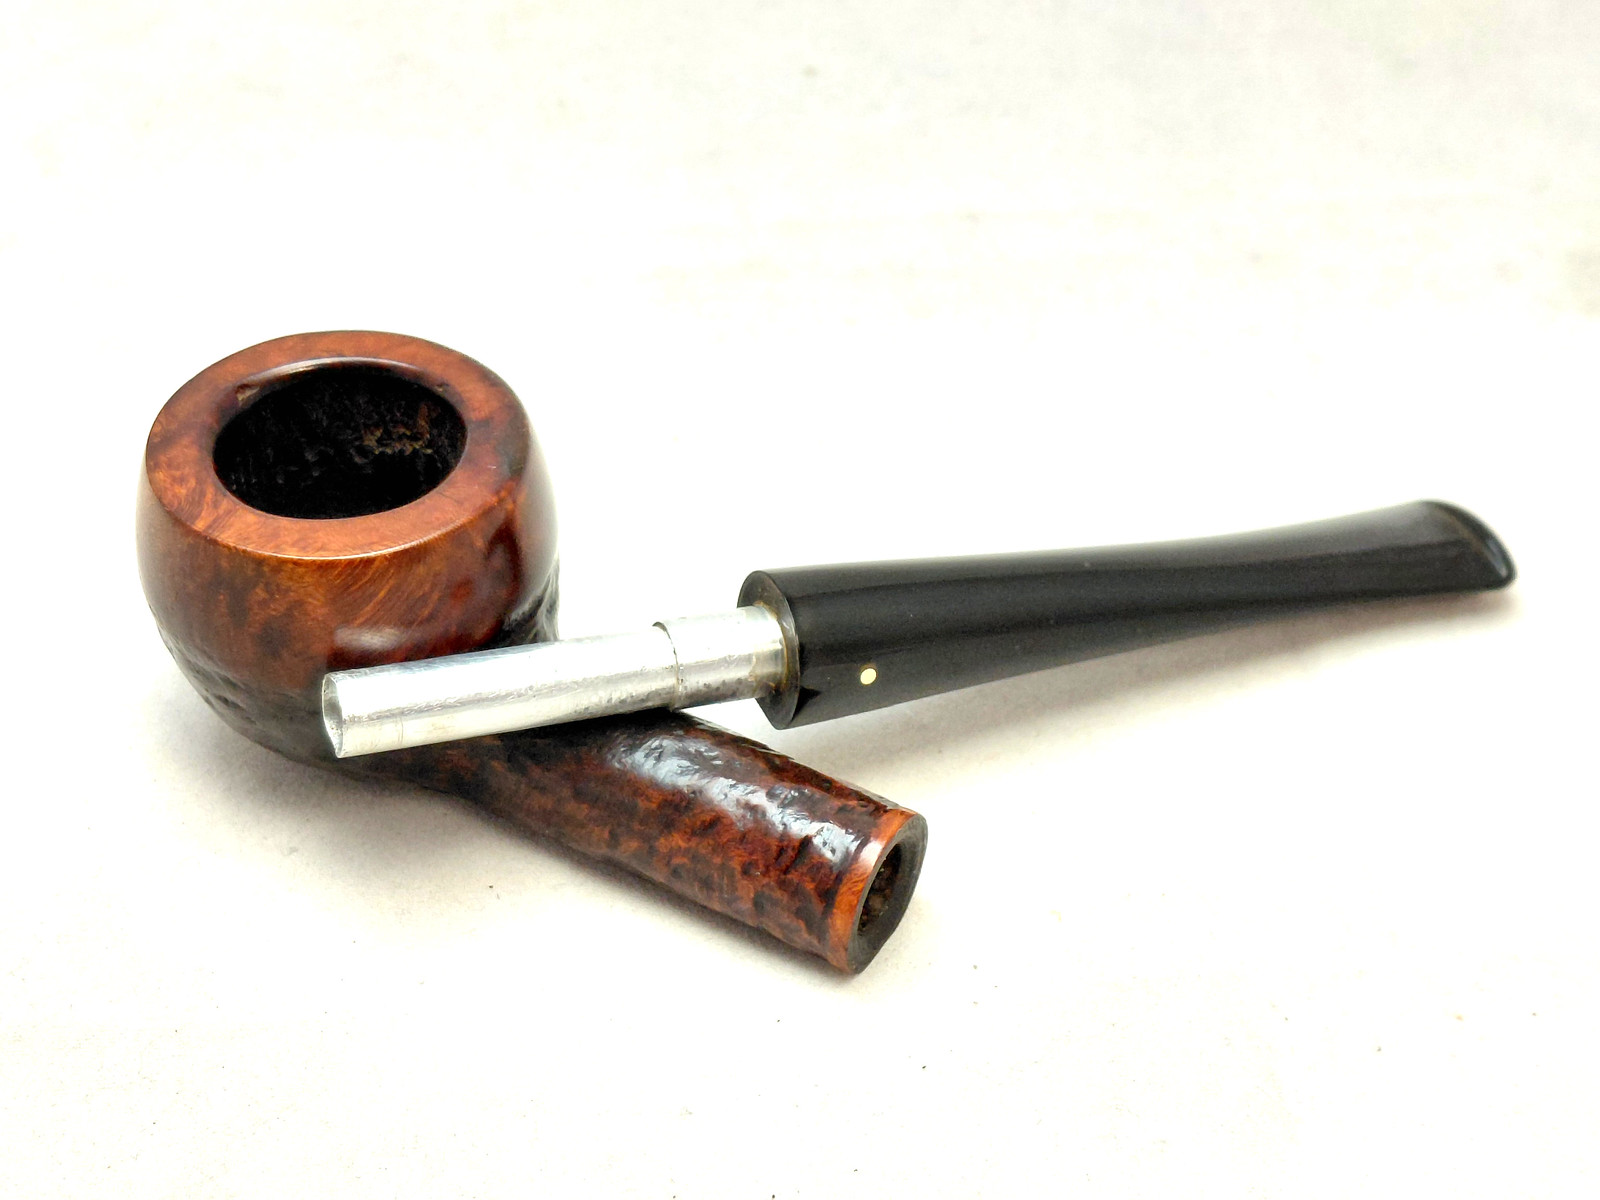
The finished pipe looks very good after its time on the bench, and while it’s definitely not an Apple anymore, this Brigham 1-Dot pipe is fresh, clean and serviceable, ideal for when its steward wants a shorter smoke. With a bit of care and feeding, the pipe should provide many more years of smoking companionship.
Thanks for joining me on this pipe rescue adventure. It’s great so see what a little bit of TLC can do for a pipe others may have written off as a lost cause. If you’ve got any such wounded warriors in your rack or collection, perhaps give them another look. They juat night turn out to be a favourite smoker!
Until next time, Happy Piping!
Here’s the finished pipe.


Thank you so much for the detailed discription of taking a pile of old sawdust to a very well done smoker again. I have a couple of piles that I might look at with a little bit of love the next time. Thanks again.
LikeLiked by 1 person
Thanks! In over a decade doing this, I’ve rarely come across a pipe that is truly unsalvageable if the will (and the budget) is there. This Brigham came out rather well, I think, without too much intervention.
LikeLike
To show my ignorance, what is that long white thing with the silver end on it?
It looks too long to be a filter, but I can’t figure it out. I need some instructions.
LikeLike