
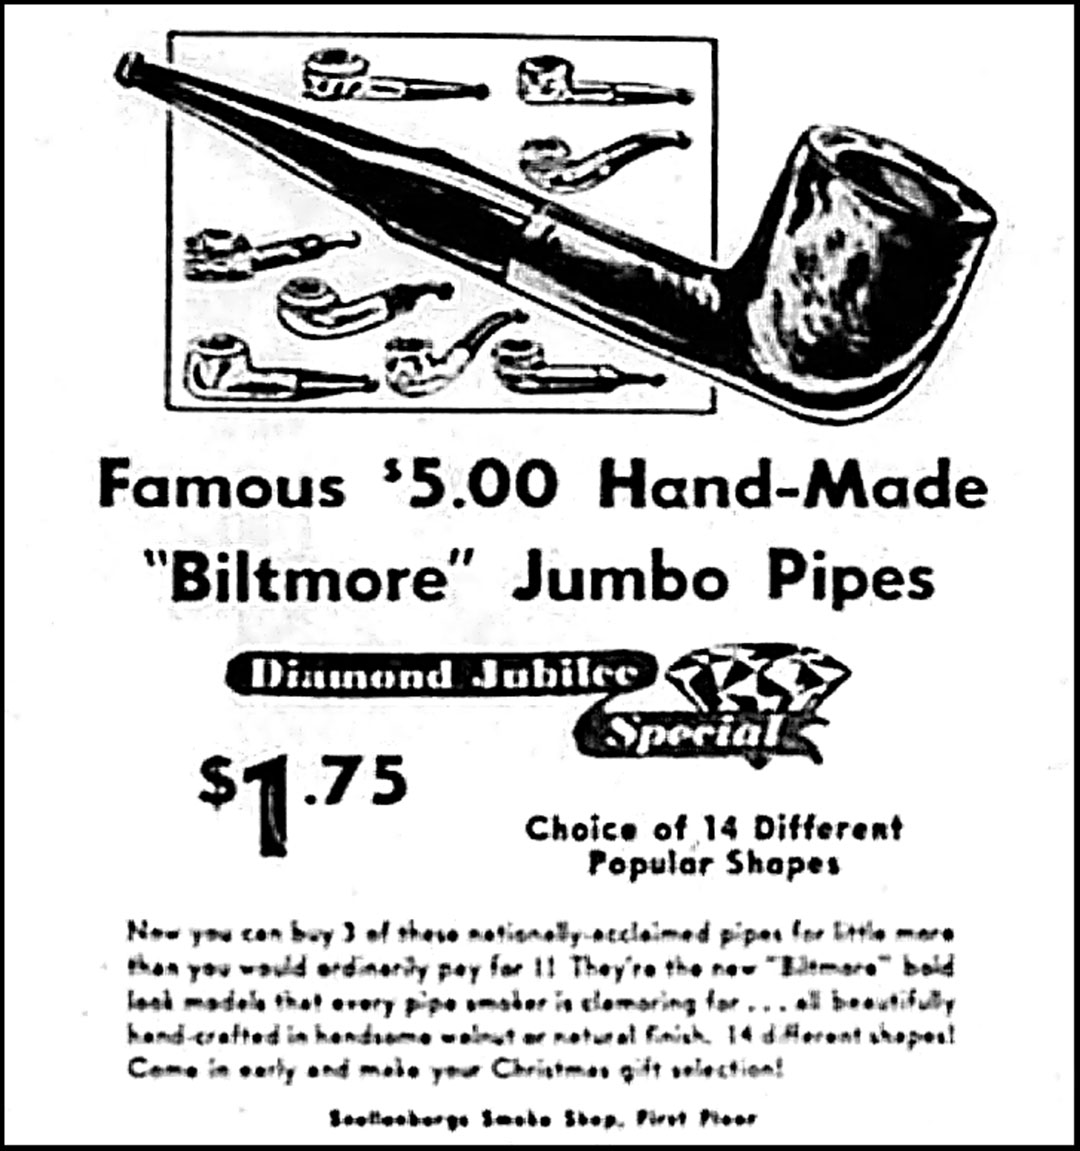
BP JUM pipes are a bit of a mystery. On one hand, they bear a striking resemblance to Custombilt pipes, and some speculate they were made by Tracey Mincer. On the other hand, there is, to my mind, a reasonable theory that the maker is actually Biltmore pipes, and that “BP JUM” may be a short form of “Biltmore Pipes Jumbo”. This advertisement, taken from the BP JUM page on Pipedia.org, certainly seems to feature some rather similar pipe shapes.
The Pipedia article is pure speculation, but what is not up for debate is the affection with which the pipe’s steward regards his BP JUM Squat Bulldog or “John Bull” shaped pipe. Sent to me by a Canadian ex-pat living in Singapore, the pipe needed a new stem, the original having cracked at the button.
This series of images shows the rather well care for condition of the pipe when it arrived in the shop. The finish is a little dull here and there, and there is a little bit of carbon on the rim. but otherwise the stummel of this pipe is in excellent estate condition.


The original Vulcanite stem was slightly oxidized and had some tooth chatter on both top and bottom surfaces of the bite zone, but the biggest issue was the aforementioned crack in the left corner of the button.


Also a bit peculiar was the aluminum tenon, possibly a replacement, that sat proud of the stem face. This is a cosmetic issue rather than a structural problem, but it just doesn’t look right.

The pipe is stamped simply, with “BP JUM” over “Imported Briar” on the left side of the shank.

The shank diameter is larger than any available precast Vulcanite stem blank, so a Hand Cut stem from Ebonite rod was the only route forward. The pipe’s steward had originally requested a black Ebonite stem for the pipe, but then asked about the possibility of a coloured stem. I dug around in my supplies and found the end of a rod of Green Cumberland Ebonite left over from a previous project. I sent the pipe’s steward the pic below. His approval was quickly forthcoming.

To ensure I was fitting a stem to a clean shank mortise, I gave the stummel a quick once-over. As you can see, the shank and airway were already quite clean.

I also gave the rim a light scrub to remove the carbon deposits there.

With the stummel prepped, I began work on the new stem. Planning to cut an integral tenon into the rod stock, I measured and cut the rod to rough length, then mounted it in the lathe for drilling. The process is multi-stepped, using 4 to 5 different drill bits, depending on the application.
After using a spot drill to mark the centre of the rod, I used a long 1/8″ drill bit to cut the preliminary airway from the end of the tenon to about 5/8″ behind the button end.

Next up, a 9/64″ taper-point bit enlarged the airway slightly and drilled a bit deeper, funneling the airway to a point roughly in line with the end of the lather chuck jaws.

To complete the airway from end to end, I used a 1/16″ drill bit, guided to centre by the tapered end of the previous drilling, to exit the end of the rod on the button end.

As shown in the above pics, I had roughed out the space for an integral tenon, but after sizing the tenon, a test fit revealed that the end of the shank was not 100% flat or true, likely due to age and use. Rather than attempting any pipe voodoo to re-face the shank, I took the simpler road here, cutting off the integral tenon and drilling the rod to accept a Delrin tenon instead. Going this route allows a tiny amount of wiggle room when fitting the stem to the shank.

While the rod was still cylindrical, I roughed in the slot at the button end. For this job, I use a 1/16″ end mill mounted in my drill press. A sliding vise holds the rod perpendicular to the bit, which is centred on the 1/16″ hole in the end of the rod. After lowering the bit into the hole and locking it in position, I can use the sliding vise to cut a nice, neat slot outline.

I used standard two-part epoxy to bond the Delrin tenon into the stem face. The photos of that process seem to have gone AWOL, but regular readers of the blog will be very familiar with the method. The Delrin tenon is cut to fit snugly in the shank mortise, with a step down in diameter for the stem end of the tenon.
After roughing up the tenon to help the glue hold more firmly, I applied epoxy to both the end of the tenon and the mortise drilled into the stem face, and assembled the pipe. Clamping the pipe stem upwards for the night allows gravity to assist in keeping the stem pressed flat against the stem face, while the tiny amount of wiggle room between tenon and mortise walls provides a touch of adjustability to compensate for situations, like this one, where the shank face is ever so slightly off.
After allowing the epoxy to cure fully, I dismounted the proto-stem from the pipe and chased the airway with a drill bit to remove any excess epoxy. Then it was time to lay out the profile of the new stem using masking tape. This pic shows the stem marked out, with tape indicating the depth of the saddle, the button and horizontal lines on each side of the rod indicating the location and width of the airway.
The airway lines are crucial at this stage – the last thing I want to do is accidentally sand through the airway while shaping the stem! The lines also help keep the flat blade portion of the stem in line with the slot cut in the button end. It’s surprisingly easy to cut a twist into the stem when working without guides.


To remove the bulk of the excess Ebonite from the rod, I use a 1″ belt sander. It works quickly, but can get out of hand equally fast. This is not a task to undertake while distracted.

While I was at the belt sander, I reduced the button from an oversized circle to an oversized football shape, being careful to keep the “points” of the football in line with the slot.

That rough shaping marked the end of the machine work on this stem. From here on out, the task was completed by hand with a series of files and sandpapers. Starting with coarser files, I tidied up the jagged edges left by the sanding belt and squared off the edges of the saddle and button. At least one file with a “dead edge”, a smooth, flat edge without teeth, is a key part of the stem-making toolbox here as it allows the craftsman to file a vertical surface without affecting the horizontal surface below.


This pic shows the Ebonite filed back to a point just shy of the guide tape. This is where I started moving the stem away from a flat rectangle towards a gently rounded profile, fatter in the middle and tapering to a sharp edge at the centre line.

Taking a break from the flat files, I decided to end the day’s efforts by opening up the V-slot at the button end. Using the milled slot as a guide, I used two different slot files and a flat needle file to expand the airway from a single 1/16″ hole to a wide V shape. This, like most physical skills, take a bit of practice, but patience is rewarded with a nice neat slot, a great natural break point at which to leave the pipe for the night.


When I came back to the shop the next morning, I continued to refine the size and shape of the new Ebonite stem. The rod was slightly larger than the shank, so I worked to reduce the stem’s diameter to create a smooth, seamless transition. Note the clear hockey tape on the shank. This is important protection for the shank and stamps during filing and sanding.

When I was happy with the overall profile of the new stem, I put away the files and moved to sandpaper, sanding the stem with successively finer grits ranging from 220-grit to 2000-grit. The keen-eyed among you may notice the lighter patch on the top of the shank. This is where the final sanding removed a touch of the original finish, but I have not sanded into the briar itself.

Here are a few close shots of the sanded stem. That Cumberland grain is really going to pop when the stem is buffed!

This side-on shot emphasizes the curvature of the top and bottom surfaces of the stem, as well as the nice, straight edge.

Before final buffing and polishing, I took a minute to introduce the required bend to the new stem. Given the very gentle 1/8″ bend on this stem, the pipe cleaner slipped through the airway isn’t strictly necessary, but I do it out of habit. It’s also a good time to test how easily a pipe cleaner slides through the airway (or remind me that I’ve left epoxy blocking its passage).

A quick wipe with a stain pen blended the lighter area of the shank with the original finish. Then it was off to the buffer where the pipe was given a run on both the Red Tripoli and White Diamond wheels to erase any last stray sanding marks and bring up the shine. A few light coats of carnauba wax added more shine and some UV protection.
The finished pipe is a real looker, with the reddish briar setting a lovely counterpoint to the rich green and black of the Cumberland Ebonite stem. I’m very pleased with the way this BP JUM project turned out, despite the initial speed bumps. With a little care and feeding, this pipe will serve its steward faithfully for many decades to come.
Thanks for joining me for this pipe restoration. A Hand Cut stem is a fair amount of work, and can go terribly wrong at several key points along the way, but planning, patience and practice will see it through, with sometimes remarkable results.
Until next time, Happy Piping! Here’s the finished pipe.


Absolutely outstanding work Charles. For those who will never own a lathe the step by step is so very good. Th
LikeLiked by 1 person
A lathe definitely speeds up the stem-making process, but it’s not a required tool. Above all, patience and attention to detail carry the day. 😁
LikeLike
I love how you put the green ebony stem to replace the black. I would have never thought about that… but it really makes this pipe stand out… That and the beautiful reconditioning of the wood…
Looks great Charles… thank you for sharing another one of your projects…
Blessings…
Rick
LikeLiked by 1 person