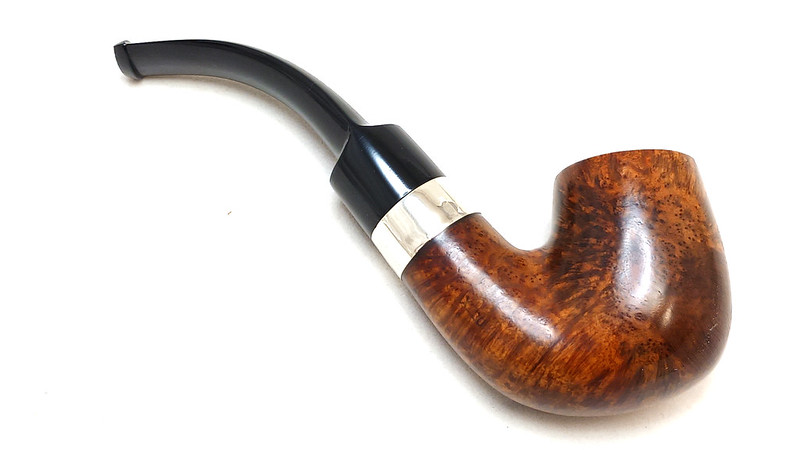
Today’s patient is a 2010 St Patrick’s Day pipe by Peterson, sent in for some TLC by a Canadian piper in Ottawa, ON.
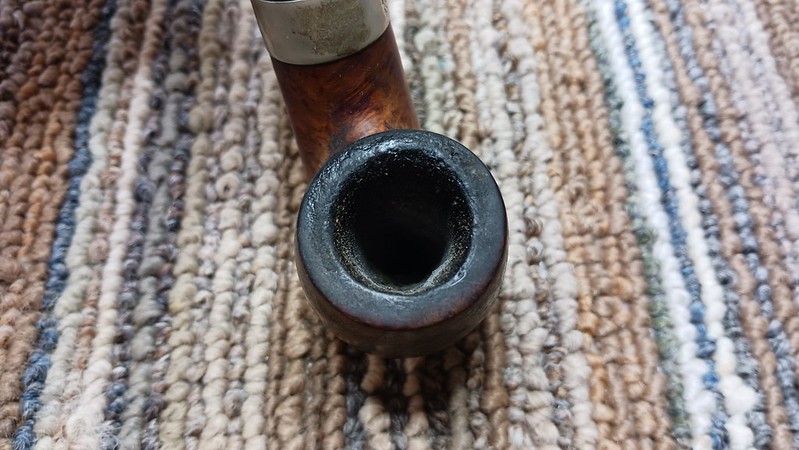
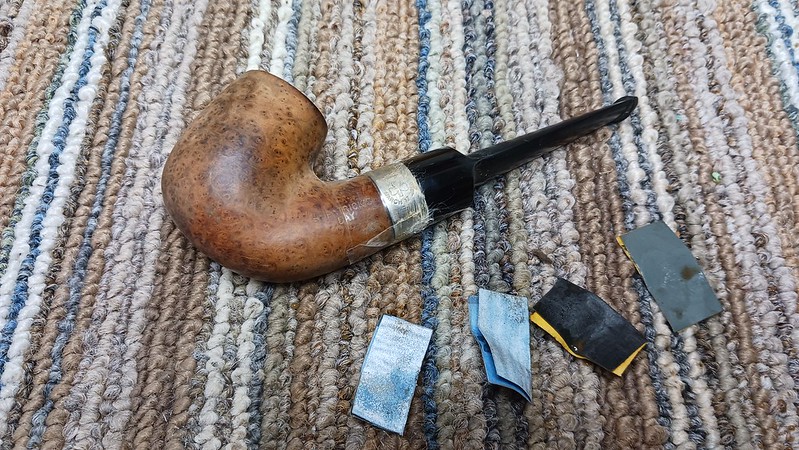
Judging by the series of photos below, the pipe is one of its steward’s favourites. The pipe had been well used but looked a bit worn out when it first arrived on the bench. The bowl was slightly gritty feeling and sported large dark patches on its left and right sides, loosely corresponding to where a smoker’s thumb and fingers might grip the bowl. The rim was hidden under an uneven layer of carbon “lava” and the chamber appeared out of round due to a lopsided buildup of cake which seemed to favour the righthand side when examined from above.


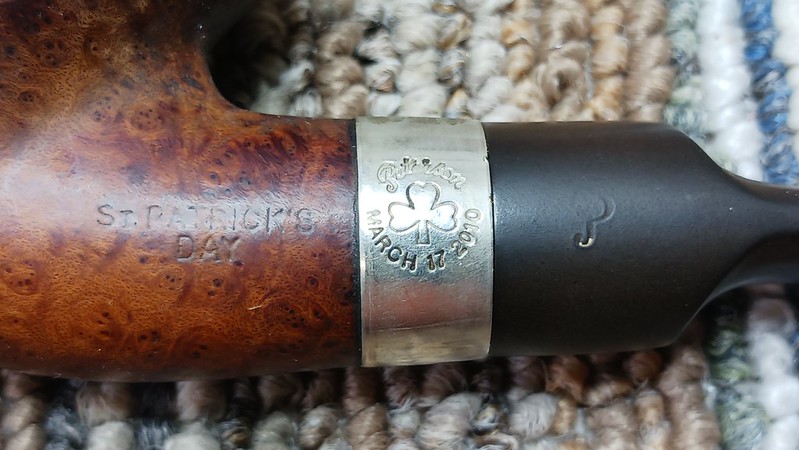
The pipe is stamped “St Patrick’s” over “Day” on the left shank. The nickel band reads “Peterson” over a Shamrock over “March 17, 2010. The remains of a Peterson “P” logo is visible on the flank of the stem.
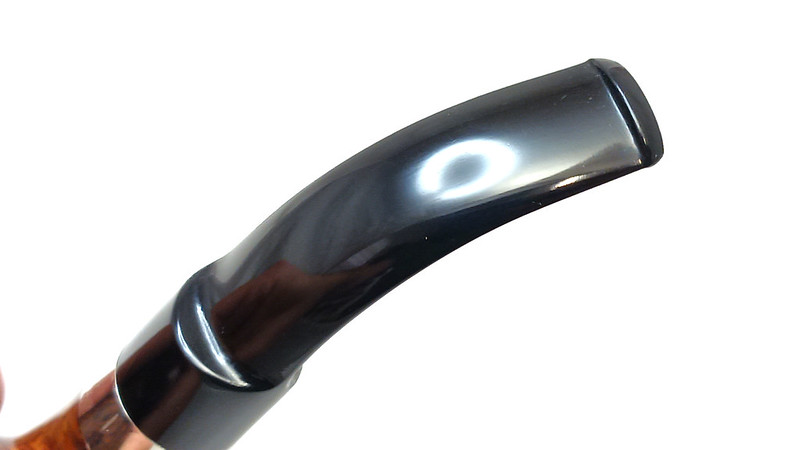
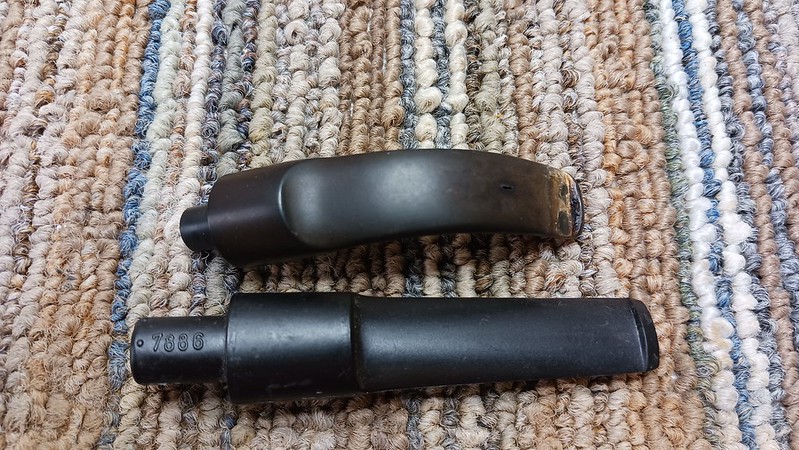
These are all essentially cosmetic issues which, barring hidden damage or defect, are fairly easily dealt with by a good reaming and cleaning. More significant in terms of restoration and ease of use was a spot of damage to the stem. This pic shows a linear perforation in the upper stem surface running along the line of the stem’s airway. Damage like this is almost certainly due to the sharp end of many pipe cleaners scraping along the airway over the years, slowly eroding the Vulcanite until finally digging through the stem to open air.

The only lasting repair possible here is to replace the stem with a new one. A surface patch may seal the slit and allow the stem to be used again, but ultimately there is no way to rebuild the missing material inside the airway, making a patch job a temporary cosmetic fix. It is much better, in my opinion, to do things right the first time and replace the stem now. All else being equal, a new stem should last at least as long as the original.
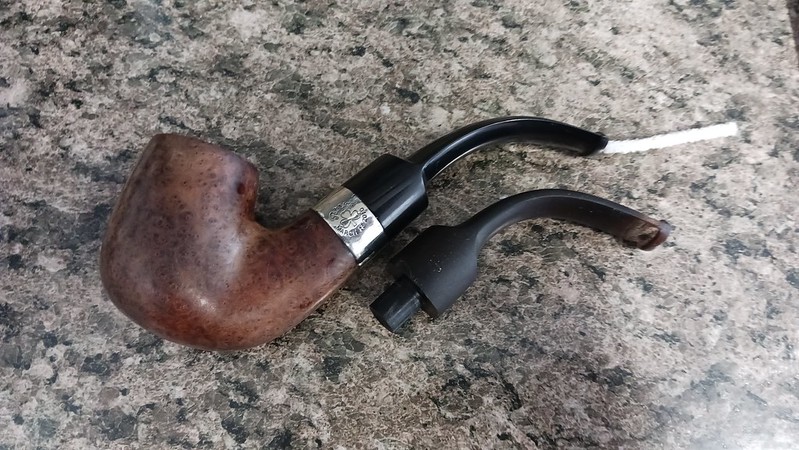
A quick dig through my supplies came up with a Vulcanite stem blank that was a near perfect match to the original stem. As you can see in this pic, the saddle portion of the new stem blank was a fair bit deeper than that on the Peterson stem, but that could be easily shaved down on the lathe.
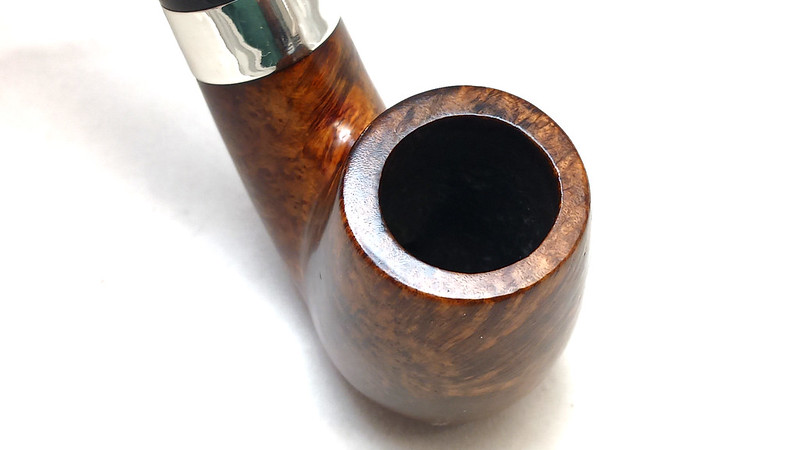
Before I could even think about fitting the new stem, I needed to get the stummel cleaned. There is no point fitting a tenon to a dirty shank as the fit will be off when the pipe is eventually cleaned. To that end, I began what turned out to be a rather laborious task – reaming 14 years of carbon cake from the chamber. As I mentioned previously, the cake was uneven around the chamber walls, and seemed to have been laid down in layers, some of which surrendered to the reamer head easily, while others did not.
I did get a bit worried after the initial pass with the reamer when I looked into the chamber and found what could be either burnout or simply uneven cake.
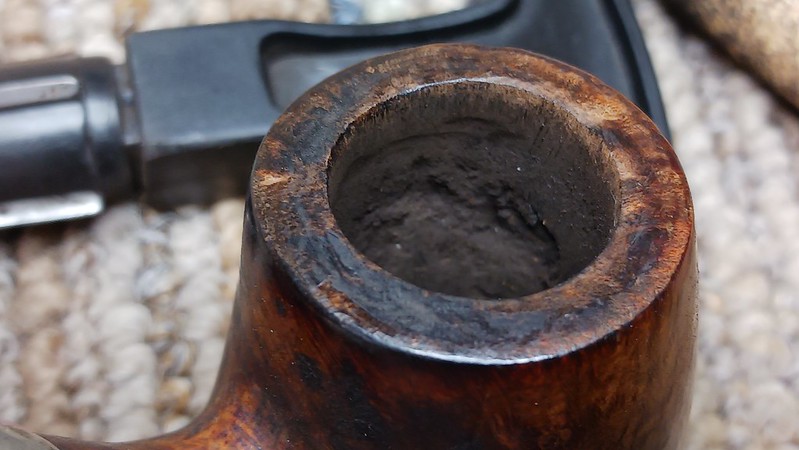
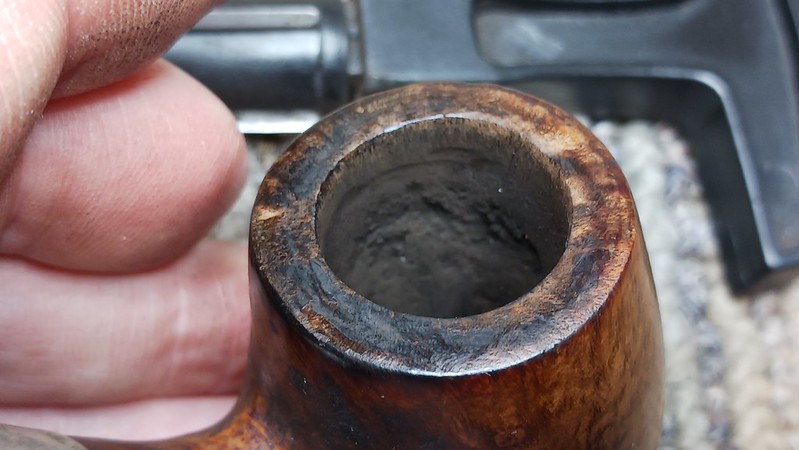
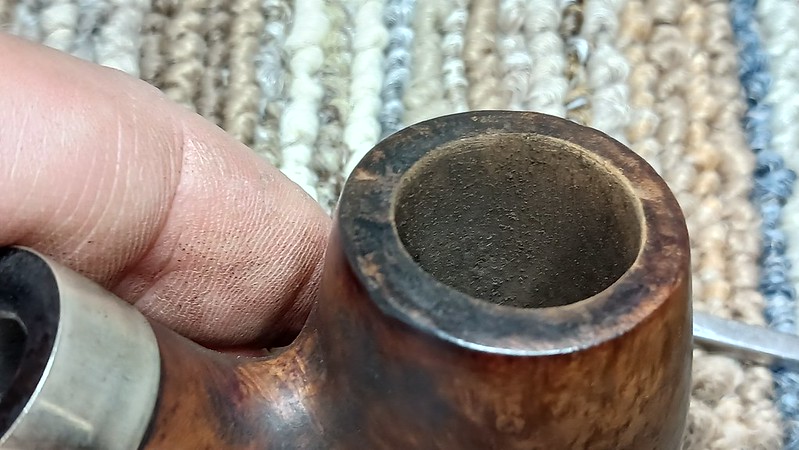
I have learned over the years that the best course of action in these situations is to simply carry on reaming the bowl, while keeping a careful eye – and ear, and finger – on the results. Reaming cake makes a different sound than the reamer striking briar and running a finger around inside the bowl can easily identify lumps and bumps that the eye has trouble discerning. After a good half hour or more of careful work, I had all the old cake out of the chamber and could happily report that the briar showed no signs of burnout.
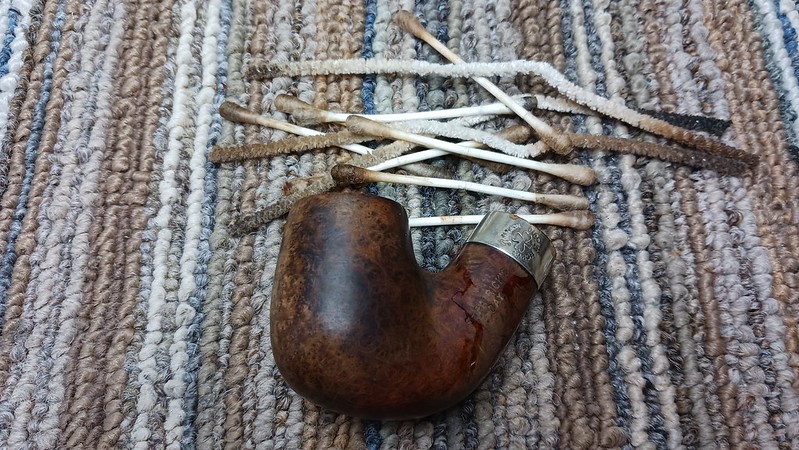
With the hard work of reaming complete, I moved on to the shank and airway. Using pipe cleaners and cotton swabs dipped in 99% isopropyl alcohol, I softened and removed the tars and bits of tobacco debris that had built up in the stummel’s internals.
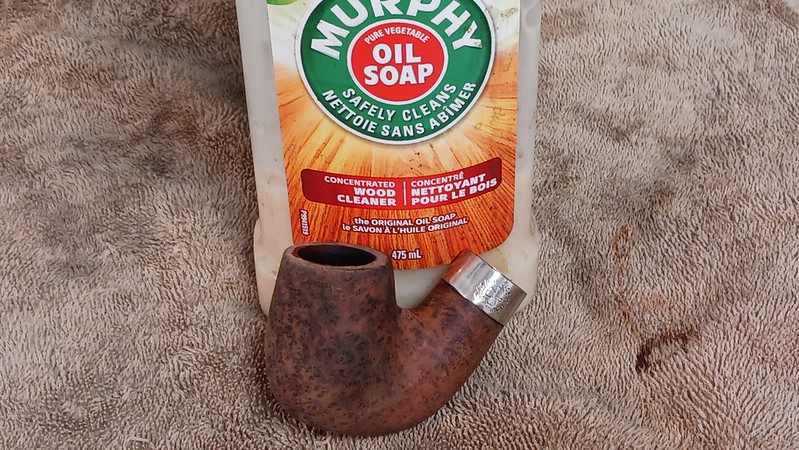
Finally, I scrubbed the exterior of the briar with Murphy’s Oil Soap and a toothbrush. This removed a significant amount of dust, dirt and old wax from the surface of the stummel and revealed some rather attractive Birdseye grain hiding beneath.
Now that the stummel was clean, I could move on to fitting the new stem. The first job here was to measure the original stem and mark out the new length on the replacement blank. Once marked, I mounted the stem in the lathe and removed the excess material, removing about 3/8ths of an inch from the stem face. A bit more work turned the tenon to the correct diameter for a snug fit in the shank mortise.

A quick test fit told me that the stem was ready for a bit of shaping and finishing.

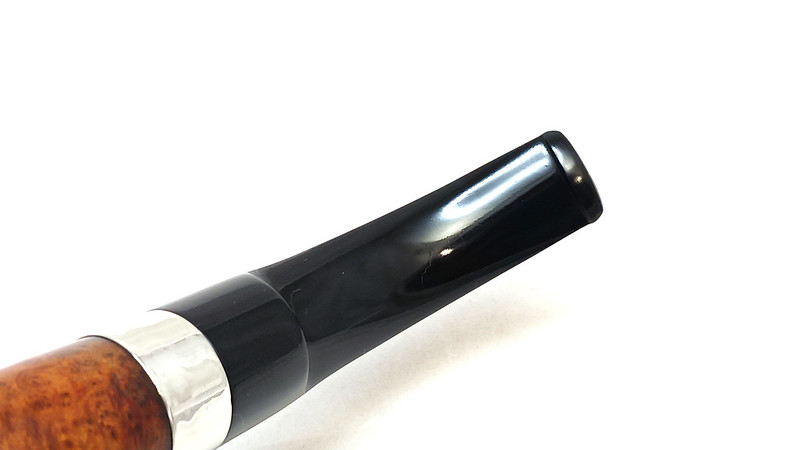
The diameter of the new stem was slightly oversized for the pipe’s shank, so after taping off the nickel band to protect it from scratches, I hand sanded the new stem until it fit correctly. This pic shows the stem after hand sanding to 2000-grit.
I gave the stem an initial buffing on the Red Tripoli wheel to begin the polishing process and identify any remaining deeper scratches. After correcting any deficiencies, I slid a pipe cleaner through the new stem and warmed it over the heat gun to soften the Vulcanite. When the new stem was sufficiently pliable, I bent it to match the curvature of the original.
Then it was back to the buffers where I polished the entire pipe on both the Tripoli and White Diamond wheels before applying a few light coats of Carnauba wax to shine and protect the revived pipe.
The finished pipe is a far cry from the somewhat disheveled old smoking companion that arrived on the bench. Cleaned and freshened, the briar shines in all its Birdseye glory, and the new Vulcanite stem provides a darkly glossy counterpoint to the gleam of the polished nickel shank band. Even better, the pipe is once again structurally sound and ready to provide its steward with decades of steadfast service.
I hope you enjoyed watching the transformation of this 2010 Peterson St Patrick’s Day pipe as much as I did. Until next time, Happy Piping!
Here’s the finished pipe.