Those of you familiar with the Brigham Shape Chart will already be aware that Brigham made many of the classic pipe shapes in a number of different sizes. Prior to the shift to European production, Brigham Billiards came in four regular sizes (Shapes 01, 02, 03 and 04) with several variants, including Tall, Chimney and Oversized.
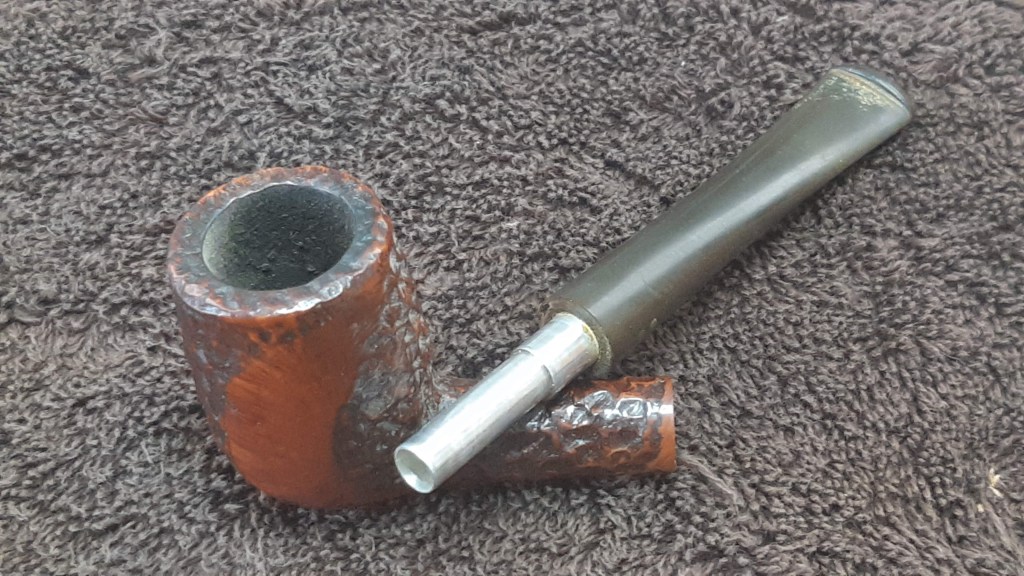
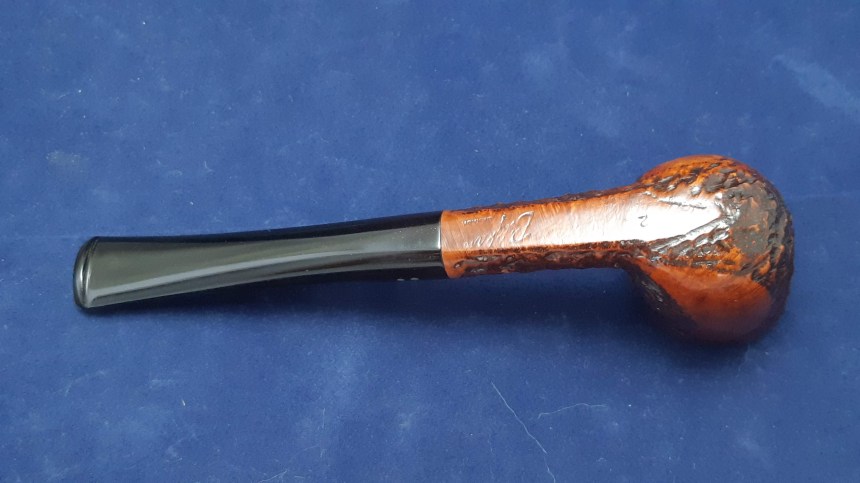
On the worktable today is the smallest regular production Brigham Billiard, a 1980s-era 2-Dot Shape 01. At just 5-1/4″ long overall, this little pipe’s bowl stands 1-5/8″ tall and 1-1/8″ wide. The chamber bore is approximately 11/16″ in diameter and 1-1/4″ deep.
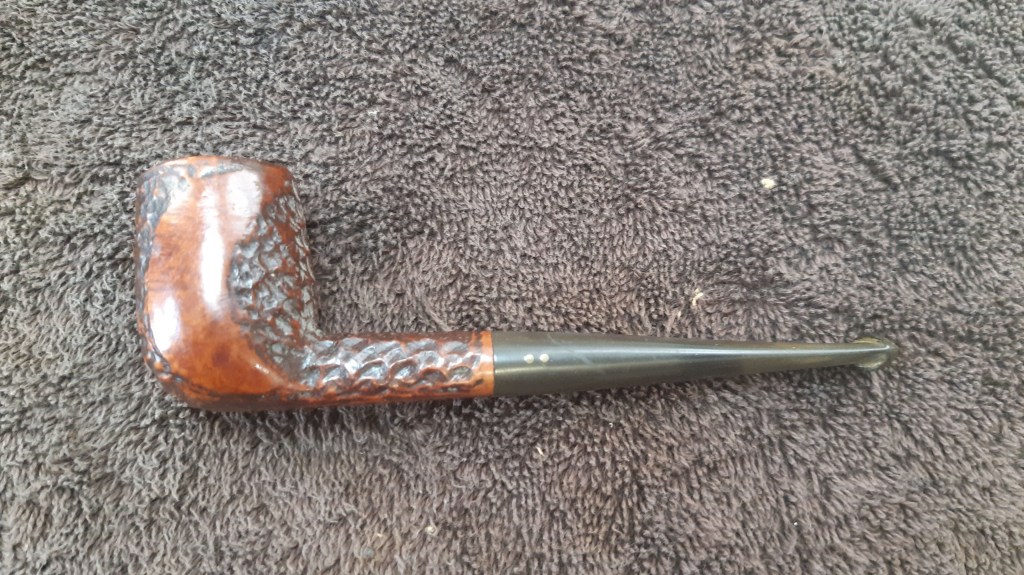
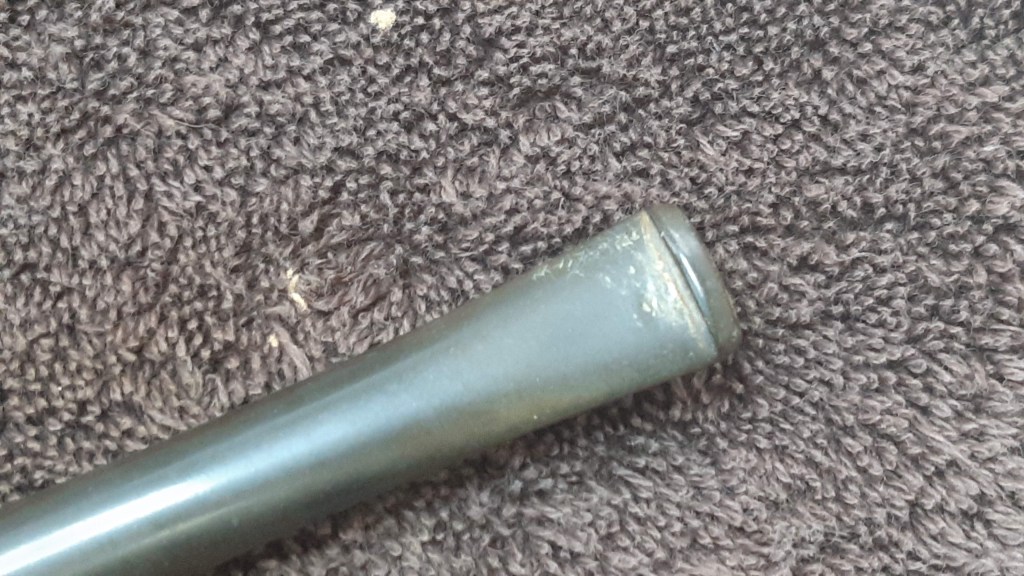
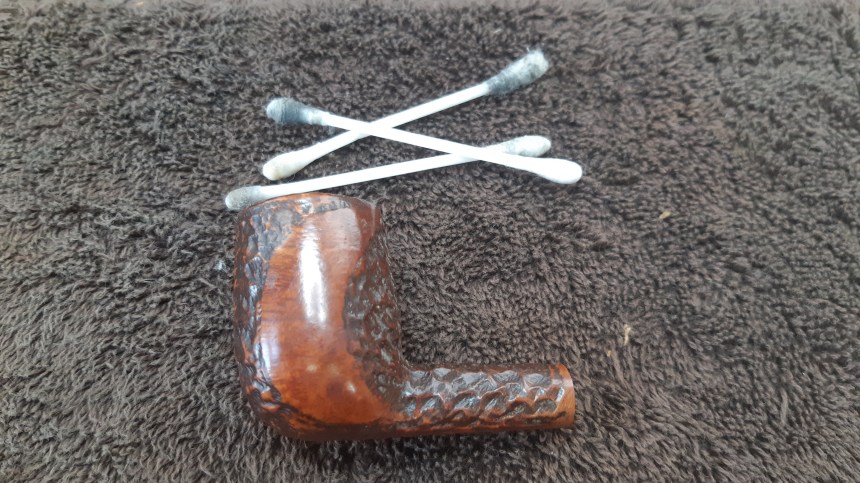
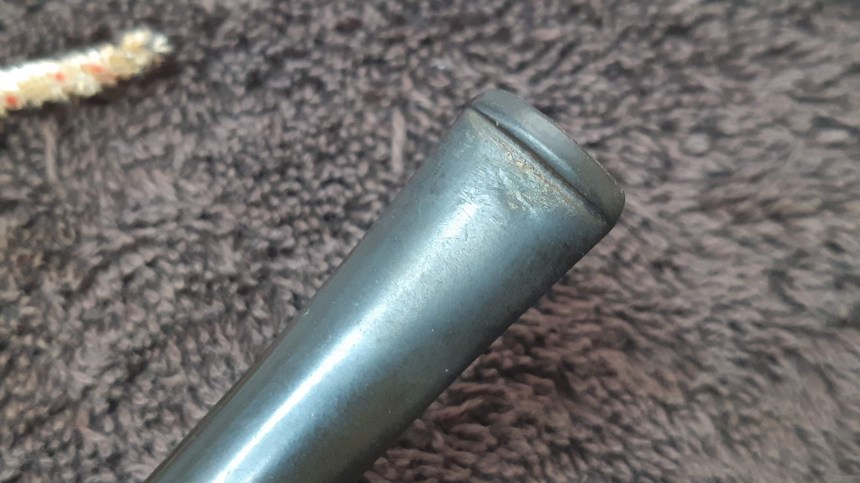
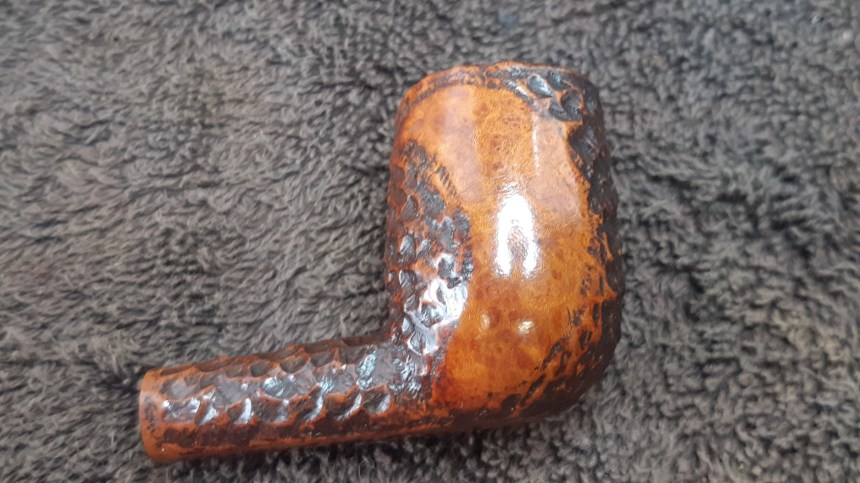
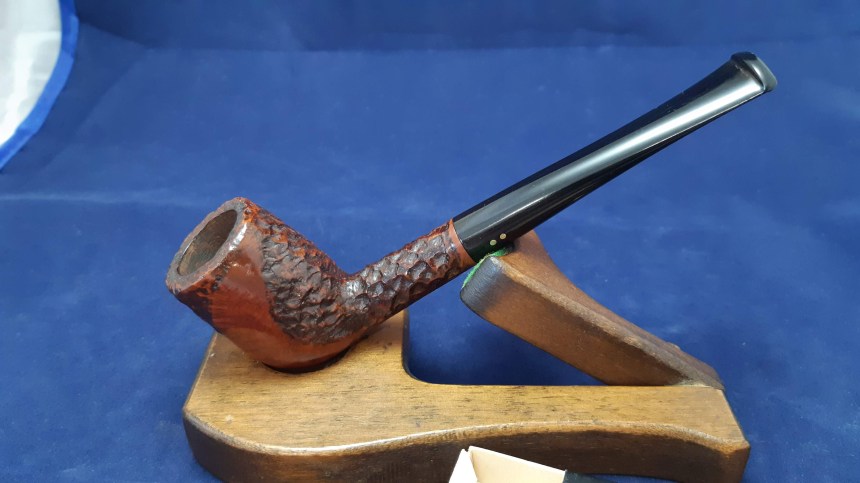
Here is how the pipe looked when I brought it to the worktable. Overall it was in very good estate condition. The briar was free from dents or dings, though there was a good amount of dust and dirt stuck in the finish. The vulcanite stem was oxidized, especially at the bit end where some tooth chatter and one larger tooth dent were evident.

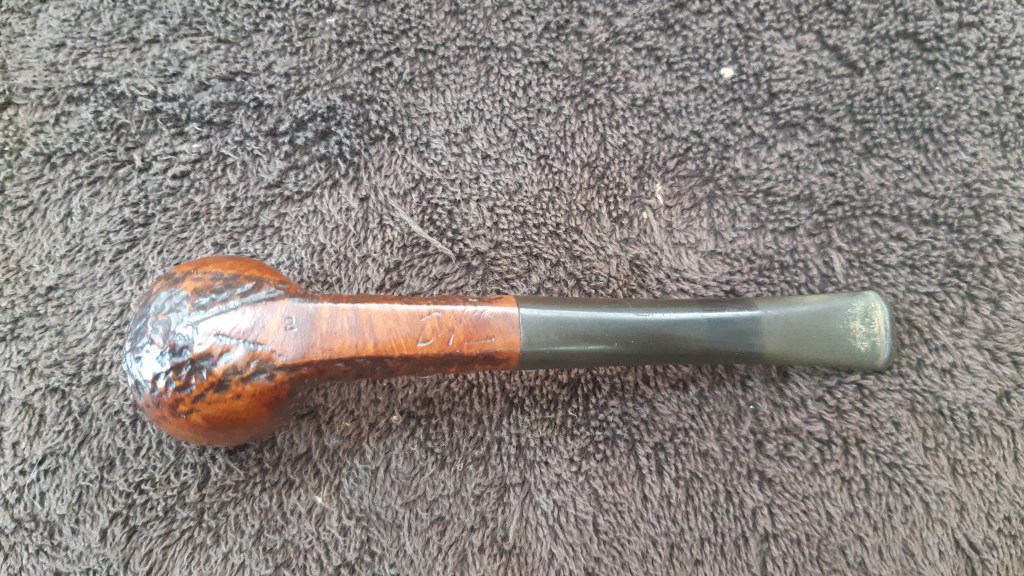

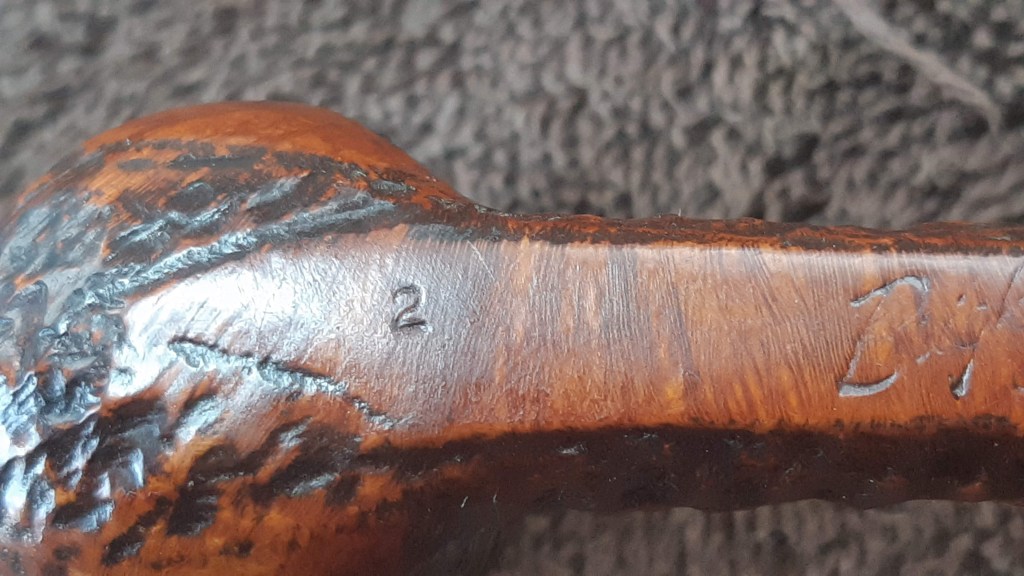
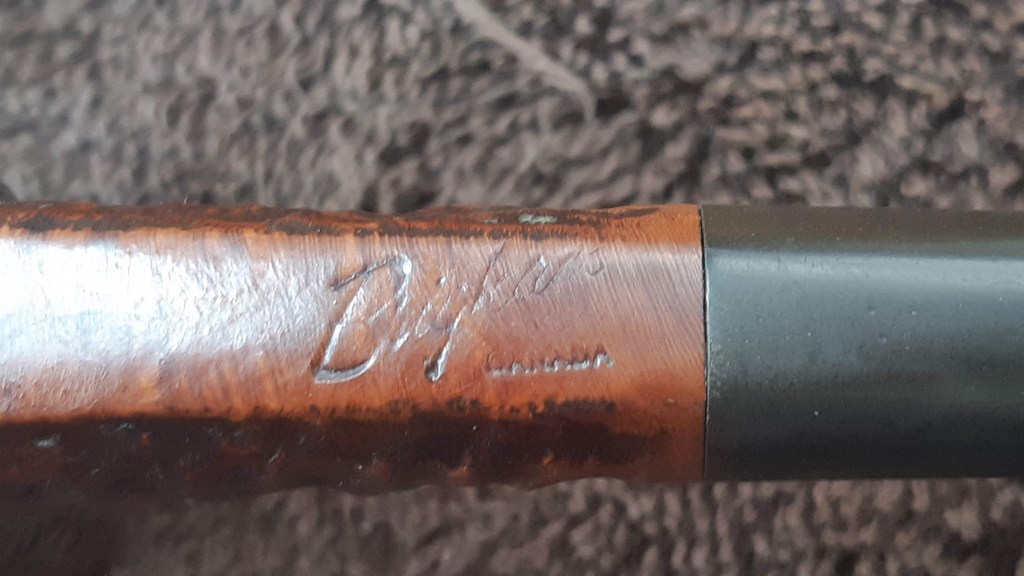
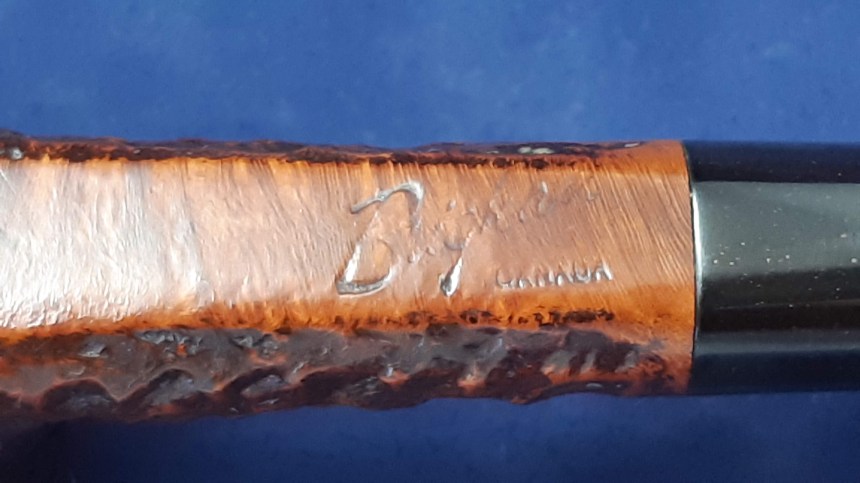
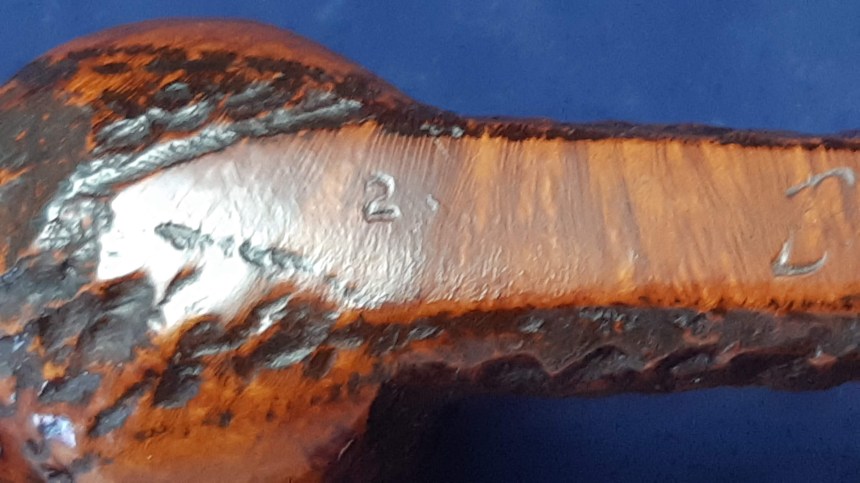
The pipe is stamped on the smooth flat bottom of the shank with the number “2” and “Brigham” over “Canada”. The COM stamp identifies the production period as the 1980s, while the “2” is a partial shape code indicating a 2-Dot grade. The remaining two digits of the shape code are missing; the complete stamp should read “201”.
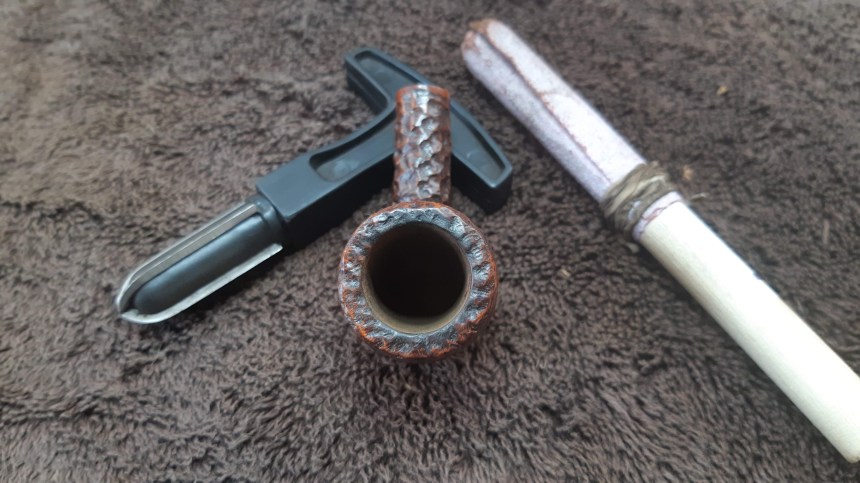
I started the cleanup by reaming a light layer of old cake from the chamber and tidying up the chamber walls and floor with some sandpaper wrapped around a bit of dowel – my usual marker wouldn’t fit down the small chamber bore.

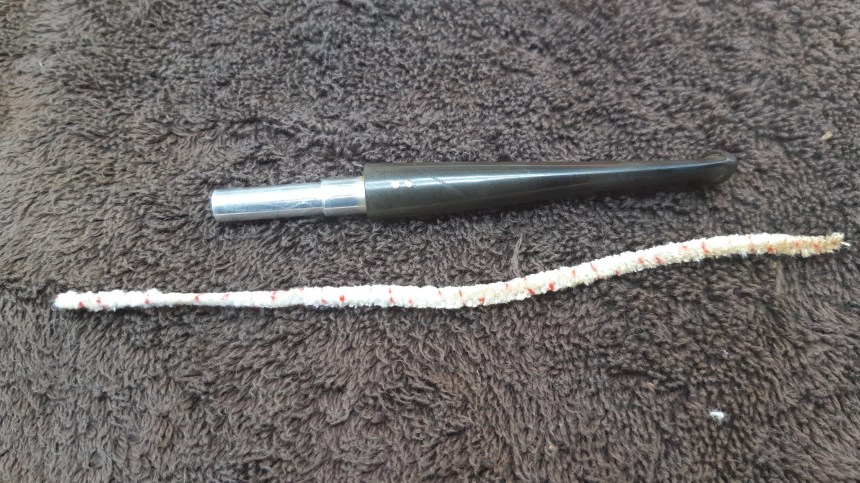
Based on the light cake and the condition of the button, my guess was that this pipe hadn’t seen much use. This theory was corroborated by the noticeable lack of tars and other gunk inside the shank, stem and airway. A quick once-over with alcohol on a few cotton swabs and pipe cleaners did the trick.
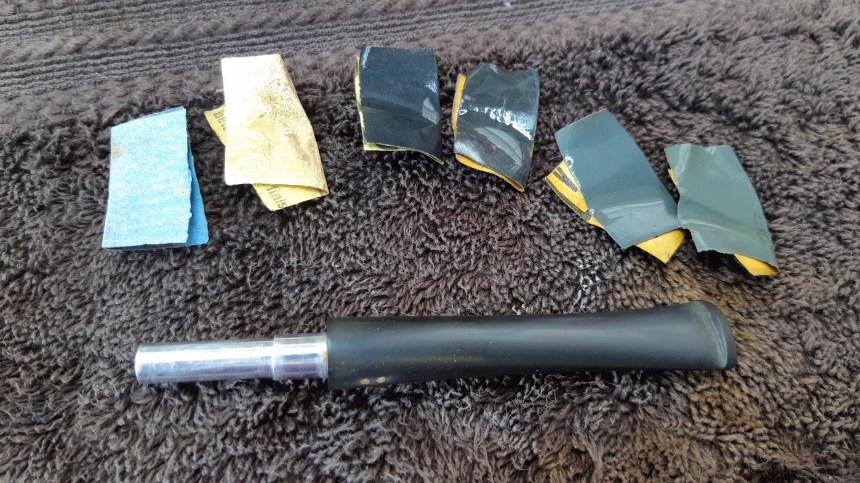
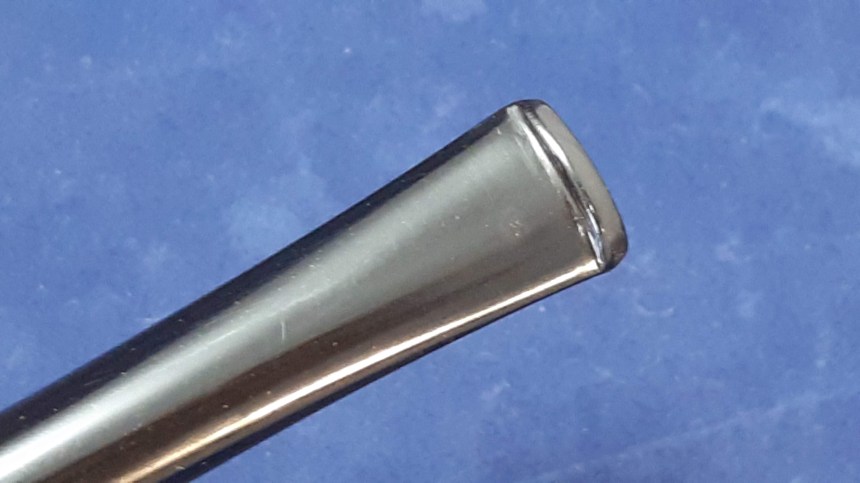
I also wiped down the stem with alcohol to clean off the dust dirt and old waxes. This gave me a much better look at the tooth damage, which was deeper than I had first thought. There was a pair of deep dents, one on top and one on the bottom of the bit.

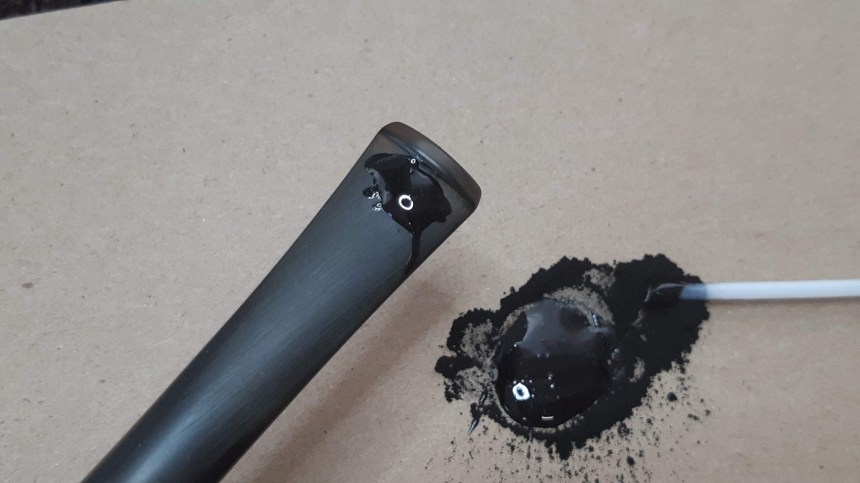
The stem was already fairly thin, so sanding out the dents wasn’t an option – I’d likely have sanded through to the airway if I had tried to remove the dents this way. Instead, I drop-filled the damaged areas with a mixture of thick CA glue and activated charcoal powder.
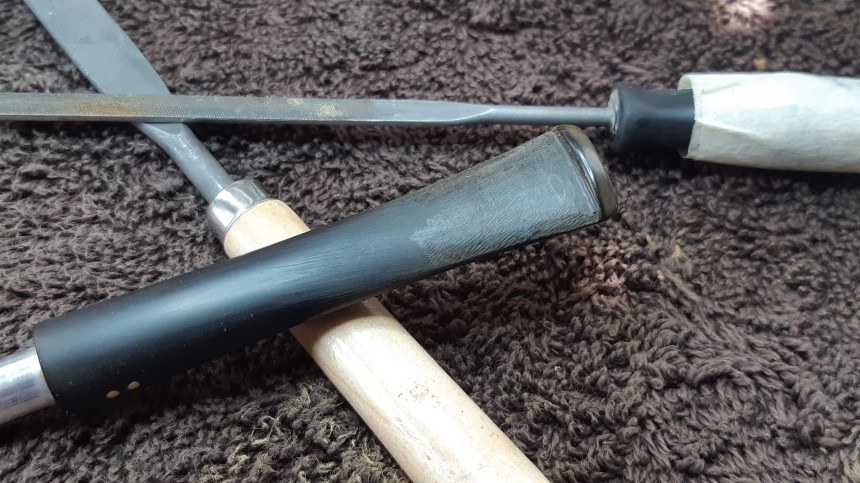
I set the stem carefully aside for the night to give the patches time to fully cure. When I came back to the worktable, I used needle files and sandpaper to level and smooth the repairs and begin the process of blending them into the surrounding vulcanite.


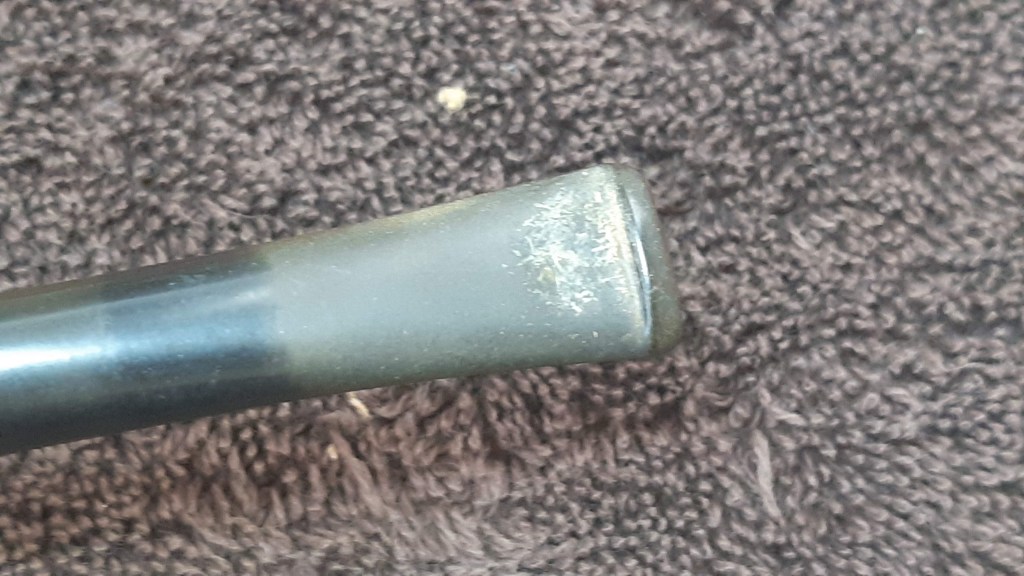
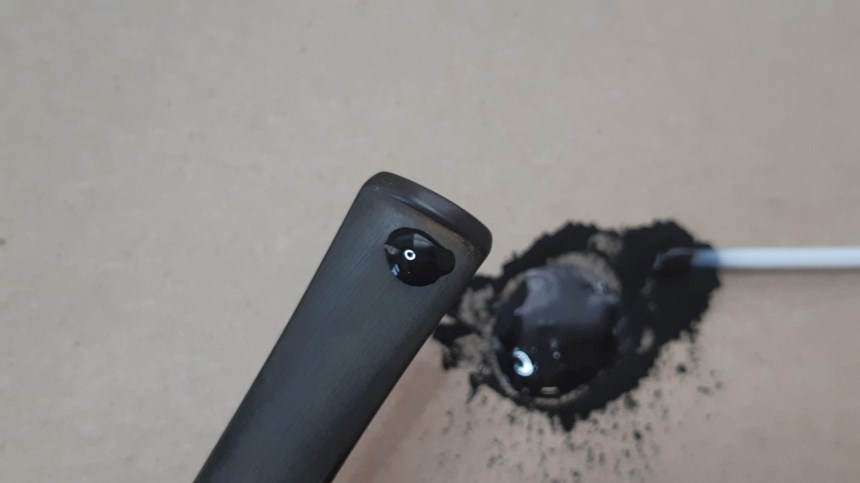
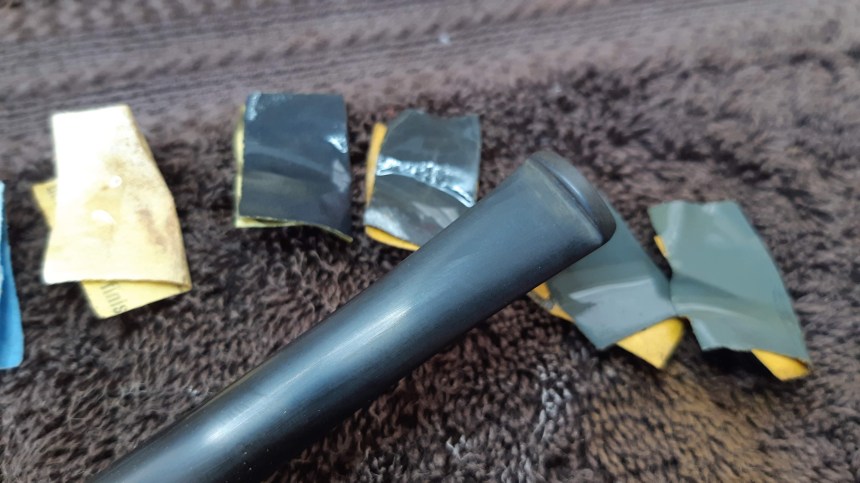
The last image above shows the repair on the underside of the bit. The tooth dent here was deeper than the one on top of the stem and thus needed a bit more patch material. You can see the tiny bubbles that formed in the patch as it cured. These bubbles are almost inevitable when using this repair technique. Happily, a few skim coats of thin, clear CA glue usually does the trick.
I forgot to take a pic of the skim coats, but the results below are evident. These shots were taken after sanding the stem to 2000-grit. The bottom patch will blend in further after buffing.

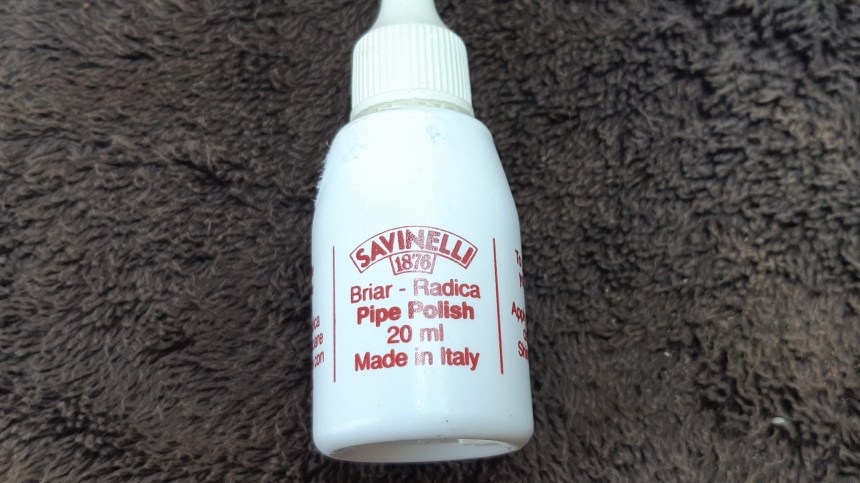
With the stem well in hand, I took a moment to spruce up the exterior of the stummel. After wiping off the surface dirt, I tried something new – or rather, something old – in the form of a small bottle of Savinelli Briar Polish that came to me with a recent estate purchase. Following the directions on the bottle, I applied a bit of polish to the entire stummel using an old rag. I let the polish dry, then buffed away the haze with a lint-free cloth. The results are pretty impressive for what is essentially mystery polish (there are no ingredients listed on the tiny bottle).

Finally, I reassembled the pipe and took it to the buffer where I concentrated my efforts on the stem, buffing first with Red Tripoli and then White Diamond compound. I gave the entire pipe a few light coats of carnauba wax to shine and protect the refreshed finish.
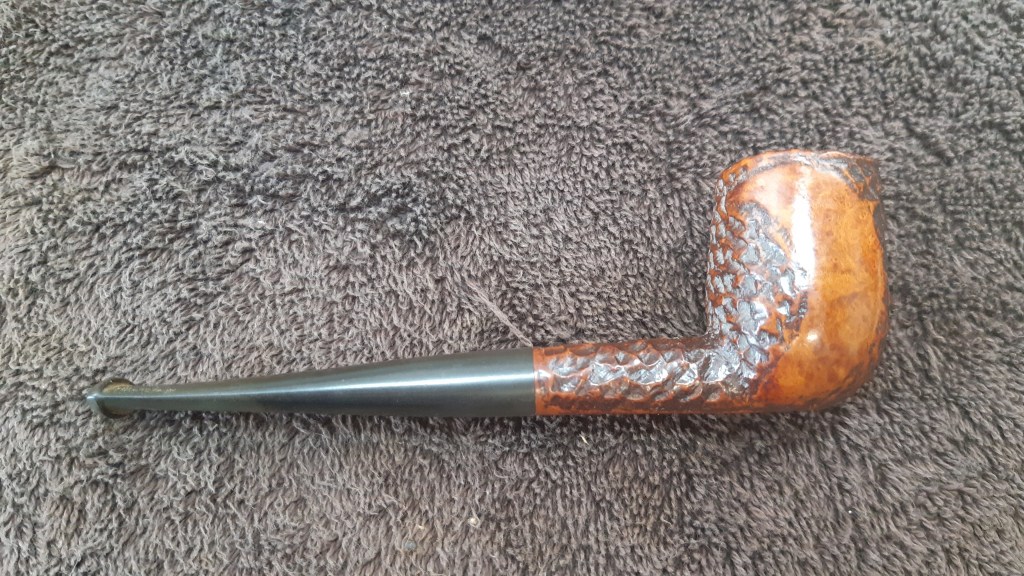
The completed pipe is looking much happier after its day on the bench. The briar is fresh and clean, and the stem is again a jet black and free of tooth dents. The repair on the underside of the bit isn’t perfect, but it’s good enough for this 40 year old Brigham to take its place in my personal collection. I’ve been holding a place for it for years; I’m glad I can finally fill that spot on my rack.
Thanks for joining me for this estate pipe refresher. Until next time, Happy Piping!
Here’s the finished pipe.


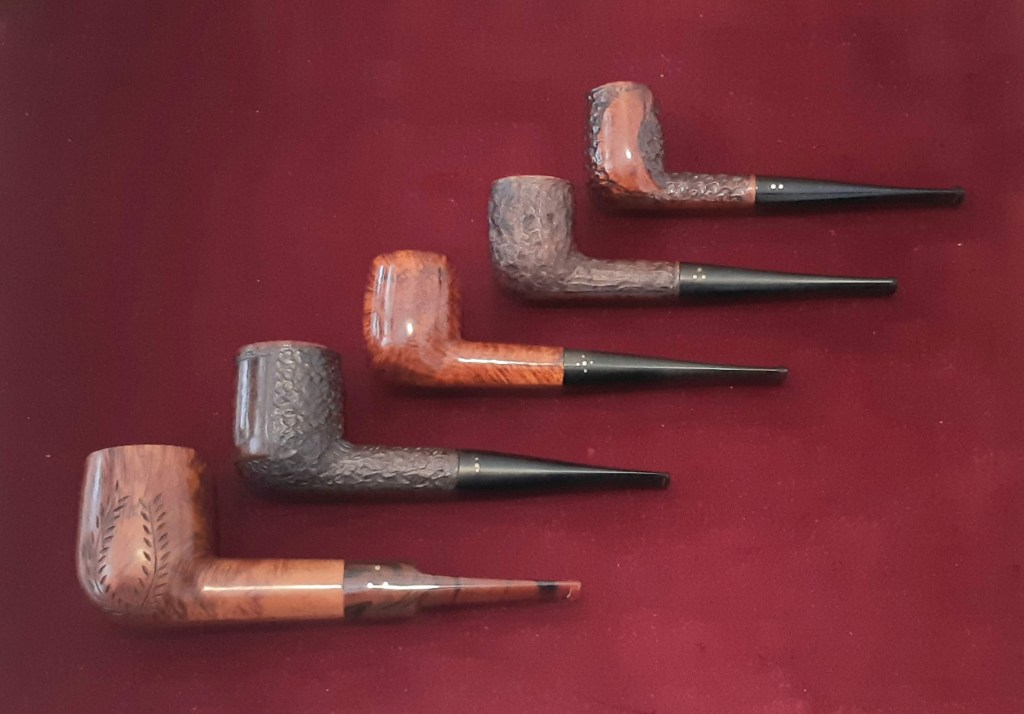
And here is a little added bonus – a quick shot of all the Brigham Straight Billiards in my collection. From top to bottom, the pipes are today’s subject, a 1980s era 201; a Patent era 202; a 1980s 503, a 1960s 604 and a 1970’s 3044 (Oversized).