I am continually impressed by the seemingly endless array of pipe shapes out there – Billiards, Pots, Bulldogs, Apples, Rhodesians, Canadians, Blowfish, Ramses, Cavaliers and so many more! “Pure”, or easily classifiable, pipe shapes are fascinating enough; then there are the many crossover or hybrid shapes that seem to encompass characteristics of several classic pipe forms.
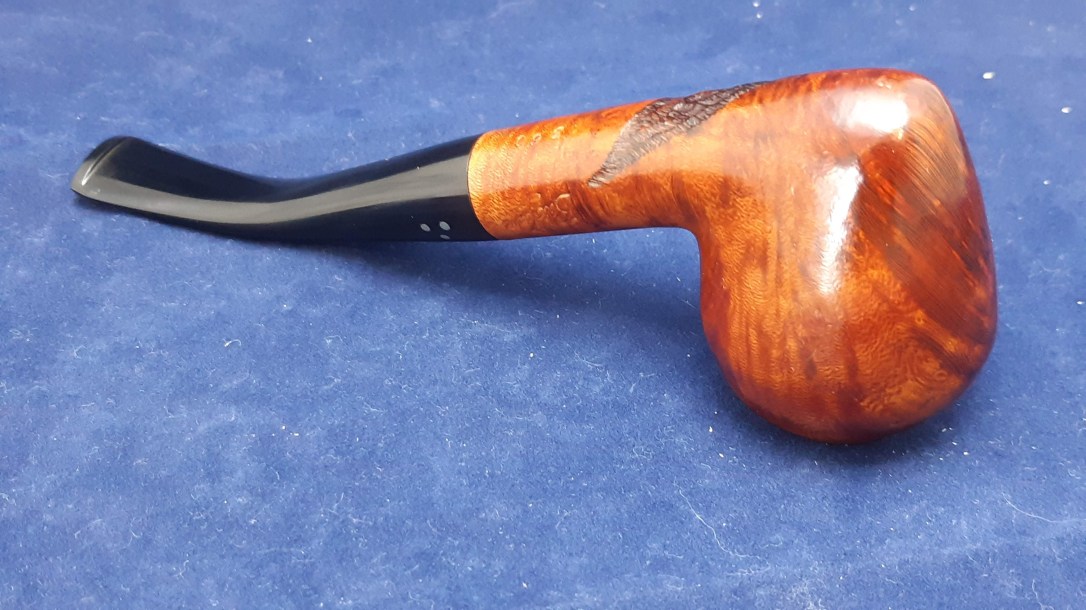
Today’s post is one of these latter shapes, and because of that, it’s a bit tricky to describe. Here is the pipe as it looked when I acquired it.


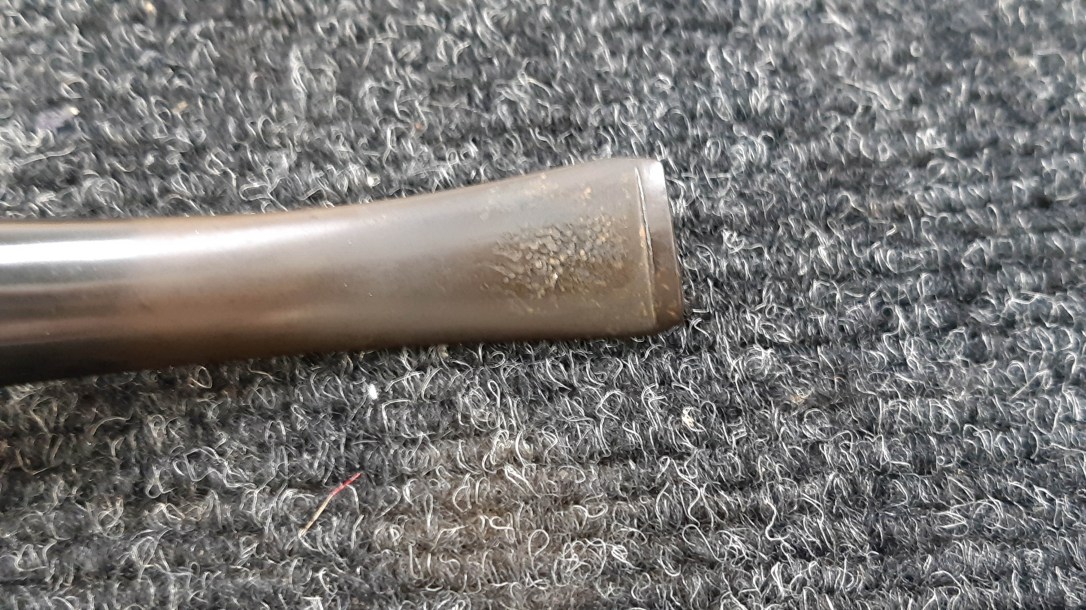

I found the pipe rather captivating. It was in rather good estate condition – dirty and a bit oxidized but far from abused, with some nice vertical grain showing on the left side of the stummel. The right side hosts a typically Brigham patch of rustication.
The pipe stem is inset with three brass pins, or Dots, and the briar is stamped “Brigham” on the left shank, and “360” on the underside indicating a 3-Dot quality in Shape 60.


So what exactly IS Shape 60? Unfortunately there is no official description available from Brigham. While early pipes were given names and then shape numbers, later pipe shapes were simply assigned numbers. Many shapes didn’t even appear in the product catalogs of the day but rather were shipped to pipe shops to be discovered by Brigham fans.
My first impression of this pipe was that it reminded me of a Paterson “Hansom” pipe from the Return of Sherlock Holmes series, shown below beside the Brigham pipe.


Both pipes share the elongated Bulldog/Rhodesian bowl, pointed Acorn bowl base and half bent stem, though the round shank on the Brigham gives that pipe a softer appearance. I’m going to somewhat arbitrarily label this shape as an Acorn Rhodesian, though I think there’s also something Calabash-like in it as well.
With the pipe shape taken care of, let’s get on with the refurbishment!
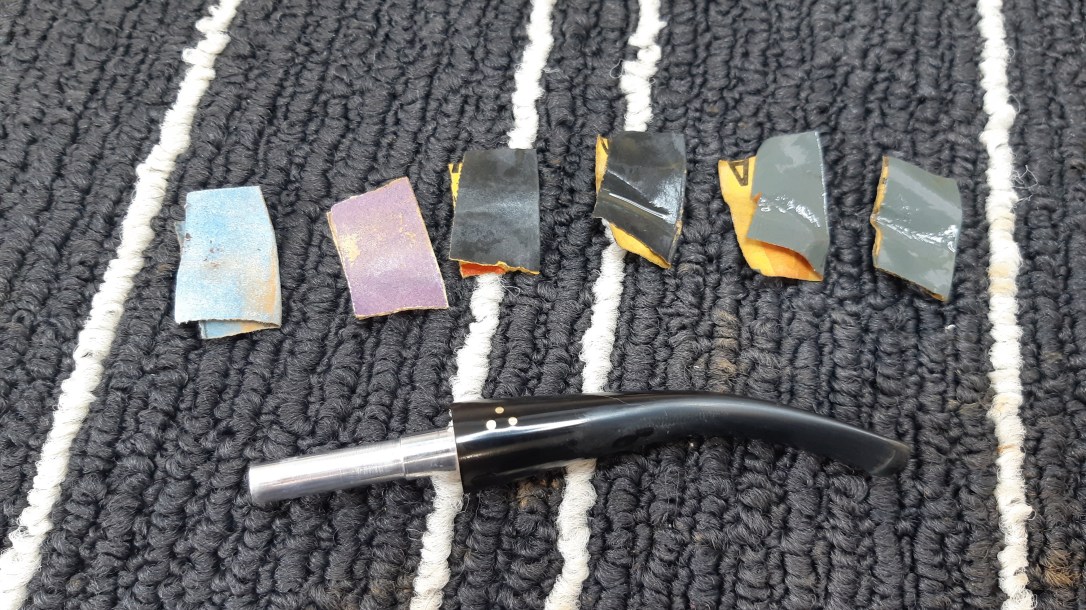
Step One was to get rid of the manky old Rock Maple filter left in the stem. Eww.

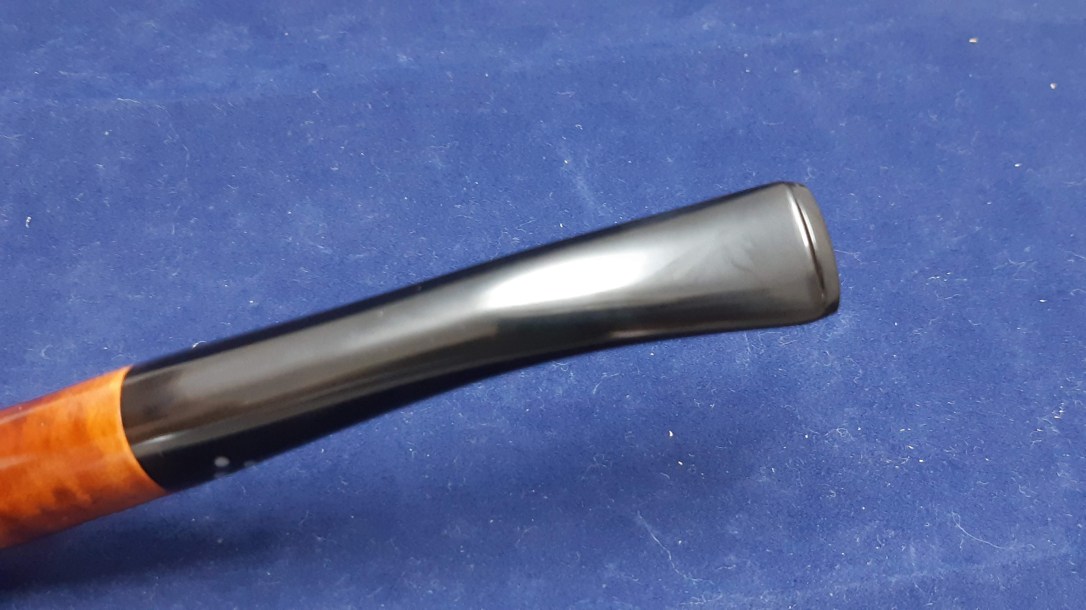
The stem was oxidized, but not deeply so. I decided to forego my usual Oxyclean soak in favour of simply sanding away the discolouration. I used a succession of sandpapers – 220 and 320-grit dry followed by 400, 600, 1000 and 2000-grit wet – to remove the oxidation and smooth out some minor tooth chatter.
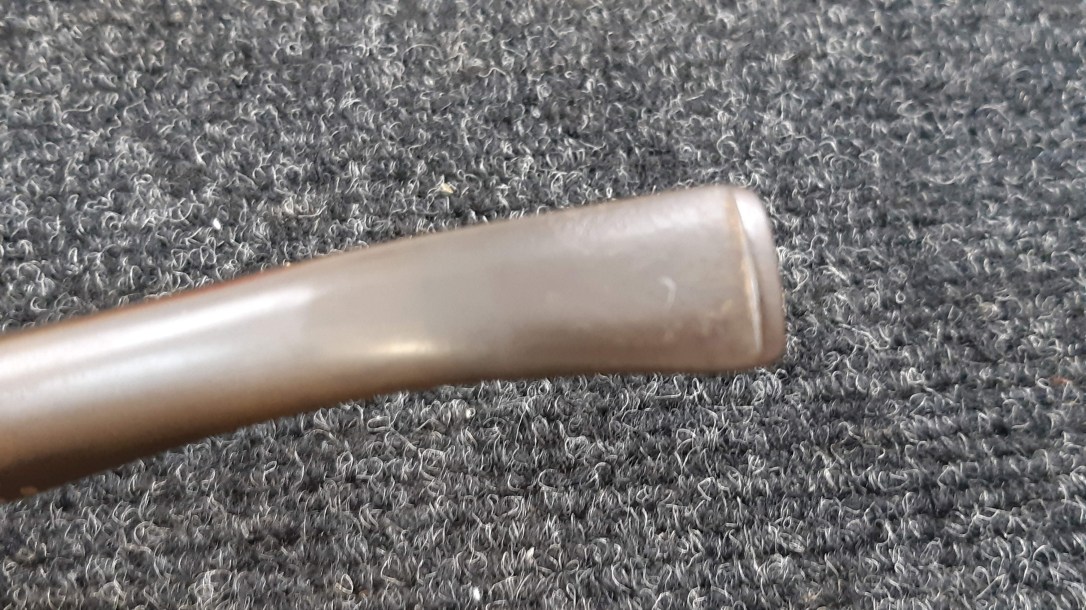
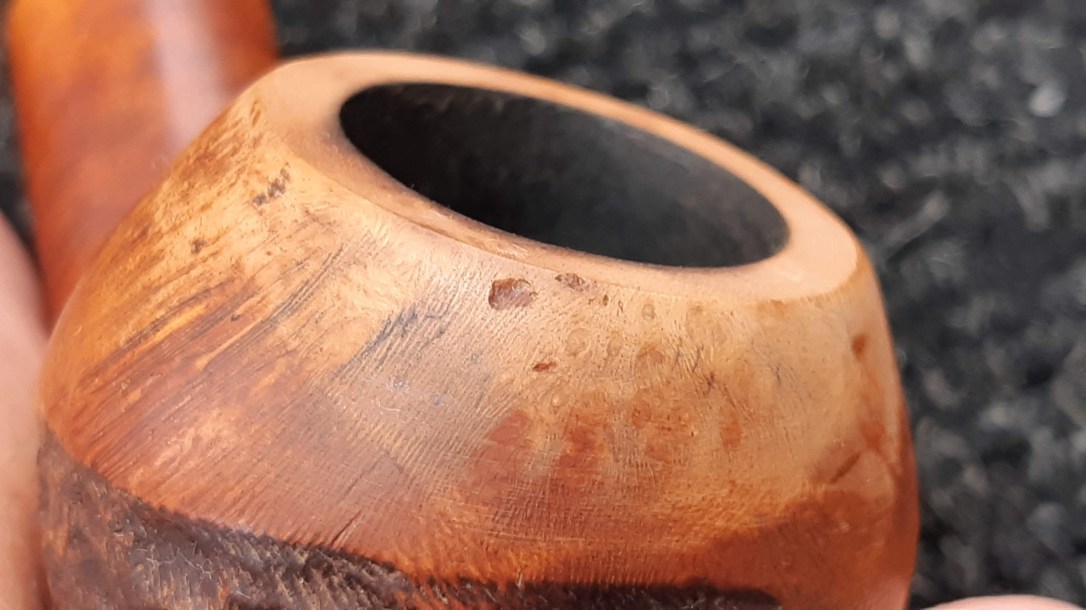
A light topping of the bowl on some 800-grit wet sandpaper removed a light coat of lava from the rim and smoothed out the briar. Cleaning the rim also highlighted some “road rash” on the front upper bowl from knocking the pipe on hard surfaces. The rough patch is visible in the second pic below at the 7 o’clock position on the rim.


I sanded out the worst of the road rash before wiping the stummel down with alcohol and touching up the stain with one of my stain markers. There is still a bit of discolouratiuon where the dents were but the briar is smooth to the touch.


I finished off this quick cleanup by tidying up the chamber and airway. There wasn’t much cake in there, so a quick once-over with sandpaper wrapped around a marker did the trick. A couple of pipe cleaners dipped in more alcohol sorted the surprisingly clean internals.
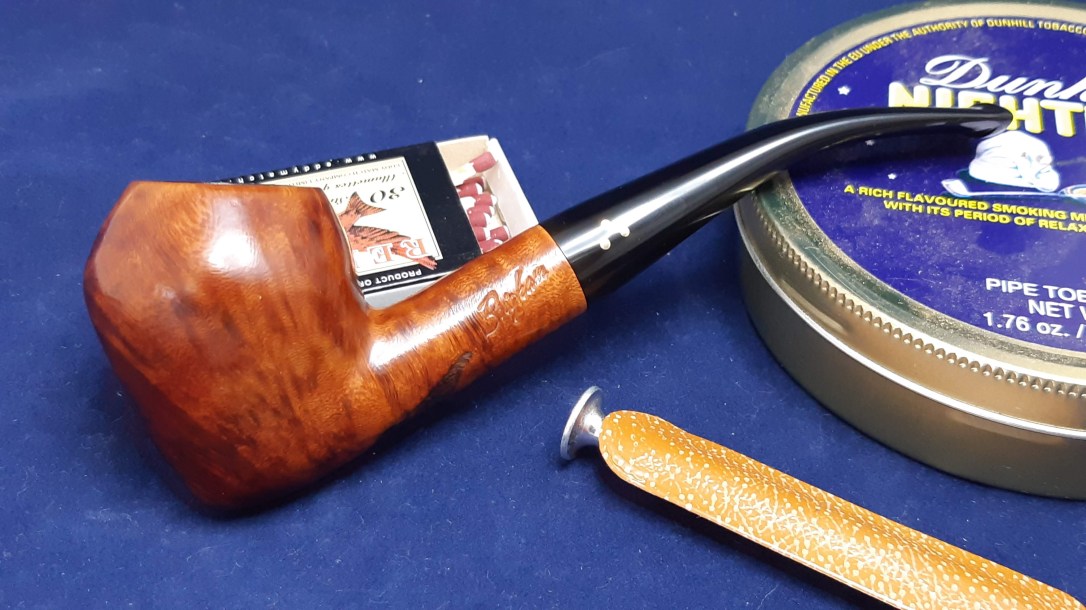
Then the pipe was ready for a run on the buffing wheels. White Diamond compound erased the leftover fine sanding marks and brought up the shine on both stem and stummel, and a few light coats of Carnauba finished things off.
This Brigham 360 is all set to pack and enjoy after a long time sitting idle. It will take its place in my personal collection.
Thanks for joining me for this quick restoration. I’ve got some tricky work coming up, so was glad to have an easy job here!
Until next time, Happy Piping! Here’s the finished pipe.