This week’s post sees another pipe shape added to my collection of Brigham pipes and deals with a fairly common estate pipe problem, a seized stem.
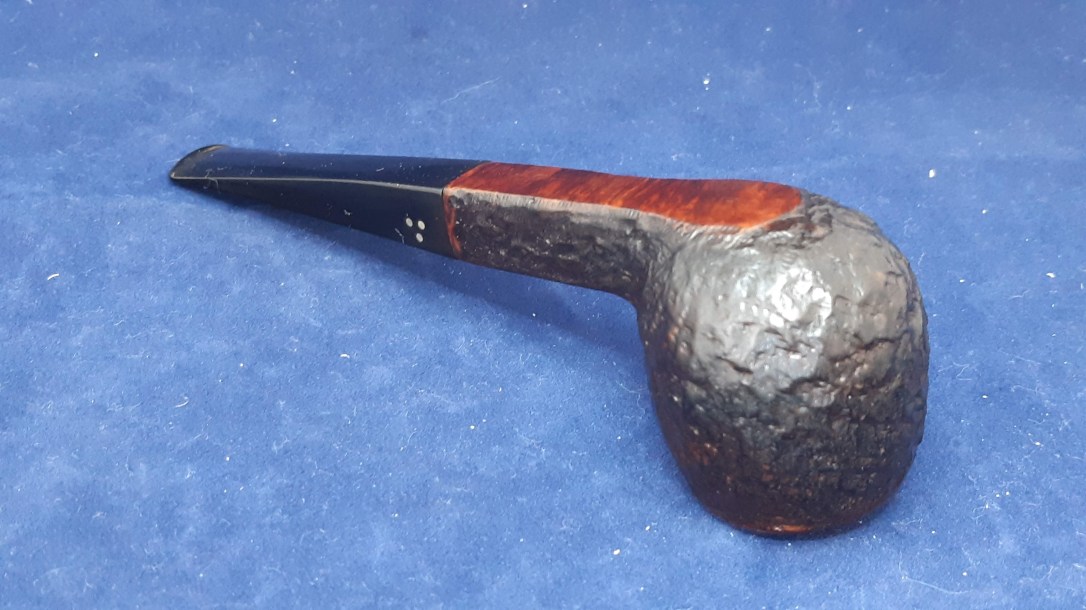
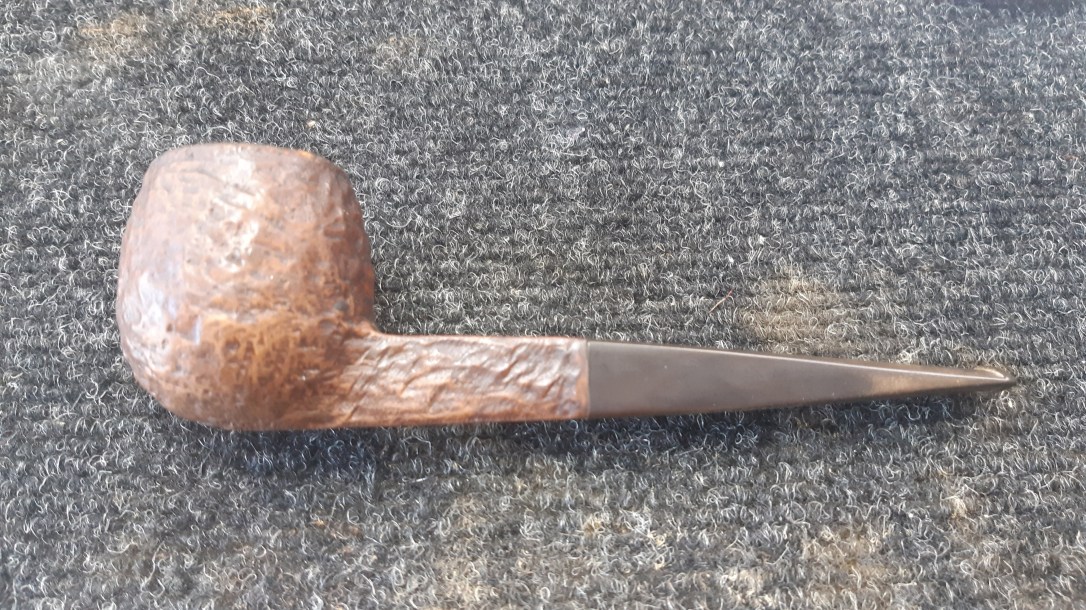
I found this pipe in a lot of estates on eBay, and was keen to start working on it as soon as it arrived. It’s a handsome straight Apple shape, but what really caught my attention was the square shank and stem, of which I have only one other example.
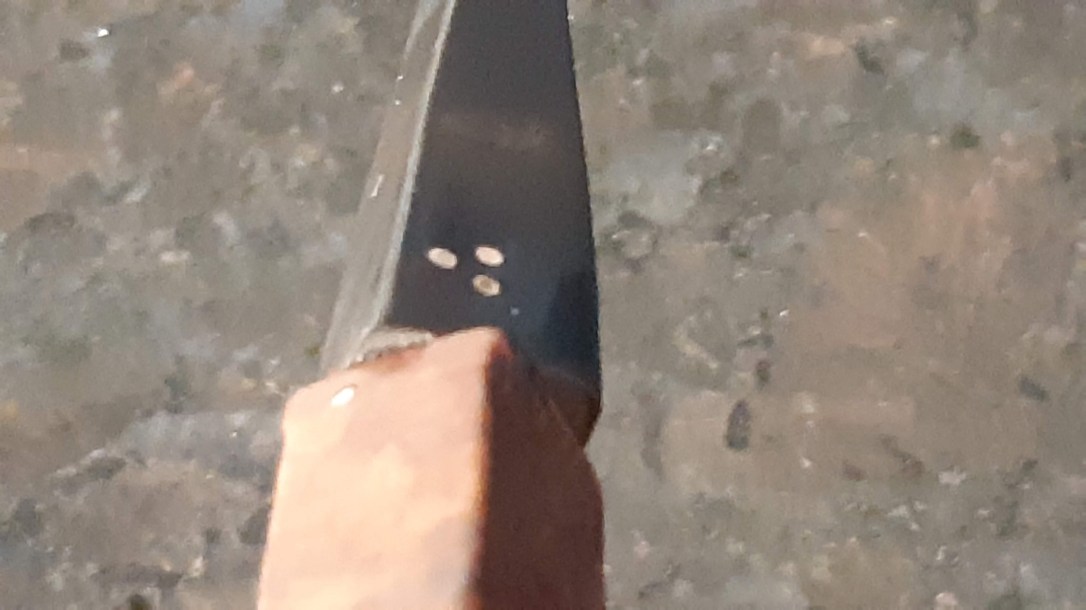
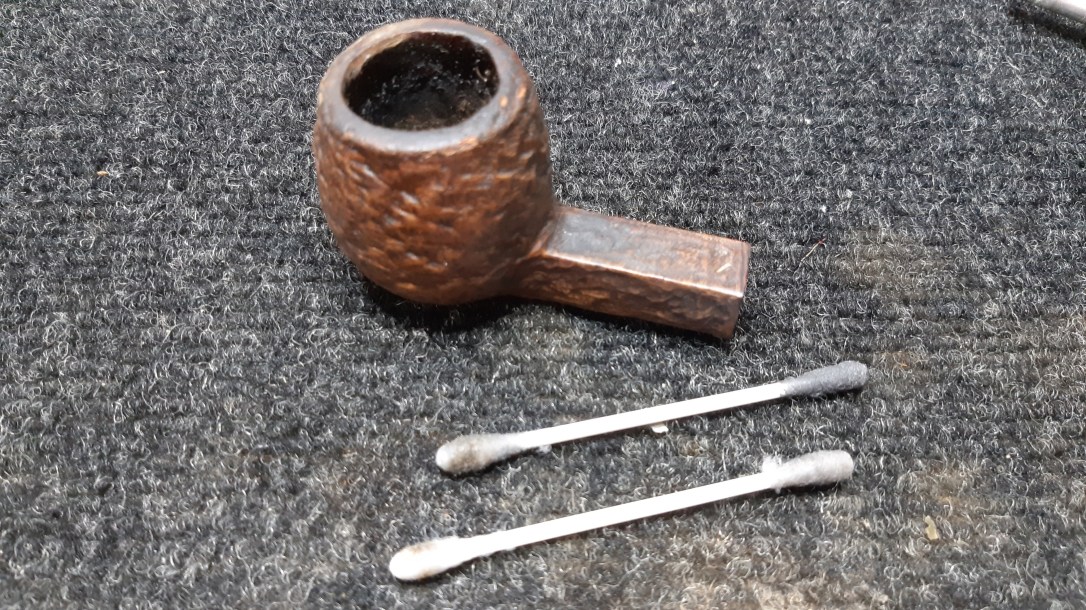
Here is the pipe as it looked when I brought it to the worktable. It was dirty and slightly greasy feeling, with a light crust of carbon on the rim and a bit of oxidation on the stem. Speaking of the stem, it was inserted upside down in the shank, with the Brigham Dots placed on the right side of the pipe instead of the left. Anyone who has shopped for estate pipes will know that inverted stems are fairly common and are usually easily sorted out. This stem, however, was firmly seized in the shank. As it turned out, it would need a fair bit of effort on my part to remove.

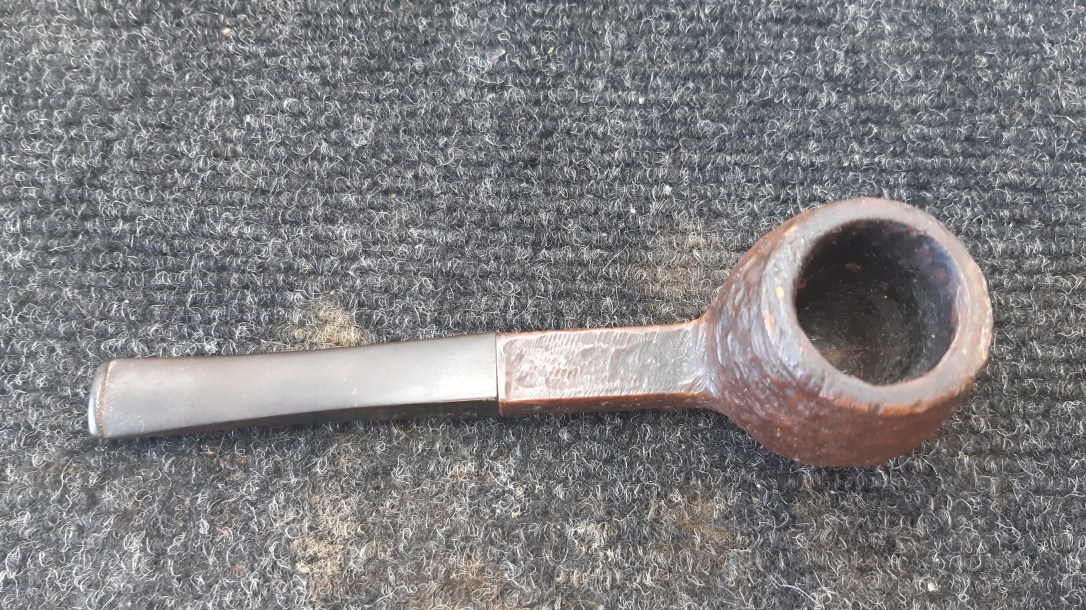


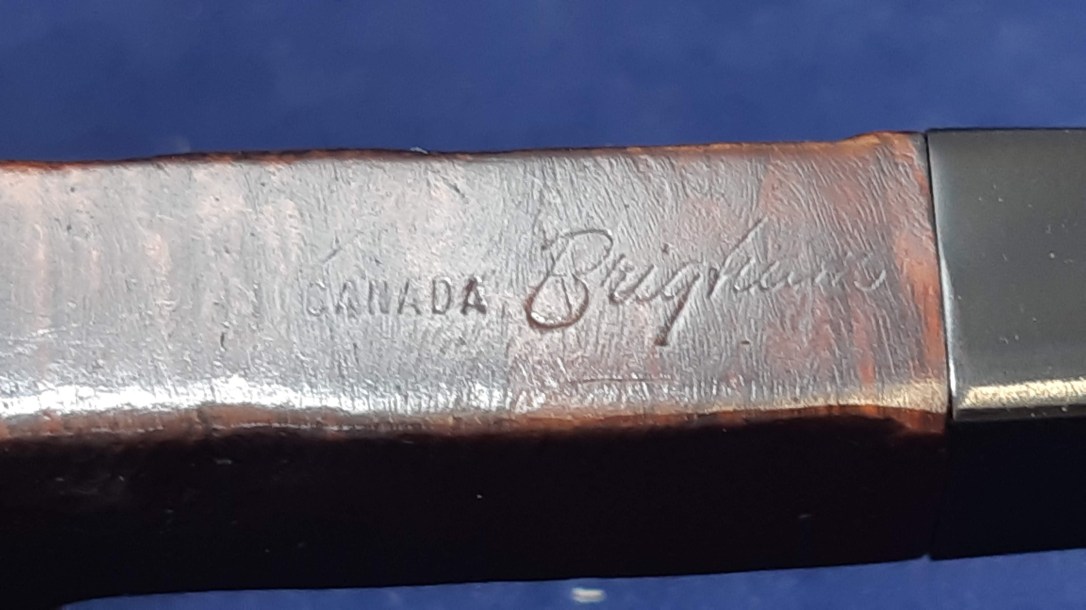
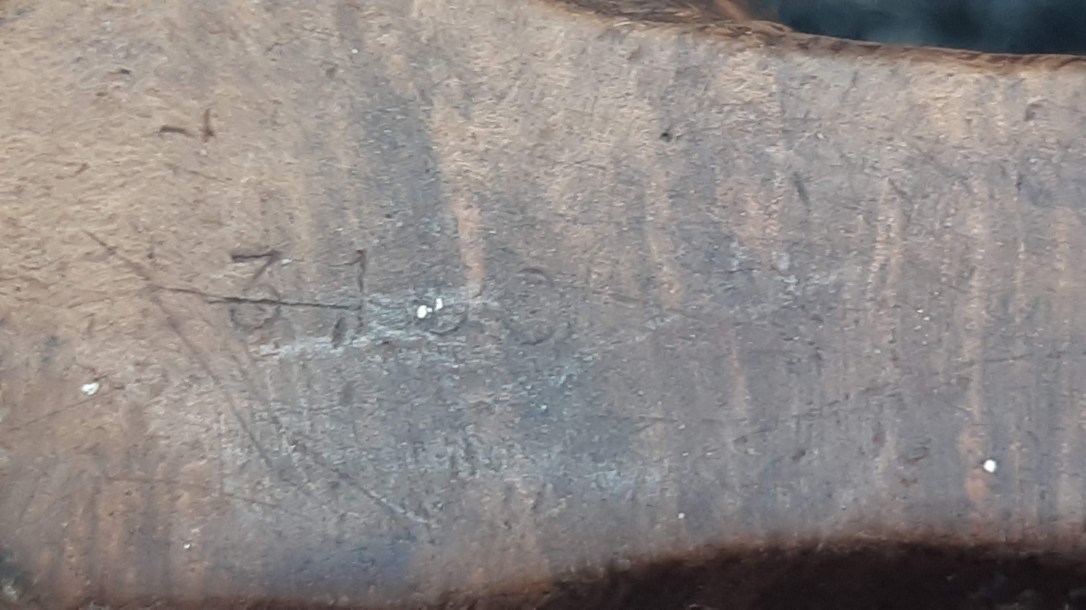
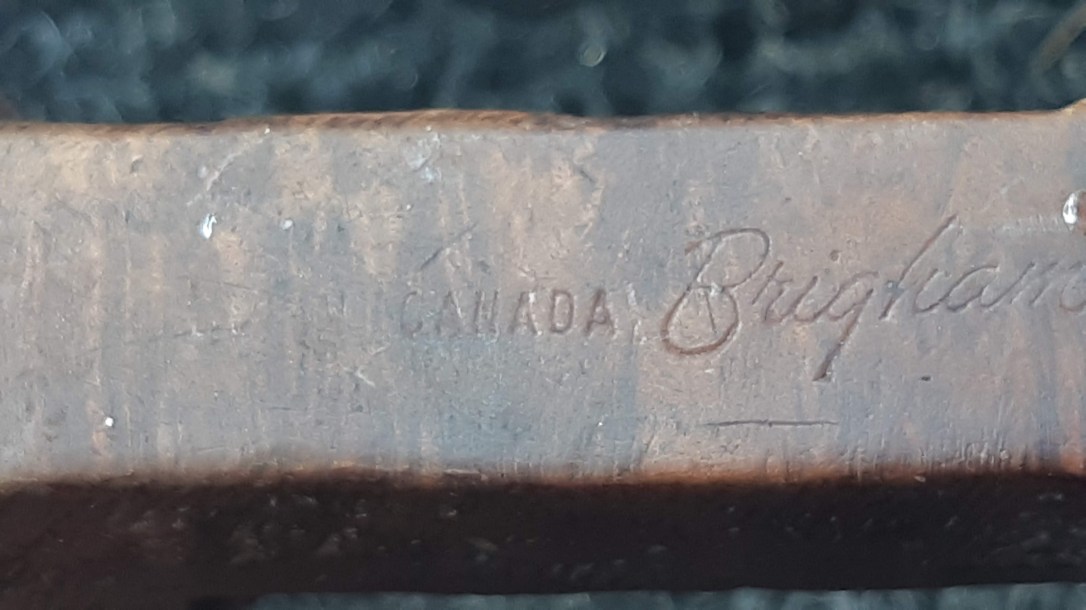
The stamps on the flat underside of the stummel are pretty worn, but readable under good light and magnification. They read “3100” then “MADE IN CANADA” then “Brigham”. The 4-digit shape number is not a stamping error; rather, it follows Brigham’s historical practice of doubling the last digit of a shape number to indicate an oversized version of a standard shape.
Thus, the shape code for this pipe, 3100, breaks down as a 3-Dot (“Brigham Exclusive” grade, as this pipe is pre-1980) pipe in an oversized Shape 10 Large Straight Apple. The COM stamp dates the pipe to the Post-Patent era, roughly 1956-1969.
Before I could begin restoring the pipe, I needed to get the stem off. I started this process by attempting to use alcohol to dissolve whatever gunk was holding the aluminum tenon in place. I used an eyedropper to dribble 99% isopropyl alcohol into the shank/stem seam, then plugged the stem with a pipe cleaner and filled the bowl with more alcohol and let the pipe sit for a few hours.
As you can see from this next pic, I came back to find that the alcohol had dissolved quite a lot of old tars from inside the pipe. The stem, however, was still very firmly stuck, so I popped the pipe into the freezer overnight.
Freezing the pipe often works to free up a seized stem due to the different rates of contraction between briar and tenon material. In the case, the aluminum tenon shrinks more in the cold than the briar wood, creating a very tiny gap between the parts of the pipe, hopefully freeing the stem from the mortise.
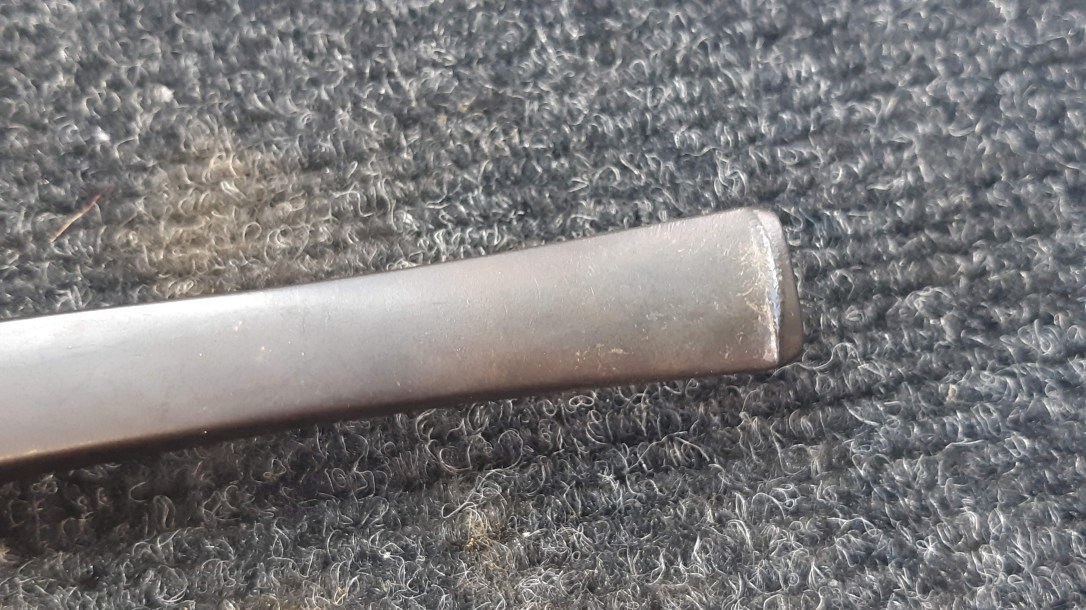
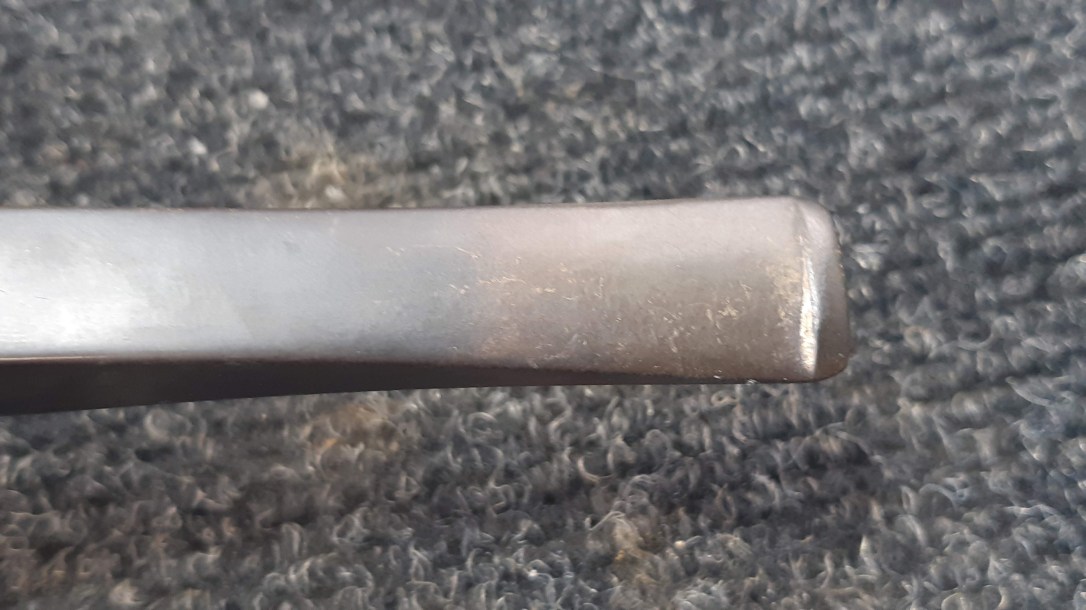
I had partial success. When I pulled the pipe from the freezer, I managed to get the stem moving slightly, but not enough to break the seal holding the tenon in the shank. As this pic shows, I managed to rotate the stem about a quarter turn before it stuck firm again.
Removing a stuck stem can be a nerve-wracking task, as it is not without risk. Putting too much pressure on the pipe while attempting to twist the stem out can easily lead to a broken shank. Rather than try to bully the pipe apart, I went back to the alcohol, injecting more isopropyl into the stem/shank seam. This time it worked very nicely and I was eventually able to separate the pipe into its integral parts.

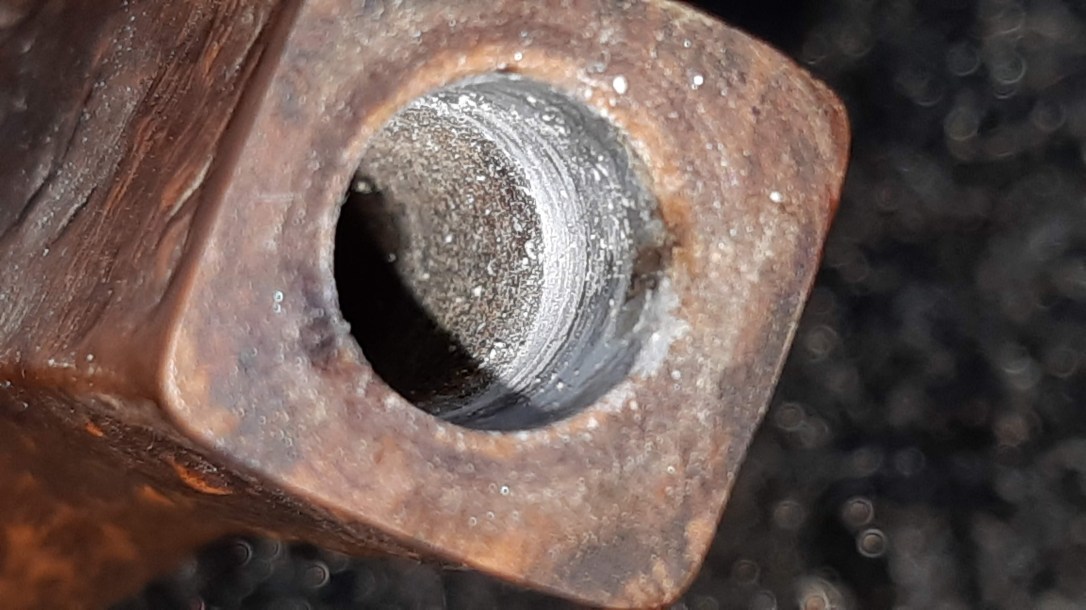
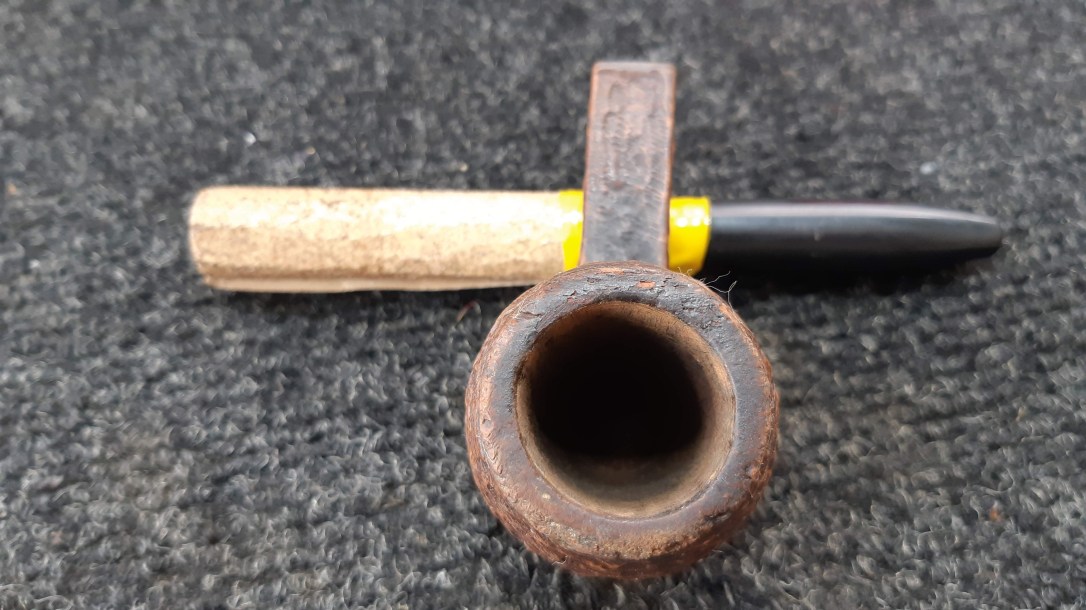
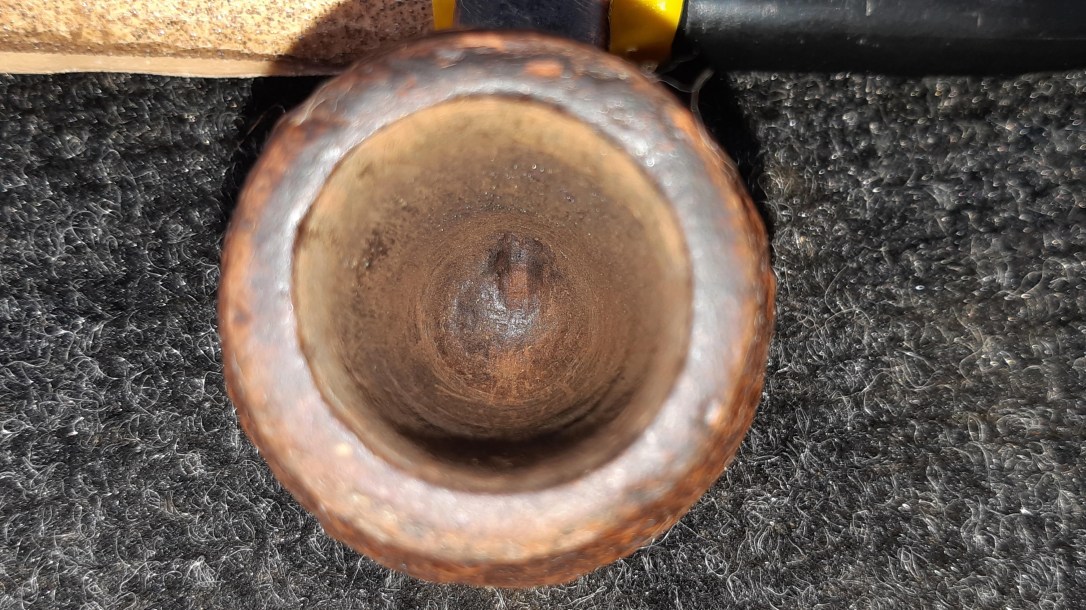
Anyone who has dealt with aluminum pipe fittings before will likely recognize the problem in the above shot. An old Rock Maple filter had been left in this pipe after its last smoke, and the moisture caused the aluminum to corrode. The build-up of corrosion is what “glued” the stem into the shank.
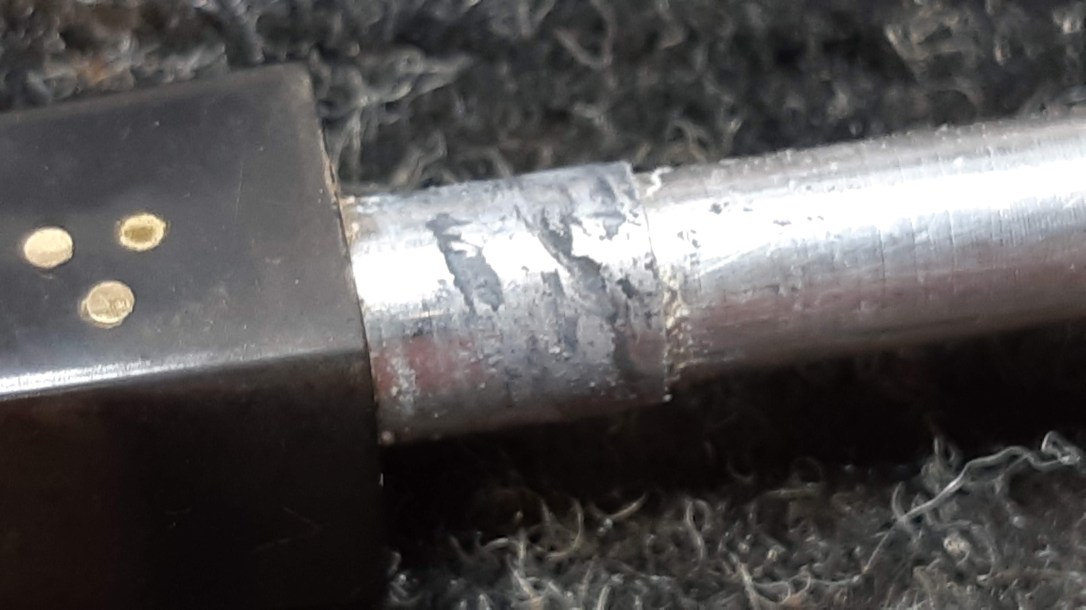
Here are a couple close-up shots of the mortise. The layer of grey/white gunk is oxidized aluminum. The following two pics show the corrosion on the exterior of the tenon. Yuck.

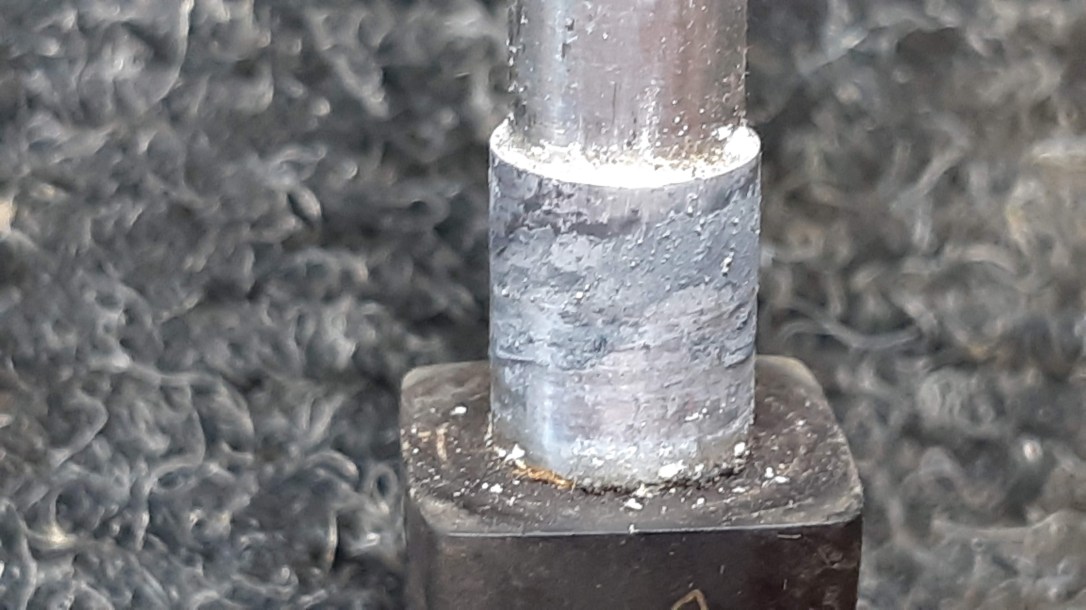
Thankfully, high-proof alcohol does a great job removing the built-up corrosion. I used a couple of cotton swabs dipped in isopropyl to clean out the mortise. The aluminum tenon cleaned up easily with a quick scrub of 0000 steel wool.
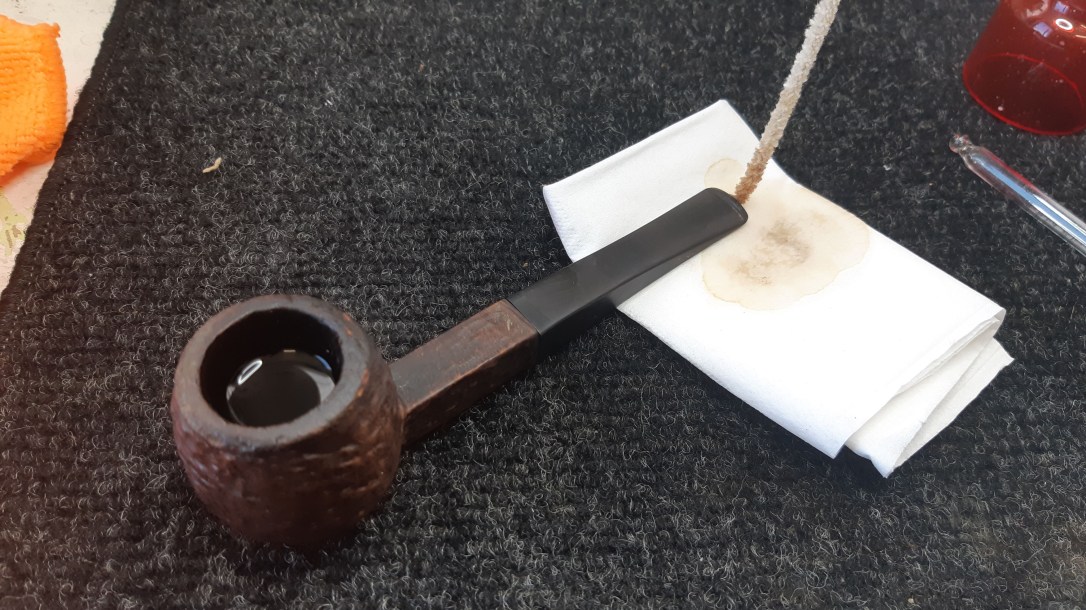
I then embarked on a more in-depth cleaning of the pipe’s internals, using pipe cleaners, cotton swabs and more alcohol. There was quite a lot of tar and other goodies blocking the end of the mortise at the chamber end. I used a flat needle file as a scraper to remove the worst of it, following up with the cotton swabs to mop up the remainder,
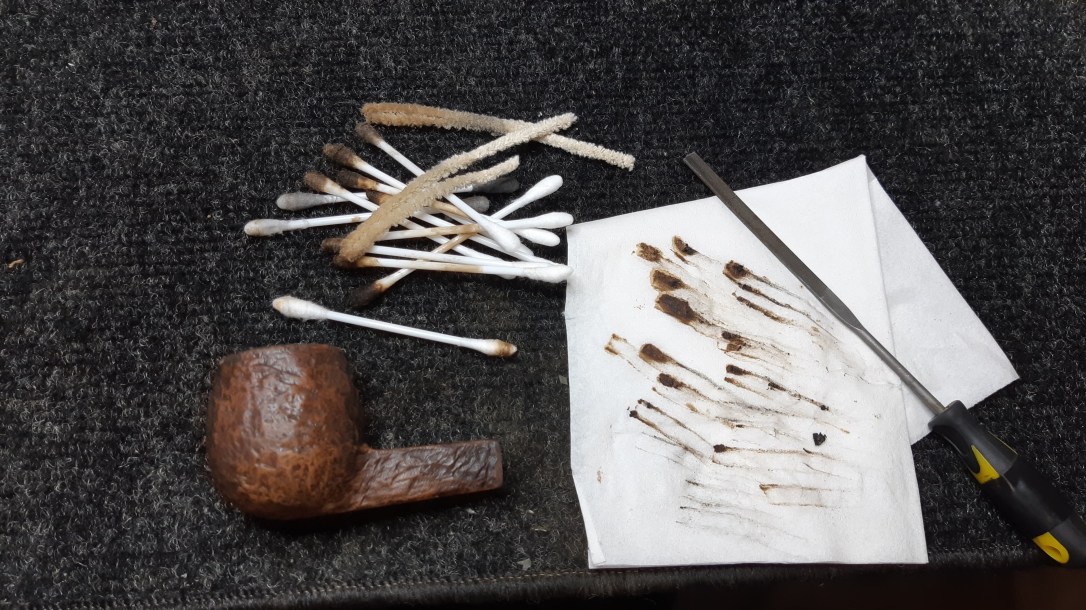
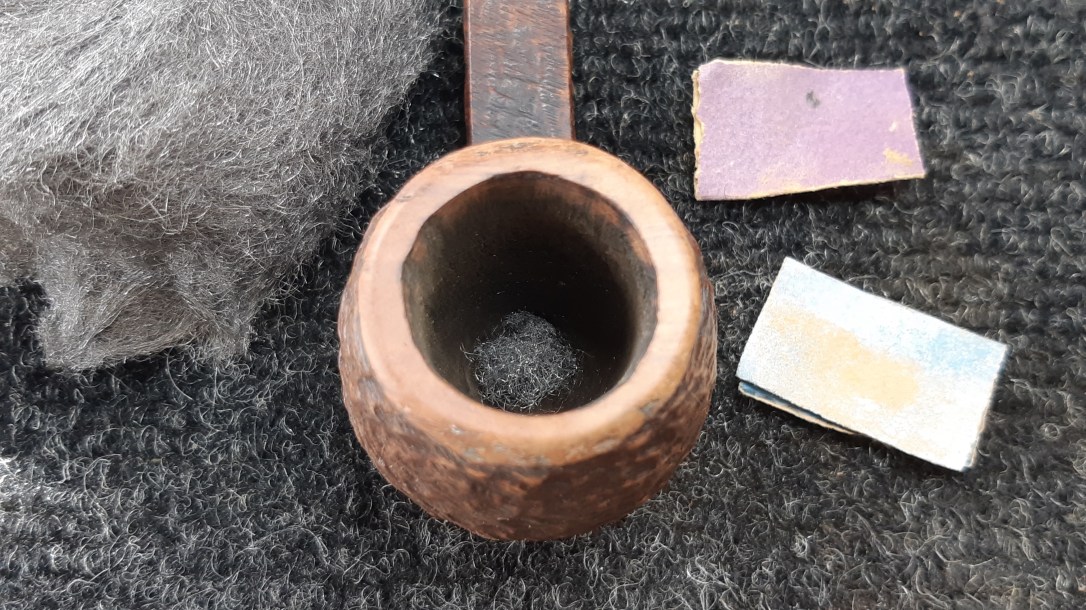
With the internals now clean, I removed the light cake layer for the chamber with a bit of sandpaper wrapped around a marker. The chamber was in good shape, but the rim needed some help.
I used 220 and 320 grit sandpapers to smooth out the dents and dings in the rim. 0000 steel wool erased the sanding scratches and micromesh pads brought up the shine.
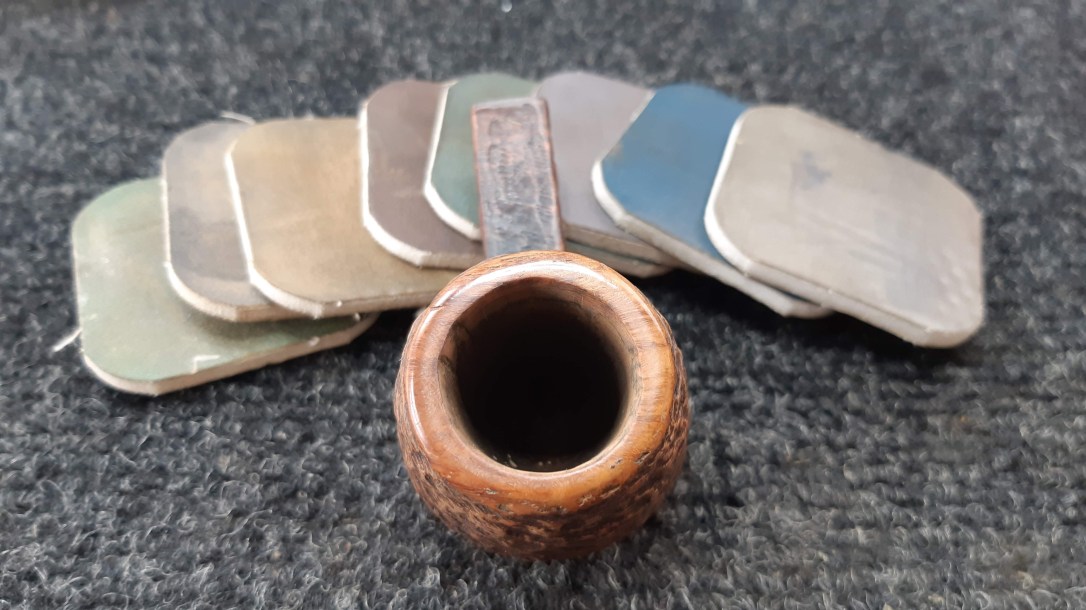
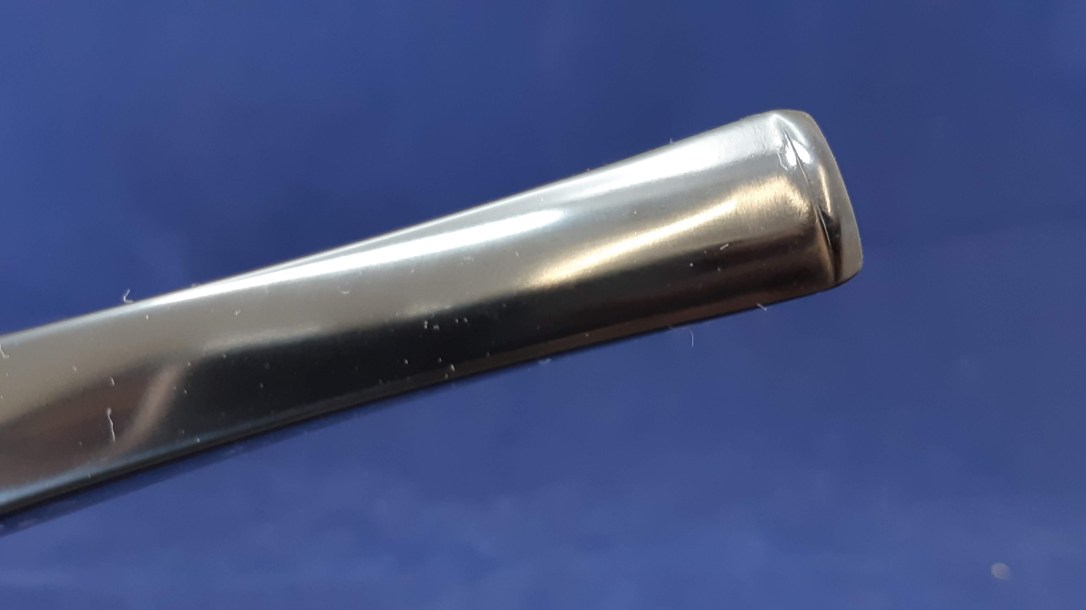
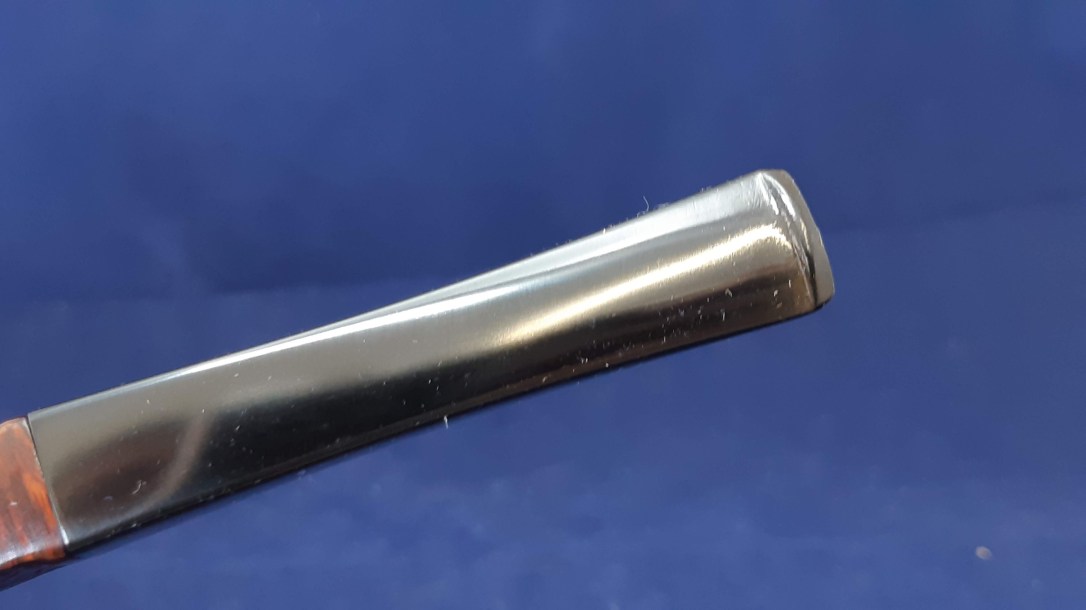
I cleaned the internals of the stem with pipe cleaners and alcohol, then reassembled the pipe to work on the oxidation. The Vulcanite was only lightly oxidized, so instead of my usual Oxyclean soak, I simply wet-sanded the stem using 400 – 2000 grit papers until it was black again. I highly recommend doing this with the stem mounted in the pipe to avoid rounding off the crisp edges, especially at the stem face.
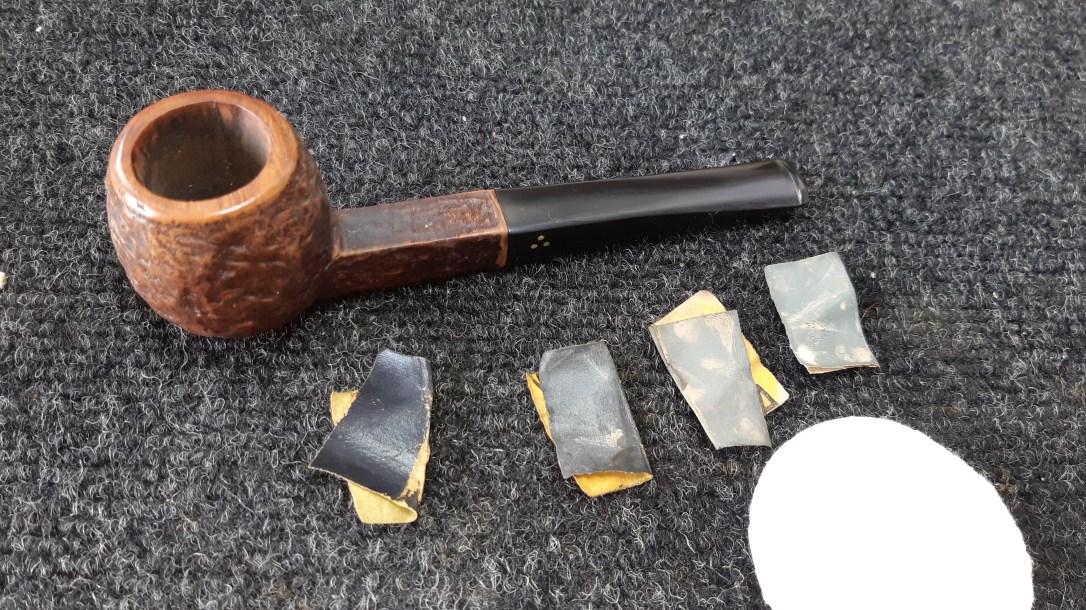
Happy with the stem, I completed the cleanup of this 60’s Brigham by scrubbing the briar with Murphy’s Oil Soap and a toothbrush. This lifted away a surprising amount of dirt and grime from the rusticated finish.

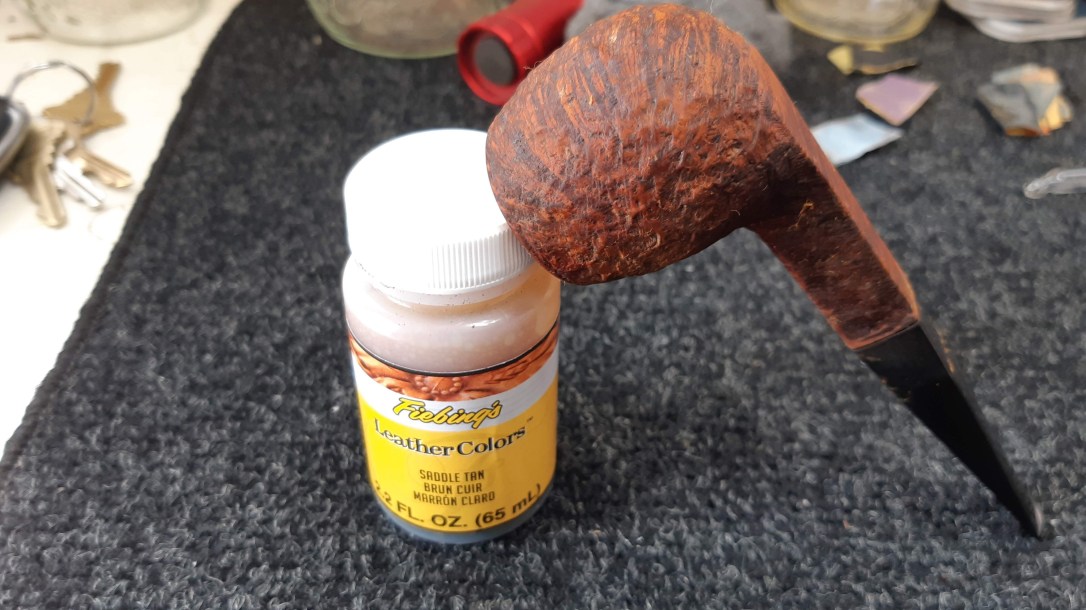
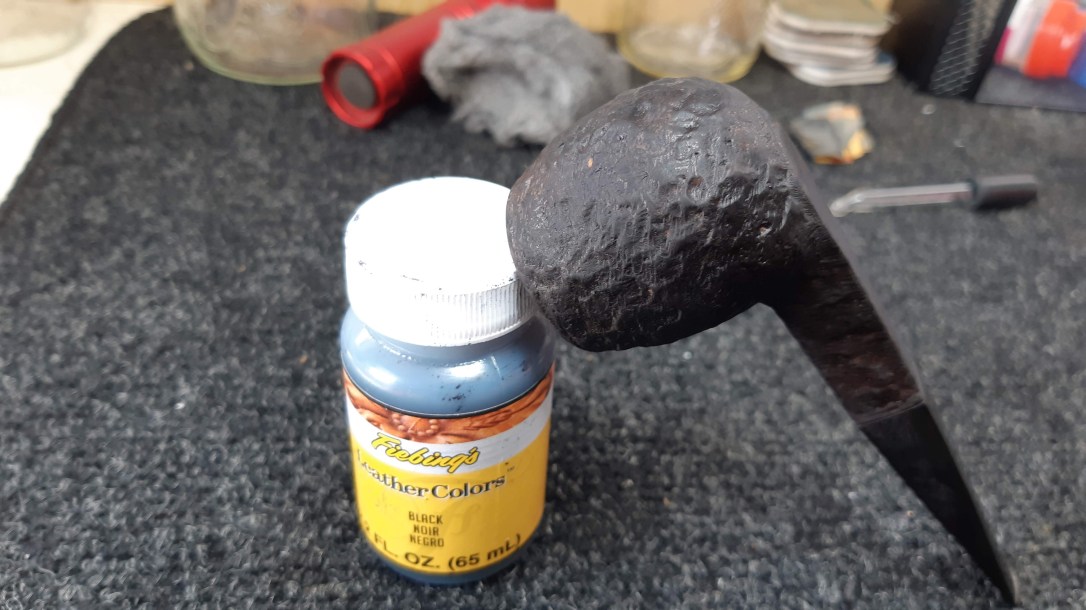
To restore the original finish, I now applied a two-colour stain of Fiebing’s Black leather dye over a coat of Saddle Tan. I let the dye dry completely, then used a damp towel to scrub the black off the smooth areas on the rim, shank bottom and shank end. This revealed the red colour underneath.
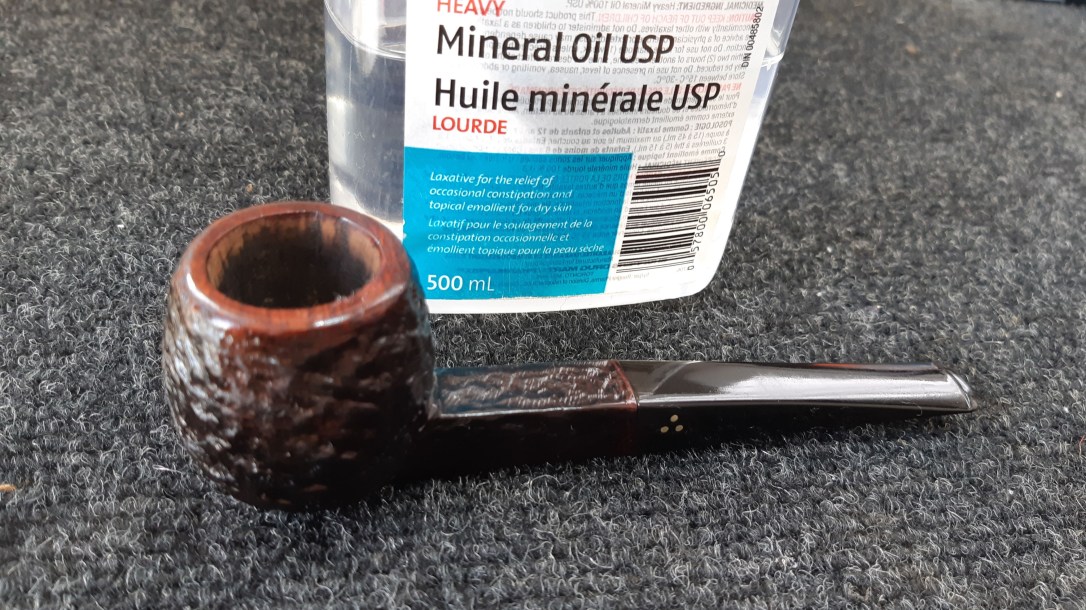
A wipe of mineral oil on a cotton pad helps to set the new finish and restores vital moisture to both briar and stem. I let the oil sit for 10 minutes or so before buffing away the excess with an old terry towel.
All that was left to do for this pipe was to take it to the buffer. I gave the entire pipe a run of White Diamond compound followed by several light coats of Carnauba wax to shine and protect the new finish.
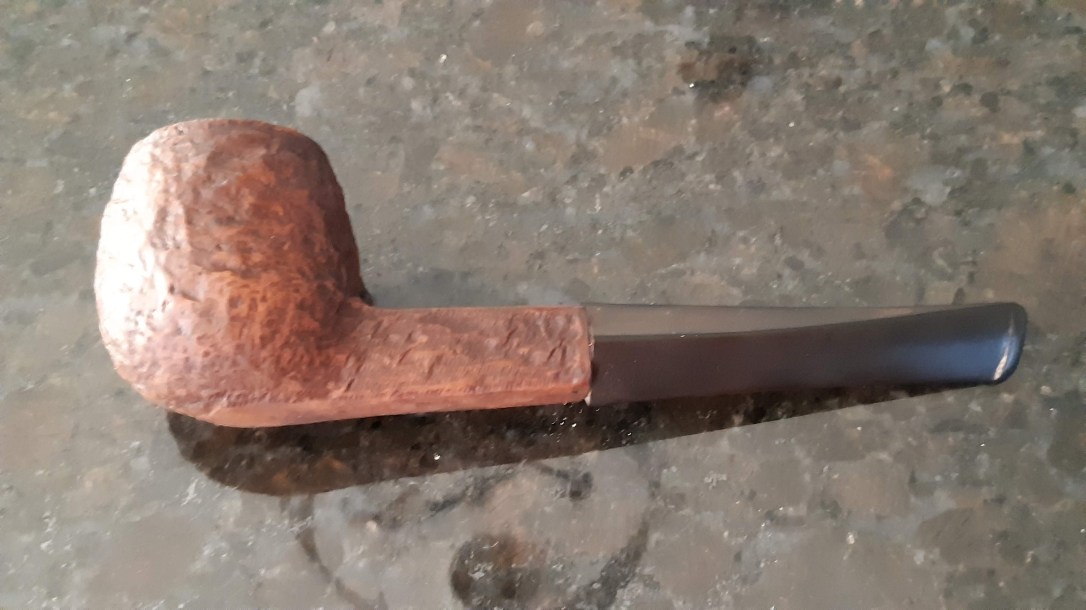
I’m happy with the end result. The stem is once again a glossy black, offset by its golden brass pins, and the briar is clean and revitalized. This Brigham 3100 Oversized Apple is ready to enjoy once again and has taken its place in my personal collection.
Thanks for joining me on this estate pipe cleanup. I hope I’ve given you a few tips and tricks for dealing with a stuck stem – you’ll encounter one sooner or later if you pick up enough estate pipes!
Here’s the finished pipe. Until next time, Happy Piping!