Today’s pipe is a good example of a high-end pipe revealing a flaw that leads to a repair. This Radice Rind came to me for a cleaning with the Straight Egg meerschaum pipe I wrote up a few weeks ago.
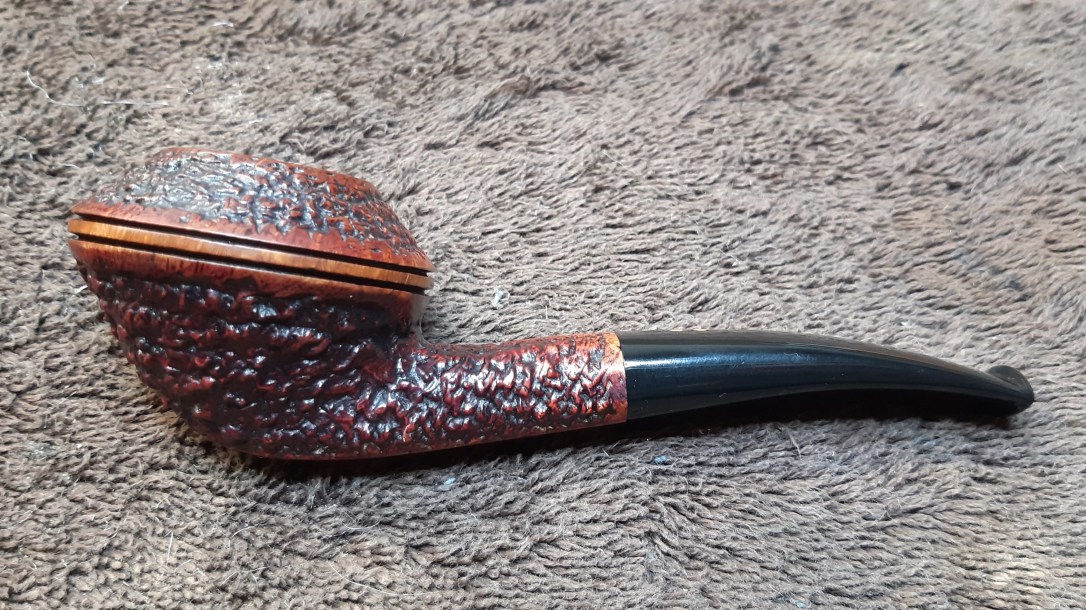
At first glance, this pipe looked to be in excellent estate condition.


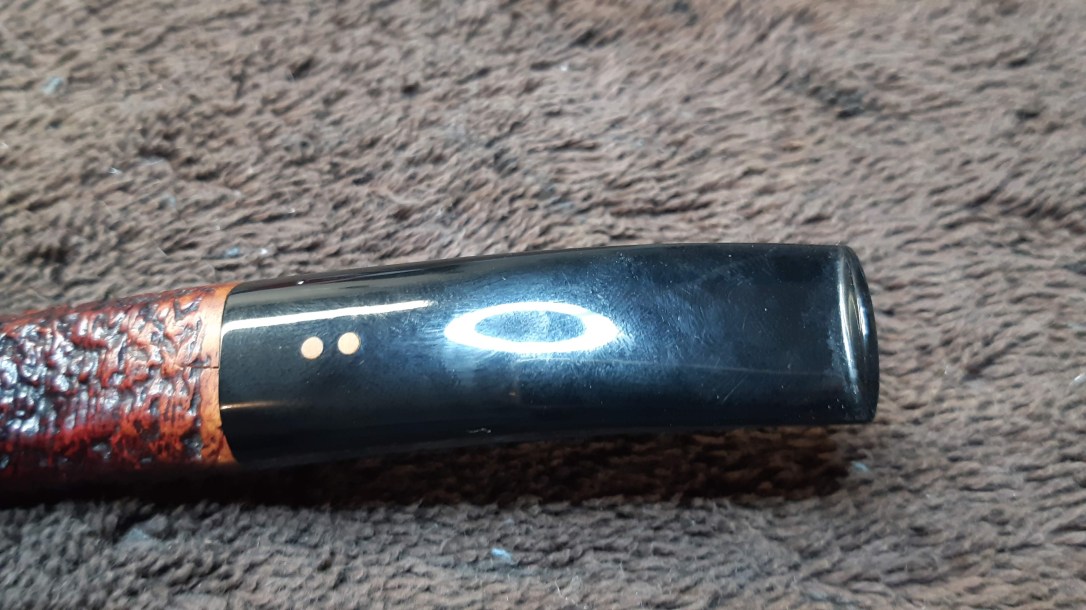

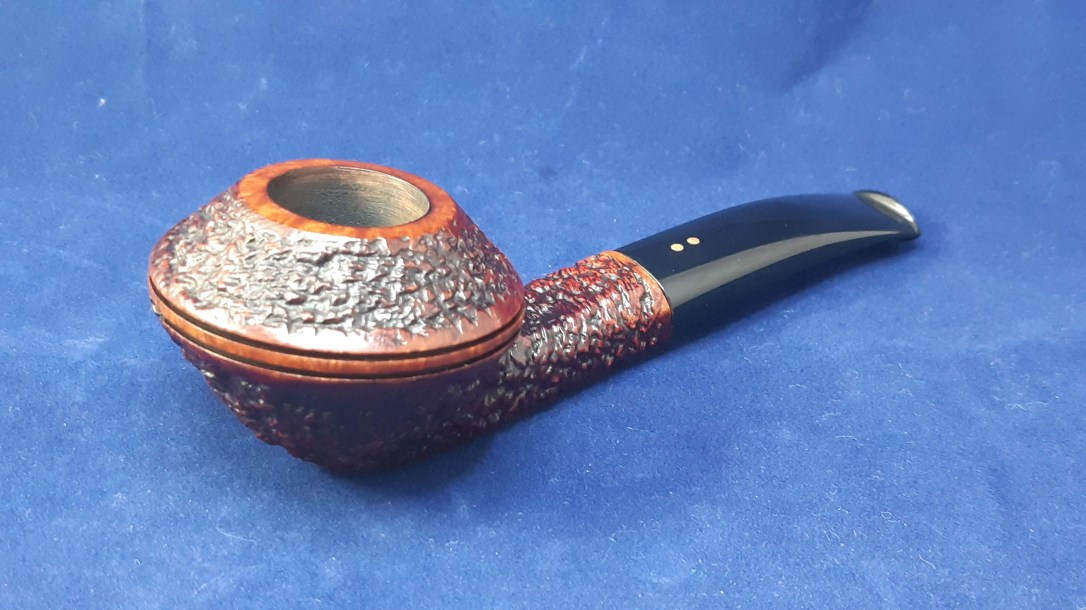
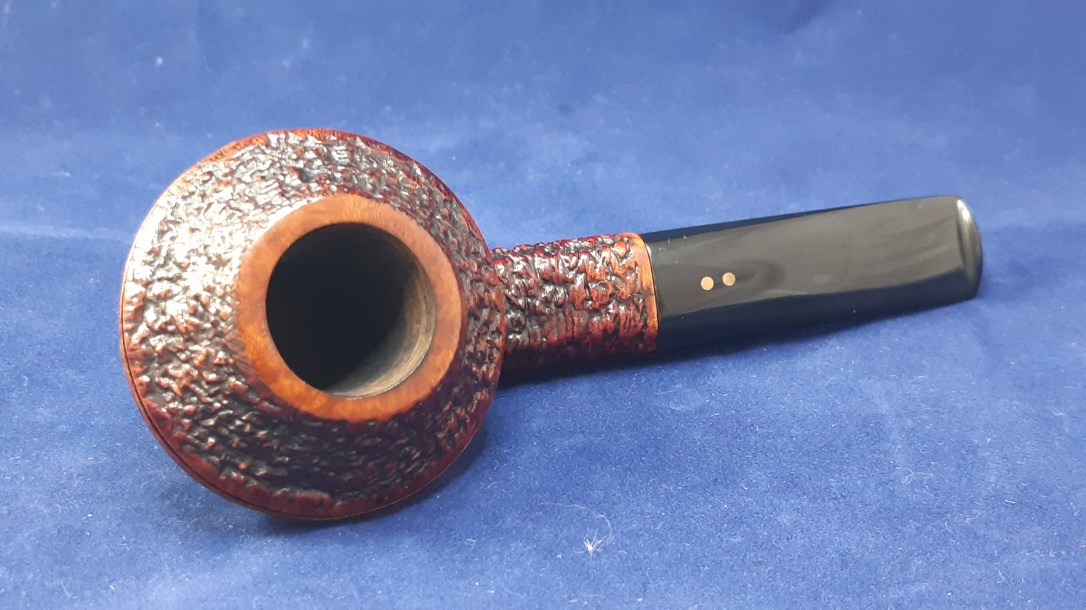
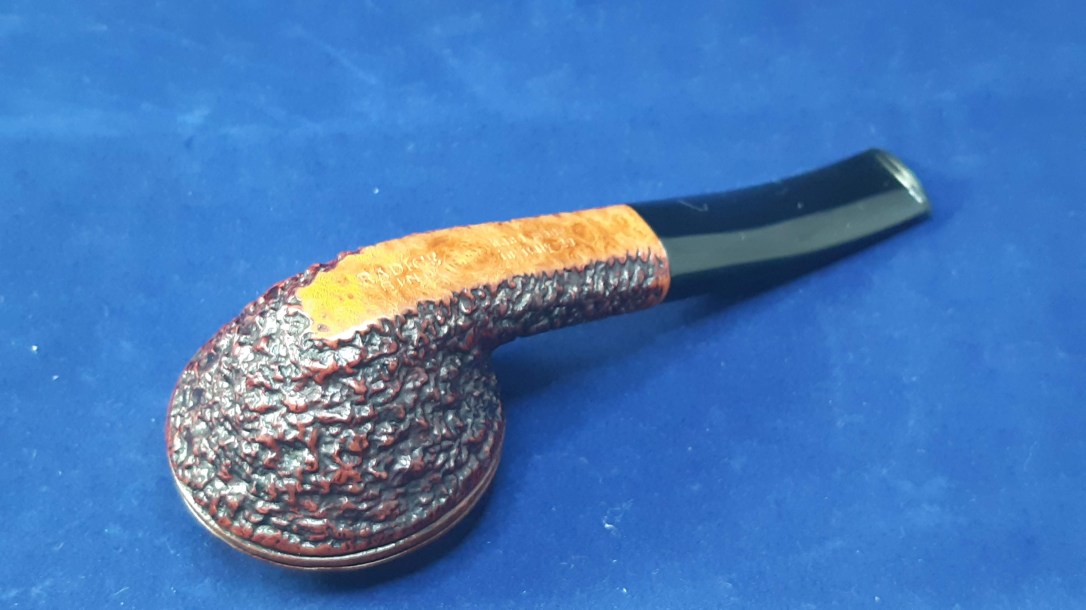
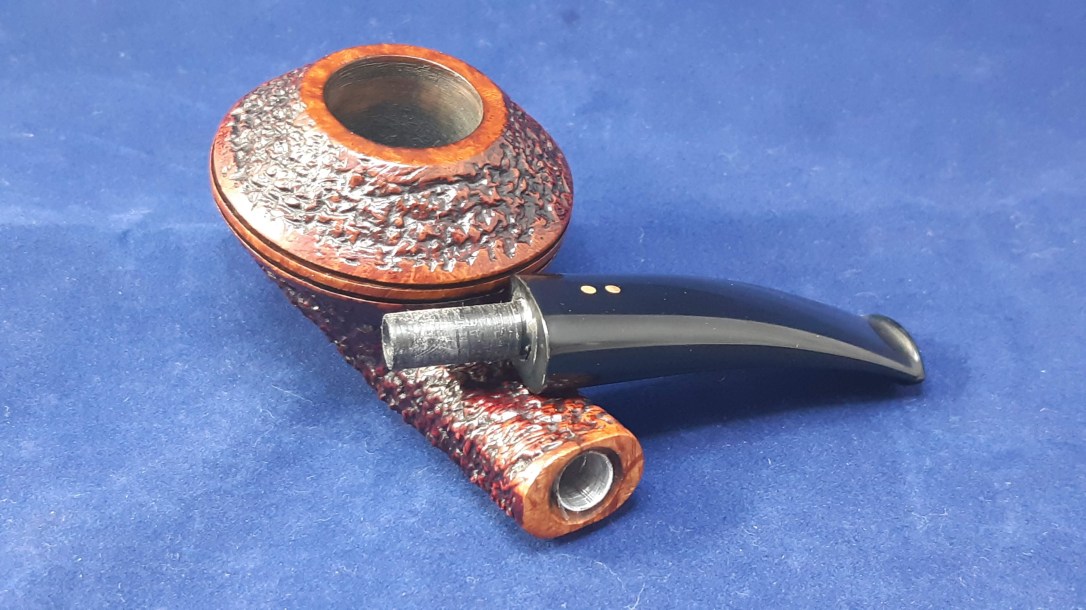
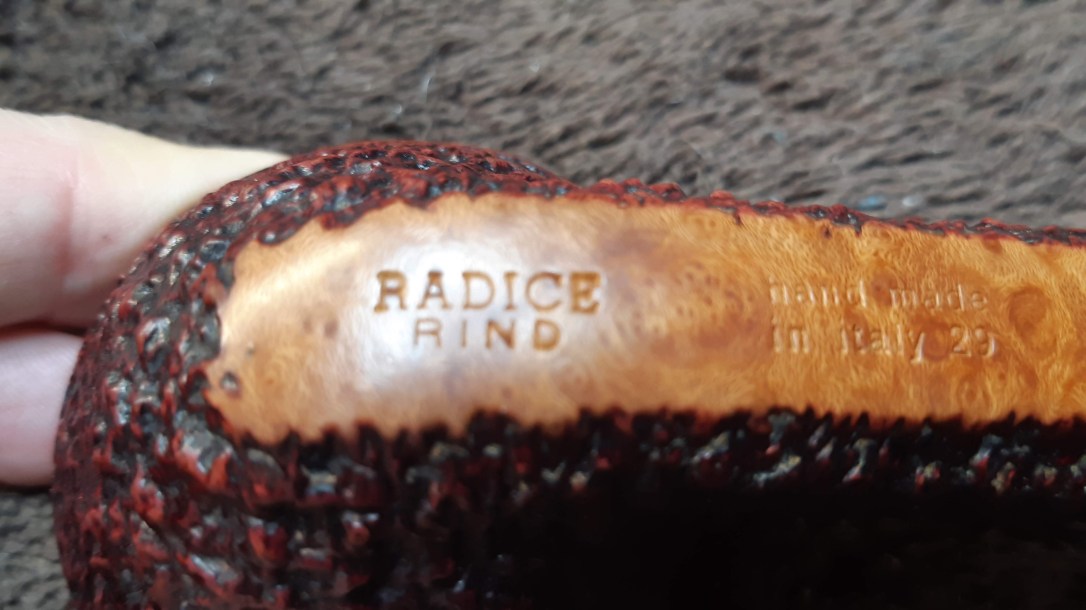
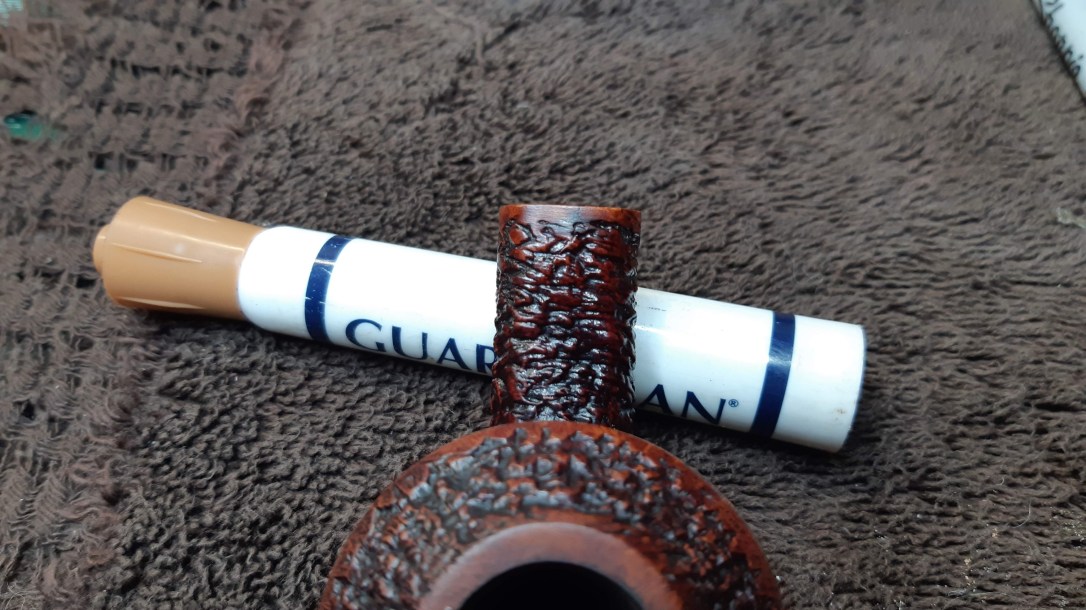
The pipe is stamped “Radice” over “Rind” then “Hand made” over “in Italy” and a shape number, “29”. The stem, as seen in the above pics, is inset with two briar dots.

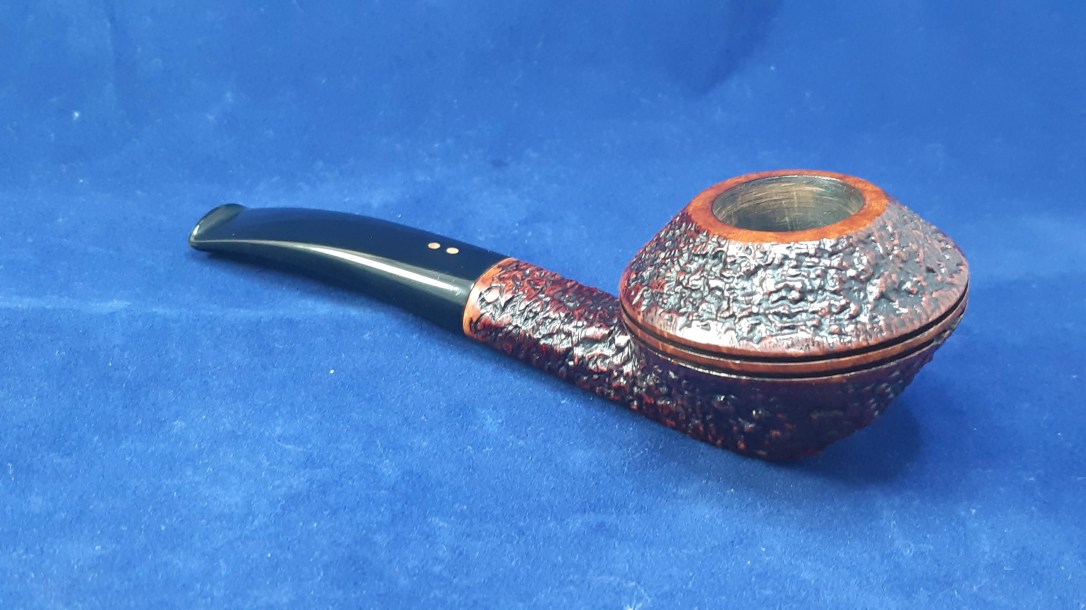
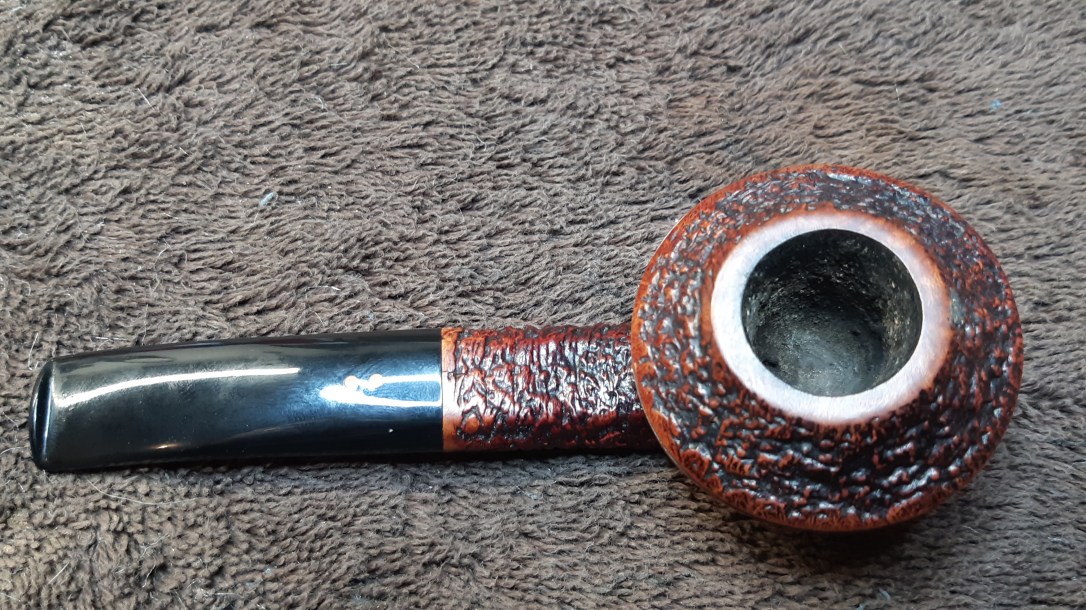
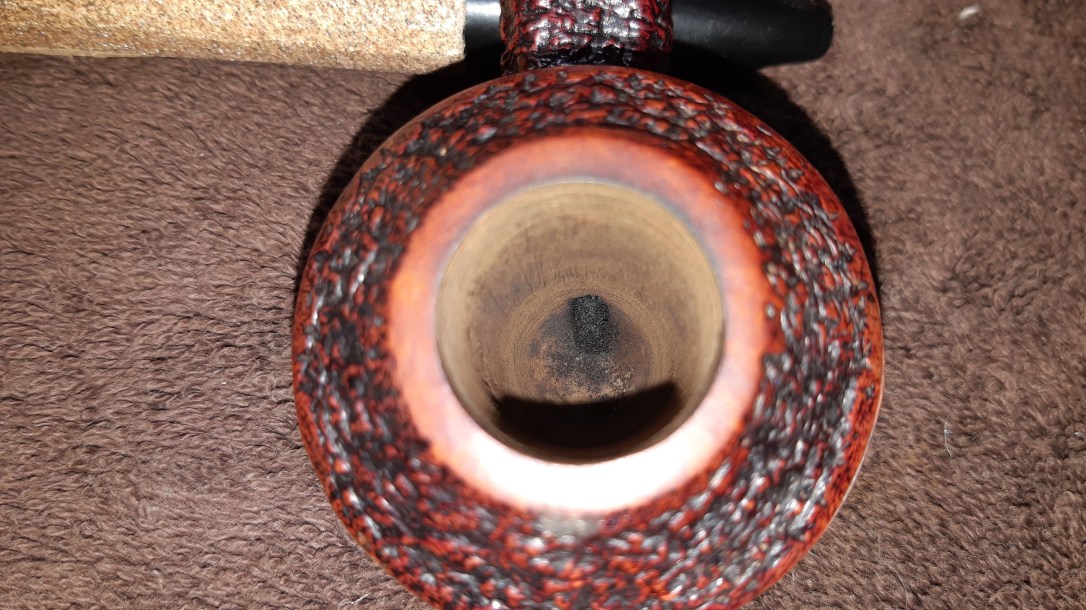
It’s a lovely pipe with well-executed rustication and a very nicely shaped acrylic stem. The chamber had a bit of cake buildup but otherwise, it looked like this pipe wouldn’t need more than a basic ream and clean – until I took a closer look at the shank.

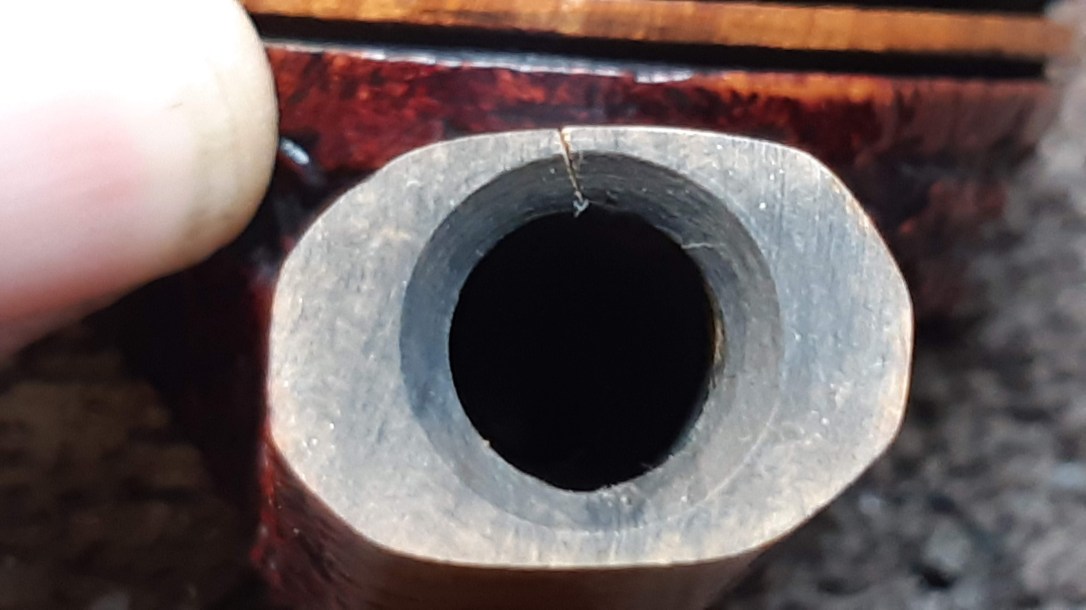
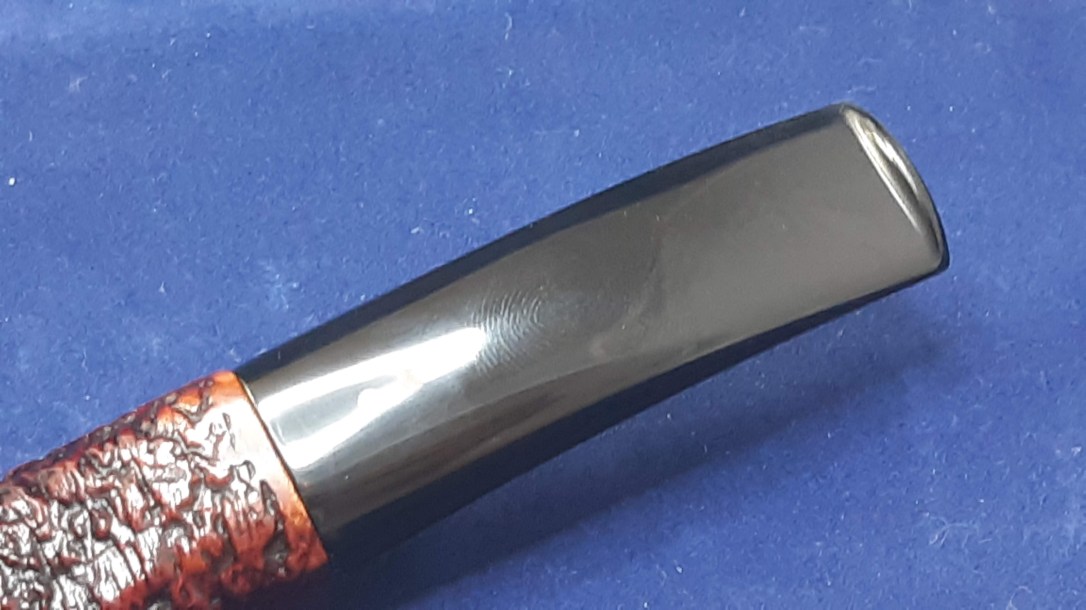
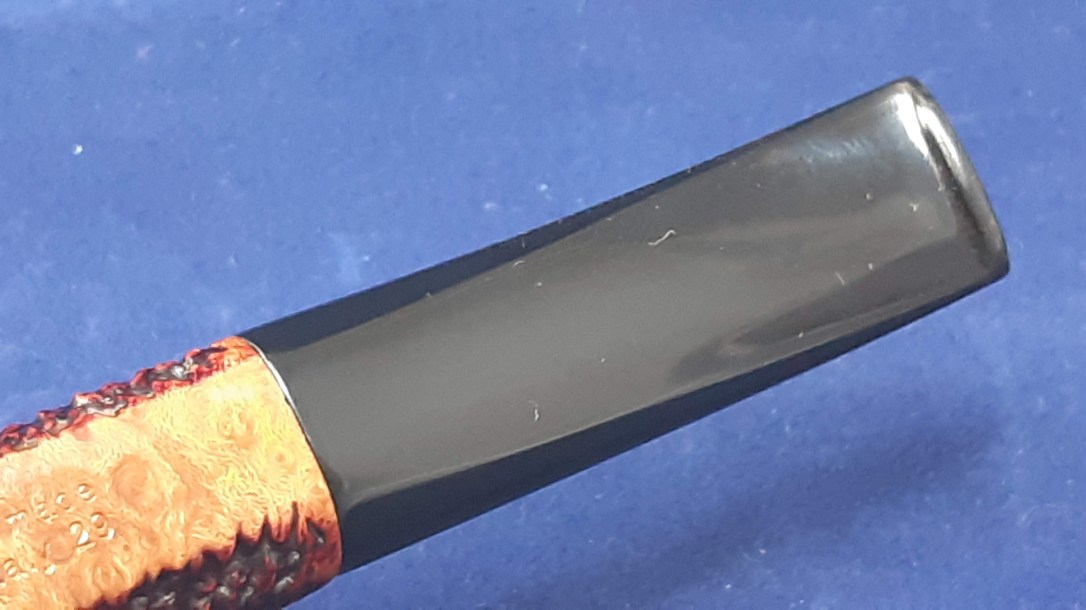
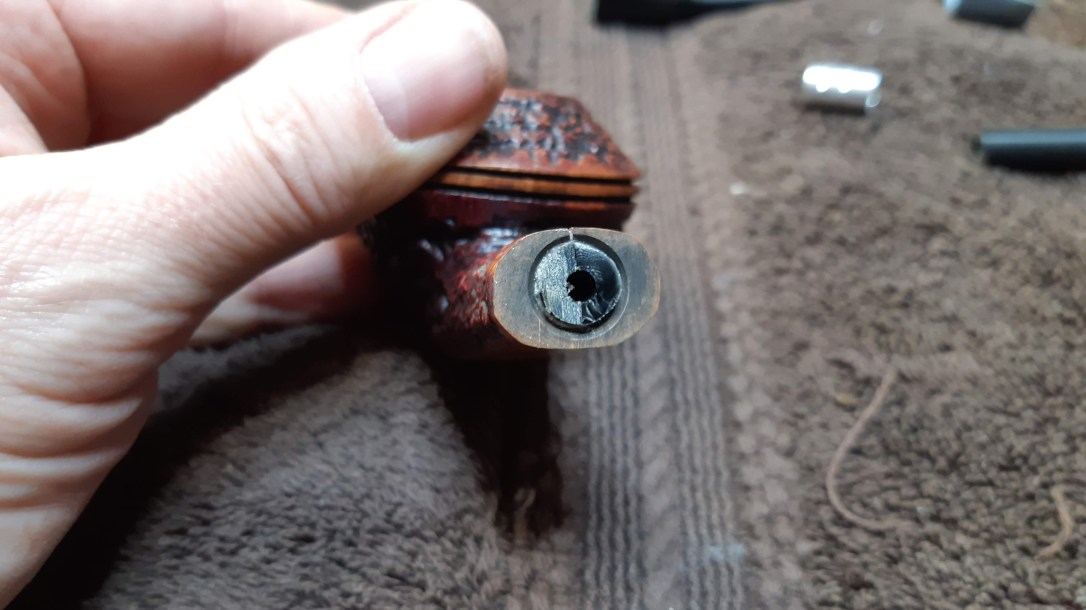
As the top picture here shows, the shank had a crack running along the valleys of the rustication and extending about 5/8ths of an inch down the shank towards the bowl. The second pic shows the crack from the end of the shank. I suspect the thinness of the briar on top of the mortise contributed to the formation of the crack.
When I reported the damage to the pipe’s owner, he was quite keen to preserve the original look of the pipe. This meant no shank band for this Radice. Instead, I would repair and reinforce the shank internally with a splint of metal tubing and then pretty up the exterior to hide the crack.
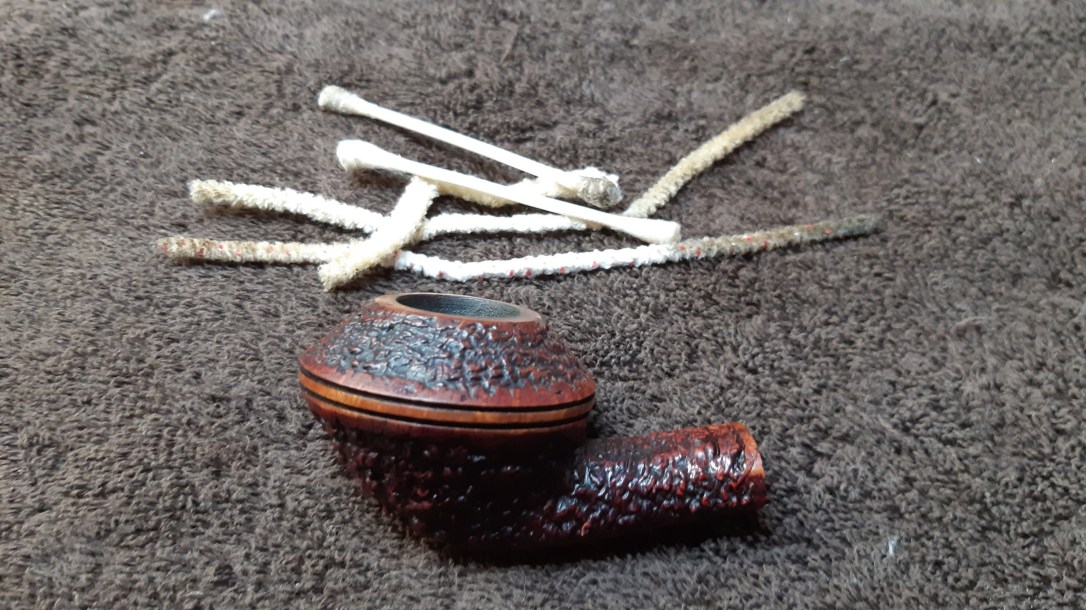
Before starting the repair work, I cleaned the pipe thoroughly – I reamed the bowl back to briar (no surprises lurking there – yay!), and cleaned the internals of stem and stummel with pipe cleaners and alcohol.


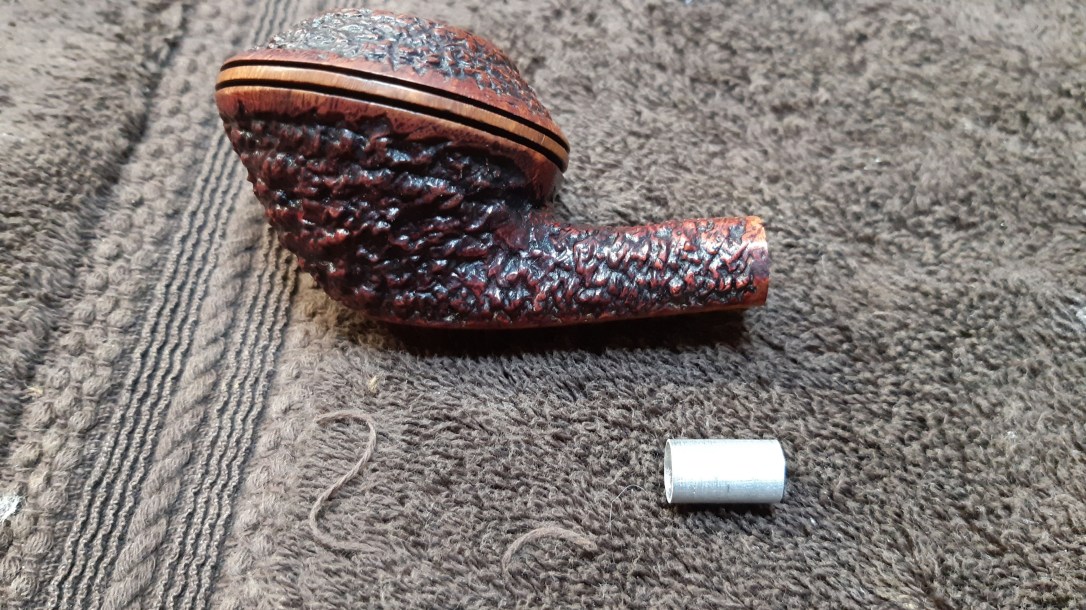
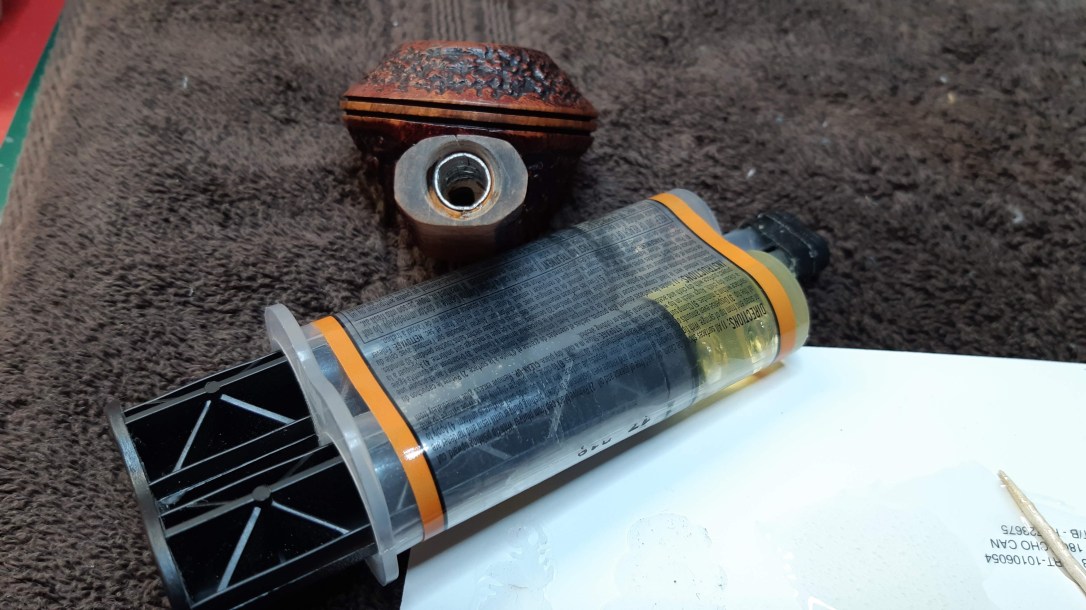
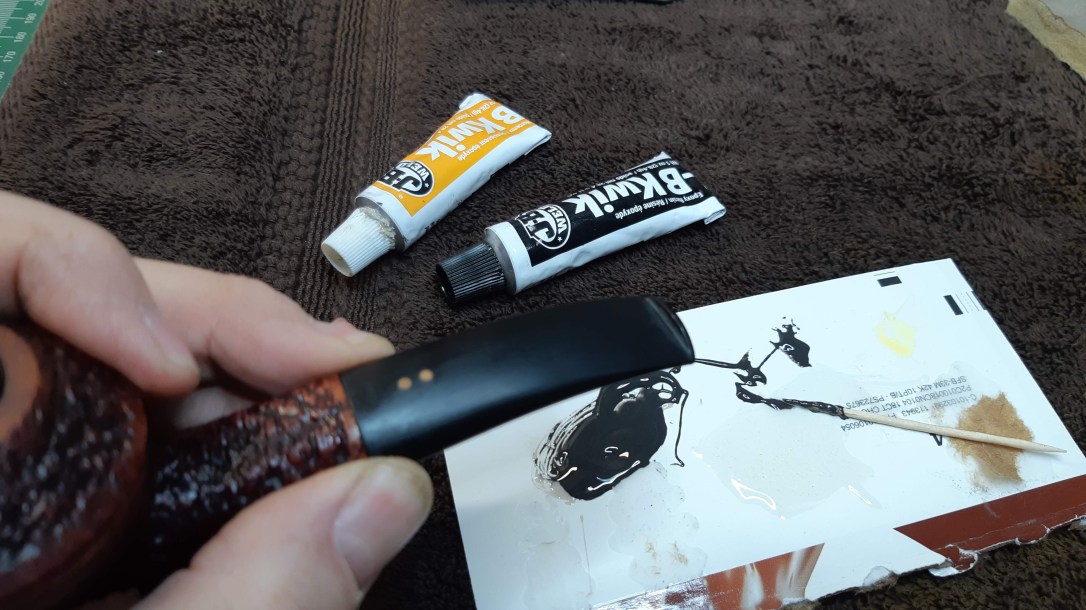
I cut a short section of tubing to line the shank mortise, and after a test fit, glued it into place with a bit of epoxy. After the epoxy cured, I dripped a bit of thin CA glue into the crack from the outside to fill and seal it.
Here is where I ran into a glitch – while sanding down the stem tenon to fit inside the reinforced mortise, the tenon cracked right off in my hand. Yikes! My guess is that whatever cracked the shank had also weakened the tenon. I missed the tenon damage during my assessment of the pipe – something I’ll be sure to check for next time I’m faced with a cracked shank.
To be honest, I probably would have had to replace the tenon anyway, as the metal tubing rarely fits into the repaired shank on exactly the same plane as the original mortise. This generally leads to a slight misfitting of the stem face against the shank end, which can be corrected by replacing the tenon.
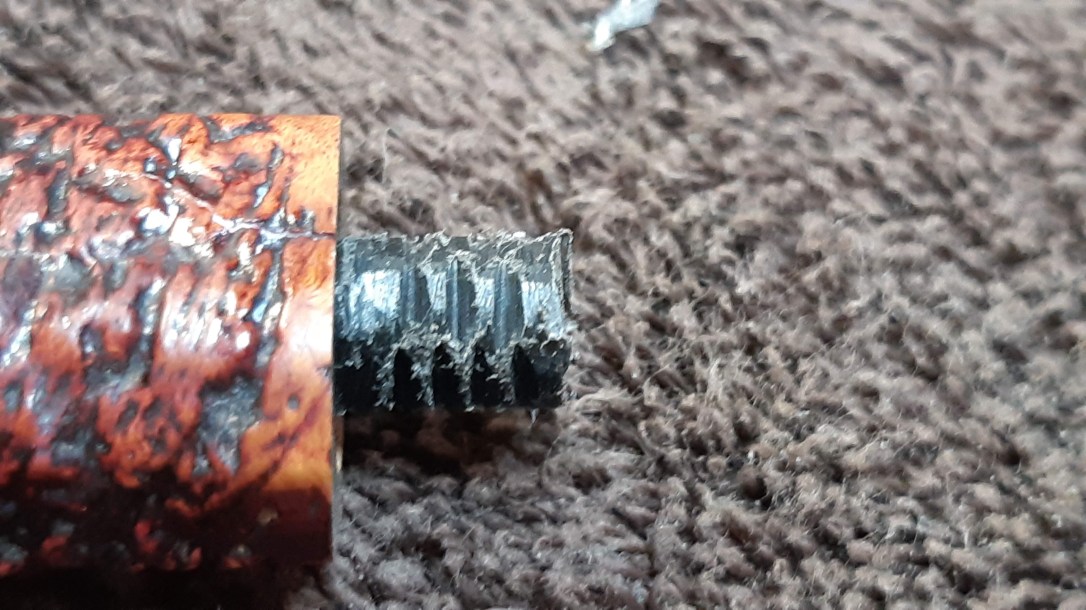
I picked a replacement Delrin tenon from my supplies and sized it down to fit snugly inside the reinforced mortise. I cut a series of parallel lines into the stem end of the tenon to give the epoxy more grip on the slippery Delrin.
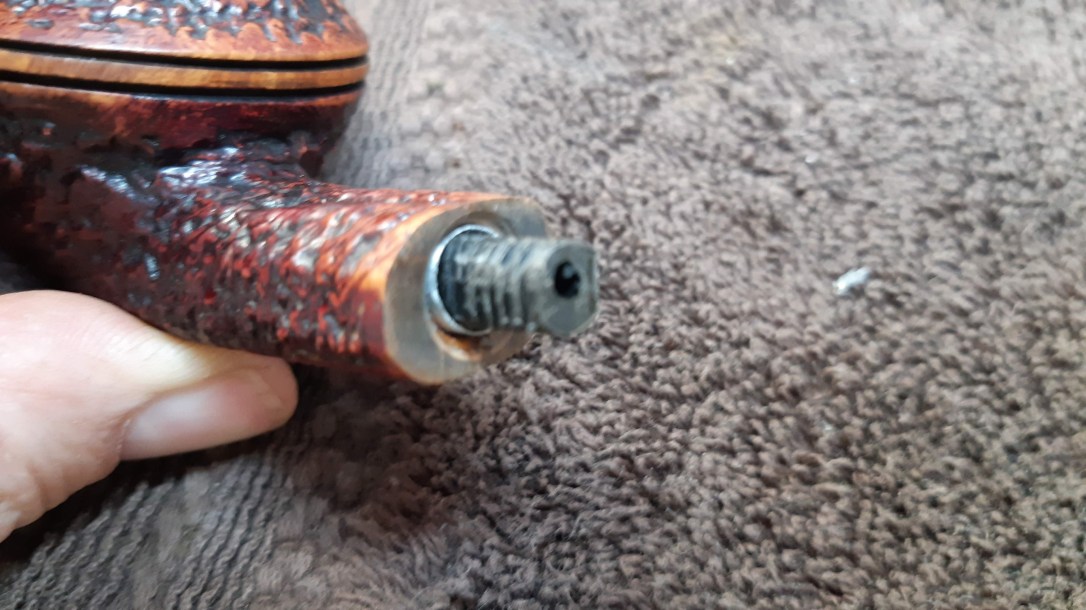
After sanding the face of the stem flat again, I drilled out the airway slightly larger than the tenon diameter to leave room for the epoxy. A test fit of the stem showed a nice tight fitment at the shank/stem junction – just what I wanted.

I mixed and applied a small amount of JB Weld to both tenon and stem mortise, then carefully slipped the stem in place. Be careful at this stage of the game, as a bit of excess epoxy can easily glue the stem to the shank permanently.
I clamped the pipe upright in my bench vise lined with a soft cloth to avoid damaging the briar. This held the pipe in such a position than gravity helps keep the stem in proper alignment against the shank. I tweaked things gently, then added a few strips of painter’s tape to hold everything in position while the epoxy cured.
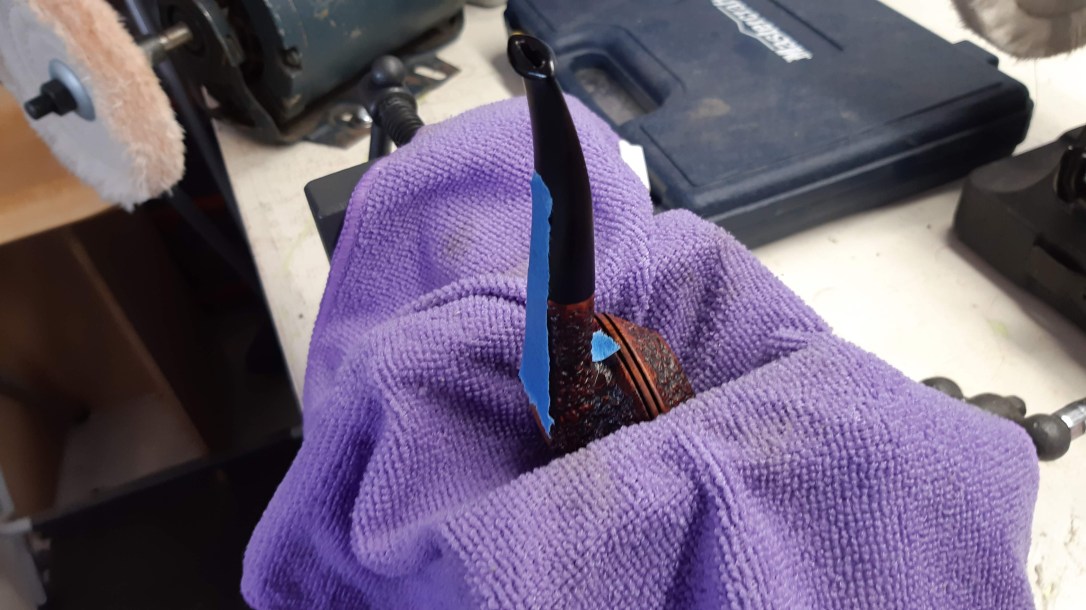
I left the pipe in the vise overnight to let the epoxy cure completely before twisting the stem out. The adhesive had filled the gap between stem and tenon nicely and only needed a few tweaks to smooth out completely.
With the structural work complete, I did a bit of work on the exterior of the shank, sanding down the CA glue I had applied to the crack. I used a narrow-point Sharpie marker to darken the valleys in the rustication around the repair and blended the repair into the existing finish with a bit of stain pen. The repaired crack is now nearly invisible except under close scrutiny.
I finished off this refurbishment with a run of White Diamond compound on the buffing wheel followed by a few light coats of Carnauba wax.
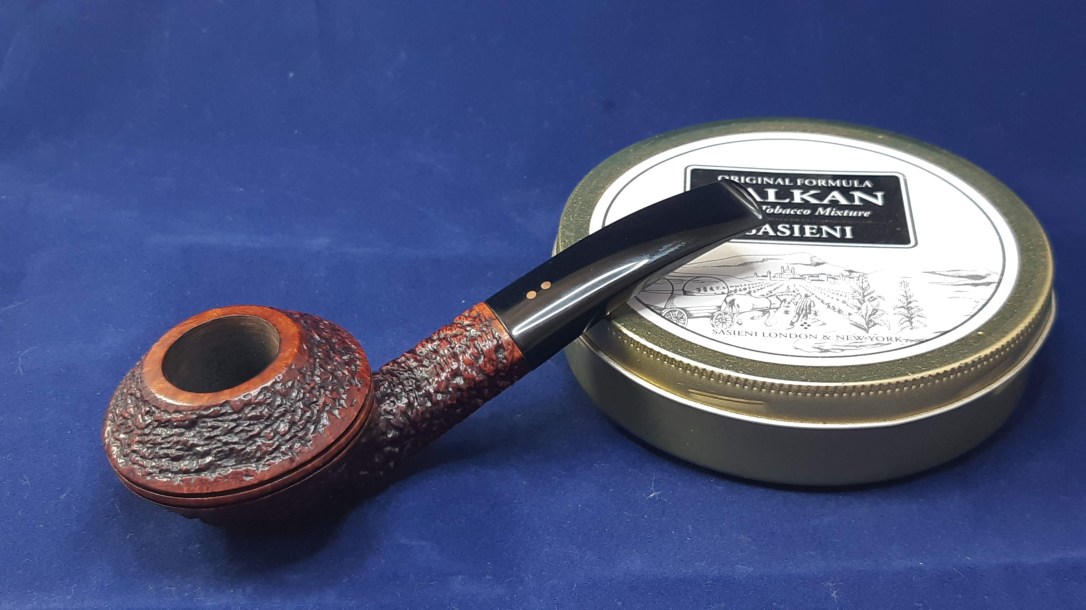
The finished pipe is now structurally sound, cosmetically repaired and ready for its owner to put back into his rack and rotation. I’m sure he will be happy to have it home again.
Thanks for following along with me on another estate pipe restoration. This type of internal shank repair is gaining in popularity over the traditional shank band, and I understand why. Although the work is much more involved, the factory look of the pipe is retained – perfect for unique, hand-made artisan pipes like this Radice Rind.
Here’s the finished pipe. Until next time, Happy Piping!