By far one of the most popular of pipe shapes is the classic diamond-shanked Bulldog, in either straight or bent versions. In the Brigham catalog, these are Shapes 16 and 26, respectively, but they are not the only pipe shapes labelled as Bulldogs by this producer. Also on the list are the Shape 25 Squat Bulldog, the Shape 67 Tall Bulldog, and the Shape 17 Round Bulldog.
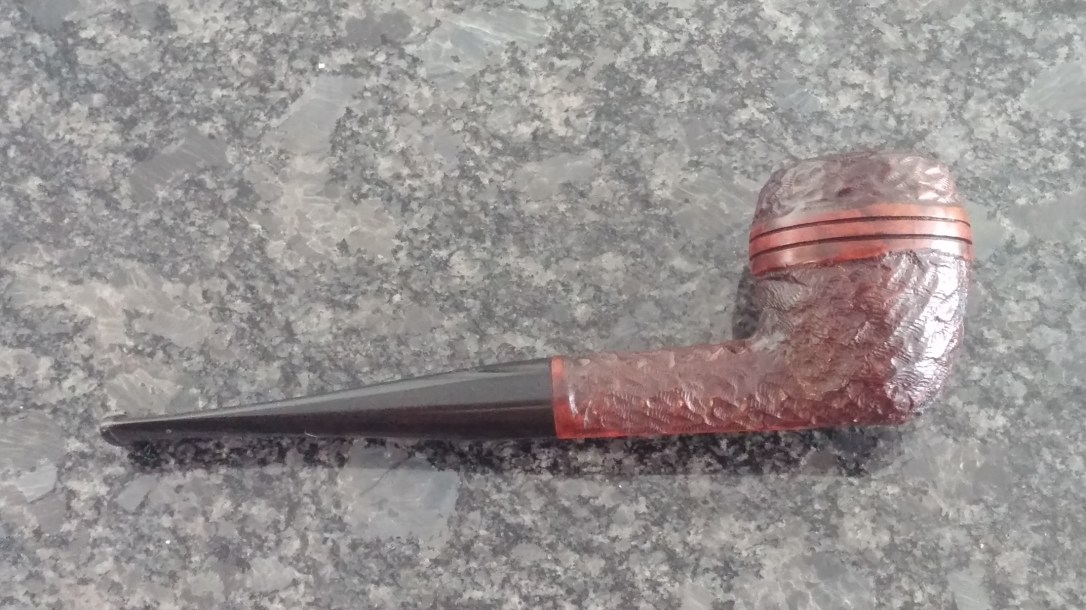
The pipe on the worktable today is an example of this last shape, the Shape 17 Round Bulldog, which many might argue should more rightly be called a Rhodesian due to its round shank and stem. This Brigham also sports a flat underside, which makes it able to sit upright on its own.
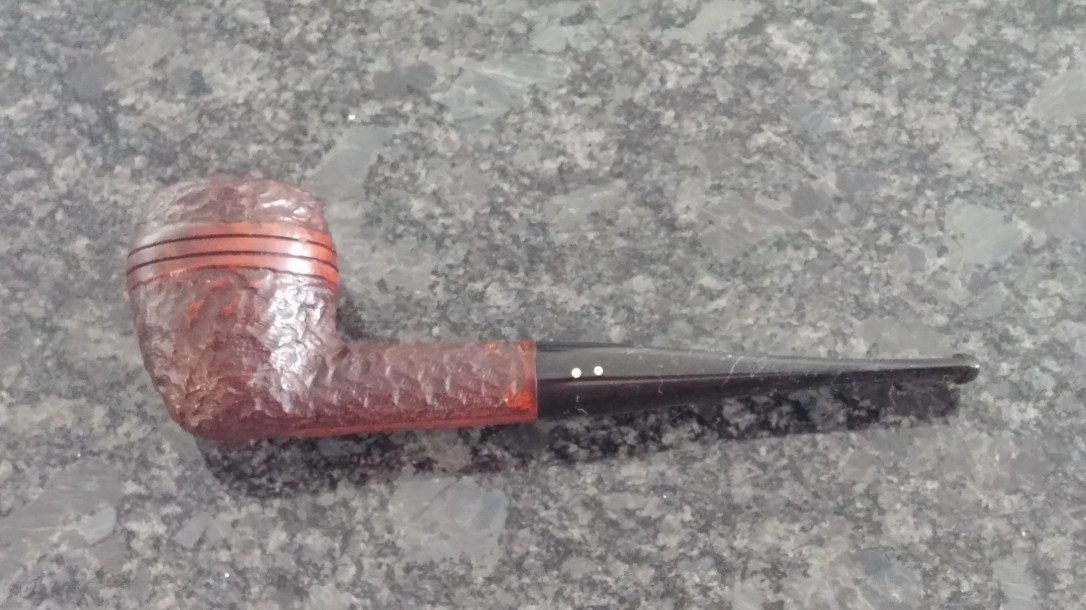
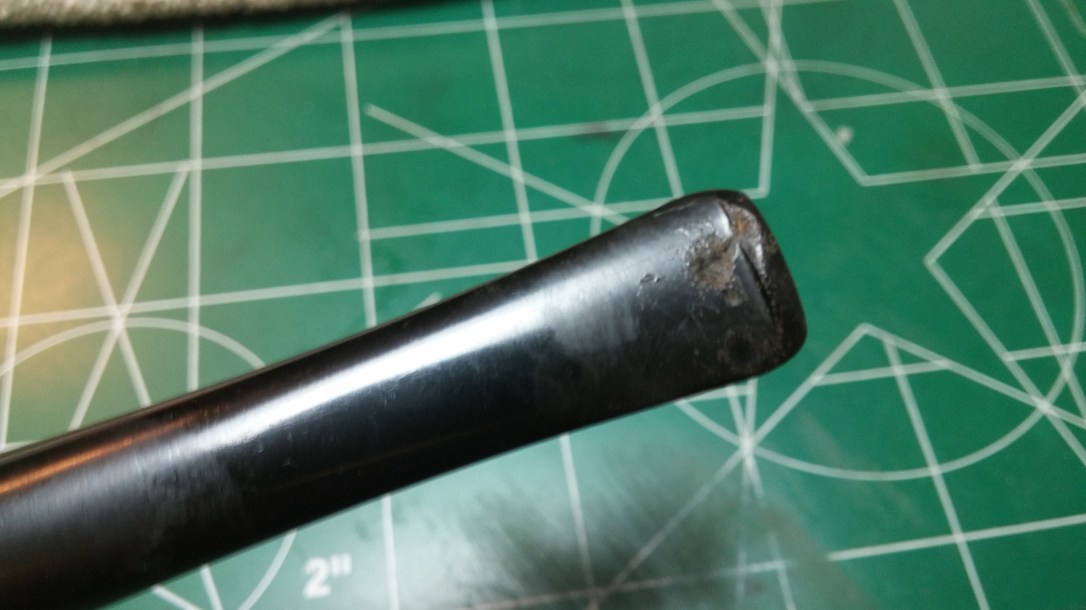
The pipe came to me in good overall estate condition, with a few flags. Under the dirt and grime of years, the rusticated finish as in good shape, and it appeared that the pipe had been reasonably well cared for. The cake in the bowl wasn’t excessive, the rim was free of dents and dings, and the twin rings around the bowl were intact. The pipe had obviously been well enjoyed, however, as attested to by the deep tooth marks on the stem. Those would need some work to correct.


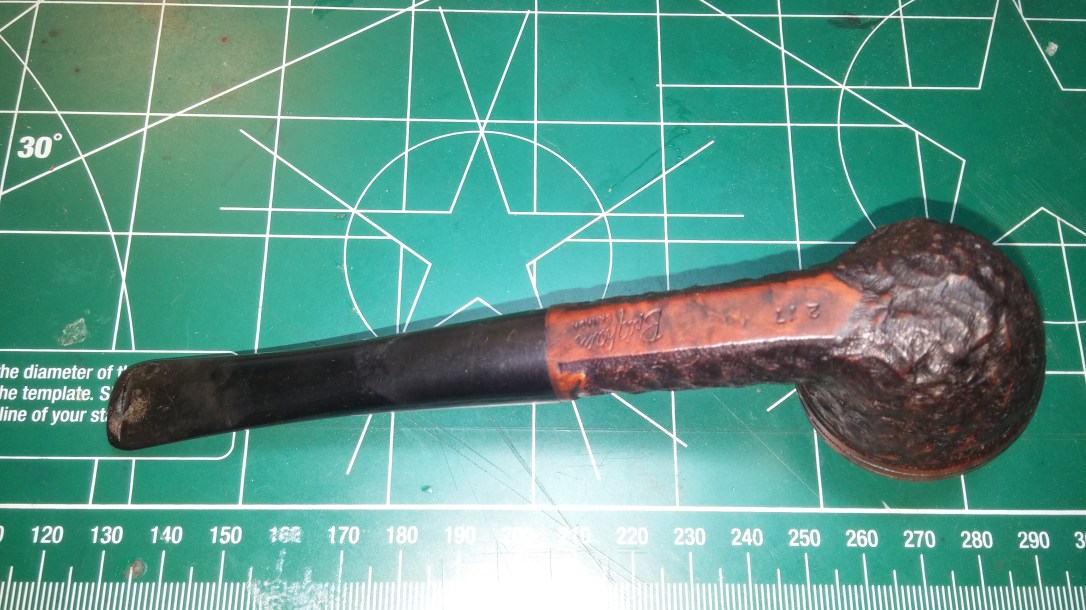


The pipe is stamped “217” then “Brigham” over “Canada” on the flat underside of the shank, and the stem is inset with two brass pins or Dots. These marks tell me that the pipe was produced some time in the 1980’s and is a 2-Dot grade, Shape 17 pipe. The two Dots on the stem match up with the grade stamp, so the stem is very likely original.

The observant among you may have noticed that the stem is upside down in the pictures above. This has become for me a not so subtle signal to pay attention for something may be amiss. Sometimes an out of line stem means only that someone put the pipe together incorrectly at some point – no harm, no foul – but other times it can be an indication of more work to come.
In this case, I was right to be suspicious – the stem was frozen in place in the shank. Try as I might I could not budge the stem a millimetre either direction. Unwilling to force the issue and risk cracking the shank, I set the pipe in a container of isopropyl alcohol overnight to see if that would penetrate the stem/shank seam and dissolve whatever was holding the tenon in the mortise.

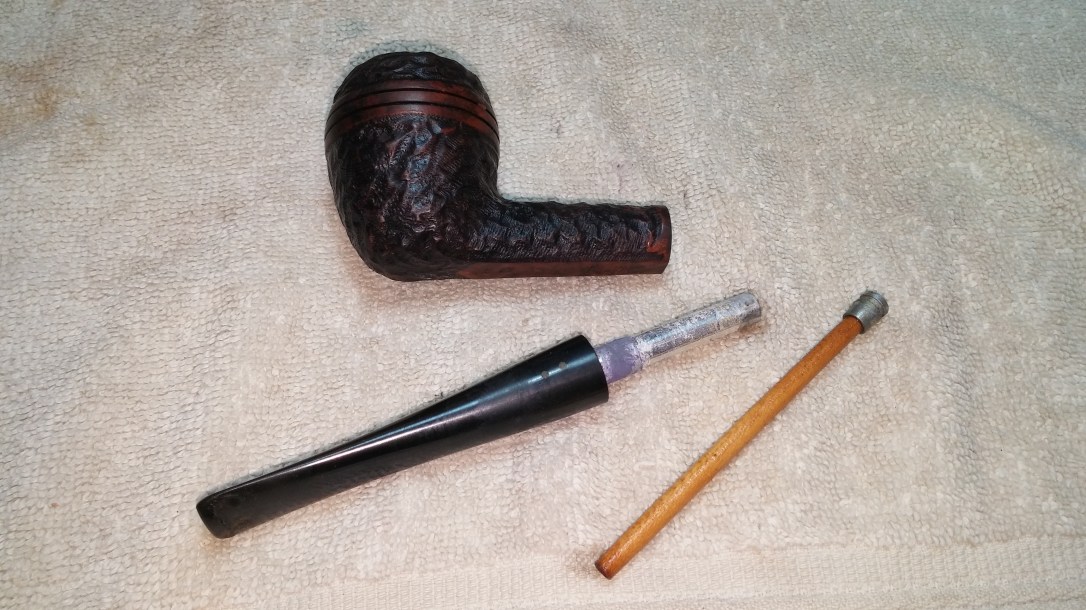
When I returned to the pipe the following morning, the alcohol had done its work and I was able to carefully twist the stem out of the shank. After inspecting the mortise and tenon, I concluded that the culprit here was not glue or tars (as I’ve encountered several times before), but rather aluminum corrosion.
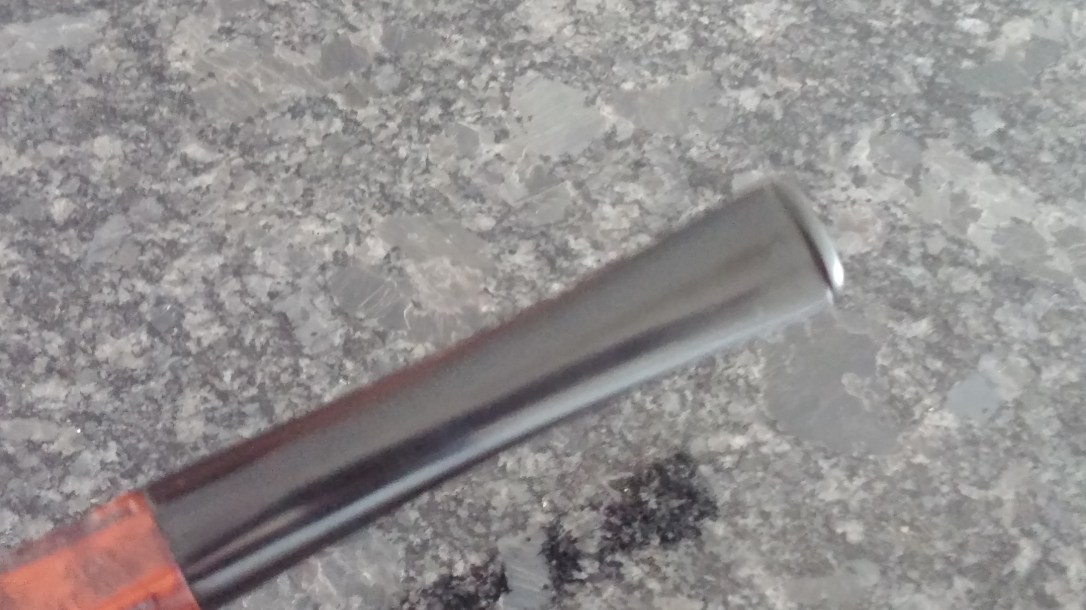
The close-up pic below clearly shows the buildup of whitish corrosion on the aluminum tenon and a corresponding layer of muck inside the briar mortise. As you can also see, an old rock maple filter had been left in place in the stem. This is likely the source of the moisture that caused the corrosion.


Thankfully, the aluminum tenon cleaned up easily with a scrap of steel wool, and an exploratory pipe cleaner pushed through the airway came out clean. The corrosion in the shank also cleaned up nicely – a handful of cotton swabs and pipe cleaners dipped in alcohol made short work of the small amount of muck in the shank and airway. The overall clean state of the internals supports my idea that the pipe was cleaned after its last use, but that the owner forgot to remove the damp filter.


Working my way back up the stummel, I reamed the bowl back to briar and then smoothed out the chamber walls with a scrap of sandpaper wrapped around a marker. The chamber was in excellent shape.


The stummel was essentially ready at this point, so I gave it a wipe-down with alcohol on a cotton pad to remove the dirt, grease and old wax from the finish, and then applied a light coat of mineral oil to refresh the briar.
The stem had little to no oxidation, needing only its own cleaning with alcohol on a cotton pad before I used various grades of sandpaper and steel wool to smooth out the tooth chatter and handling marks on the surface.
I used a bit of heat to raise the deep tooth dents as much as I could before drop-filling the remaining damaged areas with a mixture of thick CA glue and activated charcoal powder. When the patch material had cured, I filed and sanded the patches smooth with the surrounding vulcanite.


Happy with the patches, I gave the stem a final sanding with 220 and 320-grit sandpapers and 0000 steel wool. Each grade of abrasive erased the scratches left by the previous grade and prepared the stem for final buffing and polishing on the wheel.
I gave both stem and stummel a run on the wheel with White Diamond compound, lighter on the briar to avoid jamming compound into the rustication and heavier on the stem to erase the last sanding marks and bring up the shine. A few light coats of Carnauba wax followed to shine and protect the refreshed pipe.
Apart from the sticky stem, which could have created a host of other issues, this Brigham Round Bulldog was a straightforward refurbishment of a reasonably well cared for estate pipe. It’s nice to get one like this every so often as a reminder that not all pipers are hard on their briar companions.
This 1980’s Brigham 217 has filled an empty place in my personal collection; eventually I hope to have an example of each of the Bulldog shapes.
Thanks for joining me for this quick restoration. Until next time, Happy Piping!
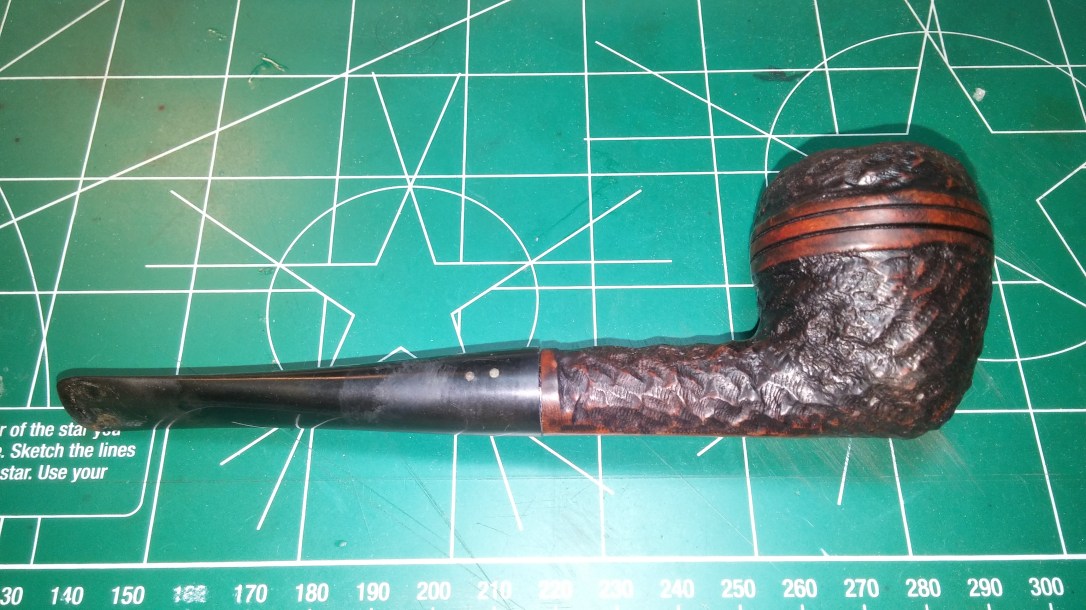
Here’s the finished pipe.