
The diamond-shanked Bulldog is one of the most ubiquitous and most recognized of the classic pipe shapes. Every maker had one, and it seems that just about every pipe smoker had at least one example in their rack at one point. This Kaywoodie Super Grain 98B is as classic as they come.
Coming to me in an estate lot purchase, the pipe arrived on my worktable in “used but not abused” condition. It had obviously been enjoyed by its former owner, as attested to by the thick crust of lava that covered the entire bowl rim. I’d have to do some cleanup there before I could judge the condition of the briar hiding underneath. Otherwise, the stummel was in good shape, with only a few light scuffs and other handling marks.
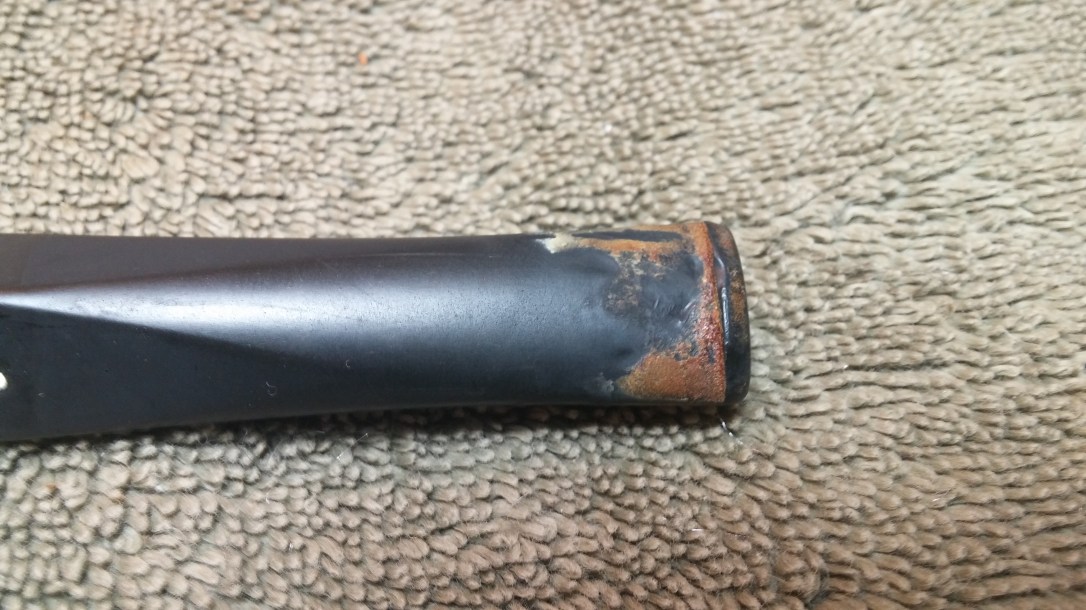
The stem was lightly oxidized, over-clocked in the mortise, and had deep tooth dents on top and bottom of the bite area below the button. There was also a fair bit of brown mineral buildup at the bit end of the stem.


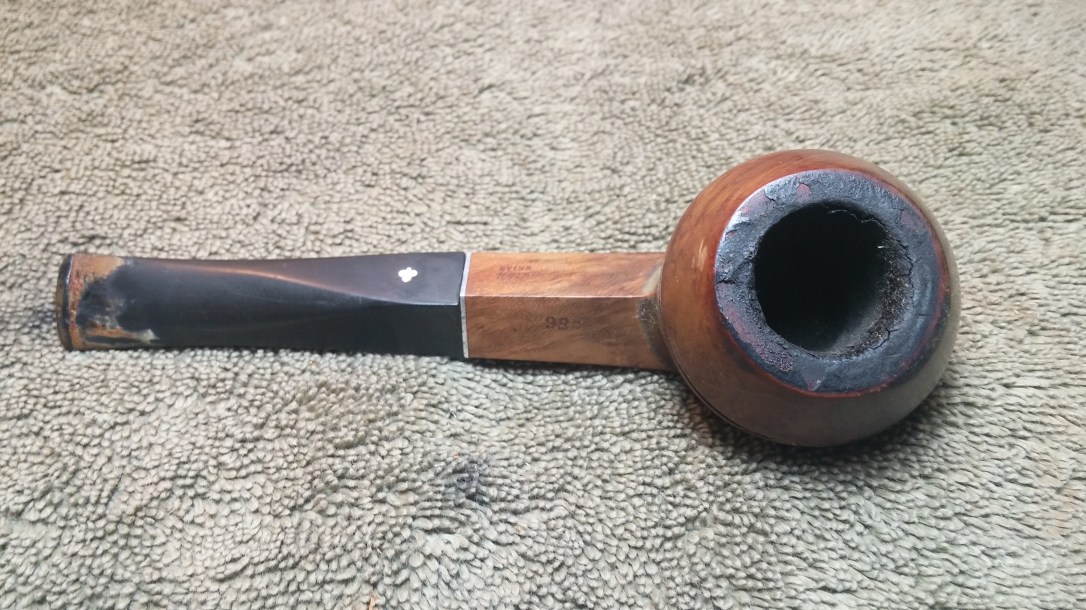


The pipe is stamped “Kaywoodie” over “Super Grain” over “Imported Briar” on the left shank, and “98B” on the right shank. The stem carries the Kaywoodie Clover logo on its left flank.

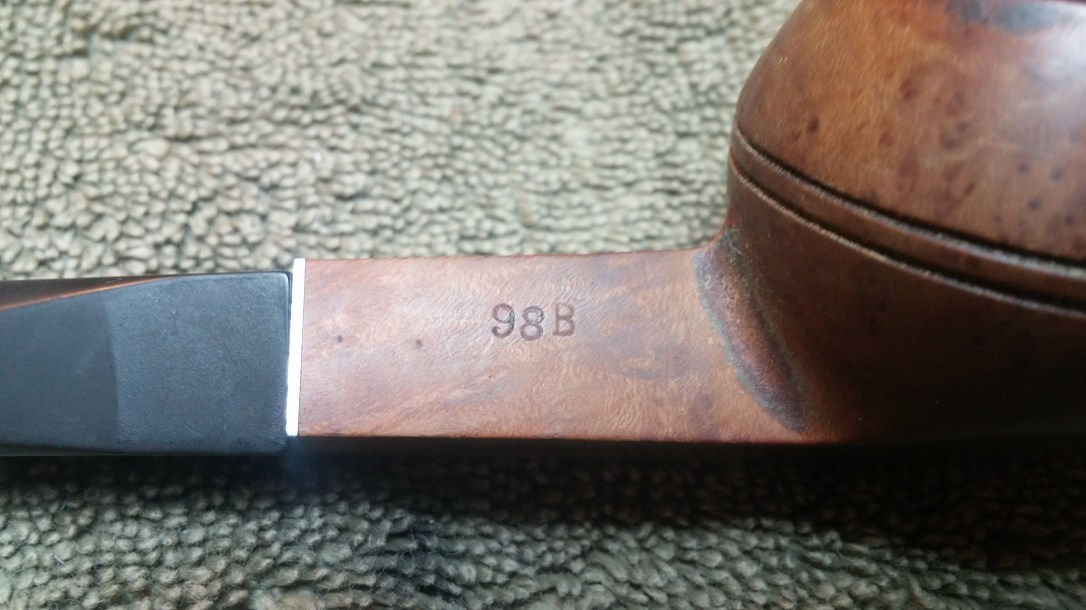
According to this article on Pipedia.org, the 98B shape appears in the 1947 Kaywoodie catalog sporting a saddle stem. It continues with the saddle stem until sometime in the 1960s. The 1968 catalog shows the 98B shape with a tapered or “flush” stem as Kaywoodie called it. The saddle-stemmed version was retagged as the 98S. Assuming this pipe is fitted with the original stem, this particular Kaywoodie likely hails from the 1970s or 1980s.
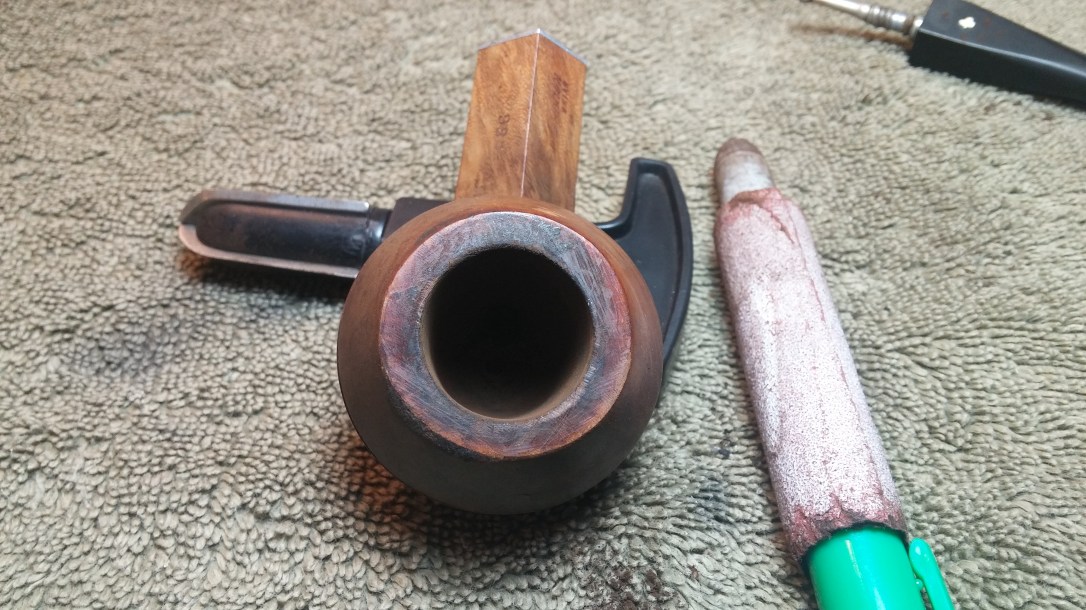
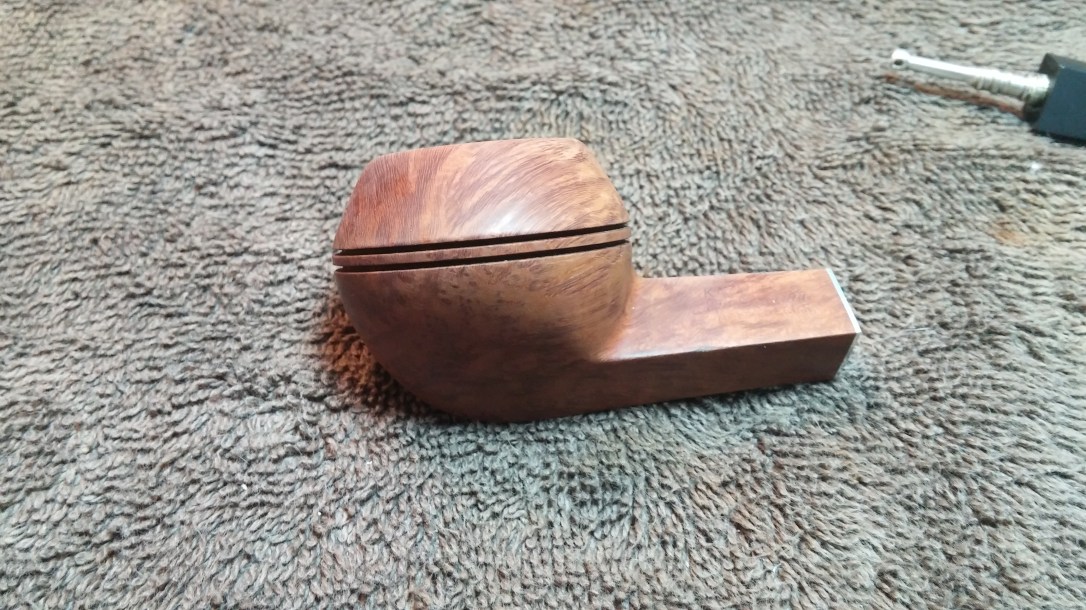
Starting on the cleanup, I dropped the stem into a bath of Oxyclean and warm water to dissolve the mineral buildup and raise the oxidation. Then, using both my Castleford reamer and some sandpaper wrapped around a marker, I cleared the old cake from the tobacco chamber. I also scraped the rim clear of the worst of the lava crust using my old pen knife, holding the blade perpendicular to the briar to avoid gouging the wood. The pic below shows a slight bit of damage at the seven o’clock position, likely caused by careless dottle-knocking.
When the stem came out of its bath, the oxidation and grime came away with a good scrub with 0000 steel wool and Magic Eraser. The airway was very nearly plugged with tars and debris, but the bath had softened them as well, allowing me to get it there with pipe cleaners and alcohol. It took quite a lot of work to get the airway clean. I made a similar pile of spent cleaners working on the airway through the stummel, but somehow those pic went missing.

With the internals sorted, I wiped down the stummel with alcohol on a cotton pad. This removed the grease, dirt and old wax from the surface of the briar and gave me my first look at the “super grain”.

The next task was to correct the stem/shank alignment. Thankfully this is a quick and easy adjustment. I heated the metal stinger over a lighter flame until the tenon-to-stem fitment loosened up, then screwed the stem into the shank. I kept turning the stem until the shank and stem lined up properly, then put the pipe aside to let things cool down and set in the new position.

Then it was time to address the tooth dents. I managed to raise the dents slightly with heat, but not enough to simply sand out the remaining blemishes. To fill the dents, I first roughed up the vulcanite with 220-grit sandpaper before filling the damaged areas with a mixture of CA glue and activated charcoal powder. When the fills had cured (I usually leave then overnight), I smoothed the repairs with needle file and sandpapers.


I’ve adopted a four-grit sanding regimen that seems to work well for me. I dry sand with 220 and 320 grit papers, then wet sand with 600 and 2000 grit papers. If I pay attention and sand out all the rough scratches early on, I find I can usually take most stems right to the buffer after the 2000-grit wet sanding.
Leaving the stem for a while, I finished off the work on the stummel by giving the briar a light overall sanding to remove most of the small handling marks, spending a bit more time on the small scar left from dottle-knocking at the front edge of the rim. I also spotted a single shallow dent in the face of the pipe, which I filled with a drop of clear CA glue.

Before taking stem and stummel to the buffer, I gave the briar a coat of Fiebing’s Dark Brown leather dye to refresh the finish. The colour was a bit too dark for me, so I wiped the briar with a damp cotton pad to remove some of the stain and let the grain shine through.

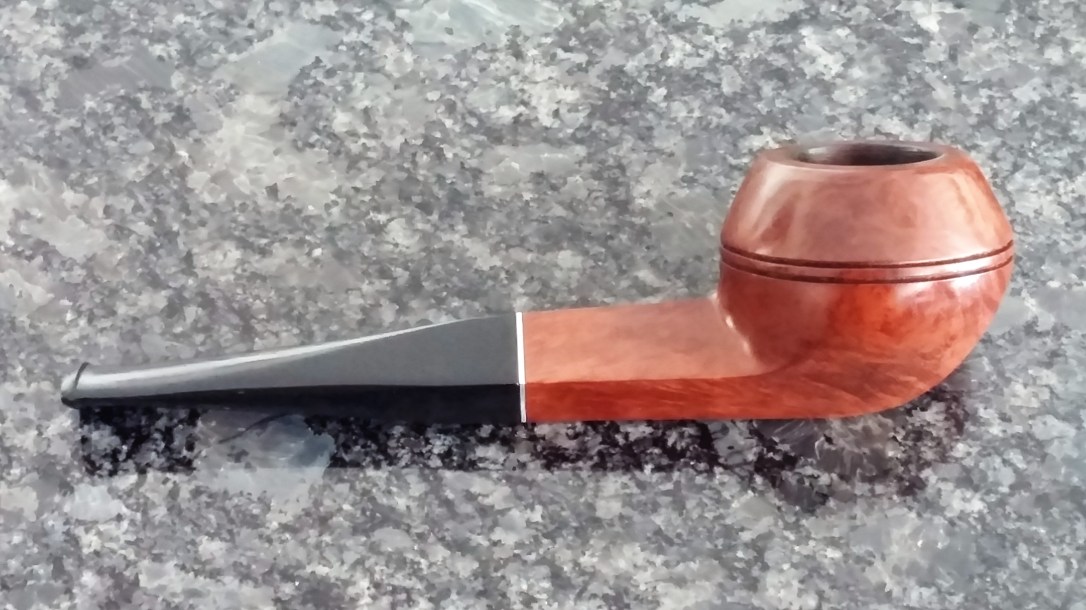
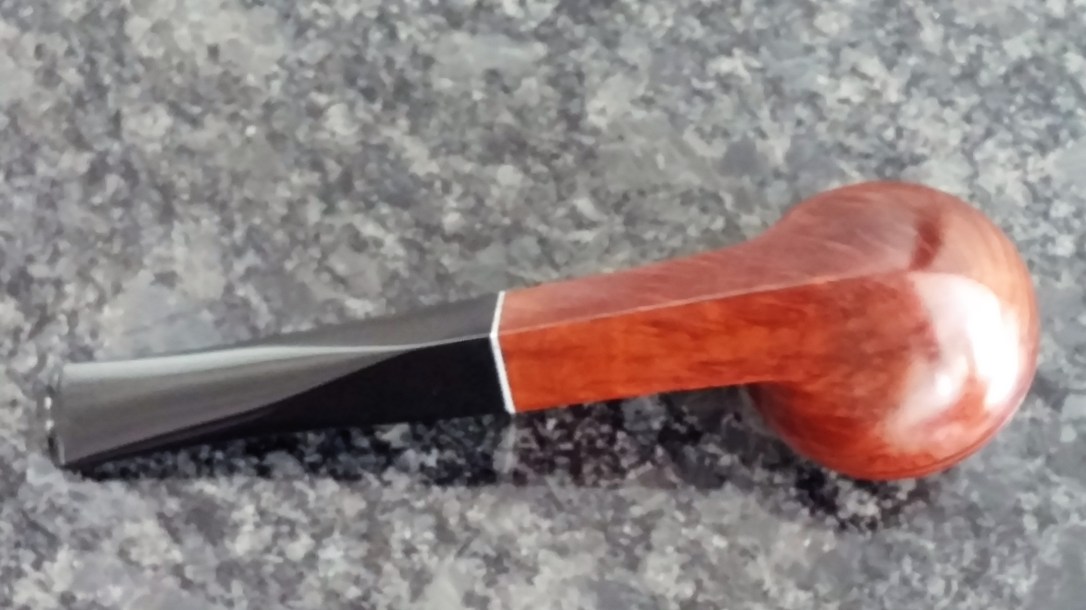
After a quick run of White Diamond compound and Carnauba wax on the buffer wheels, this Kaywoodie Super Grain 98B Bulldog is ready to take up duty with a new piper. The Super Grain line isn’t the highest grade of pipe released by Kaywoodie, but at least in the case of this particular pipe, the quality of the briar is very good indeed, and the vulcanite stem, now sans toothmarks and properly aligned with the diamond shank, provides a lovely gloss black contrast to the warm walnut stain.
This pipe is available on the DadsPipes Store now if you’d like to add it to your rack and rotation or that of another piper.
Thanks for looking, and until next time, Happy Piping!
Here’s the finished pipe.


Looks new! The 98B is a classic KW shape for sure.
LikeLiked by 1 person
Thanks Al. This one came together nicely. 😀
LikeLike