
I pulled this old Kaywoodie out of the refurb box a little while ago and left it on the corner of my desk for a while before starting the restoration.
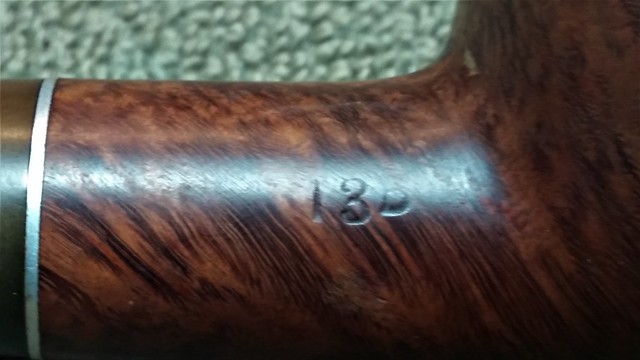
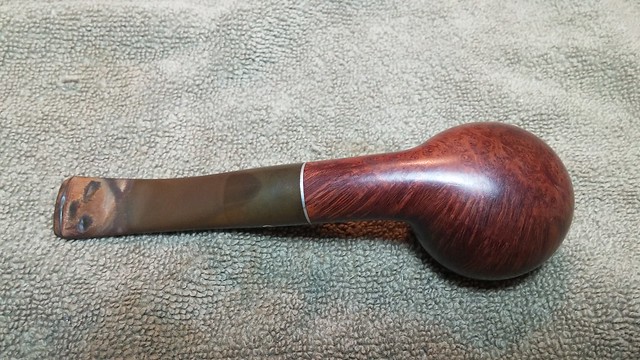
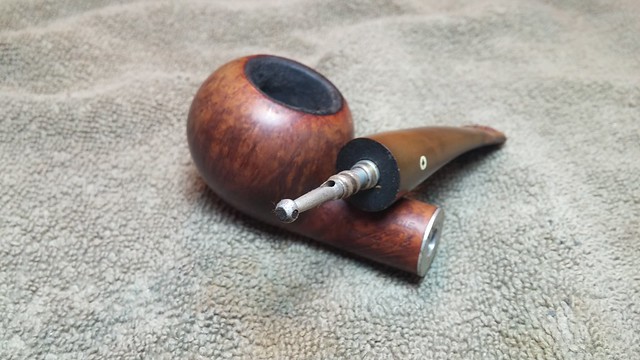
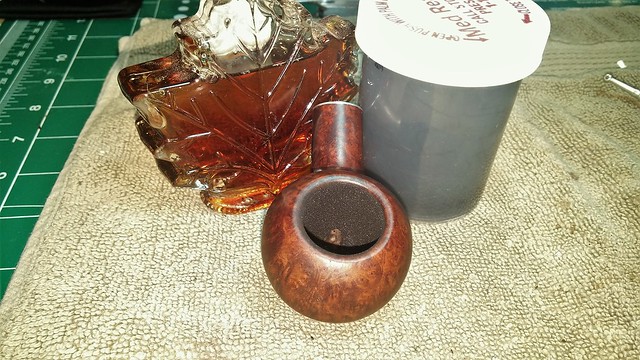
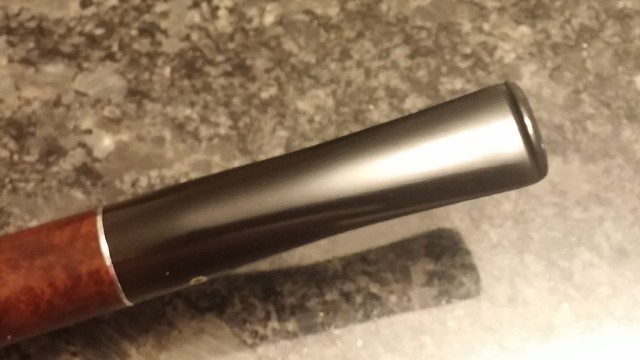
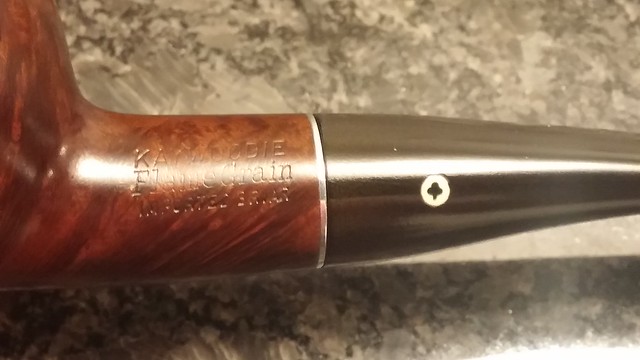
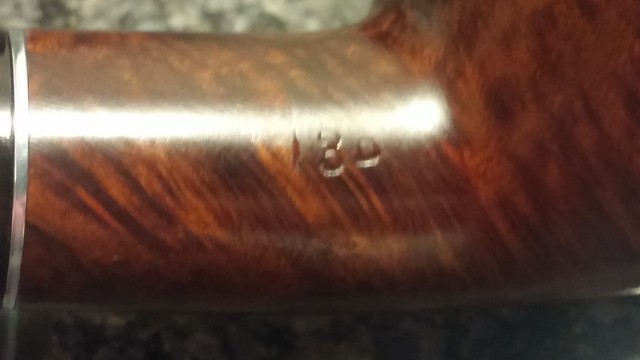
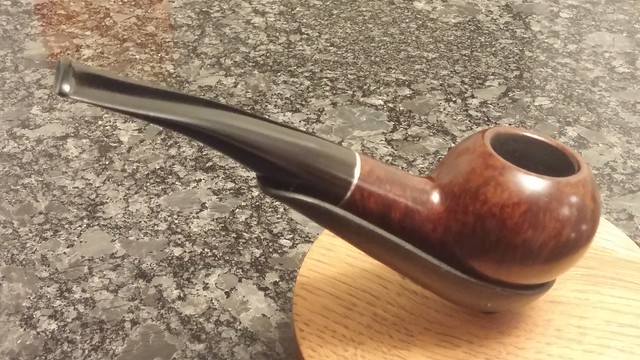
The pipe is a lovely Author shape, slightly chubby, with an elegant half bend. It is stamped “KAYWOODIE” over “Flame Grain” over “Imported Briar” on the left side of the shank, and carries a shape number, “13B” on the right shank. The stem is inset with the Kaywoodie black clover leaf inside a white circle on the left flank, and, surprisingly, the 3-hole stinger is intact.
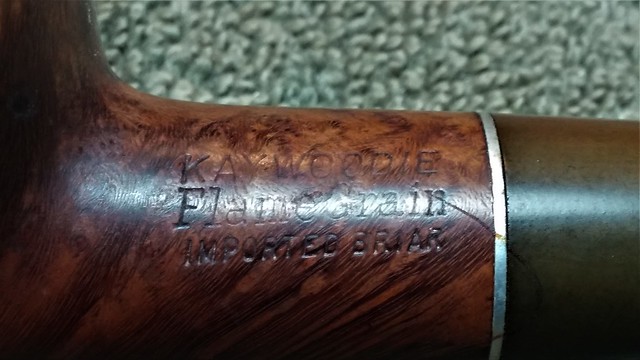

From what I can glean from various online sources, the 13B author shape is one of the oldest and most long-lived of the Kaywoodie shapes, in production since 1936. It’s difficult to precisely date any Kaywoodie pipe except for the very oldest (those with 4-digit shape numbers), but if I’m reading the online sources correctly, this pipe is post-1955. Based on its condition as found, I’d like to place it somewhere in the 1960’s to early 1970’s. If anyone can clarify the dating on this pipe, please let me know.
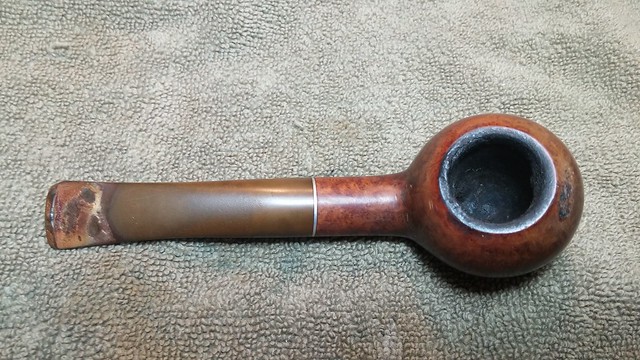
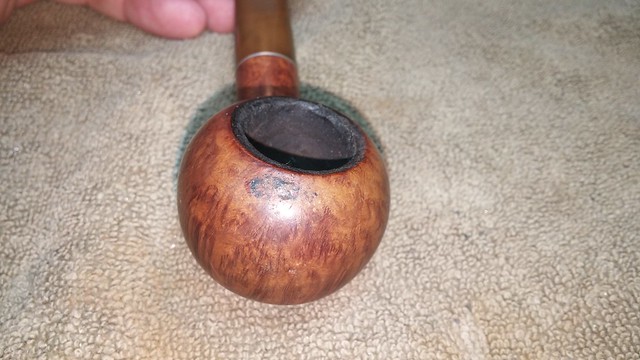
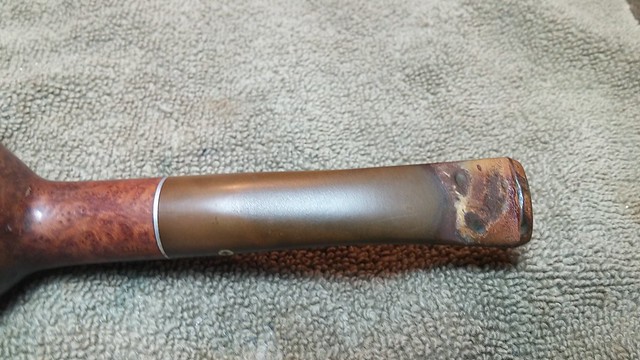
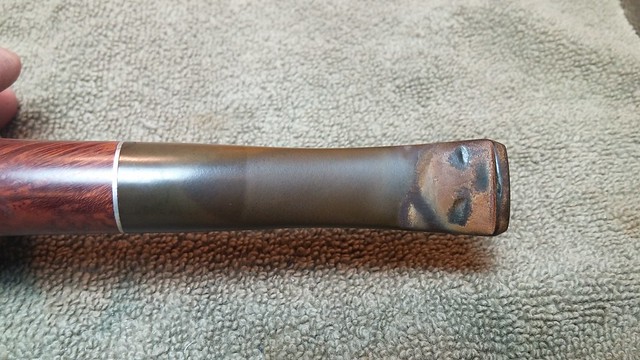
In relatively good estate condition, the pipe nevertheless suffered from several issues. The stem was heavily oxidized, and had several deep tooth dents on top and bottom that would have to be dealt with. The rim of the bowl was crusted over with lava, especially around the rear edge, and the face of the bowl had a rather unfortunate patch of “road rash” from exuberant dottle-knocking on hard surfaces. The tobacco chamber needed a good reaming, and it appeared that the chamber had been over-reamed, leaving the draft hole high above the chamber floor.

I began the clean-up by dropping the stem into a bath of Oxyclean and warm water to soften the oxidation. Then I found my ken knife and scraped the rim clean of its lava crust. The factory rim on this Kaywoodie 13B is not flat but beveled slightly inward, so I had to work carefully to avoid gouging the high outer edge with my knife.
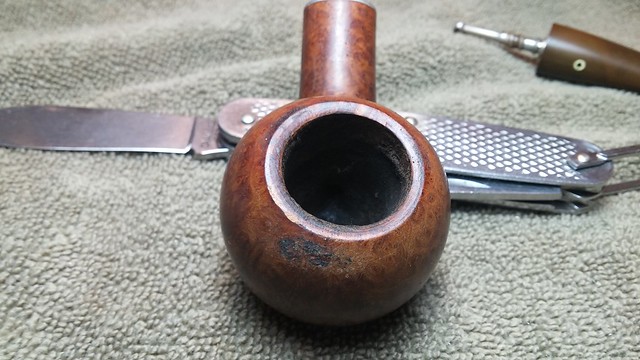
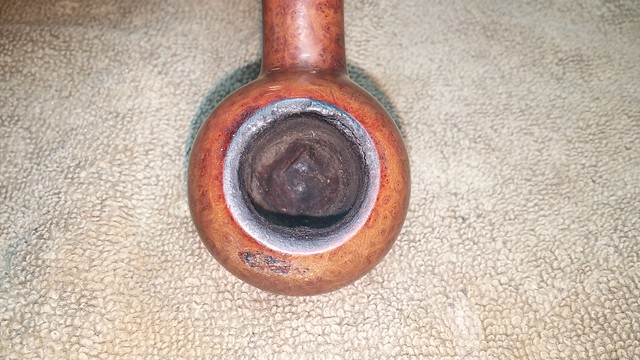
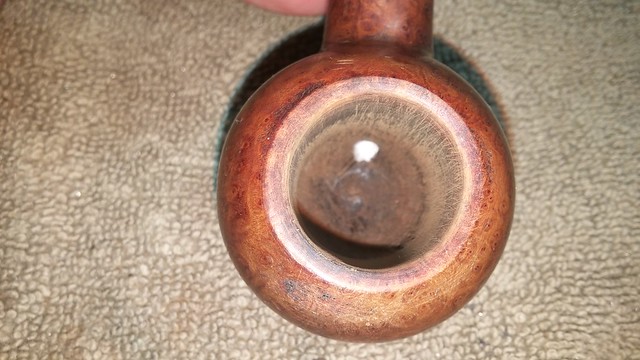
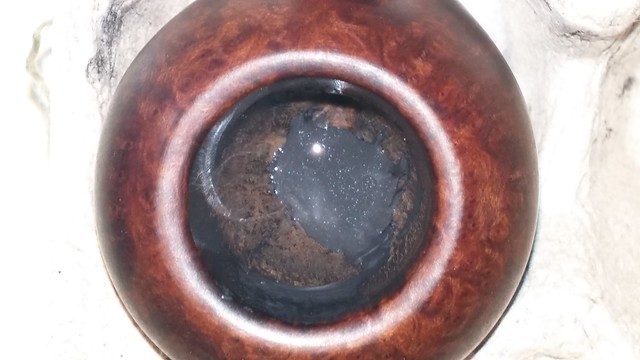
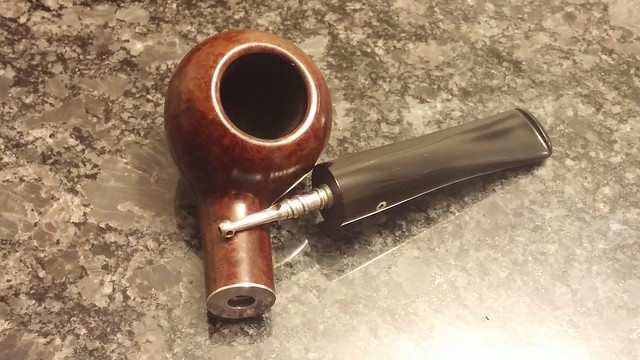
Next up was a good reaming with my Castleford reamer. The old cake came out easily, and confirmed my suspicions about the state of the chamber floor. The second pic below shows a dimple in the centre of the chamber floor. A pipe cleaner in the airway shows the draft hole’s relative position. As is, there will always be a bit of unsmoked tobacco in the bottom of this bowl after a smoke.

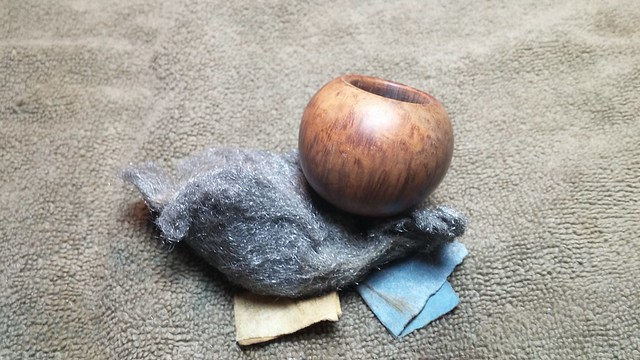
I wiped the stummel down with alcohol on a cotton pad to remove the worst of the dirt and old wax before using various grades of sandpaper and steel wool to smooth out the patch of road rash on the upper left face of the bowl. It took a surprising amount of work to sand our the damage while maintaining the curvature of the bowl.
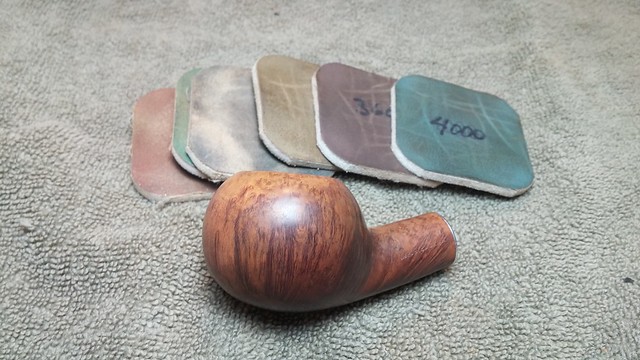
Micromesh pads from 1500 – 4000 grit polished up the briar nicely.
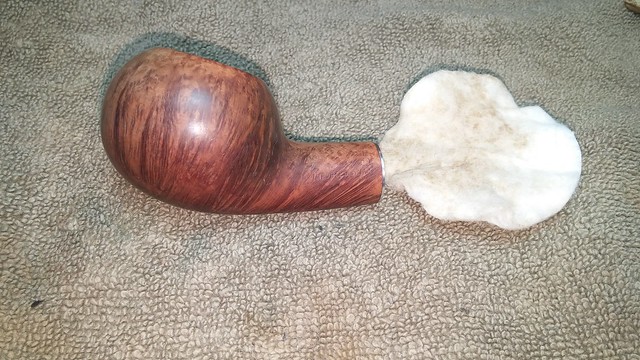
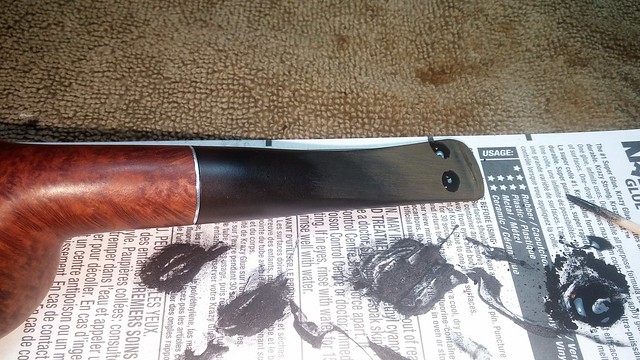
I pulled the stem from its bath and scrubbed away the now soft oxidation with 0000 steel wool and Magic Eraser. With the outside of the stem looking better, it was then back to basic cleaning, this time with pipe cleaners and cotton swabs dipped in alcohol to remove the accumulated dirt and tars from both the stummel and stem. I understand why so many of these stingers have been cut off – cleaning the stem was a pain with just one small hole at the business end!


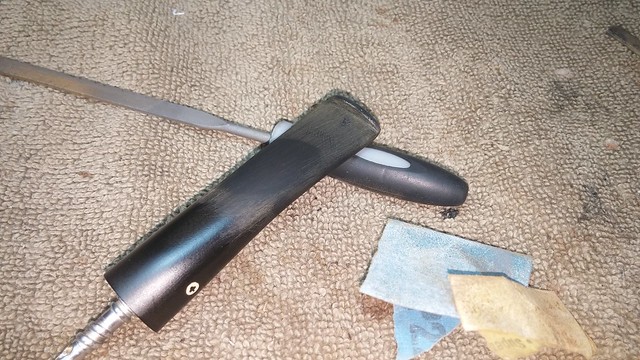
220-grit sandpaper took care of most of the tooth chatter and other small marks on the stem, but it couldn’t handle the deep tooth dents left by its previous owner. I filled these marks with a mixture of CA glue and charcoal powder and set the stem aside to cure.
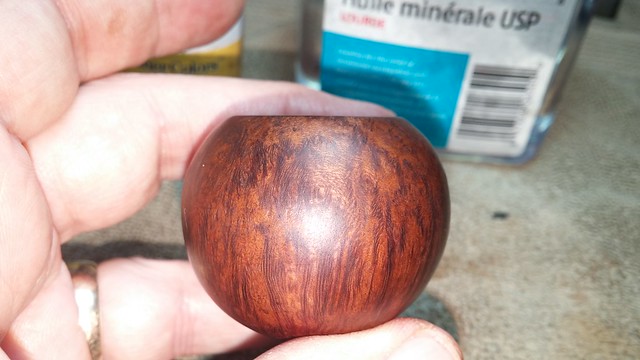
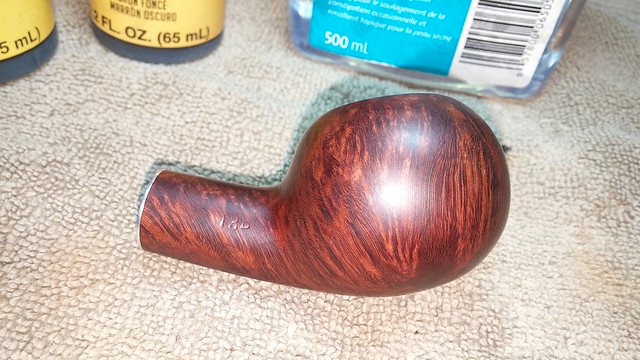
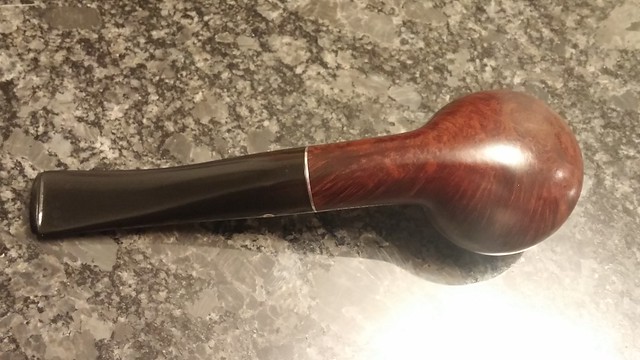
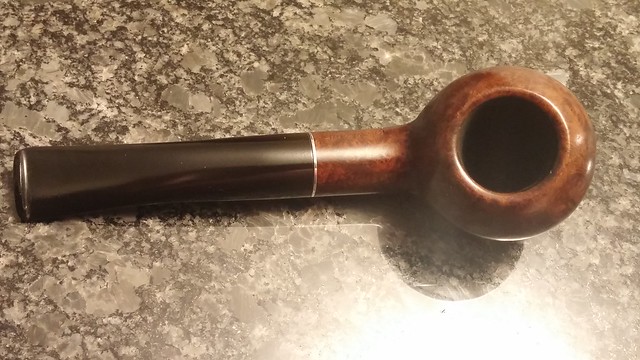
While the stem sat, I refreshed the stain on the stummel, applying a two-colour contrast stain of Fiebing’s Dark Brown leather dye over Black. A light wipe with mineral oil completed my refinishing and enlivened the briar. These pics show why the Flame Grain was the top of the line Kaywoodie on its introduction in 1936. That;s some nice grain!

The stummel was almost ready to go to the buffer, but I first had to address the chamber floor. To fill the over-reamed dimple and restore the original draft hole position, I mixed up a small amount of JB Weld and used a toothpick to drop it into the centre of the dimple. I find it a bit tricky to judge how much JB will be needed to bring the chamber floor up to its original position, so I’ve taken to adding the JB in small increments. The epoxy self-levels as it’s added, so it’s easy to add just enough extra to get the floor height right. 
When the JB had cured, I finished the chamber repair with a charcoal and maple syrup bowl coating. It not only looks sharp but also provides a good surface on which to build a new cake layer.
Setting the stummel aside, I returned to the stem. The fills had cured nicely and were ready for filing and sanding. My routine with stem fills is to use needle files to remove the excess material and then move to 220 and 320 grit sandpaper to smooth and blend the fills with the surrounding vulcanite. 0000 steel wool removes the last of the sanding marks in preparation for buffing.
I reunited both halves of the pipe and polished the pipe with White Diamond compound on the wheel. A few light coats of Carnauba wax finished this restoration.
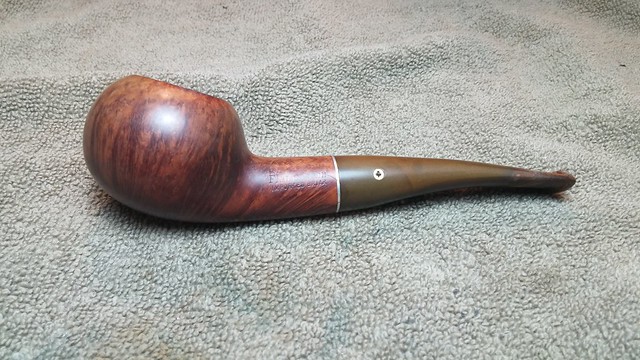
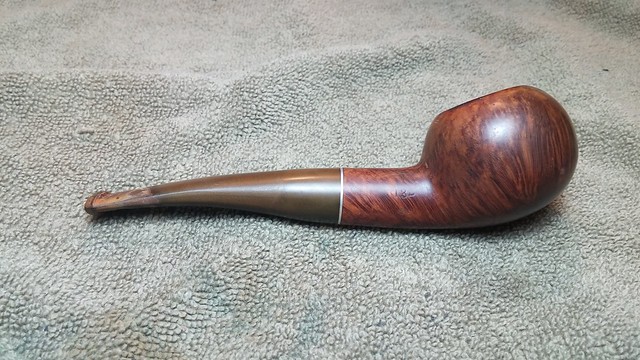
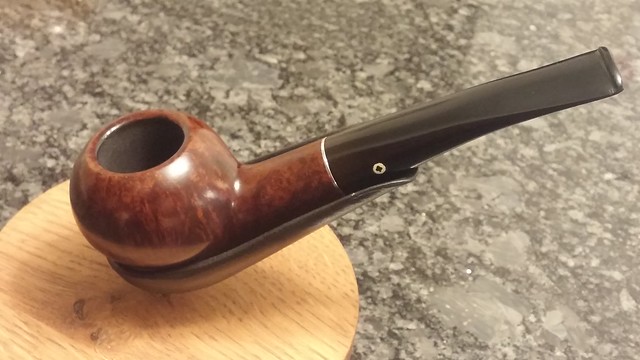
This classic Author is ready to take on another lifetime of service with a new piper. It’s certainly a handsome devil, with very little cause for complaint about its graining.
If you’d like to add this Kaywoodie Flame Grain 13B to your rack, rotation or collection, it is available on the DadsPipes Store now.
Thanks for following along with me on this restoration. Until next time, Happy Piping!
Here’s the finished pipe.


Charles, very nice results and a very attractive pipe which looks like it wants to be smoked! I have a question about the staining process, which you described as dark brown over black. Can you describe more specifically how you did this? You applied Black first and then followed with dark brown but what did you do in between the applications? Did you wipe down the black and then applied dark brown? I’m very curious because I have experimented with the use of black, but your results show the black deepening the grain – very nice. A little elaboration would be much appreciated by this tenderfoot!
LikeLiked by 1 person
Hi Dal. As you suggested, the Black dye is applied first then the briar is wiped down to remove the excess stain, leaving the colour in the grain.
The brown dye goes on next as an “overcoat”. The final result is a brown stummel with black grain.
LikeLiked by 1 person
In my mind I always start with the darker stain – black, dark brown, dark cordovan and then follow it with the lighter. My practice is much like Charles’. It is a nice way to get a contrast.
LikeLiked by 2 people
Ok, I got it. Thanks Charles and Steve. I wish I didn’t have to wait til next February to try this out to refine more my work! Heading to the US Monday AM and leaving my tools behind for a restoration hiatus!
LikeLiked by 1 person