
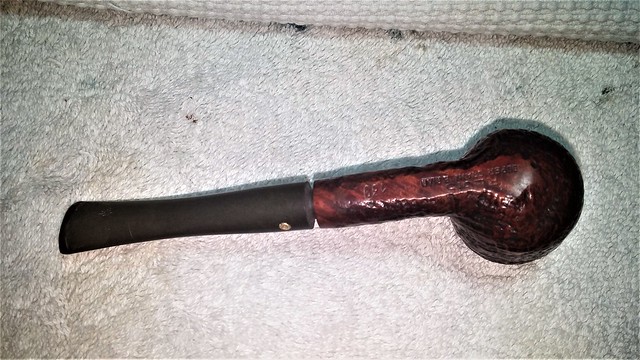
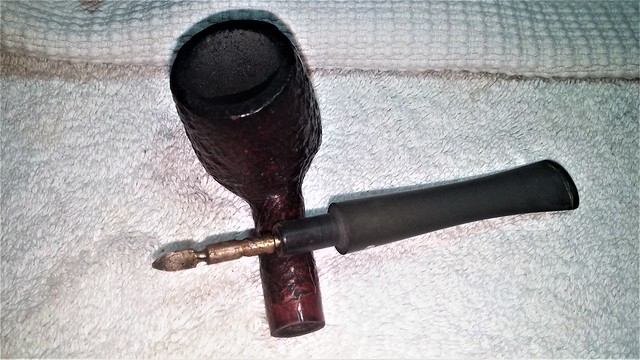
It’s been a while since I worked on a pipe like this. This Regis Billiard is a good example of the sort of estate pipe commonly found at antique fairs and flea markets. A little worn, a little gouged, with a bowl full of cake and a stem that doesn’t fit quite properly. Perhaps there’s some other damage lurking about that will pop up later.
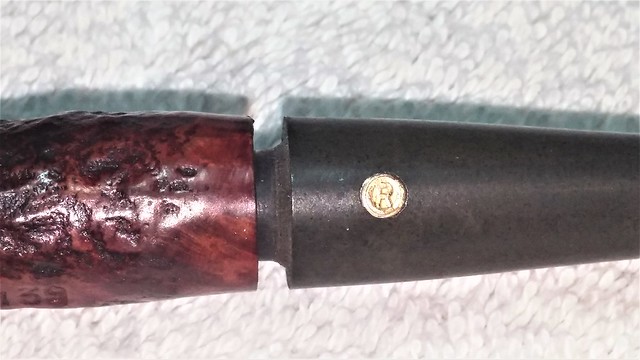
Regis is not a common brand name, though I have come across it once before. There is an entry on Pipephil.eu, with good examples of the stampings and a stem roundel consisting of an “R” in a circle. The roundel is stamped on a circle of metal which is inset on the left flank of the stem.
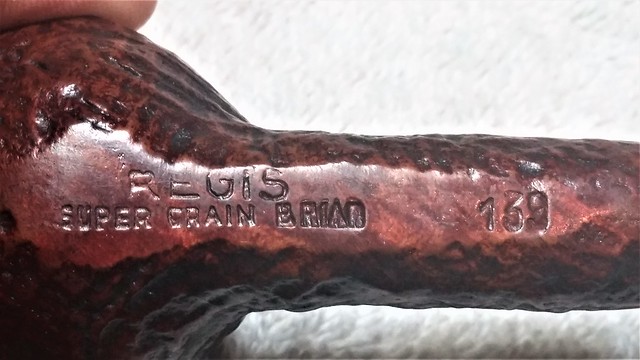
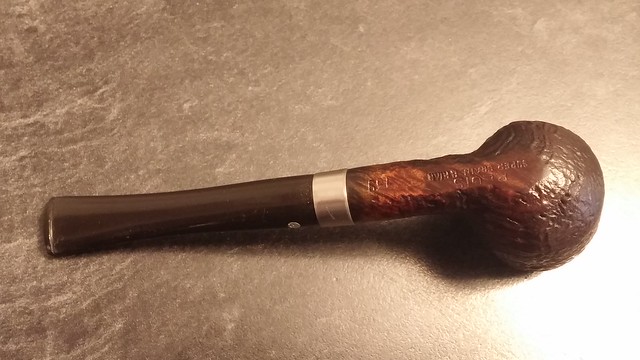
Apart from these identifying marks, the Pipephil entry is empty, without even suggesting a country of origin let alone a particular maker. The pipe on the worktable now is stamped “Regis” over “Super Grain Briar” and a shape number “139”. The stem is original, with the “Circle R” roundel intact.
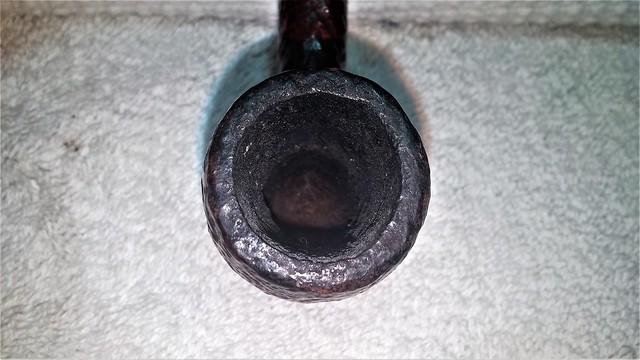
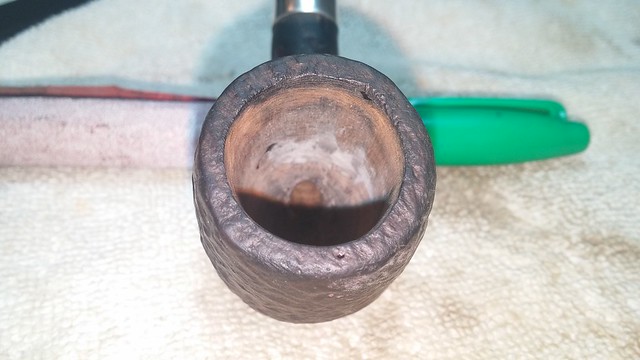
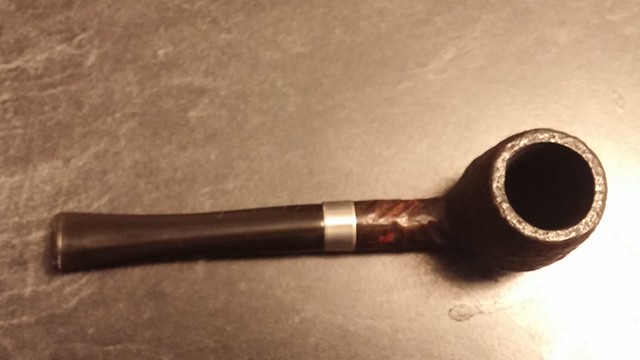
Under good light and close inspection, several issues were uncovered. The chamber was pretty well caked with old carbon and the inner rim showed multiple cuts and gouges that would have to be smoothed out.
The stem wouldn’t seat fully in the mortise; if the bowl was any indication, there would be lots of tars and gunk to scrape out of the mortise before the stem would fit properly again.
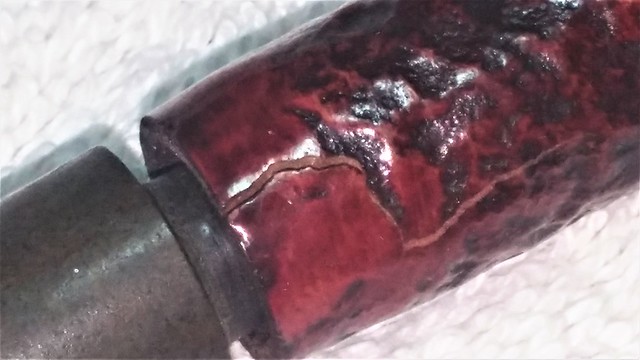
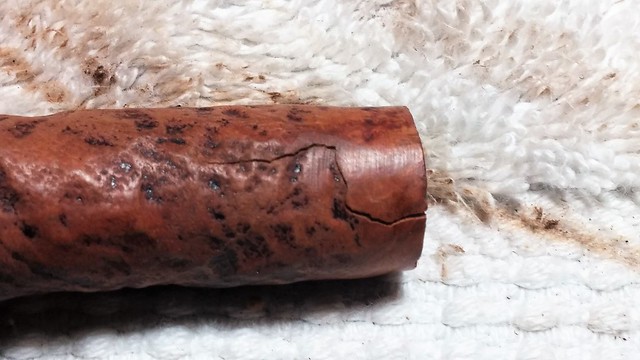
The most pressing issue, however, was a large open crack snaking up the pipe’s shank from roughly the top centre of the shank and stepping down the right flank. There was definitely work to be done there!
I twisted the stem out of the shank and found a rather long stinger at the end of the tenon. The stinger seemed a bit too long for the shank, and I wondered if at some point the original piper had installed it as an “aftermarket modification”. If so, it could help explain the shank crack – jamming an over-long stinger down the mortise and airway would apply some extraordinary force on the mortise walls.
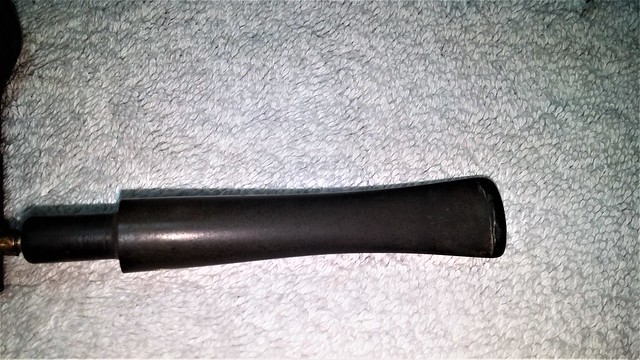
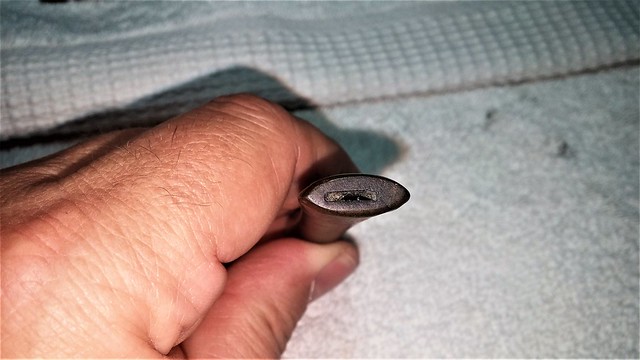
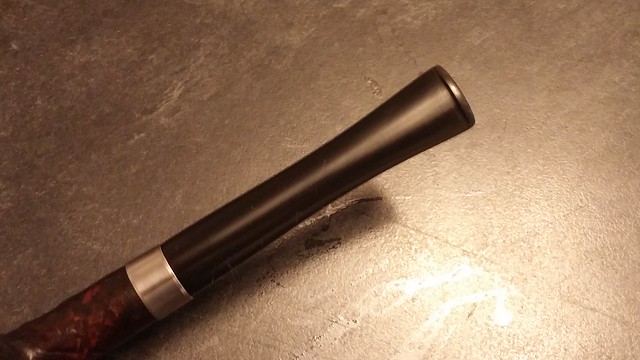
The exterior of the stem was dirty but not in bad condition overall. It would need some smoothing and polishing, but there wasn’t a lot of tooth chatter or dents to deal with. The internals, however, were just as full of tars and crud as the rest of the pipe. The slot at the bit was nearly choked closed.

I rammed a couple of pipe cleaners through the stem to make sure air could flow through and then dropped it into a bath of Oxyclean and warm water to soak. The soak would dissolve a lot of the tars in the airway and also raise the oxidation to the surface of the vulcanite.
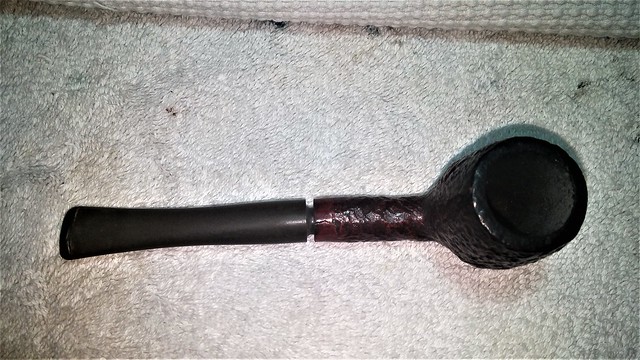
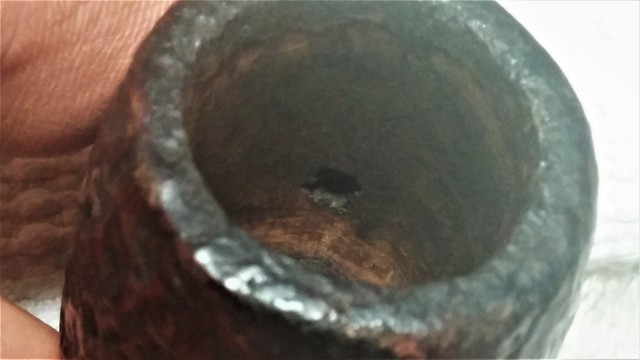
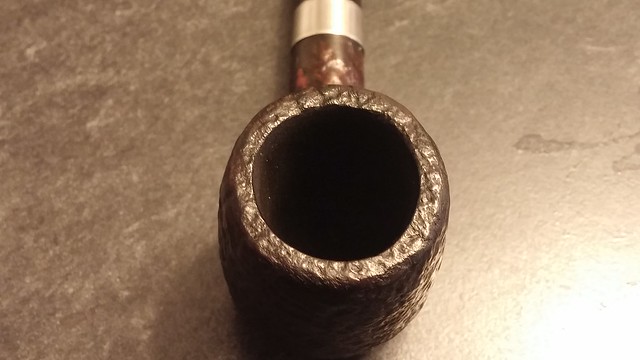
Moving to the stummel, I reamed the bowl back to bare briar. As expected, there was a fair bit in there. Underneath the carbon was a hidden surprise – a small burnout.

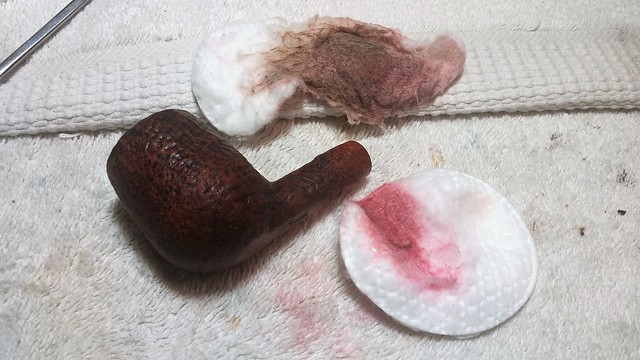
he sandblast surface of the stummel seemed a little off somehow, so I wiped the briar with alcohol on cotton pads to see what I was working with. Almost immediately the pads began accumulating reddish-brown colour. As the colour came off, the definition in the sandblast finish became much clearer. This is a good example of an old-school DIY pipe “restoration” technique – shoe polish.
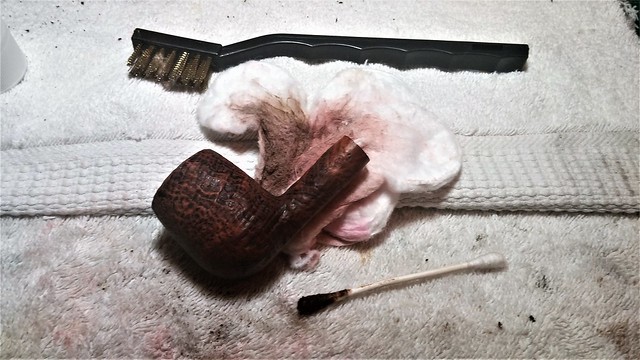
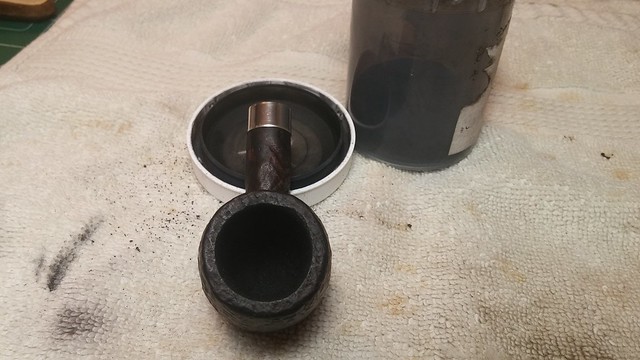
I kept wiping until the pads came away from the stummel mostly clean. I also used a brass tire brush to scour the old lava from the sandblasted rim. The blackened cotton swab at the bottom of this picture represents my first investigation of the stummel’s internals – lots of cleaning work ahead!
Knowing how dirty the rest of the pipe had been, I decided to skip the preliminaries and auger out as much tarry muck as I could using an appropriately sized drill bit turned by hand in the mortise. There was quite a bit hiding in there. The drill bit saved me a lot of cotton swabs.

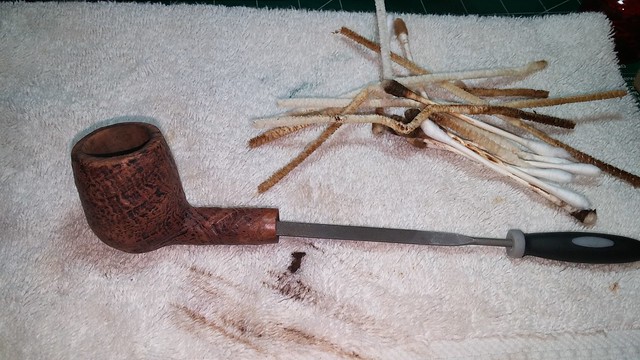
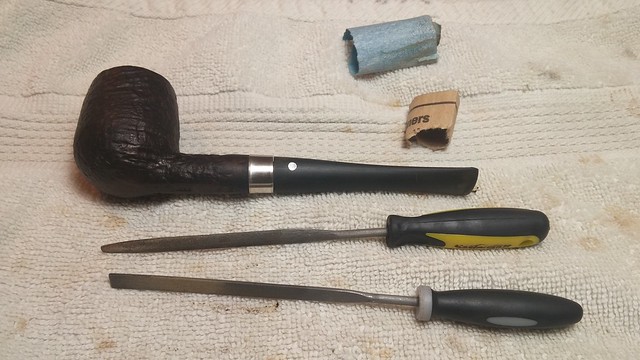
With the worst of the crud out of the mortise, I went to work with pipe cleaners and cotton swabs dipped in alcohol to get the rest of the airway clean. A flat-ended needle file helped to scrape the tar from the sides and end of the mortise.
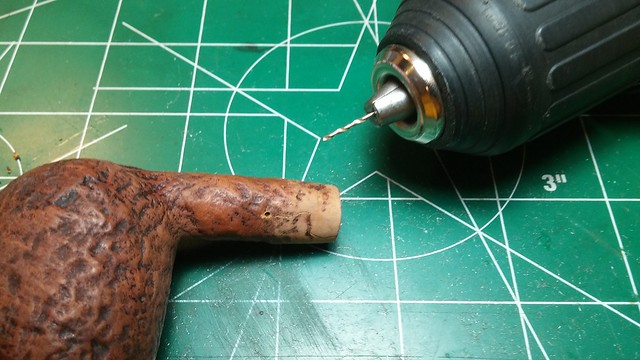
Getting an estate pipe to this stage is often more than half the battle for any refurbishment. Now that everything was clean, I could finally deal with the cracked shank. I started by drilling a 1mm hole at the very end of the crack. This acts as a “fire-break”, stopping the crack in its tracks.
I flowed a bit of CA glue into the crack and pinched the shank tightly in my fingers until the glue set, holding the crack shut.
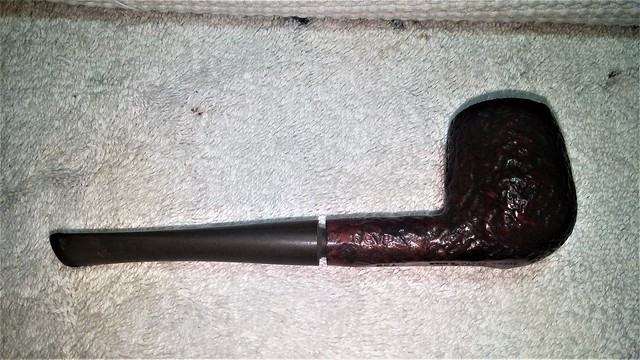
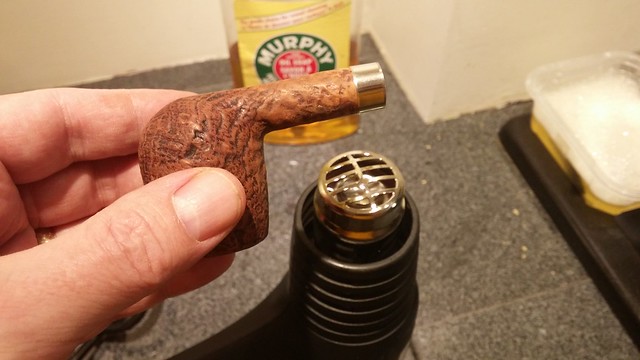
The best fitting repair band in my box was a little on the small size, so I had to do a bit of sanding before I could fit it to the shank. When I had the shank diameter right, I placed the band on the end of the shank and heated the nickel over my heat gun.
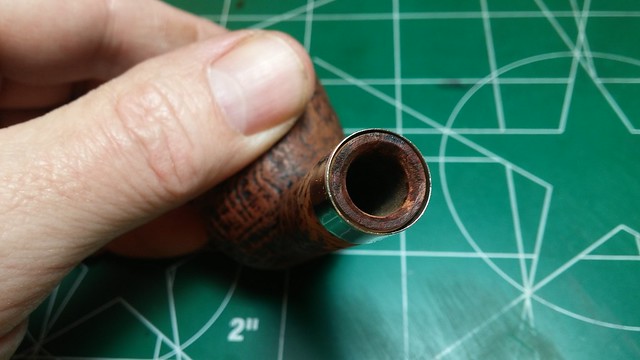
The band expanded in the heat, allowing me to push it into its final position flush with the shank face. When the band cooled, it shrunk back down, providing a tight compression fit.
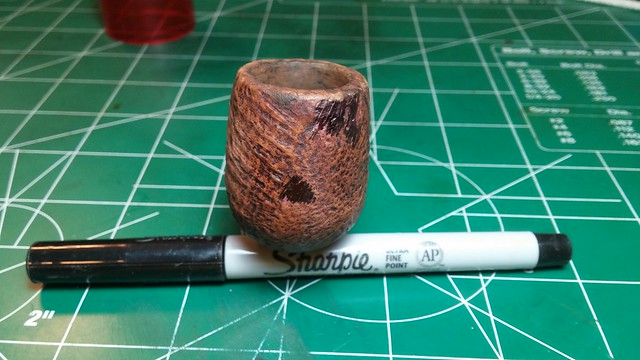
Ready now to touch up the briar’s finish, I toned down a few factory fills on the front of the bowl with a scribble of black Sharpie marker, and blended the marker into the briar by wiping it with a cotton pad dipped in alcohol.
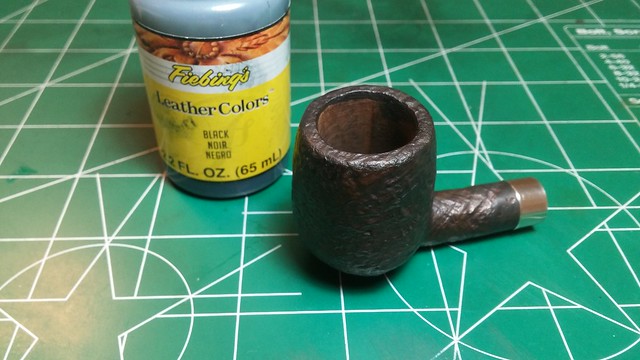
I decided to give this pipe a nice coat of Fiebing’s Black leather dye. The dark stain hid the old fills perfectly, and I rather like the sharp contrast between the black briar and the nickel shank band.
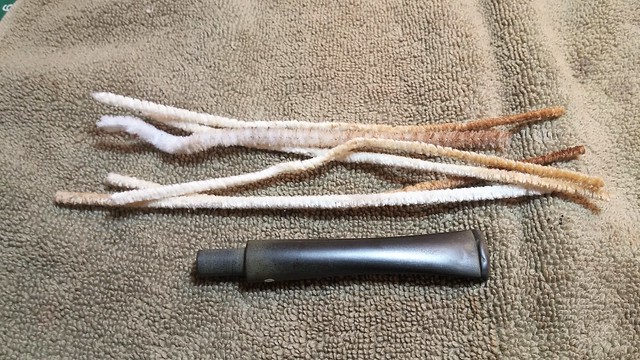
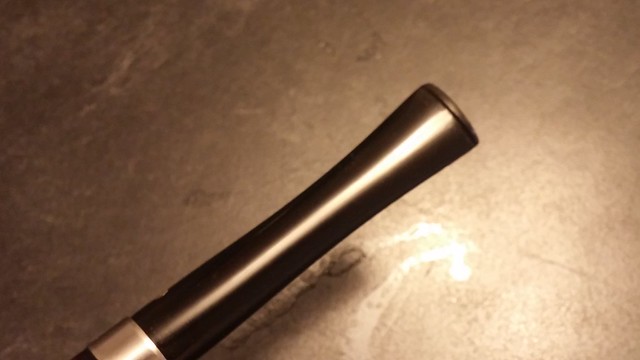
Leaving the stummel to rest for a bit, I moved to give the stem some much-needed attention. The Oxyclean soak had done its work, and I was easily able to scrub away the oxidation and other grime from the vulcanite with 0000 steel wool and a bit of Magic Eraser.
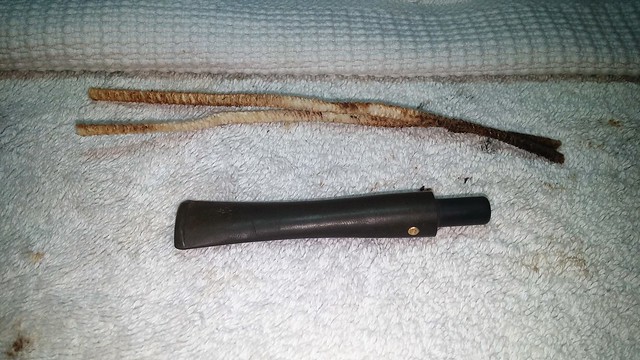
A few pipe cleaners dipped in alcohol cleared out the remaining dirt and tars from the stem’s airway. You can see in this pic that I still had some work to do to get the stem looking spiffy again.
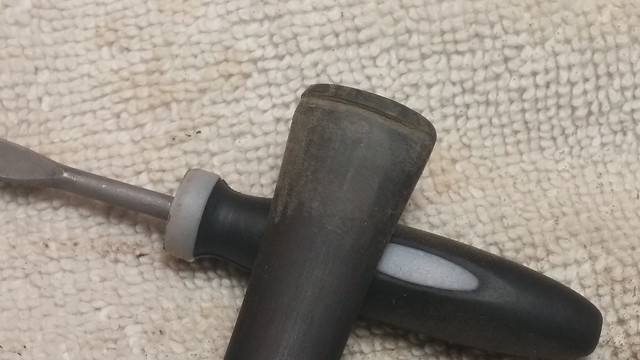
A little work with my needle files sharpened up the lines of the button, after which I sanded away the remaining oxidation and tooth chatter with 220 and 320 grit sandpapers. A final scrub with 0000 steel wool removed most of the sanding scratches left by the paper. The remaining marks would polish out on the wheel later.
For what it’s worth, I did try to fit the stem with the stinger that came with it, and I was right – the stinger is too long for the shank. I’ve added it to my box of parts; who knows, it may prove useful on another project somewhere down the line.
Before final buffing, though, I needed to repair the burnout in the tobacco chamber. To fill and repair a hole this size, I prefer to use JB Weld epoxy. The original JB formula is highly heat resistant, and the steel-reinforced epoxy cures completely inert and harder than briar for a permanent fix that won’t compromise the pipe’s smoking characteristics.
I mixed a small amount of JB Weld and worked it into the flawed area, filling the hole completely. The original JB Weld takes quite a while to set and even longer to cure fully, so I propped the stummel in position to keep the epoxy where I wanted it, and left it for 24 hours.

When the epoxy had fully cured, I sanded the excess away leaving the JB Weld only in the repaired area.
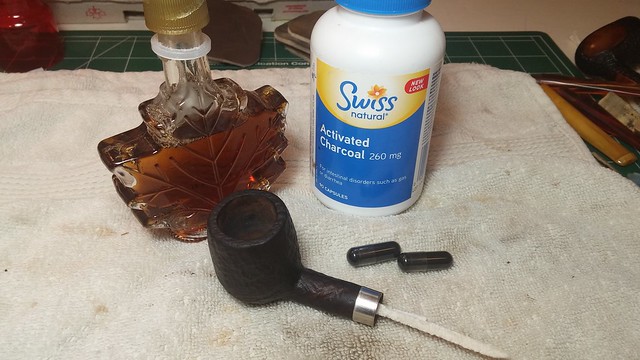
I completed the work on this stummel by applying a quick bowl coating of maple syrup and charcoal powder. As you can see in the picture below, I buy activated charcoal capsules at my local pharmacy. The charcoal inside the capsules is very finely ground, ideal for a smooth yet slightly “grippy” bowl coating that will encourage the development of a new protective cake.
I applied the coating by wiping a thin layer of maple syrup around the inside of the tobacco chamber, then dumping in the contents of two charcoal capsules. This bowl was small enough that I could cover the opening with my thumb and give the stummel a good shake to distribute the charcoal evenly around the bowl. Note the pipe cleaner blocking the draft hole – I don’t want the bowl coating blocking up my nice clean airway!
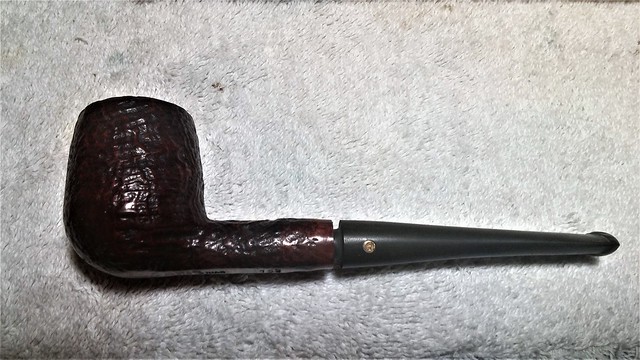
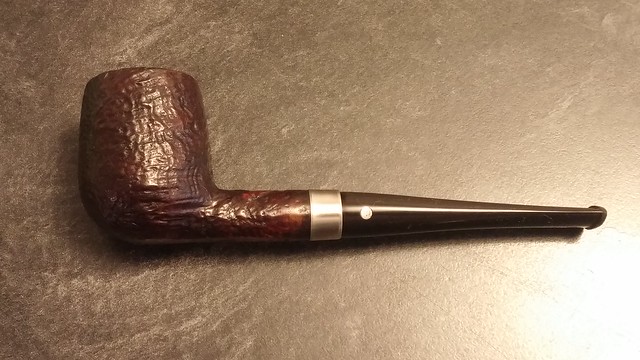
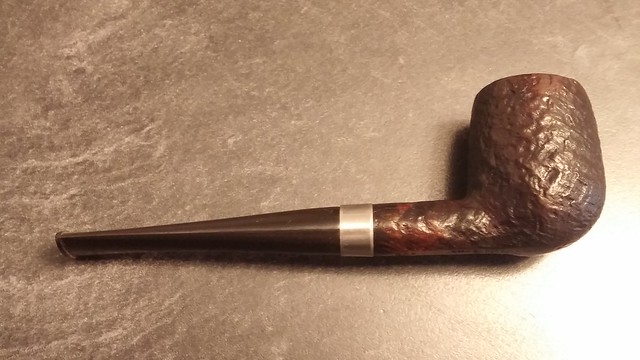
Finally, I reunited stem and stummel and took the pipe to the buffer for a run of white diamond compound and a few coats of Carnauba wax to shine and protect the pipe’s finish.
Was all the work worth it? You be the judge. I put a lot of hours into this old (relatively) no name pipe to take it from junker status to legitimate piper’s companion. The pipe retains a few “character marks”, evidence of its eventful life prior to this restoration, but it clearly has many more years of service left in it.
If you’d like to add this solid, unpretentious Regis Super Grain Briar billiard to your rack, it’s available on the DadsPipes Store now. I doubt it was ever considered a high-end pipe, (and it is priced accordingly in the Store) but it represents the quiet confidence and reliability of a mid-Twentieth Century piper’s daily smoke. I think it would make a new piper a great first briar or serve the veteran pipe smoker equally well while puttering in the shop or yard, or sitting around a campfire.
Thanks for walking through this restoration with me. Here’s the finished pipe, so until next time, Happy Piping!


That one was well-loved!
LikeLiked by 1 person