
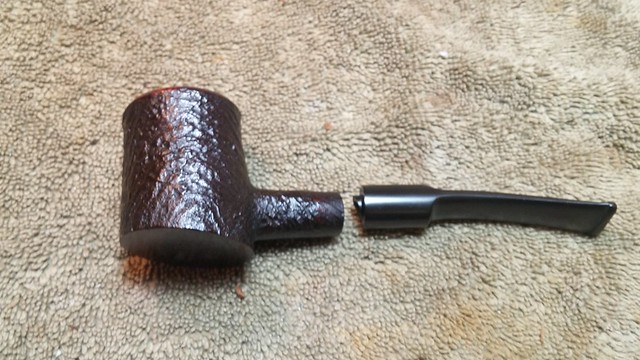
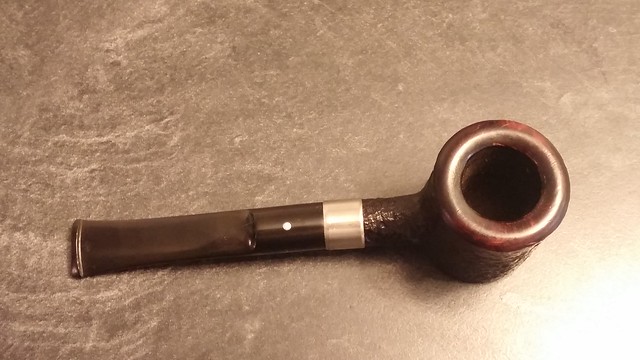
The bisected Dunhill 6475 Poker Sitter on my worktable today was sent to me by a fellow Ontario pipe collector to have the broken tenon replaced in order to make the pipe ready for sale. Judging by the pictures the owner sent me, the break looked clean and the rest of the pipe appeared to be in very good estate condition.
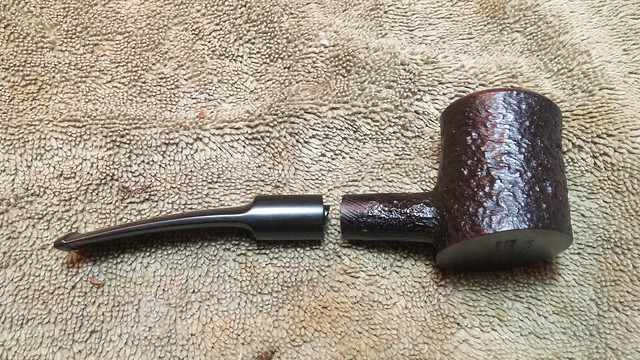
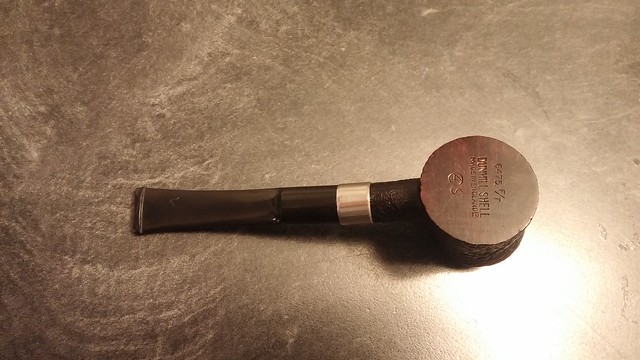
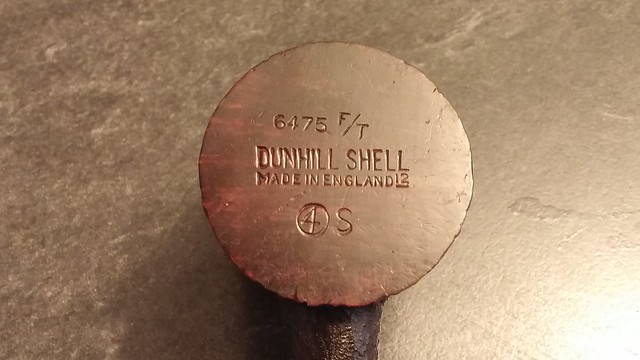
The flat bottom of the sandblasted bowl is stamped “6475 F/T” over “Dunhill Shell” over “Made in England12” over “4” in a circle followed by the letter “S”. In “Dunhill-speak”, this translates to a Shape 6475 “Friendly”, made in 1972 with a Group 4 bowl size and a Shell (sandblast) finish.

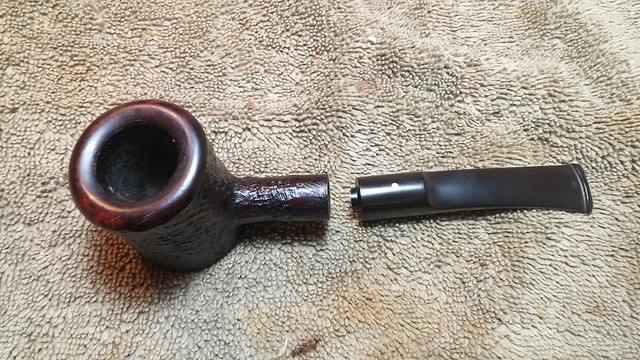
The owner was not interested in having the pipe fully restored, just repaired, so this post will focus on the tenon repair alone.
As you can clearly see in this first picture, the broken end of the tenon was still wedged into the mortise at the end of the shank. To extract it, I turned a wood screw by hand into the tenon’s airway and then used a pair of pliers to gently pull the tenon from the mortise. It came out smoothly.
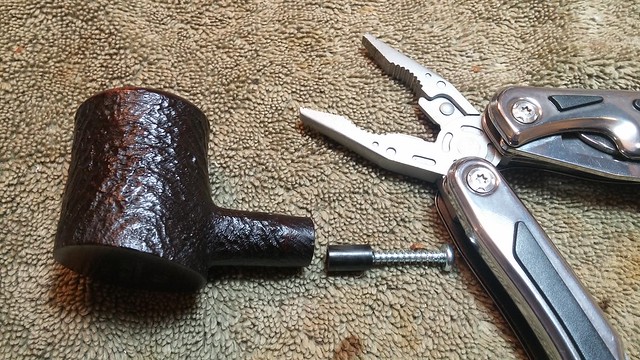
The Delrin tenons I have come in two sizes, 1/4” and 3/8”, which effectively bracketed the tenon diameter I needed for this job. I had to settle for filing down a larger tenon to fit the shank.
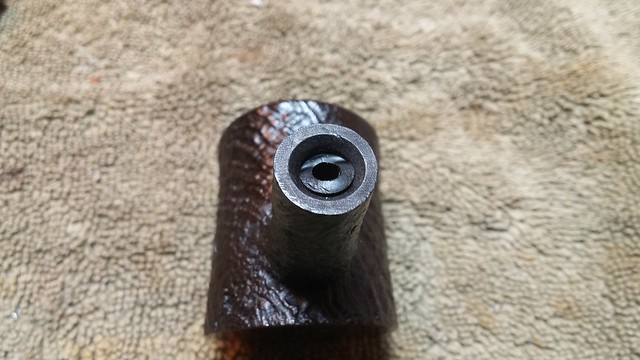
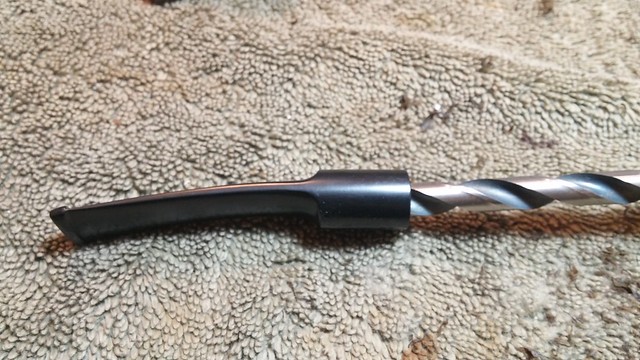
To begin the repair, I drilled out the remains of the old tenon, starting with a drill bit only slightly larger than the diameter of the airway and slowly working my way up to the 3/8” mortise I needed to accept the replacement tenon. It is important to keep the drill bit square to the stem face when drilling, as any wobble will result in an off-centre tenon.
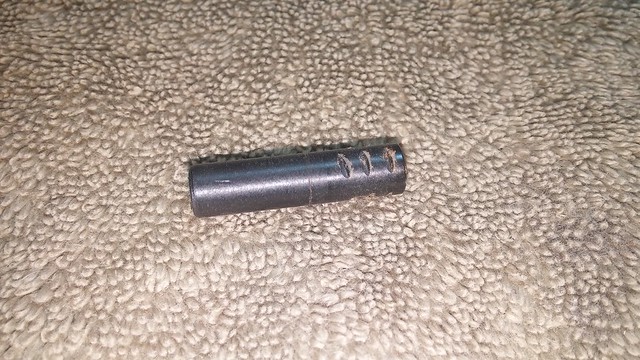
With the mortise drilled, I scored grooves into the new tenon in several places around its circumference to give the epoxy something to grip when I glued it in.
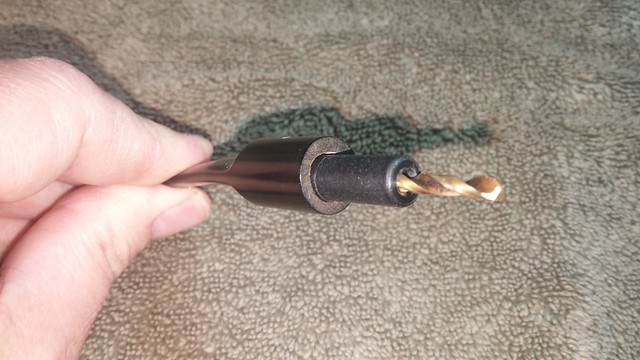
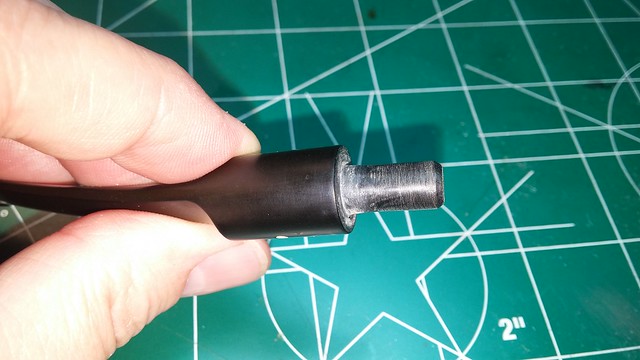
This pic shows a test fit of the new tenon in the stem face. I’m using a small drill bit to align the airways through stem and tenon.
I did not glue the tenon in place at this point, as I wanted to fit it to the pipe’s shank first. With a good fit at both ends of the new tenon, I could apply the epoxy, fit the pipe together and adjust the fit by hand to get a perfect alignment before the glue set.
I filed the business end of the tenon by hand to reduce the diameter, checking the fit often as I got close. Delrin isn’t easy to expand like Vulcanite, so removing too much material would mean starting over with a new tenon.
It was during the final fitting in the mortise that I discovered that the original tenon break wasn’t as clean as I had originally thought. I found a pair of hairline cracks running down the shank.
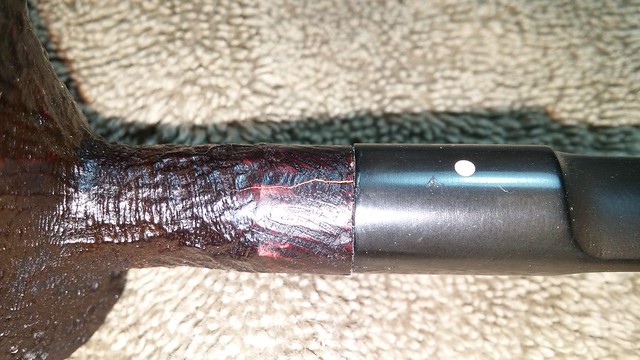
I contacted the pipe’s owner and sent a picture of the damaged shank and recommended gluing the cracks and adding a shank band to make a long-term repair. The owner understood the value in this and quickly authorized the additional work.
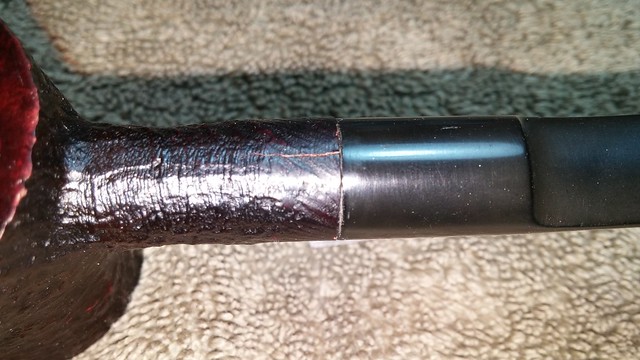
I had a suitable band in stock, so it was a relatively simple matter to get the shank ship-shape again. After running thin CA glue into the cracks, I pressed the band onto the end of the shank, heating it over the heat gun to expand the band and make installation easier. When the band cooled, it shrunk back down, clamping the repaired cracks firmly.
Now I could finish the tenon replacement. I mixed a bit of two-part epoxy and applied it to the grooved end of the new tenon before twisting and pushing the tenon into the face of the stem. I used a greased pipe cleaner to help align the parts and keep the epoxy out of the airway, and then pushed the stem home in the shank mortise.
I lined up the parts by hand, and held them in position for a few minutes until the epoxy began to set. When the epoxy had sufficient grip to hold the pieces in place, I set the pipe aside to let the repair cure completely.
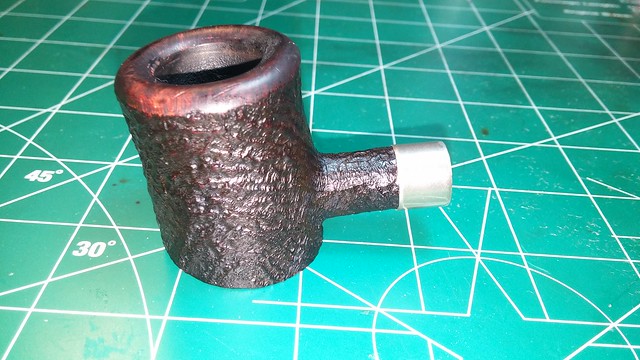
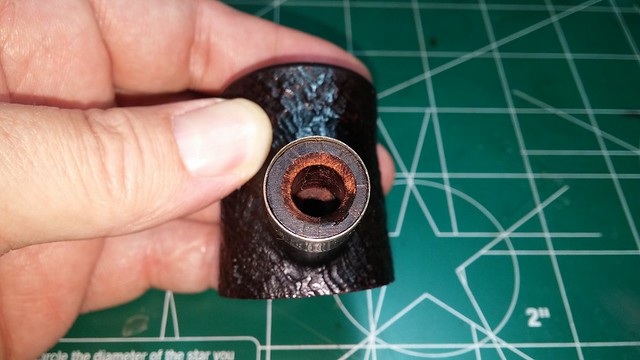
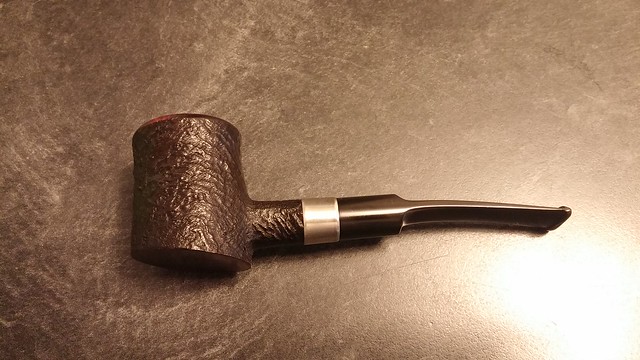
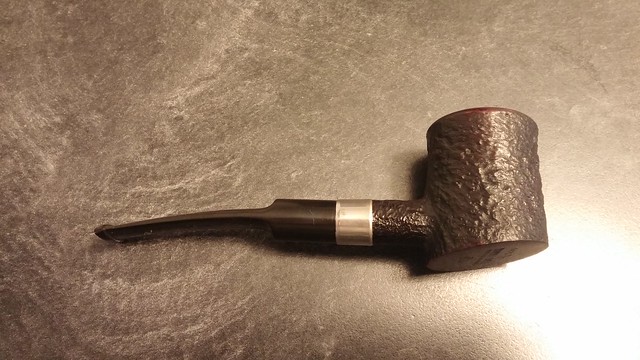
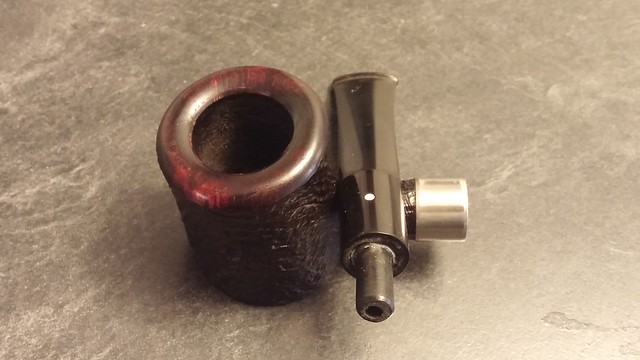
With both hands busy during this phase of operations, I was unable to take pictures, but it all went surprisingly smoothly to plan. I took these shots of the repaired stem after the glue had cured and after I had cleaned up the tenon a little bit. A nice tidy job!

I gave the pipe a complimentary buff on the wheel to shine things up a bit and took this last series of pictures.
This Dunhill Poker Sitter is once again ready to provide years of smoking companionship to a new owner. The new Delrin tenon is considerably more “slippery” than the original Vulcanite, and slides in and out of the shank easily while providing a nice firm grip on the stem.
The pipe has been shipped back to its owner, and I understand that it has already found a new home in a new piper’s rack. What more could one ask?
Thanks for joining me for this repair. I hope it shows that a broken tenon does not necessary mean a new stem for an old favourite pipe. Sometimes a new tenon is the way to go.
Here’s the finished pipe. Until next time, Happy Piping!

Nicely done, but how did you ever resist cleaning up that rim? 😉
LikeLiked by 1 person
A LOT of willpower and client direction. I admit it was difficult at times to stay within the scope of the job!
LikeLike
Great idea using the drill bit to align things. That is easily the hardest part of these tenon repairs. Nice work.
LikeLiked by 1 person
Thanks Steve. The drill bit worked well – it had just enough play on it to let me jigger the fit at the shank. The tricky bit was keeping the epoxy only where I wanted it!
LikeLike