
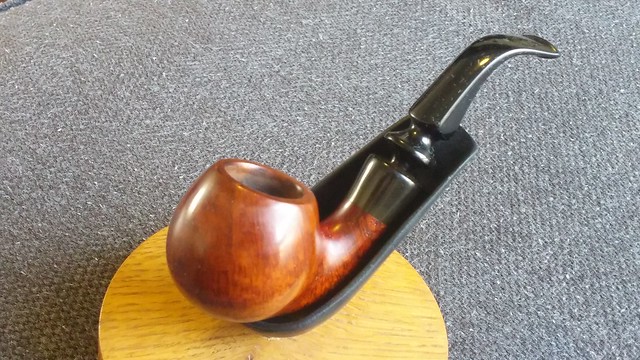
This is a fun little pipe that has been hanging around my worktable for some time. It’s a Svendborg Hand Made Chin-Hanger, likely dating to the latter half of the company’s production in the 1980’s. Pipephil.eu gives this brief summary of the firm:
Brand founded in 1970s by Henrik Jørgensen, Poul Ilsted and Tao Nielsen. They bought an old factory (Nordisc Pibefabriker) in Svendborg on Funen island. Poul and Tao gradually bow out from machine manufactured pipes (1982) and Henrik Jørgensen manages the brand until its take over by Design Berlin (D) in the late 90s.
Kaj C. Rasmussen jointed the firm for several years. 17 employees worked for this brand under Henrik Jørgensen direction. – Pipephil.eu
A longer more detailed history of Svendborg Piber is available here on Pipedia.org but I’ll leave the reading to those interested. Suffice to say that the company, though short-lived, was not short on talent; Ilsted, Nielsen and Rasmussen all went on to very successful careers as top pipe carvers in their own right.
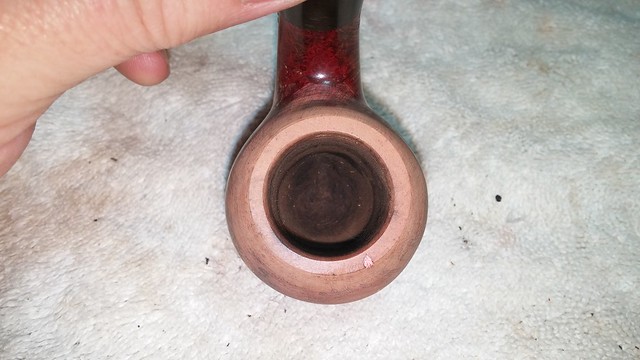
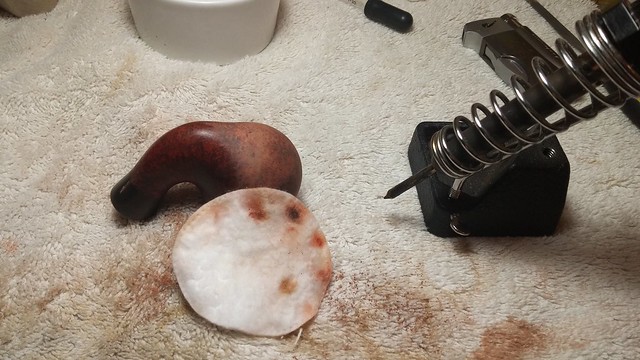
When I first pulled this chin-hanger pipe from my refurb box it was looking pretty banged up. The rim was dented from repeated dottle-knocking and covered with a crust of lava. The bowl was lined with an uneven cake and the bottom of the bowl, a little oddly, was covered in nicks and dents of varying sizes. The smaller ones could be sanded away but the larger dents would need to be steamed out first.
I tried to determine how the bottom of such a pipe would collect dents like this, and the best I could come up with was that the piper may have had a nervous habit of holding the pipe by the stem and bouncing it off the desk or table.

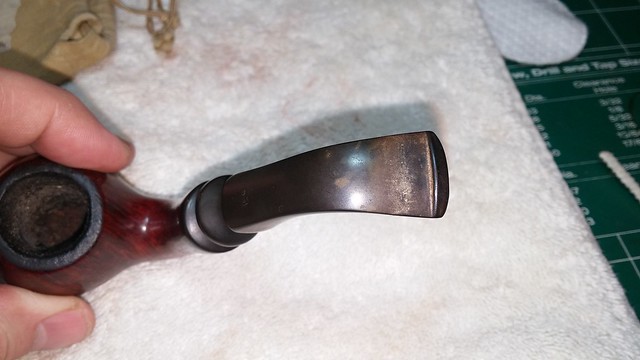
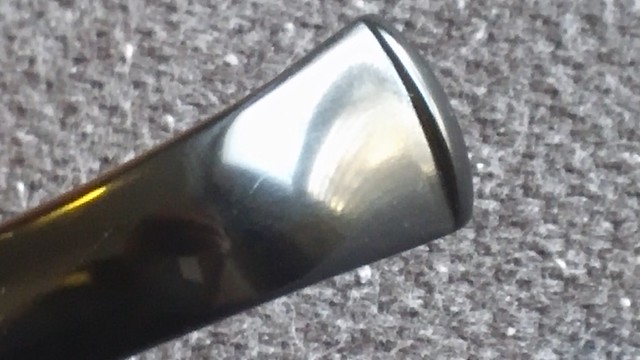
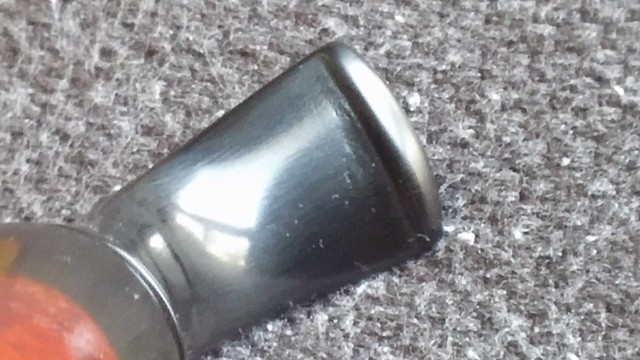
The sharply bent stem was obviously not original, based on both the rubber adapter ring on the tenon and the fact that the stem had not been polished out completely. Under the blotchy oxidation and grime covering the stem, the factory mold marks were still visible where the two halves of the stem were joined together.
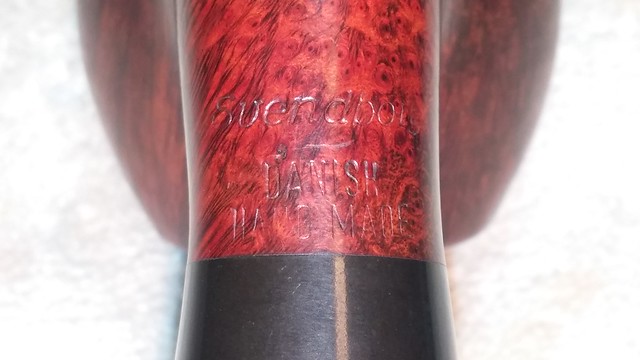
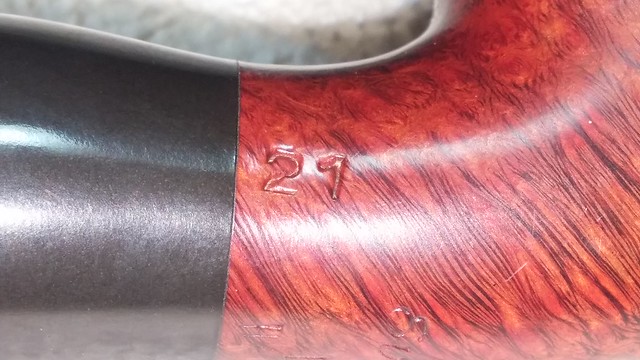
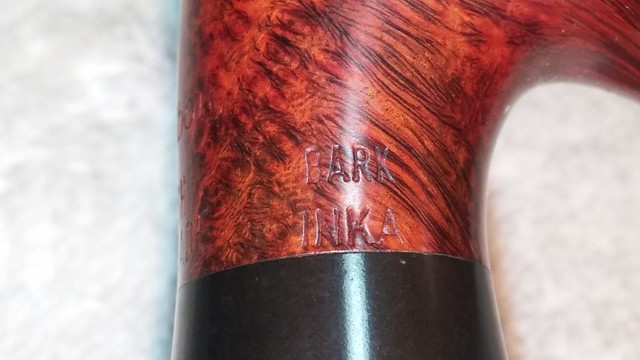
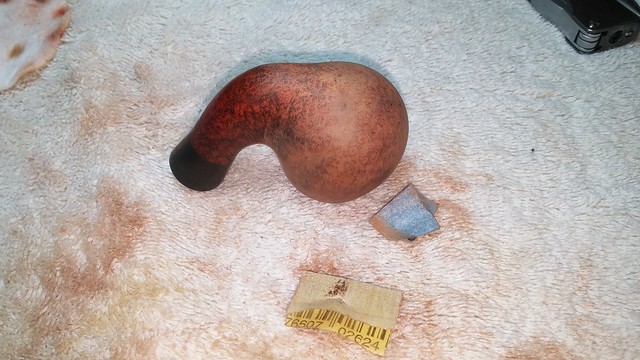
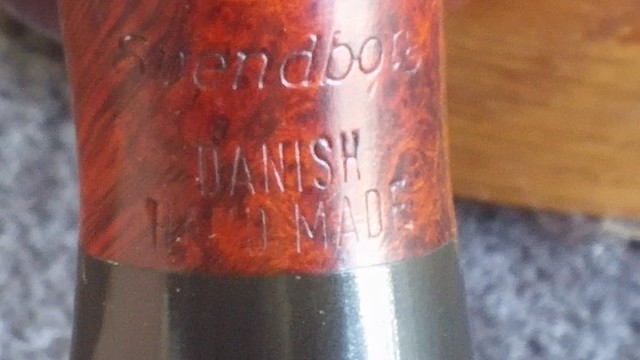
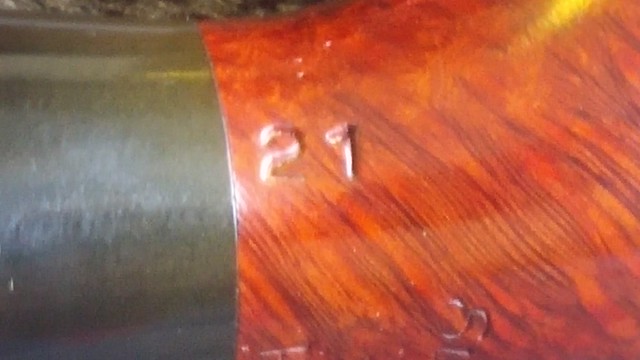
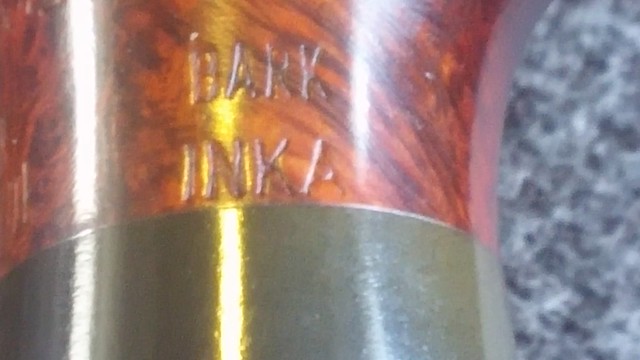
The pipe is stamped “Svendborg” over “Danish” over “Hand Made” on the underside of the shank near the vulcanite extension. The left shank is stamped “Bark Inka” (a series name?) and the right shank carries a shape number, “21”.
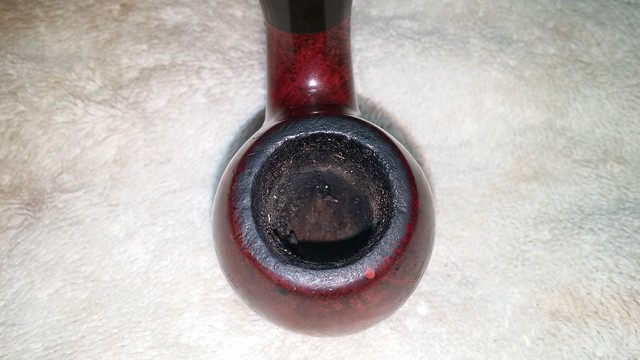
I reamed the tobacco chamber back to briar using my Castleford reamer and some 80-grit sandpaper wrapped around a dowel. The interior of the chamber is in excellent condition, and the drilling looks very good as well – a detail that can be a bit tricky on these extremely bent pipes.
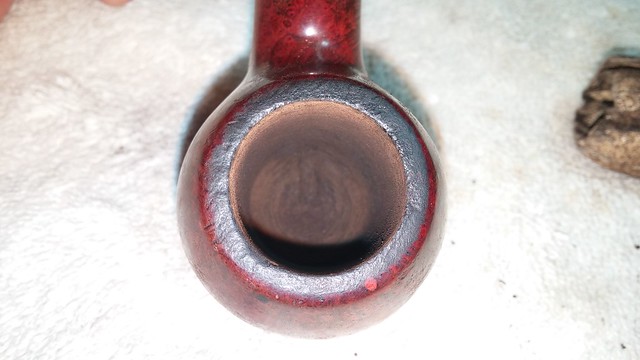
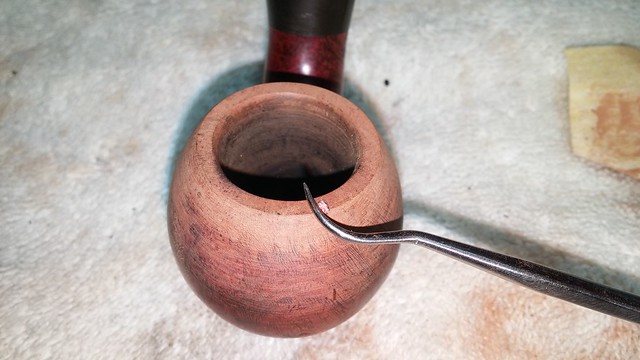
A wipe of alcohol on a cotton pad softened and removed the crust of lava from the rim, exposing the myriad dents and scrapes. After taping off the shank to protect it from inadvertent damage, I topped the bowl gently to regain a crisp flat surface. Notice the old fill at the front edge of the rim. I would end up replacing it with CA and briar dust before this restoration was complete.


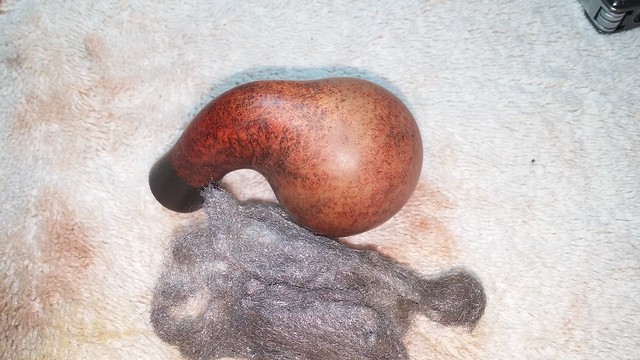
I used 220 and 320 grit sandpapers to complete the rim refurbishment, smoothing out the upper walls of the bowl and removing the last of the knocking marks. This was the point at which that old fill fell out of the rim.
Leaving the rim work for now, I set about cleaning the (very) grubby internals of the stummel. I used alcohol, pipe cleaners and cotton swabs to soften and remove the accumulated tars and debris from the shank and airway. A flat-ended needle file came in handy for scraping the worst of the muck from the mortise.
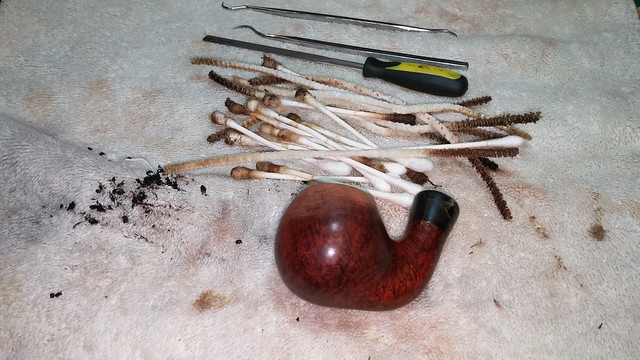
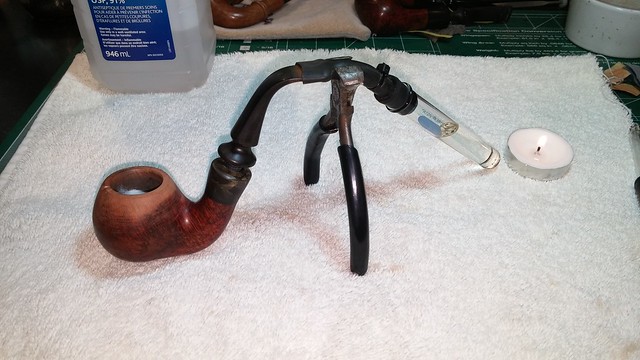
Not surprisingly, that much crud inside the stummel had left things rather smelly. I set up the retort and sent a few vials of alcohol boiling through the pipe. The first tube came out nearly black in colour; I boiled more alcohol through the pipe until the alcohol came through clear, or nearly so.

The stummel still carried a bit of ghosting, so I set it up with a salt and alcohol treatment and left it overnight. The dark brown salt in the bowl the next morning shows just how much tar was still lurking in the pipe. I dumped out the salt and ran a quick pipe cleaner through the airway and around the chamber walls to clear out any rogue sale crystals.
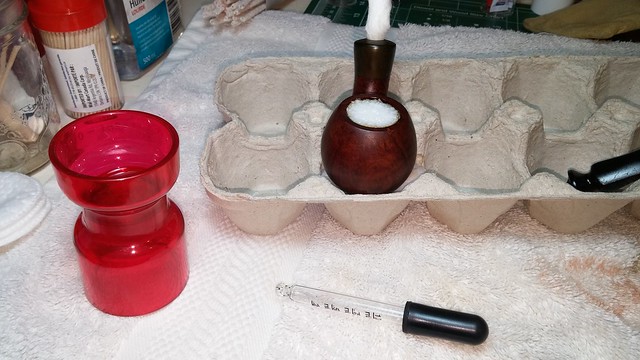

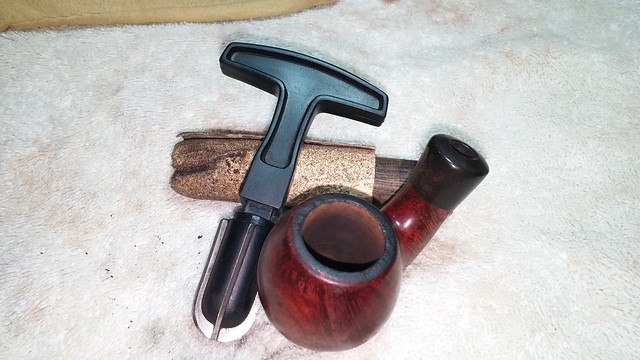
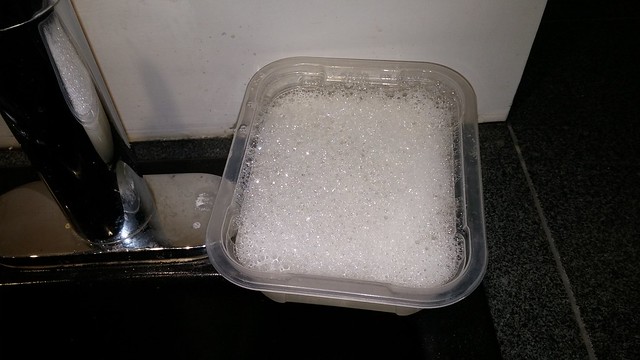
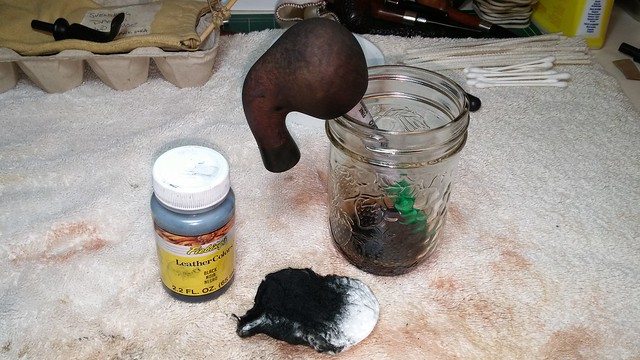
I set the stummel aside to rest and moved to the stem, starting with a good long soak in Oxyclean and warm water. Hours later, I scrubbed the now soft oxidation and other grime from the vulcanite with 0000 steel wool and Magic Eraser.
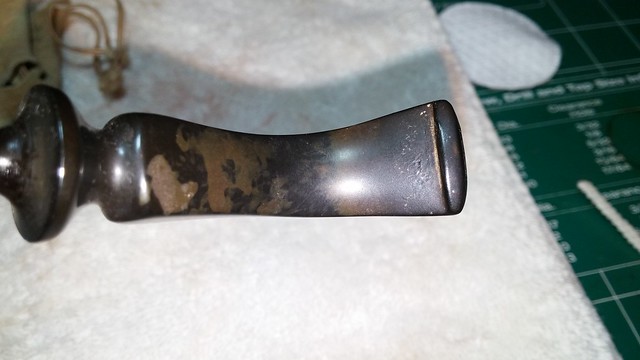
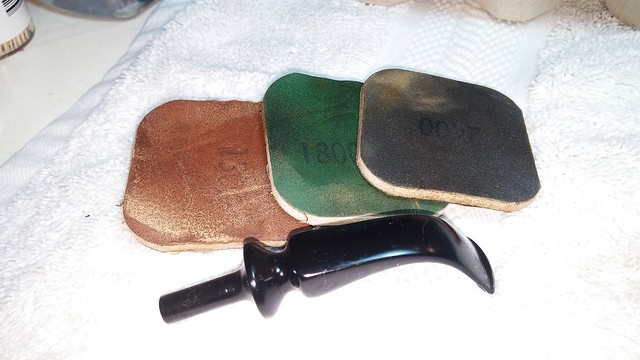
The pics below show the “orange peel” texture of the not-quite-finished replacement stem. I used 220 and 320 grit sandpapers to smooth out the pebbly texture. 0000 steel wool removed the sanding scratches and prepped the stem for polishing.


I wet-sanded the stem with 1500-3200 grit micromesh pads and then dry-sanded with the next set of three pads, finishing with 4000 grit. I wiped the stem with mineral oil after each set of pads to remove any sanding dust and moisturize the vulcanite.

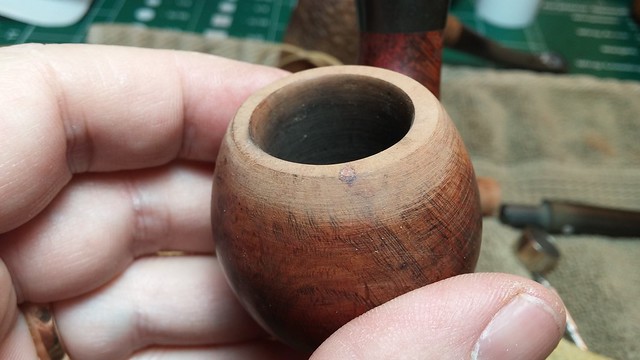
Moving back to the stummel, it was time to fix the missing rim fill. I dabbed a bit of CA glue mixed with briar dust into the void and let it cure. When it was dry, I sanded the new fill flush with the briar. The finished fill is shown below.
Then I went to work on the dents decorating the bottom of the bowl. After sanding the area lightly to remove the superficial marks, I steamed out the deeper dents using a damp cotton pad and my electric soldering iron. I placed the pad over each dent and applied the hot iron to force steam into the briar and lift the depressed grain back to its original position. This took some time, but it was worth it to avoid a lot of sanding that would have altered the original lines of the stummel.
With the dents lifted, I gave the stummel an overall sanding with 220 and 320 grit sandpapers, avoiding the stamps near the shank extension. A polish with 0000 steel wool erased the sanding marks and really helped to bring the grain out.

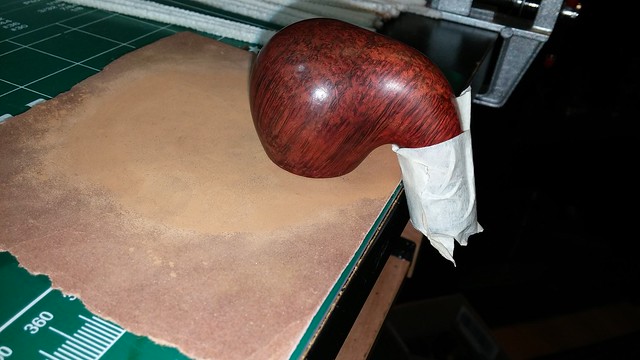
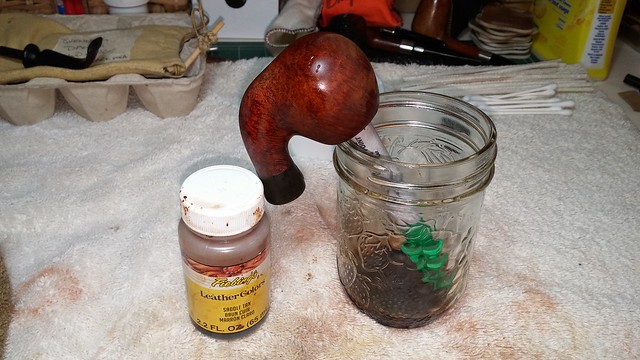
Now my task was to recreate the “Bark Inka” finish of red stain over black grain. After wiping the briar clean with alcohol on a cotton pad, I applied a base coat of Fiebing’s Black leather dye to the entire stummel. I let this dry before wiping off most of the dye, leaving only the softer grain dark.
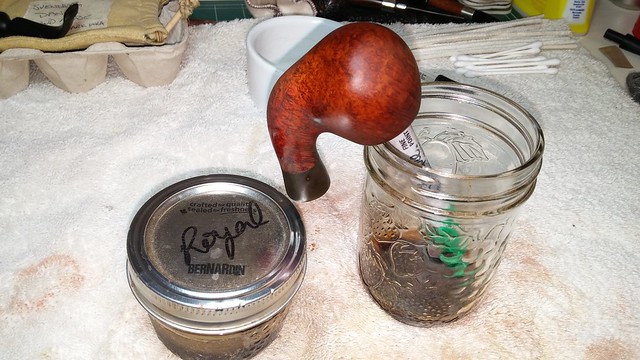
I followed the black dye with a coat of Fiebing’s Saddle Tan dye. The colour came out a bit too bright for my liking, so I deepened the finish with a wash coat of the Royal stain colour I mix up to use on Brigham pipes, a mix of Saddle Tan and Dark Brown stains.
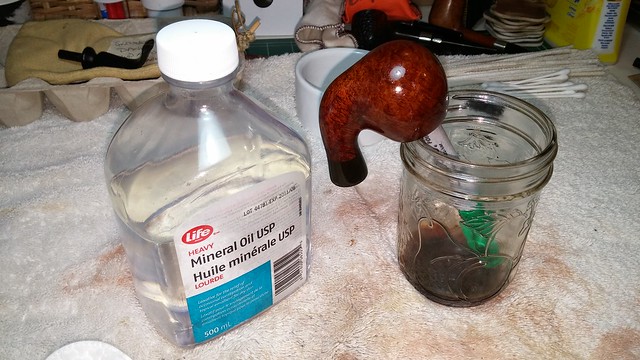
I finished off the staining with a wipe of mineral oil to moisturize the briar and give the finish depth and pop.
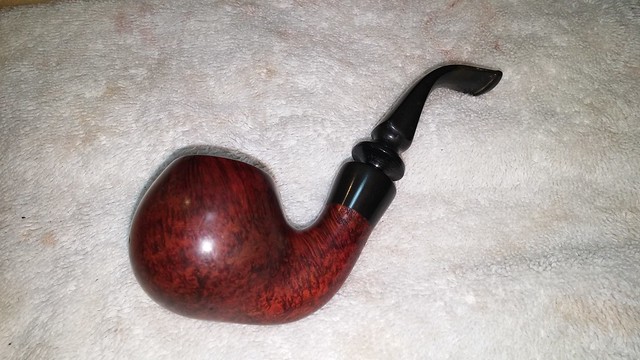
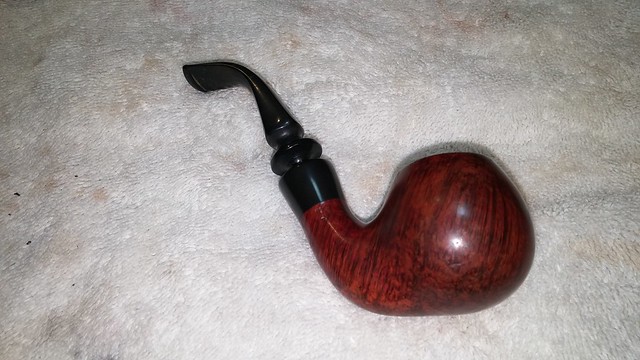
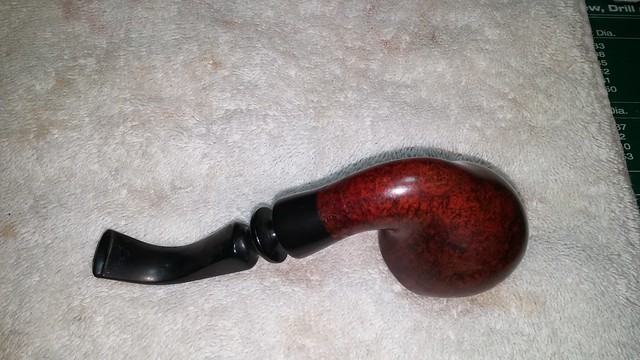
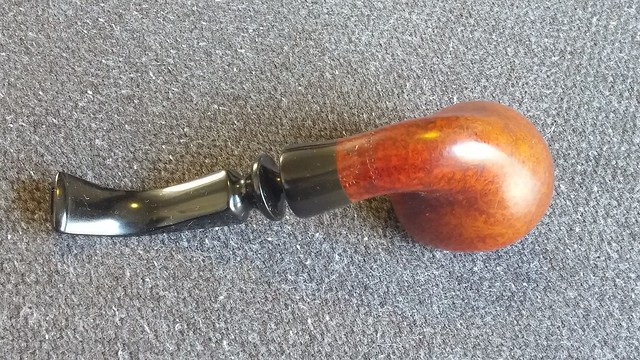
A quick buff on the wheel with White Diamond compound and several coats of Carnauba wax finished this Svendborg restoration. The pipe has cleaned up nicely, though it’s not without a few scars. There’s some interesting grain running diagonally up the right side of the stummel and the bottom of the bowl is covered with birdseye. The replacement stem suits well enough and fits airtight.
I’d say this Svendborg Chin-Hanger is ready to offer a new piper many years of service. This is a nice lightweight pipe that balances easily in the teeth – a real clencher’s delight! It’s available on the DadsPipes Store now.
Thanks for following me through this restoration. Until next time, Happy Piping!
Here’s the finished pipe. The sun was quite bright when I took these shots, which threw off the colours a bit. In person the pipe is quite a bit darker.


Happy Family Day, Charles. I love the colour of this piece. As usual, wonderful work.
LikeLiked by 1 person
Thanks David, and Happy Family Day to you too! Now if only I could drag my teenagers out of bed, we could enjoy some of that Family Togetherness they so look forward to! 😀
LikeLike