
This pipe was sent to me by a fellow member of the Canadian Cigar Forum. It had been his grandfather’s, and the owner wanted to be able to use it. The problem, I was told, was that the tenon had been broken at some point in the past. The remaining stem had been cut down to create a new tenon, but the resulting new stem face was narrower than the shank and did not fit flush. I offered to see if I had a stem that would suit, and before to long the pipe arrived in the mail.
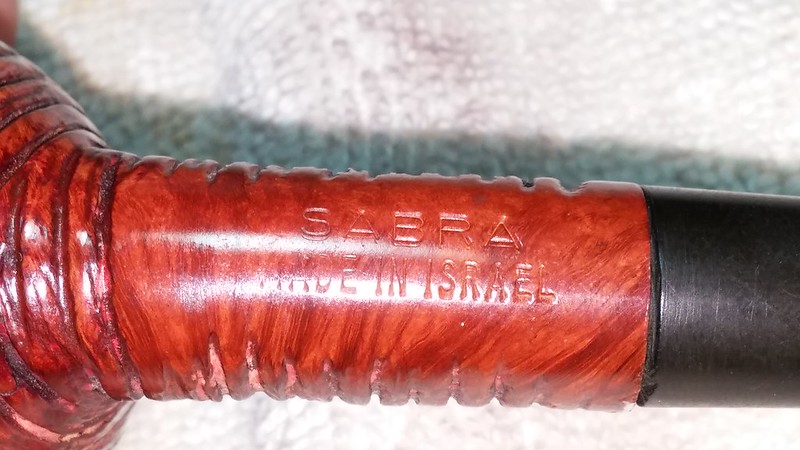
At first glance, the pipe was in decent shape. Though the stem was ill-fitting, it was clean and free from oxidation. The stummel was a rather shiny red colour, which I initially put down to a factory shellac finish. The bowl showed recent signs of light use, with just a small bit of cake in the chamber. On the underside of the shank were stamped “Sabra” in block letters over “Made in Israel”. My research into the brand didn’t get very far, as none of my usual sources had any info on the Sabra marque. It is quite likely that the pipe was produced by the Shalom pipe factory in Tel Aviv. The owner couldn’t share much more information on the pipe, other than that he remembers his grandfather smoking it in the early 1980s.

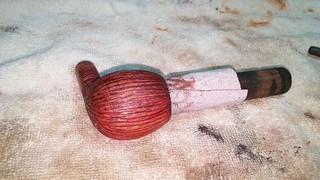
I had originally planned to fit an estate stem from my stem box – I had the Israeli-made stem that had come with a Patent Era Brigham 2-Dot pipe I had restored a few months ago, and thought it might be nice to fit an Israeli stem to an Israeli pipe. This idea fell apart quickly though after I realized that the estate stem in question had had a flat bottom sanded into it, while the Sabra shank was round. This pic shows the area of missing vulcanite on the Israeli estate stem, which I thought was too much to try to fill.
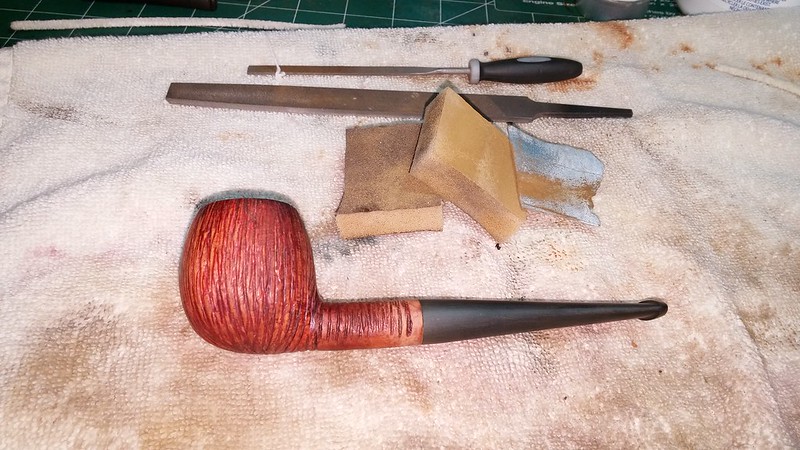
On to Plan B! I found a new vulcanite stem with the right dimensions, and quickly sanded the tenon down to fit the Sabra’s mortise. This pic shows the pipe with the replacement stem rough fitted sitting next to the truncated original stem.

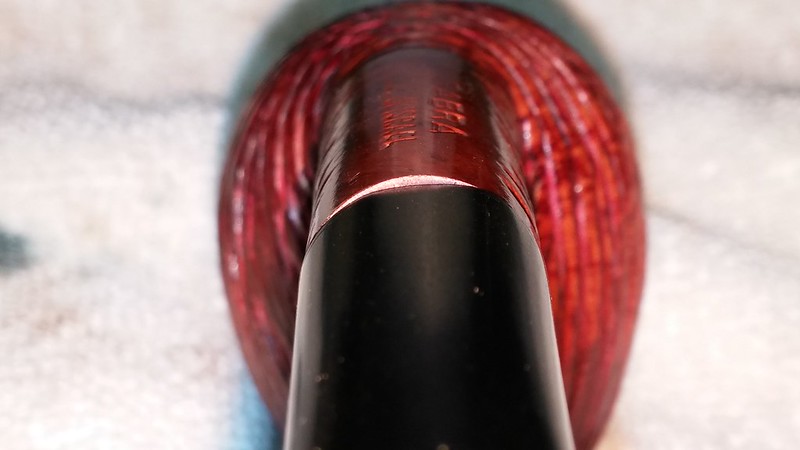
I used a series of files and sandpapers to remove the factory mold marks from the new stem and then smooth and shape the transition between stem and shank. I worked carefully around the underside of the shank to avoid damaging the stampings. It didn’t take much work to make the new stem look like it belonged on this old stummel.
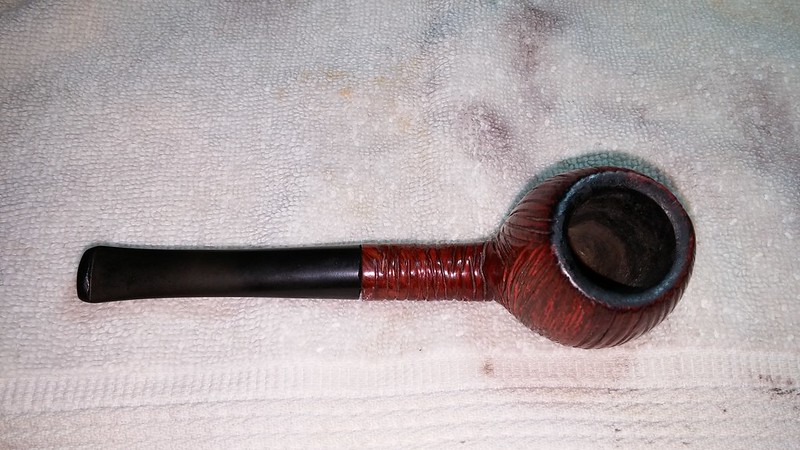
I reamed the small amount of cake from the bowl and cleaned a bit of char from the rim for good measure.

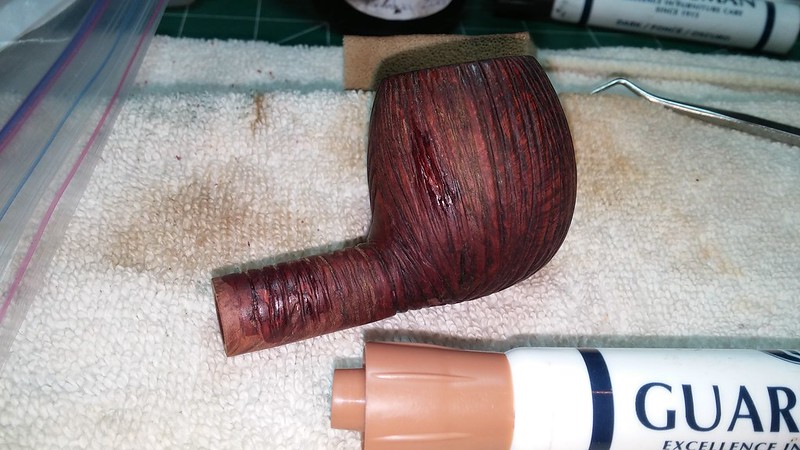
I wiped the shank with nail polish remover on a cotton pad to clean away the sanding debris, and wasn’t surprised to see a bit of colour come off on the pad. I first assumed this was the remains of the old shellac finish, but on closer examination, I realized that the vertical grooves carved around the bowl were full of old red wax – dang it! Another shoe polish “refinish”. I seem to be having a run on these lately. I went to work on the grooves with a dental pick, carefully scraping the old polish off the briar. These pictures show the initial acetone wipe and a shot of the shoe polish curling out of a groove. There was enough polish in there to nearly smooth out the surface of the stummel.

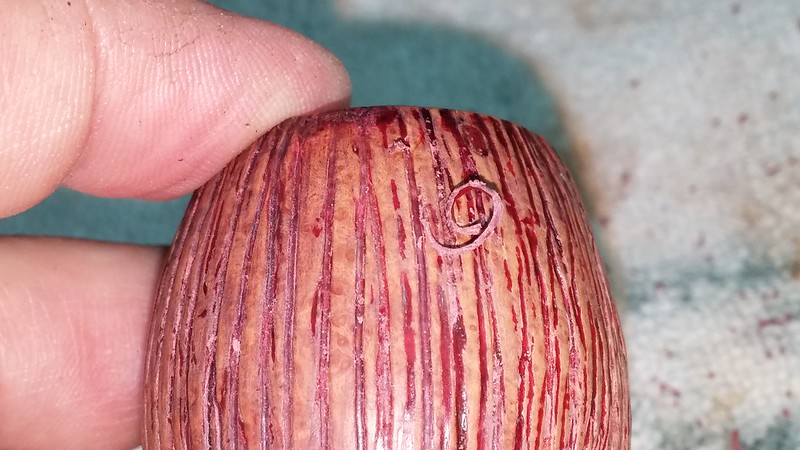
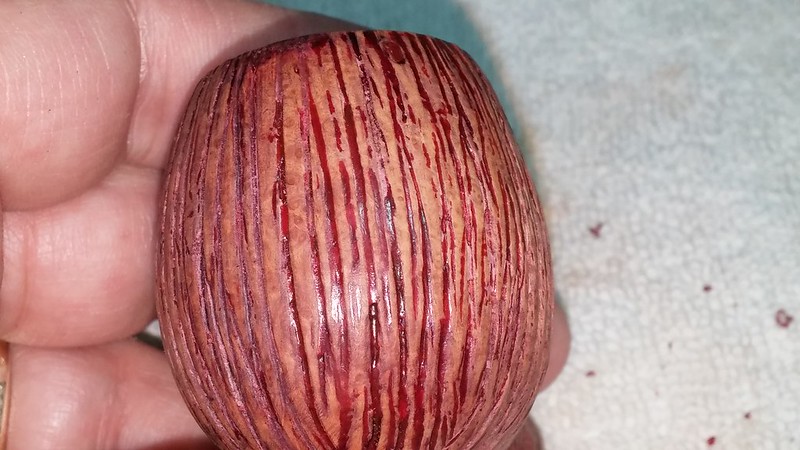
I took this shot of the right side of the bowl after cleaning those grooves with the dental pick. There is a noticeable difference between it and the next pic of the untreated left side of the bowl.

Eventually I worked my way around the entire stummel with the dental pick and followed up with a gentle wire brushing with a brass bristle brush. The stummel was starting to look like briar again, but I had exposed a few old putty fills that would need attention.
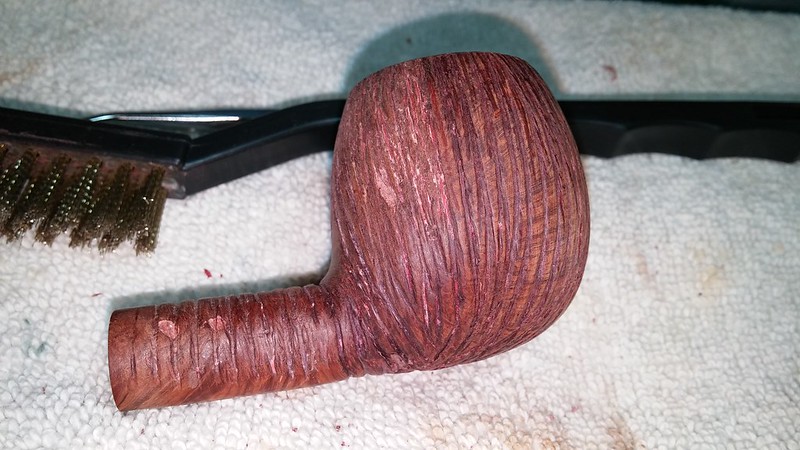
There were other fills in the stummel, but I decided to deal only with the three you can see in the above picture – two on the shank and one on the right rear of the bowl. These had shrunk to the point of creating a sharp edge when I ran a finger over the briar. The other fills, while visible, were still smooth to the touch, so I left them alone. I’m not sure how much inherent value is in this pipe, but the sentimental value of your grandfather’s pipe is far from minimal. I didn’t want to erase all signs of age or previous use as I might have done with another estate pipe; rather, I was aiming for a careful cleaning and preservation of a family heirloom.
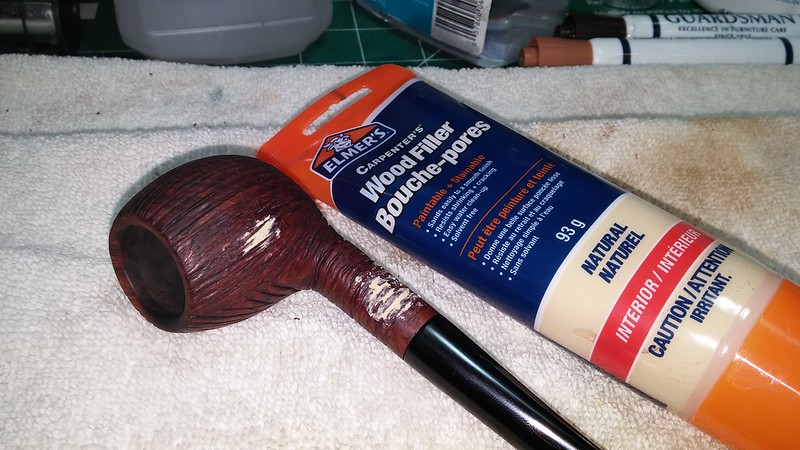
Instead of my usual CA glue and briar dust fill material, I elected to use off-the-shelf stainable wood filler to top off the shrunken factory fills. This proved to be a good choice, as once the putty was mostly set, it was easy enough to gouge the required grooves through the fills with the point of a dental pick. I used 1500-grit micromesh to level the new fills, and then applied a bit of colour to the raw fills with a medium stain pen to blend them in.
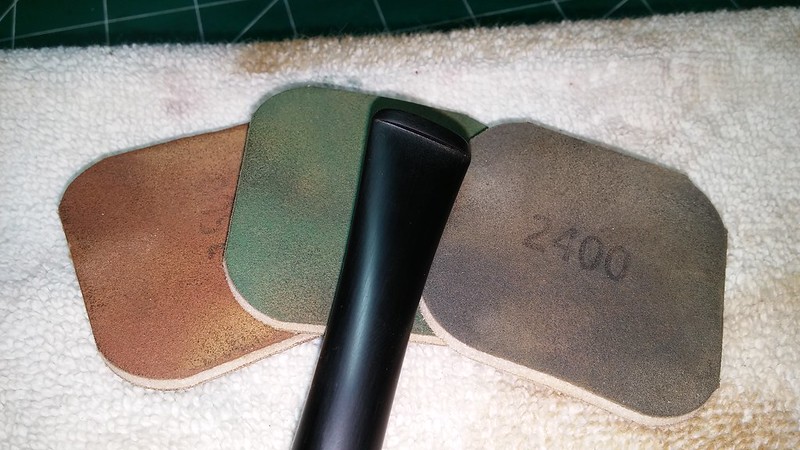
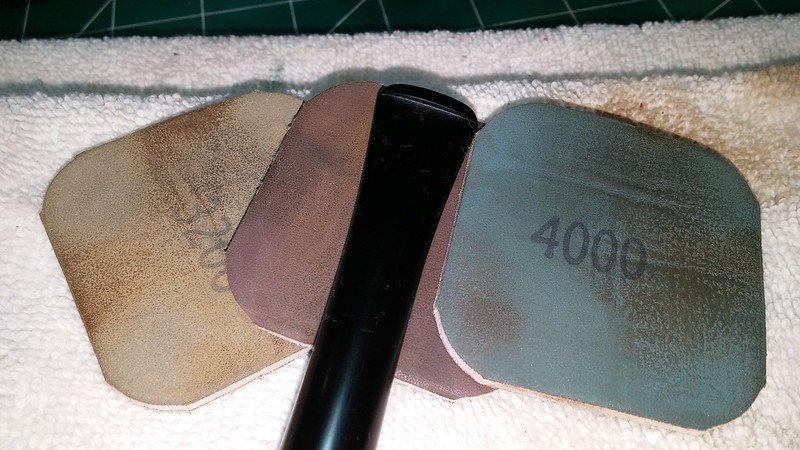
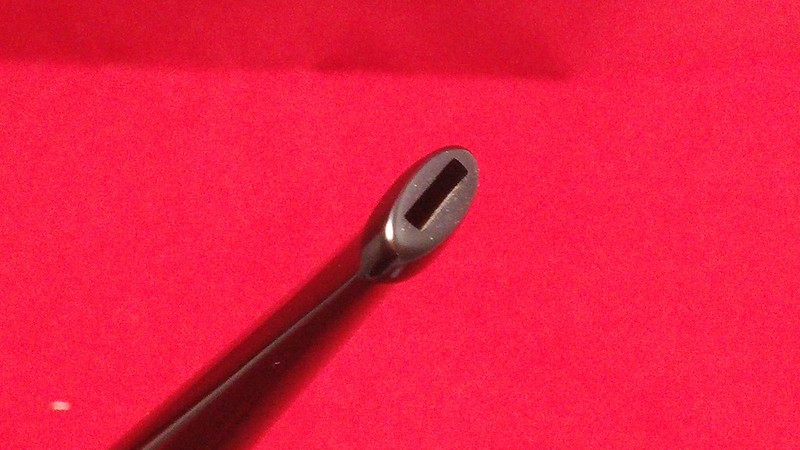
Setting the stummel aside, I moved back to the stem for final polishing with 1500 – 12000 grit micromesh pads. This is an important step when working with a new replacement stem, as the stems come from the factory with a rough surface that will neither be comfortable in the mouth nor hold a high shine. I worked in groups of three sanding pads, rubbing the stem with mineral oil between sets. This doesn’t take long to do with a new stem and is totally worth the added effort – note the difference in the depth of shine in the pics below.

I stained the stummel with a quick coat of Fiebing’s Saddle Tan leather dye to even out the colouring. When the stain was dry, the pipe went to the buffer for a run of White Diamond compound and a light coat of Carnauba Wax. I was careful not to pack wax into the carved grooves I had spent so much time cleaning out.
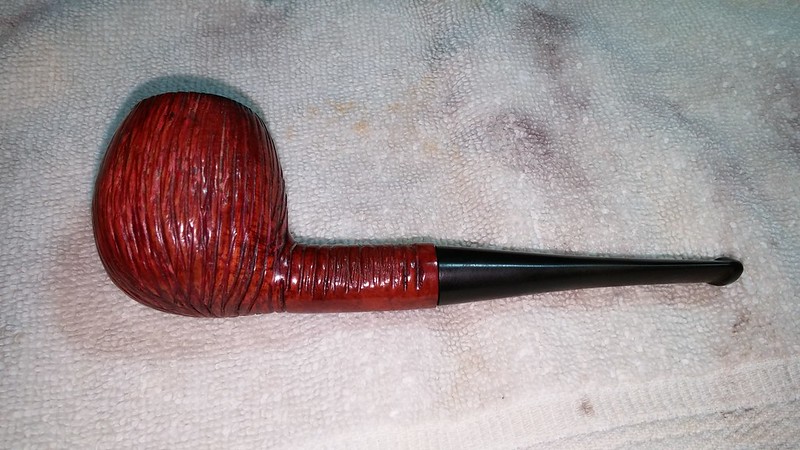
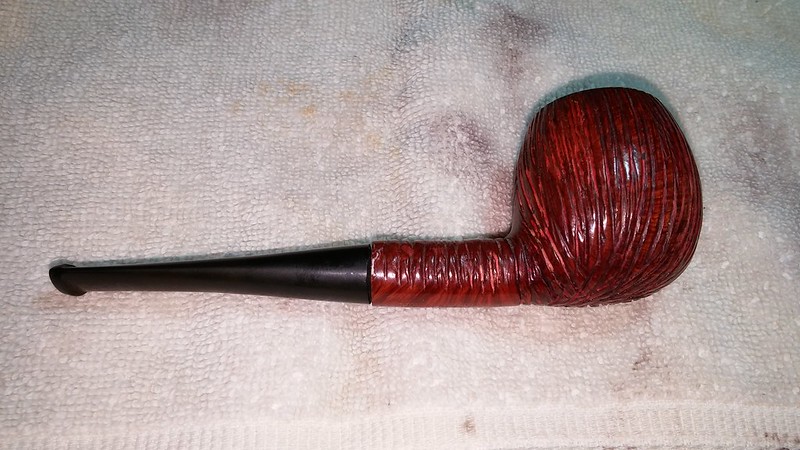
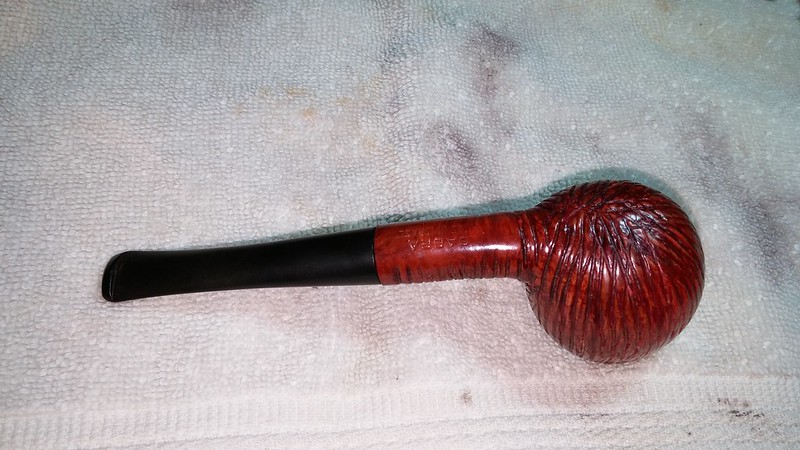
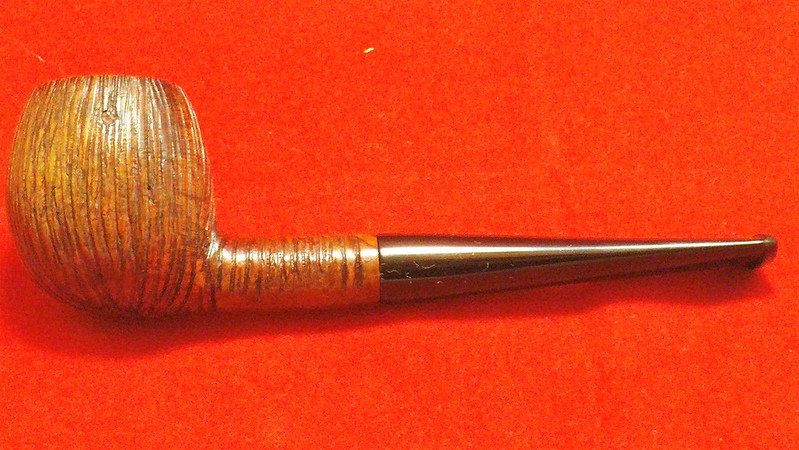
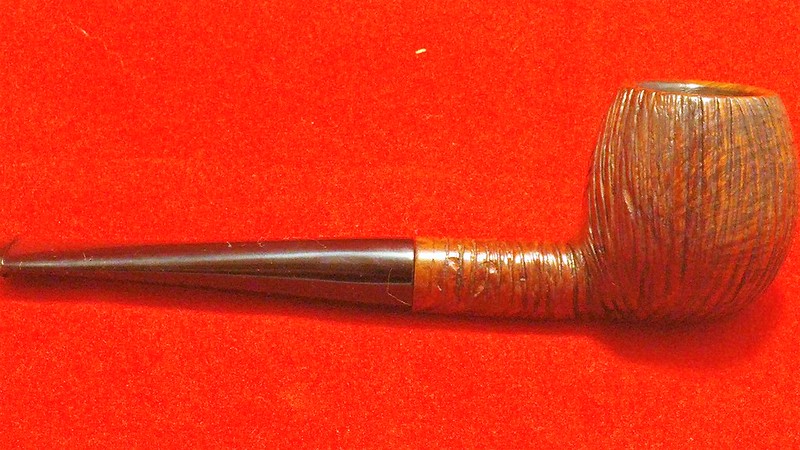
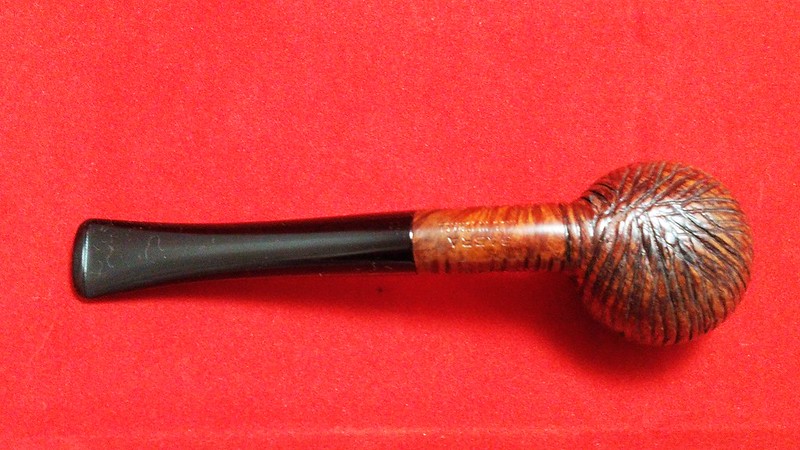
The finished pipe is ready to be put into service in the new owner’s rotation. The usage and handling marks accumulated over the years are still there as reminders of the pipe’s heritage, but the cheap-and-cheerful candy-apple red DIY finish is gone. In its place is the deep. rich red/brown colour of vintage briar that reveals the grain of the wood underneath the rustication. The new stem fits well and will serve the pipe’s new owner for years to come. Perhaps he’ll pass the pipe down to his own grandson one day.
Here’s the finished pipe. The flash in these pictures makes the briar look a bit lighter than it is in person; the finish is actually very close to the original. Also please excuse the stray cat hair invading the shots. (If ever there was a true indication of Spring….).
Thanks for looking and until next time, Happy Piping!


Wow, that had required a lot of patience, Charles. The results are so much nicer than the original. Job well done.
LikeLiked by 1 person
Thanks Al. I was surprised just how much grain was hiding under the polish. Well worth the effort to clean out.
LikeLike
I like the work on that Charles – it certainly took a lot of patience to get it the way it is now. I like the colour way better than it was before… nice work.
LikeLike
Reblogged this on rebornpipes and commented:
This pipe is a Sabra brand from Israel. It is a brand I have worked on before but like Charles could I could find no information on. Charles did a great job on this one. It looks really good. The new stem is a great fit. Well done.
LikeLiked by 1 person