
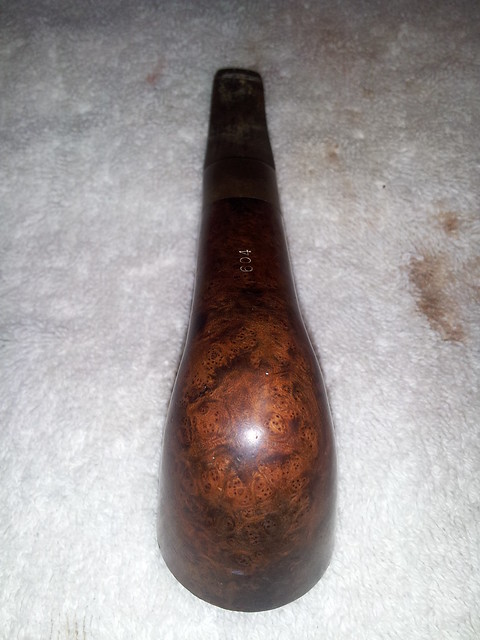
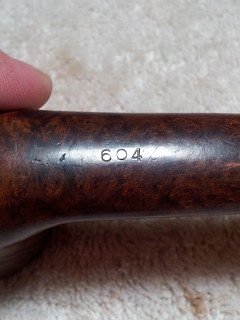
This King’s Ransom pipe is another from my recent haul of estate pipes at a local antique market. It is stamped “King’s Ransom” over “London Made” on the top of the shank, and “604” on the bottom. Unfamiliar with this marque, and finding nothing online, I emailed Steve Laug of RebornPipes, who linked me to the Comoy’s of London pipe shape chart at Pipedia.org. According to the information there, 604 is a Comoy’s shape number for a 1/4 Bent Dublin pipe – timely information that quickly elevated this King’s Ransom from basket pipe to sub-brand of one of the UK’s best known pipe producers. This is the sort of discovery that makes estate pipe hunting so much fun!
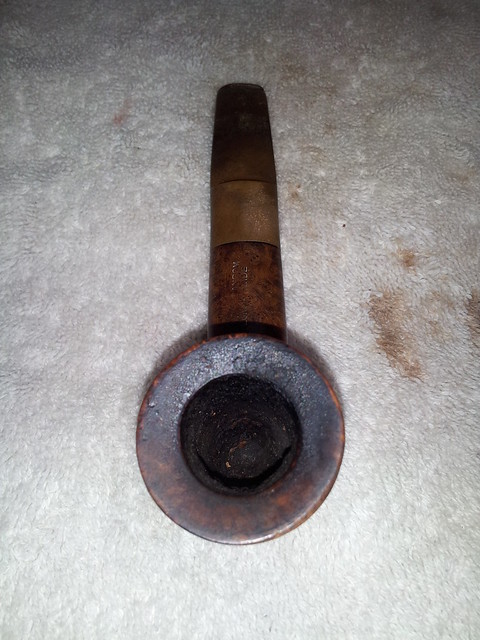
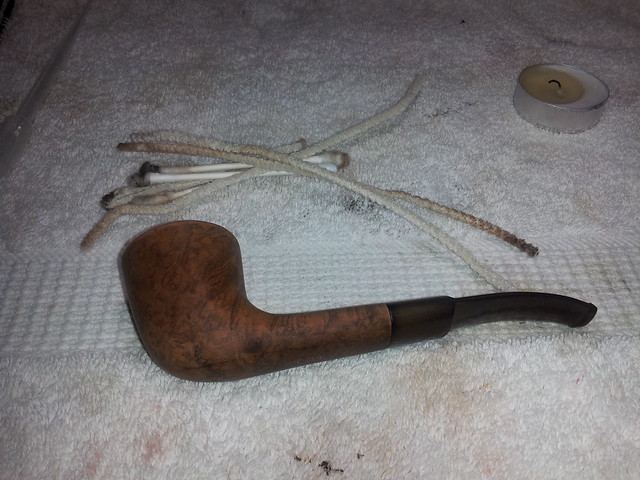
I received the pipe in fairly good estate condition. The stummel was peppered with small “handling marks” – little dents and dings accumulated through use and storage in pockets, drawers and glove boxes of cars. The outer edge of the rim bore evidence of knocking, and the rim had a bit of lava built up on it. The saddle stem was quite heavily oxidized, showing that particular shade of yellowish, brownish green that promised to be a bear to restore to black. For all its discolouration, however, the stem showed no deep tooth dents and only the lightest of chatter. After so many stem rebuilds recently, it was nice to find a stem that didn’t need a new button!


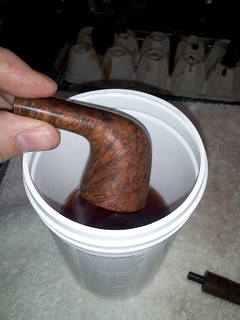
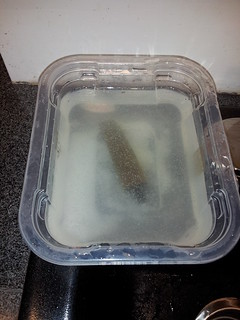
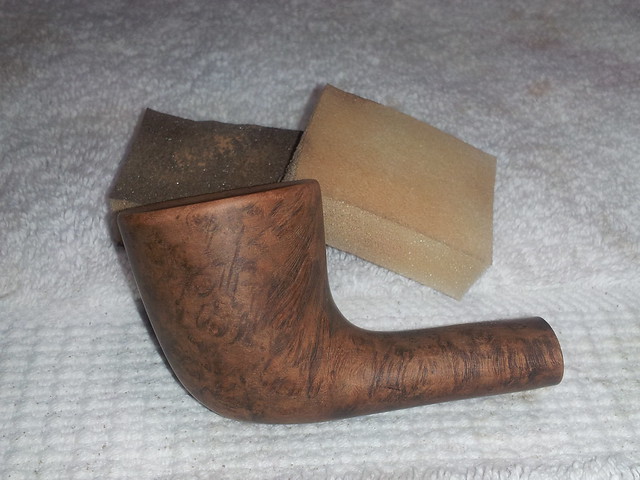
The rim tars proved stubborn to remove with steel wool, so I dropped the stummel into an alcohol bath to soften them up and also help loosen the hard cake in the bowl. The stem went into its own bath of Oxyclean and warm water to start working on the oxidation.
When the briar came out of its bath the next day, I reamed the now soft cake from the bowl and easily removed the rim tars with a scrap of worn sandpaper.
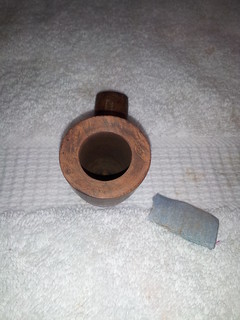
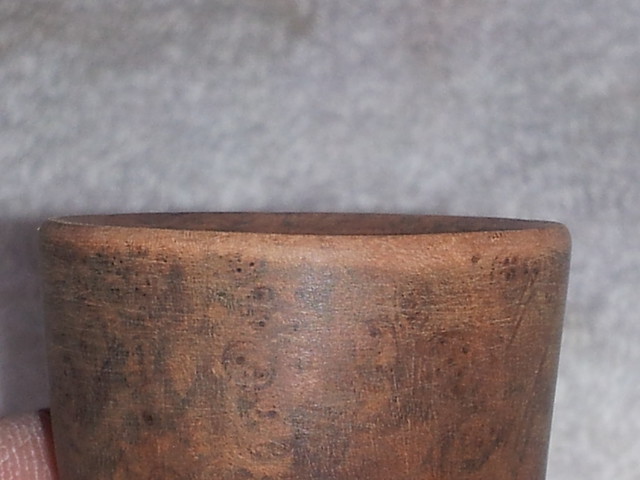
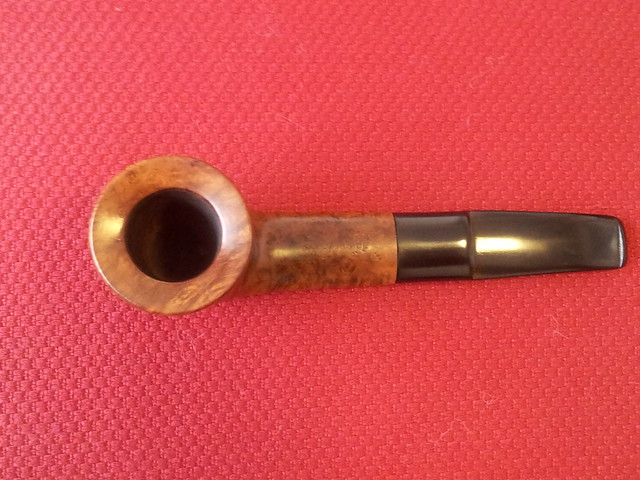
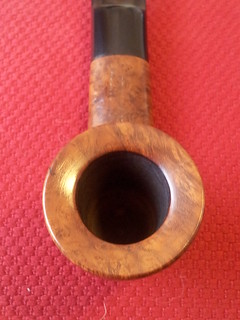
The inward bevel to the rim precluded topping to clean up the knocking damage to the outer rim. Instead, I again used a scrap of worn 220-grit sandpaper, held at a consistent angle, to carefully sand a tiny bevel into the outer edge of the rim. This eliminated the knocking damage and retained 99% of the original lines of the stummel. Look at the outermost edge of the rim in this picture to see how little material was removed.
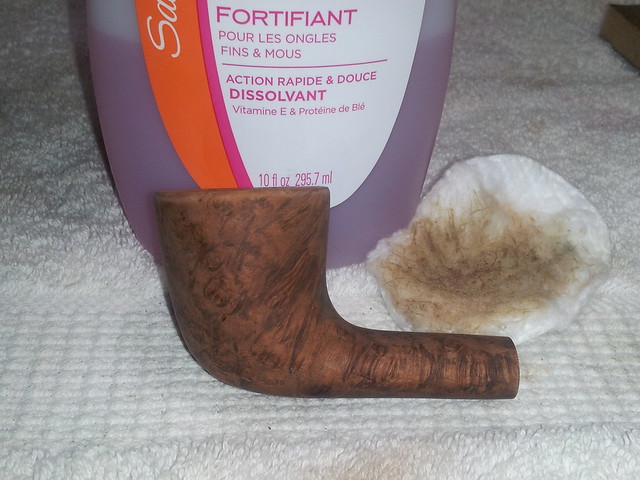
I went over the entire stummel with medium and fine-grit sanding sponges to remove the vast majority of handling marks, carefully avoiding sanding the stamps on the shank (this time!). A quick wipe with nail polish remover (aka acetone) on a cotton pad cleaned the debris from the briar and evened out the wood tones.
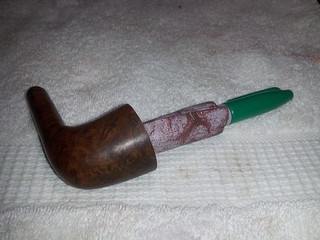
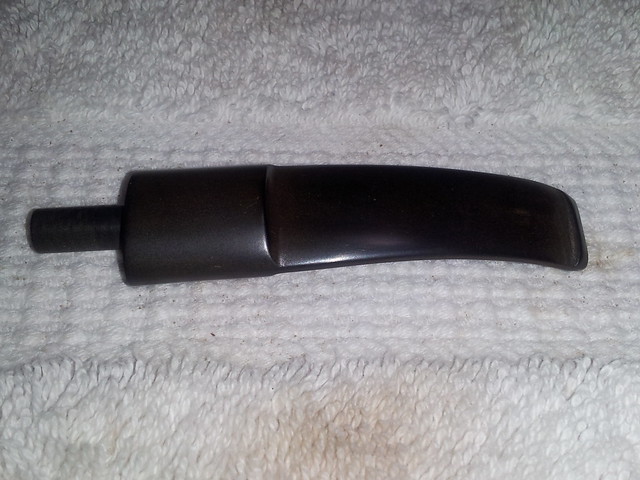
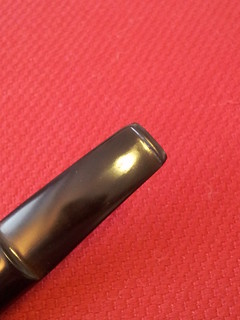
Moving to the stem, which had now been soaking for about 18 hours, I used 0000 steel wool, Magic Eraser and finally 600-2000 grit wet sandpaper to scrub off the oxidation that the Oxyclean soak had raised to the surface of the vulcanite. As expected, I paid in a fair amount of sweat equity on this job before the stem at last resembled something I’d consider putting in my mouth.
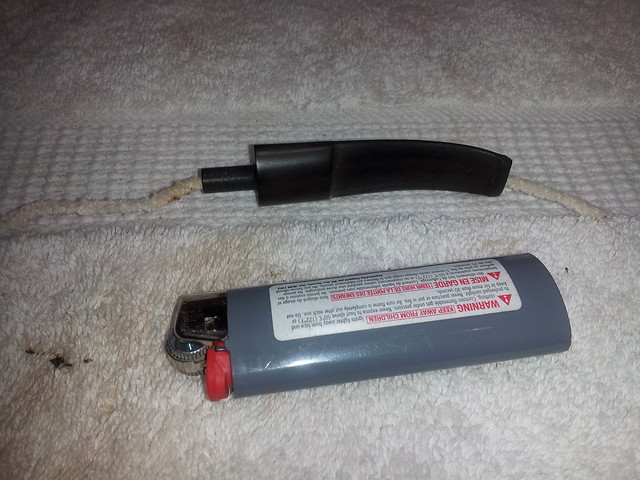
I ran a preliminary pipe cleaner through the stem and found the airway restricted at the bit, likely due to the bit being squeezed in the teeth. This is fairly common in my experience of estate pipes. I opened the airway by heating the affected area over a lighter flame until pliable, then passing a pipe cleaner through the stem. This gentle pressure did the trick. A pipe cleaner passes easily through the bit now.
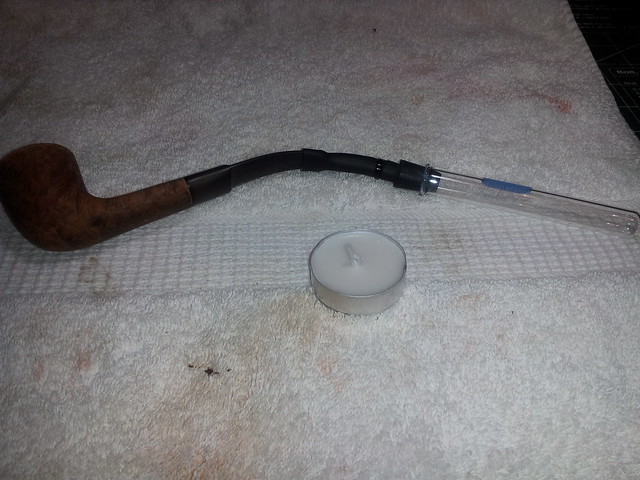
With the externals of both stummel and stem now clean, I moved on to the internal cleansing. I had finally acquired a pipe retort a few days before I started this restoration, so this would be my first opportunity to put it to use. I assembled the pipe, poked a cotton ball into the bowl and attached the tube from the retort to the stem. The other end of the retort tube connects to a test tube into which goes the alcohol.
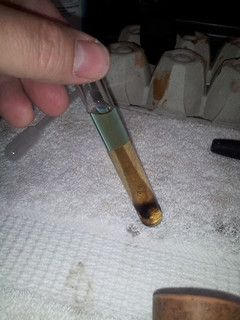
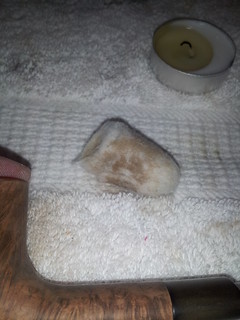
For the benefit of other retort newbies, the principle at work here is that boiling alcohol in the test tube is forced up the rubber tubing and through the airway of the pipe, scouring out the tars, oils and other contaminants in the pipe along the way. In all, I sent three test tubes of alcohol through the pipe. I took these pictures after the third test tube – you can see that the alcohol has barely changed colour, indicating a clean airway. The cotton ball had soaked up some of the alcohol and a bit of debris as well. I finished up the cleaning with a few pipe cleaners and cotton swabs to wipe up the last of the dirt.
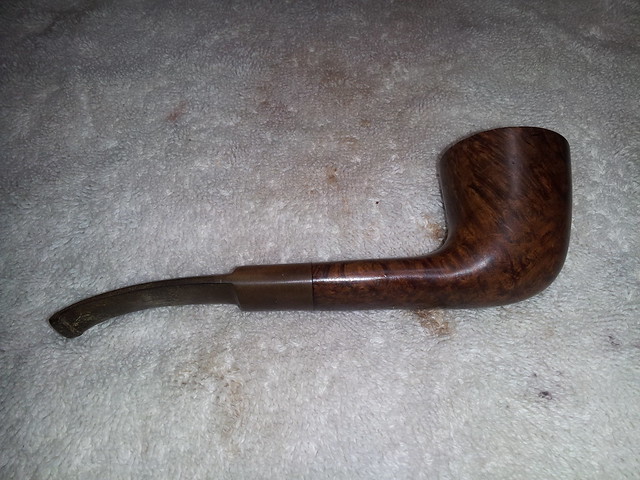
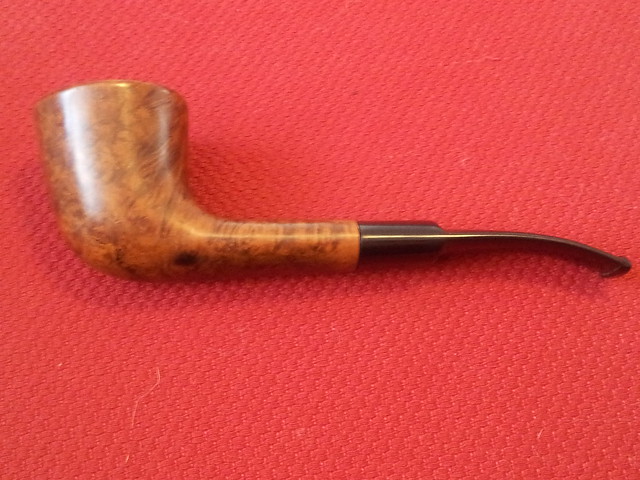
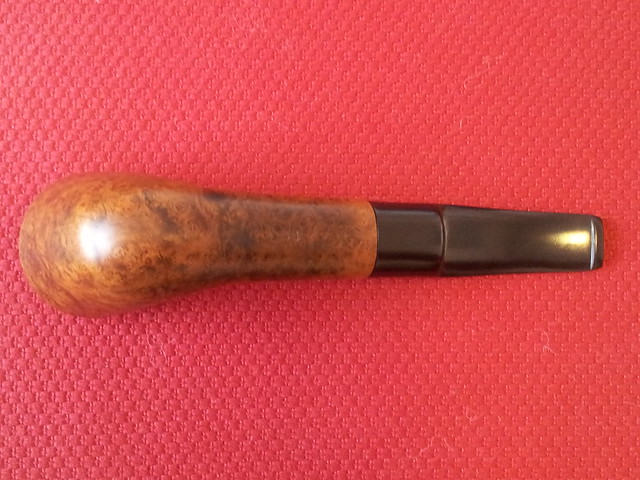
Then it was time to buff and polish. I gave the pipe a run of White Diamond compound and several coats of Carnauba wax to shine and protect the new finish. I rather like this example of the Bent Dublin shape; the inward-bevelled rim, wide oval shank and matching saddle stem give it an air of understated elegance that any country gentleman would be proud to sport on weekends in the country.
Here’s the finished pipe. Thanks for looking, and until next time, Happy Piping!


Looks great! Another beautiful job, Charles.
LikeLiked by 1 person
That sure looks like Comoys DNA, nice job!
LikeLiked by 1 person
Reblogged this on rebornpipes and commented:
Beautifully done clean up on the Comoys Dublin
LikeLiked by 1 person
Thanks much for the ‘newbie’ run through on the retort. I just ordered one few days ago and its in the mail! Great job – the Dublin is a good looking pipe.
LikeLike