
Blog by Steve Laug
Charles Lemon of DadsPipes and I thought it would be cool to do a guest blog post on each other’s blog. Charles sent me his post yesterday and I posted it last evening. Now it was my turn to send one to him. I chose this little nondescript pipe bowl to restem and restore before I knew that I was working on something more than it appeared. As a bowl it epitomizes what I love doing with these tired, worn pipes at rebornpipes. Thank you Charles, for the opportunity of putting a post on your blog. Enjoy the rebirth. — Steve
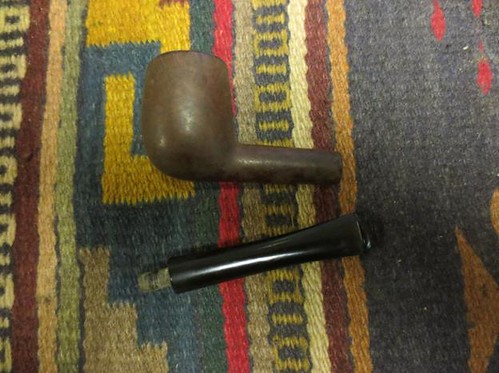
Yet another mystery pipe from the Ebay purchase of bowls. I had no idea what the stamping was when I first received it and figured it must be one that had the finish so worn that I would never be able to tell. Today under a bright light with a lens I could see the stamping. It was clearer than the last one I worked on from this lot. It is stamped on the left side of the shank with the GBD oval and underneath that it was stamped in Germanic script, Pedigree. There were no numbers following that. I read during my research on the GBD lines website that the Pedigree line came stamped Pedigree, Pedigree I, or Pedigree II. On the right side of the shank it is stamped Regent. On the underside it reads London, England. There is no shape number on the pipe that is still readable. I have seen several Pedigree pipes over the years but never one stamped with Regent on the right side of the stem. I have no idea what the stamping says in terms of the age of the pipe.
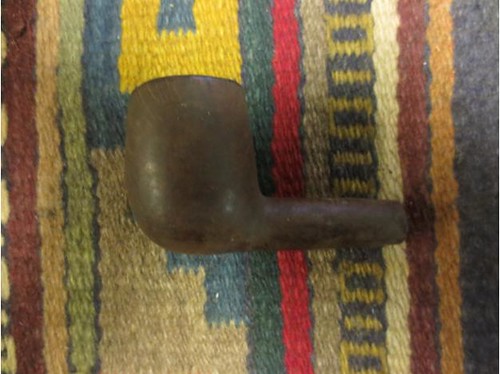
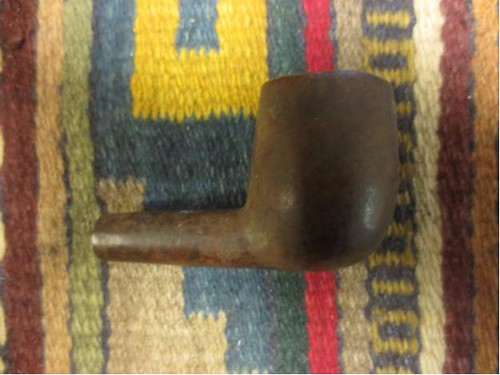
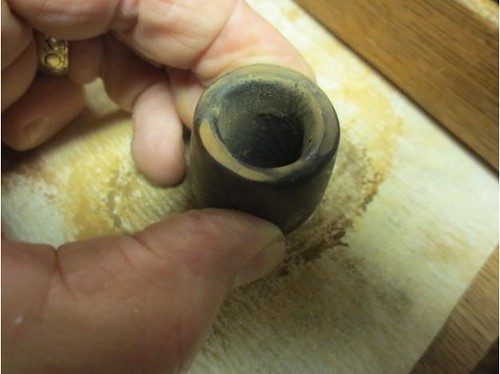
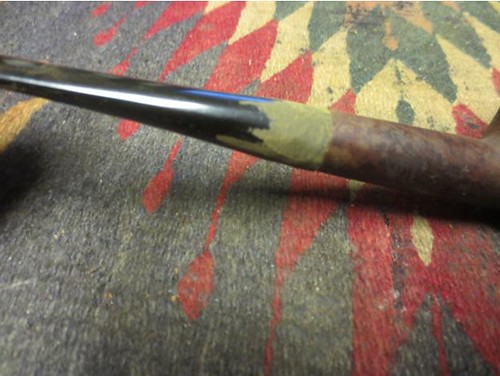
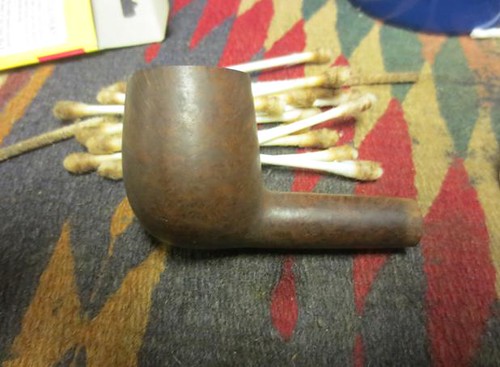
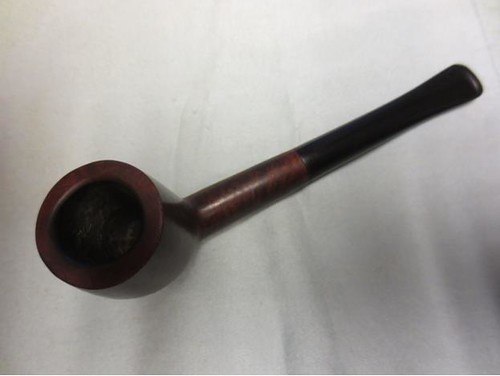
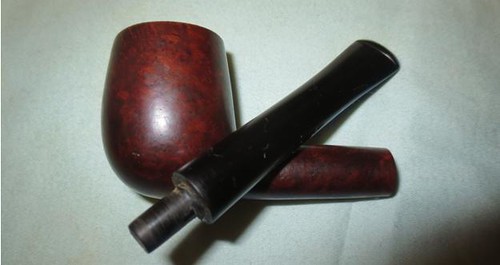
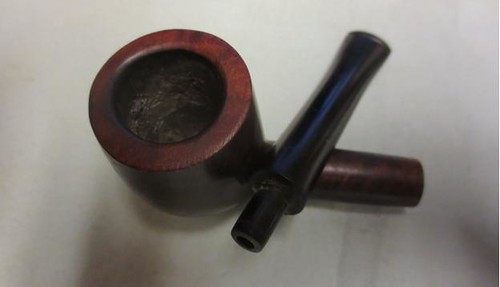
The finish on the pipe is as rough as the previous little GBD Premier. It was worn, dirty, water spotted and dull. One thing that stood out was that there were no dings or gouges in the bowl of the pipe like there was in the Premier. It was quite smooth. Underneath though there was some great looking grain peering out through the grime. The rim was really quite damaged. The outer edges of the rim were rounded over with no definition. The top of the rim had burn damage and the front of the bowl had a dip in the rim top from the burn marks. There was a light cake in the bowl and no remnants of tobacco. The tenon was broken off in the shank and there was no stem included in the Ebay purchase.
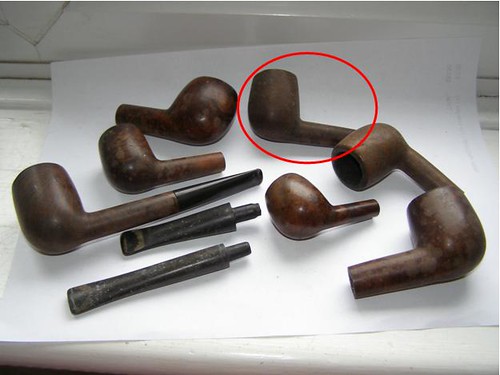
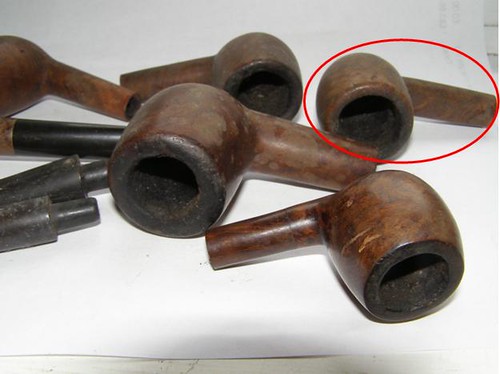
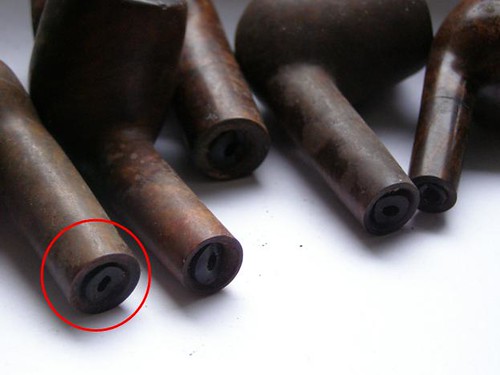
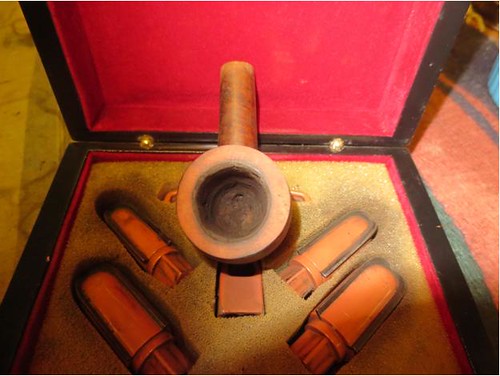
I have identified the pipe in the photos below using the red circle or oval. The last photo shows the rank of all of the broken tenons that I needed to remove.
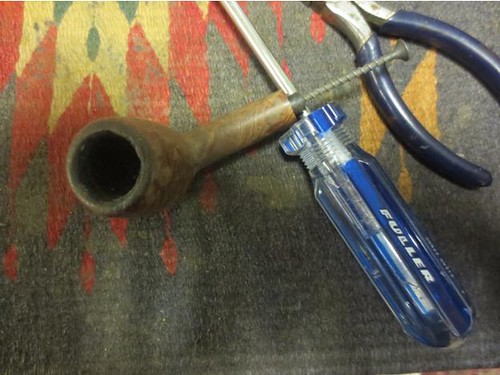
I pulled the tenon using my usual method – drywall screw, screw driver and needle nose pliers. It came out with very little effort. At that point I added to the box of bowls and continued to pull broken tenons from the rest of the pipes I bought in that purchase. I figured that one day when I had no other pipes to work on I would take this one from the box.
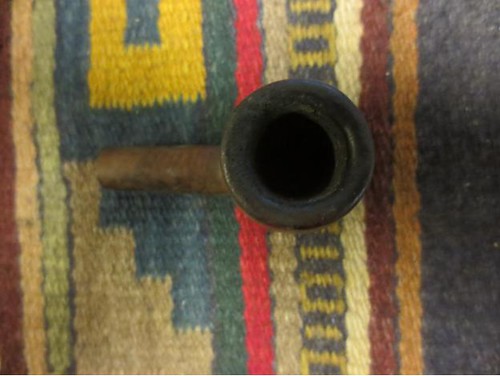
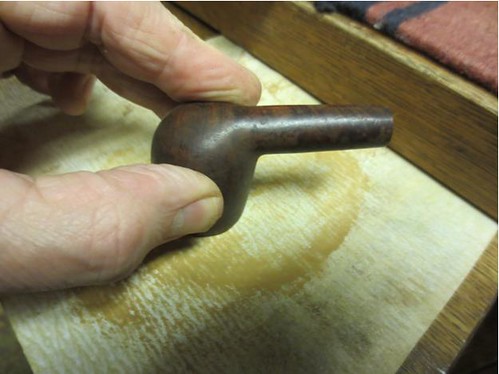
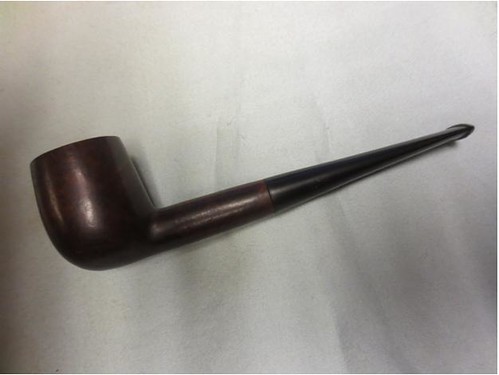
It was only when discovered that the first pipe from this lot of bowls was a GBD that I took a closer look at this one. Using a lens and a bright light to check out the shank for stamping I was amazed to find out I had another GBD stamped as I noted above. That led me to move it to the front of the queue and work on it now. I took the following photos of the pipe before working on it. There are side photos, top and bottom and then end view. The end views show the damage to the top of the rim and how the burns have removed a lot of briar.


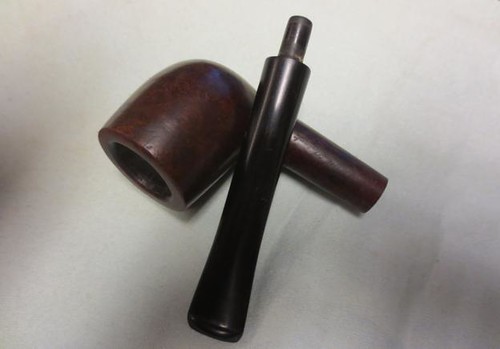
I went through my can of stems and found one that worked well with the pipe. It was a little larger in diameter than the shank. There is a slight narrowing of the shank at the joint of the stem and shank. With a slight adjustment to the tenon the fit was snug.

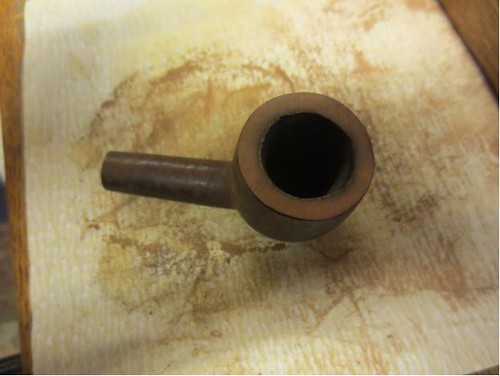
I set up the topping board and topped the bowl. The sandpaper I used is 220 grit. The second photo shows the top view after I had started the topping.
I removed the excess vulcanite from the diameter at the shank with a Dremel and sanding drum.
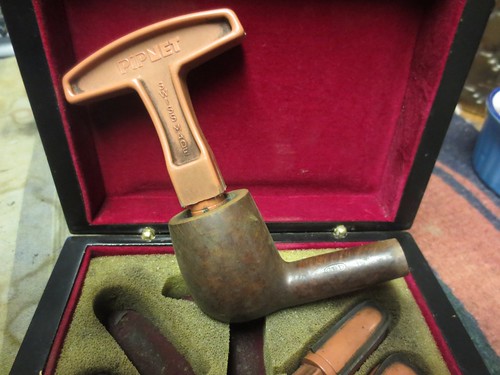
Lots of sanding remained but the fit to the shank was very close. I reamed the bowl with the PipNet reamer. I took it back to bare briar.
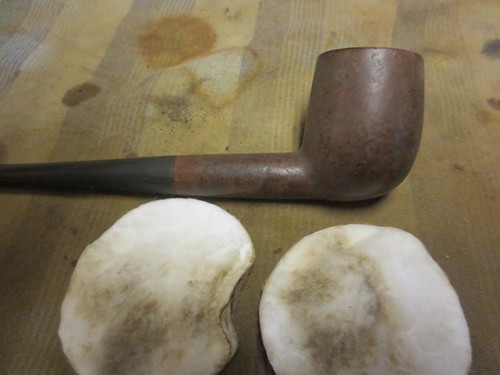
I scrubbed the bowl down with acetone on a cotton pad to remove the finish..
I cleaned the shank and stem with pipe cleaners, cotton swabs and alcohol to remove all of the tars and oils.

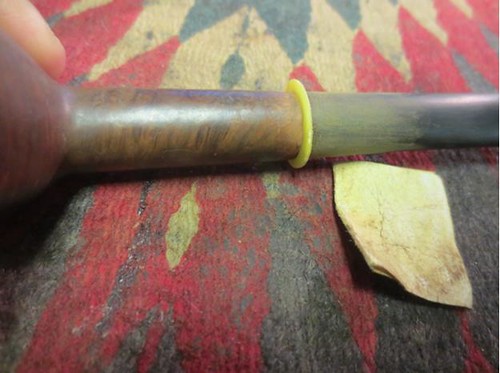
I sanded the stem with a plastic washer between the shank and the stem. I used that to not damage the shank further and do more tapering to the shank.
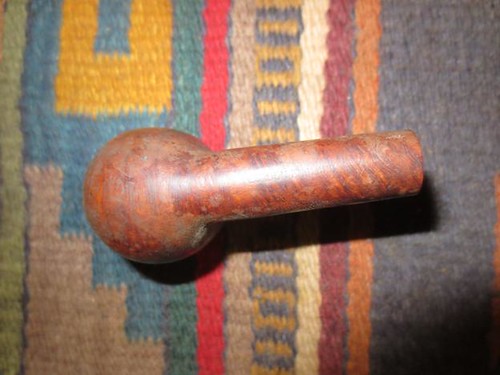
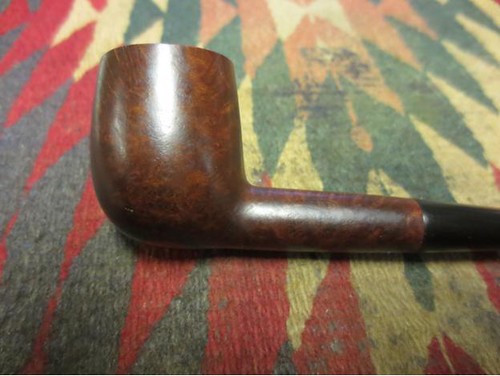
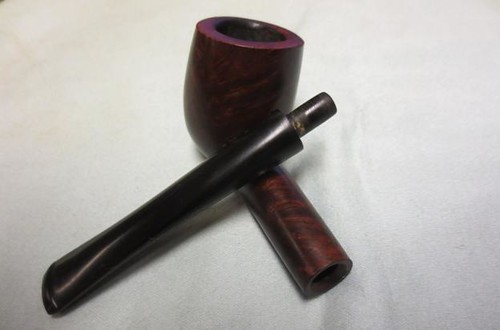
I gave the bowl a light coat of olive oil and hand buffed it to see what kind of grain I was going to get. I still needed to work on the stem diameter and the scratching on the bowl but it was going to be a beautiful pipe.
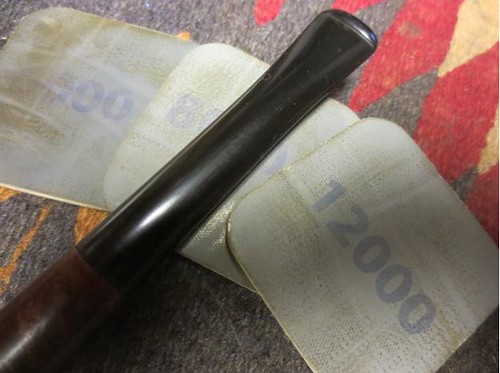
I worked on the stem with micromesh sanding pads. I wet sanded with 1500-2400 grit pads and then rubbed it down with Obsidian Oil. I dry sanded with 3200-4000 grit pads and gave it another rub down with oil. I finished with 6000-12000 grit pads and gave it a final coat of Obsidian Oil. I set it aside to dry.

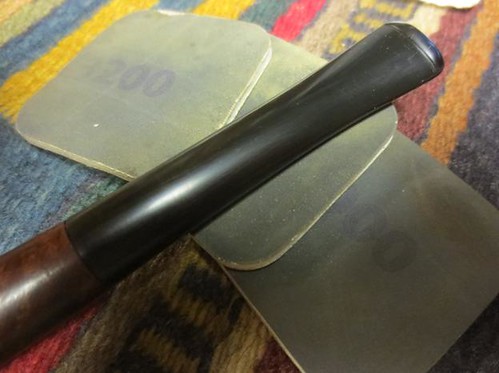
I buffed the bowl and stem with Blue Diamond on the wheel and then gave both multiple coats of carnauba wax. I finished buffing with a clean flannel buff and then with a microfibre cloth. The finished pipe is shown below. Thanks Charles for the invite to post a blog here. It is great to be able to share with your readers.


Reblogged this on rebornpipes and commented:
Charles and I are guest blogging on each others sites this weekend. If you haven’t yet, wander over the DadsPipes to read the full post!
LikeLike
Charles, Al, Nice blog trade fellas! Great restore on the GBD! I really like the brand and this is a nice representation.
LikeLike