
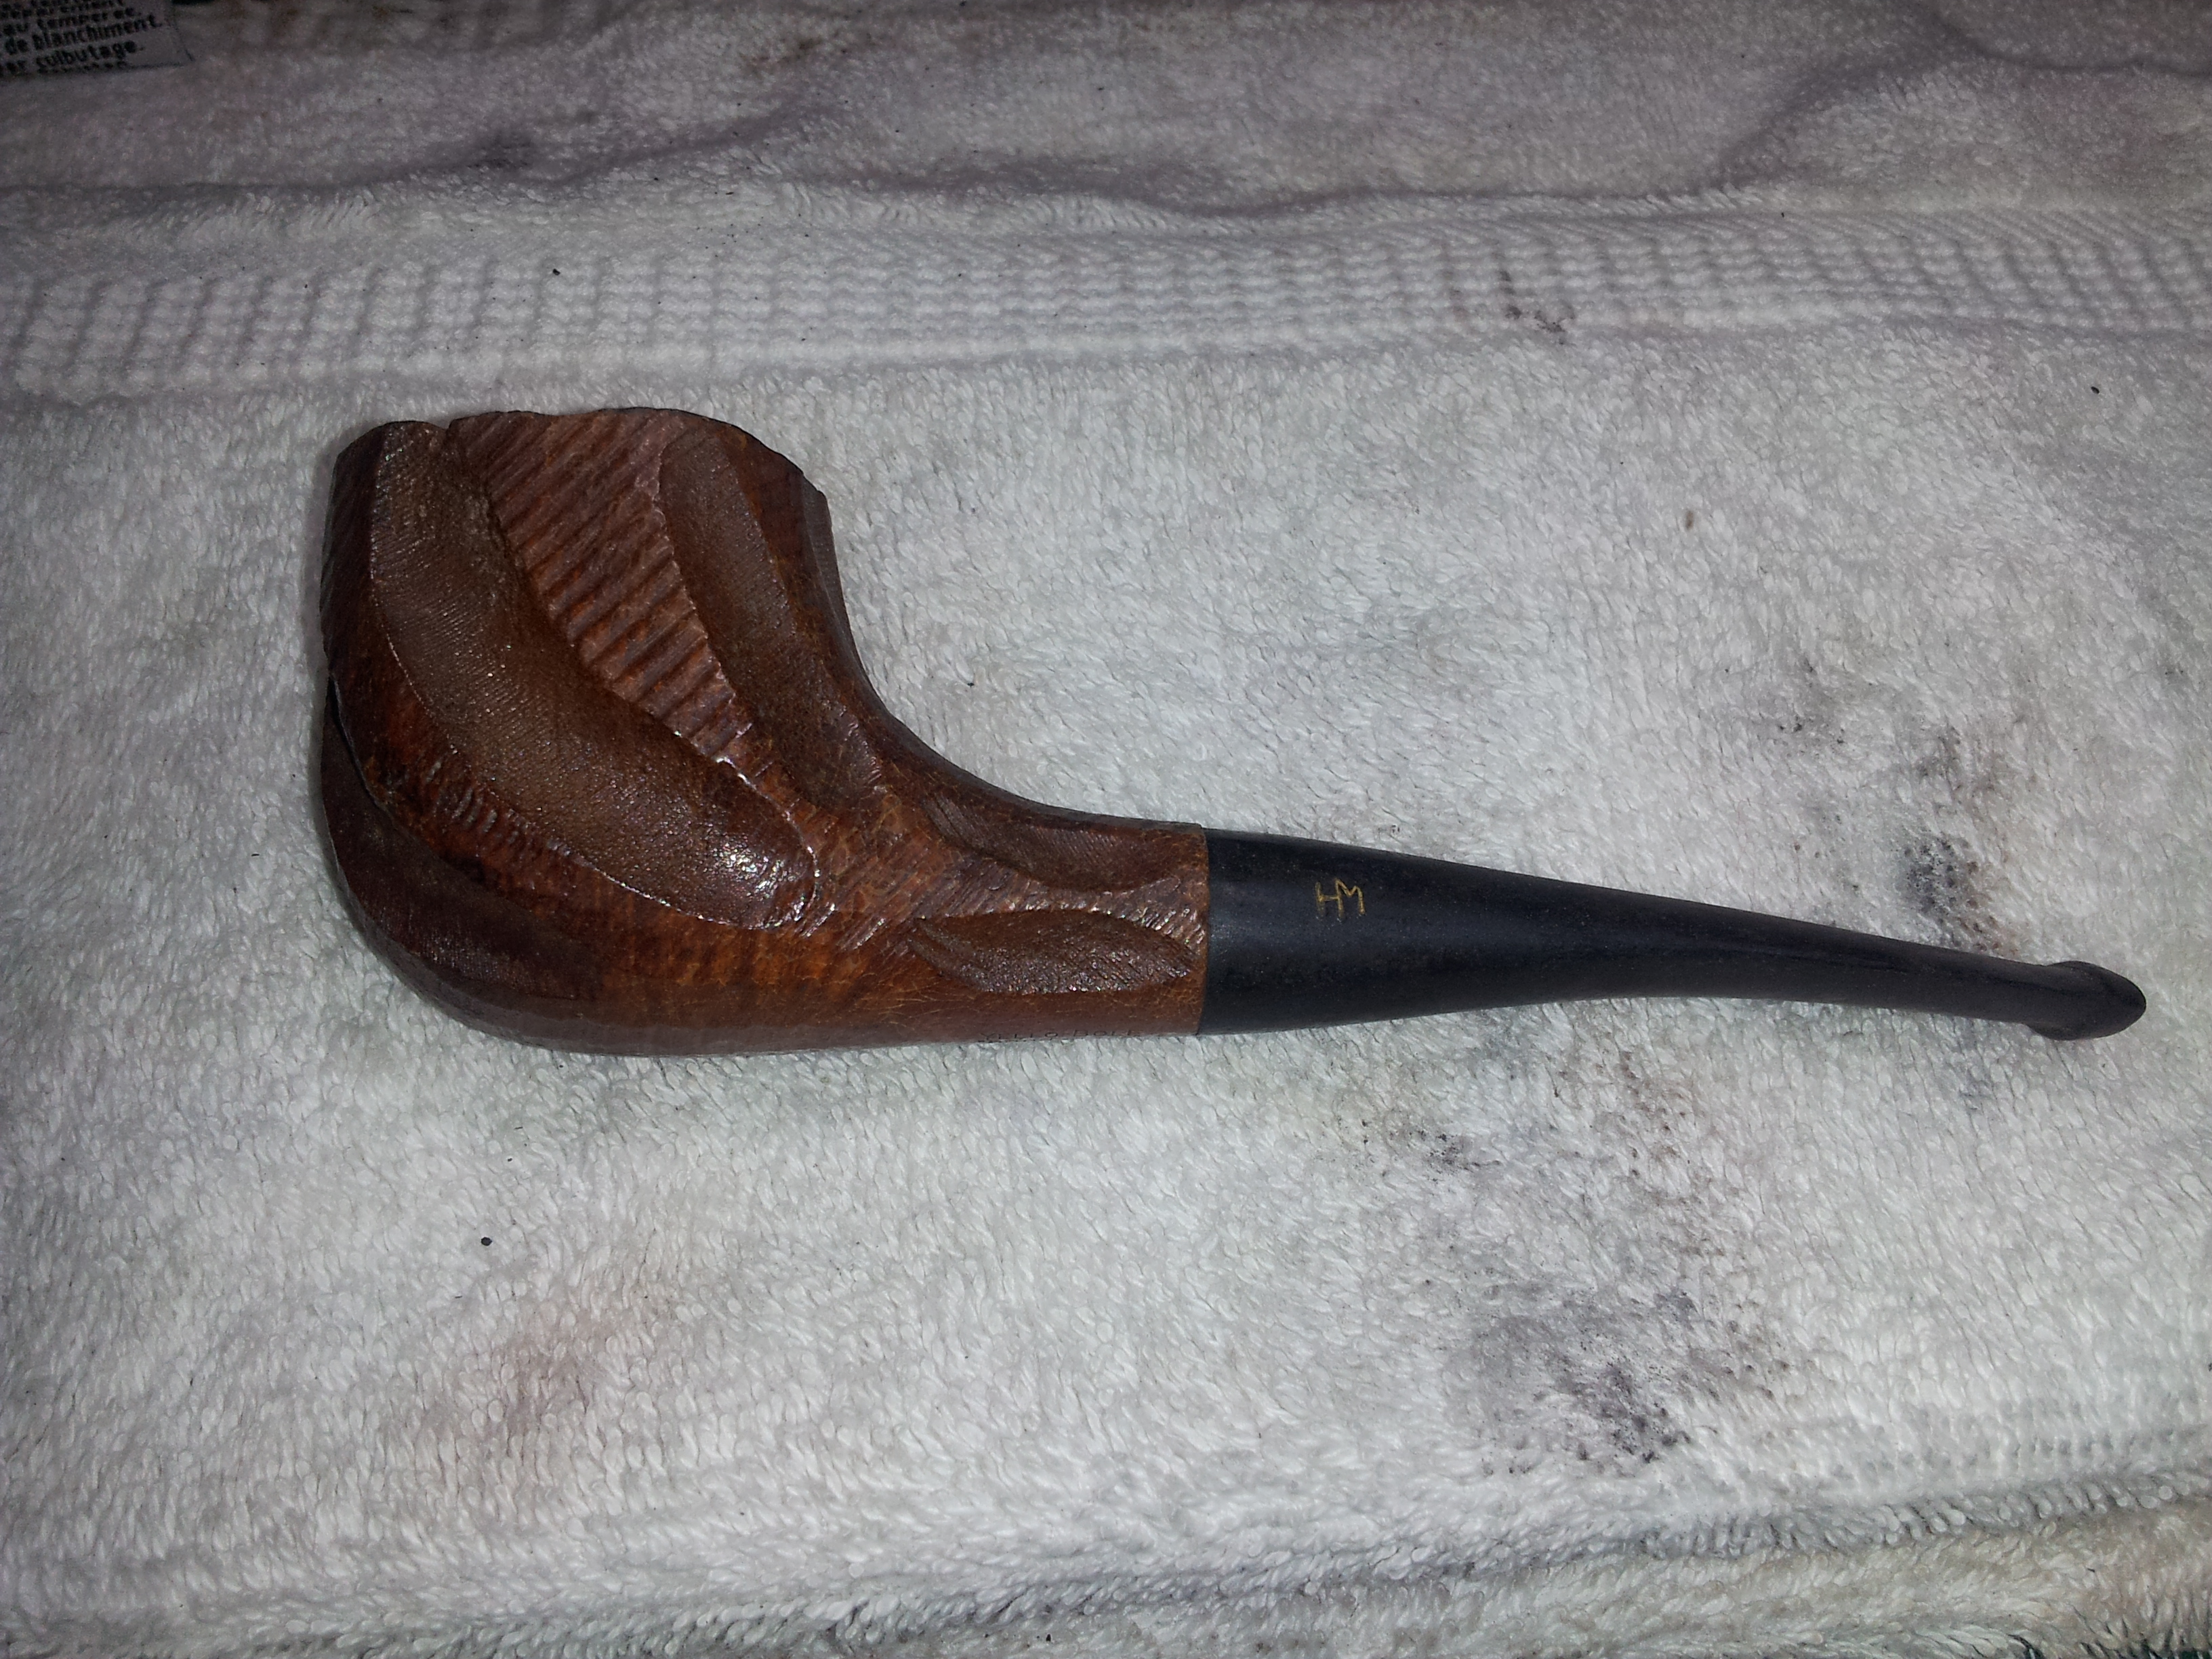
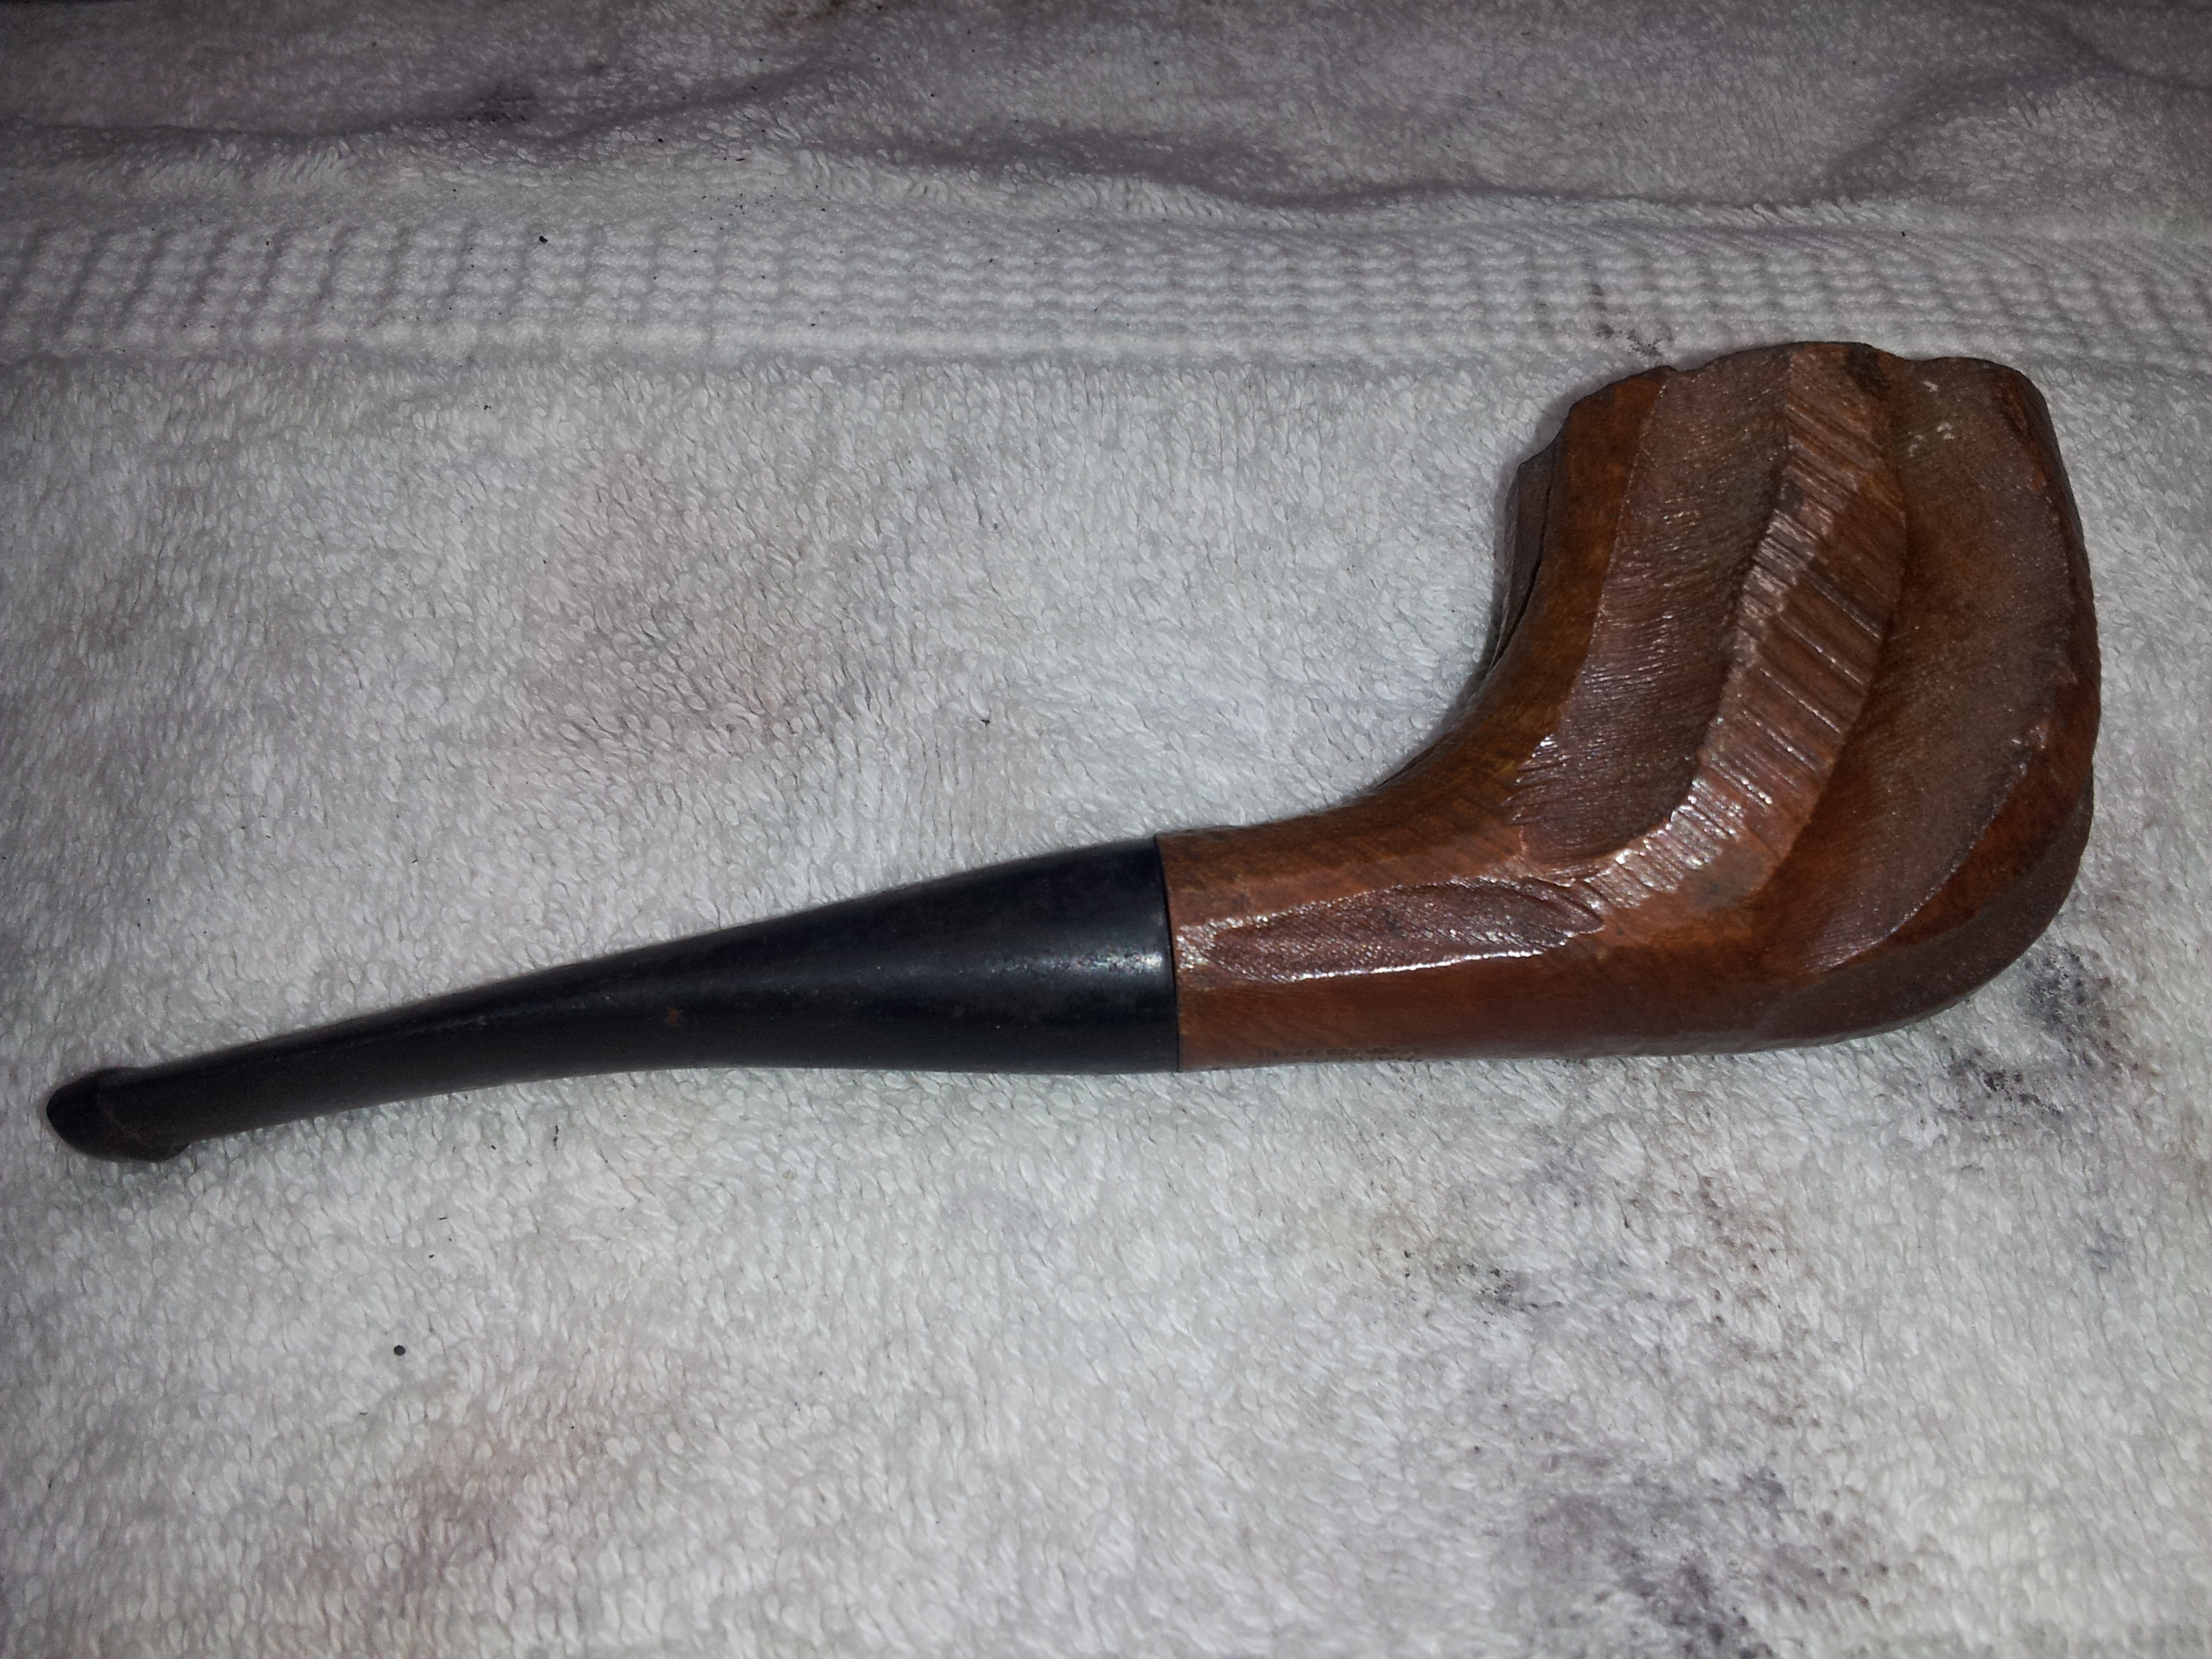
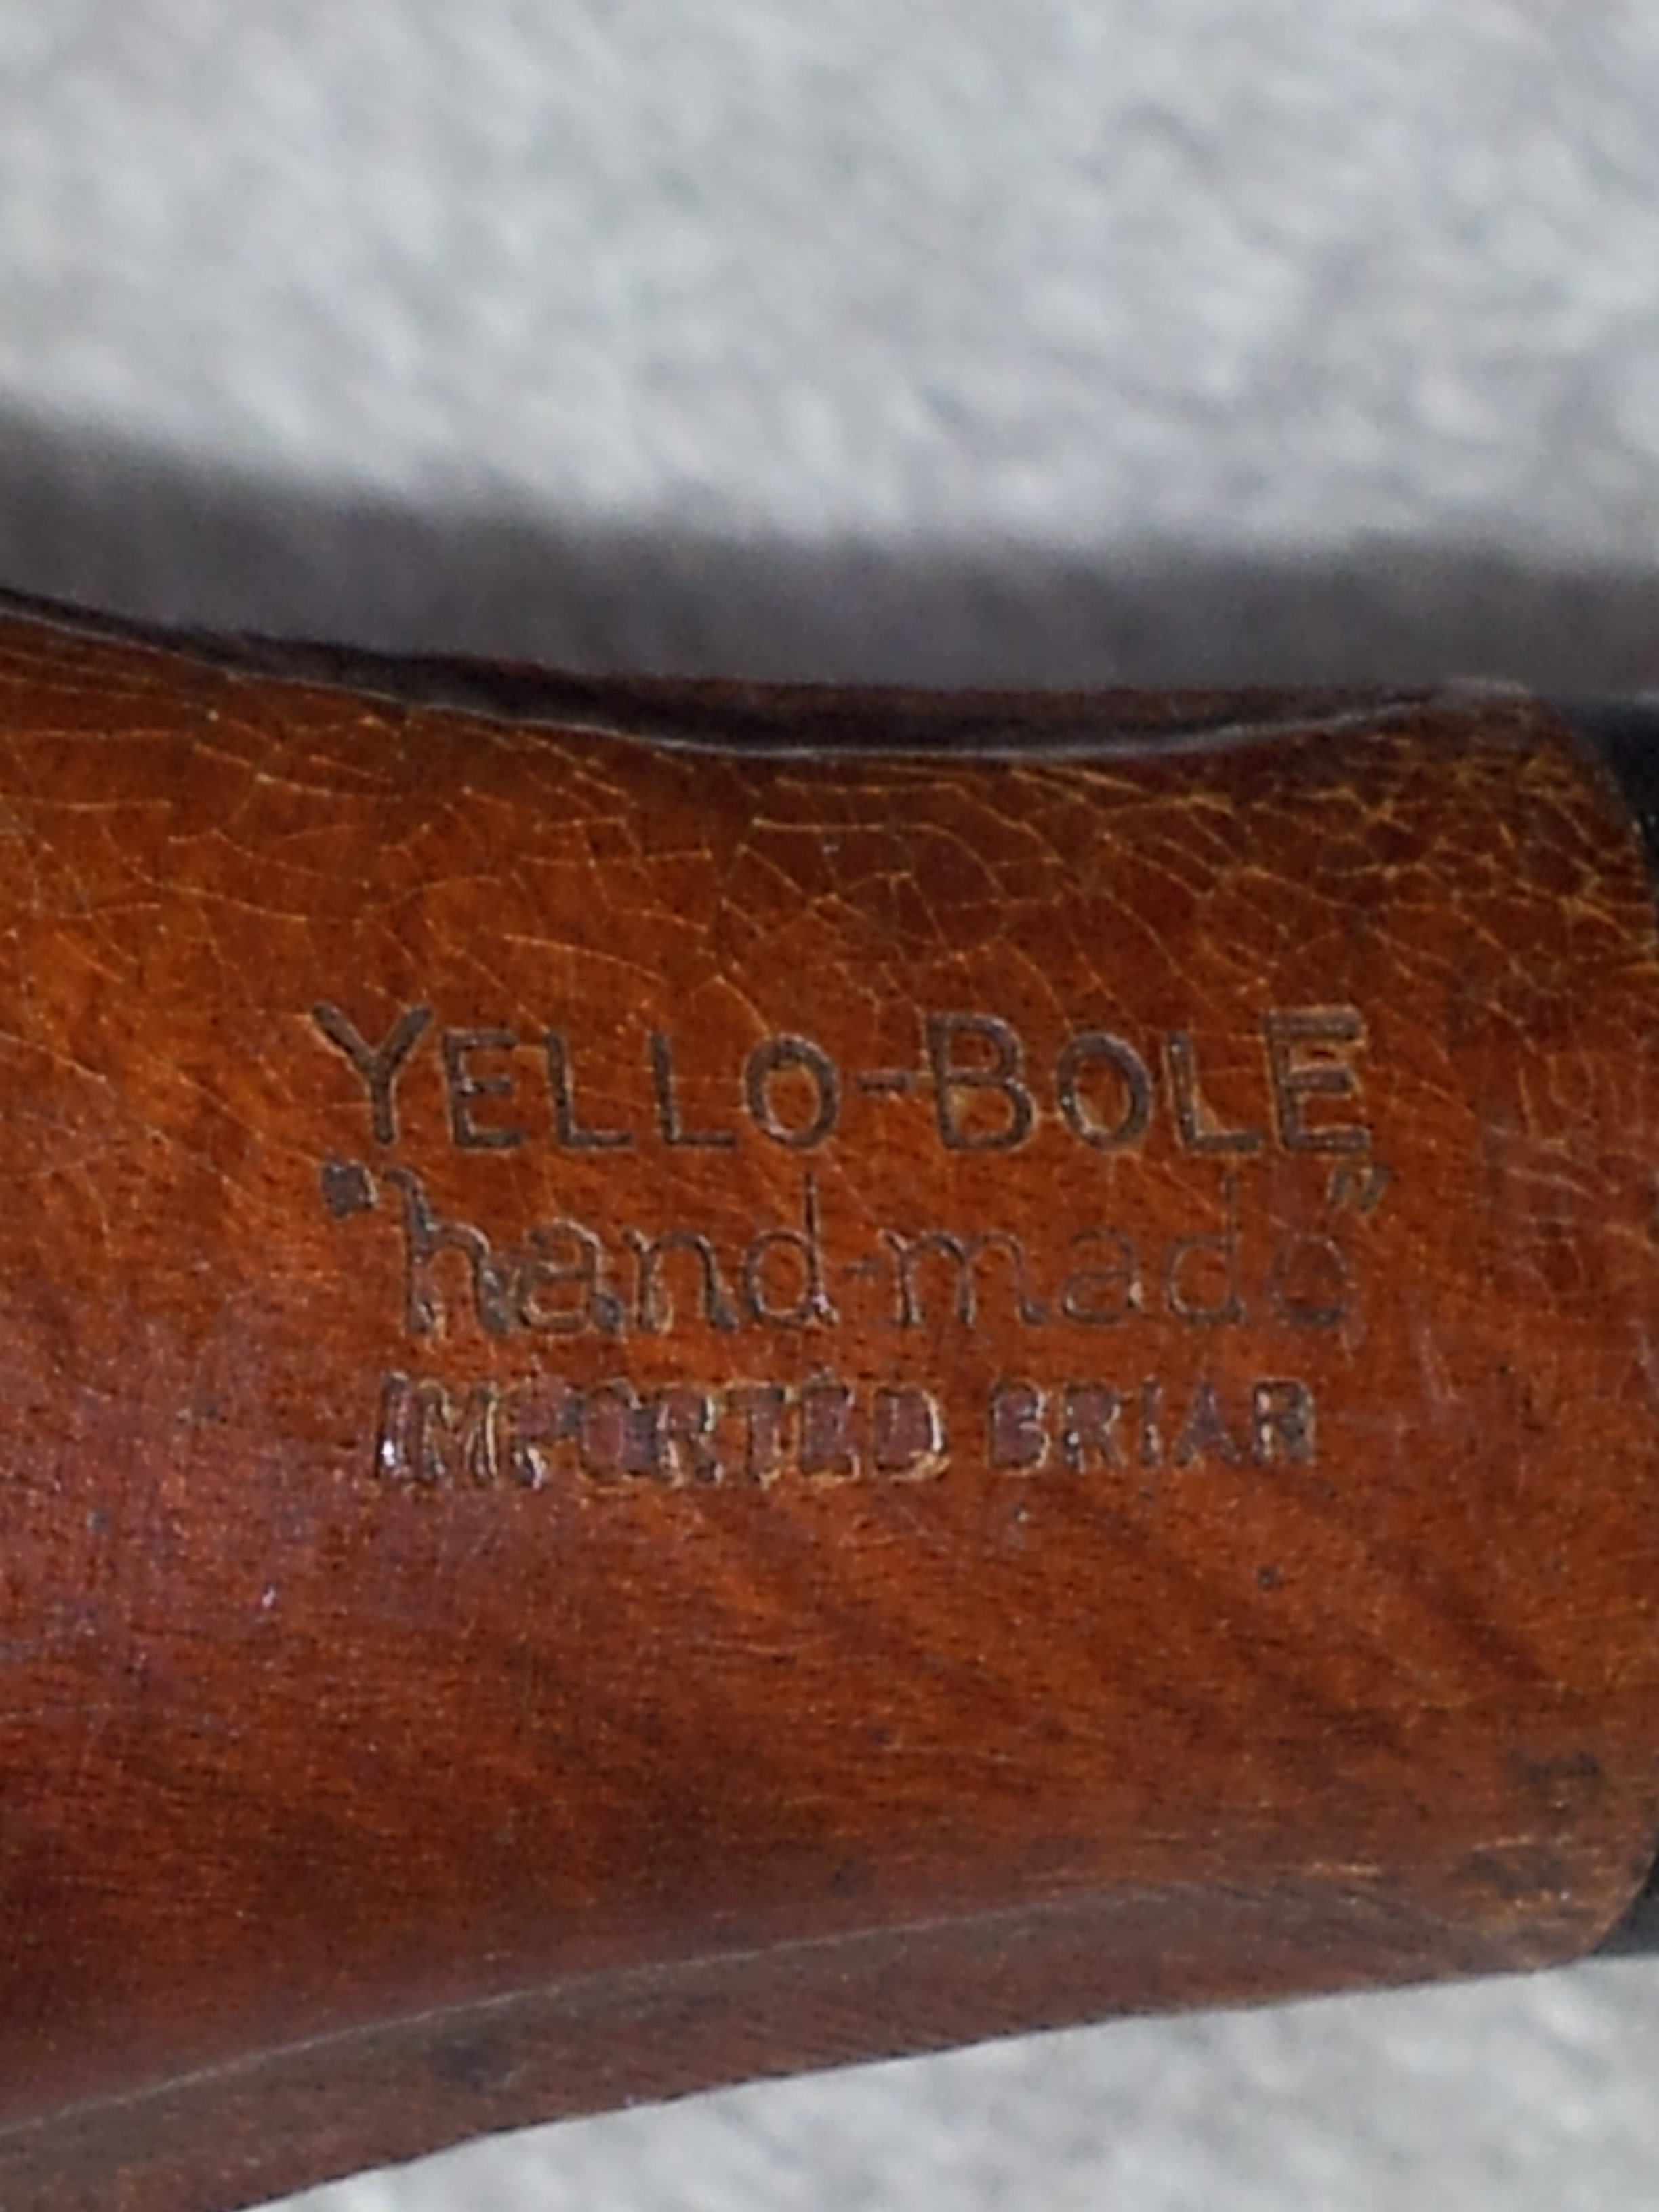
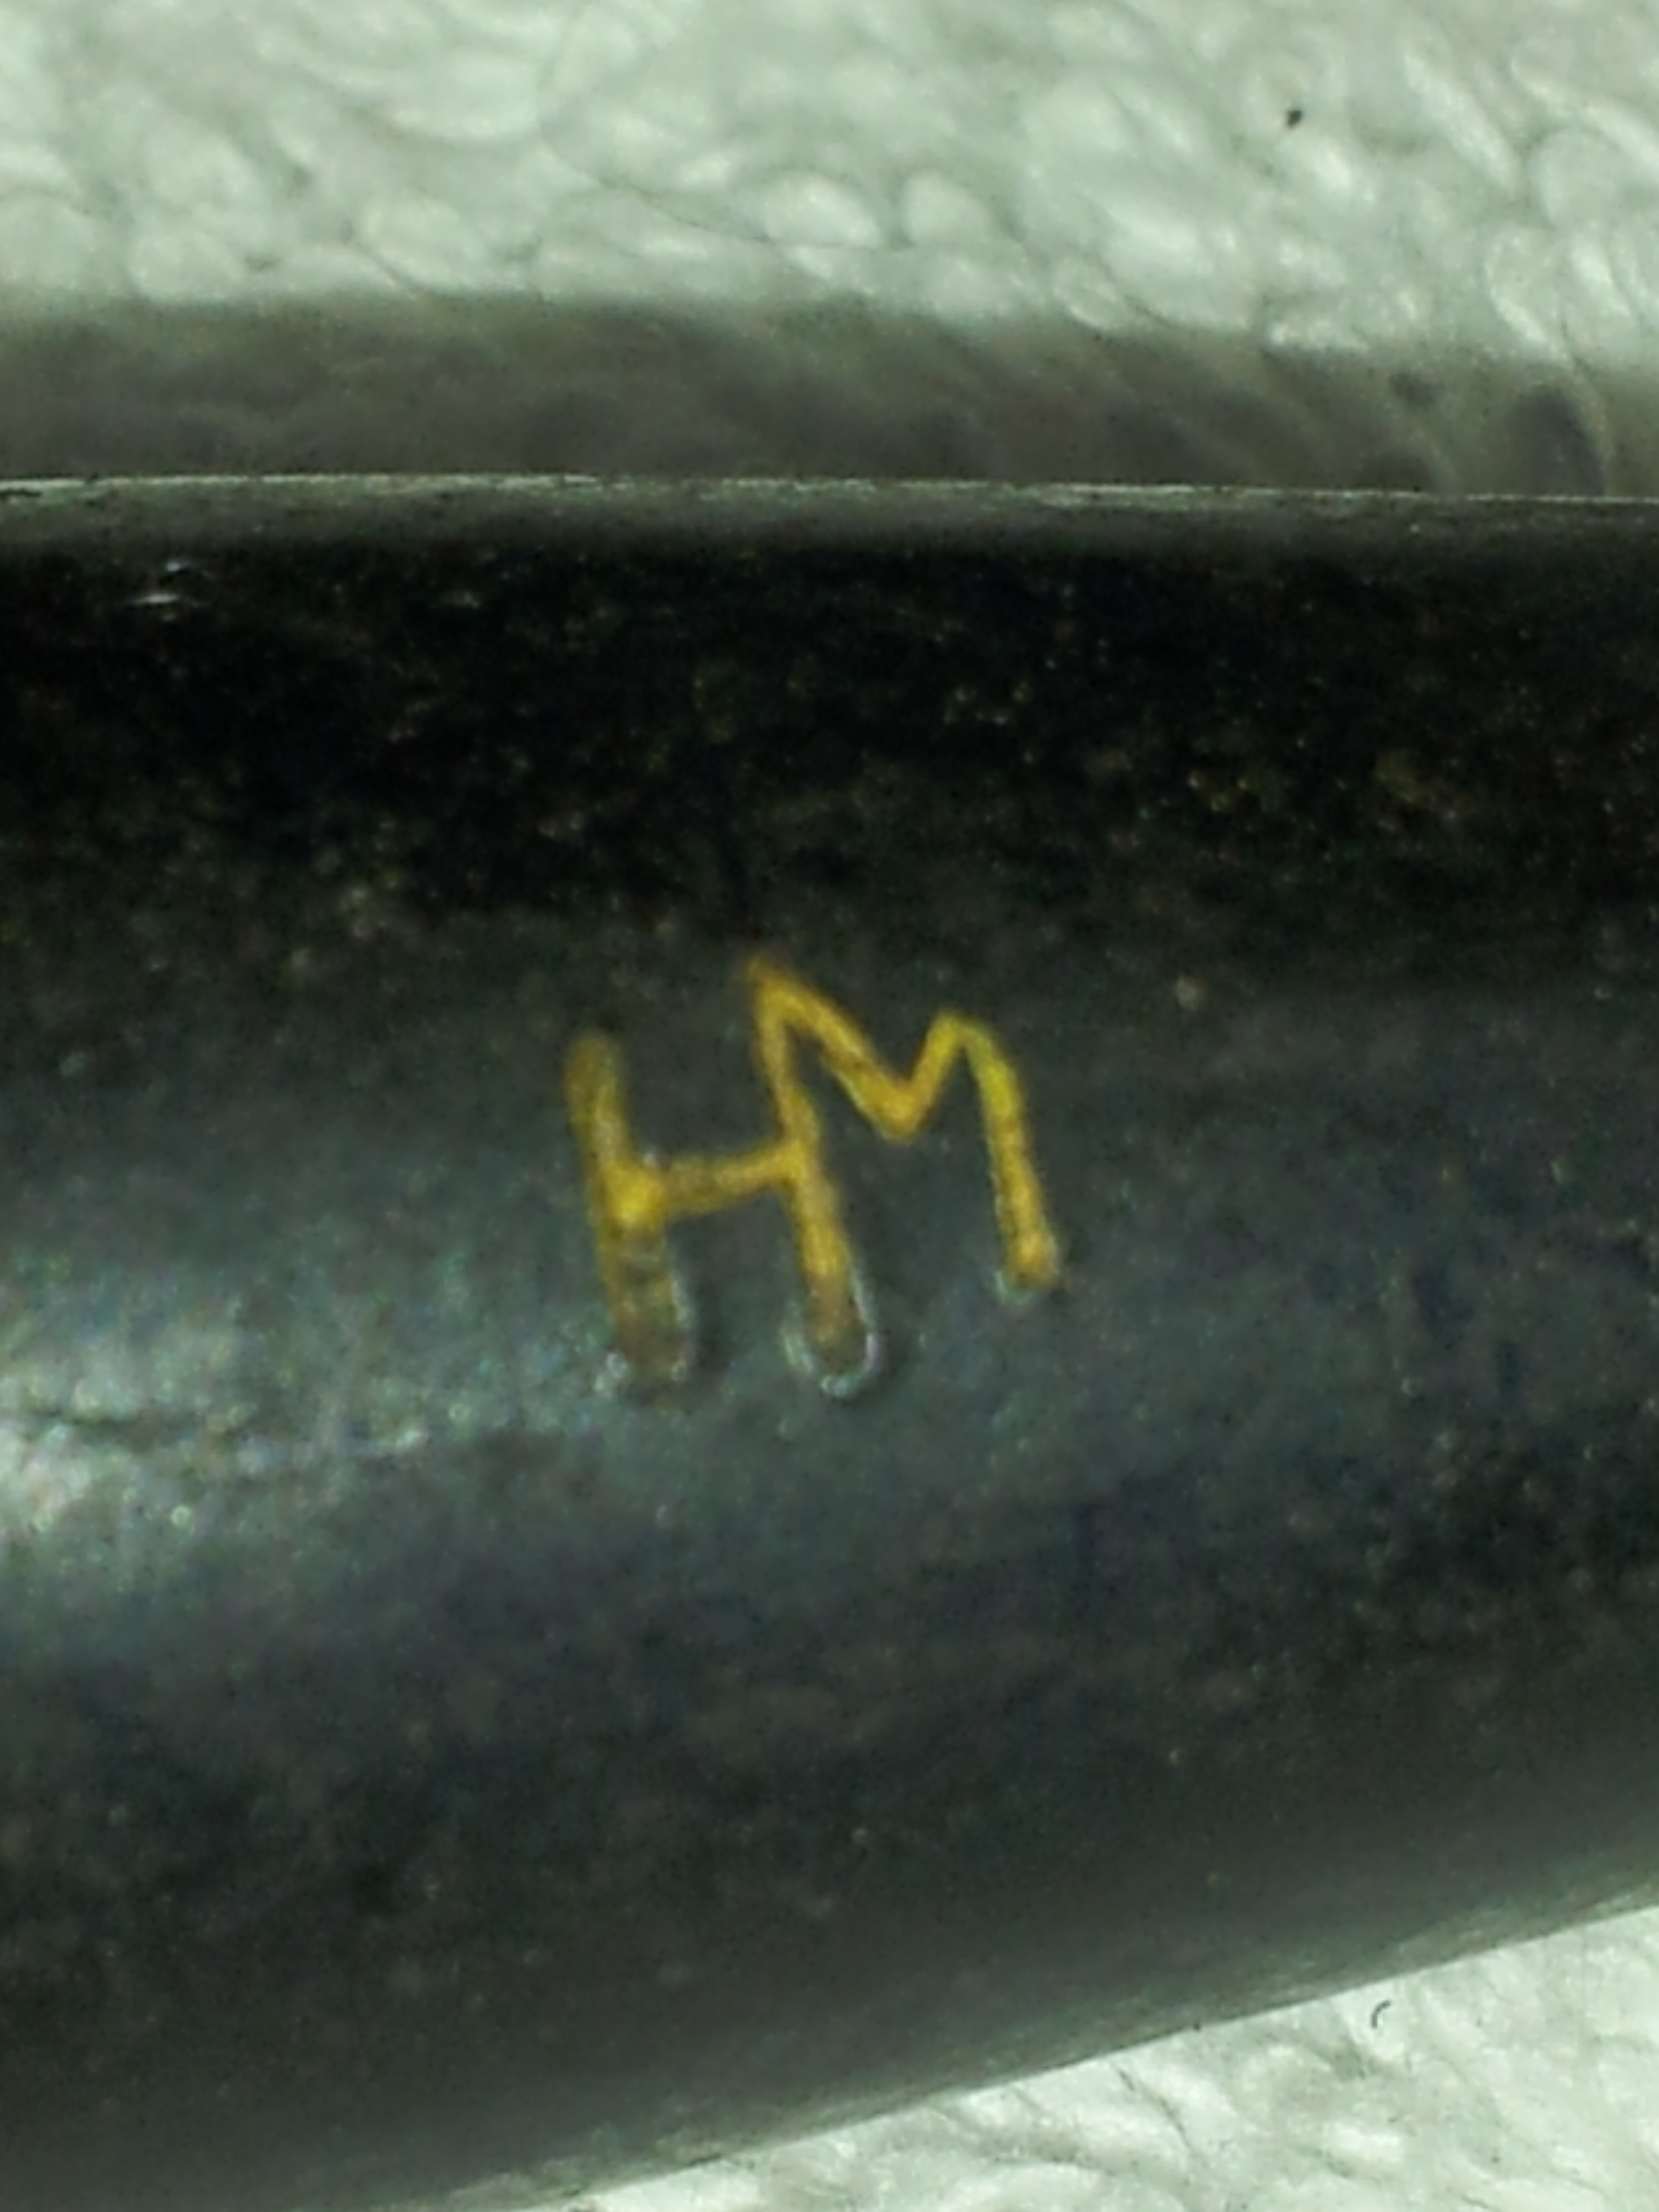
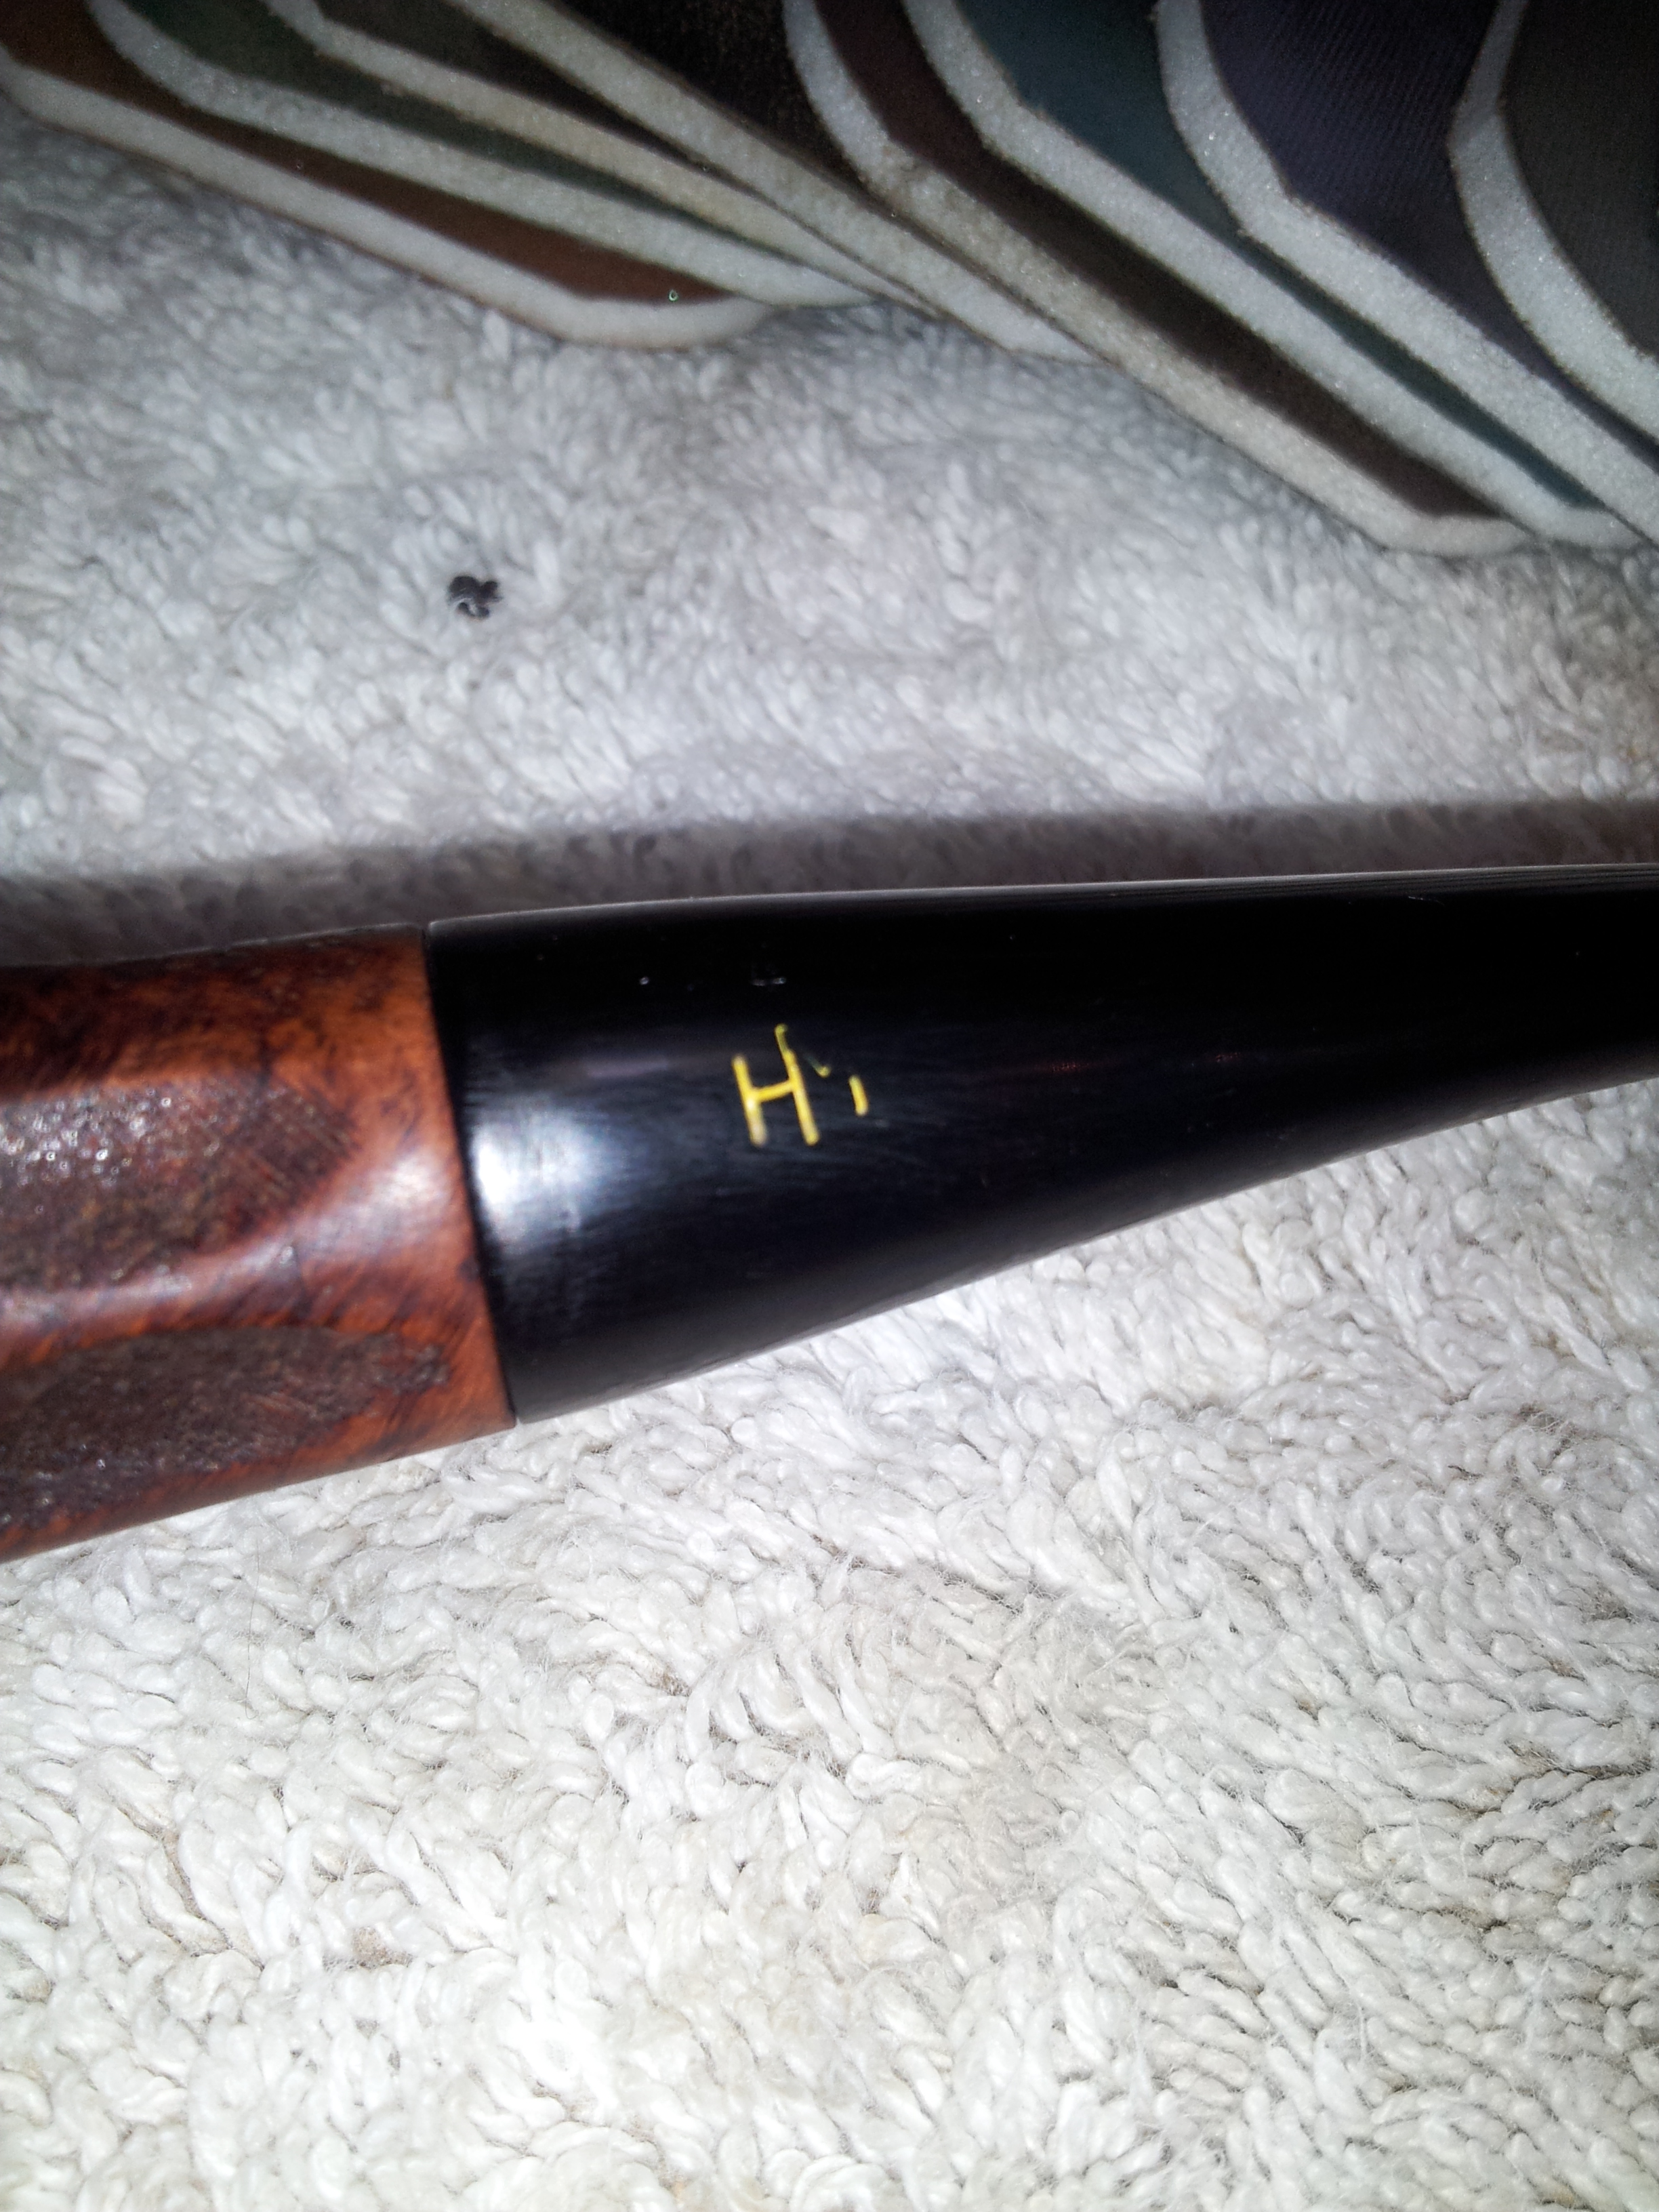
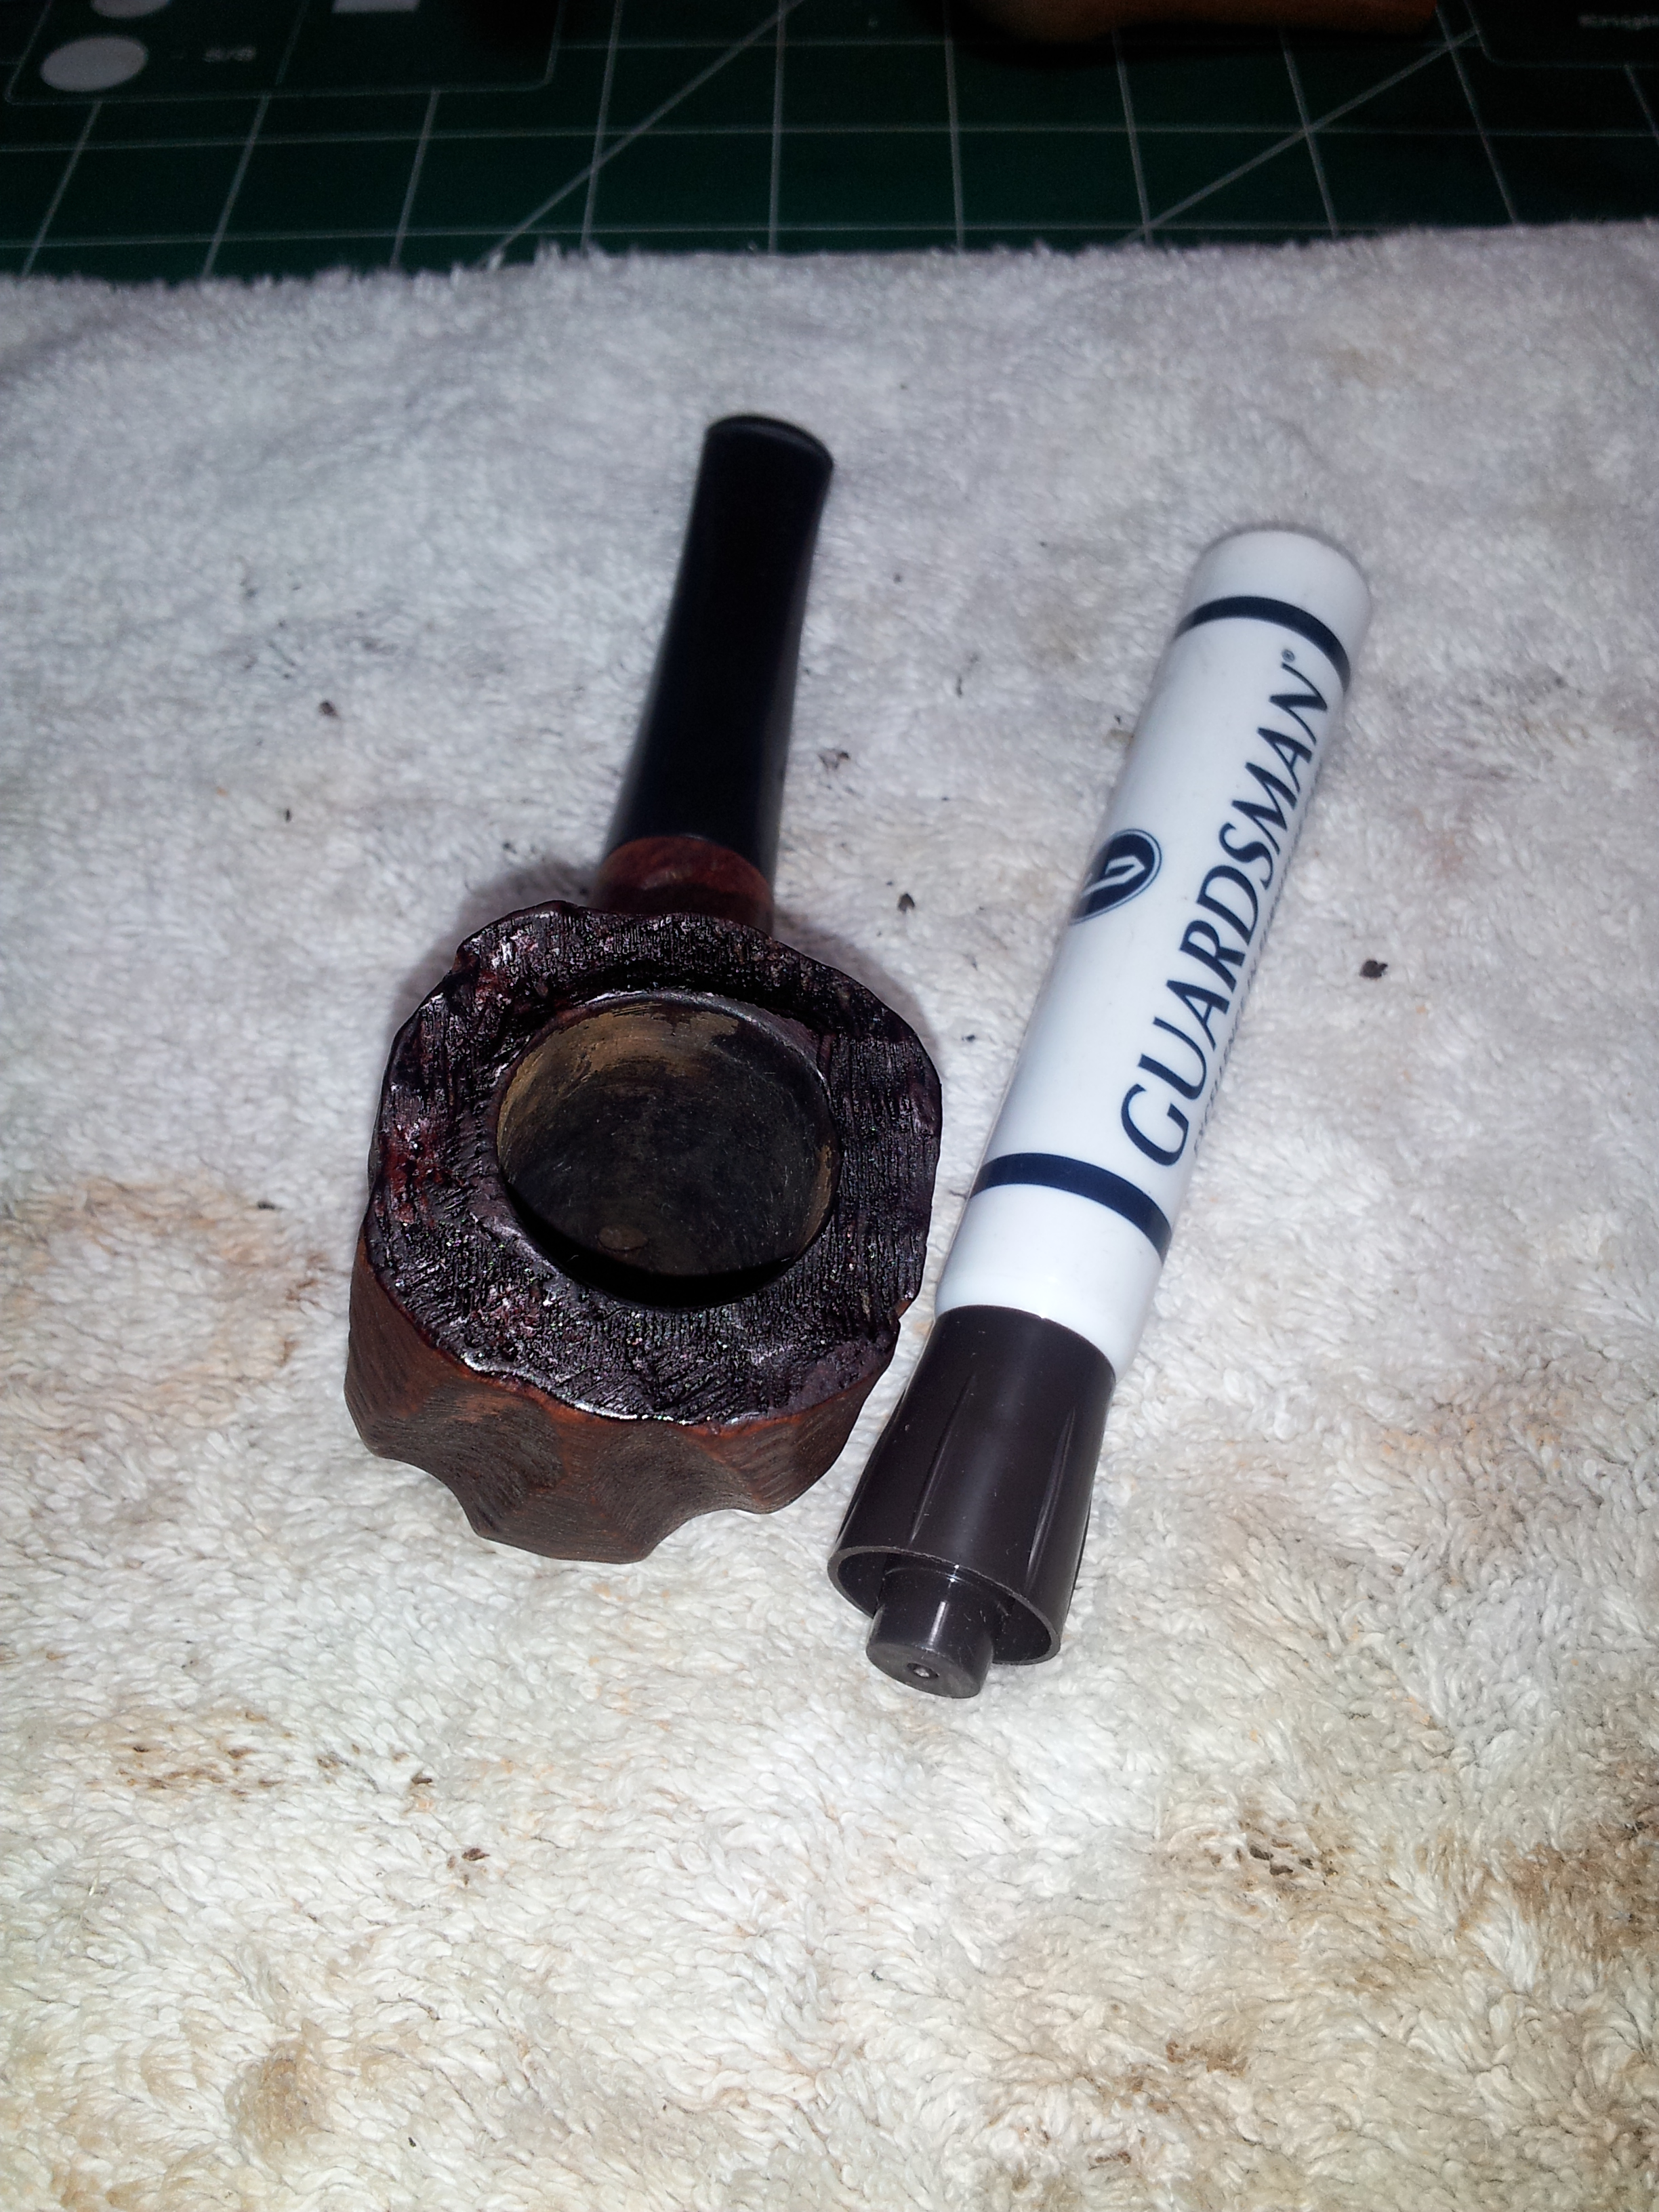
Several recent posts on RebornPipes and PipesRevival about CustomBilt pipes reminded me that I had a very similar pipe in my refurb box waiting for my attention. I found the pipe, but when I looked at the stampings, I discovered that it was not a CustomBilt at all; rather, it was stamped “Yello-Bole” over ‘“hand made”’ over “Imported Briar”. The stem was also stamped with “HM”. If the stampings weren’t enough to establish the pipe’s provenance, patches of the original yellow bowl lining were clearly visible in the tobacco chamber.
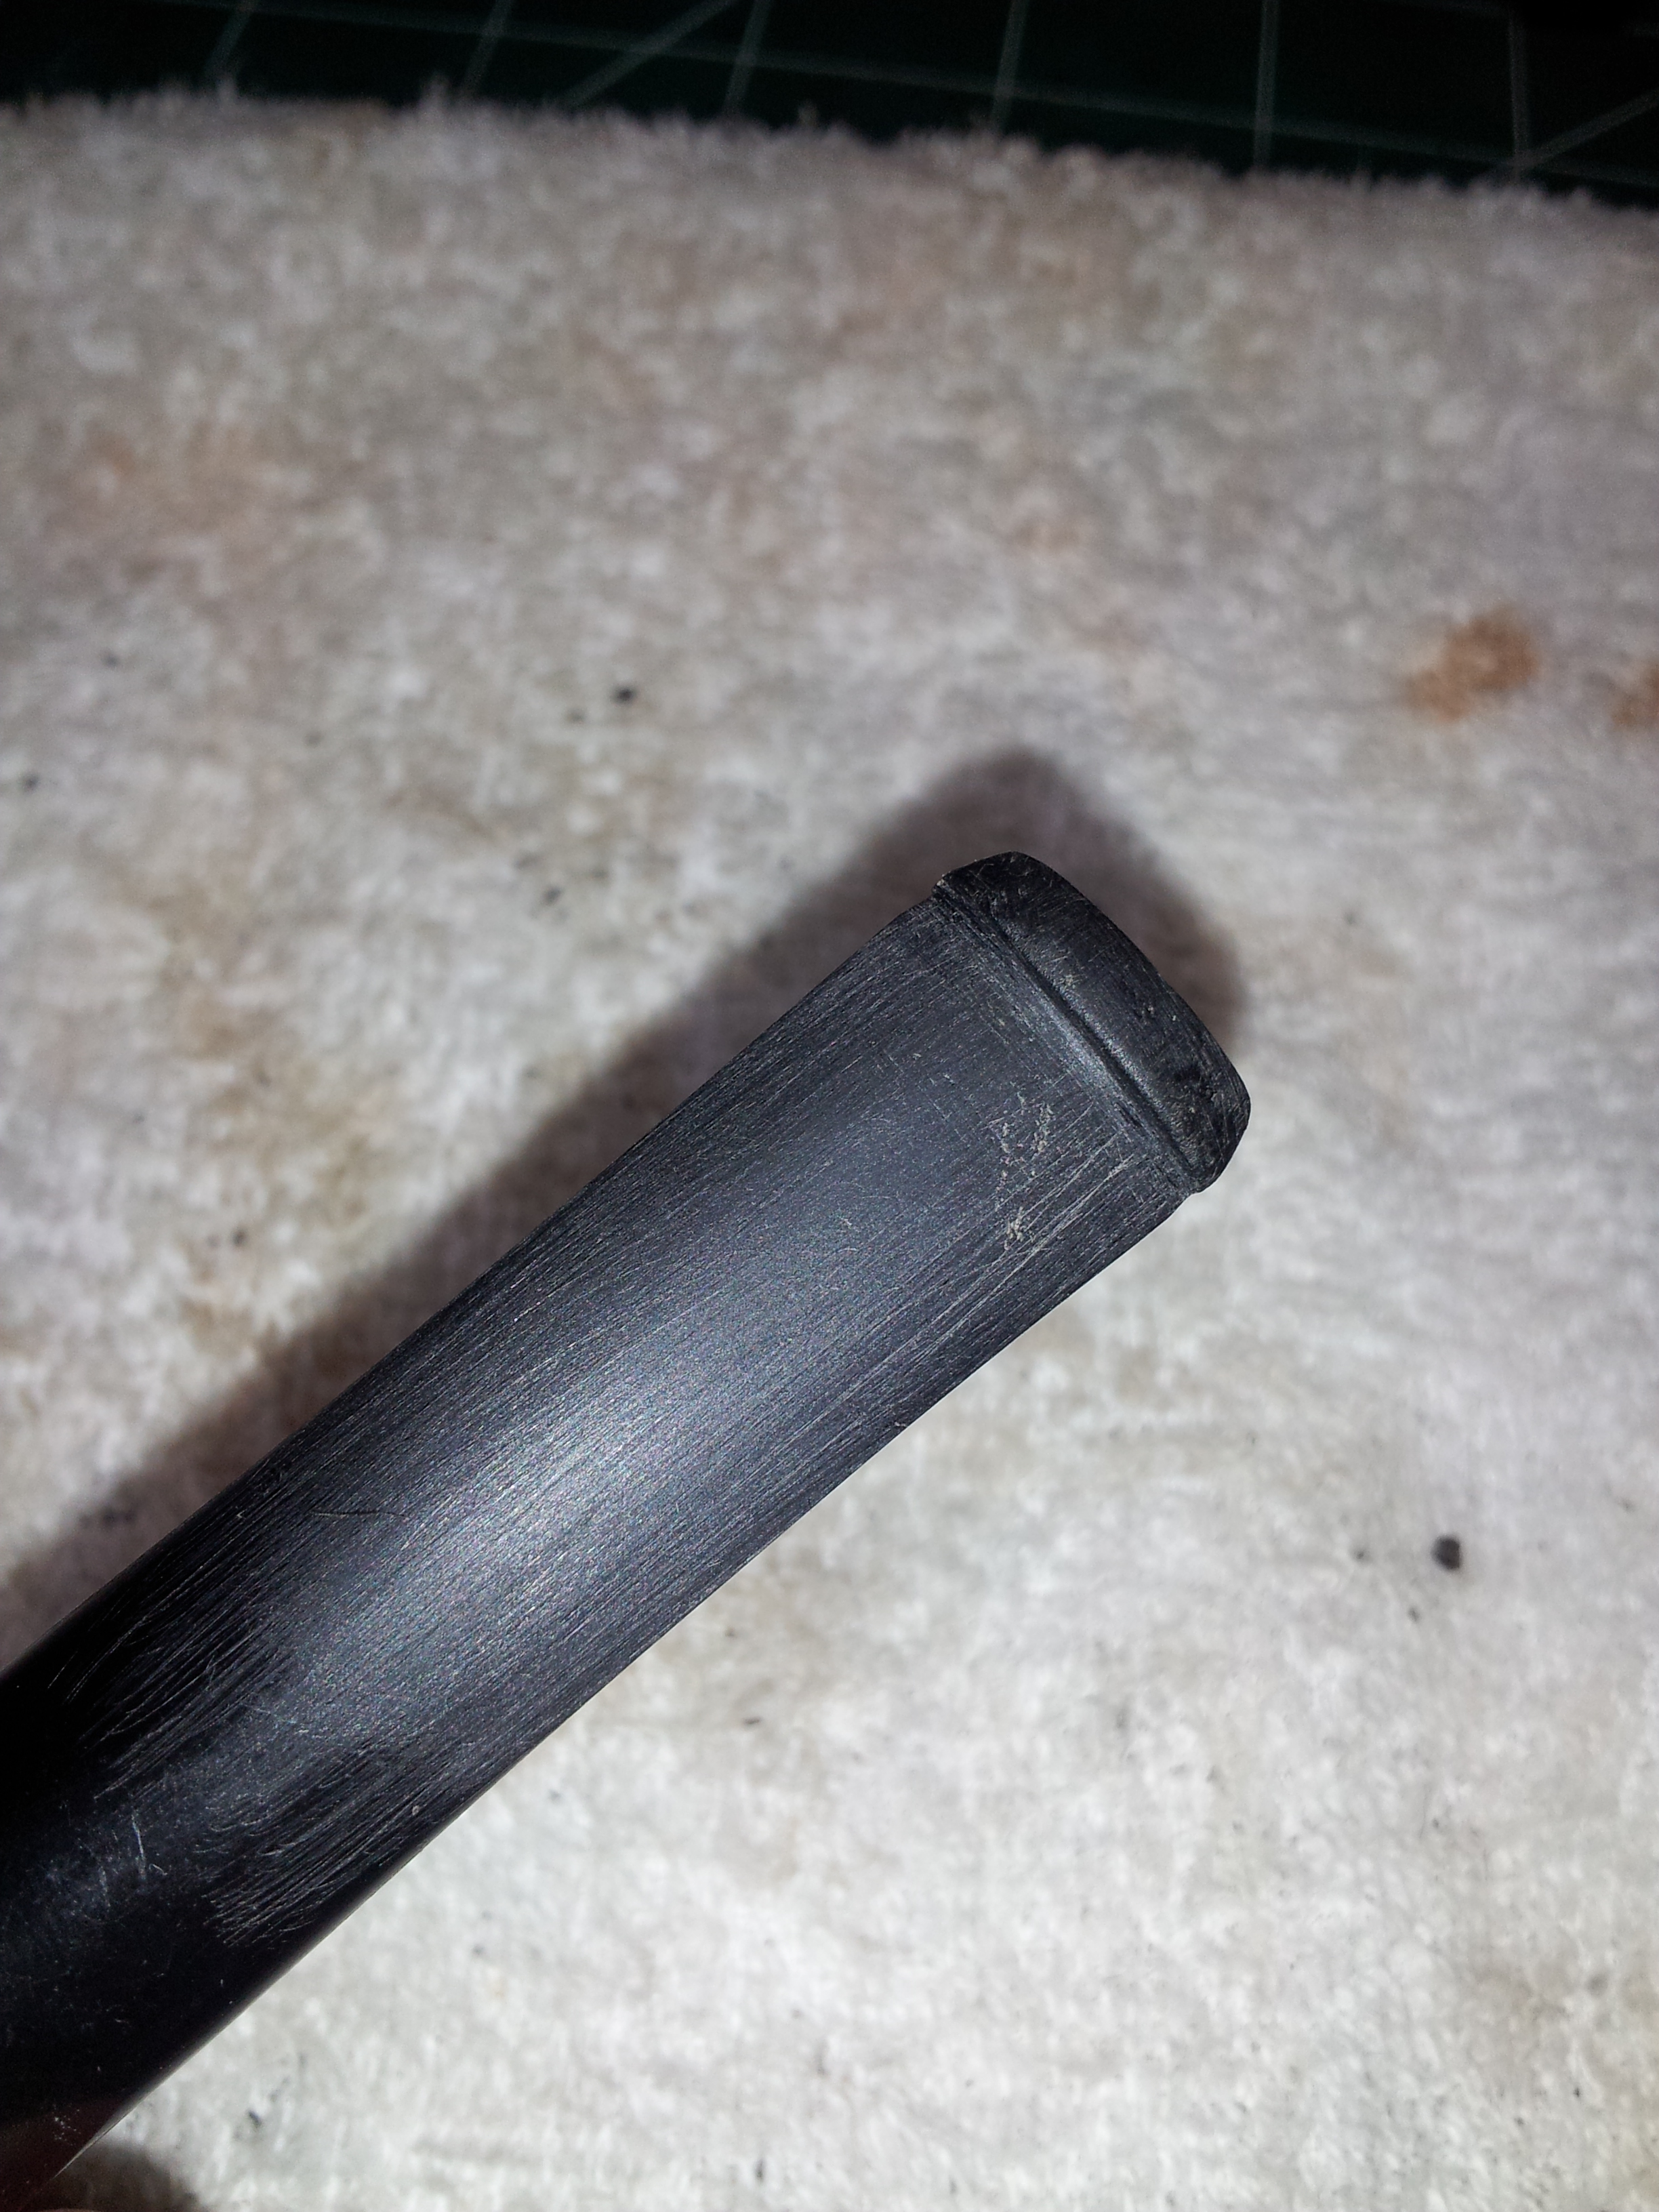
The pipe was in decent, if dirty, condition when it arrived. The stem had a fair amount of chatter in the bite area, but no oxidation. For those of you who have been following my blog for a bit now, you’ll recognize the lack of oxidation as a fair indicator of a nylon or nylon composite stem. Test an inconspicuous part of the stem to make sure (alcohol will soften/melt nylon stems) or just play it safe and clean the stem with Oxyclean, dish soap, vinegar or lemon juice.
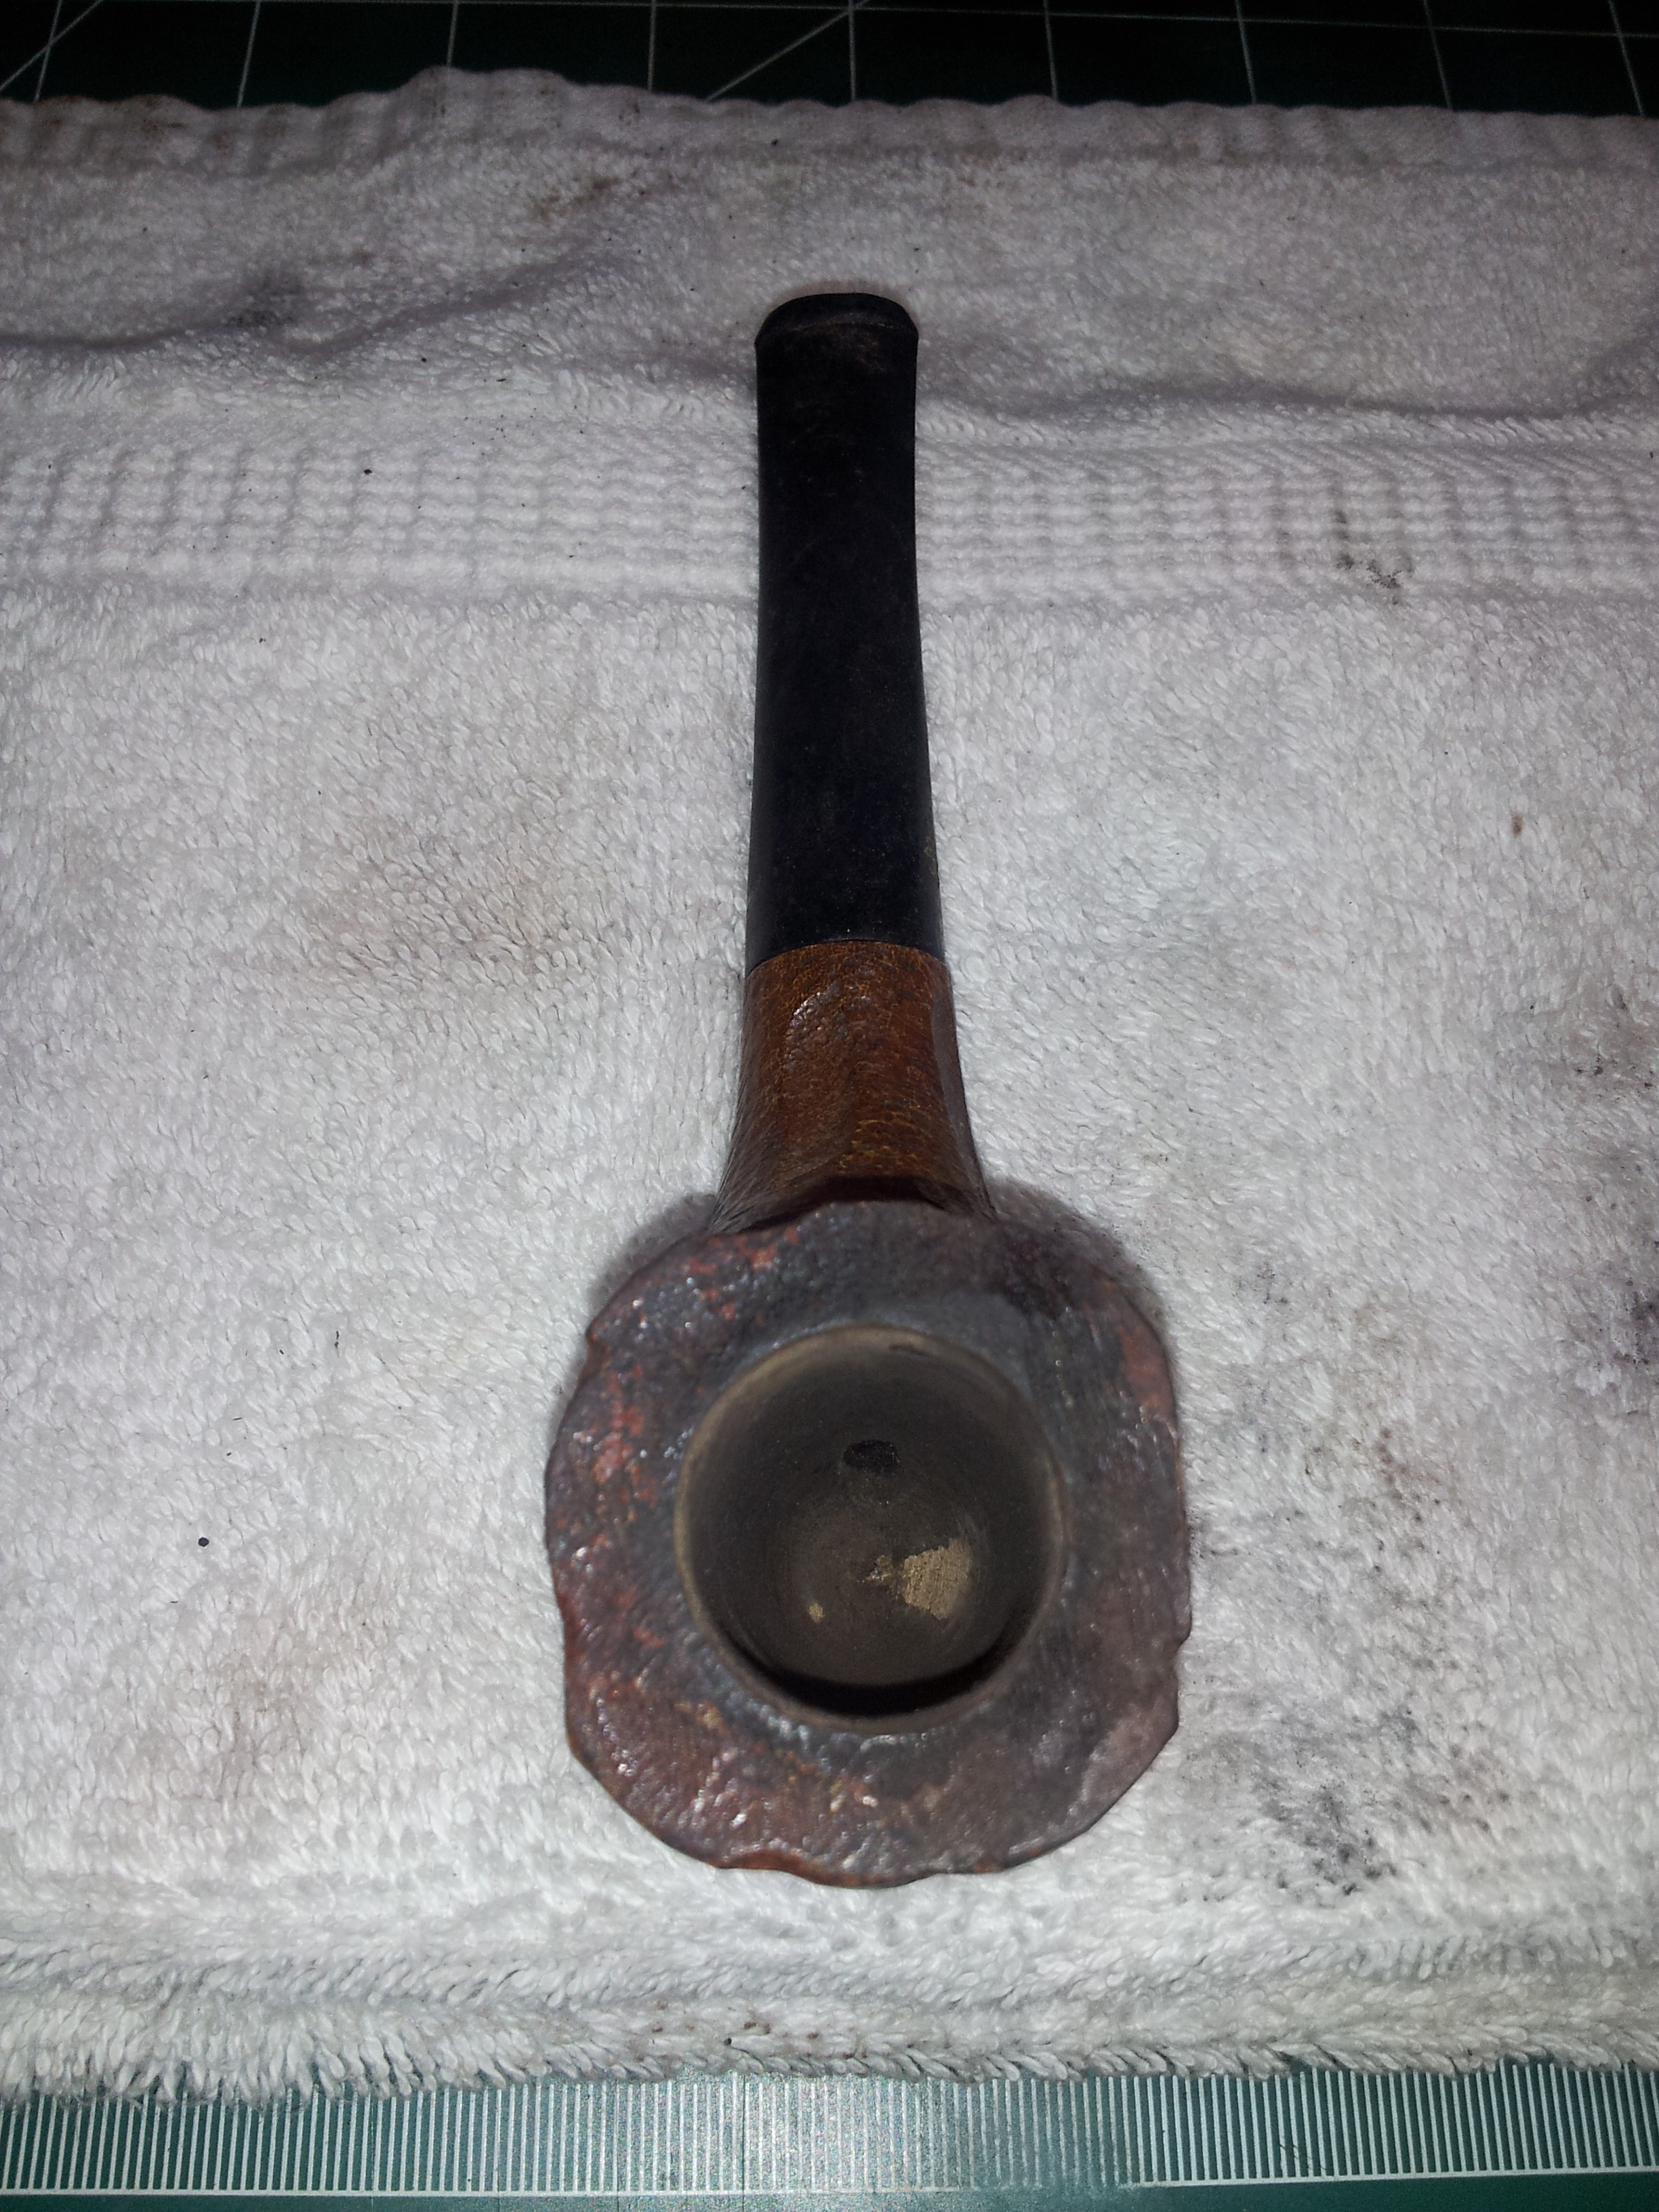

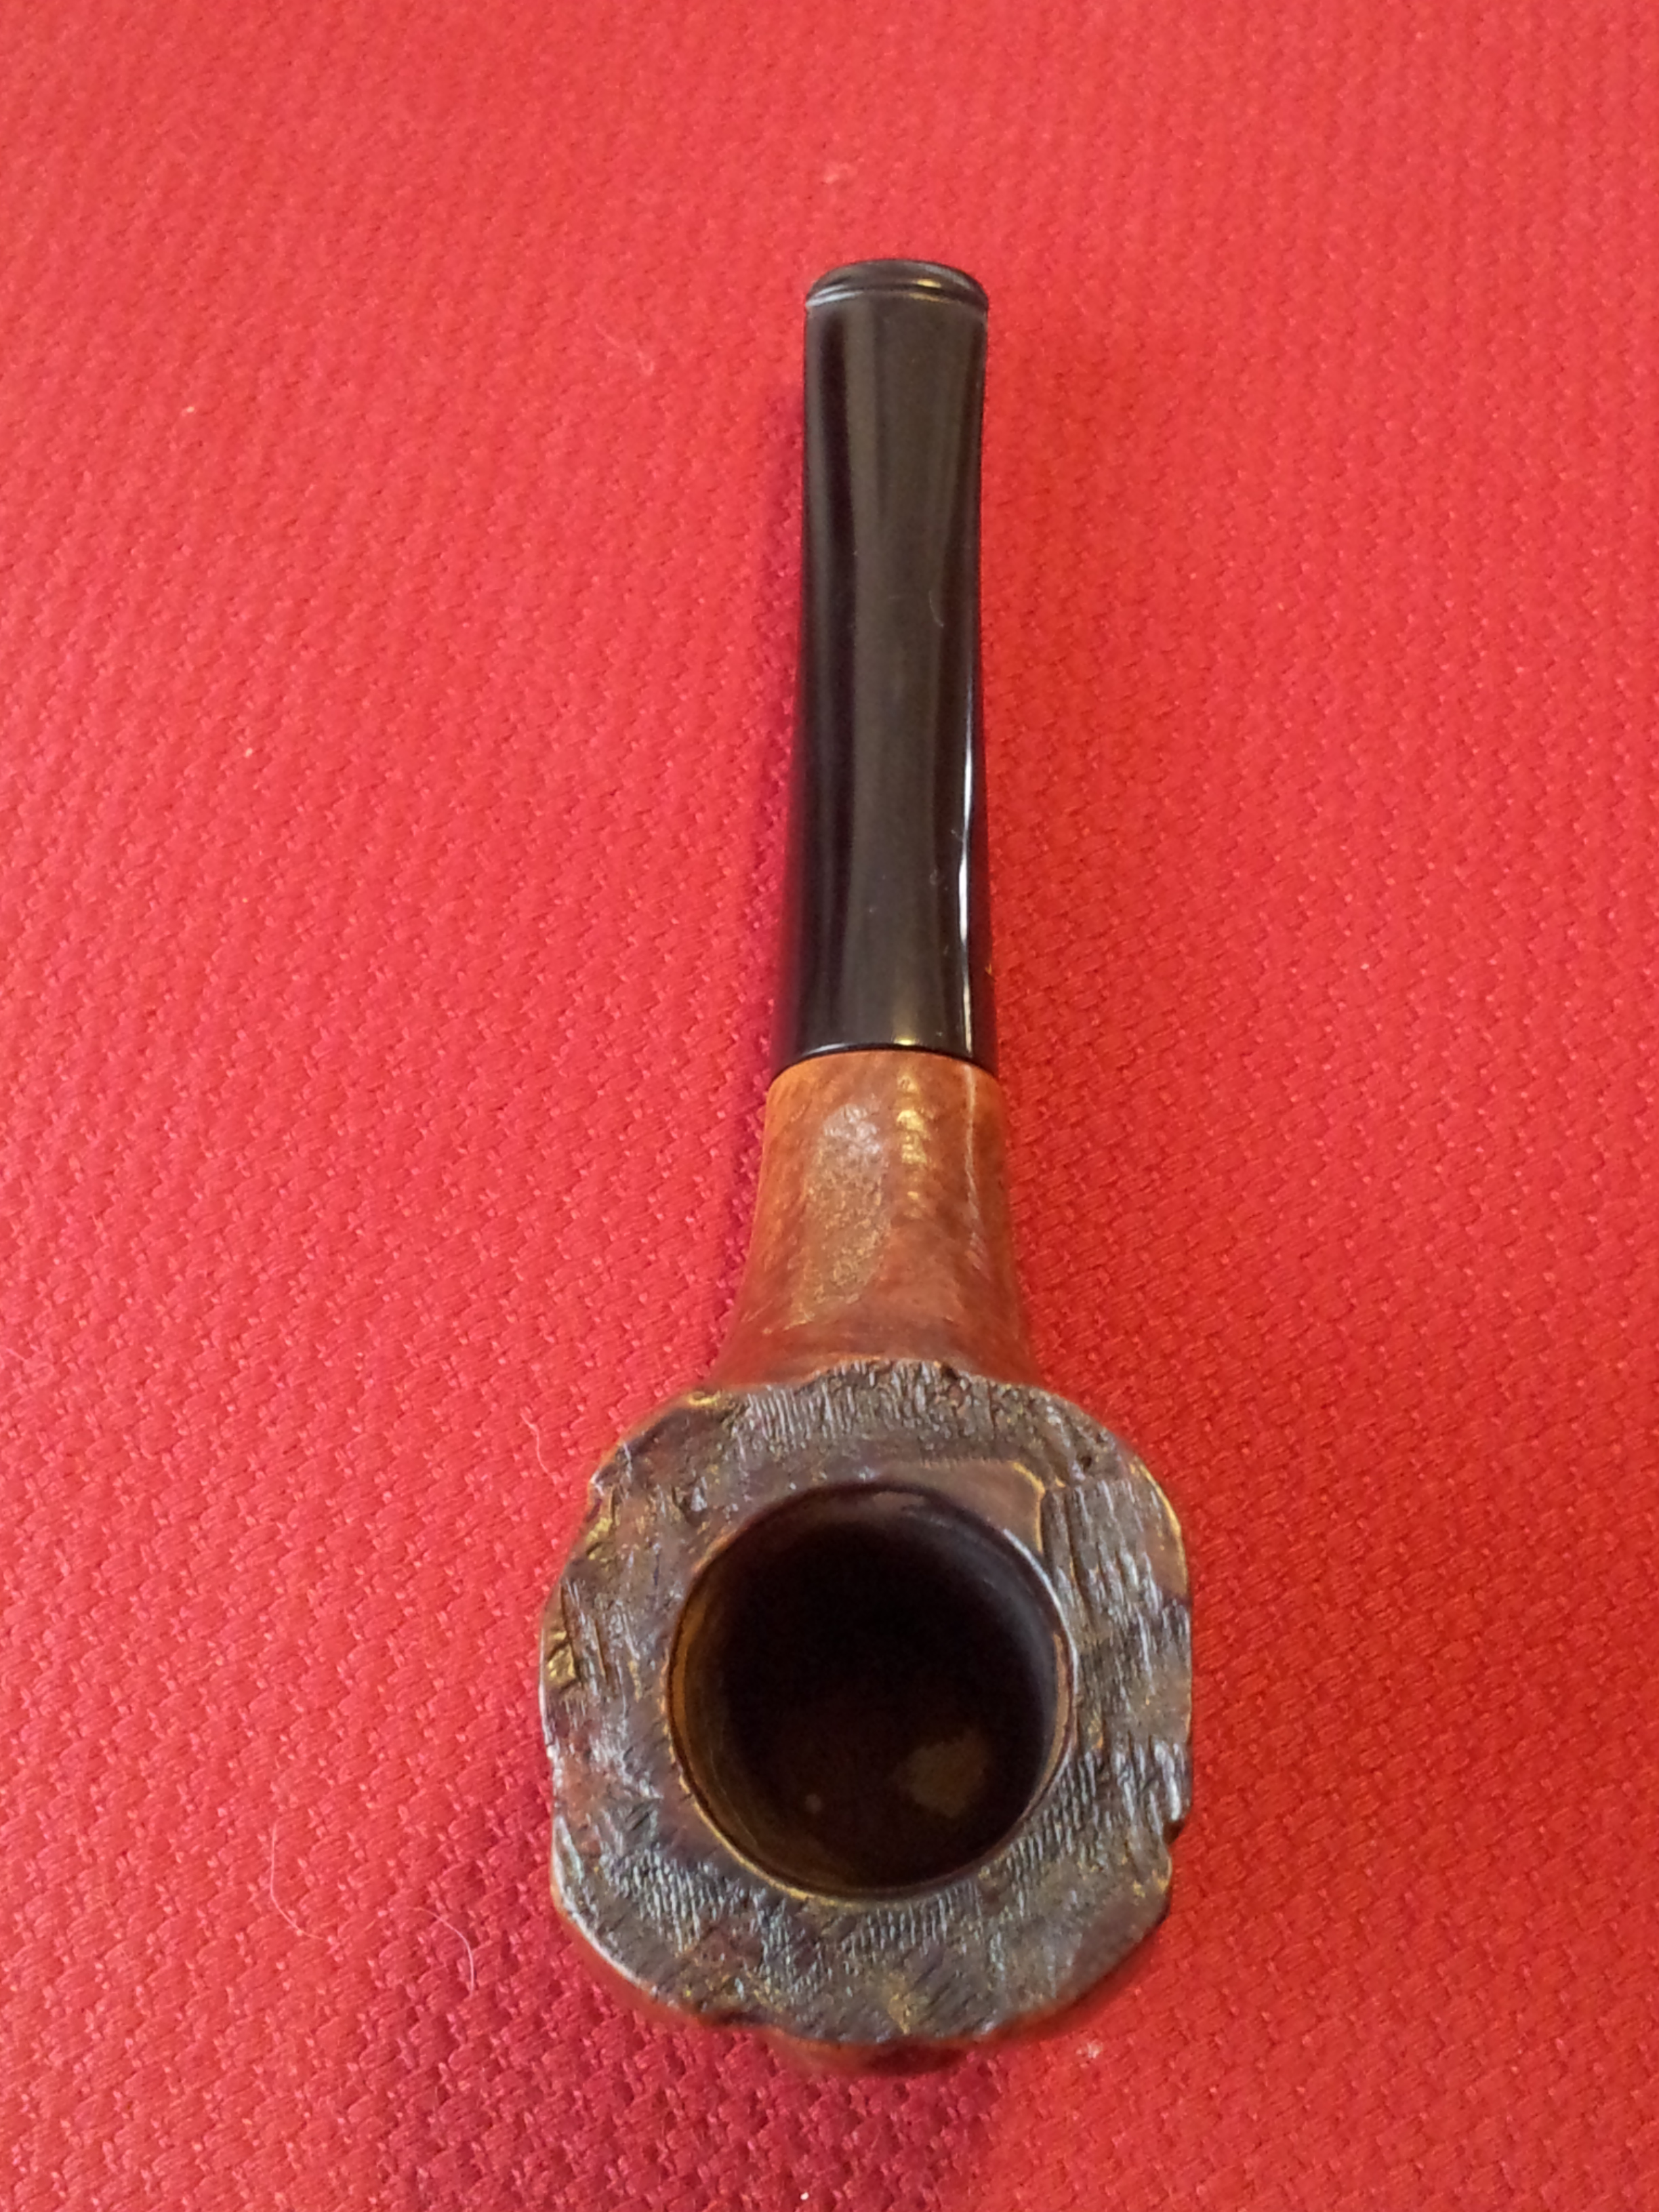
As you can see in the second to last pic above, the factory lacquer on the bowl was crackled and missing in spots, so I dropped the bowl into an alcohol bath to try to dissolve the old finish. The lacquer on this pipe proved particularly tenacious, and I wound up both wiping the bowl with acetone and sanding the thicker spots before I had clean briar everywhere. The cleaning also highlighted what I think are putty fills on the rather wide rim of the pipe. A wide patch on the right-hand side of the rim showed up pinkish after cleaning, while the rest of the rim was brown/black.
The internals of both stummel and stem cleaned up easily with pipe cleaners dipped in alcohol or white vinegar, respectively. This wasn’t surprising, given the amount of yellow bowl coating remaining in the tobacco chamber. This pipe didn’t see a great deal of use by its original owner.
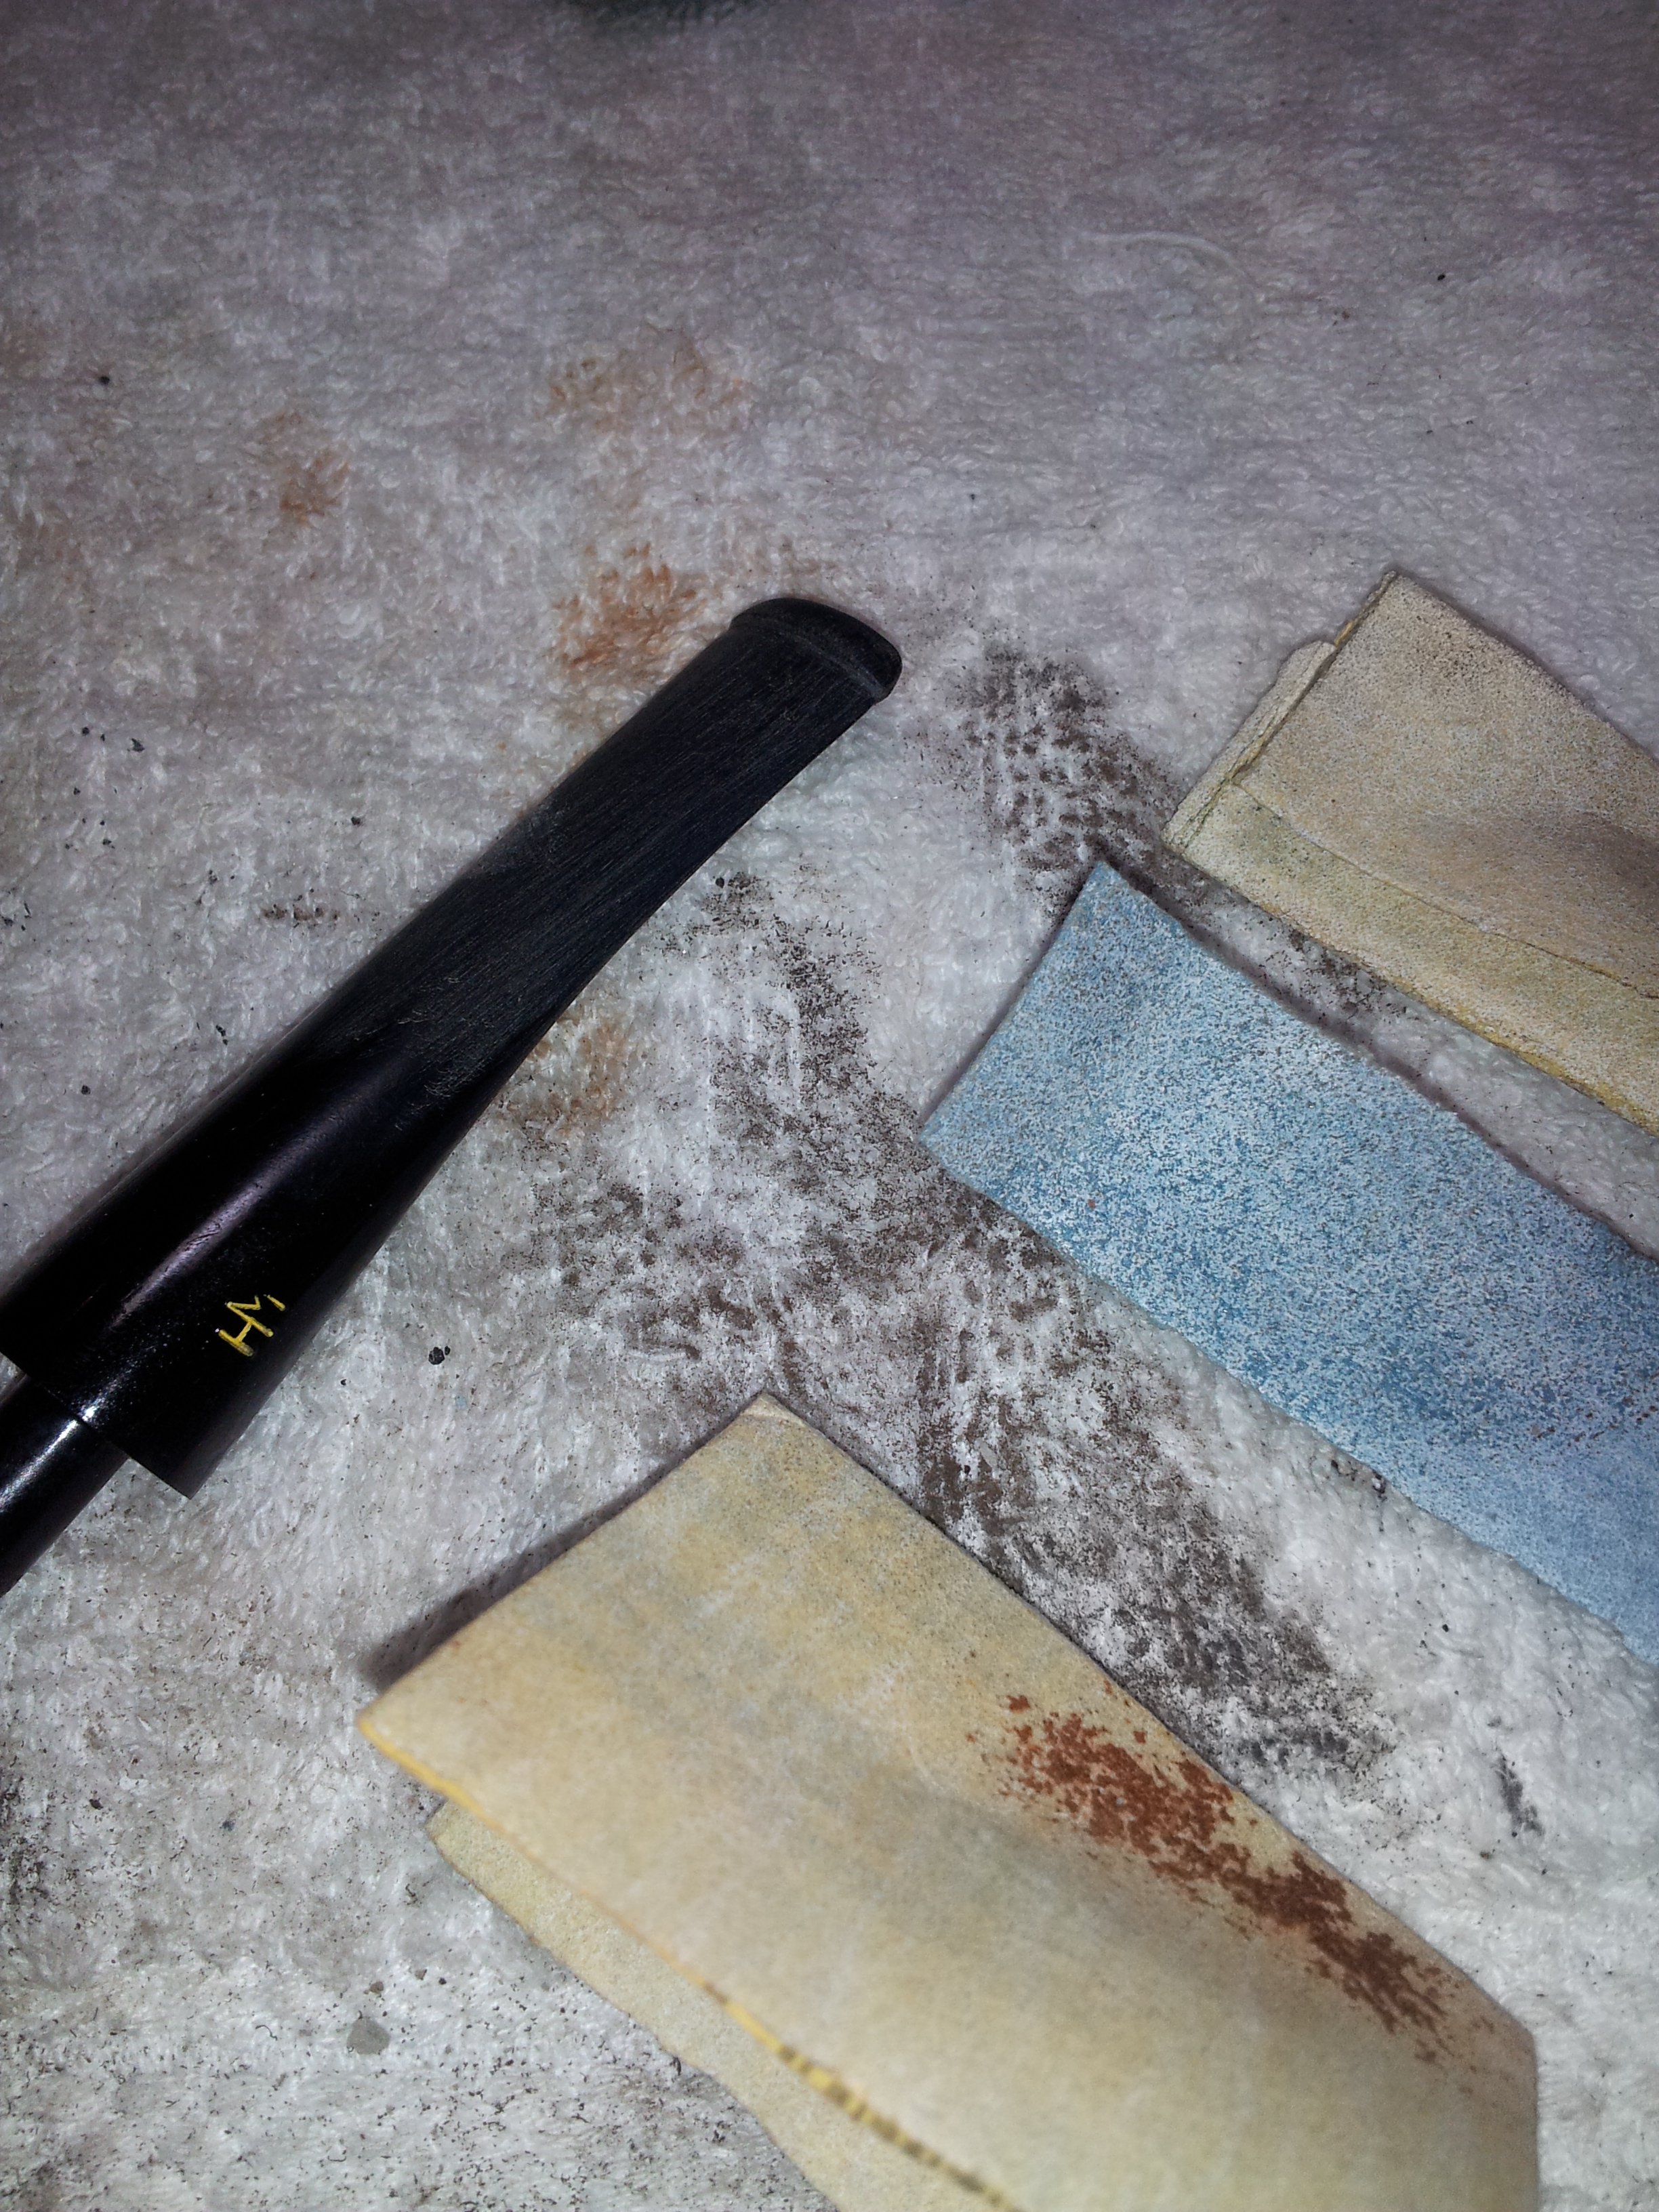
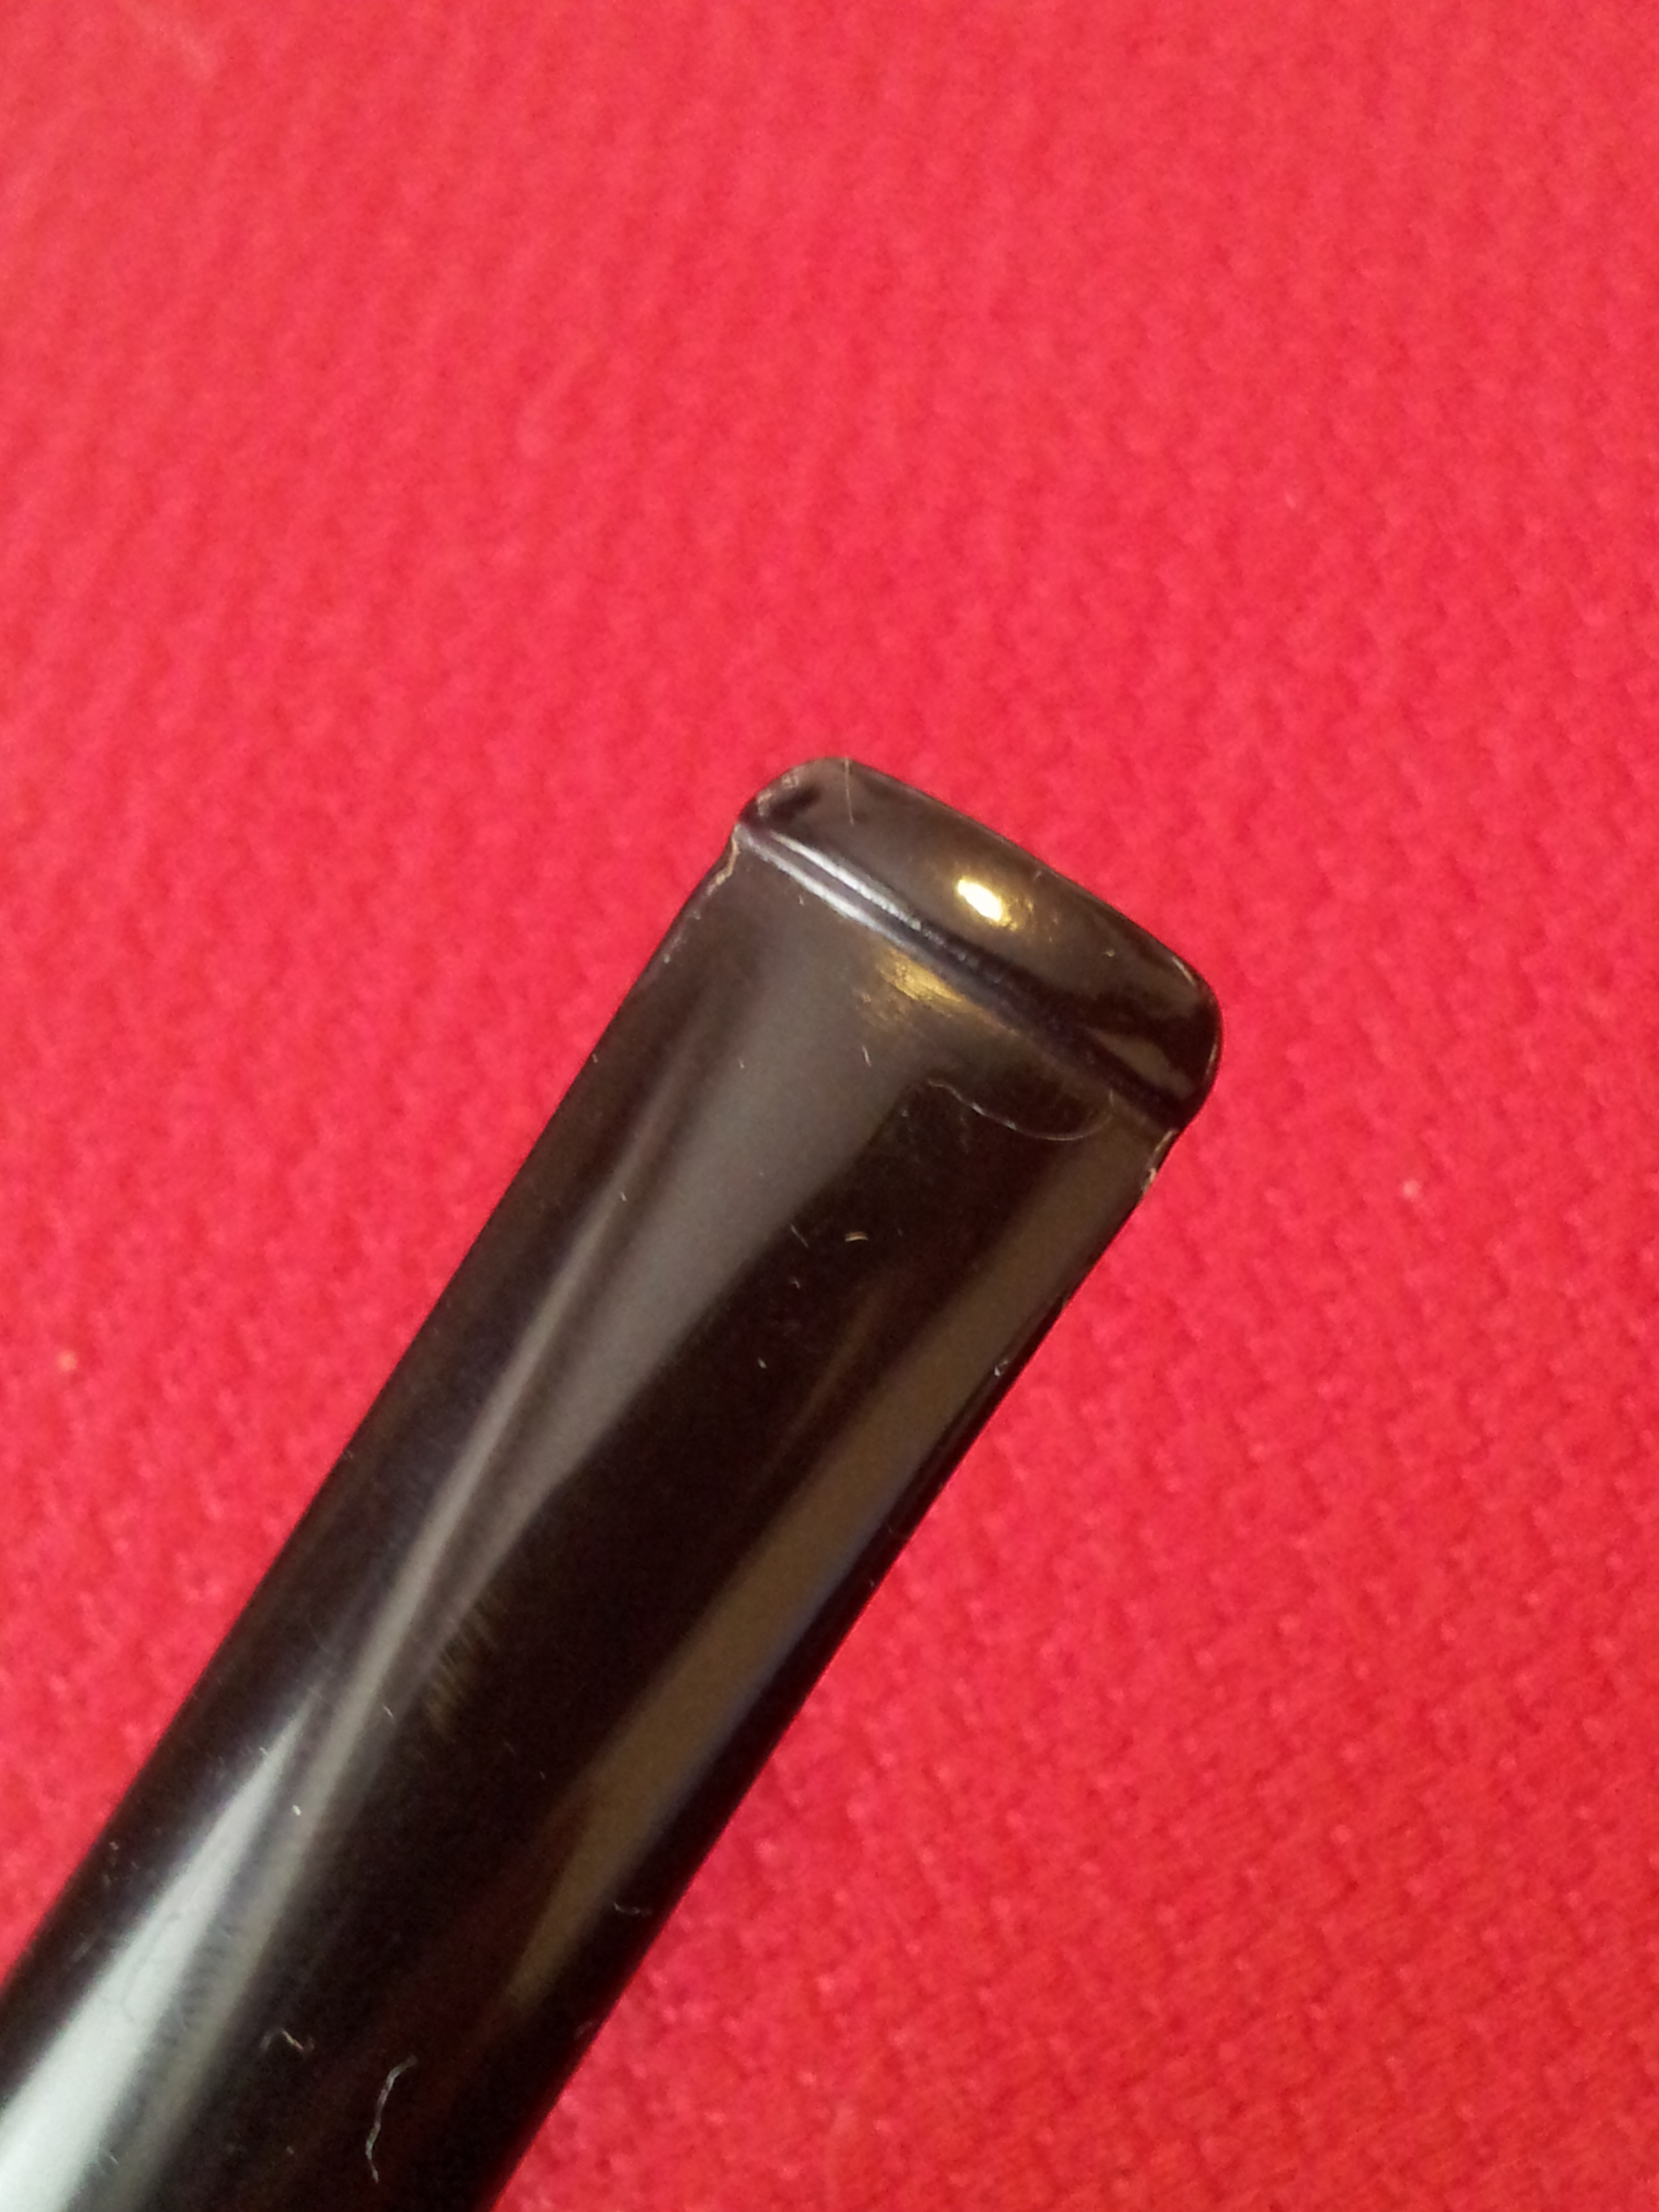
I sanded the stem with 220 and 320 grit sandpaper to remove the tooth chatter, and then used medium and fine sanding sponges to remove the sanding scratches. This stem proved quite easy to work with, unlike some other nylon stems I’ve seen that never really took to polishing. I finished up the stem work with MicroMesh pads in 1500 – 6000 grits. Usually I’d use the full range (up to 12000 grit) of pads, but the stem really didn’t need them this time.
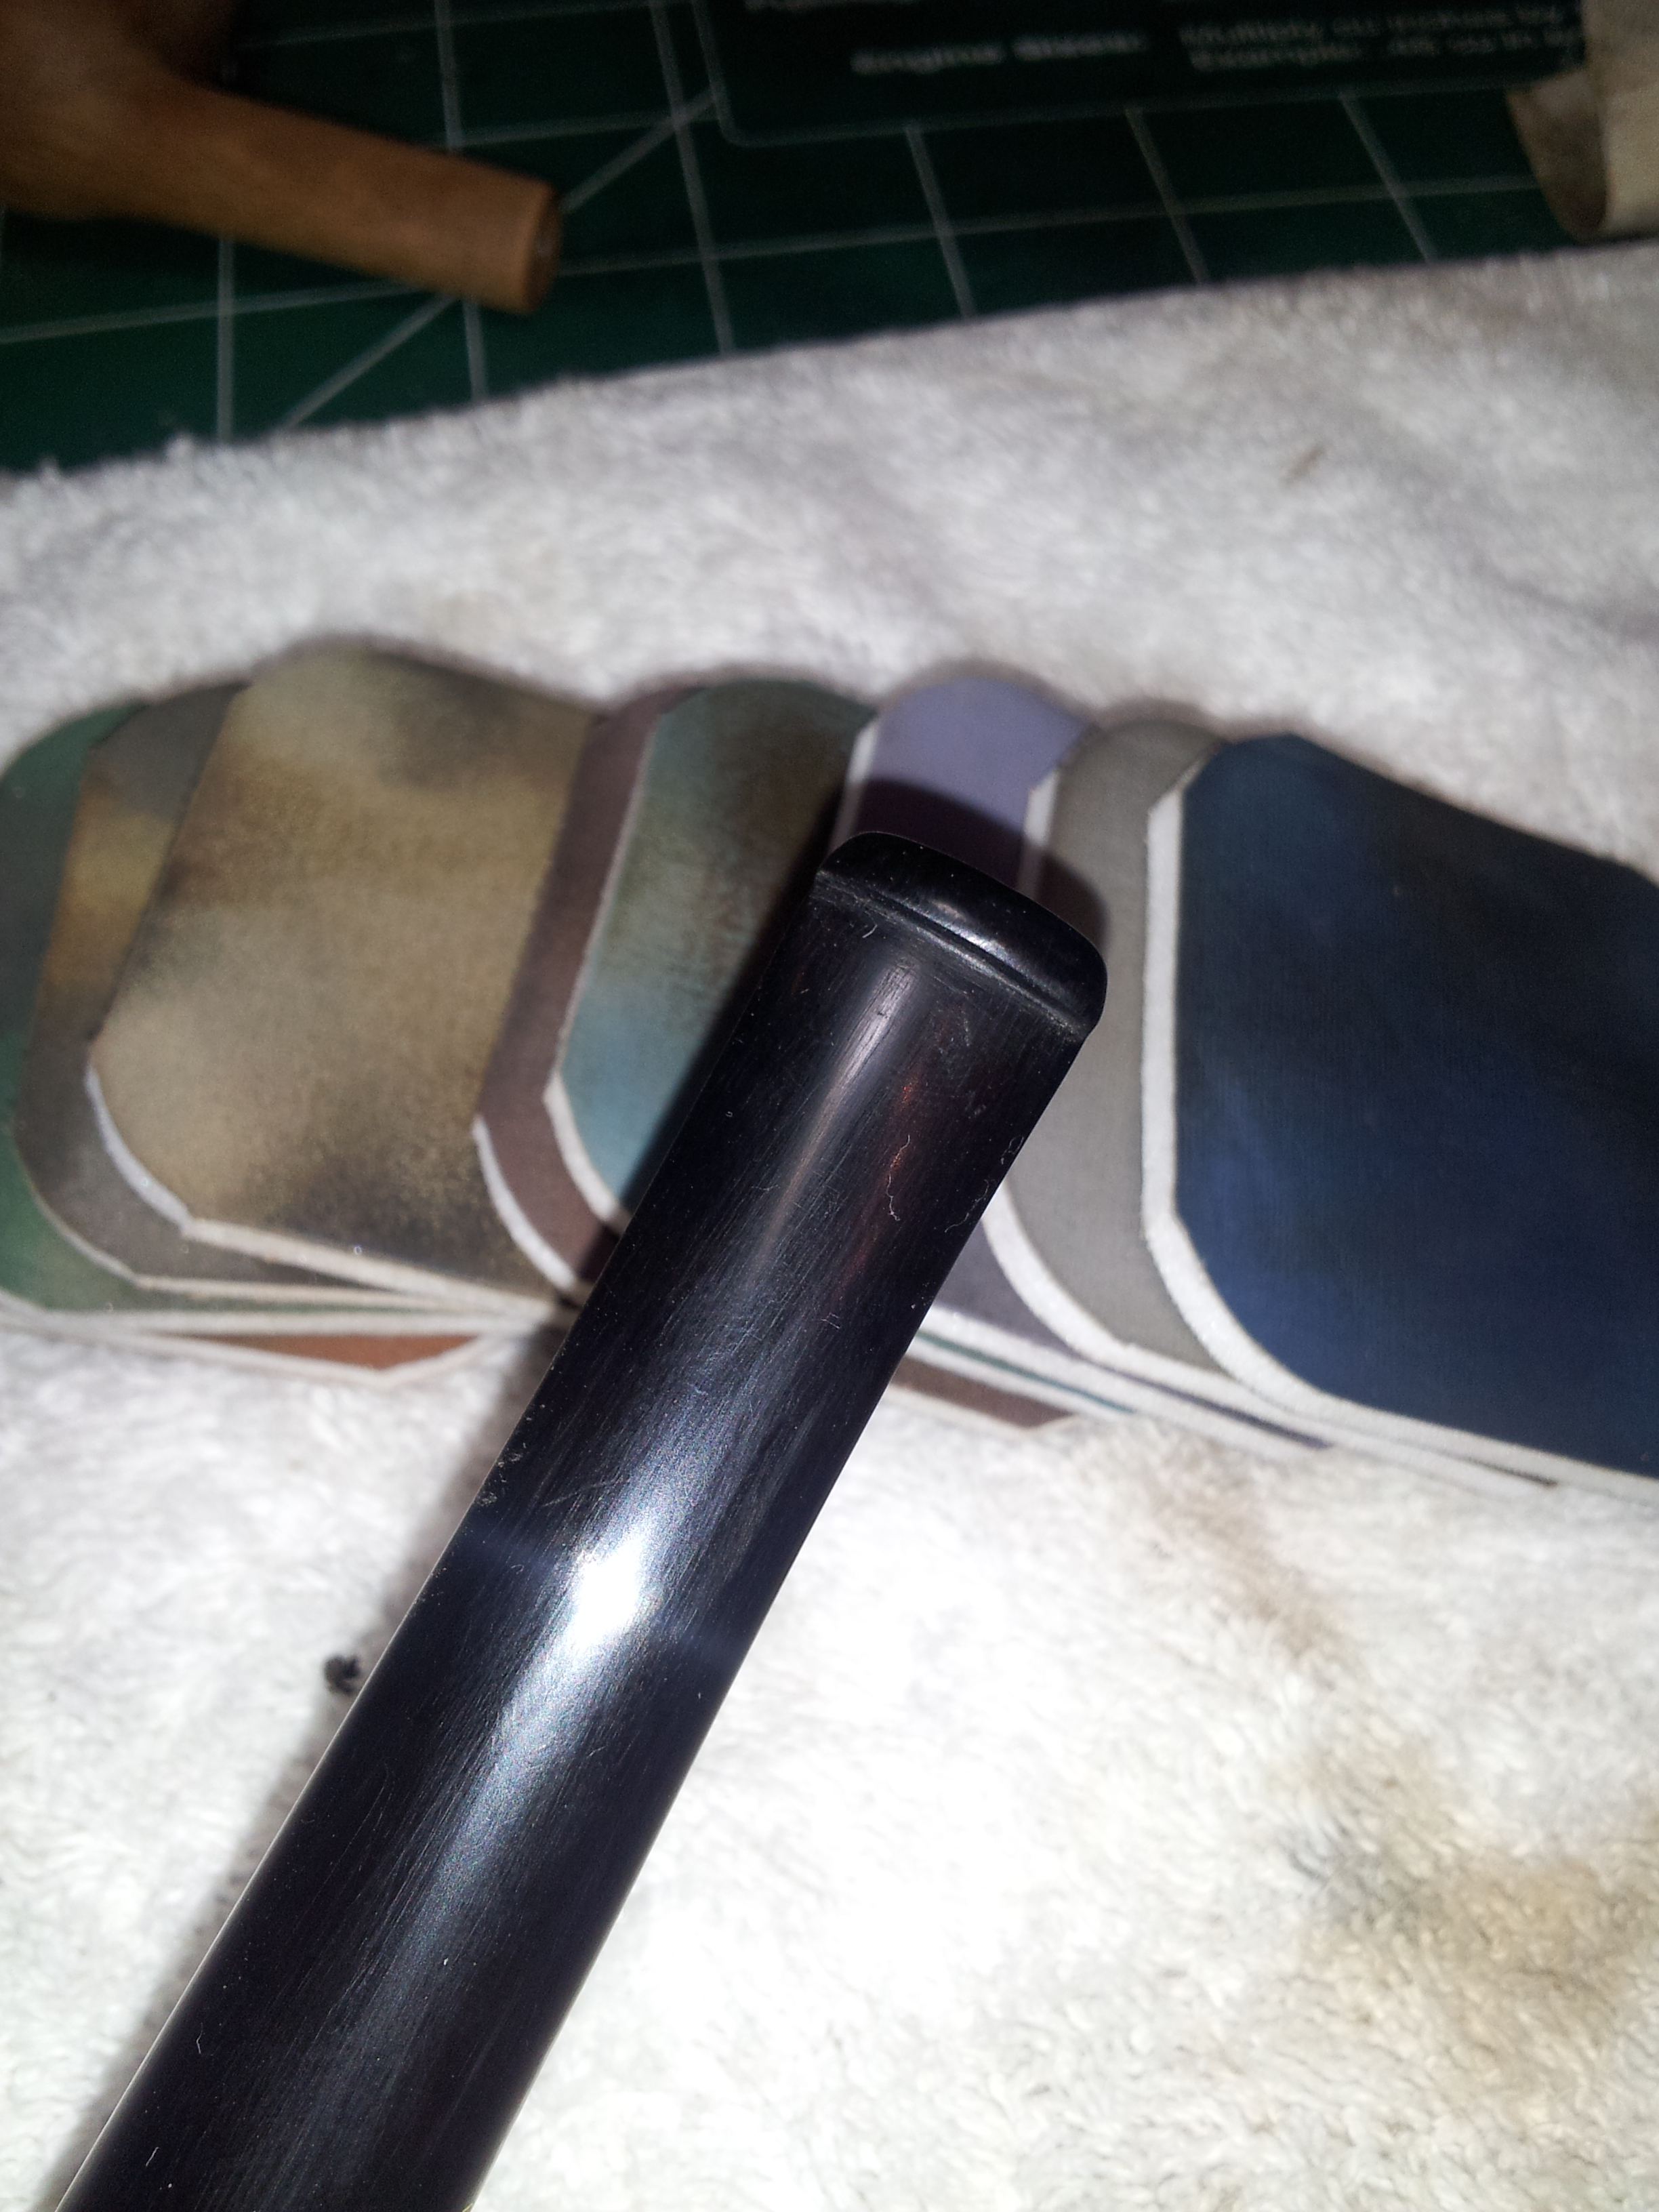
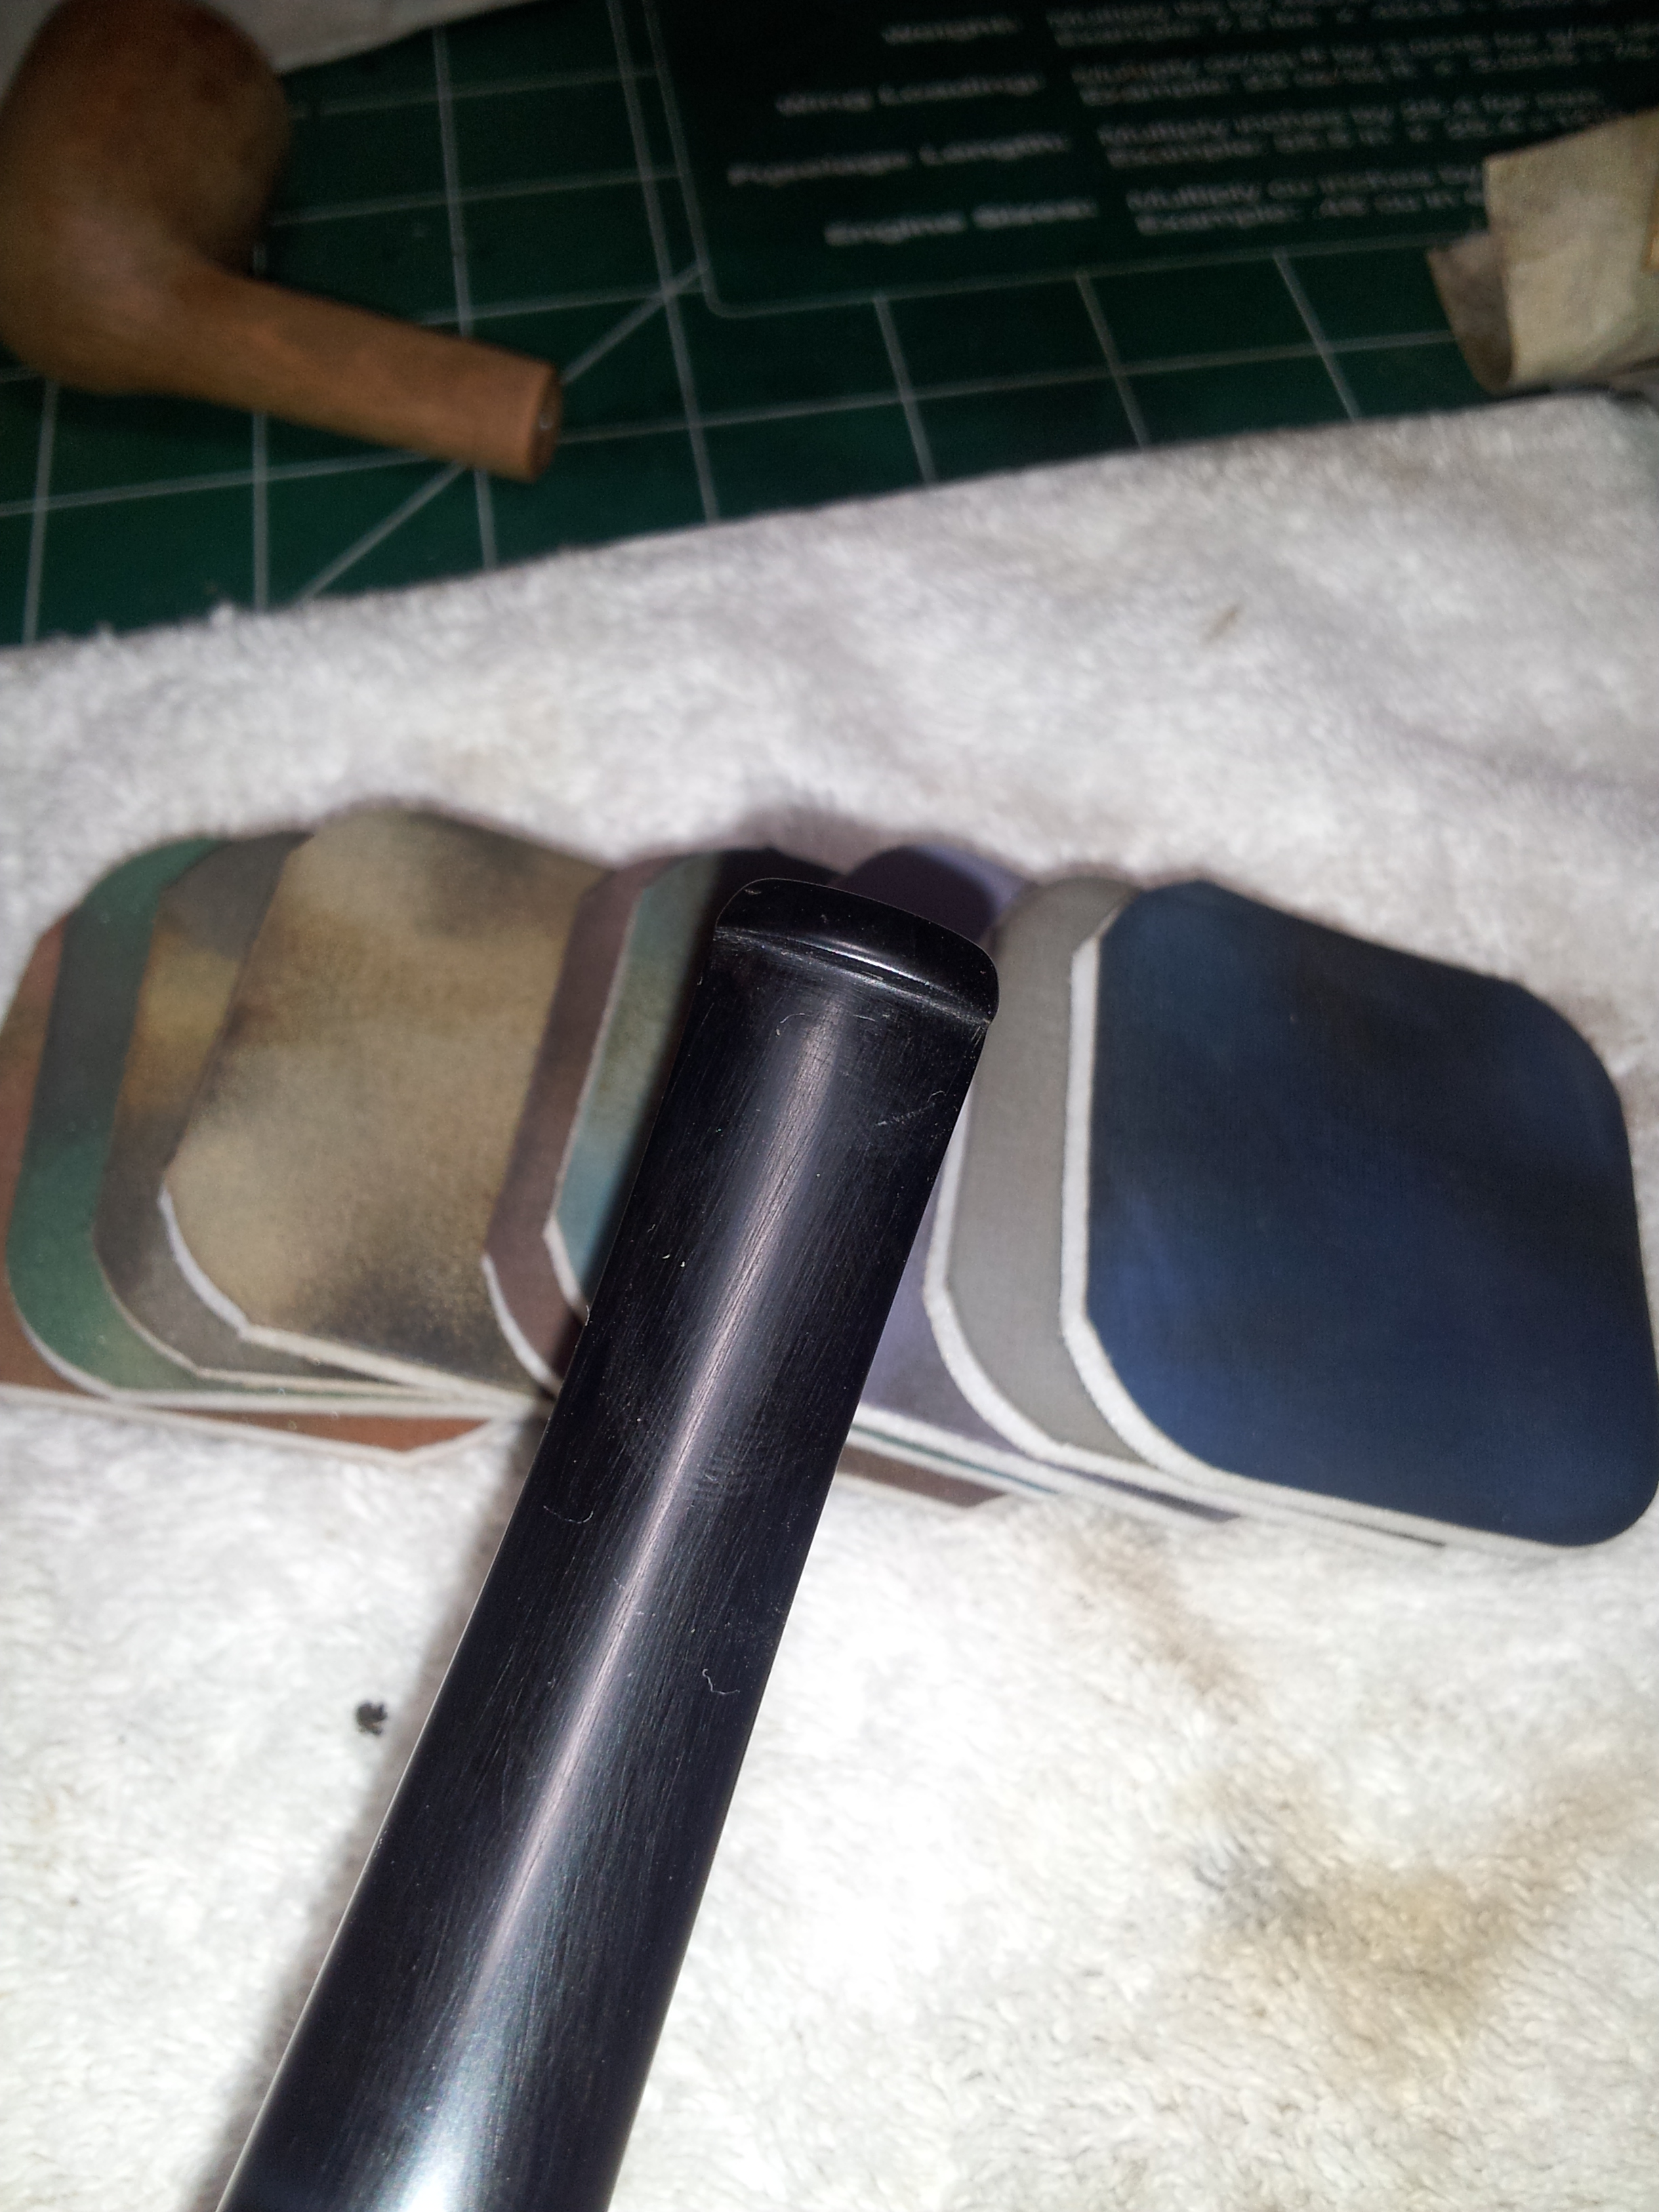
I actually spent more time correcting the stem fit than I did sorting out the tooth chatter. The stem originally fit very loosely in the mortise, loose enough in fact for the bowl to rotate towards the floor when the pipe was held by the stem. I goofed on my initial attempt to enlarge the stem with heat – a procedure that works well on vulcanite stems, but not, as it turns out, on nylon tenons. I applied heat to the tenon using a Bic lighter, and then pressed the end of the tenon against the flat surface of my work table. A vulcanite tenon will compress slightly, making the sides of the tenon bulge outwards. The nylon tenon simply mashed flat at the end, resulting in an odd T-shape. Not good. I had to go back and sand the tenon round again, but now slightly shorter than it had been, and re-align the airway using a small round needle file, as the mashing of the tenon end had bent the airway off-centre. Ugh.
Word to the wise – when dealing with a nylon stem, do what I should have done in the first place and enlarge the tenon with a few layers of CA glue. It doesn’t take much time or effort, and if you add too much glue, it’s easily removed with sandpaper. This is the route I eventually took with this stem, and it now fits snugly, though the tenon looks a bit worse for wear.
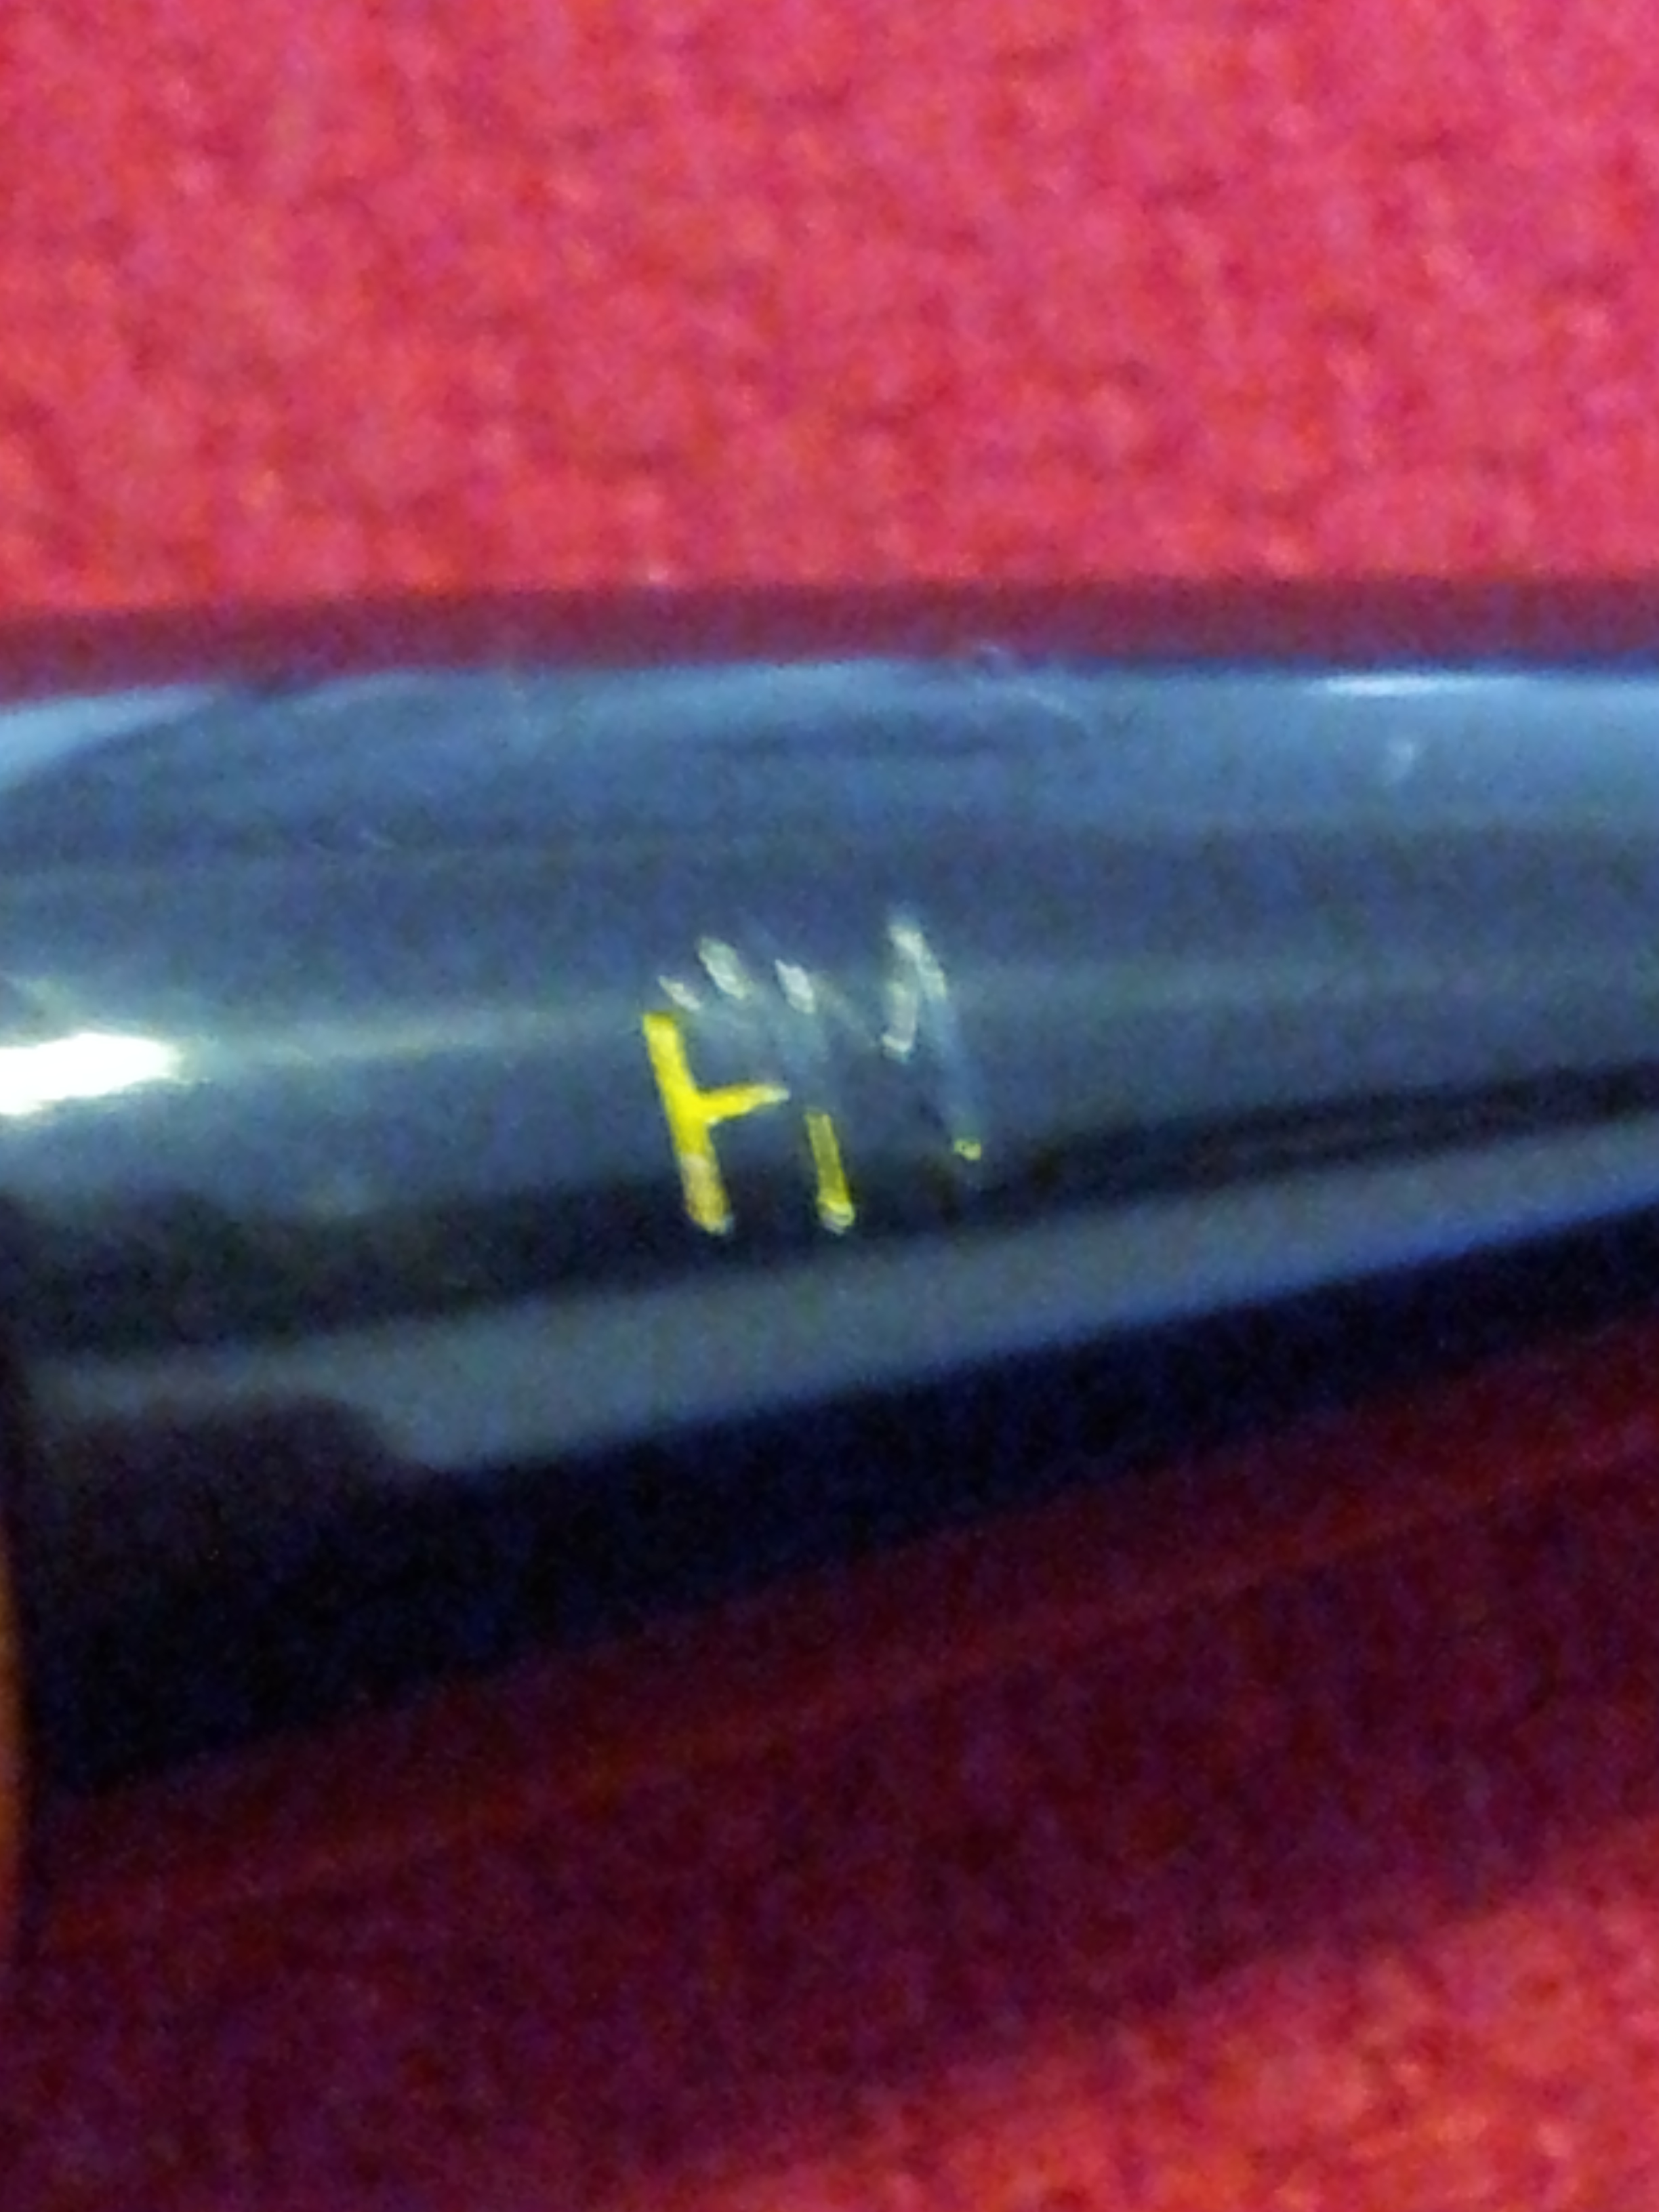
The other gaff I made with this stem concerns the logo. As the original pictures show, the “HM” logo was pretty much intact at the beginning of this job. Through inattention and/or overzealous sanding, I managed to remove the top right corner of the M. In a rush of impatience to get the pipe finished, I ignored my better judgement (which was to paint in the damaged parts using a fine artist’s brush) and attempted to re-cut the lines of the M so I could fill the logo in with wax filler stick. I can hear you all wincing from here – yep, I pooched it, making the damage worse instead of better. I tidied it up as best I could without completely obliterating the logo, but the damage is done, and I’ll have to live with it. I know only a collector or fellow piper will ever notice, but the damage I inflicted will loom large for me every time I look at this pipe.
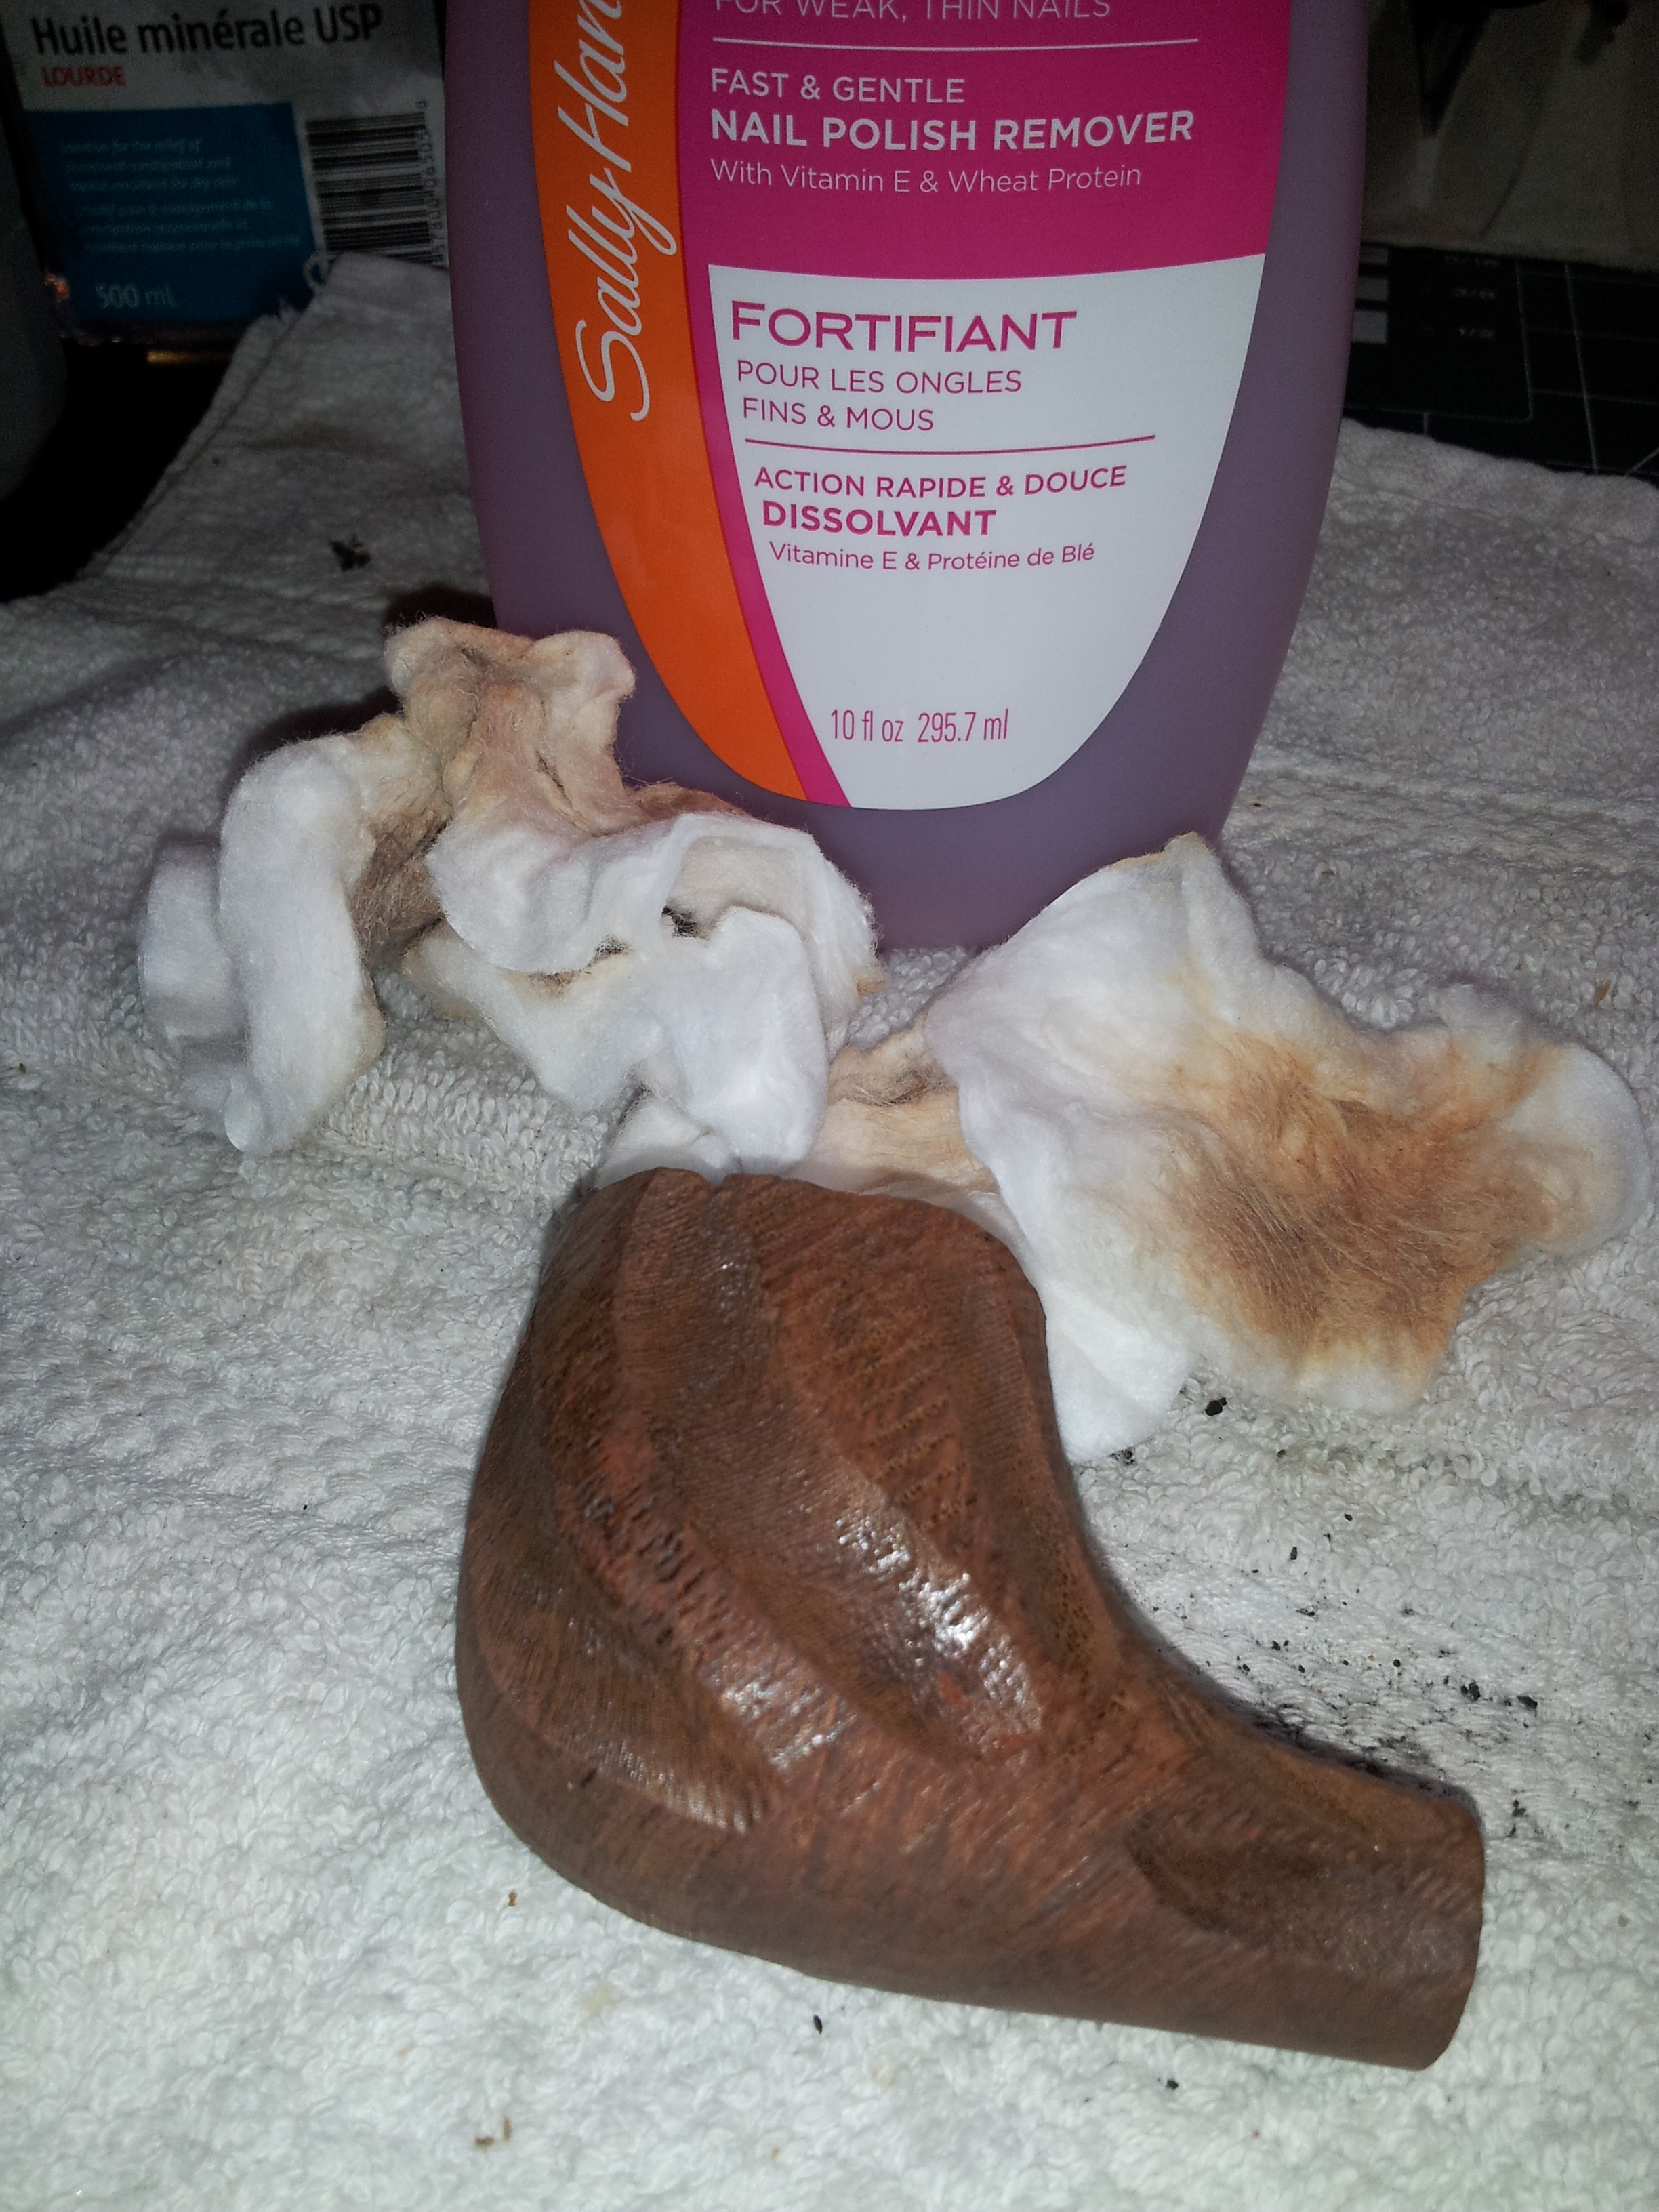
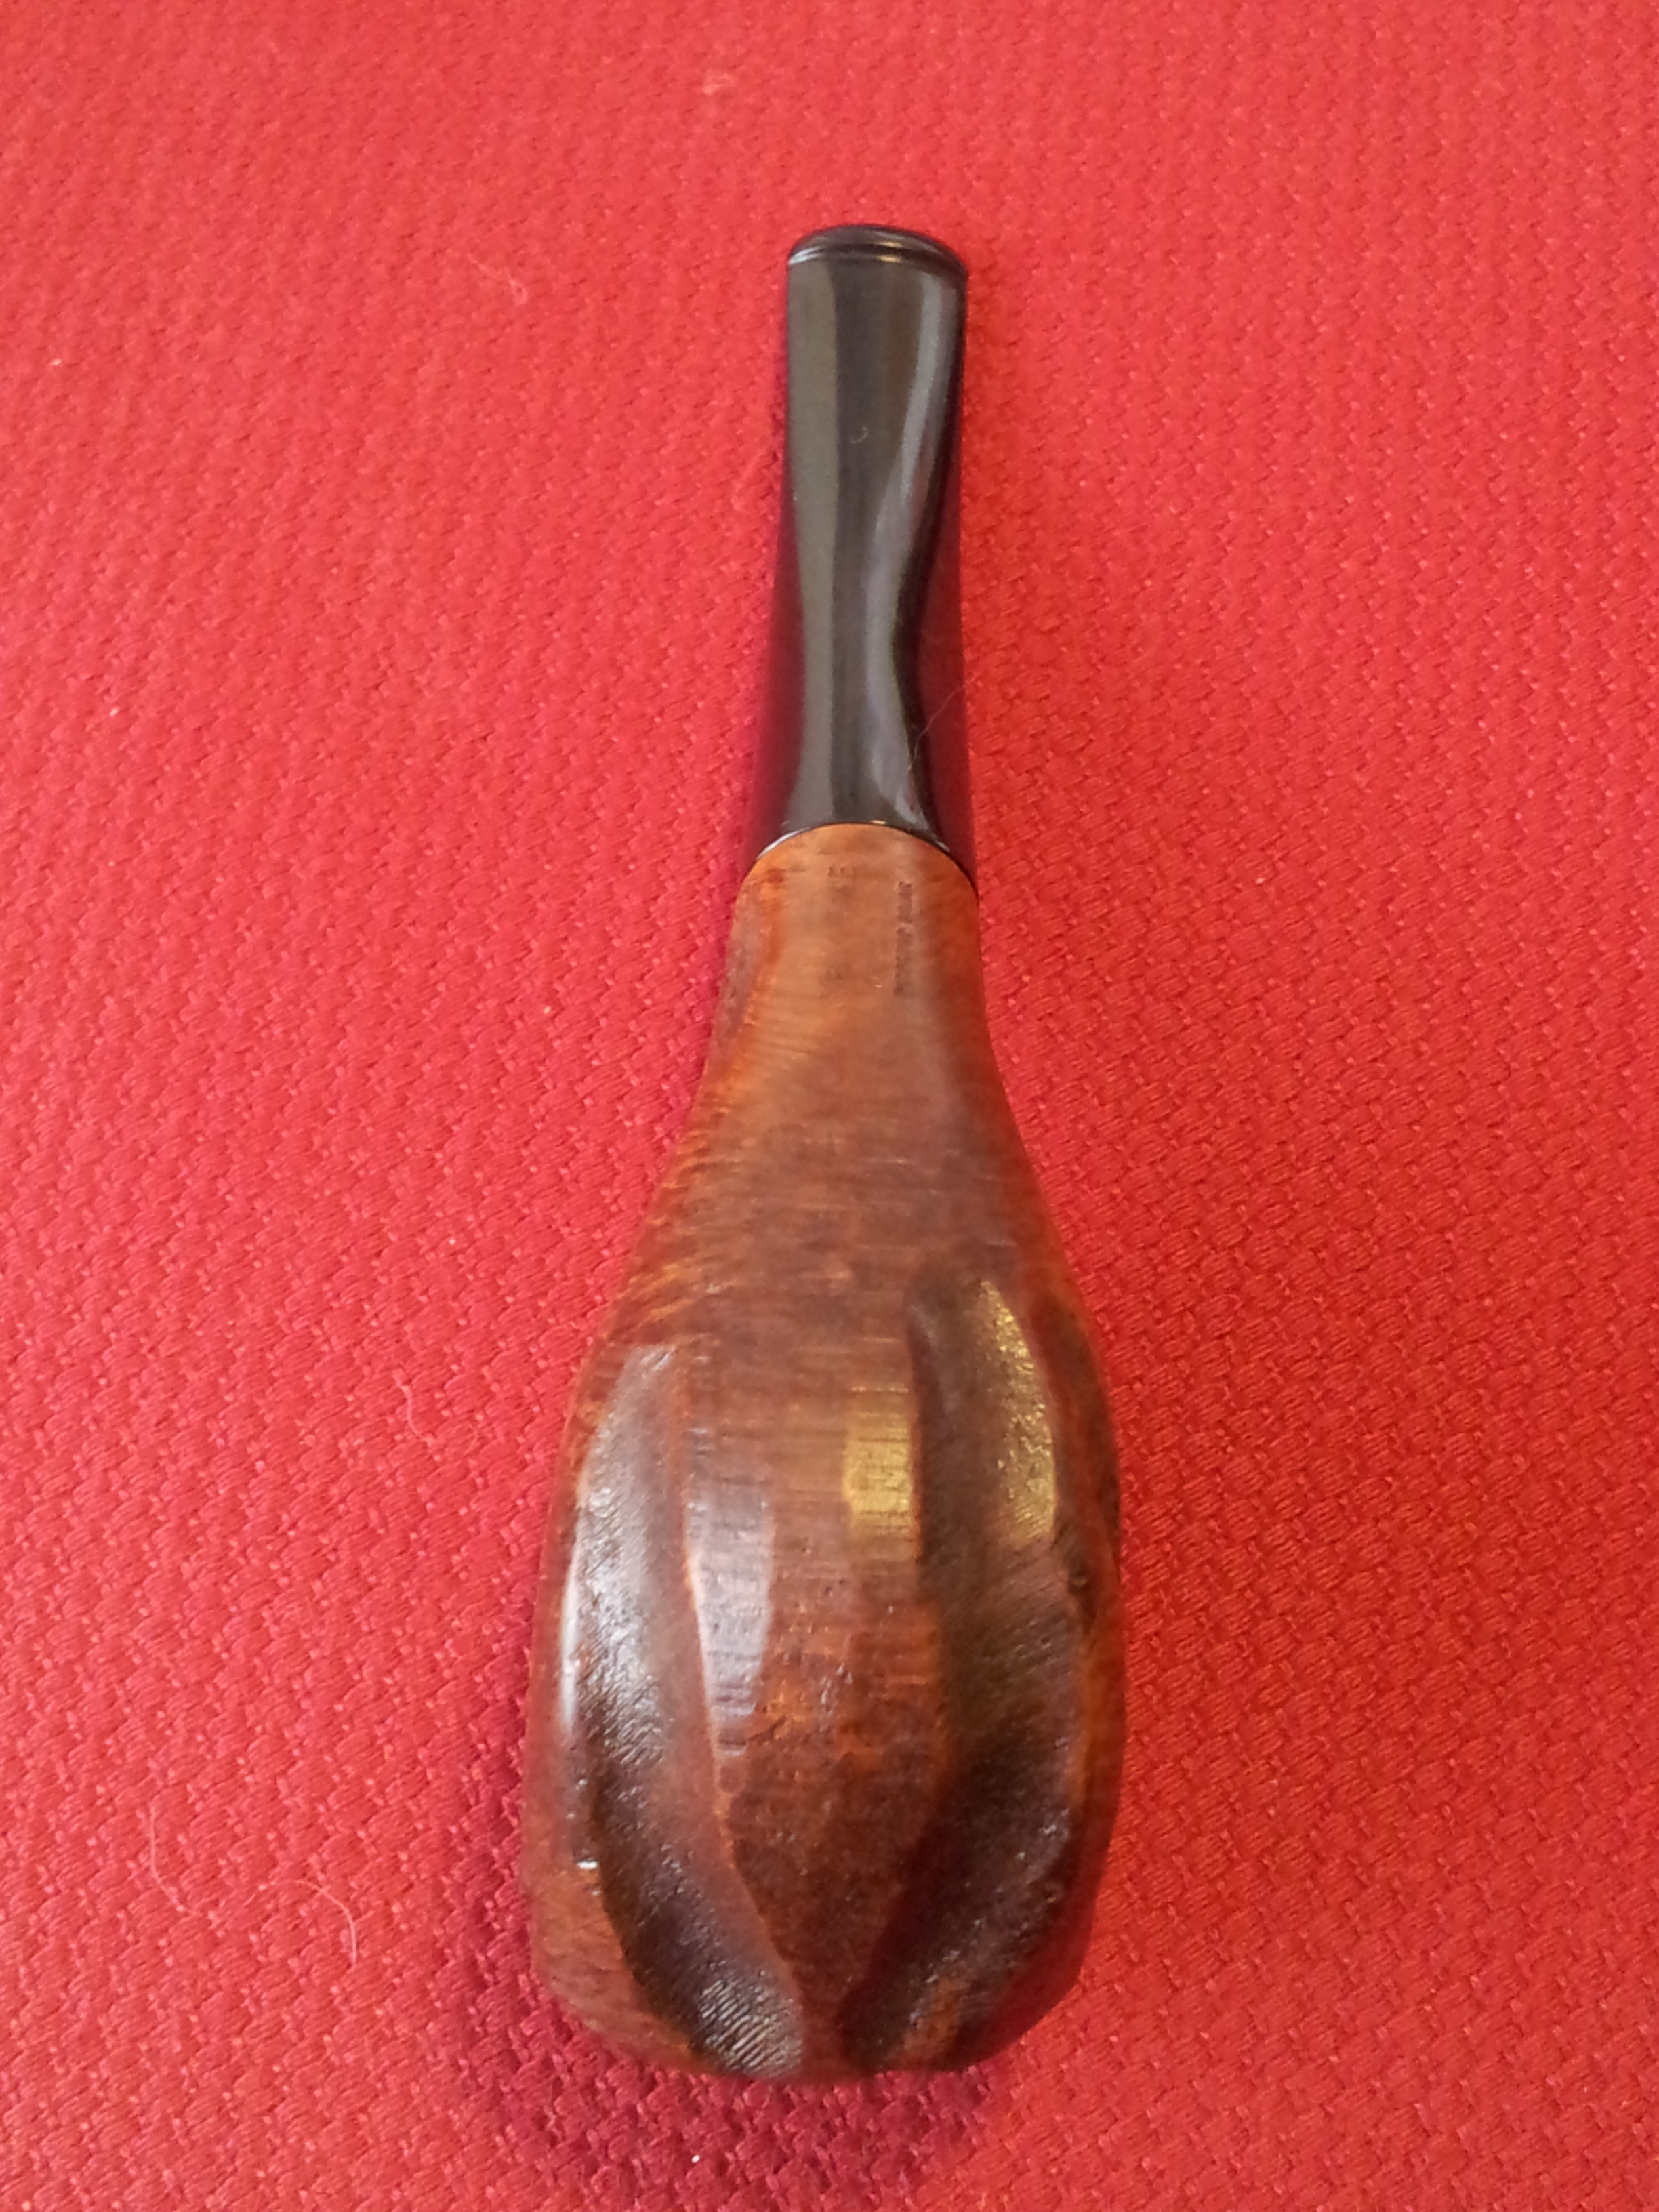
Moving on as best I could after the logo debacle, I debated stain options for the stummel. In order to get a good look at the natural colour and grain of the briar, I wiped the stummel with mineral oil. Immediately the wood changed from a mousey light brown to a deep red with darker grain running throughout. I liked it so much that I decided to leave it that way. The only stain I applied was to the rim, which I coloured in with my darkest stain pen. This both hides the pink fills and gives a nice contrast to the red of the bowl. The colours toned down a fair bit after buffing and waxing, giving the briar a natural, slightly aged virgin finish. I think it suits.
Looking back now at the refurb, I realize I had not given this pipe the attention it was due; instead I allowed myself to get distracted by other projects, and I ended up making mistakes that could have easily been avoided with a bit of patience and forethought. The end result, however, is not a total disaster, and the experience has certainly reminded me forcibly of the risks associated with rushing a restoration. I’m thankful that this teachable moment came with an inexpensive estate find and not on a more valuable vintage collectible pipe.
Here’s the finished pipe.


Those nylon stems are enough to make one scream! Good save on a unique YB I had not known existed. Amazes me how many makers went after the Custom-Bilt style.
LikeLiked by 1 person
Thanks Al. The Custom-Bilt style certainly stands out. I was on the fence about them myself but working on this one and seeing a few other restorations has me rethinking them.
LikeLike
Very similar to the Kaywoodie, despite your troubles it came out beautifully.
LikeLiked by 1 person
Thanks very much. If nothing else this refurb has reminded me to pay attention to what I’m doing. 😉
LikeLike
Reblogged this on rebornpipes and commented:
Good work on a cool looking old pipe. Those nylon stems are a pain. I am working on one now that is a bear!
LikeLiked by 1 person