
Here is my latest pipe refurb project – a 1970’s vintage, Made in Canada, Brigham 3-Dot Acorn I found at a local antiques mall. I paid the princely sum of $14CAD for this poor old pipe. I have a soft spot for Brigham pipes – they were my Dad’s pipe of choice – so I hoped I could bring this one back to a useful, if not original, condition.

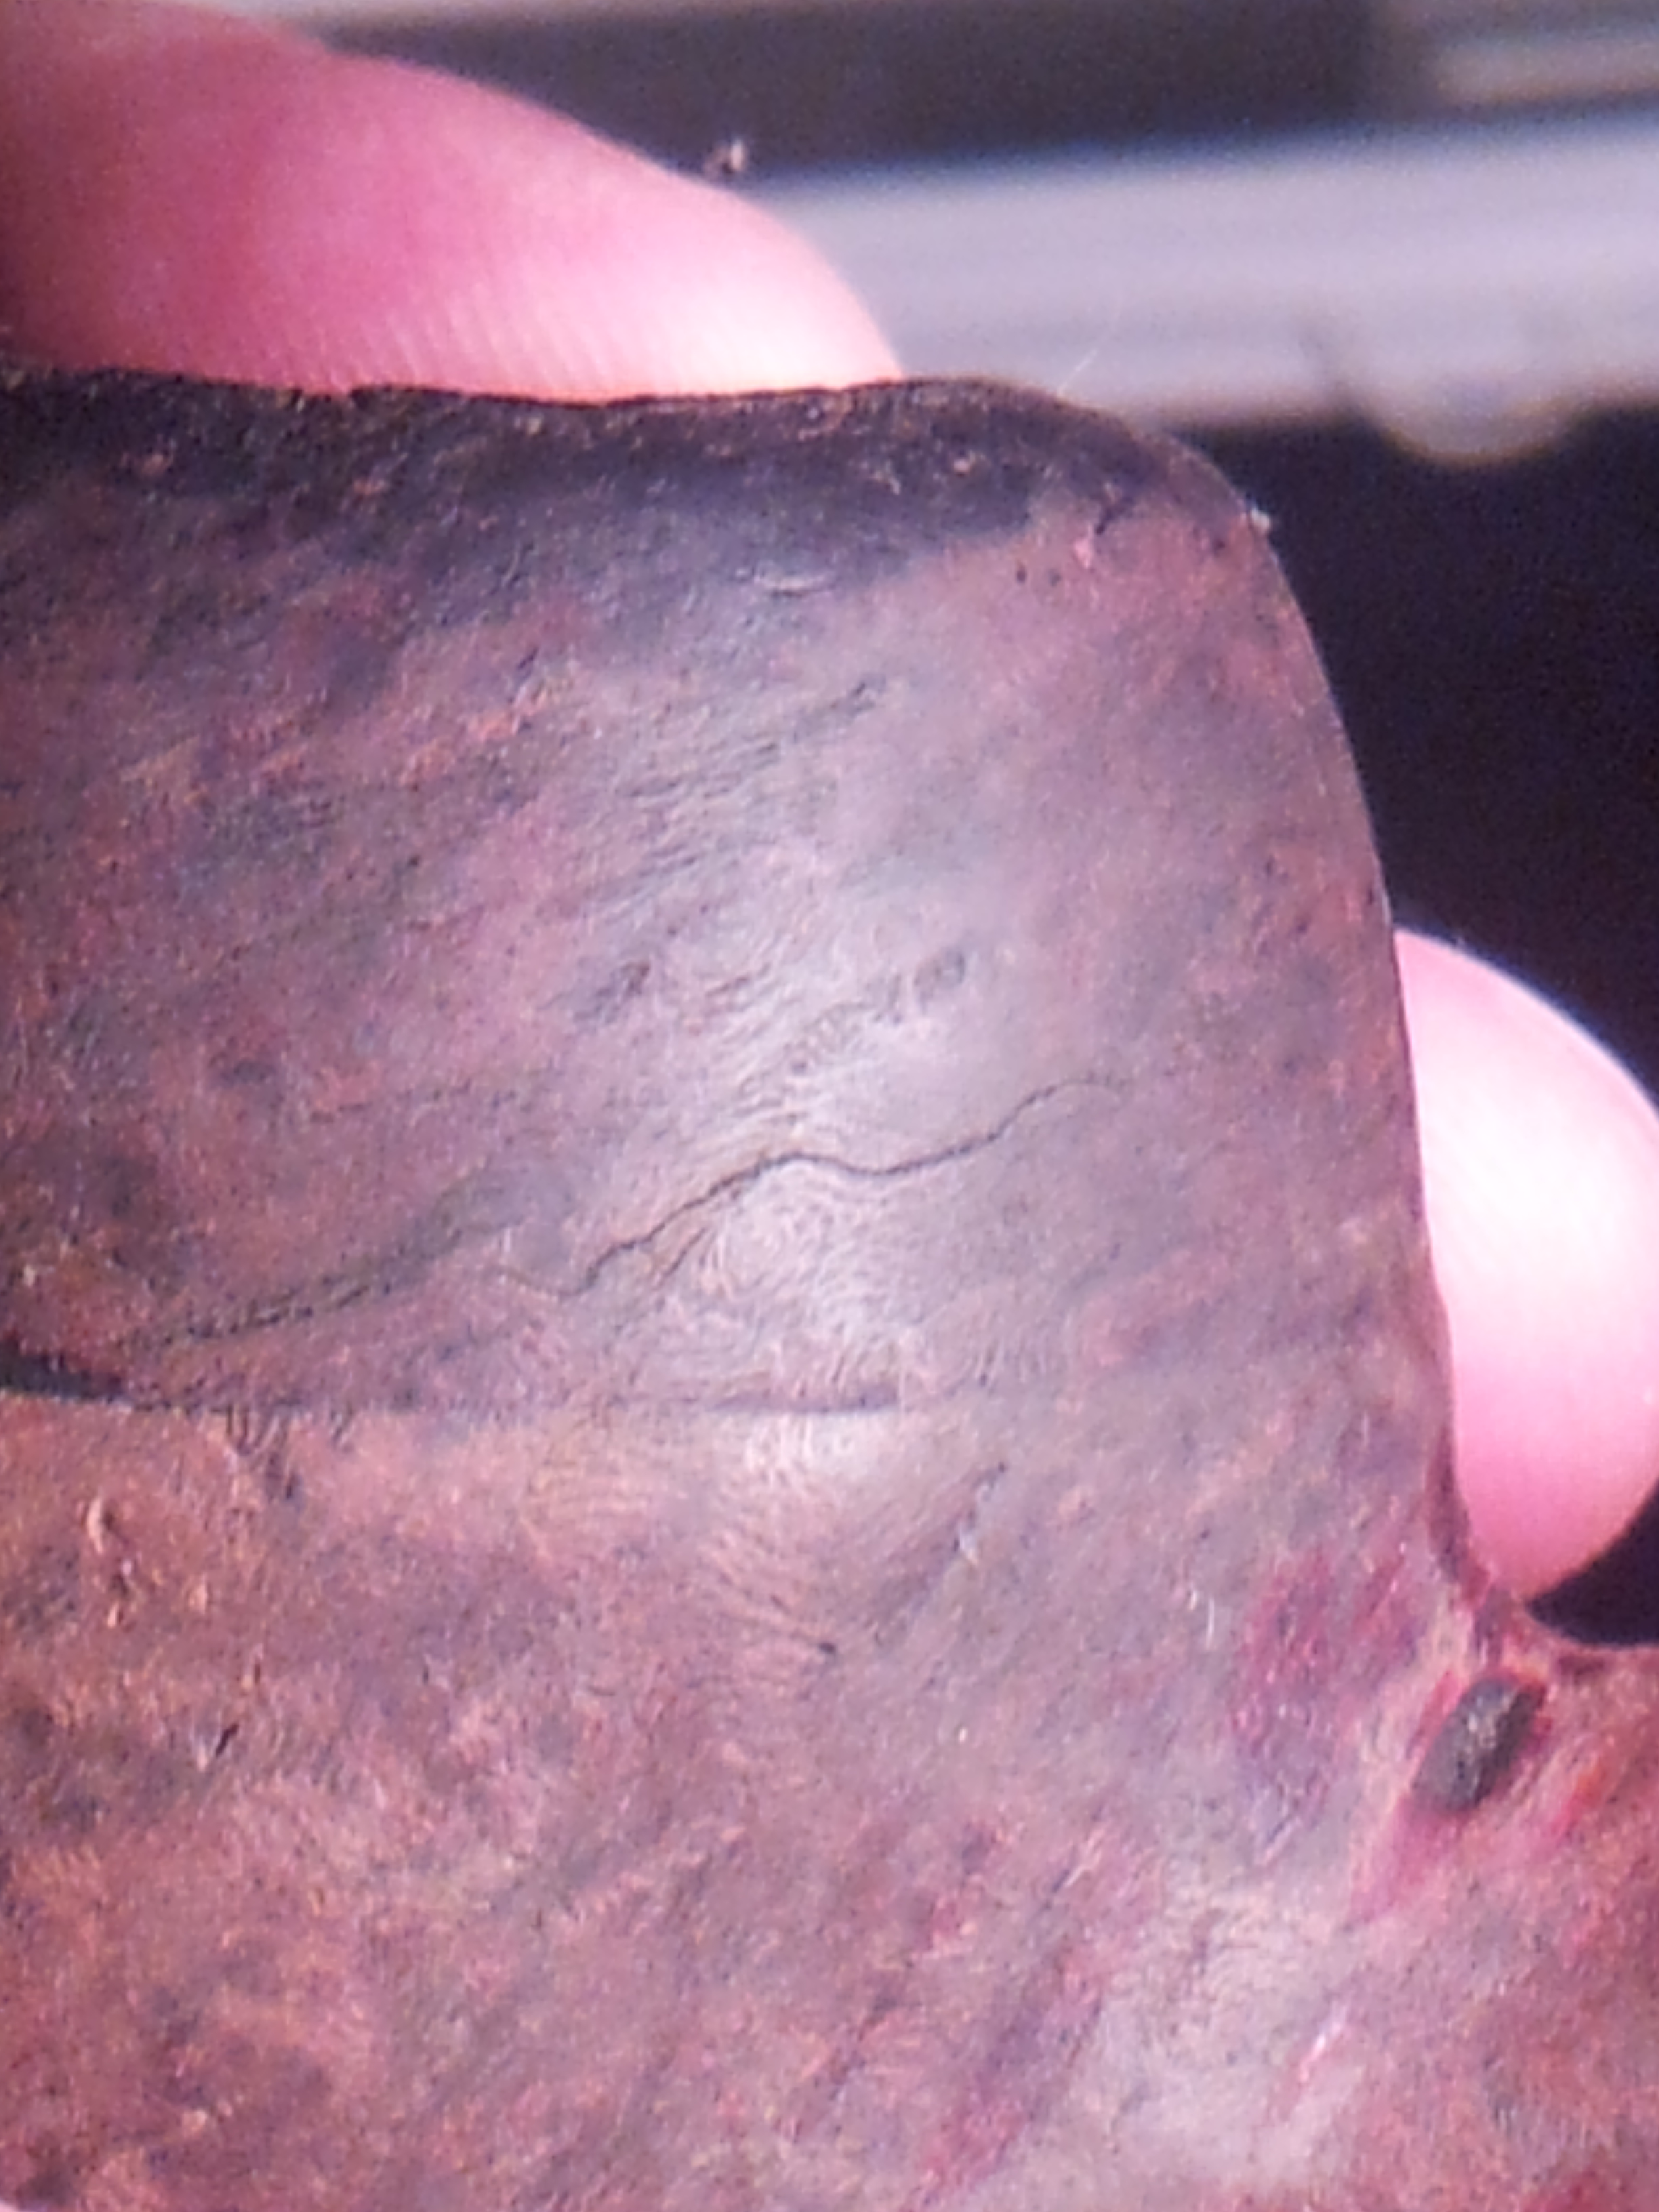
The pipe as purchased was in a sorry state. The previous owner obviously loved the pipe – it was well used – but by the same token obviously didn’t care about preserving the pipe. It was clearly the original owner’s habit to knock the dottle out of the pipe by bashing the rim against whatever object happened to be nearby – a brick wall? Concrete curb? Steel fence? In any case, most of the front right rim was significantly worn away and what remained looked like it had been on the receiving end of a buckshot round.
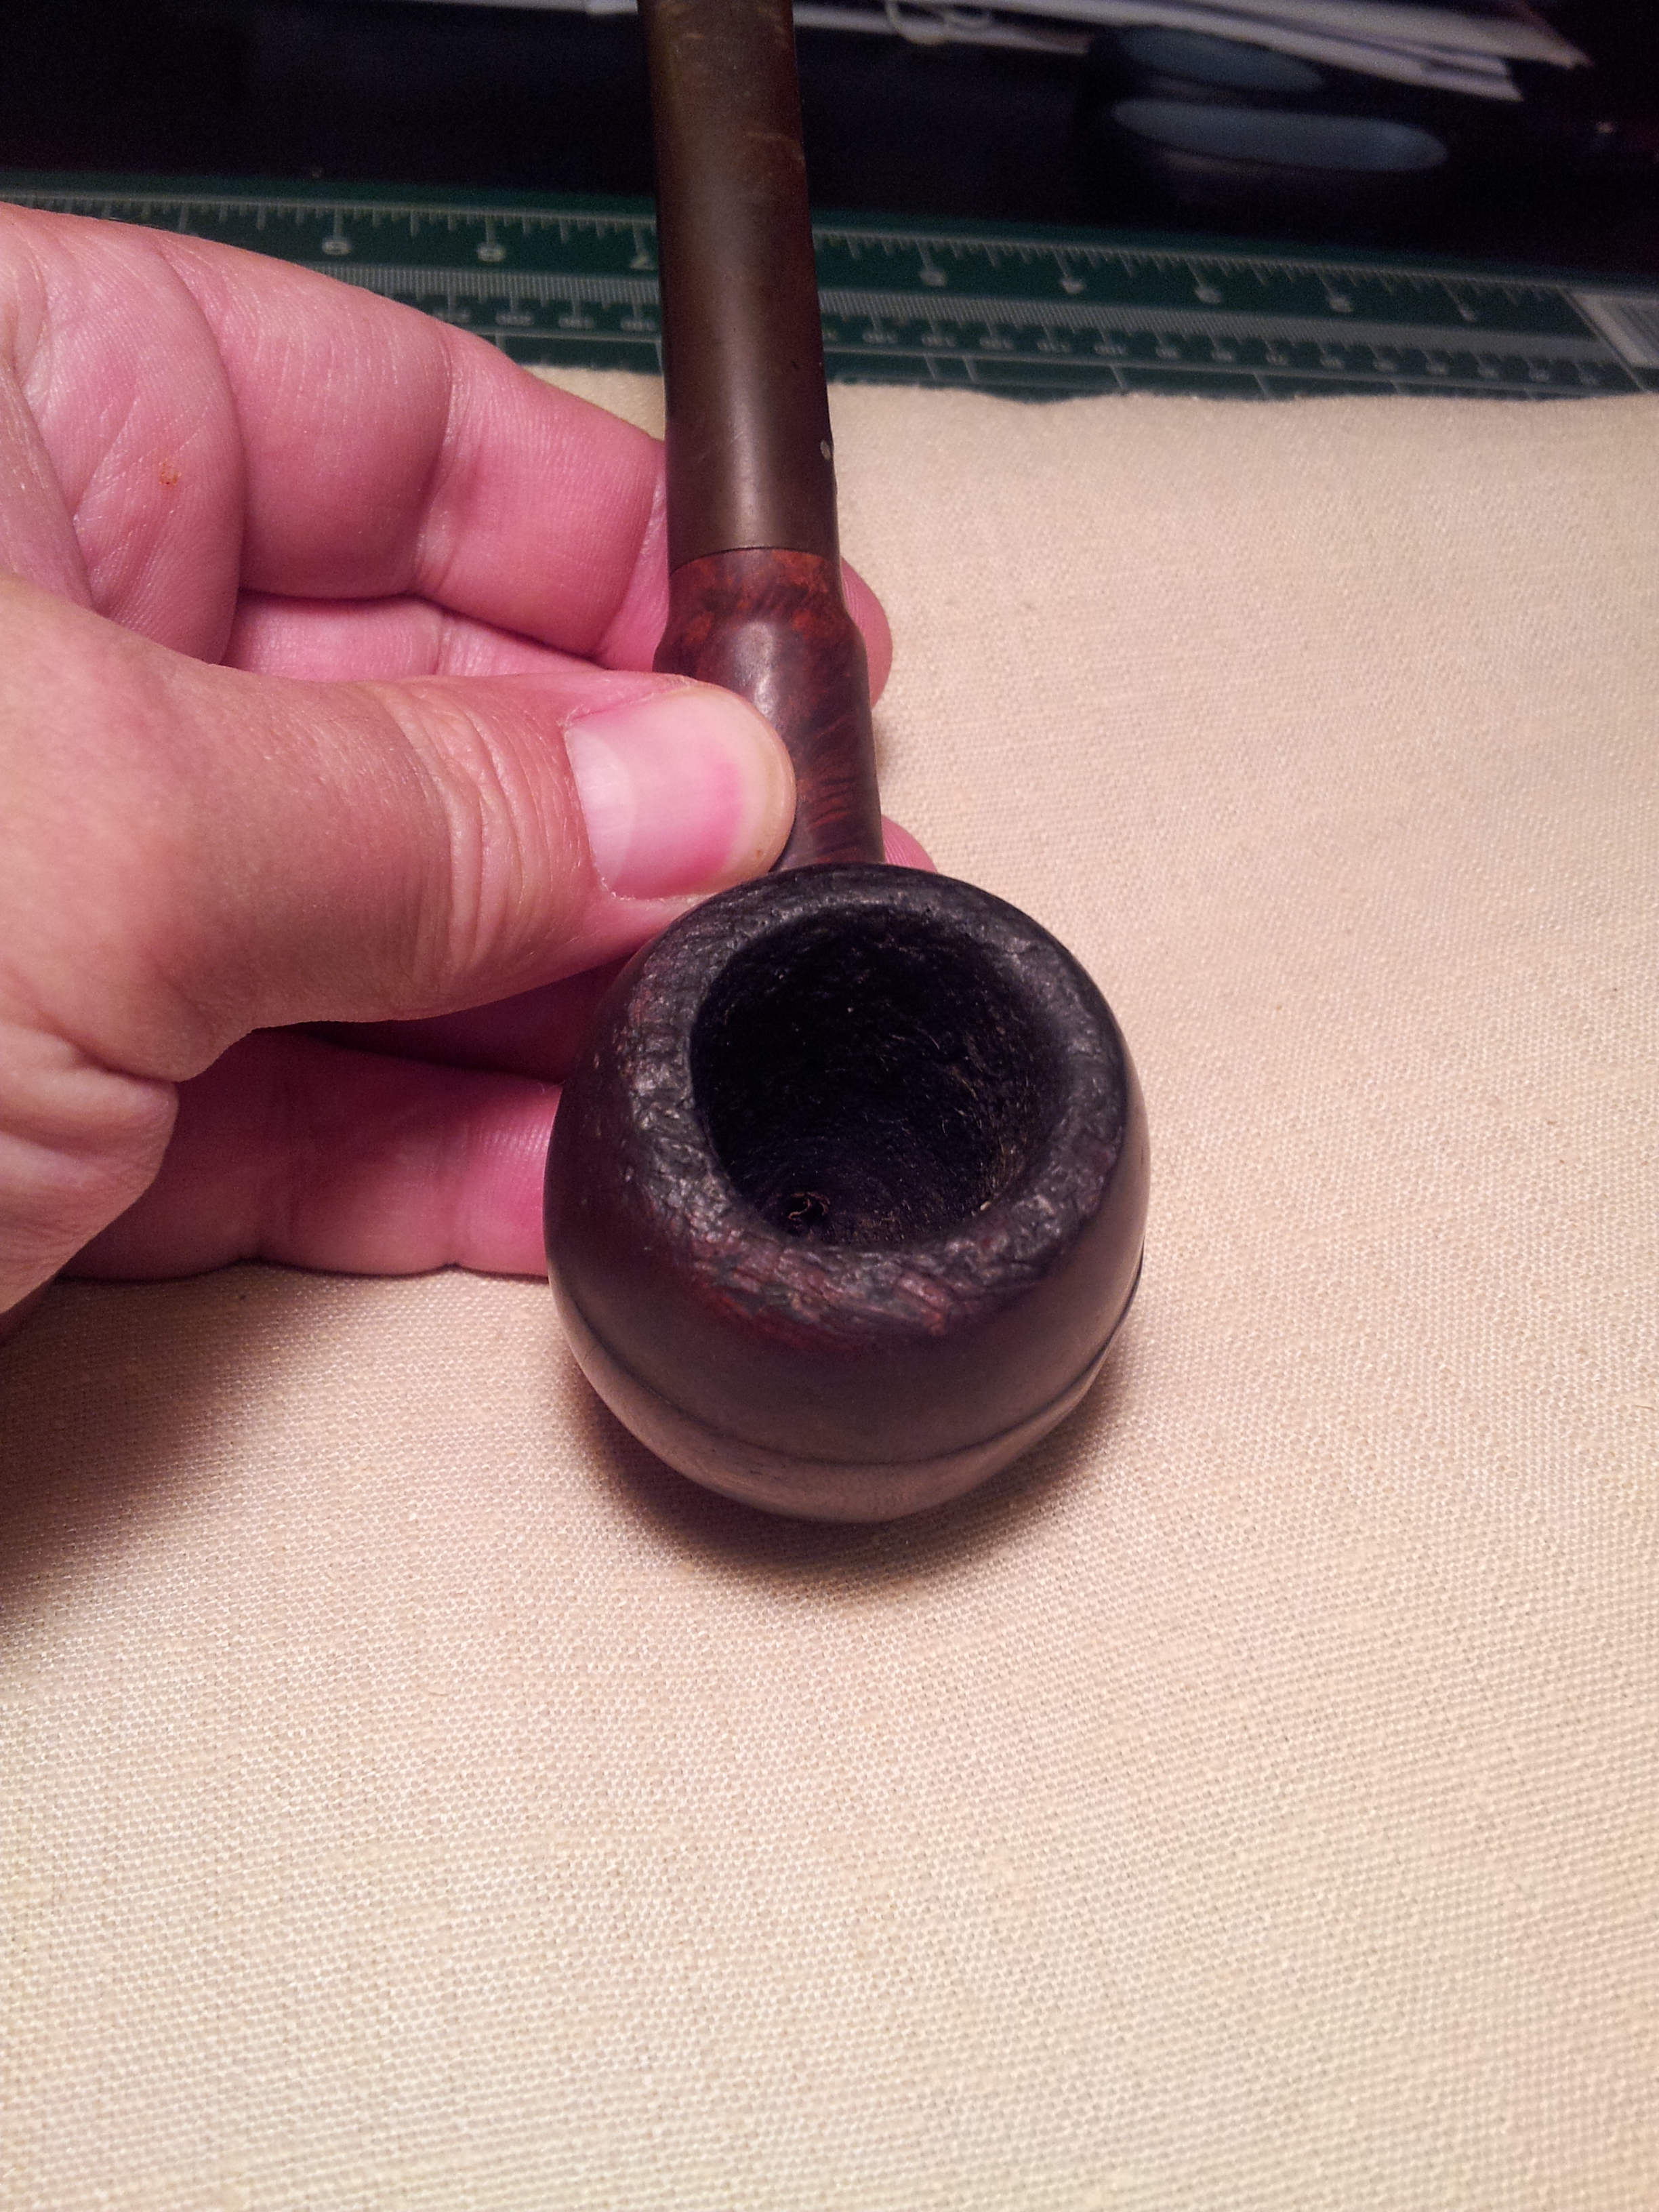

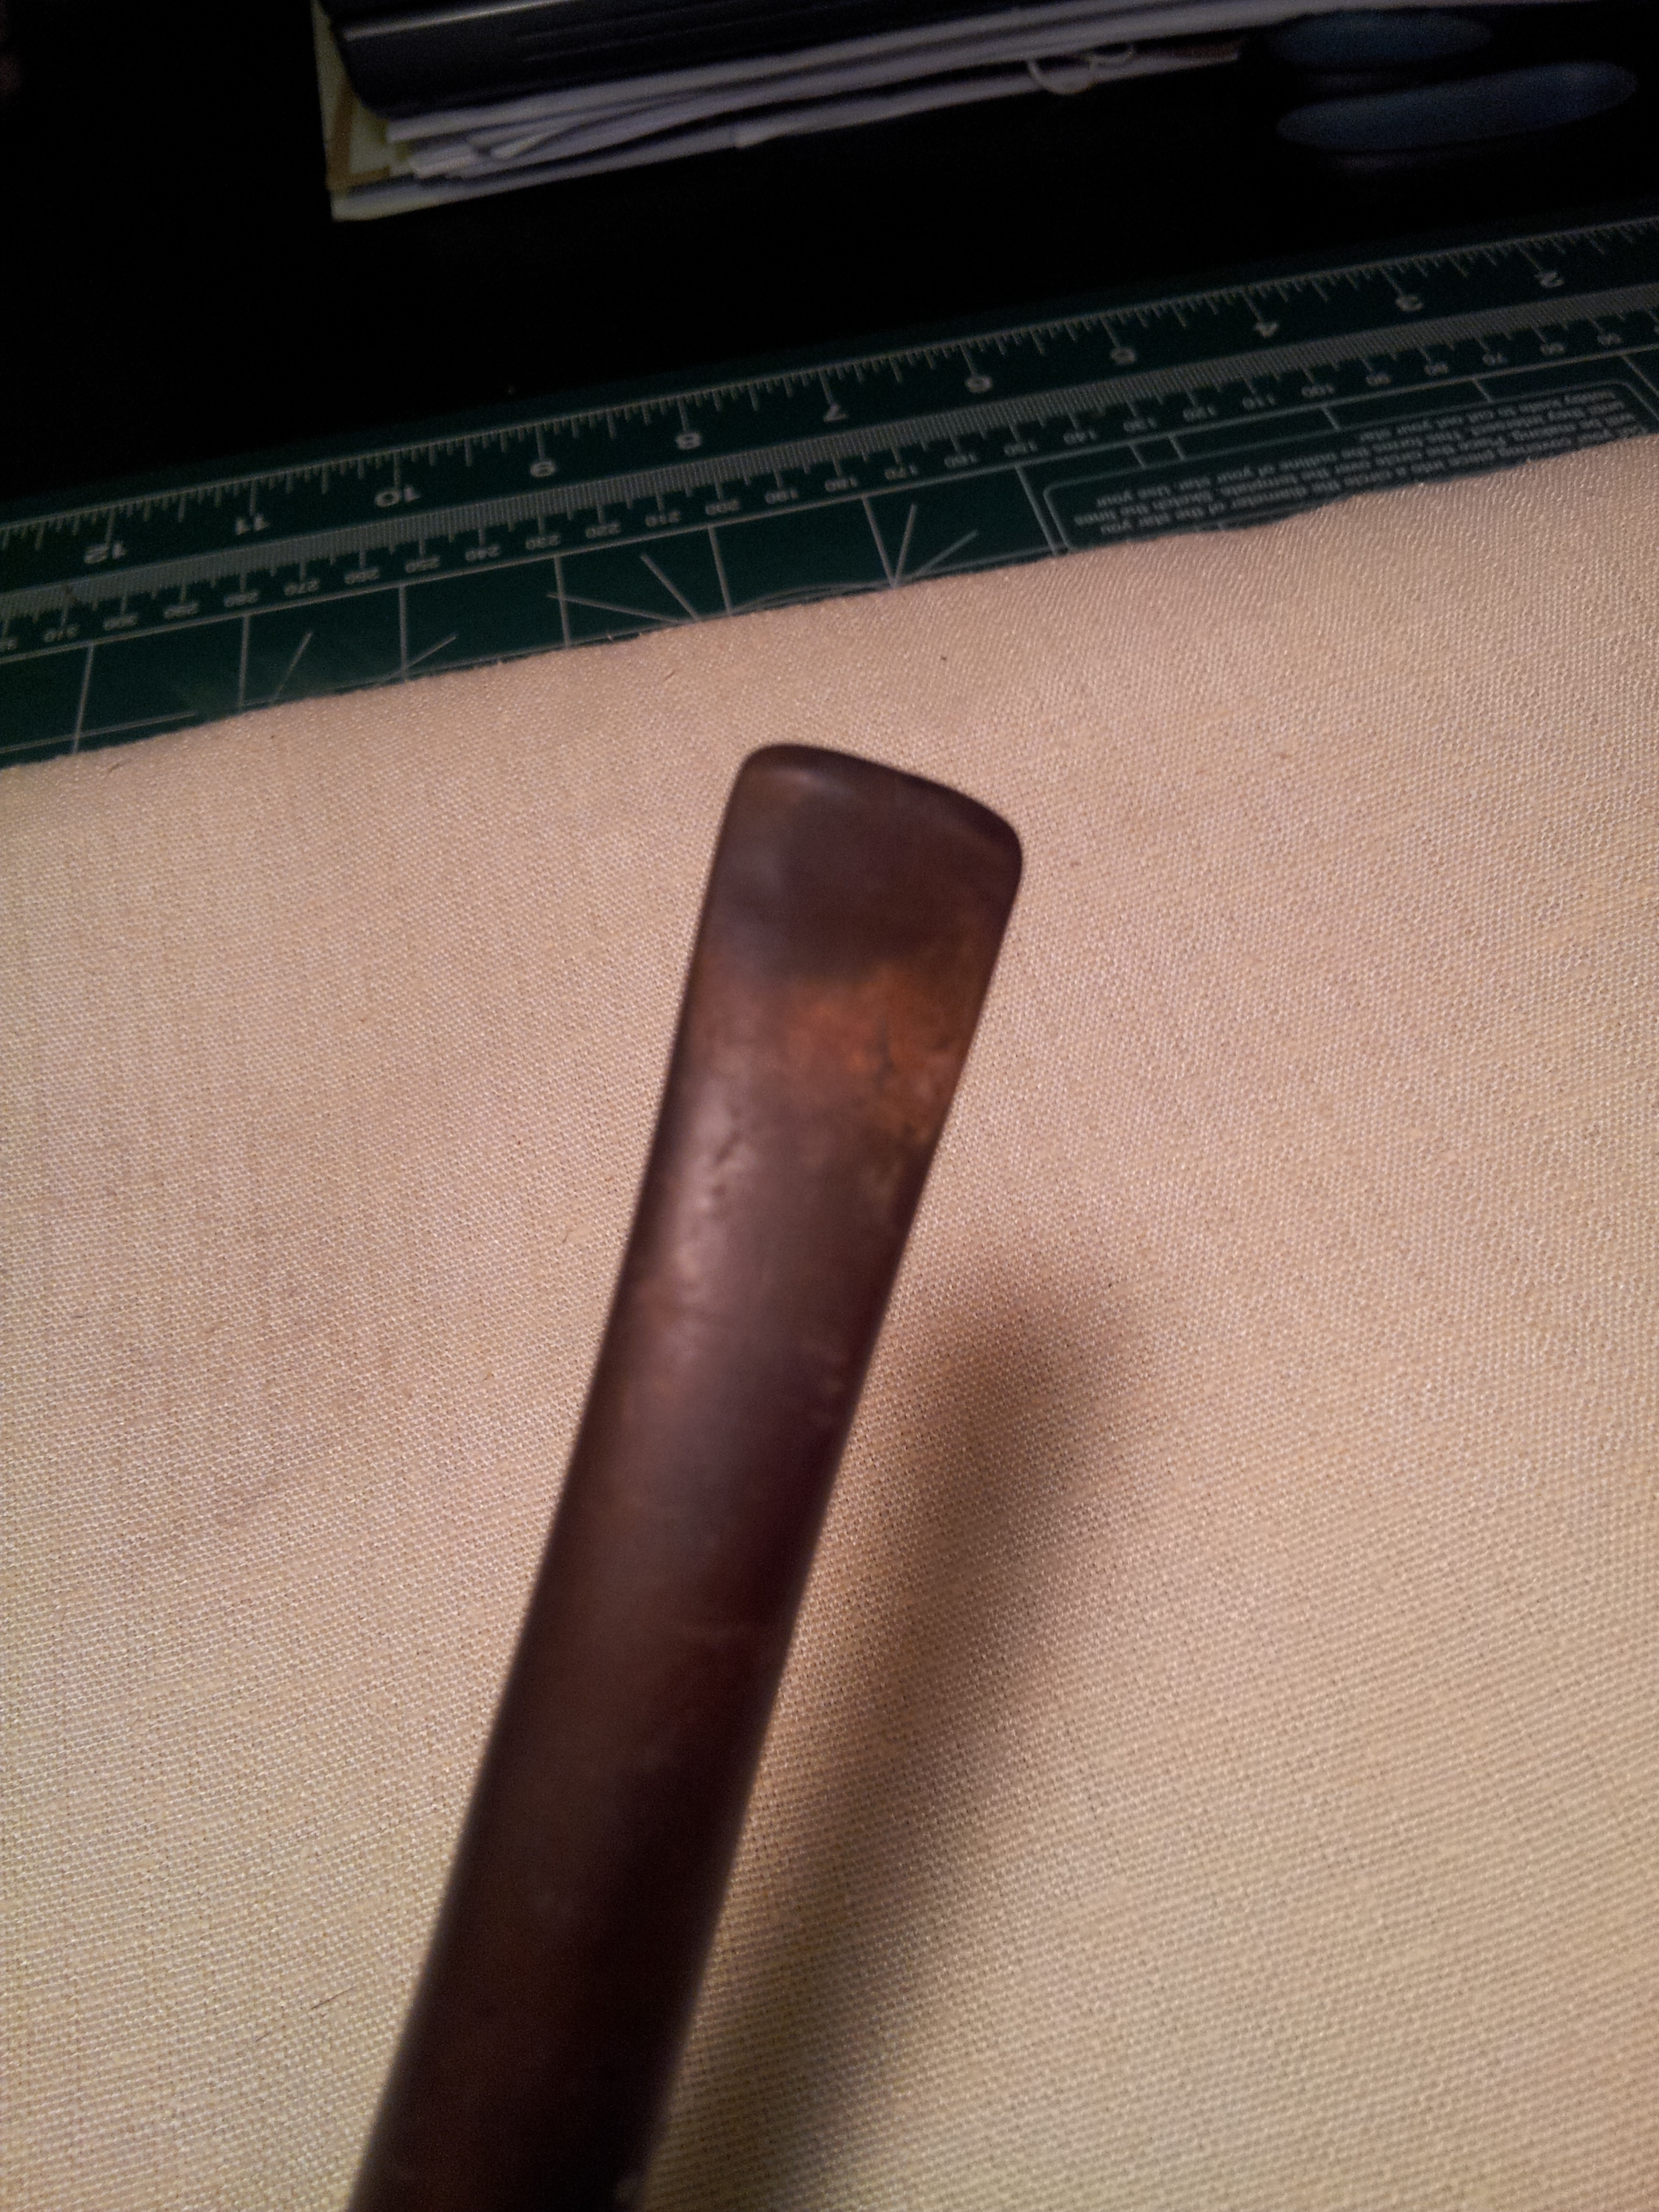
The stem was dirty and oxidized, and the upper lip of the button had been sanded nearly flat. Evidence of a hack job “repair” or an attempt at making the button more comfortable for the owner. The dirt and oxidation was easy enough to fix, but the button will need some further work down the road.
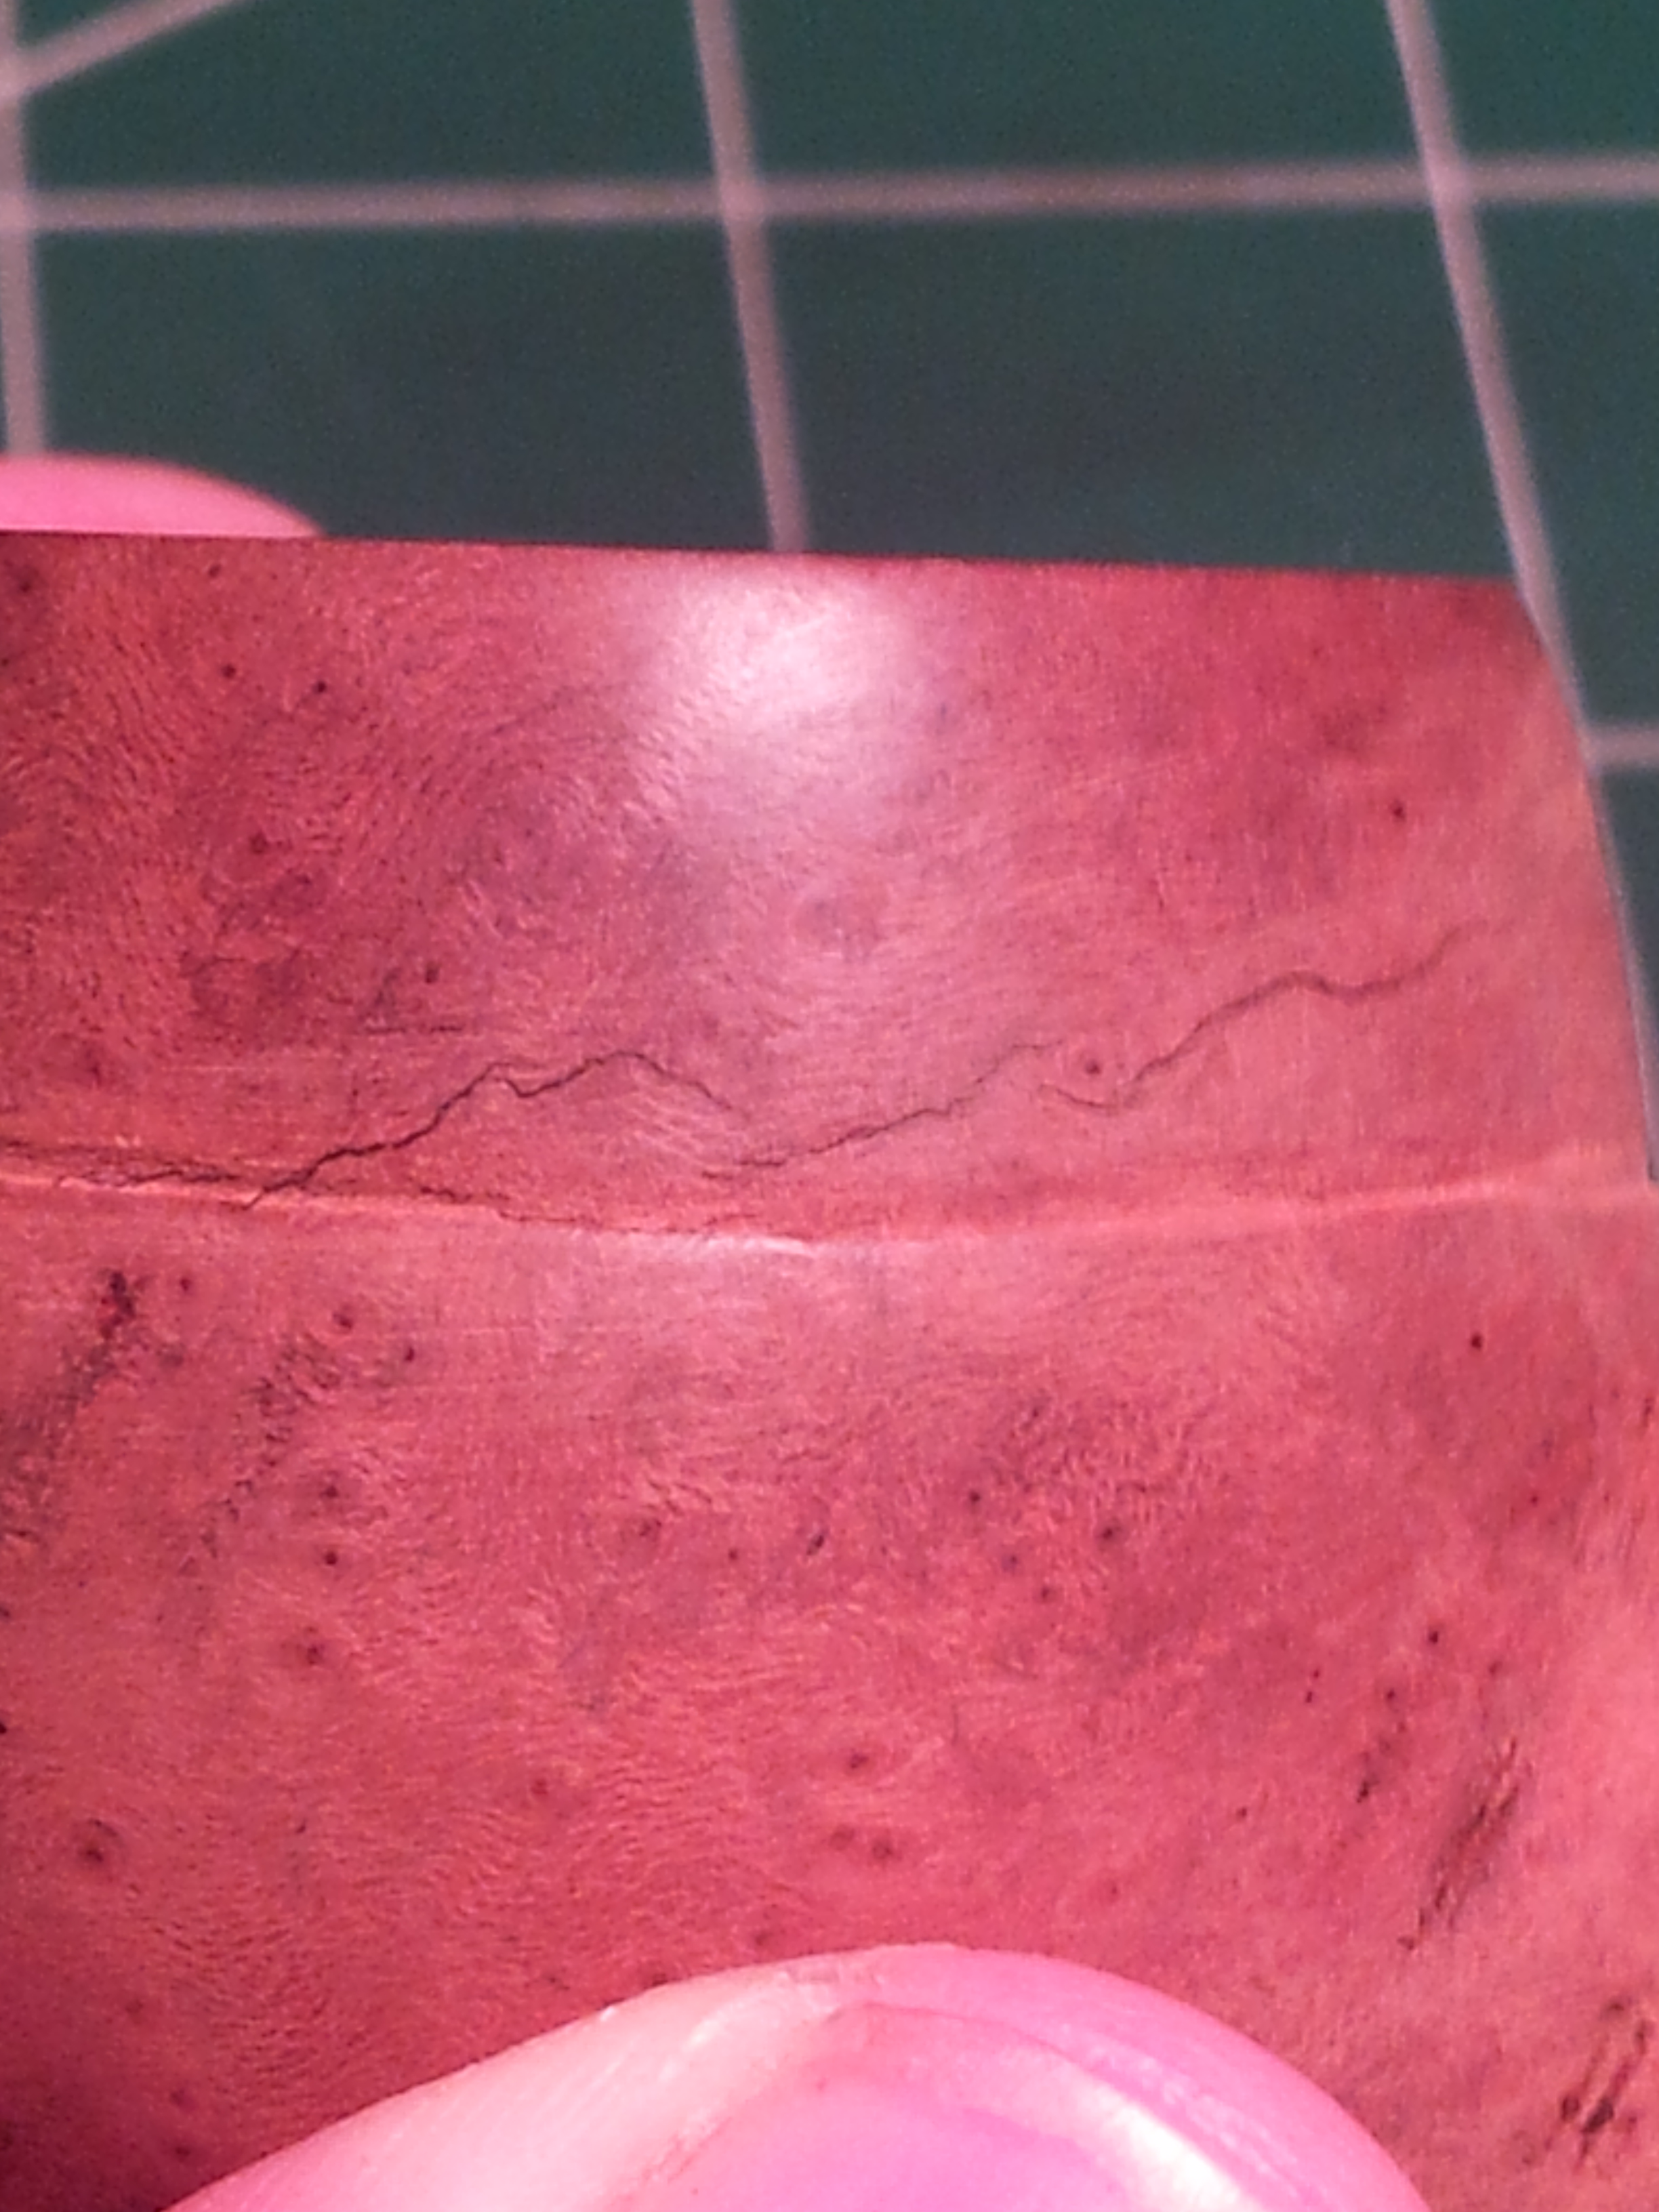
The first step in my restoration process is to get it clean! I dropped the stem into an OxyClean bath and the stummel into a bath of 99% isopropyl alcohol to soften the muck, grime and tars. The briar was then treated to a nice scrub with Murphy’s Oil Soap and a toothbrush – a step I’ve found removes more grime than one might expect, and it’s easy on the briar too. A quick rub-down with 0000 steel wool allowed a good look at the state of the stummel. Not surprisingly I found several cracks that ran horizontally around the back and right side of the bowl, along with another smaller crack perpendicular to the second – evidence of this pipe’s violent past.
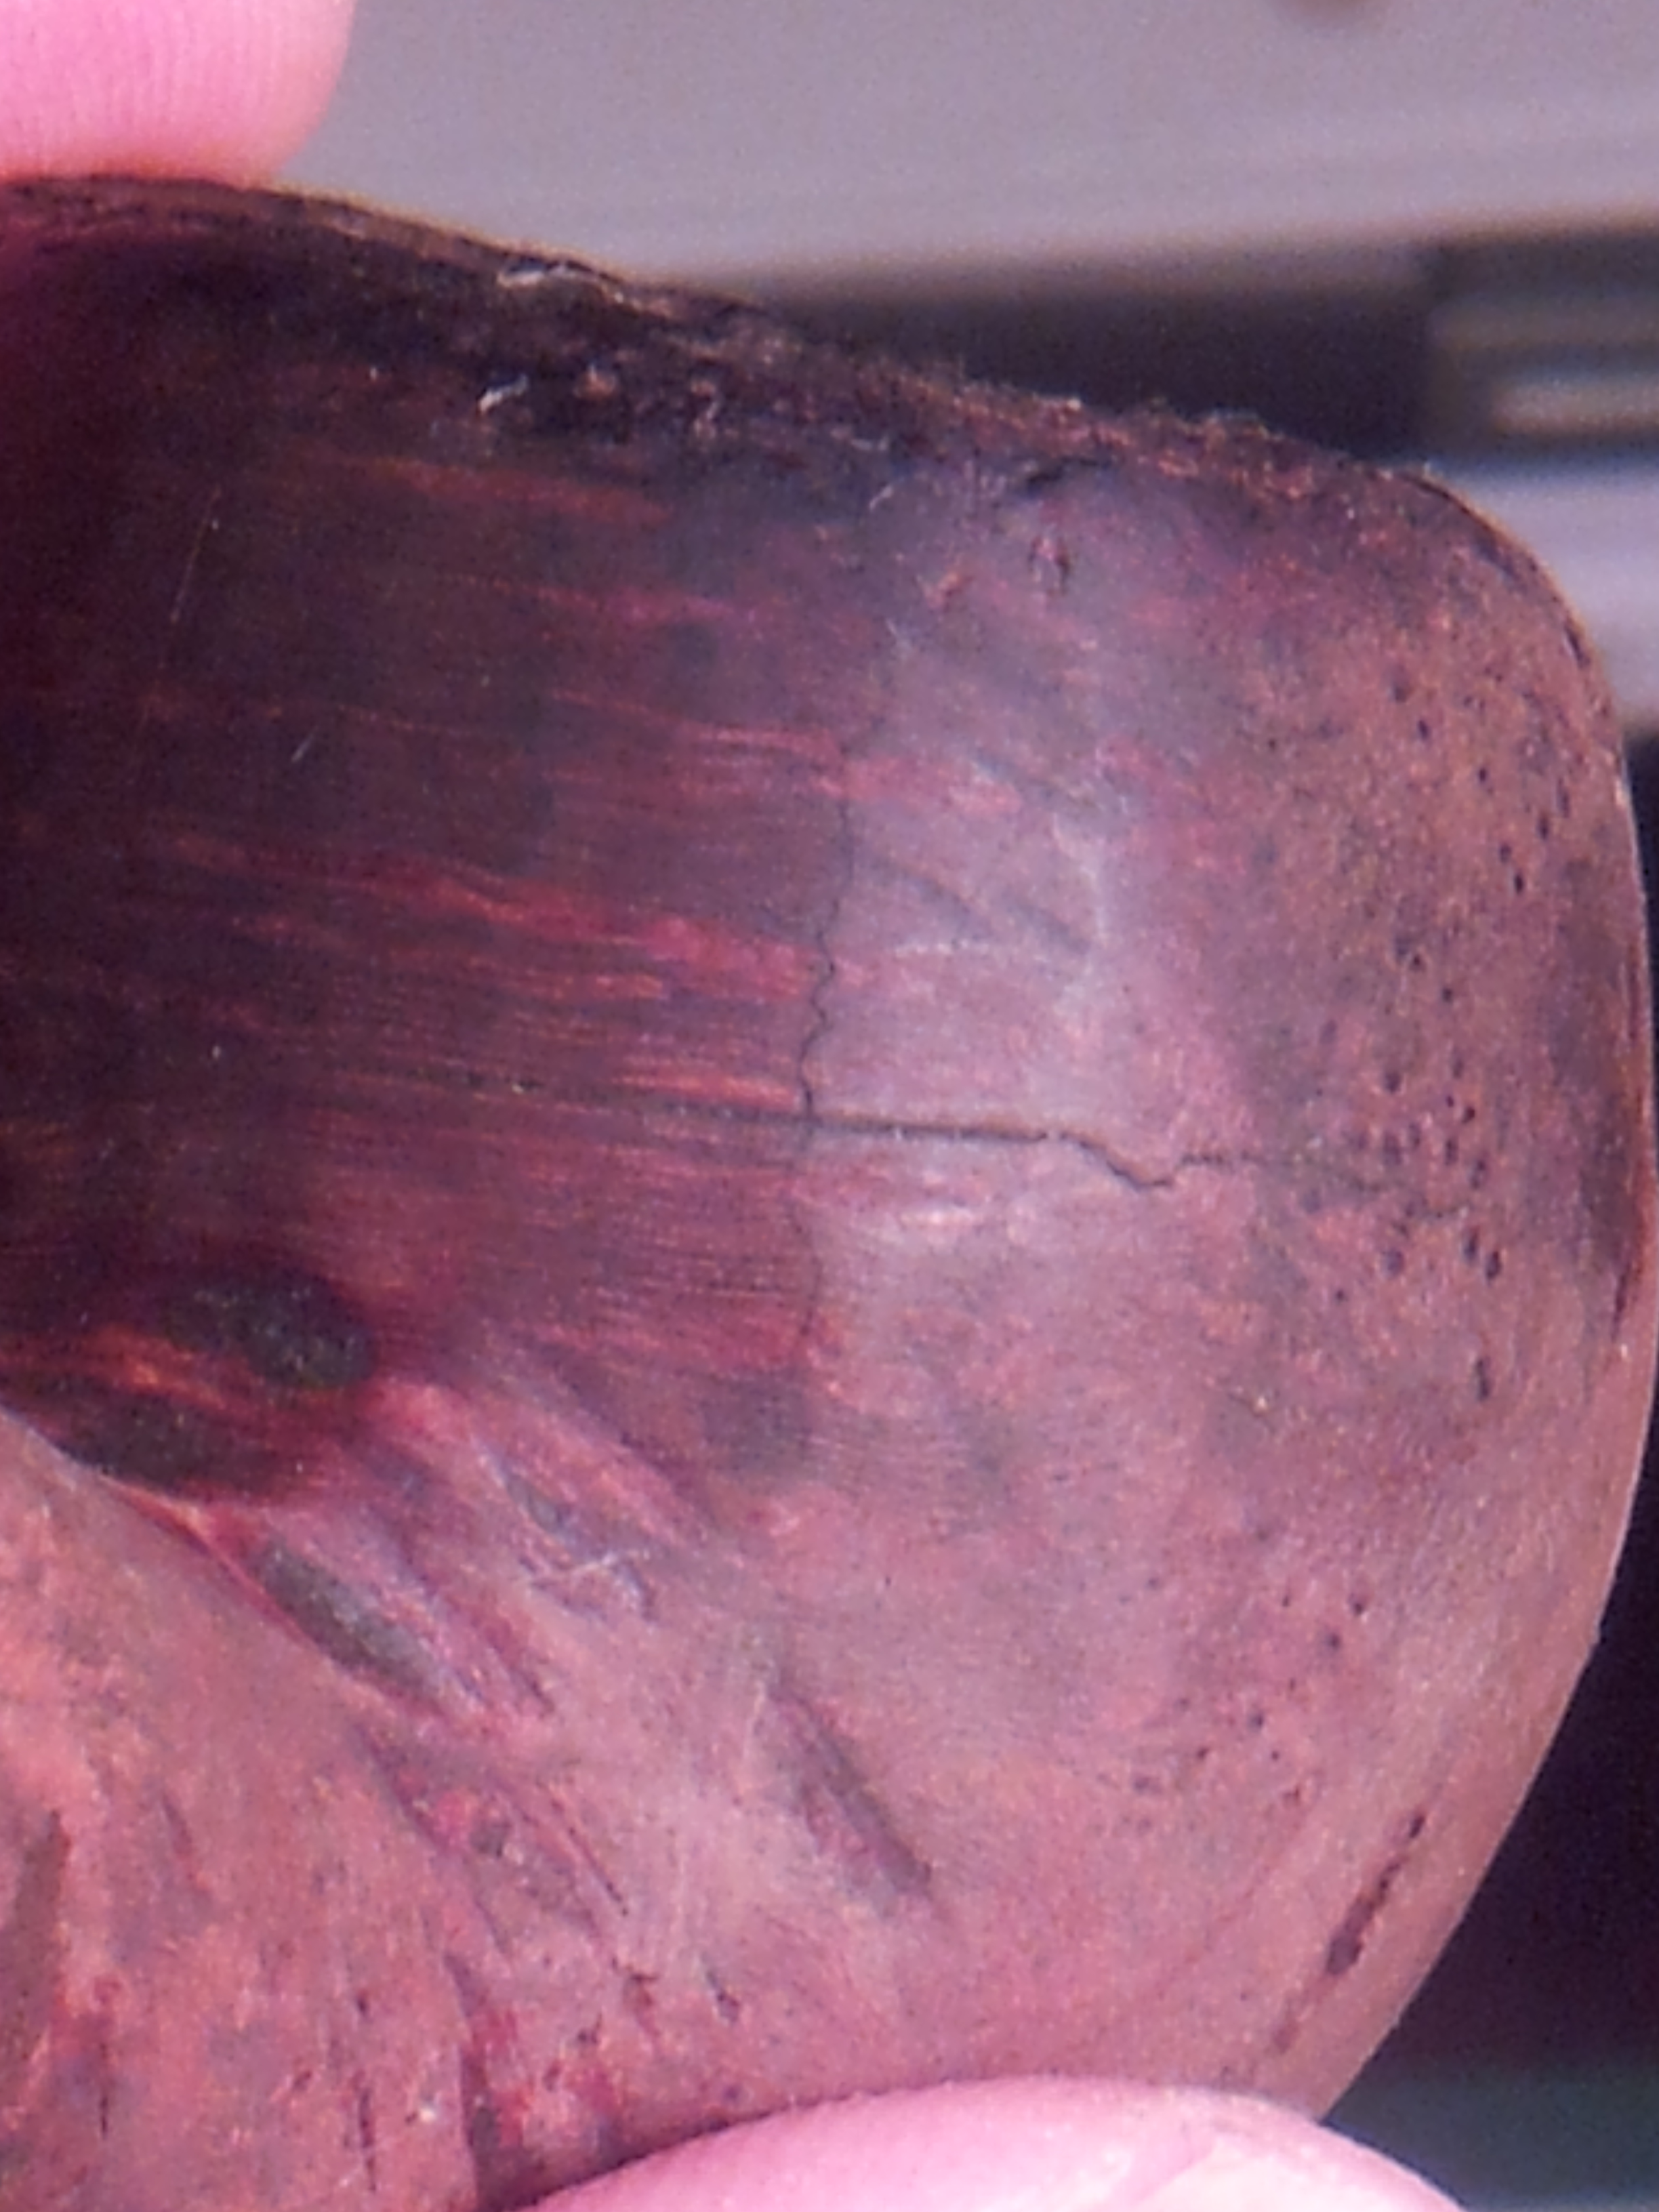
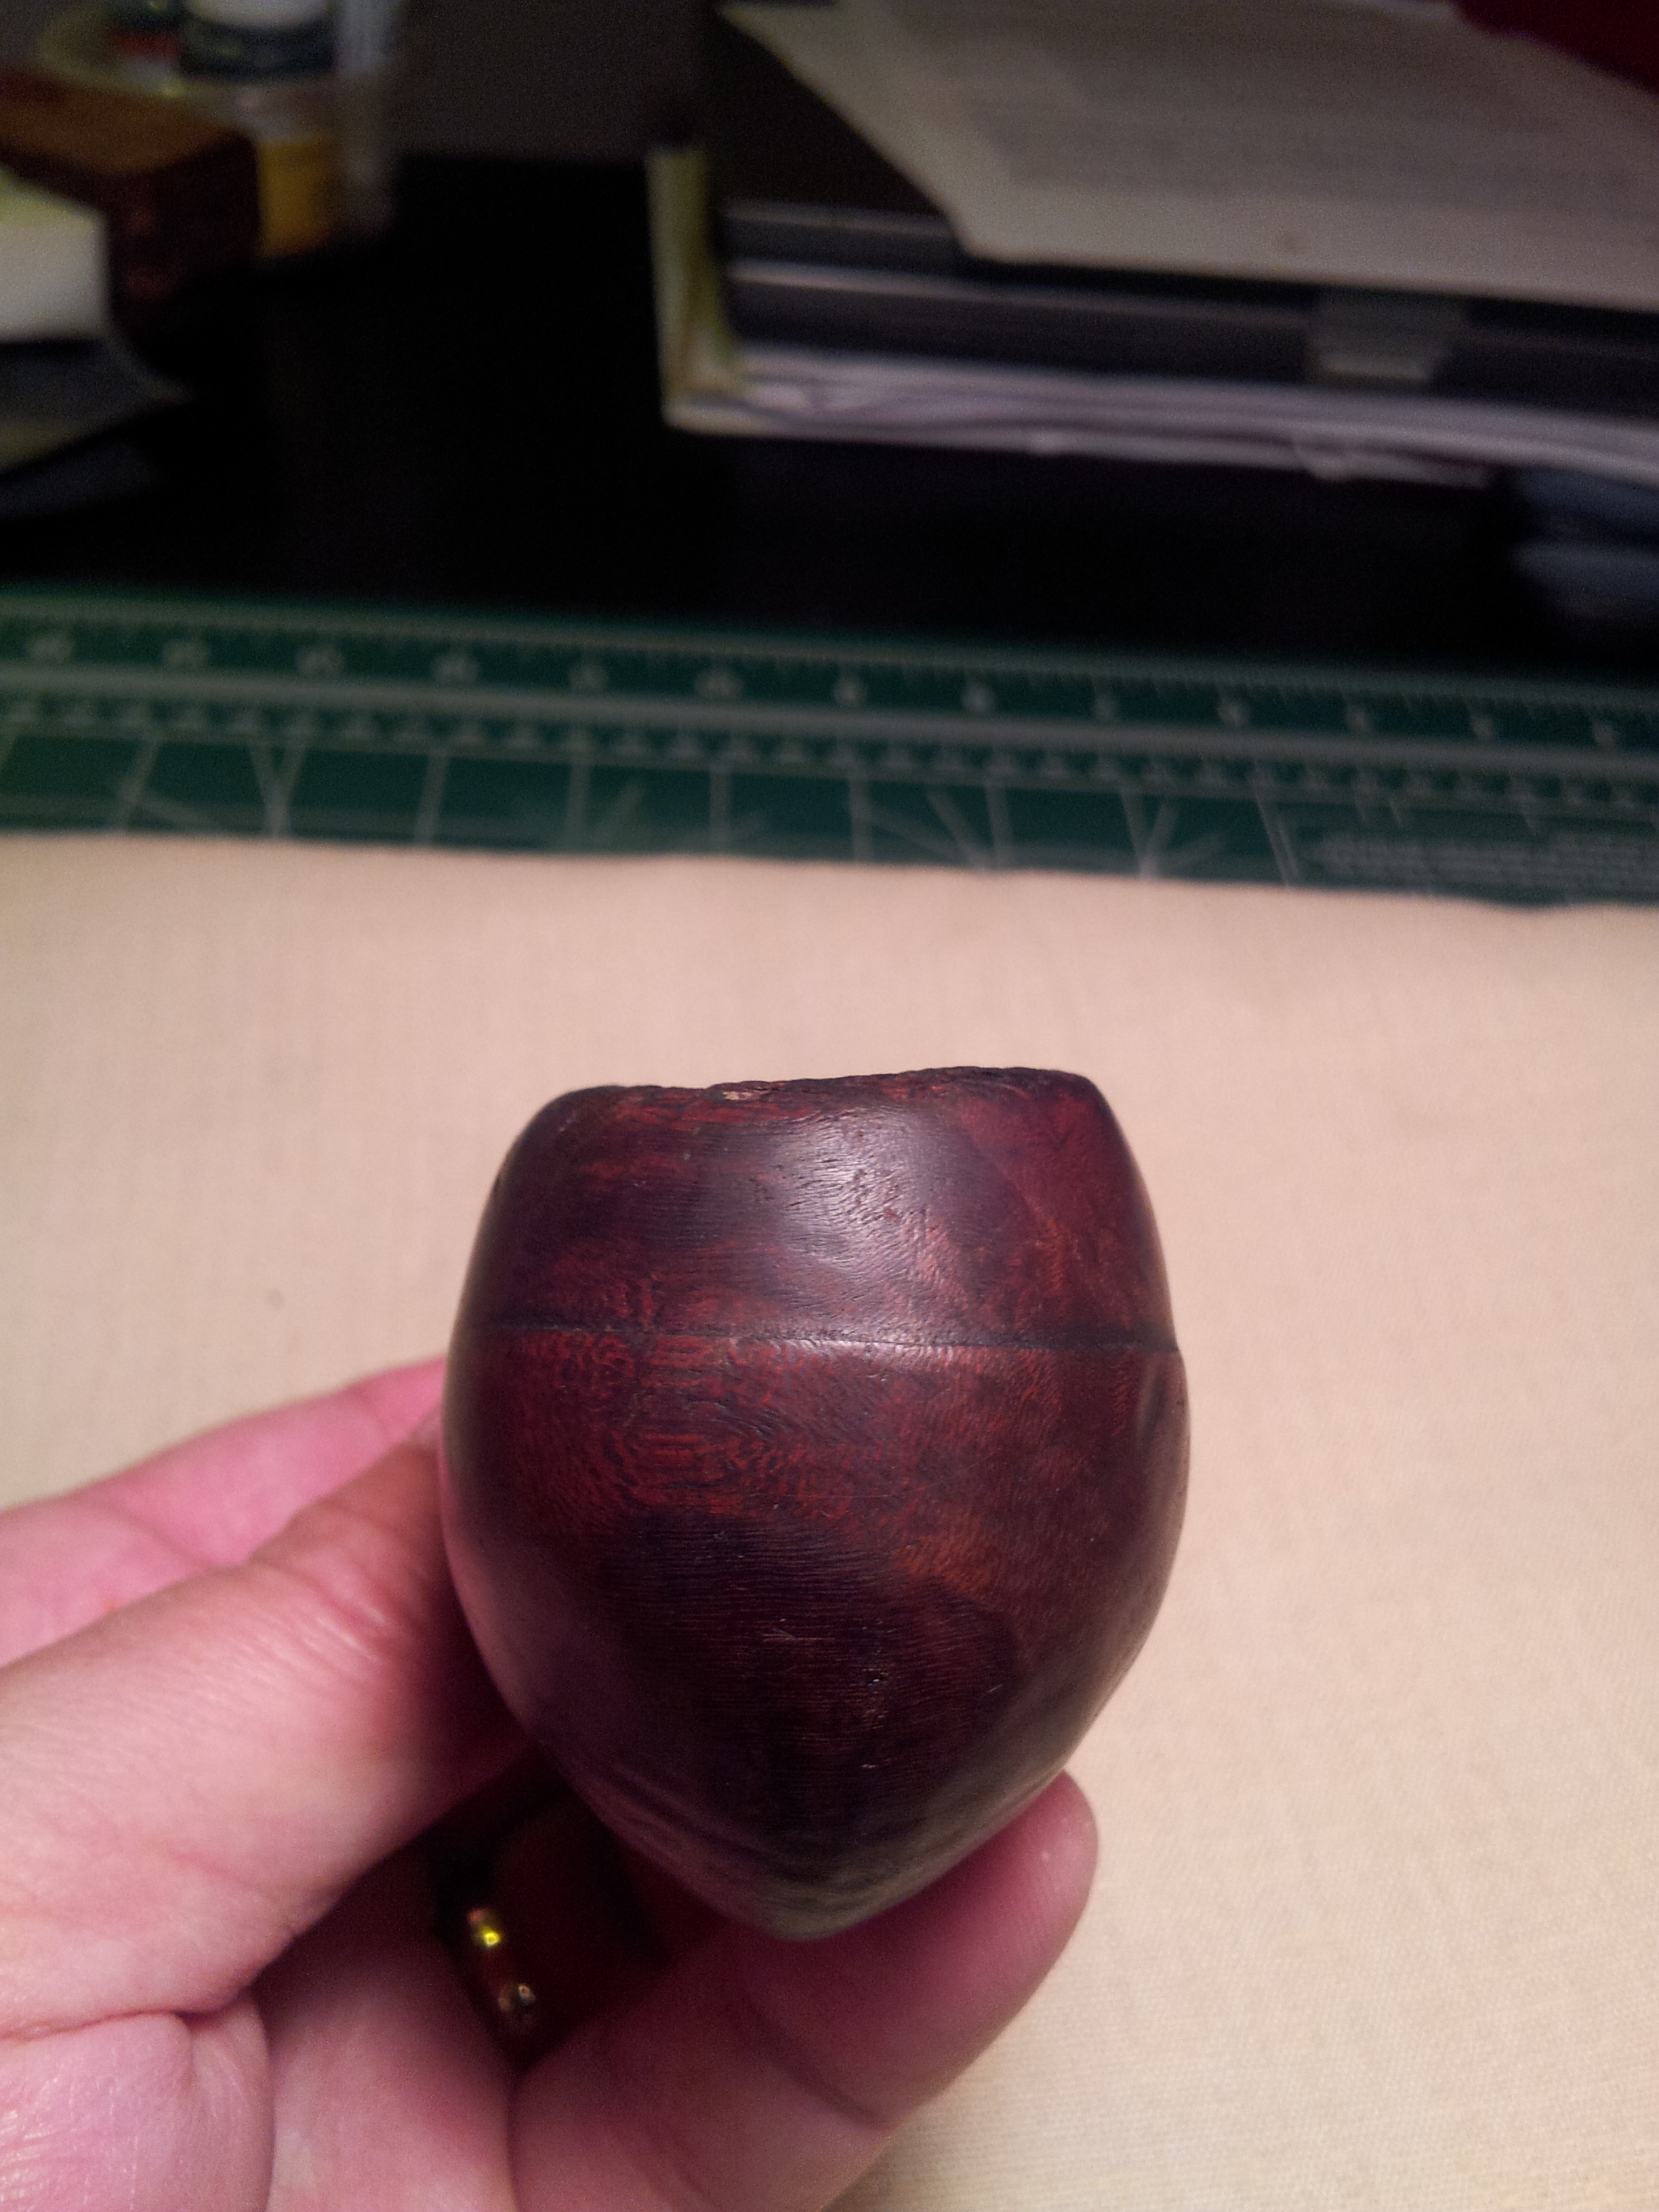
My course of action now was twofold: first to top the bowl to correct the rim, and also to stabilize the cracks in the bowl. The rim was corrected by topping the bowl – gradually working the rim flat against some 220 grit sandpaper on a flat level surface (I used the deck of my table saw). I worked slowly, checking my progress often in order to ensure a rim parallel to the line carved around the bowl by the Brigham craftsman years ago.
CA glue (cyanoacrylate, or Super Glue) was flowed into the cracks around the bowl’s outside and allowed to cure. Then the bowl was sanded with a succession of grits of sandpaper (400 – 2000 grit) to remove the excess glue and smooth out the surface in preparation for staining. The bottom half of the bowl had been gently rusticated at the factory. My sanding removed quite a bit of this, which I usually prefer to avoid but in this case I won’t cry over spilt milk. I actually prefer the (almost) smooth finish I ended up with.
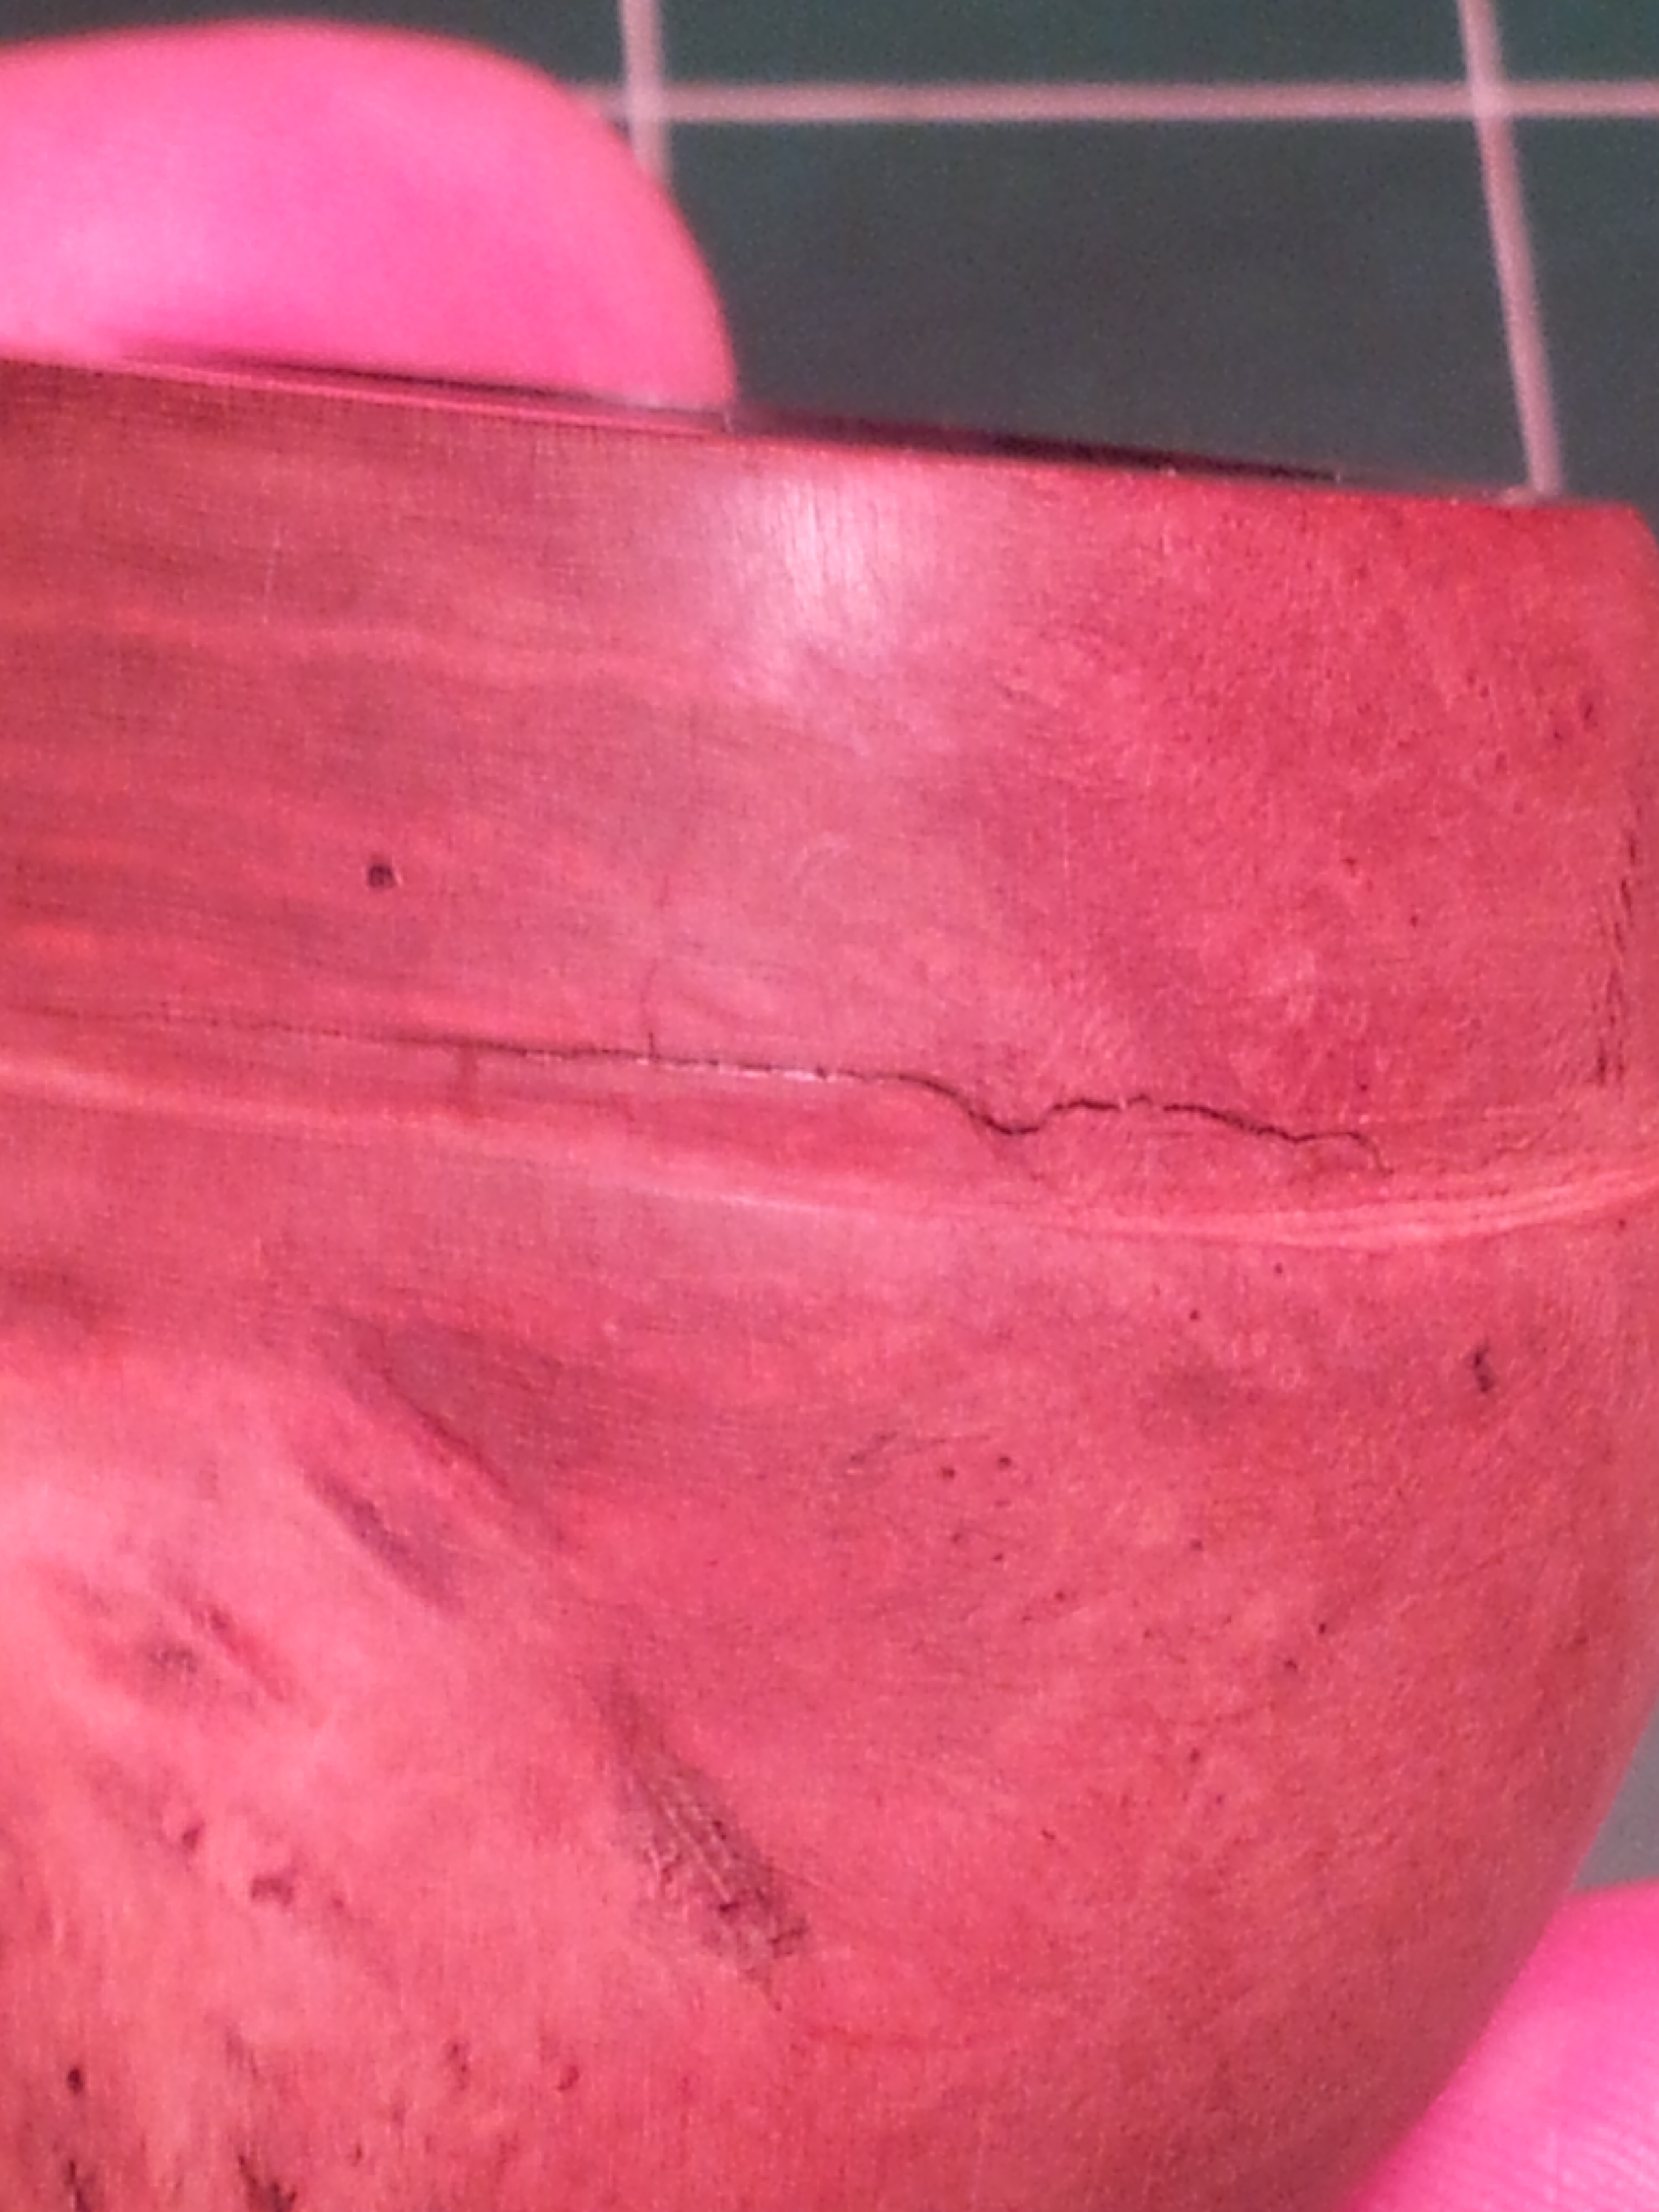
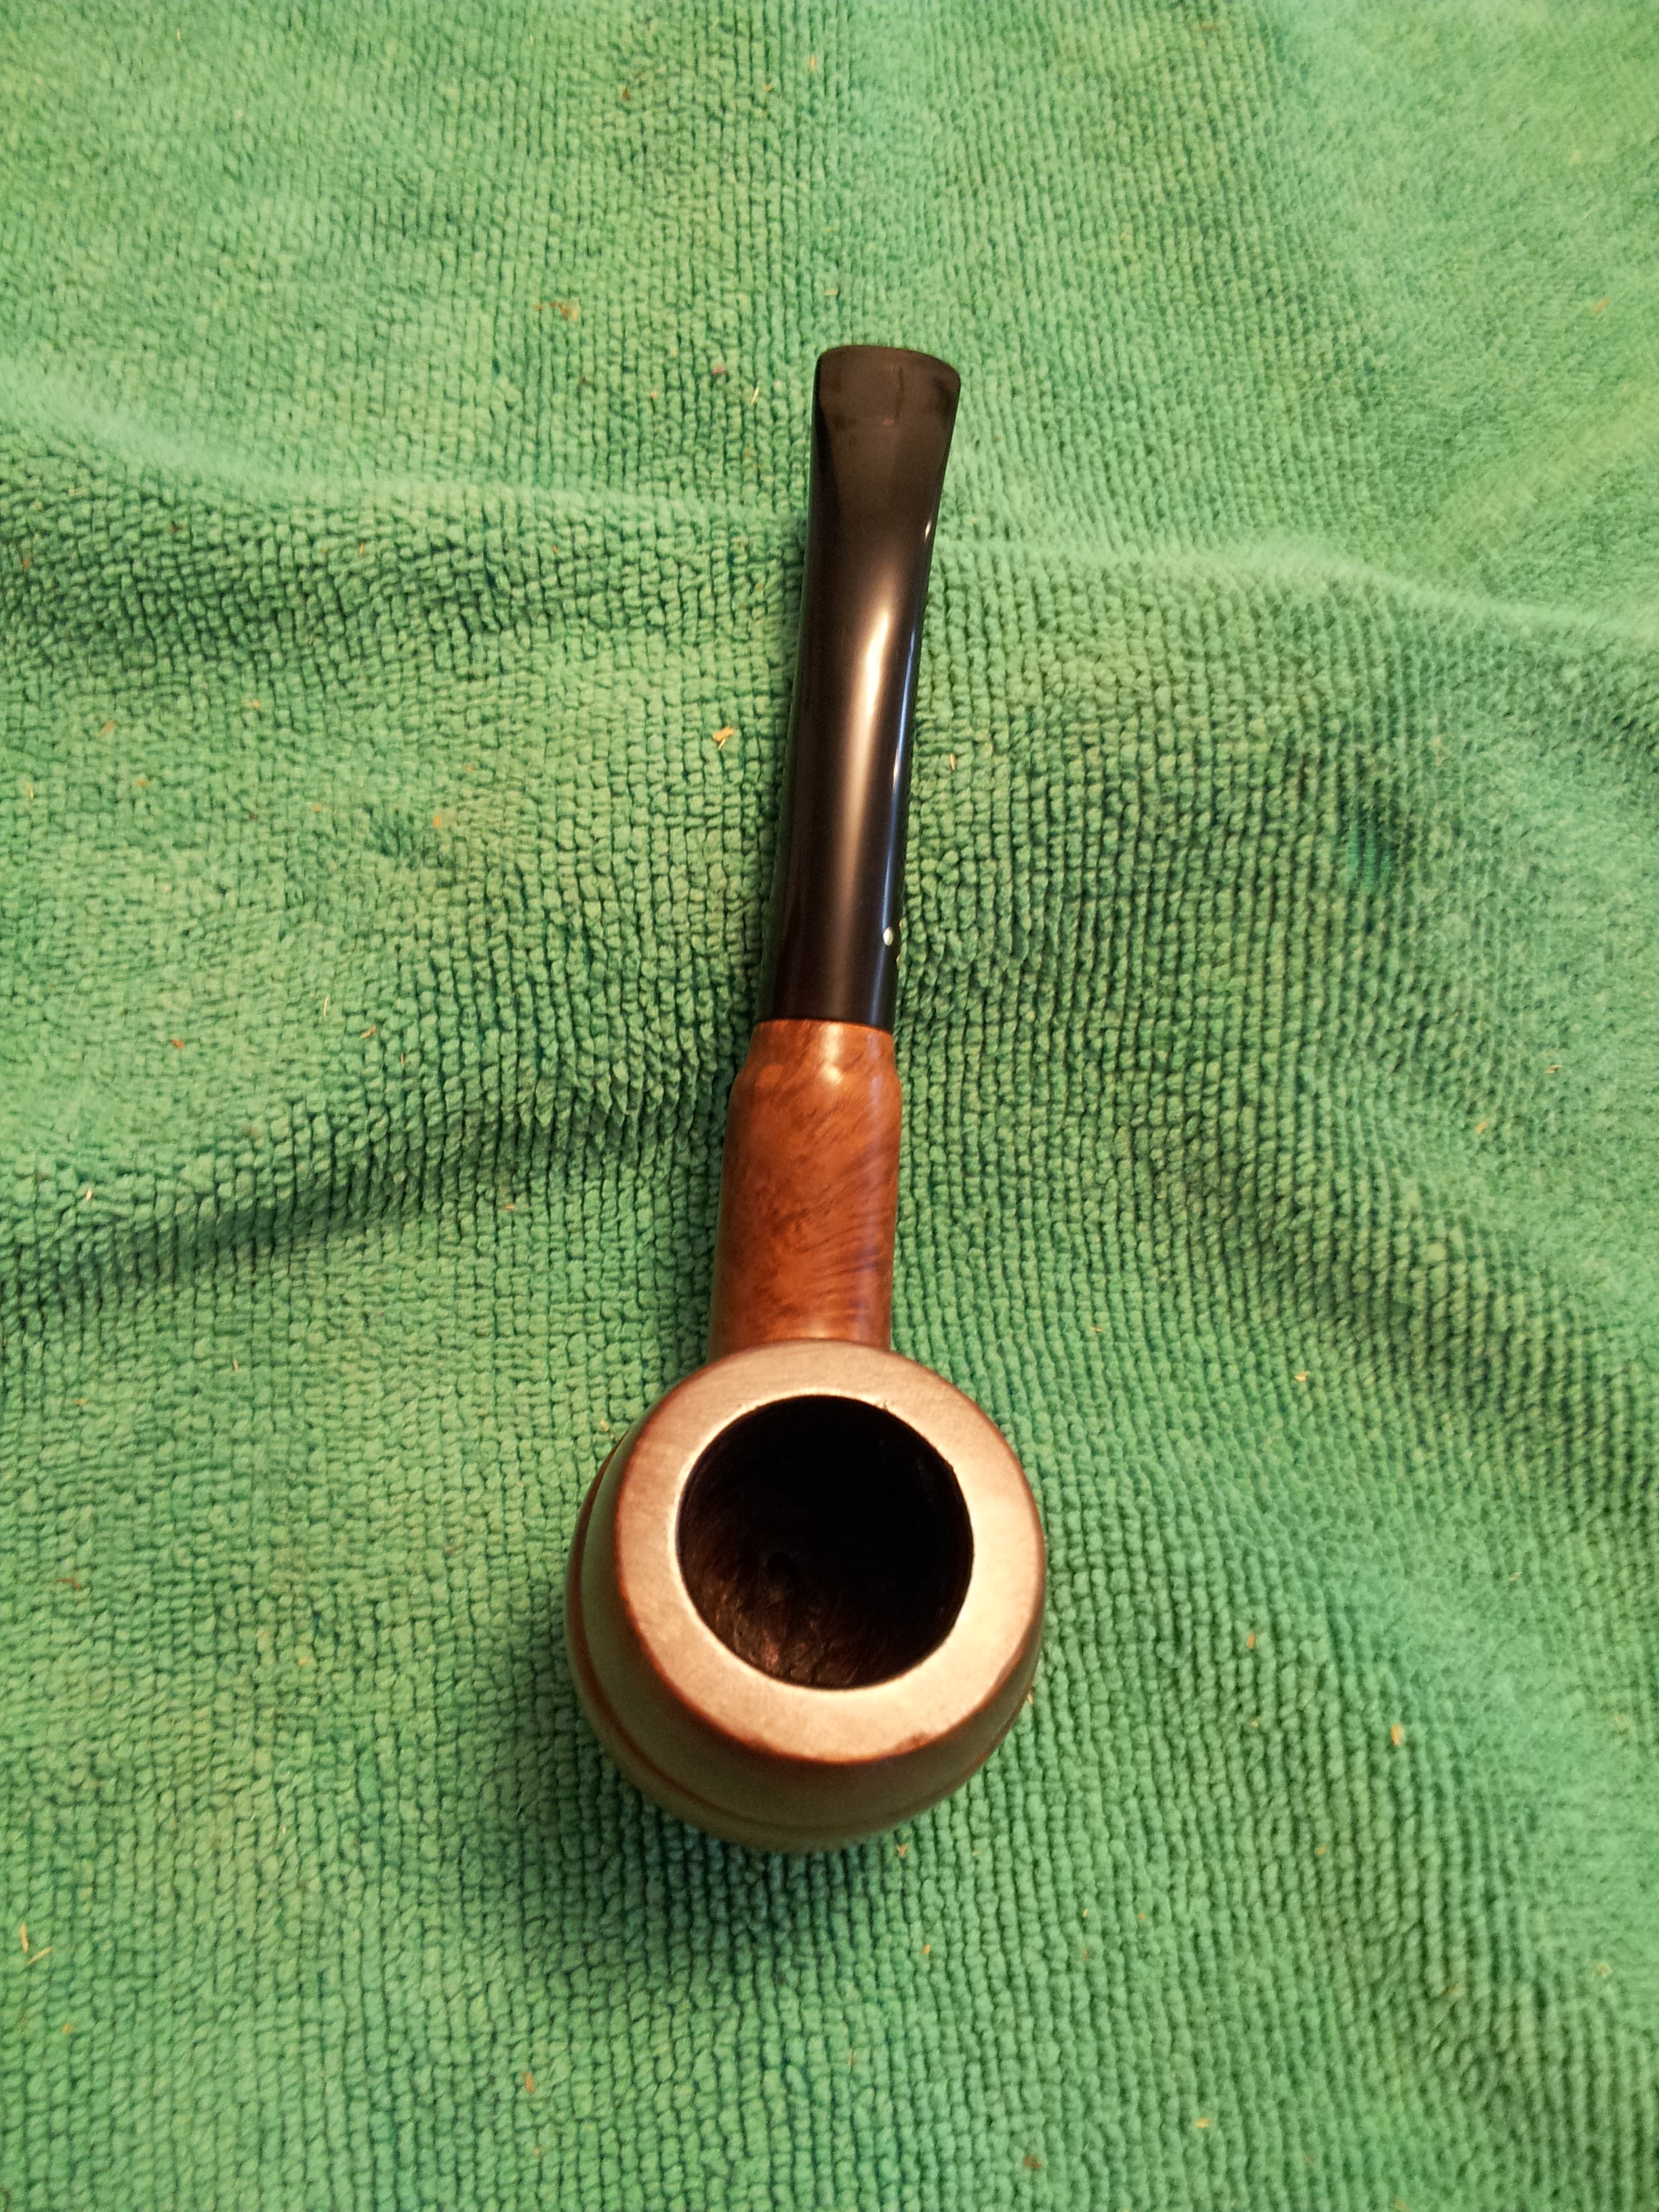
Here are some pictures before and after the topping and a few of the now-repaired cracks. The glue lines are still visible, as the glue dries darker than the surrounding briar. The final picture in this series shows the pipe ready for staining, after cleaning the oxidation from the stem. I forgot to take pictures of the stem in process, but after soaking in Oxyclean, I scrubbed off most of the muck with 000 steel wool and then the same sequence of 400 – 2000 grit wet/dry sandpaper.

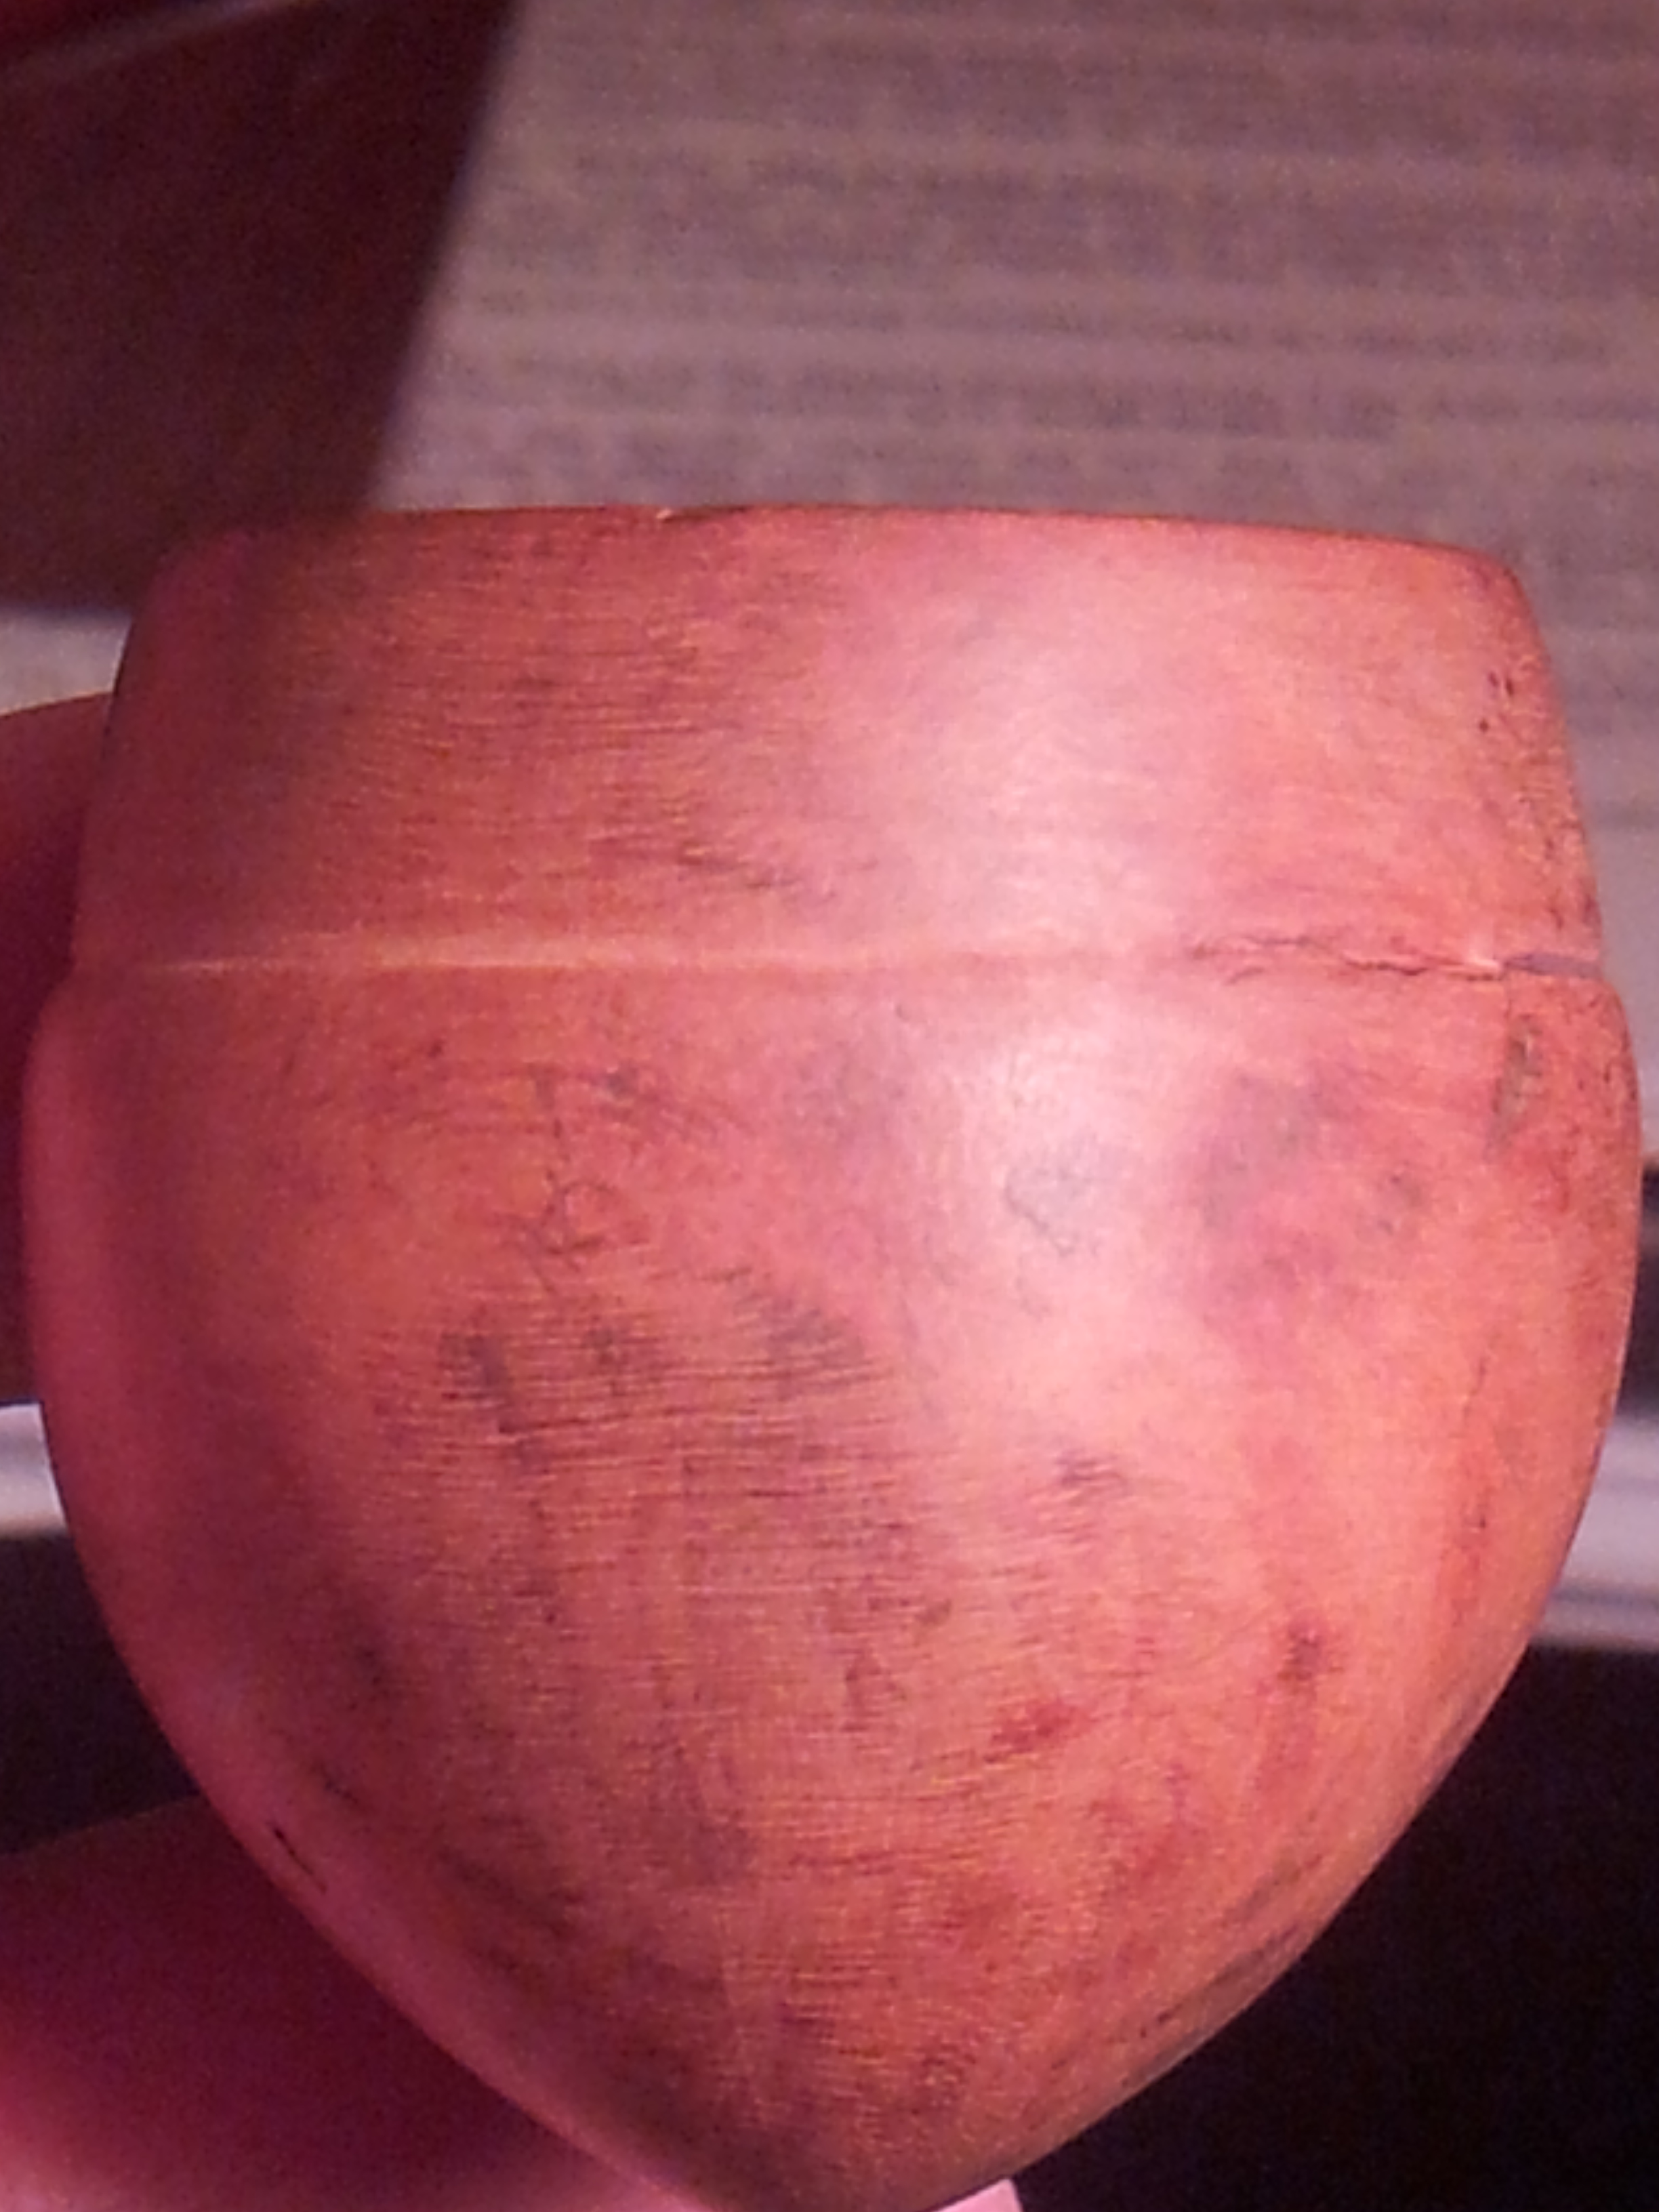

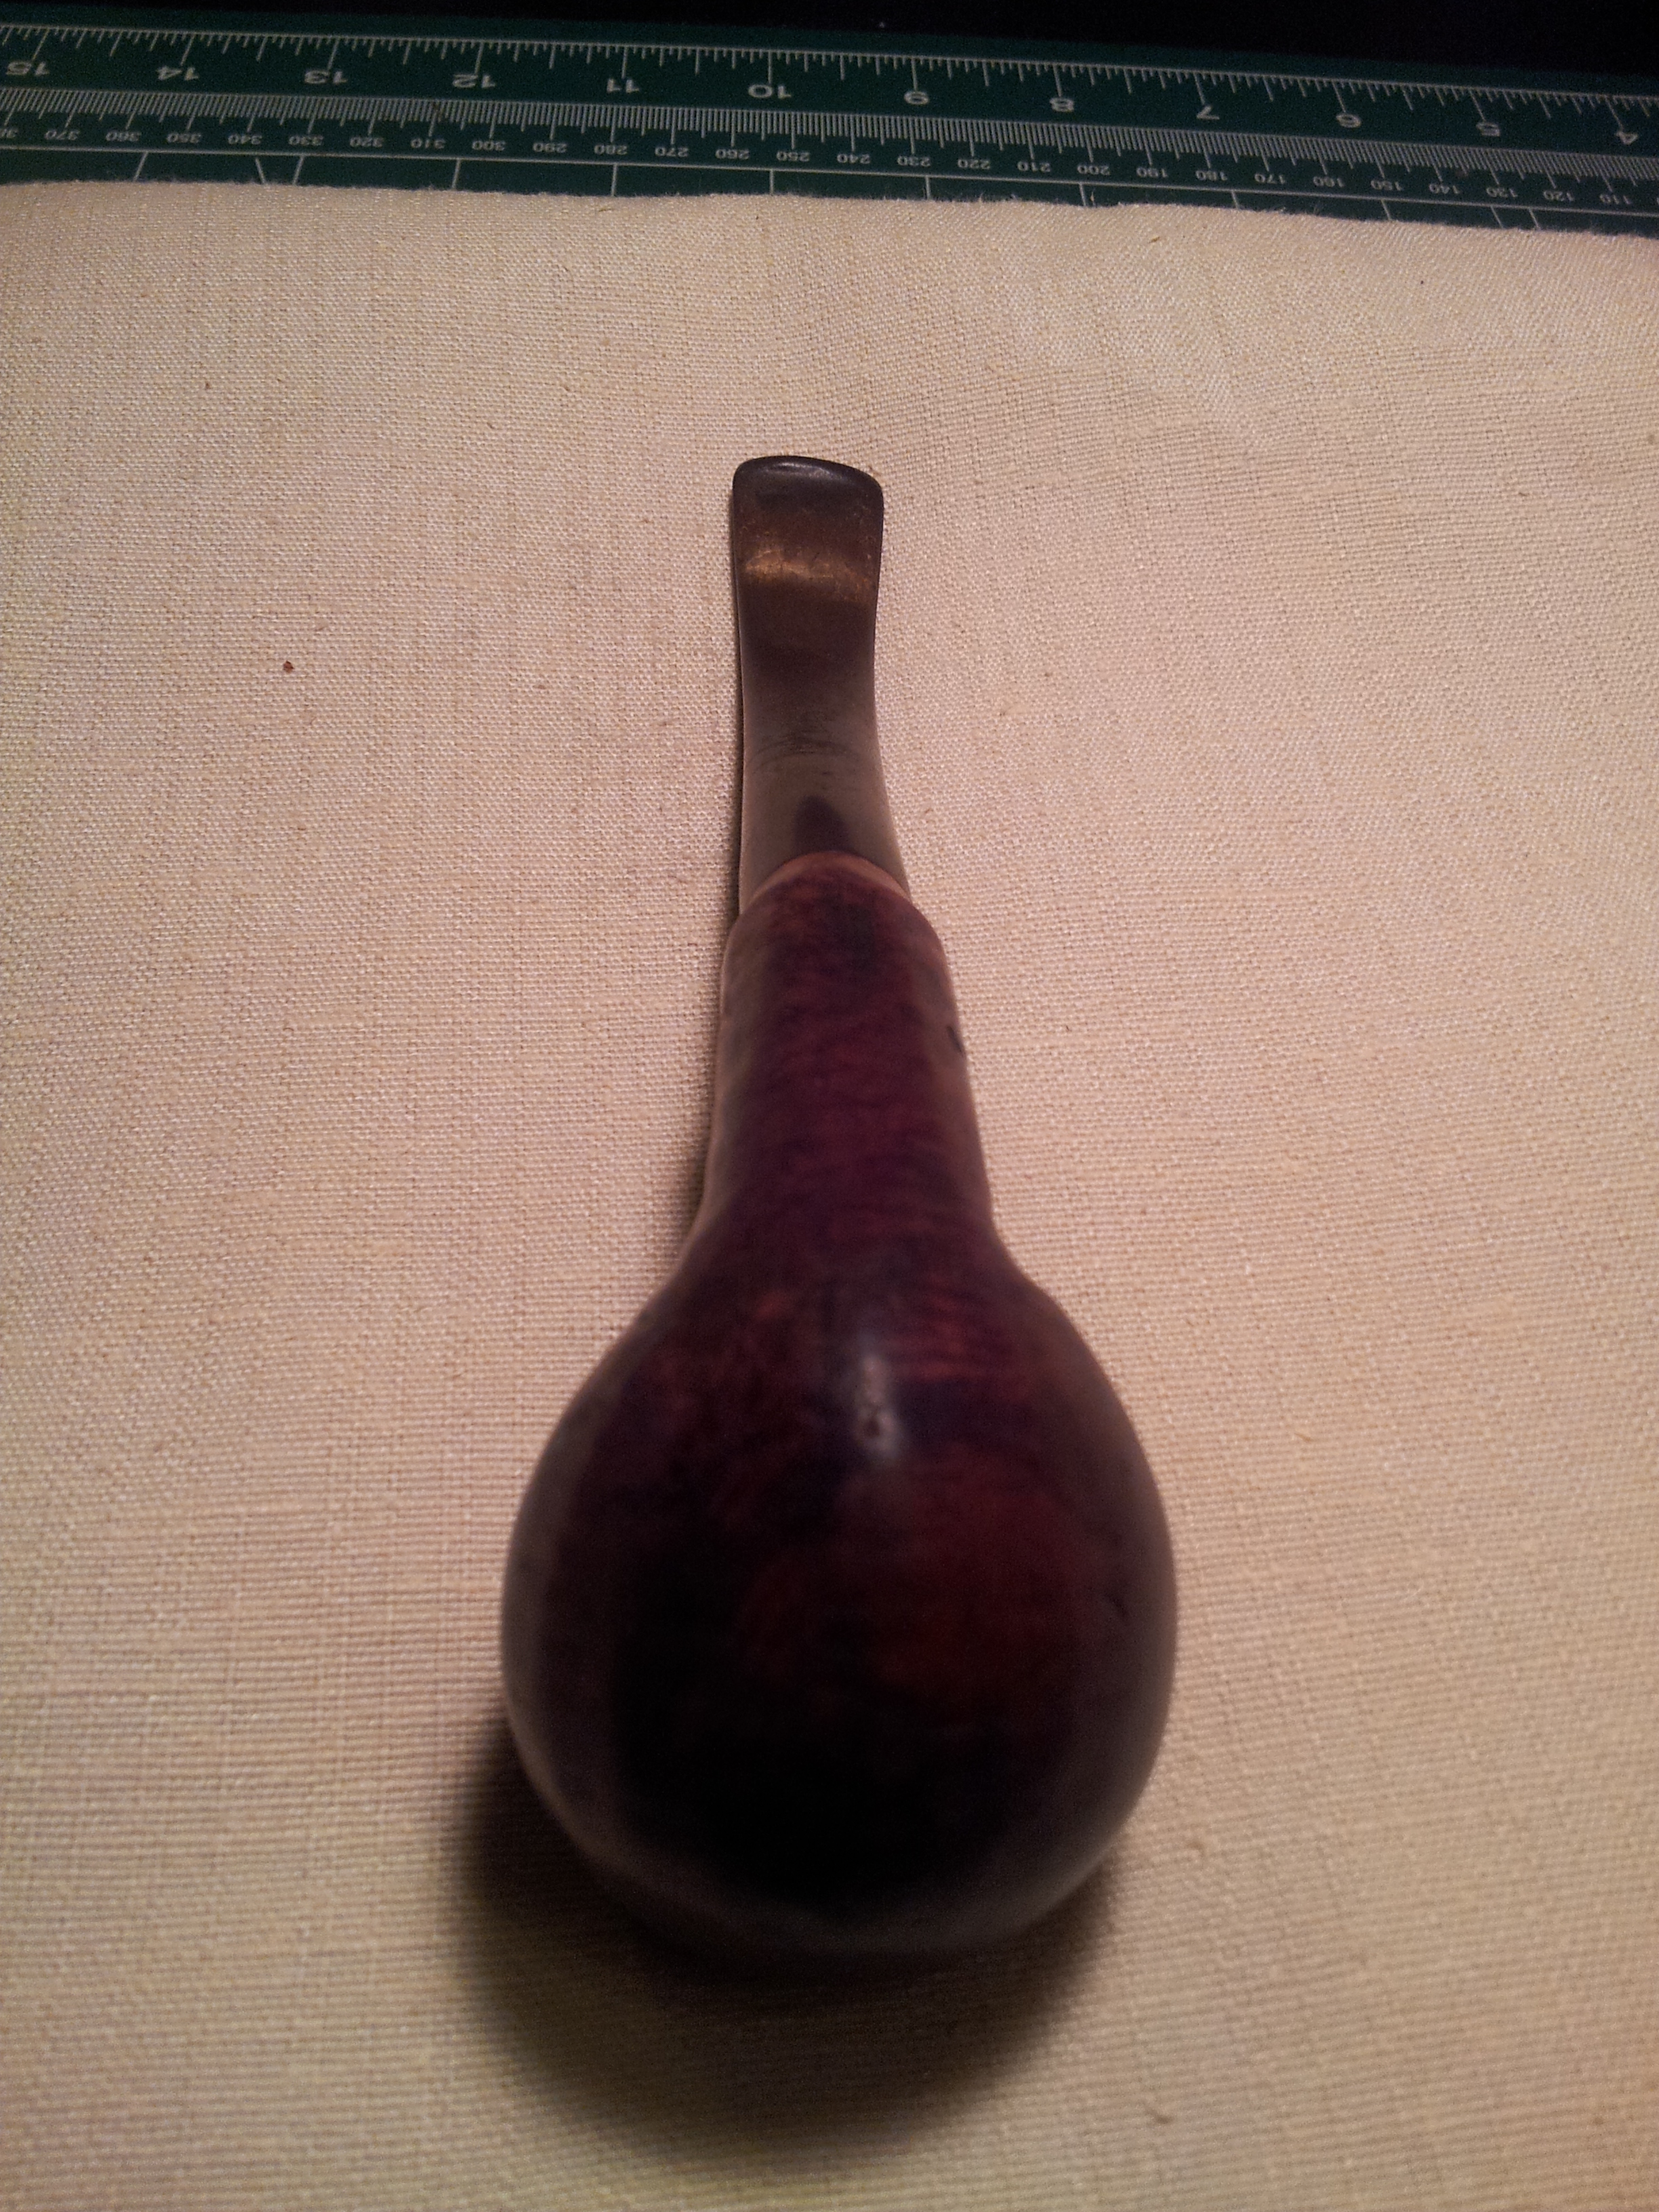
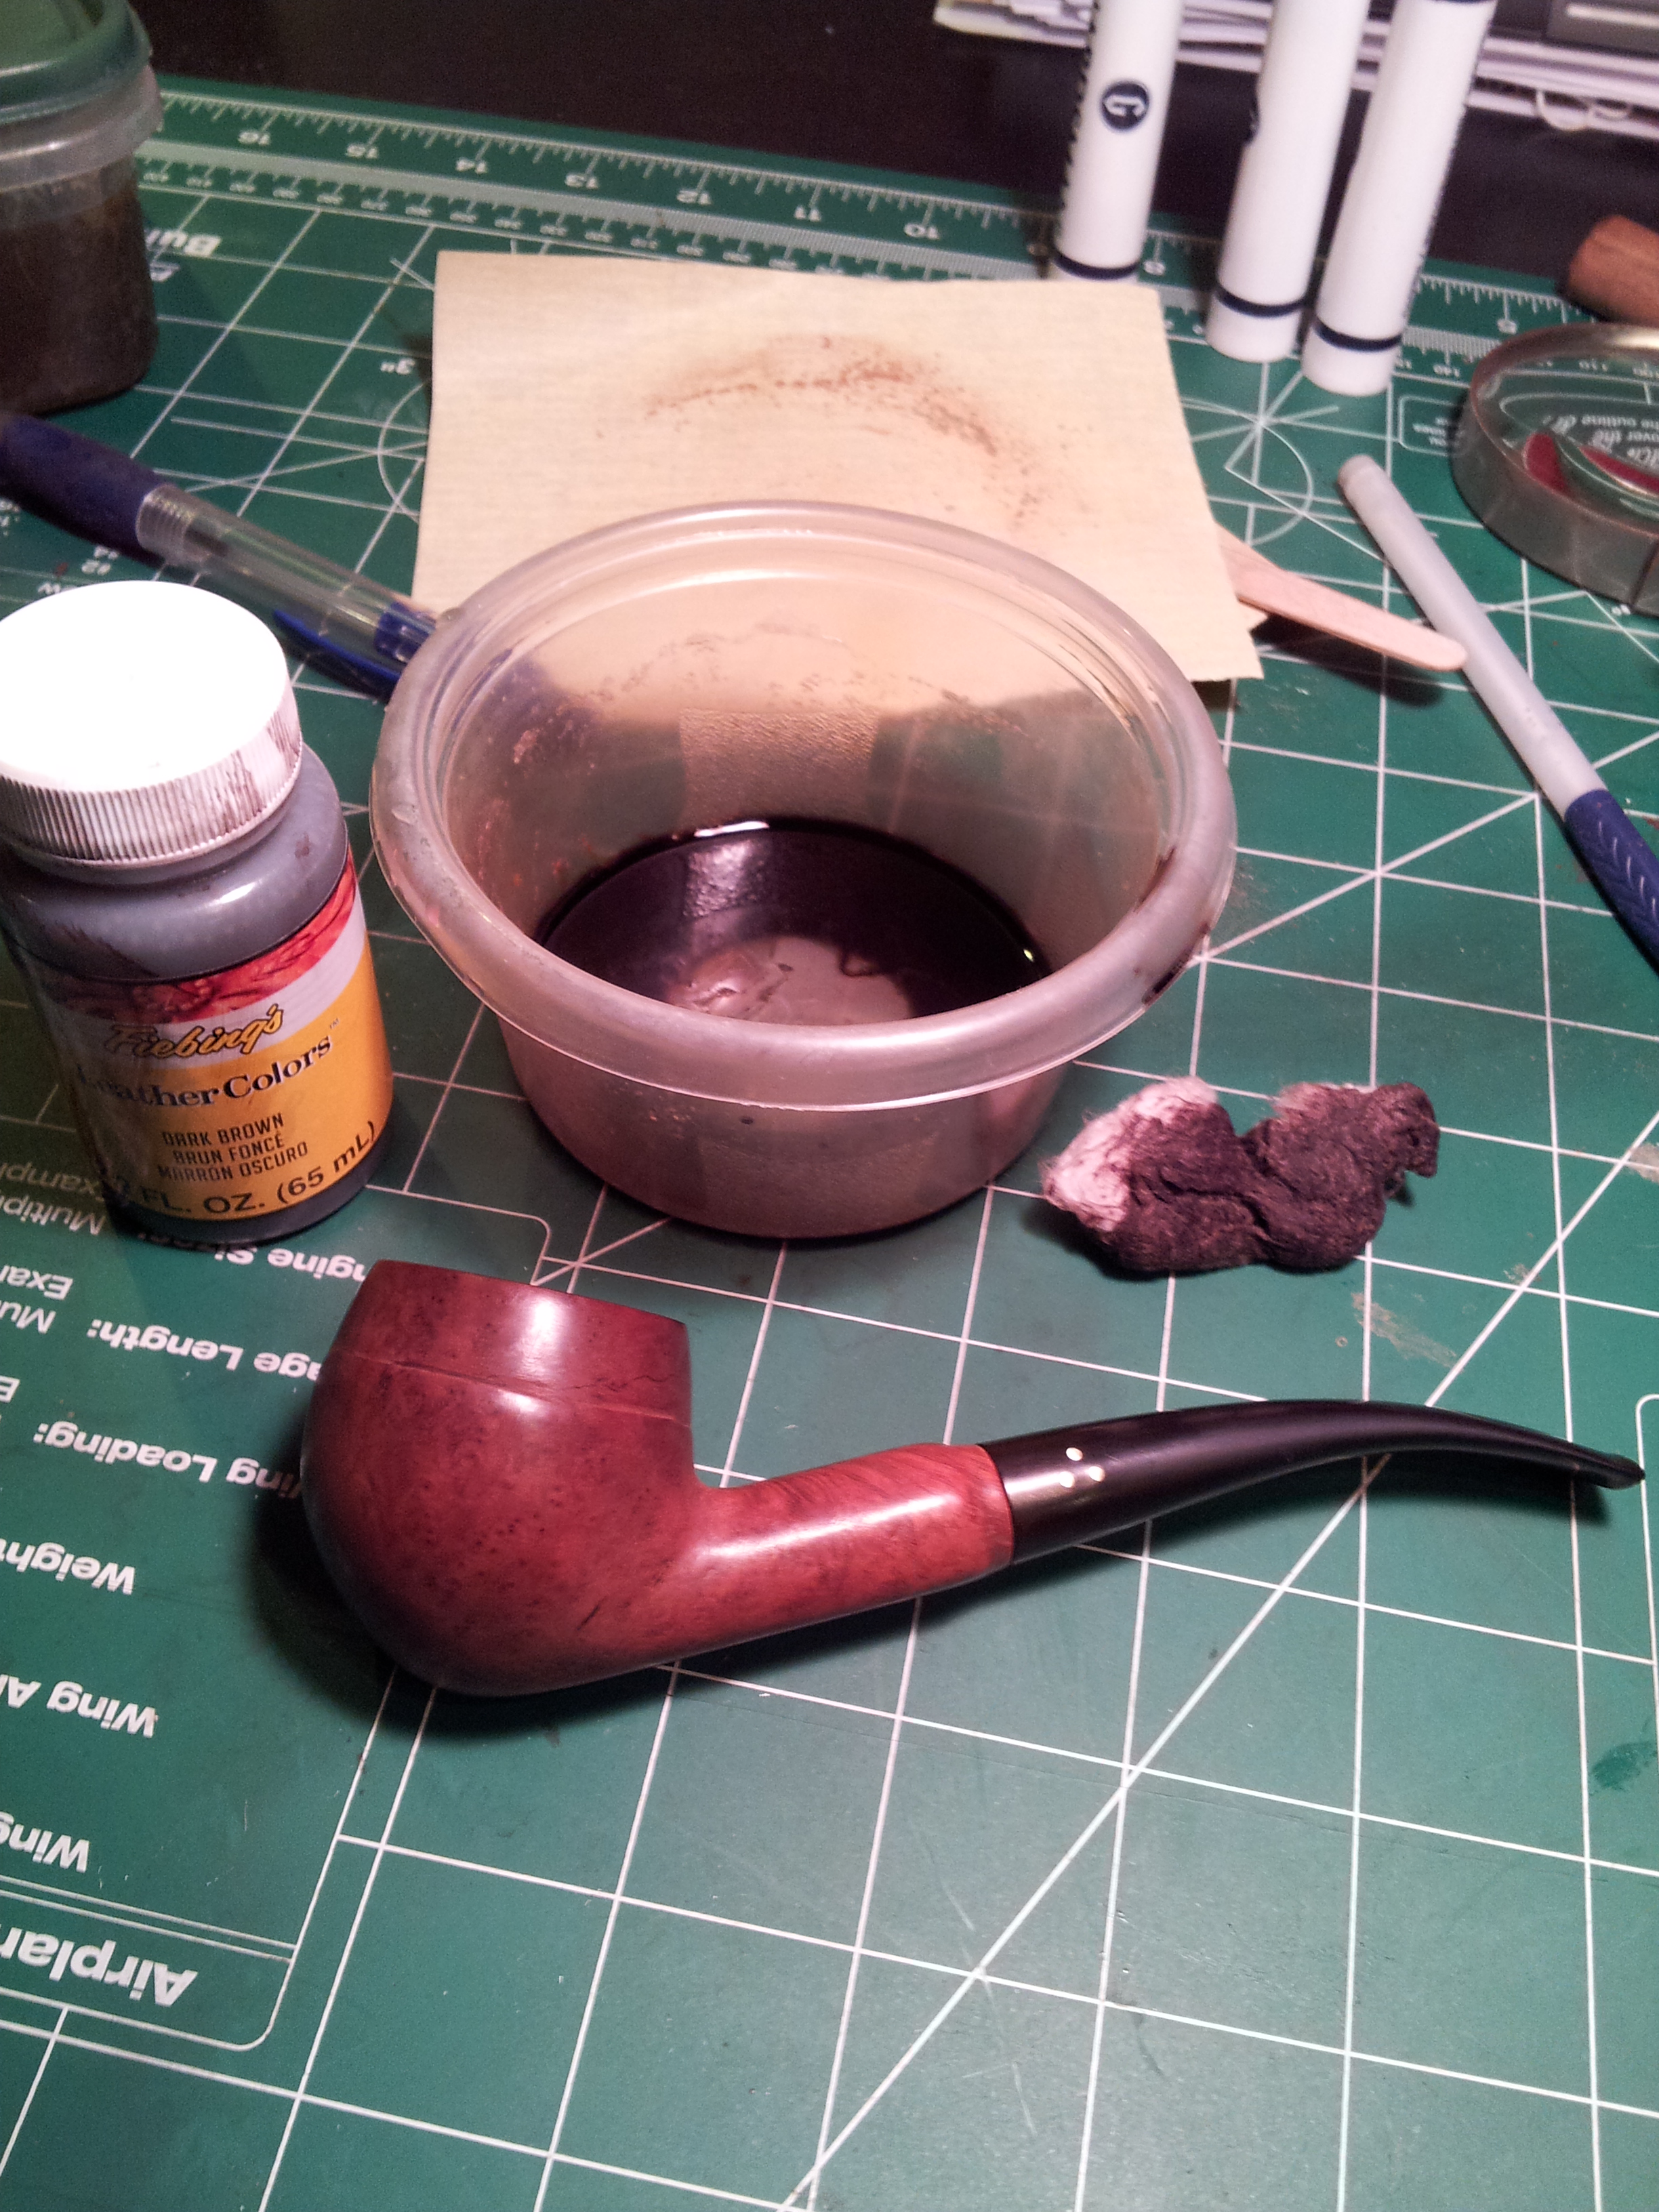
Next a fresh stain even out the colour. I used a diluted Fieblings leather dye in Dark Brown to create a colour wash. I applied several coats to achieve the depth of colour I wanted.
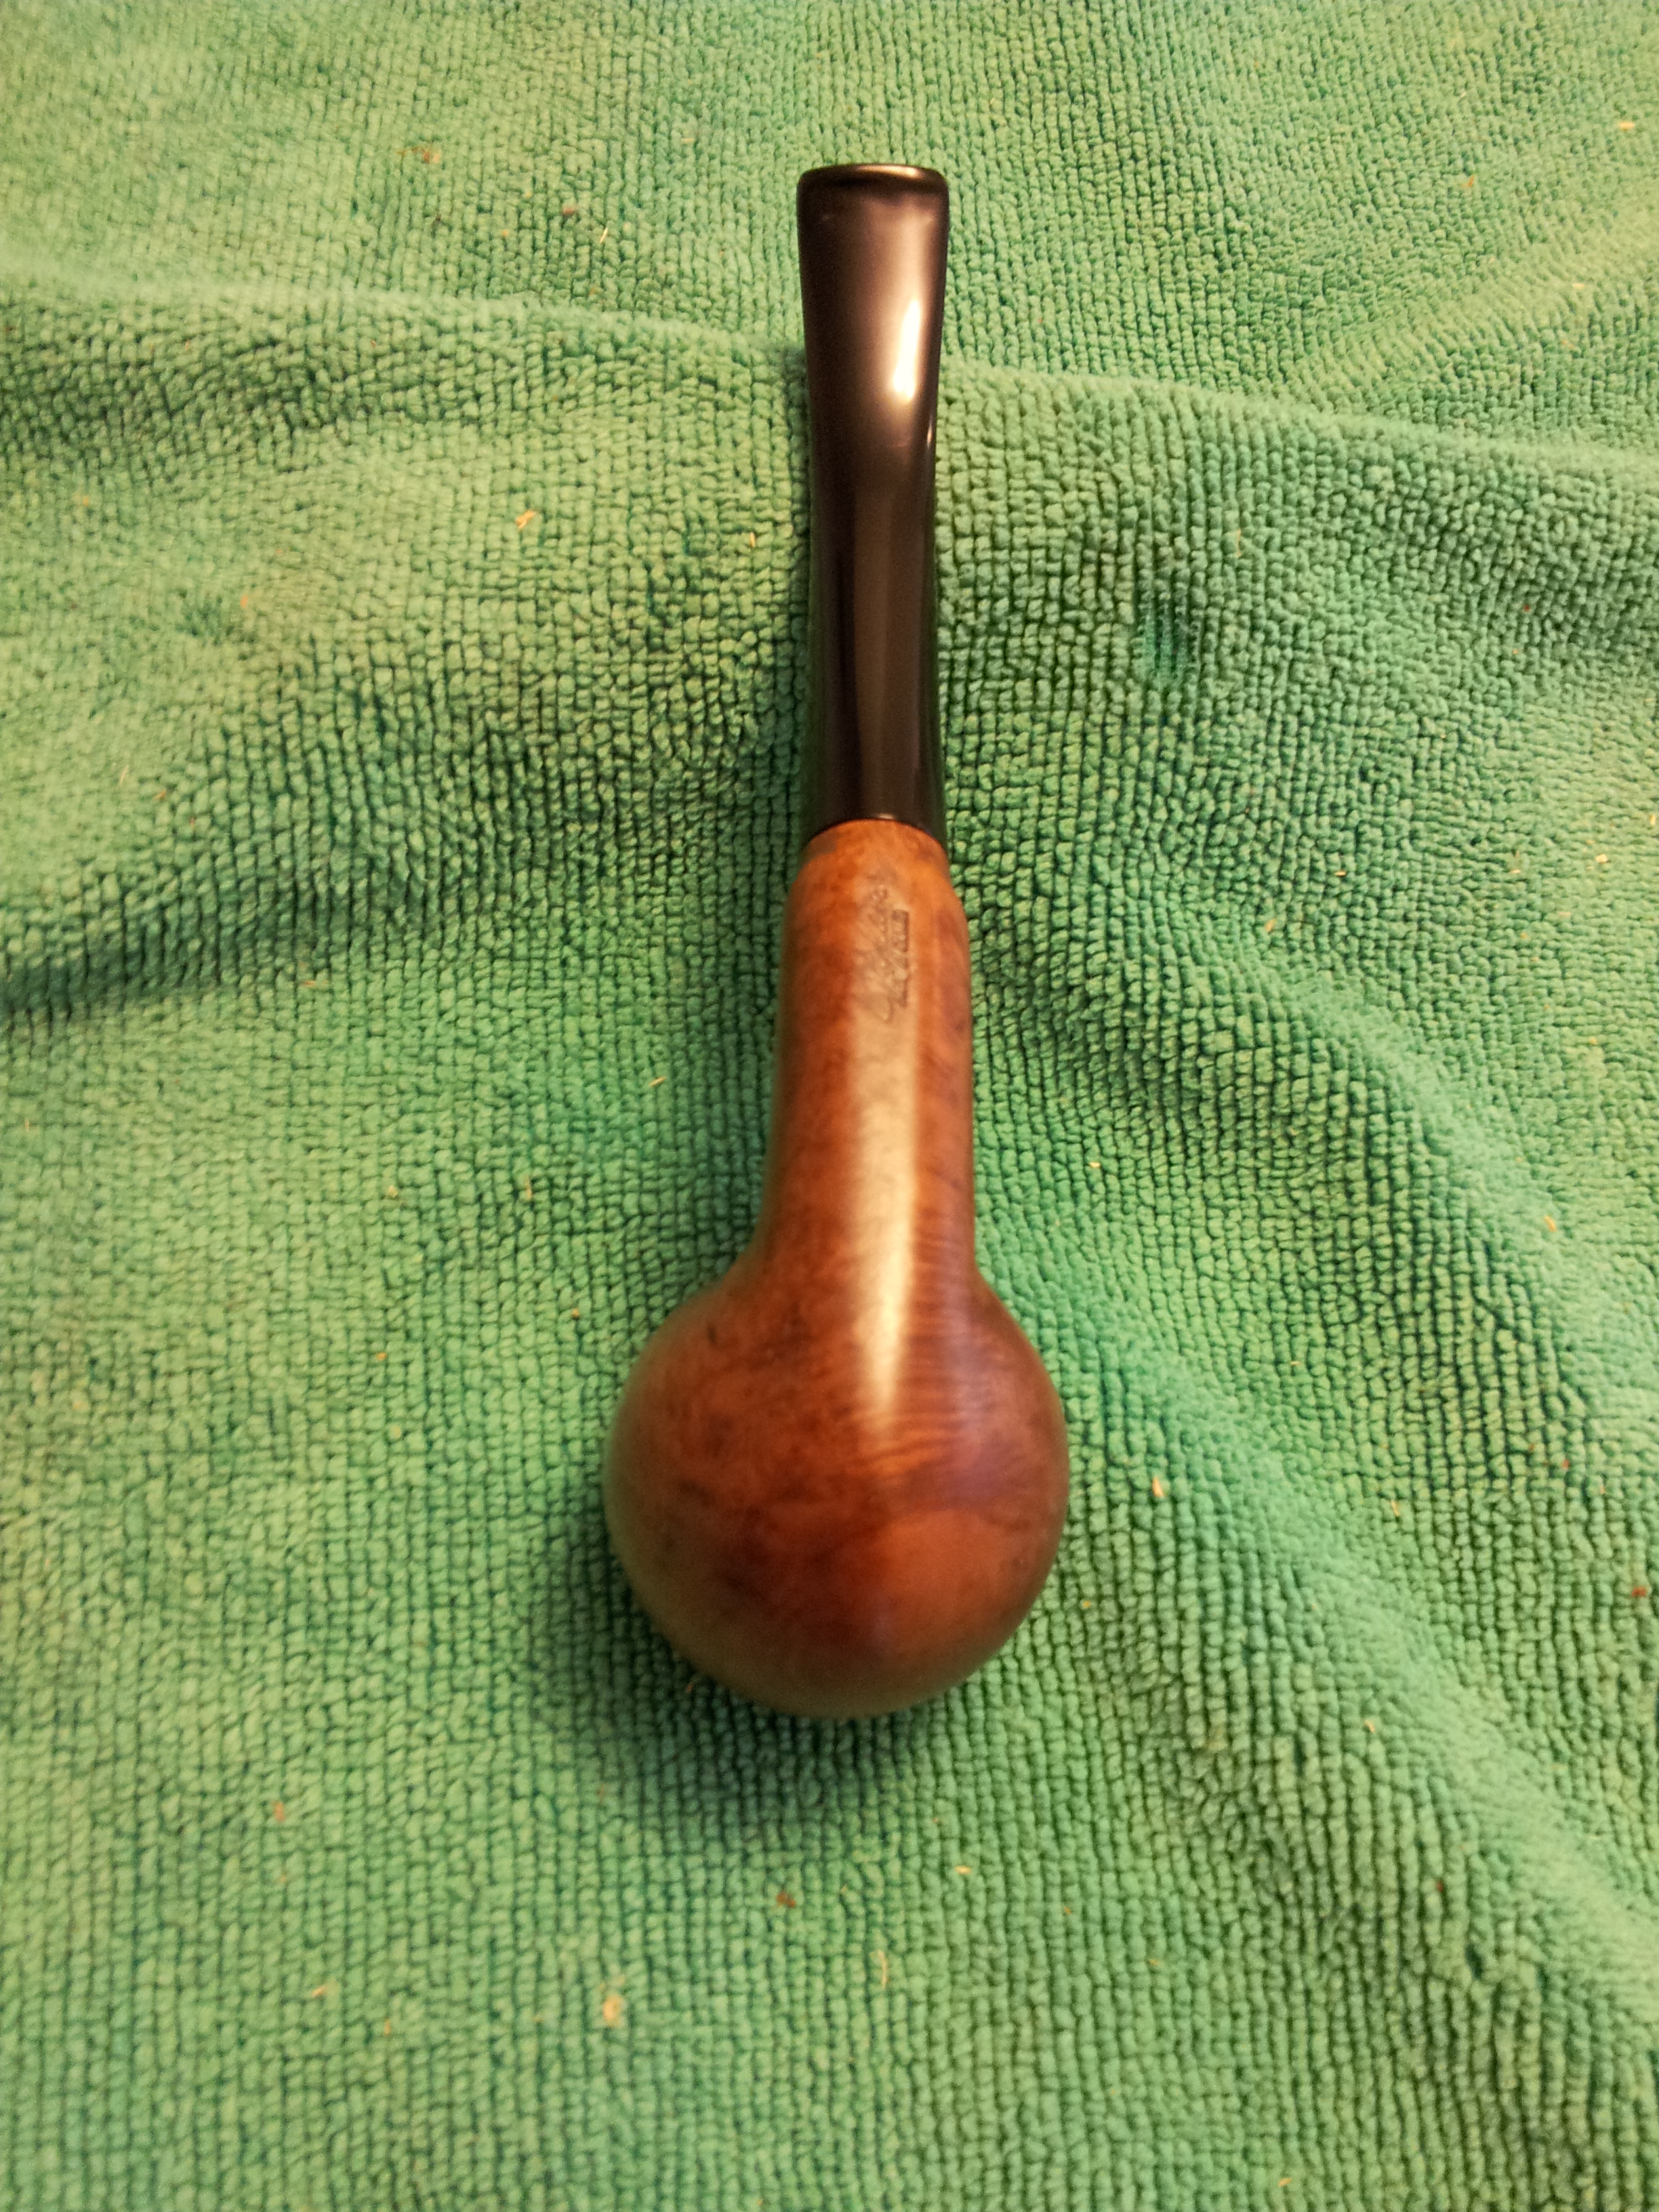
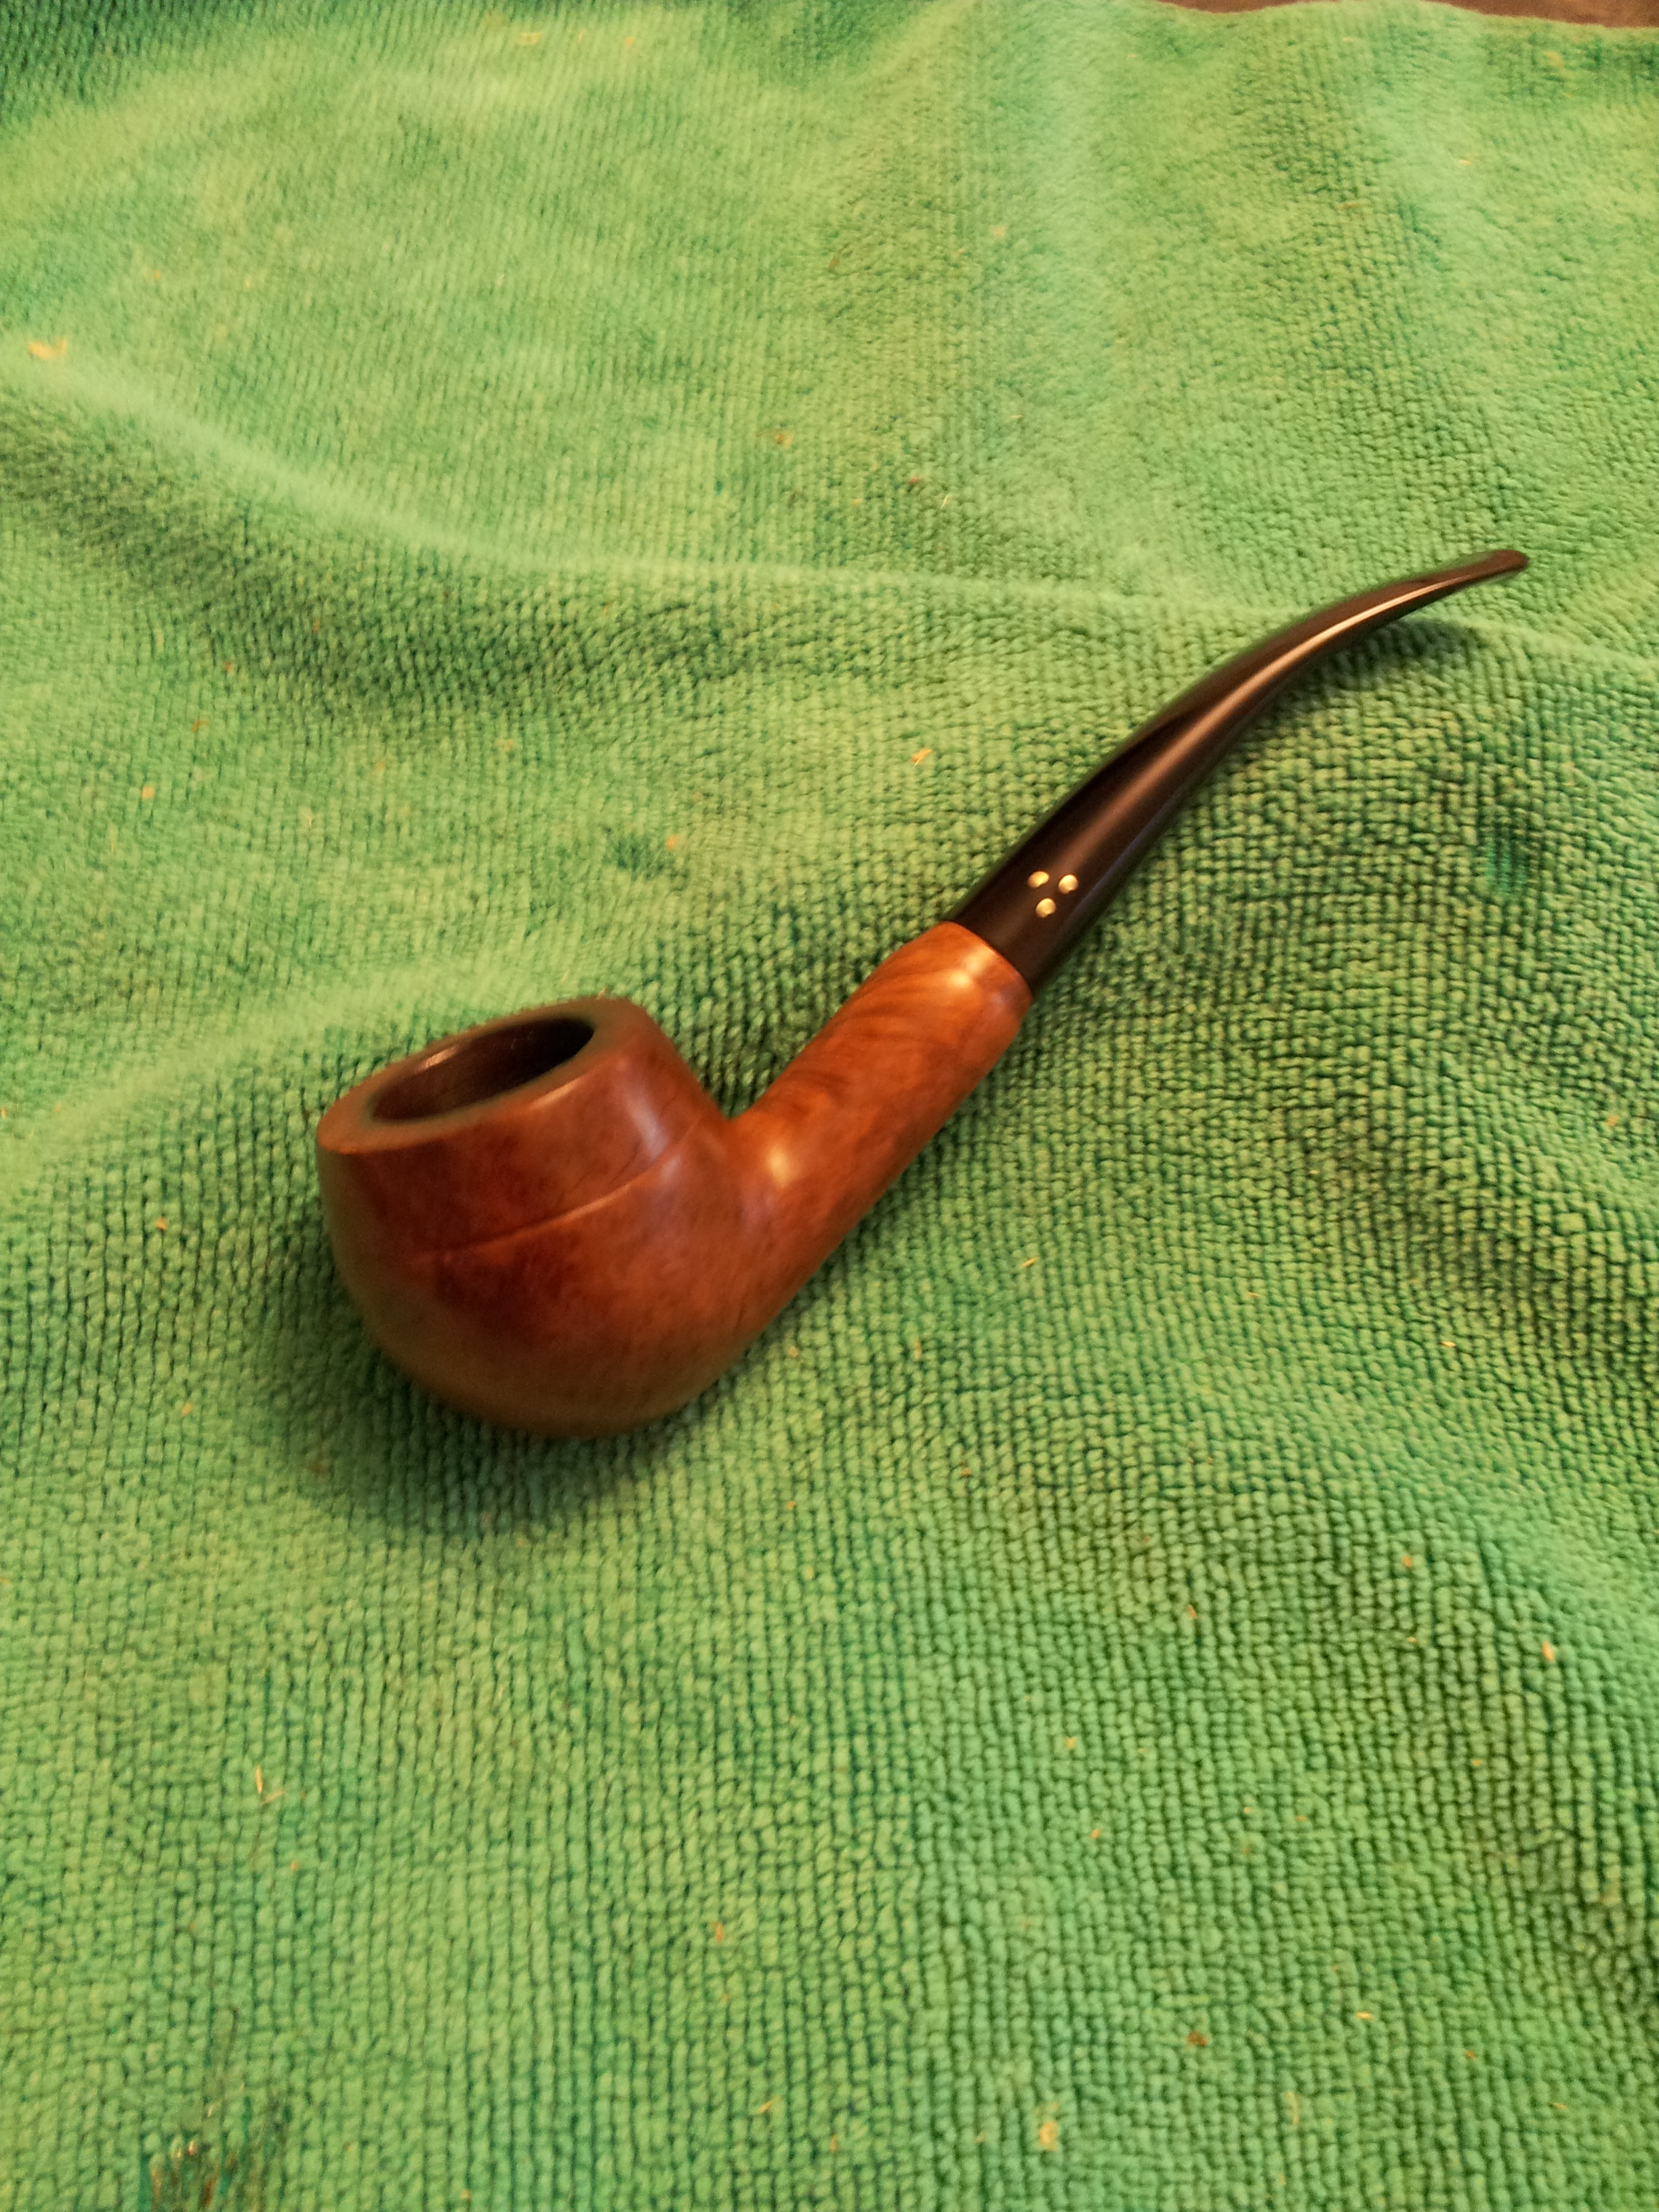
Finally, this pipe was ready for the buffer. I buffed it wth Red Tripoli followed by White Diamond and several coats of wax. The finished pipe is shown below. I’m quite pleased with the “tea egg” colouring of the final product. The pipe looks good and feels great in the hand. It will be a fine addition to my pipe rack. I hope to christen it shortly with a nice slow bowl of MacBaren’s Scottish Mixture.

Reblogged this on rebornpipes and commented:
I have always appreciated Brigham Pipes. I have restored a fair number of them. This one had a lot of challenges and it came out great.
LikeLike
I have always appreciated Brigham Pipes. I have restored a fair number of them. This one had a lot of challenges and it came out great.
LikeLike