
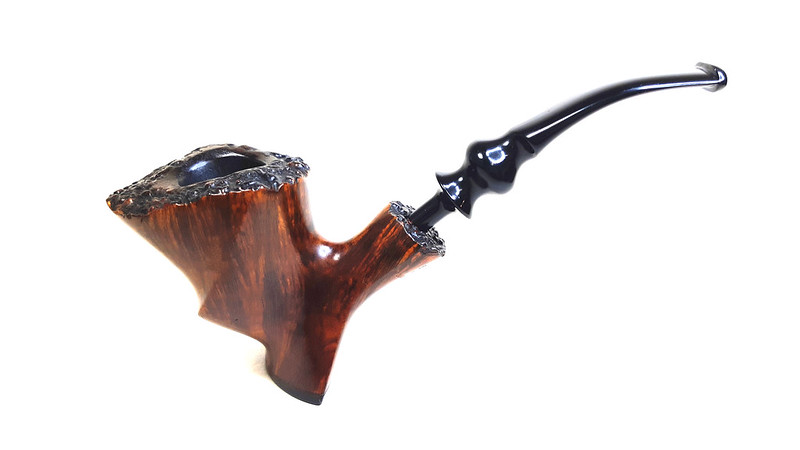
This Danish Freehand by Bjarne was sent to me, along with a few other pipes that had belonged to the owner’s father, for a good cleaning and a refresh. I was immediately taken by the unique design of the stummel which features a spiral design winding up the bowl from a Vulcanite-clad foot to a lovely plateau rim.
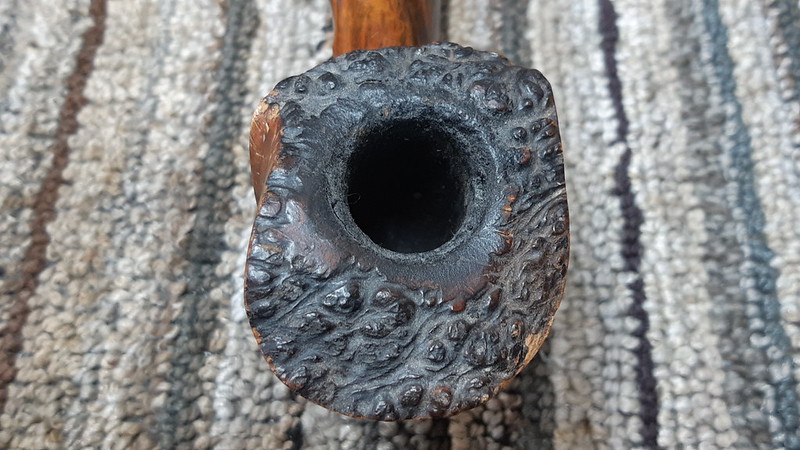
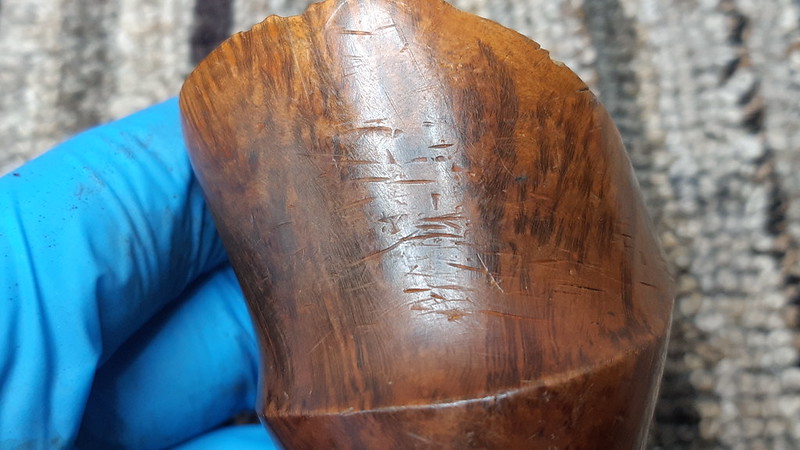
The pipe had clearly been a favourite and was in need of some attention to bring it back to life. There was a decent amount of old cake in the chamber, which has spilled over the plateau rim, packing it nearly full with carbon “lava” buildup. The stem and Vulcanite foot were heavily oxidized and the bit showed a number of tooth dents under the discolouration. The body of the stummel was also covered with a field of small scratches and dents caused, perhaps, by storing the pipe loose in a drawer between uses. This series of pictures gives you the full story.


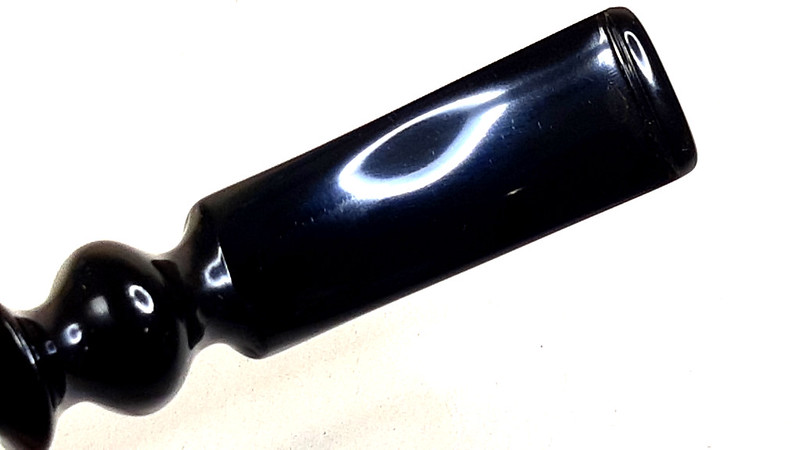
The pipe is stamped on the underside of the shank with “BJARNE” over “HAND-CARVED” over “MADE IN DENMARK”. The stem carries the faint remains of the “BJ” stamp used on some Bjarne models.

According to Pipephil.eu, “Bjarne Nielsen (1941 – † 2008) distributed his own “Bjarne” brand and pipes carved by Danish pipemakers (Mogens Johansen, Tonni Nielsen or Ph. Vigen). High grade pipes were stamped “Bjarne Nielsen” without any logo on the mouthpiece and graded A, B, C and D. Bjarne second brand: Viking“.
The lack of grade stamp in today’s pipe and the presence of the logo on the stem would seem to indicate that the pipe was deemed a mid-grade piece. A bit more background on Bjarne Nielsen can be found on Pipedia but there is not much detail on the lower grade pipes. If anyone can weigh in with more information, please comment below.
With that bit of research under the belt, I began cleaning up the pipe. I started by reaming the chamber back to briar using my Castleford reamer set and sandpaper wrapped around a dowel. Underneath, the chamber was in very good shape.


Removing the old cake had chipped away some of the carbon lava stuck in the plateau rim. I finished the job with a brass bristle tire brush. Much improved!

I then settled in to remove what turned out to be a fairly significant amount of tar and old gunk form the shank and airway. I used cotton swabs, pipe cleaners and shank brushes dipped in 99% isopropyl alcohol to soften and remove the deposits.

To make sure I removed all of the old tars, and to freshen the interior of the stummel, I packed cotton balls into the chamber and twisted another into the shank before filling the bowl with alcohol. An old egg carton works great as a stummel stand for these alcohol treatments. I set the stummel securely in the egg carton and let it sit overnight to give the alcohol time to work.

The stem, meanwhile, went into an Oxyclean bath to raise and soften the oxidation. As you can see form this pic, I soaked a number of stems at the same time.

When I came back to the shop the next morning, I pulled the stem from its Oxy soak and scrubbed away the now soft oxidation with a bit of 0000 steel wool and Magic Eraser. It came out looking much better than I had expected. An exploratory pipe cleaner dipped in alcohol came out clean as well, which was a nice surprise after cleaning all that gunk from the stummel.

The stem had one deep tooth dent on the top right next to the button. Heating the Vulcanite with a lighter flame helped to raise the dent somewhat but it still needed a bit of filing and sanding to get the stem smooth again.


When I was happy with the stem, I sanded it to 2000-grit to erase the coarser file and sanding marks and prepare the surface for final polishing.

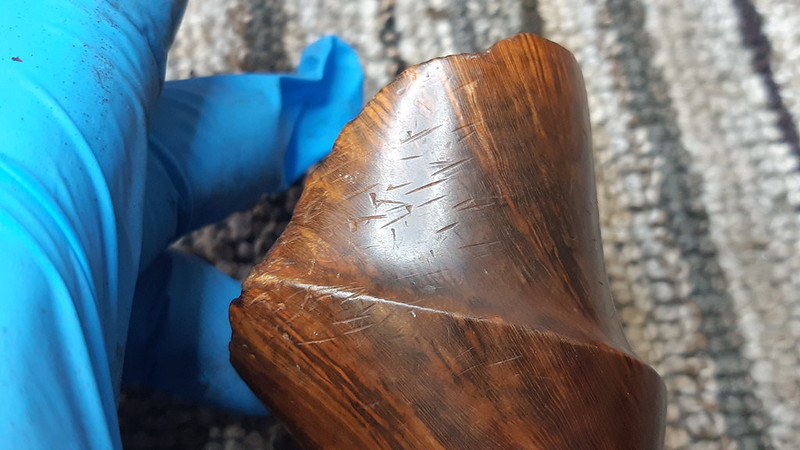
I set the stem aside at this point and moved back to the stummel. I removed and discarded the cotton wool from the chamber and shank and allowed the excess alcohol to evaporate. Then I took a few pics to show the myriad little scratches that covered much of the stummel’s exterior. They really detracted from the pipe’s beauty.

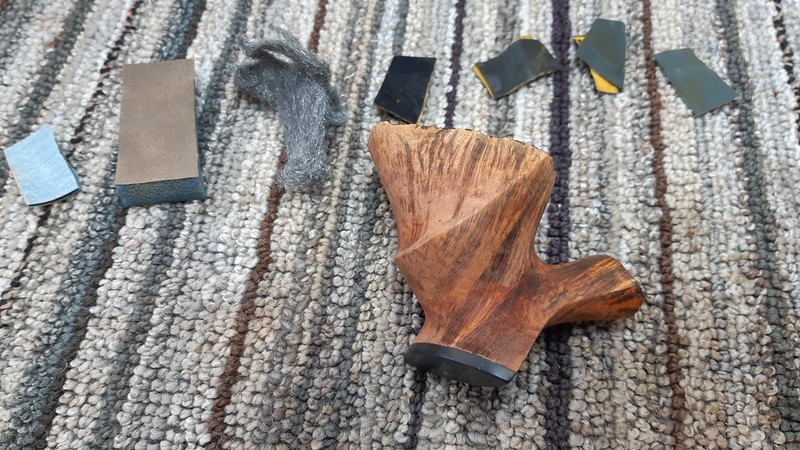
I spent a bit of time carefully sanding and polishing the exterior of the briar, erasing the scratches and restoring the clean lines of the spiral carving. I worked through consecutively finer grits of abrasive, from 220 through 2000 grit before calling it done.
Of course, this much sanding had removed most of the original finish. I wanted the beautiful vertical grain on this piece to really shine, so I first applied a coat of Fiebing’s water-based Black leather dye to the briar. I allowed the stain to dry, then scrubbed off the excess stain with a bit of damp Magic Eraser, leaving the black colour only in the grain. .

A top coat of Brown leather dye followed, replicating the original finish.

After the Brown stain dried I hand buffed away any excess with a bit of old towel, then applied a light wipe of mineral oil to add depth and pop to the new finish and to inject a bit of moisture into the briar. I let the oil sit on the briar only briefly before hand buffing away the excess. The briar was then left to rest for an hour or so to find its new equilibrium.
Then it was time to take the finished pipe to the buffer for a run of both Red Tripoli and White Diamond compounds for both stummel and stem. I took care not to pack compound into the nooks and crannies of the plateau rim or shank face. A few light coats of Carnauba wax added some shine and a layer of protection for the freshly revived pipe.
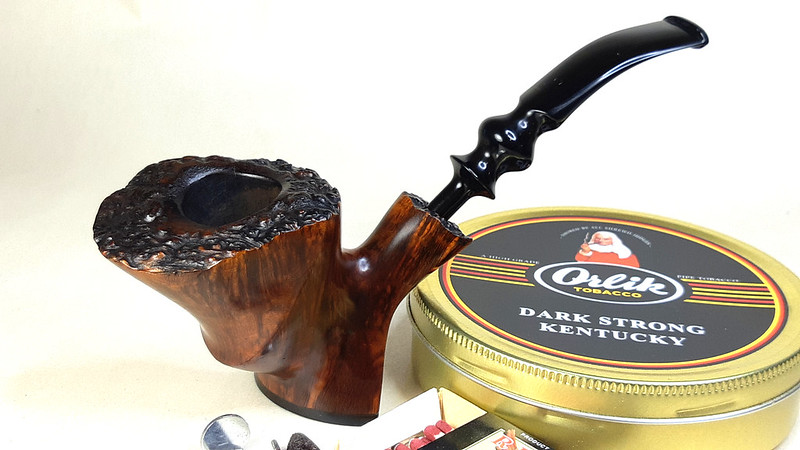
The renaissance of this lovely old Bjarne Footed Freehand is simply stunning. The eye catching spiral design is enough in its own right to capture any pipe lover’s attention, but coupled with 360-degree straight grain stretching from foot to plateau and a jet black stem with double turnings, the pipe is a real pleasure to behold.
This Bjarne has been sent home to its owner, who is thrilled to have his father’s pipe returned and in such great shape.
Thanks for following along with me on this estate pipe restoration project. I hope you enjoyed the journey with me.
Until next time, Happy Piping! Here’s the finished pipe.


Those Danish monsters seem to be polarizing on some of the pipe forums. Though I don’t own any, I enjoy looking at them. That’s an attractive one for sure, reminiscent of a J. Boswell pipe. I have an S&R freehand that’s similar without the Chubby Checker twist. You did that one proud, Charles.
LikeLiked by 1 person
Thank you, sir! I have to admit this one was hard to pack up and send back to the owner. I was dazzled by the design and grain. 🤩
Not exactly a “clencher”, though, is it? 😄
LikeLike
Indeed not. I’ve attempted to clench mine a few times and feared for my crowns. …and I still can’t figure out why I can’t “like” your posts….annoying.
LikeLike
That’s odd. Let me look into that for you.
LikeLike
Charles, that is a beauty! Nice refurb. I envy the the owner and understand the sentiment at play – as you know
LikeLiked by 1 person
Charles – what a wonderful refresh of an eye-popping freehand pipe – Gorgeous!. Thank you for sharing this.
LikeLiked by 1 person
Wow,great job on this pipe,I enjoyed the work and detail you put in to conserve the integrity of the briar grain.By the way the estate pipes I got from you last month have been on two full rotations and I can assure those who are hesitant like me to buy your restored pipe that it’s like buying 8 new pipes for the fraction of the pipes prices.They look new,no smell and doing business with you was a charm.Keep reviving those old but very nice pipes and I’ll keep watching your work.Thank you for sharing your work and have a nice day.
LikeLiked by 1 person
Thanks Jean-Marc! I’m so glad you are enjoying the “new” pipes and the blog posts!
LikeLike