
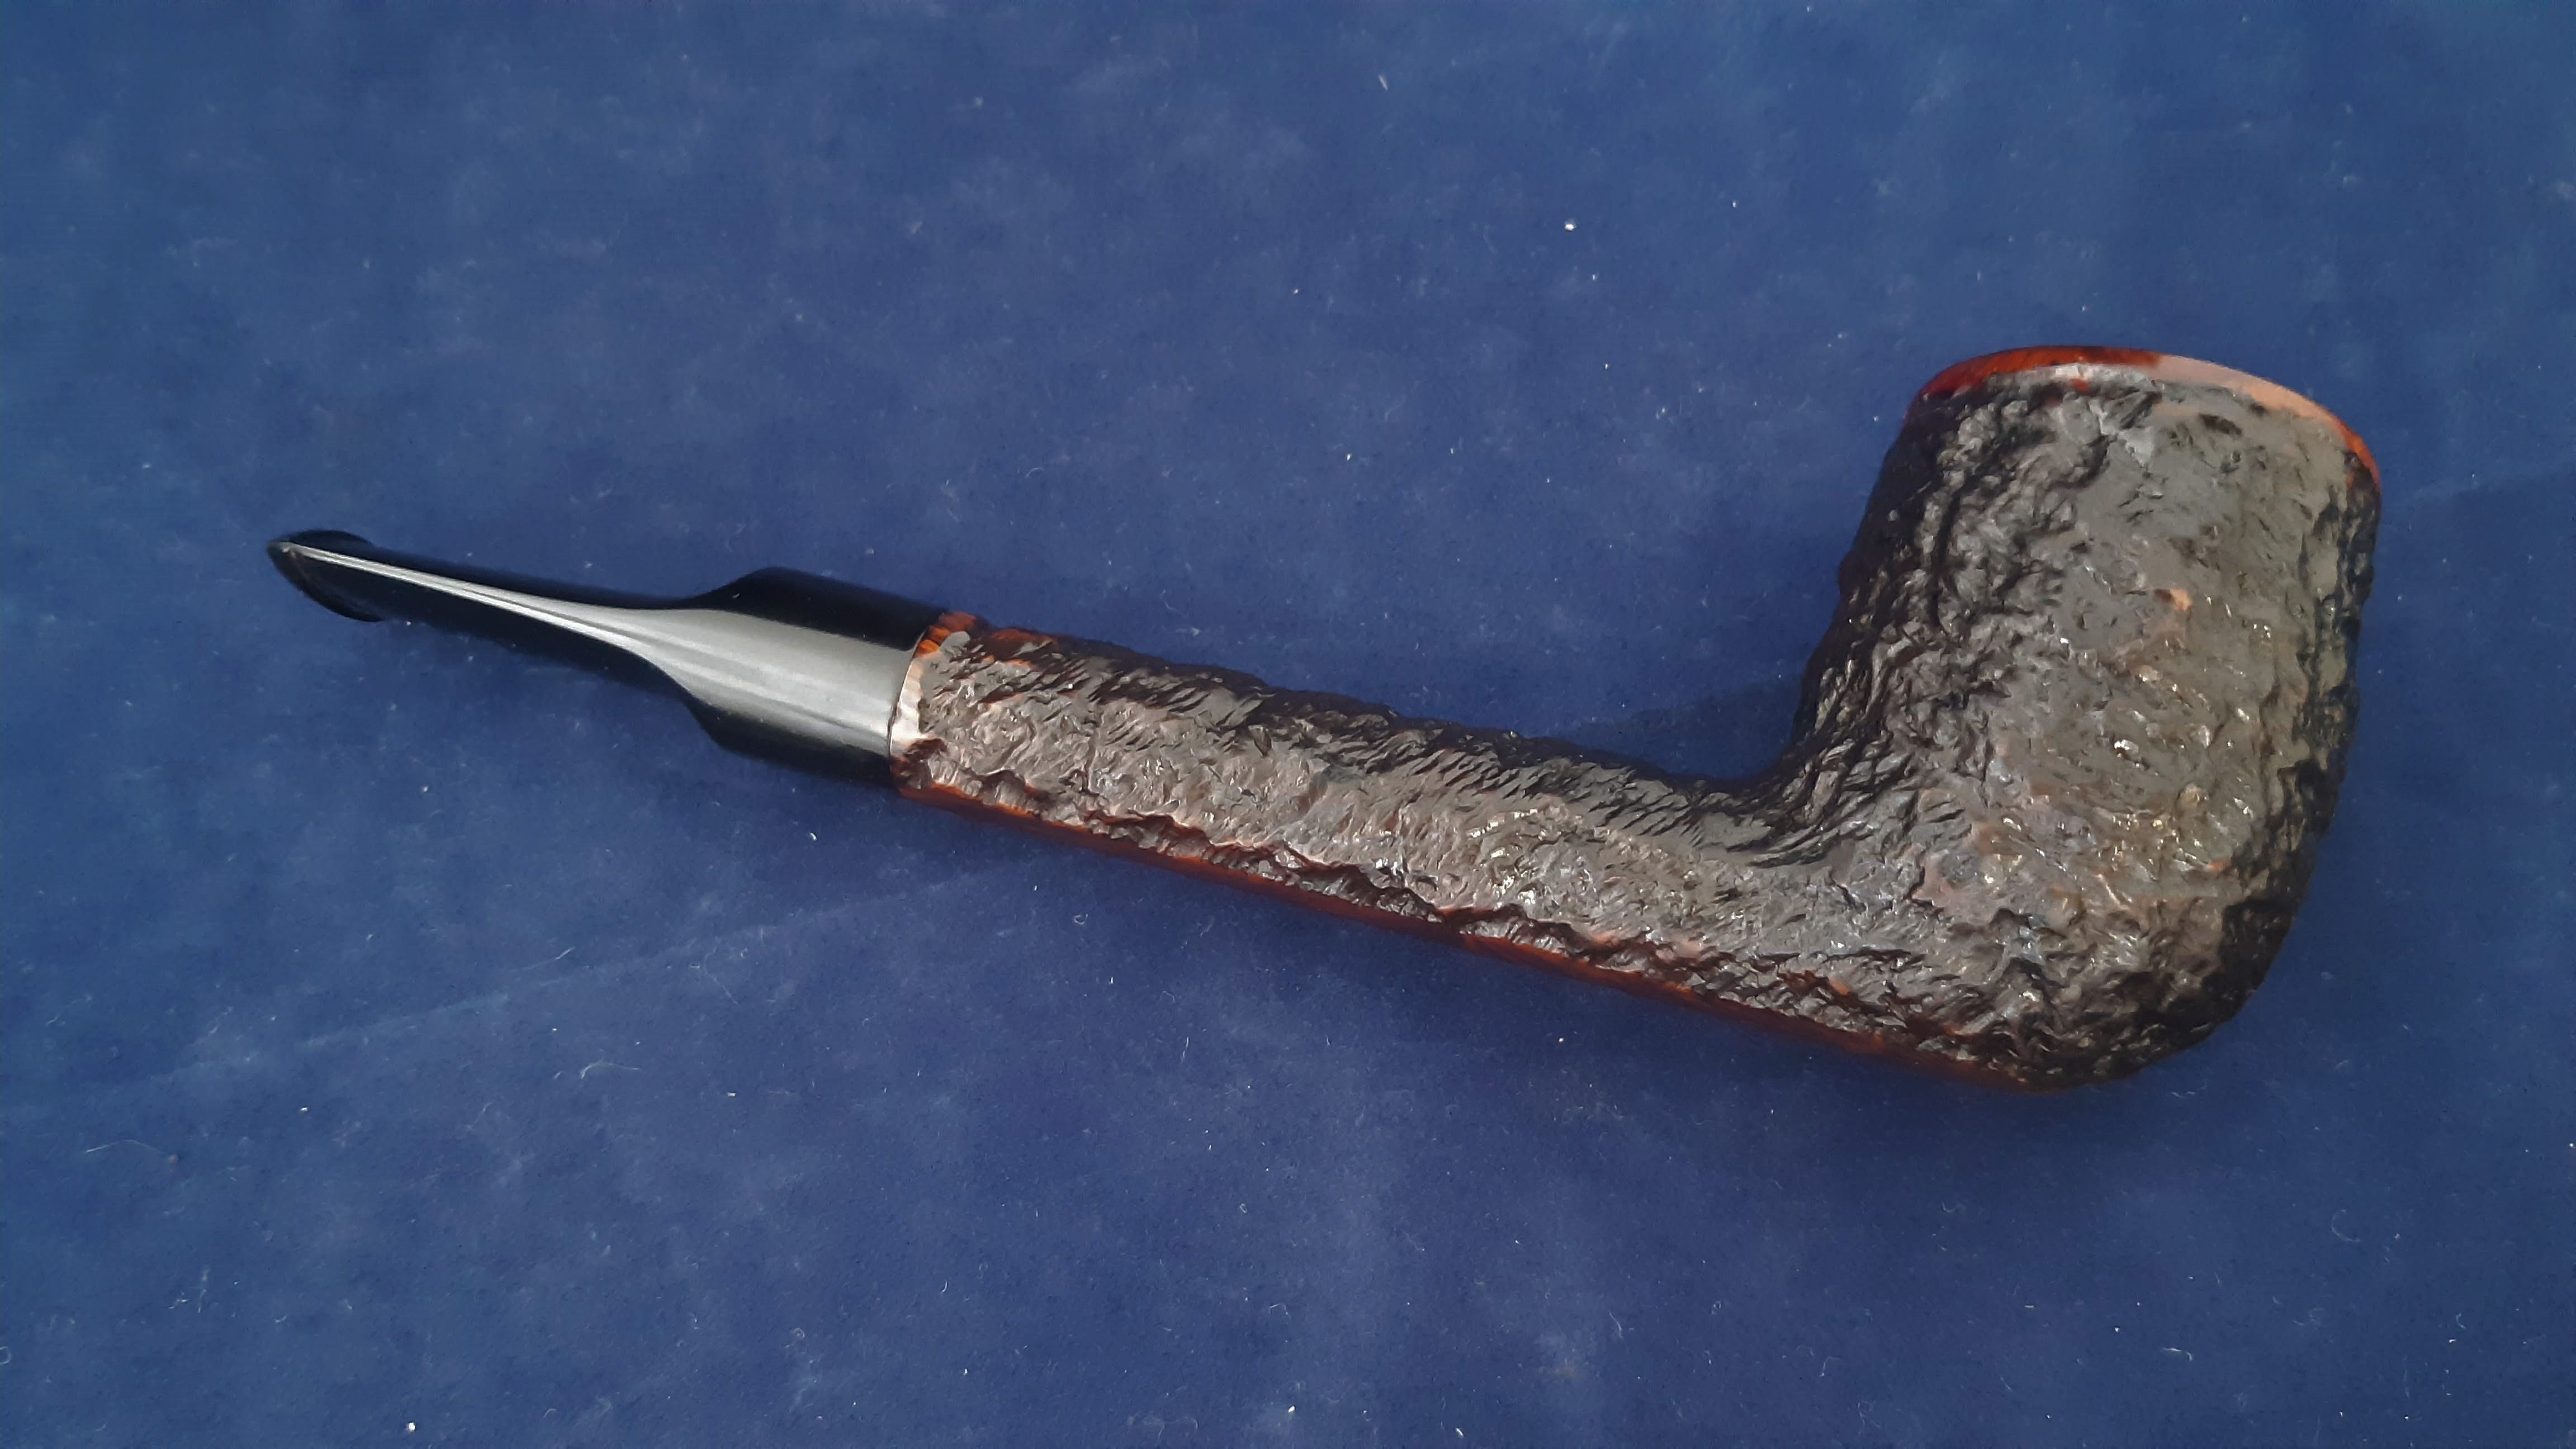
About a year ago, I wrote about the rediscovery of Brigham’s early line of non-Patent pipes and the subsequent restoration of two examples. I recently acquired a third Non-Patent Brigham pipe to add to the collection, this time in what Brigham called a Club shape, otherwise known as a Lovat.
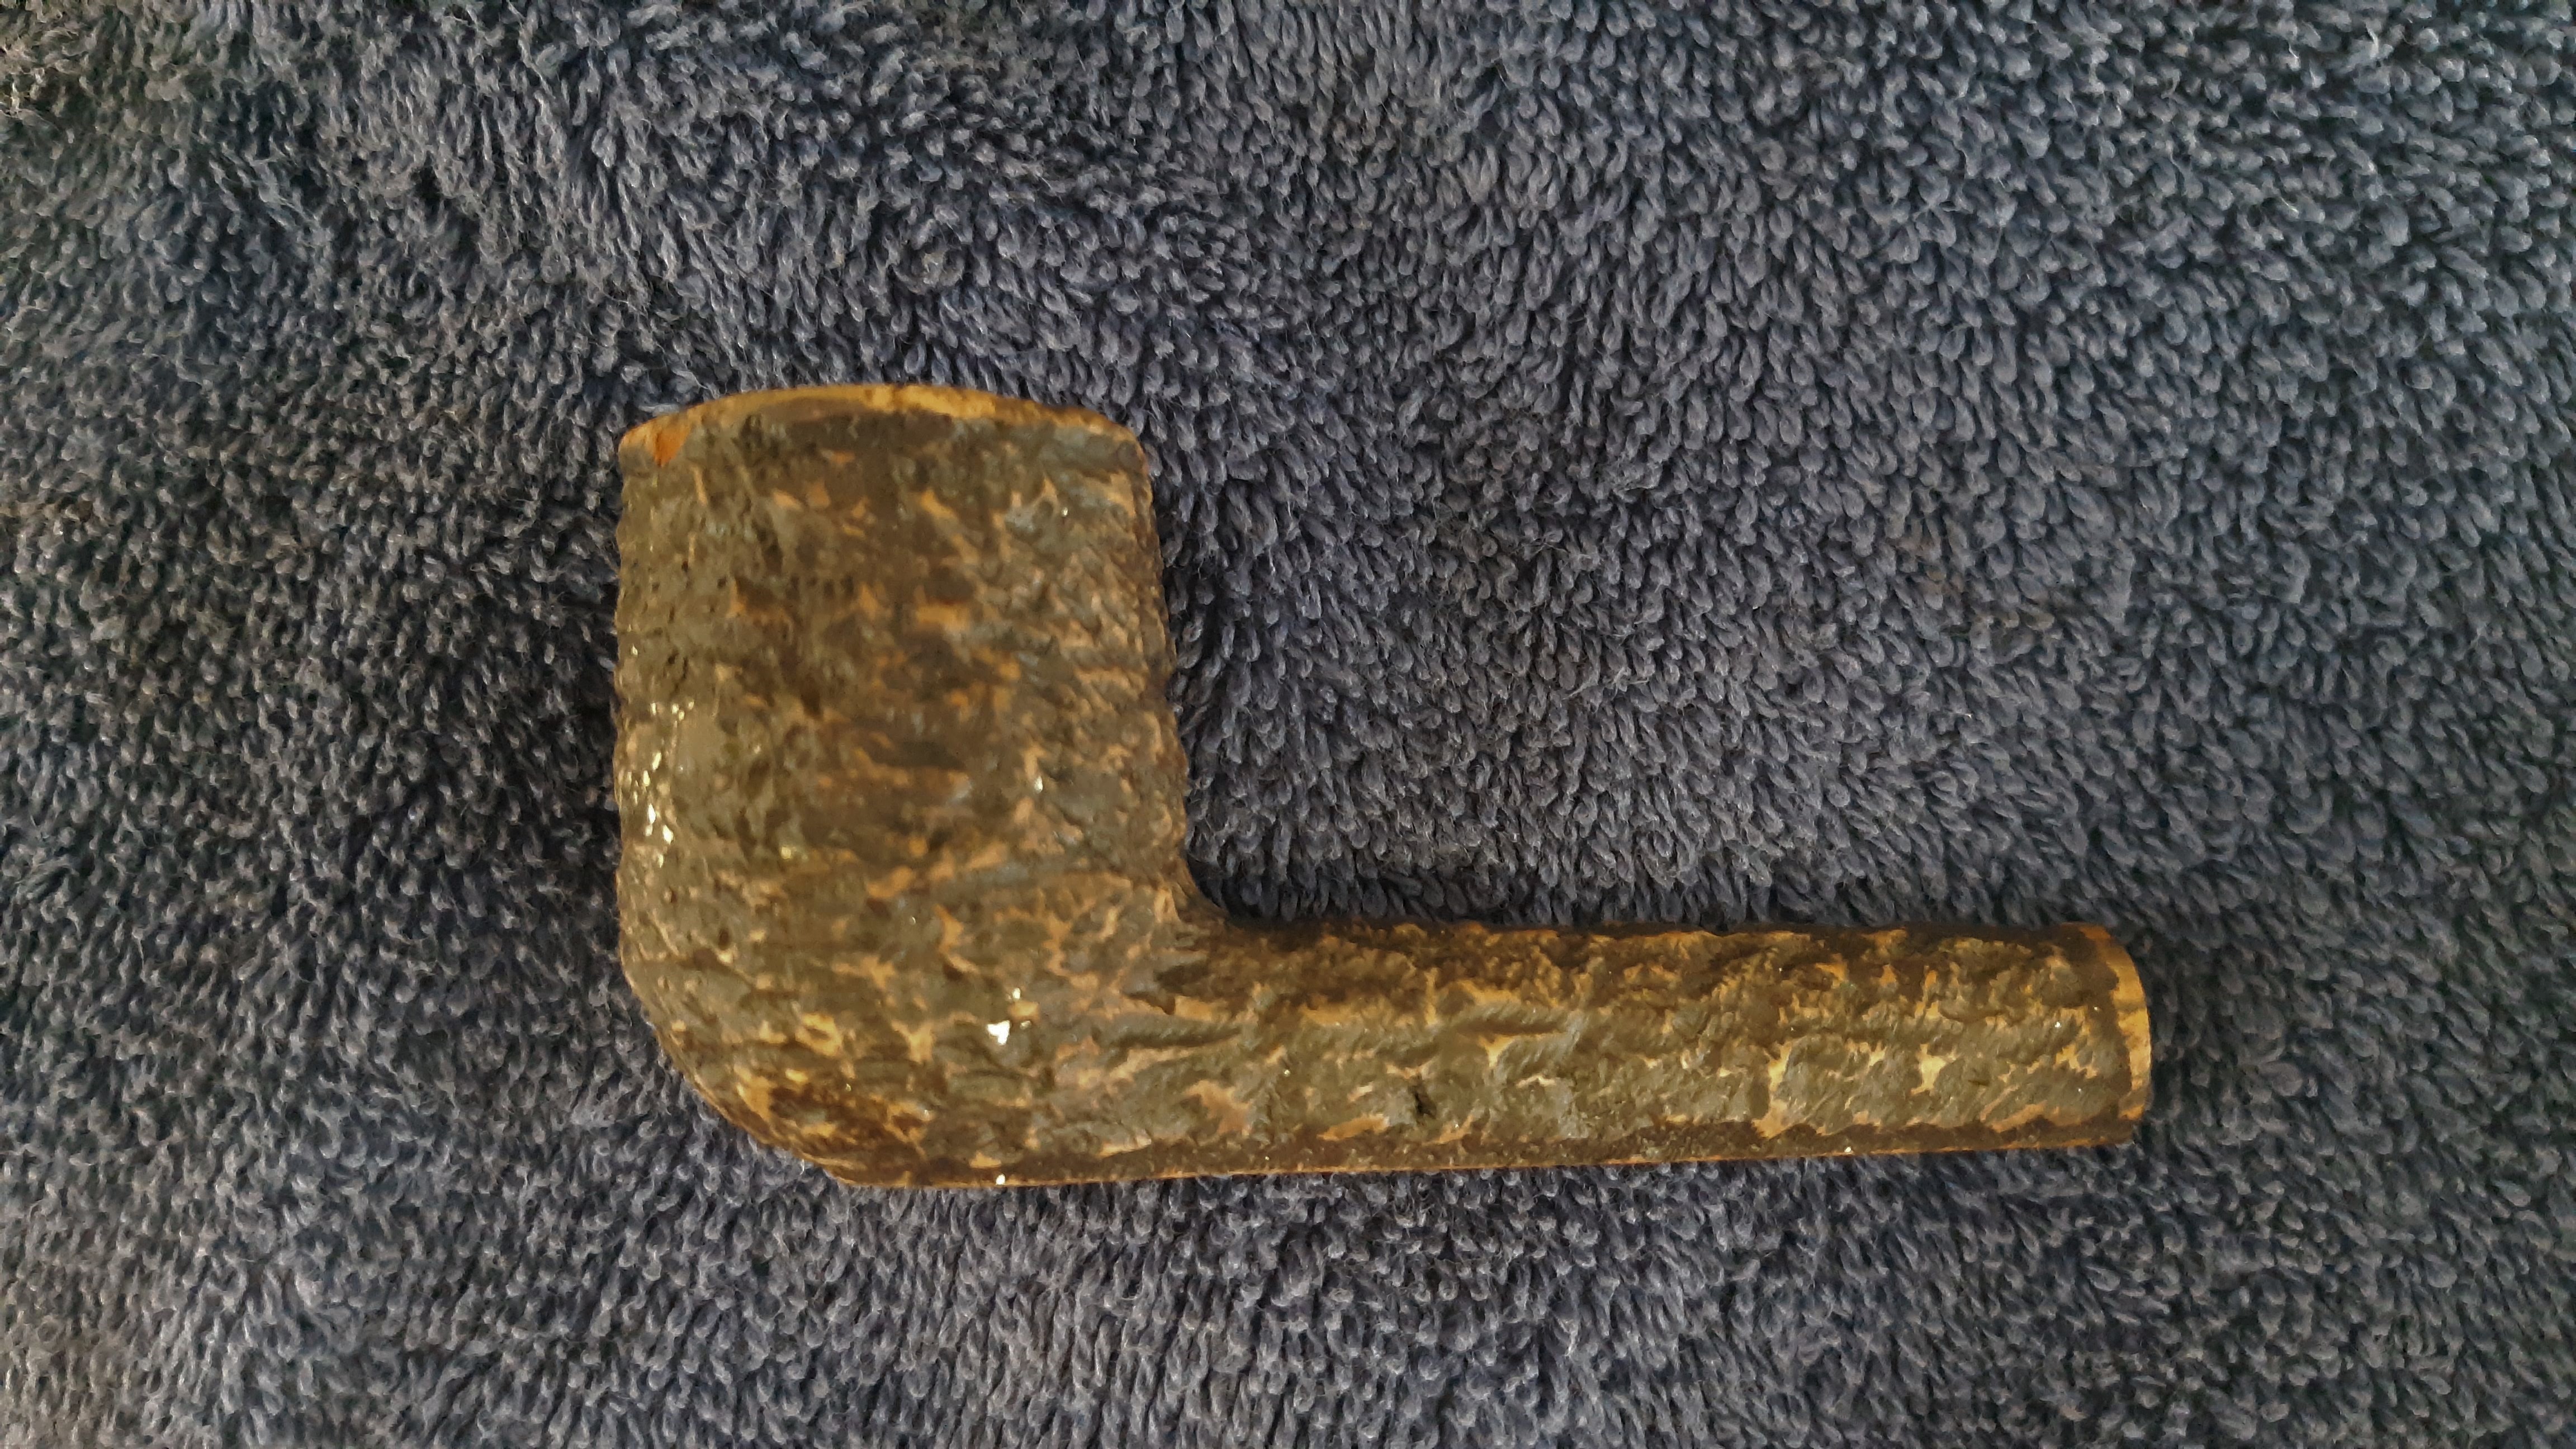
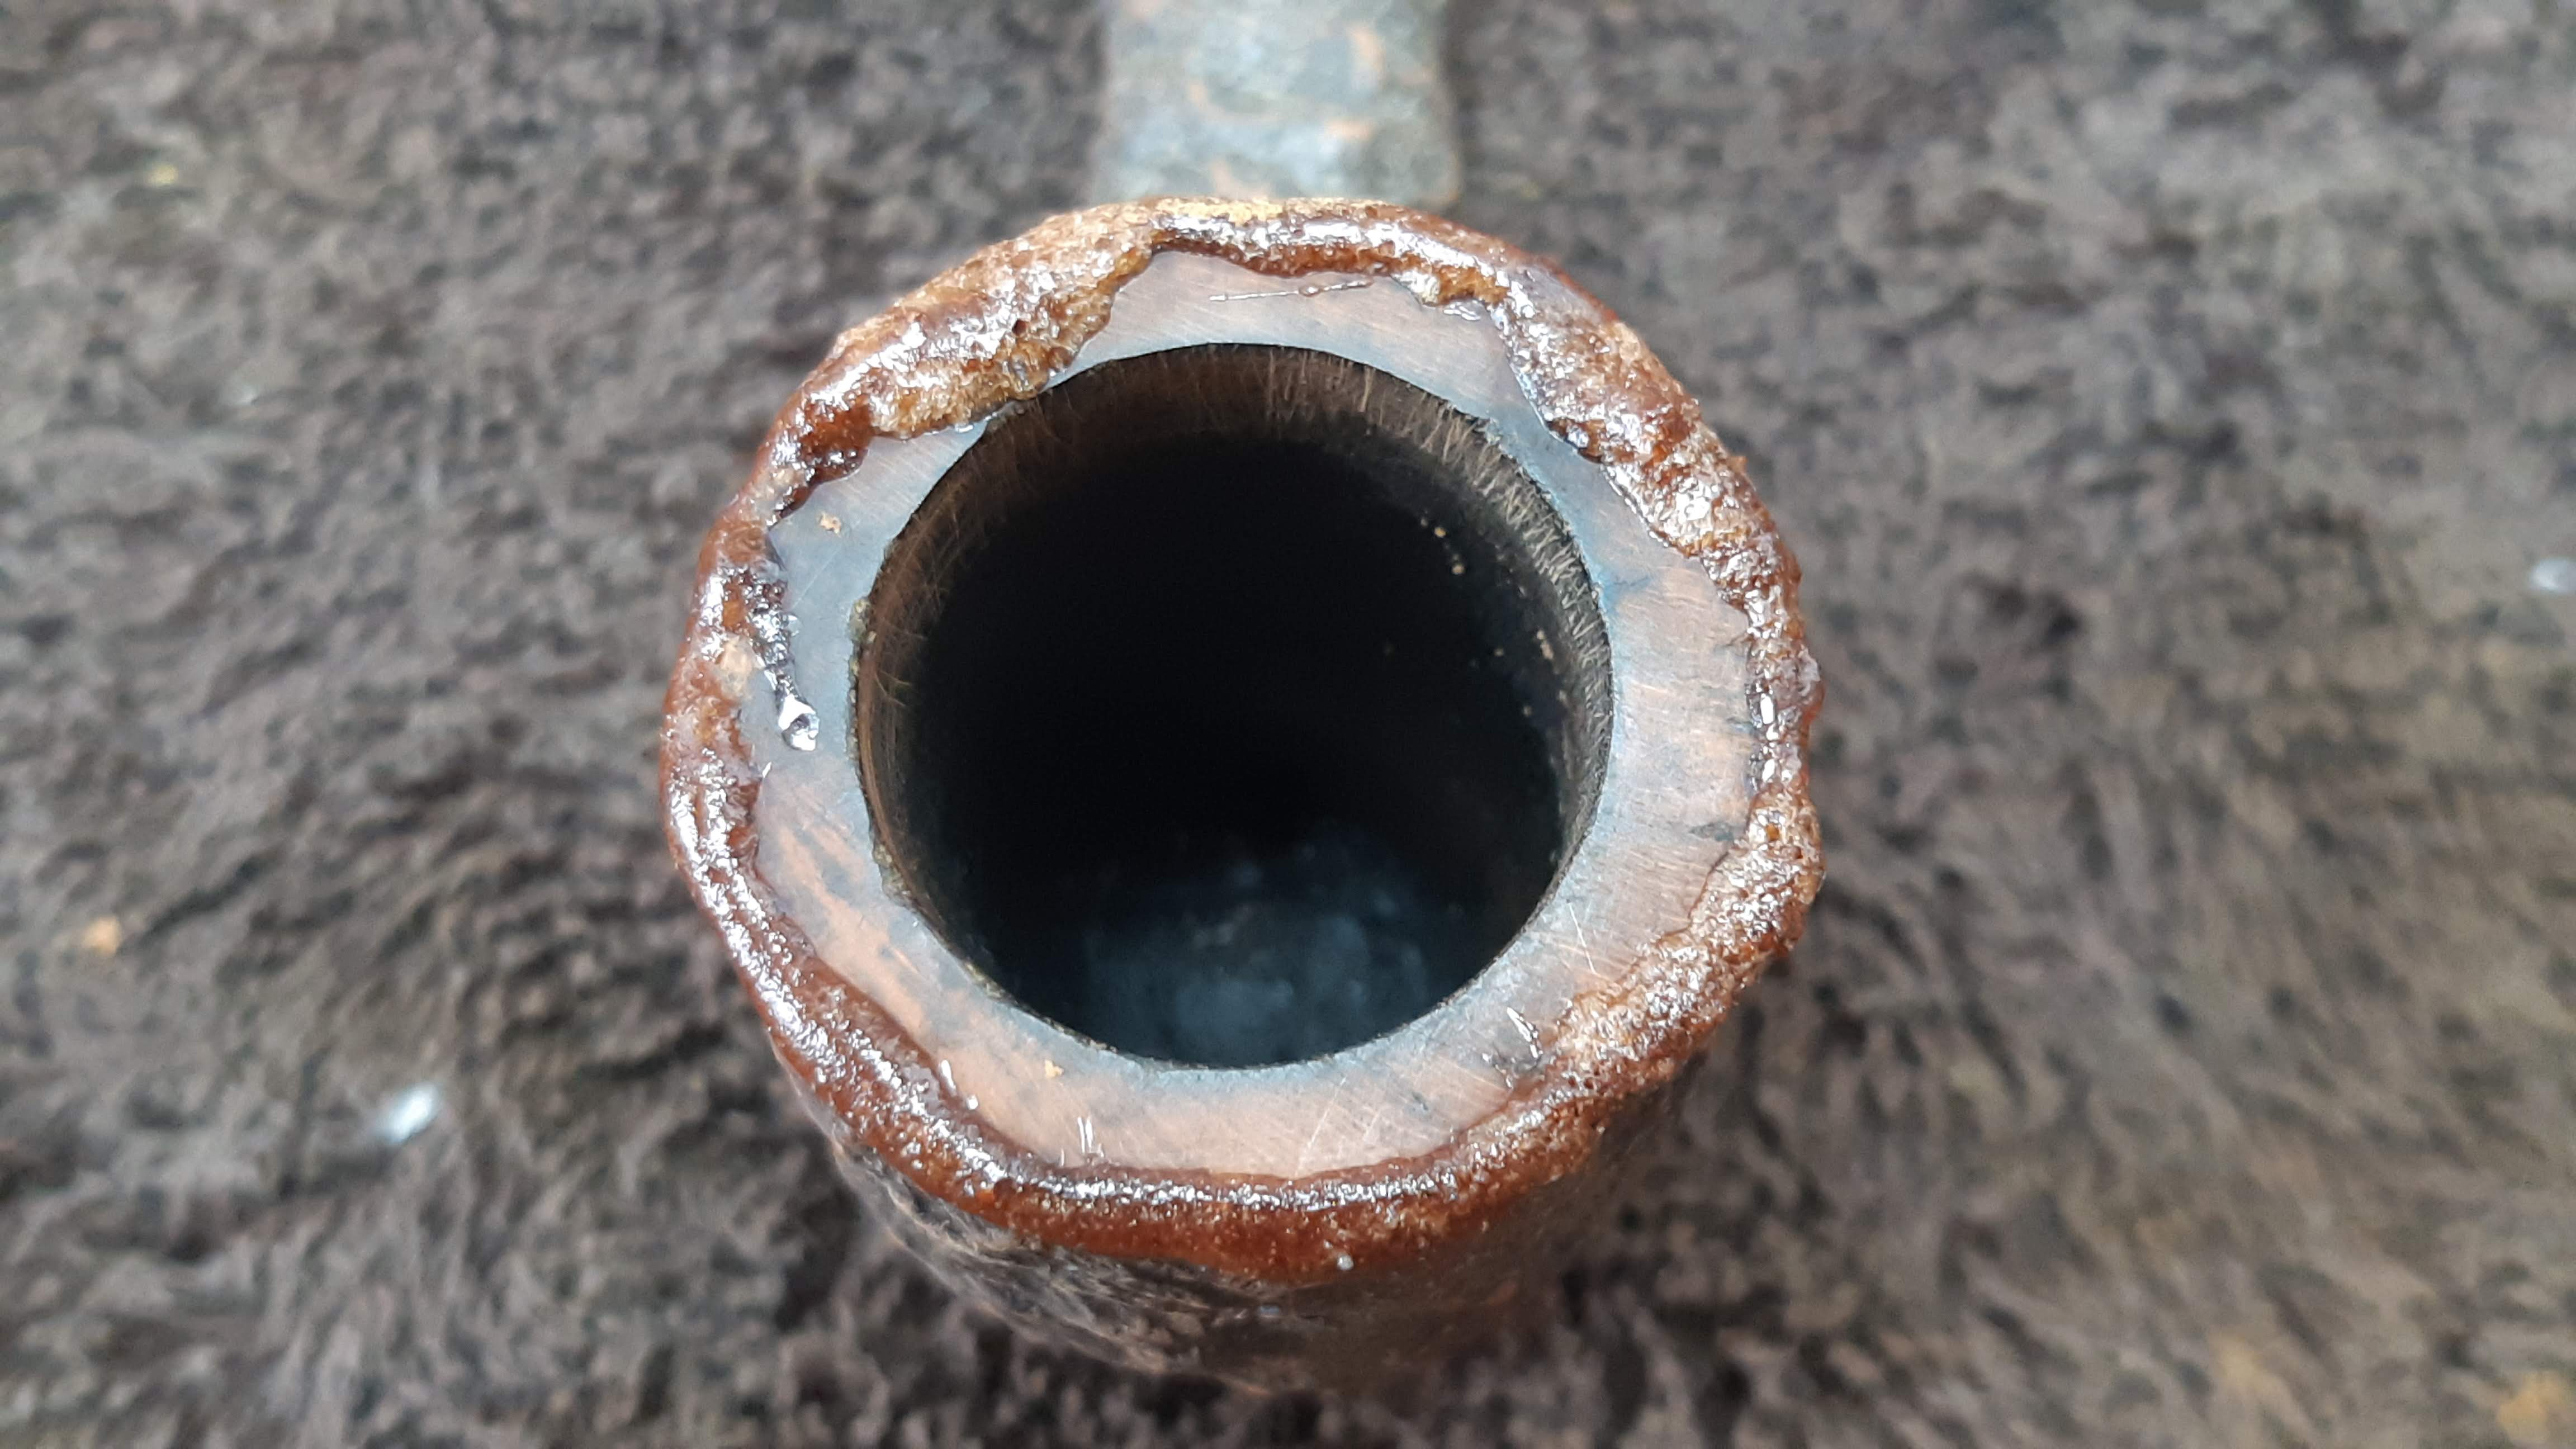
Here is how the pipe looked when I first brought it to the worktable. It was well used, and a bit rough around the edges, with large nicks and dings around most of the outer rim. The chamber had a significant cake layer built up around the walls, though it looked as if someone had at least attempted to trim it down a little.
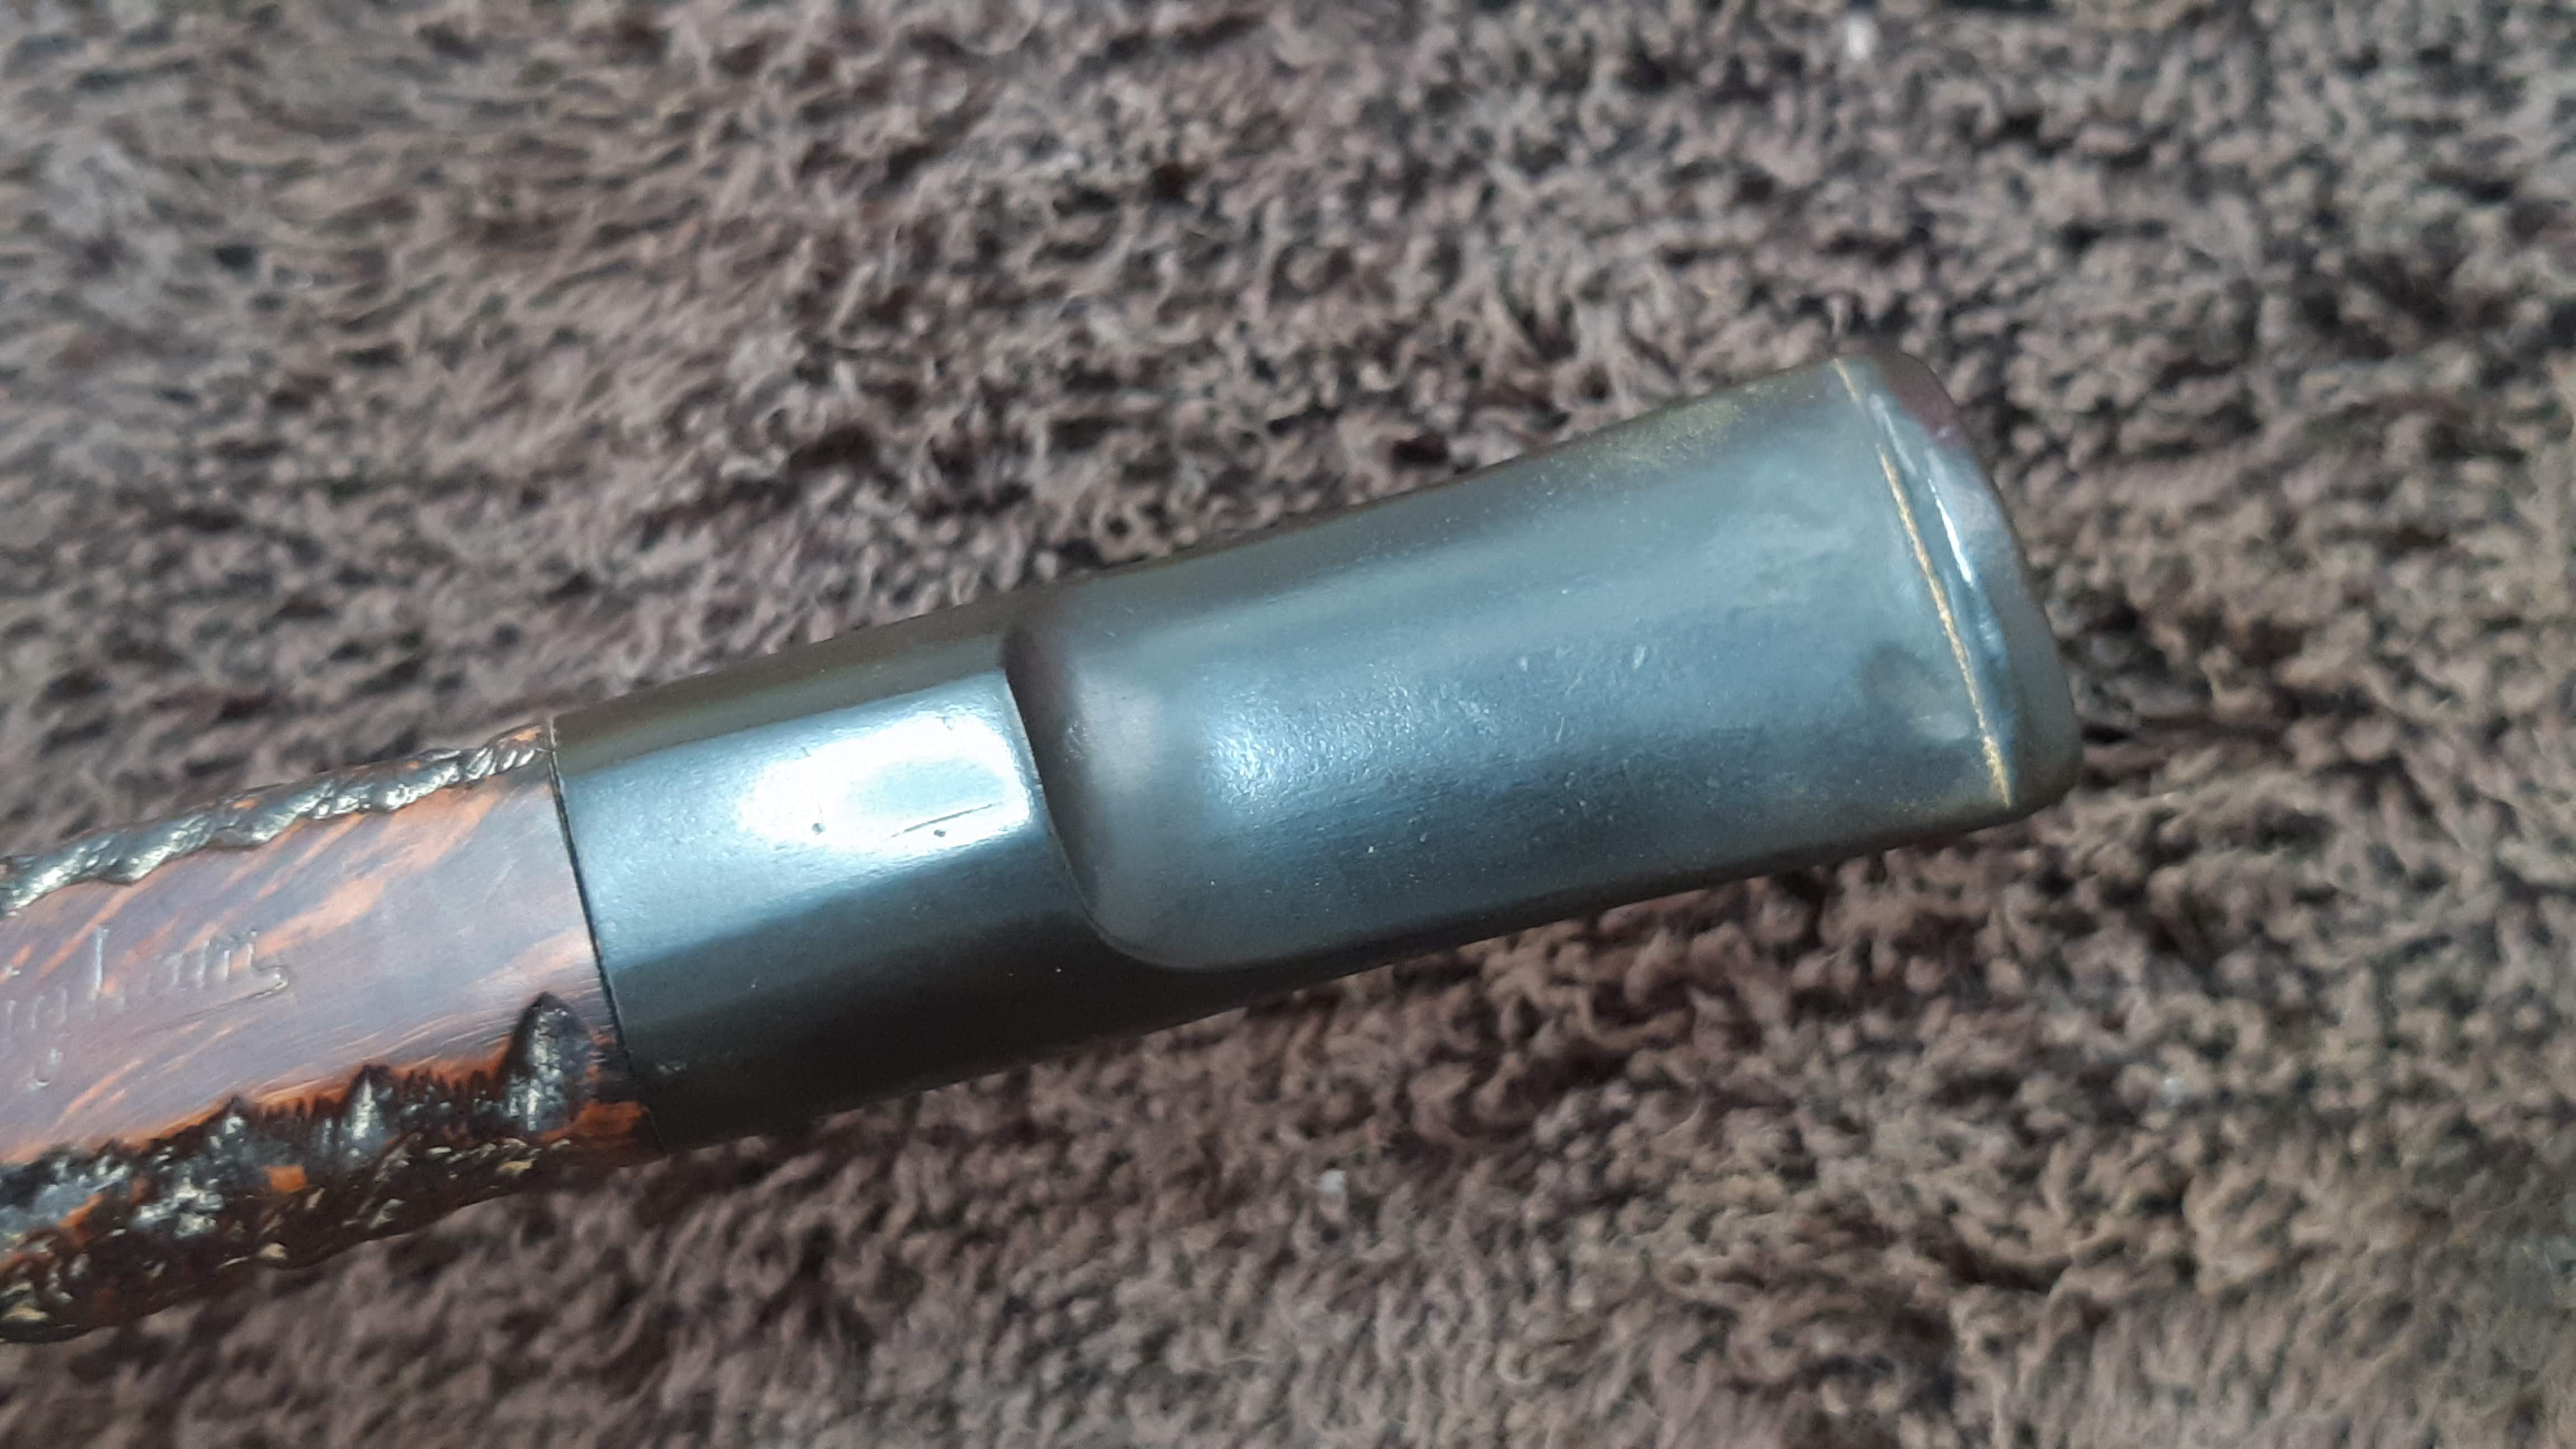
The finish was dull and dirty and the rustication was packed with white flecks of old wax. The short saddle stem has some oxidation to clean up and sported a few deep tooth dents that would need attention.
Note the short, plain aluminum tenon shown in the last pic above. The end looks a little rough in the photo due to a buildup of tar and debris, but I can assure you that you are not looking at the stub of a cut off Patent tenon/filter holder.


The pipe is stamped with the Brigham logo in use from at least 1933 until the end of the Patent Era in 1955, consisting of the Brigham name in script underlined by a long tail wrapping back from the “m”. The usual Brigham three-digit shape number is conspicuously absent, though the pipe is stamped with a single number “8”. There are no brass pins (or Brigham Dots) on the stem.


Brigham made Non-Patent (filterless) pipes alongside their Patent pipes up until about 1954 when they moved from 82-84 Victoria Street to 121 King Street West in Toronto. The latest non-patent pipes made were marketed under the Canuck brand in the early 1950s in order to reserve the Brigham name for their Patent pipes. The pipe on the worktable, then, must predate the Canuck line , placing its production somewhere in the two decades between 1933 and about 1953.
The “8” stamp is an enigma. It appears on two of the three Non-Patent pipes in my collection, and on one of two Canuck pipes owned by Roy Brigham’s grandson, Mike. Mike’s father, Herb Brigham, may have known the significance of the stamp but sadly Herb passed away in 2010, taking the information with him. My own personal theory is that the “8” may indicate a Non-Patent pipe, or perhaps more accurately, a stummel that was too small to accept the Brigham System and was thus sold as a non-filtered pipe. Unless documentary evidence can be found, however, my theory will remain pure supposition.
Boosting my theory somewhat are two bits of information. A brochure from the Brigham archive dating to the late 1940s proudly illustrates both Brigham Patent and Brigham Regular pipes, describing the Regular line as follows:
“Although this line of pipes does NOT contain the BRIGHAM Patent, it does have an unbreakable joint between the stem and bowl, eliminating 96% of breakages.”

The unbreakable joint mentioned in the brochure surely relates to the use of aluminum tenons in the Regular line, a natural choice given the aluminum tubing on hand for the Patent line of pipes. Also note that the Shape 42 Saddle Apple pipe pictured in the lower right corner of the brochure was not available as a Patent pipe. It is the only pipe shown without brass Dots.
The second piece of evidence supporting my theory is the size of this pipe. When compared directly to a 1960’s vintage Brigham 419 Club from my collection, the Non-Patent pipe proves to be approximately one quarter of an inch shorter in the shank than its filtered cousin. While not a huge difference, the shorter shank is simply too short to accept a Brigham Patent tenon and filter.
The difference in length is not really obvious in this first pic, but placing the pipes shank to shank brings things into perspective.

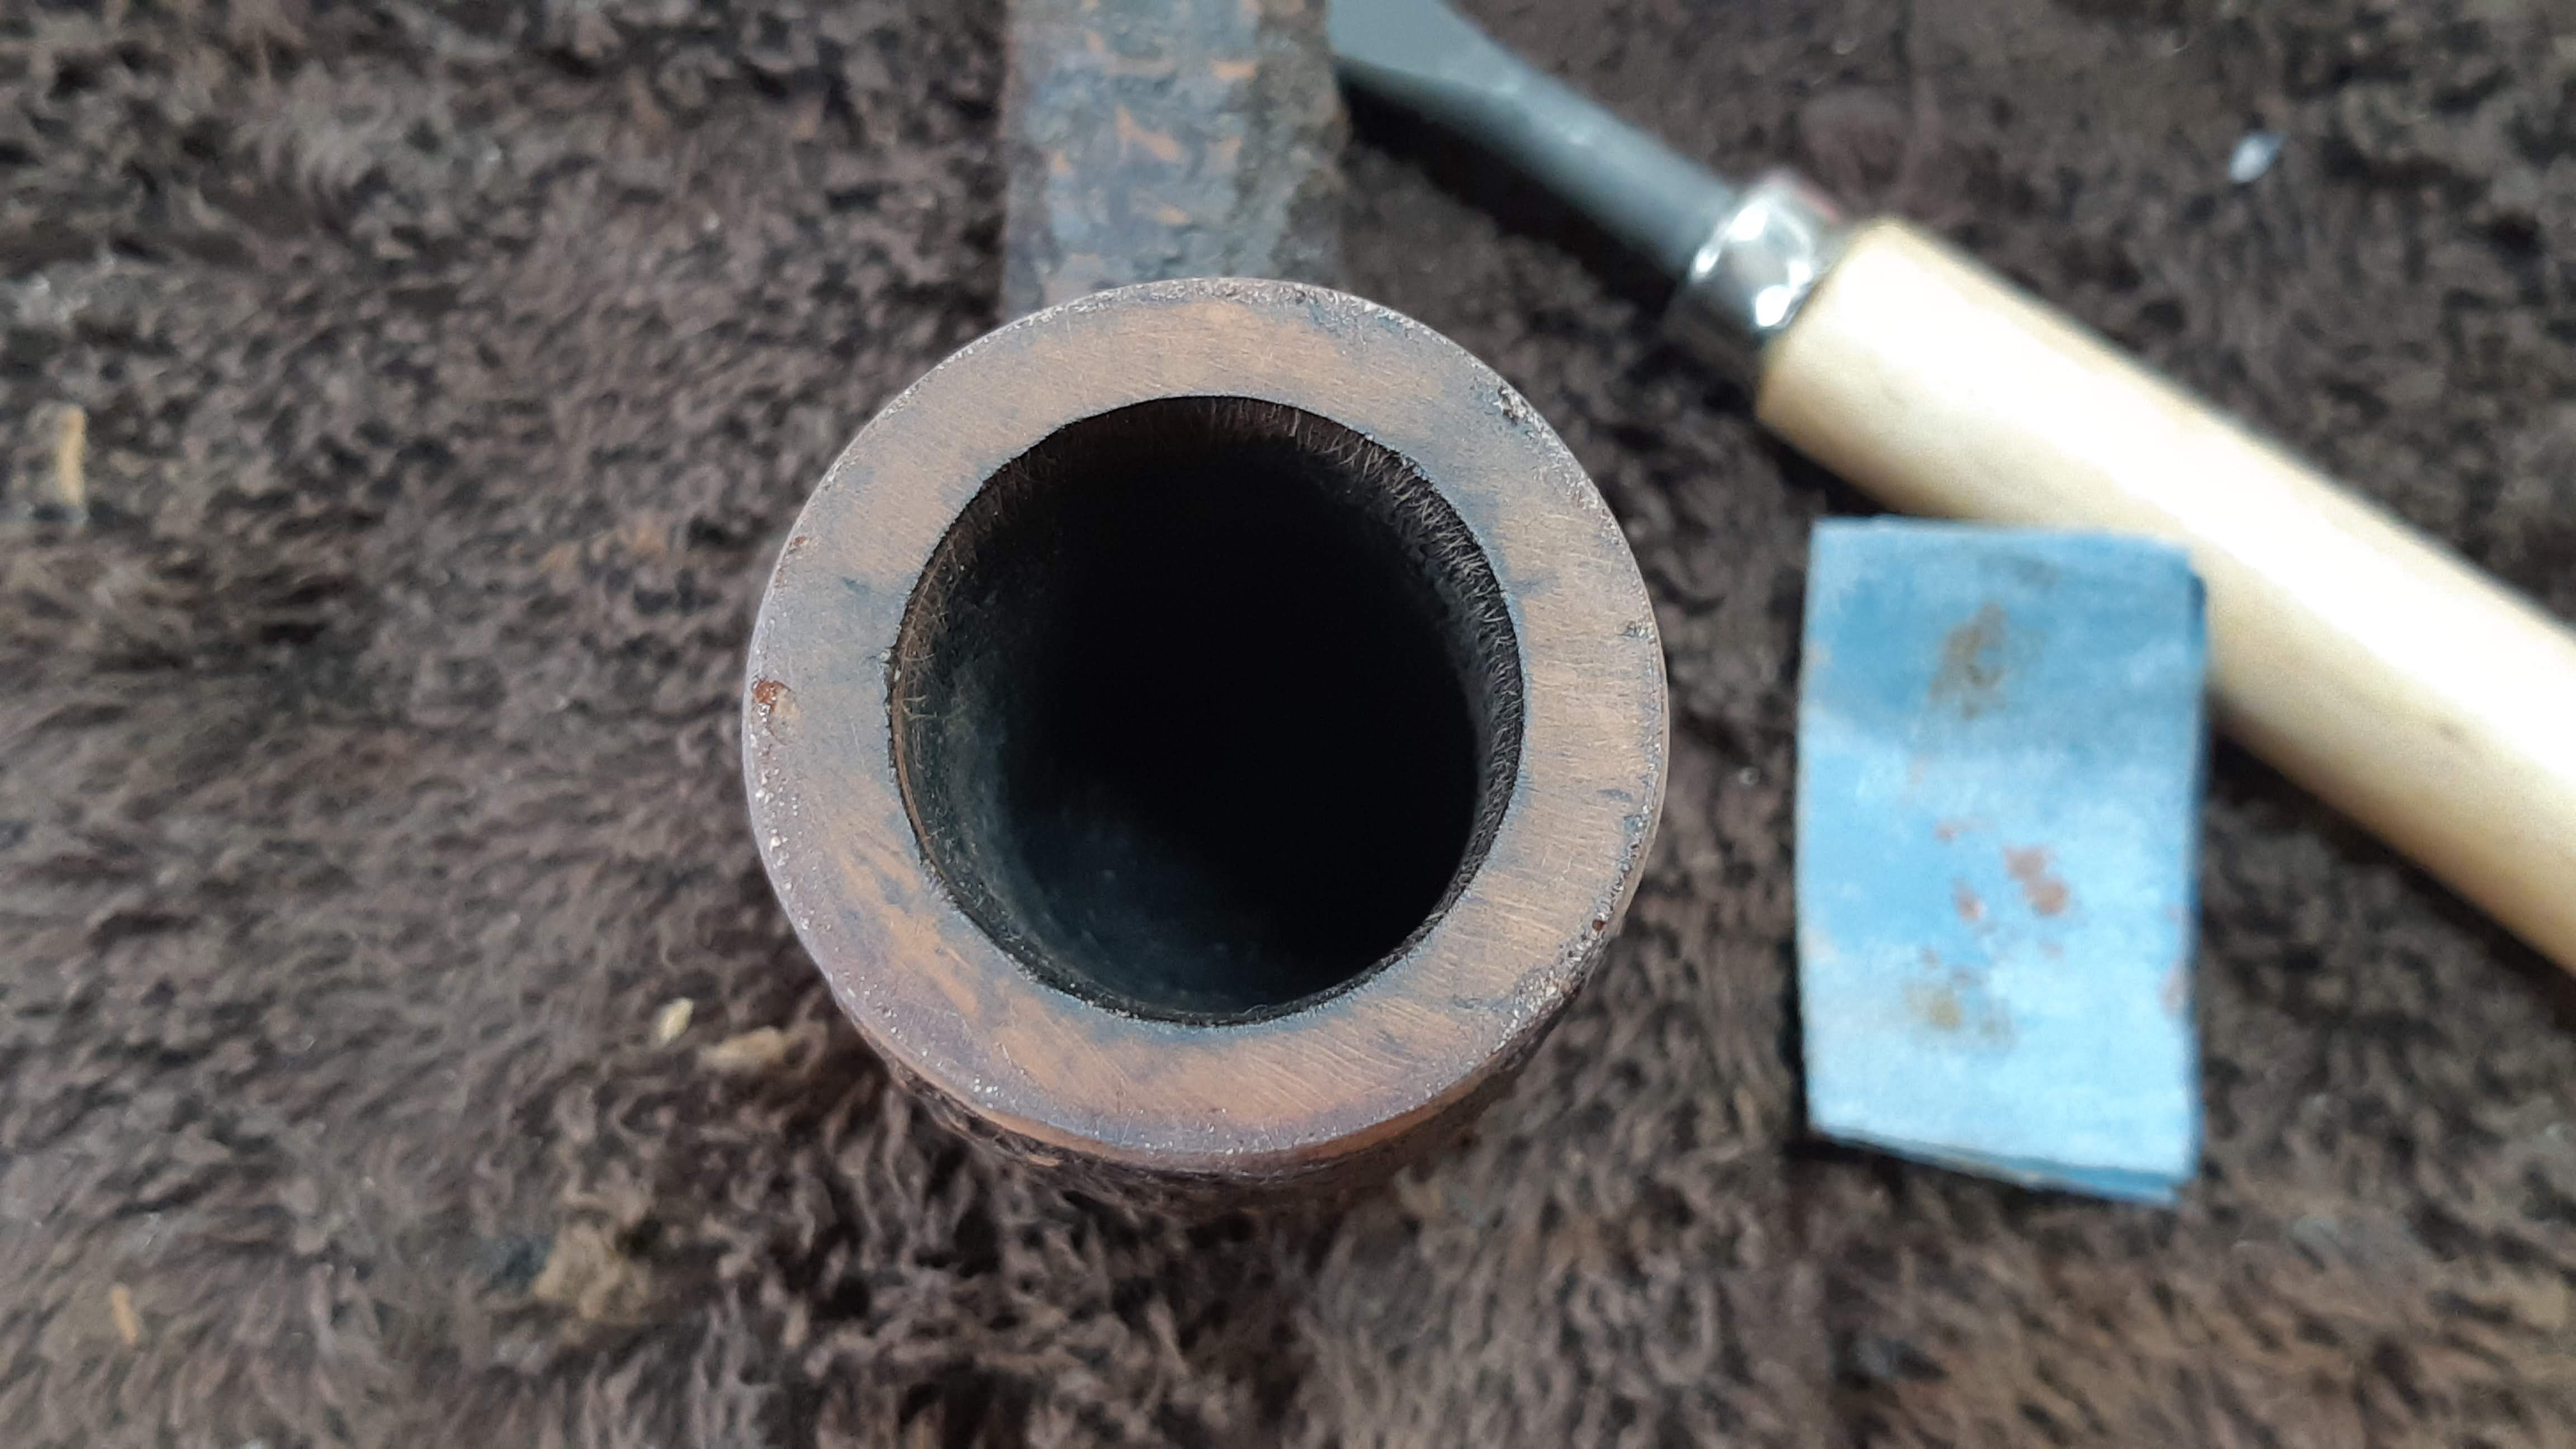
Now that you know as much as I do about this pipe, let’s move on to the restoration, which started, as usual, with reaming out the old cake to inspect the briar hiding underneath. I used several different sizes of reamer head to clean out the old carbon, and finished up with a bit of sandpaper wrapped around a marker. Surprisingly for the age and obviously used condition of the pipe, the chamber walls and floor were in great shape.


I removed the stem and ran an exploratory pipe cleaner through the airway. Satisfied that no blockages were present, I dropped the stem into an Oxyclean bath to raise and soften the oxidation.

While I was at the sink, I scrubbed the exterior of the stummel with Murphy’s Oil Soap and a toothbrush. The soap raised an impressive amount of dirt from the rusticated finish, turning the suds brown. Ew.

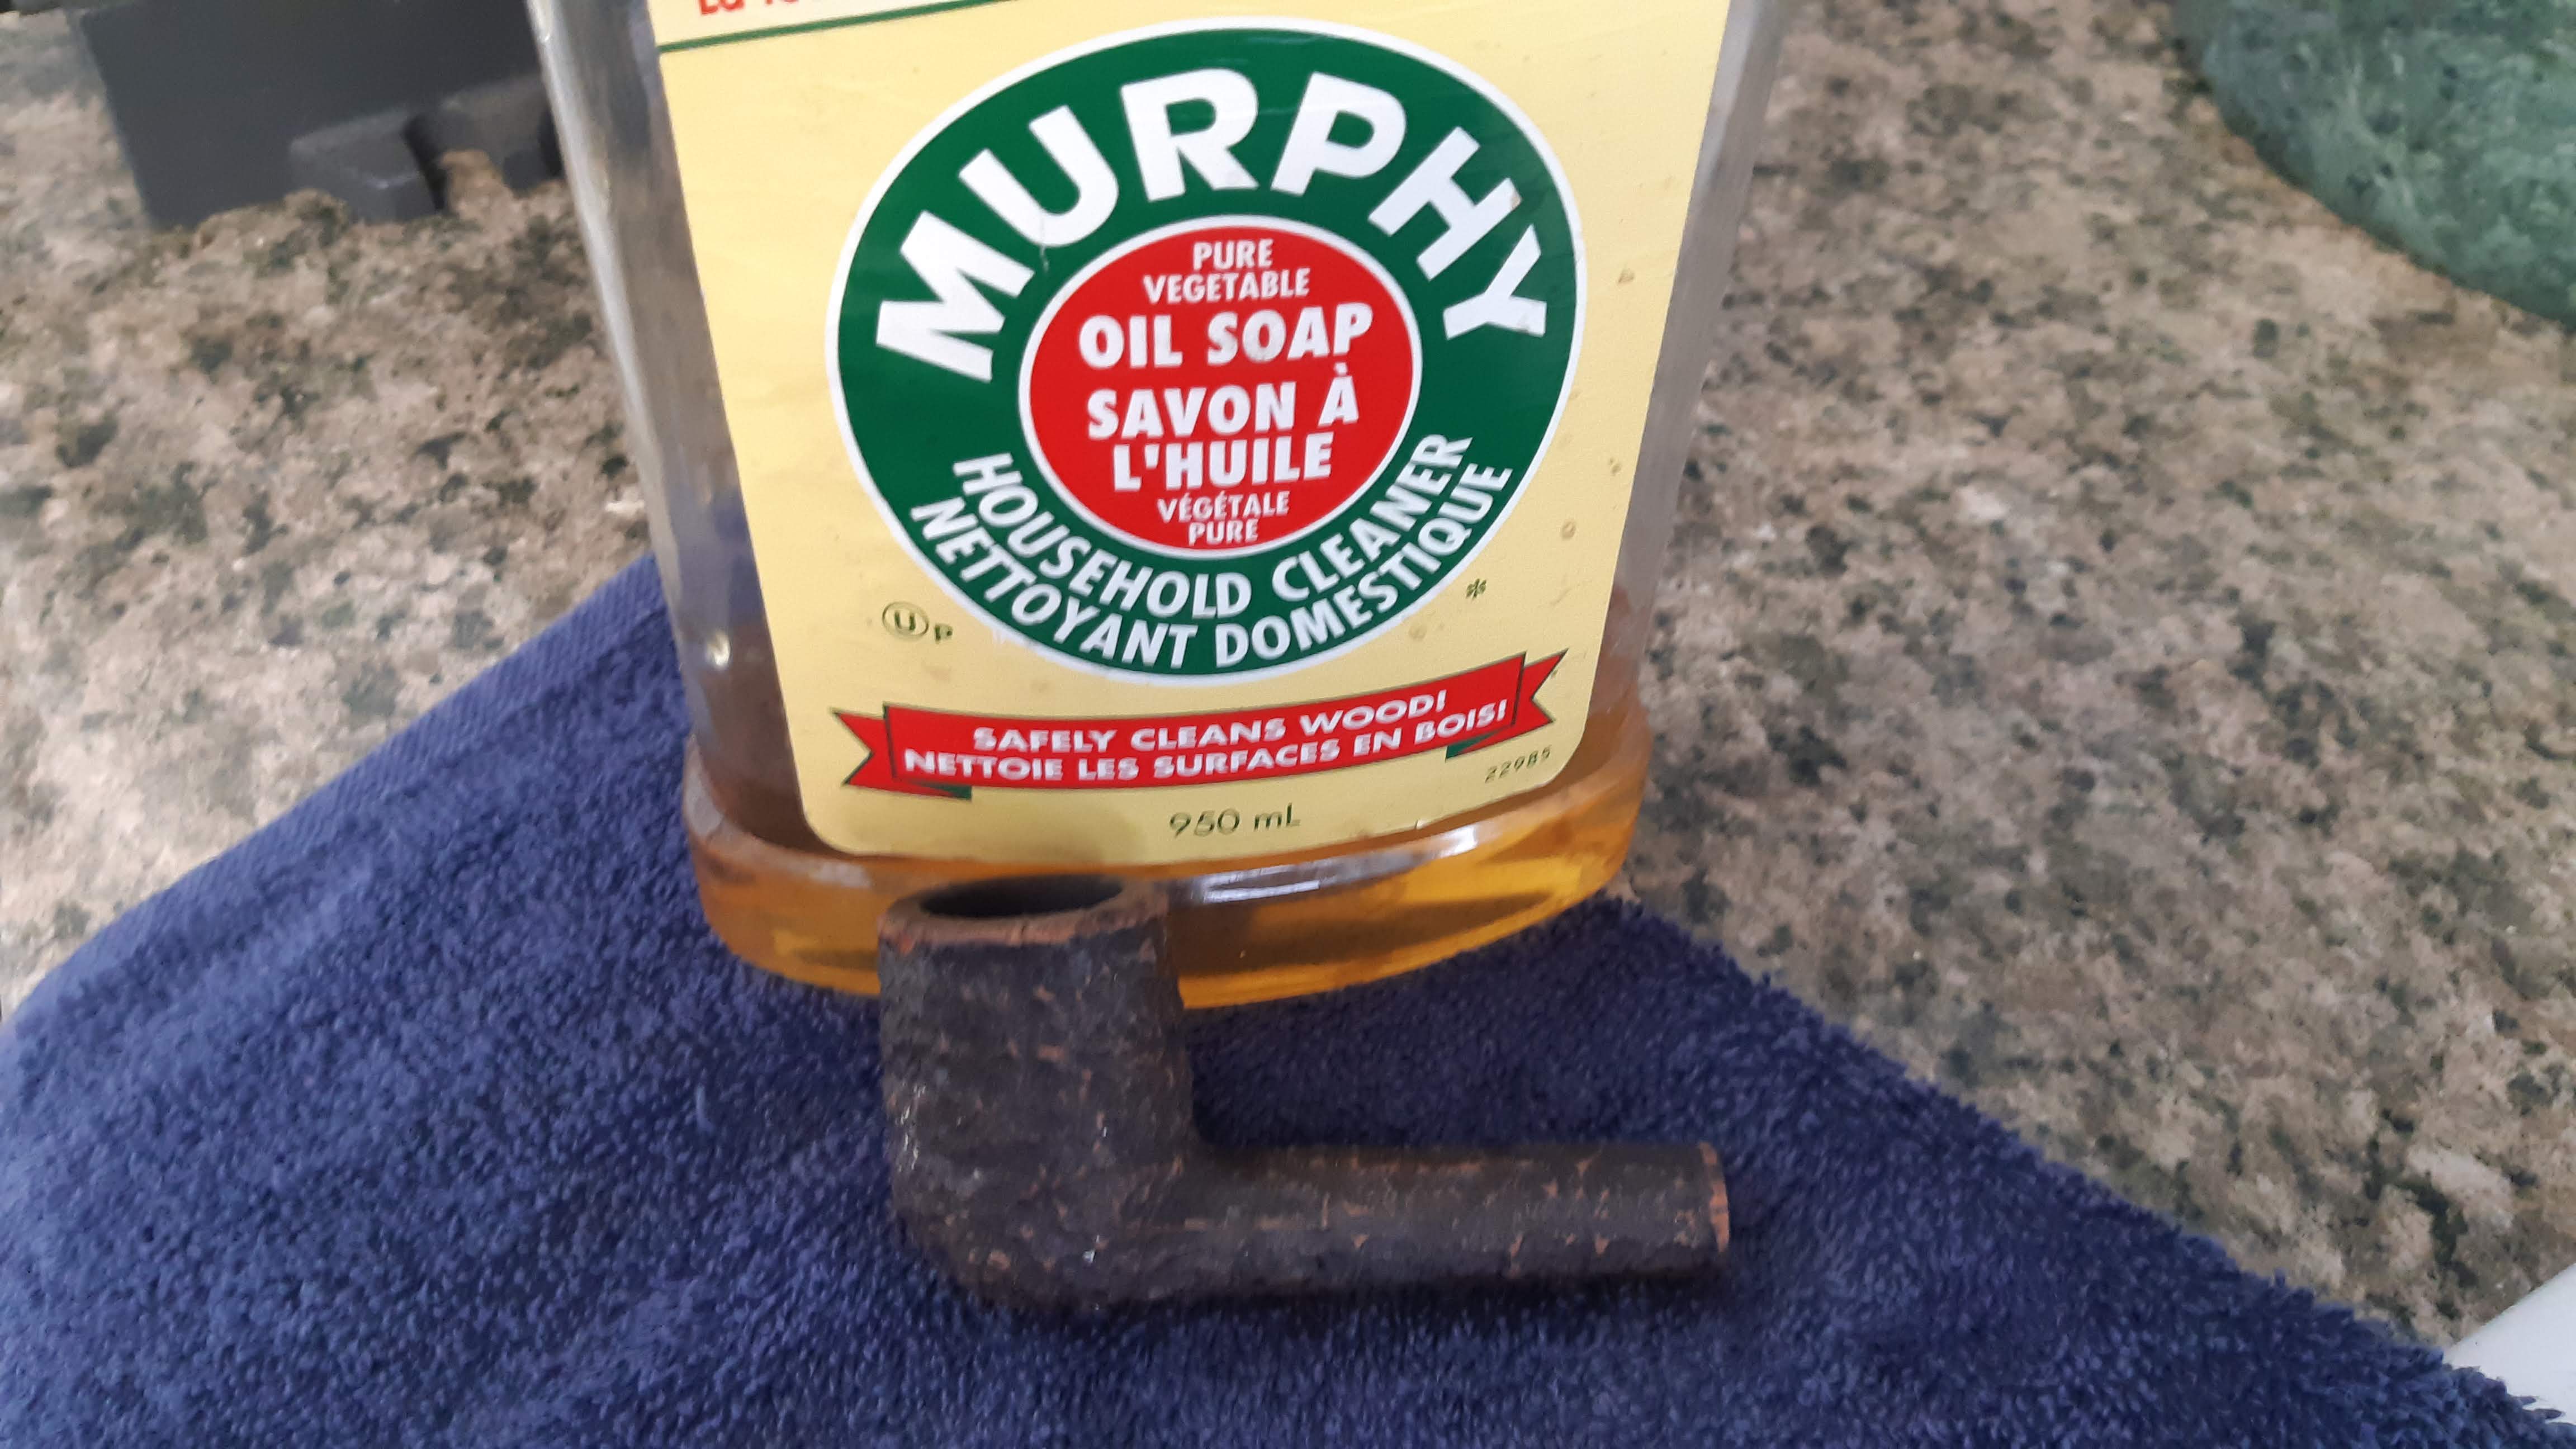
A thorough rinsing under fresh water left the briar fresh and almost clean – the scrubbing revealed a small constellation of paint speckles across the front of the bowl.


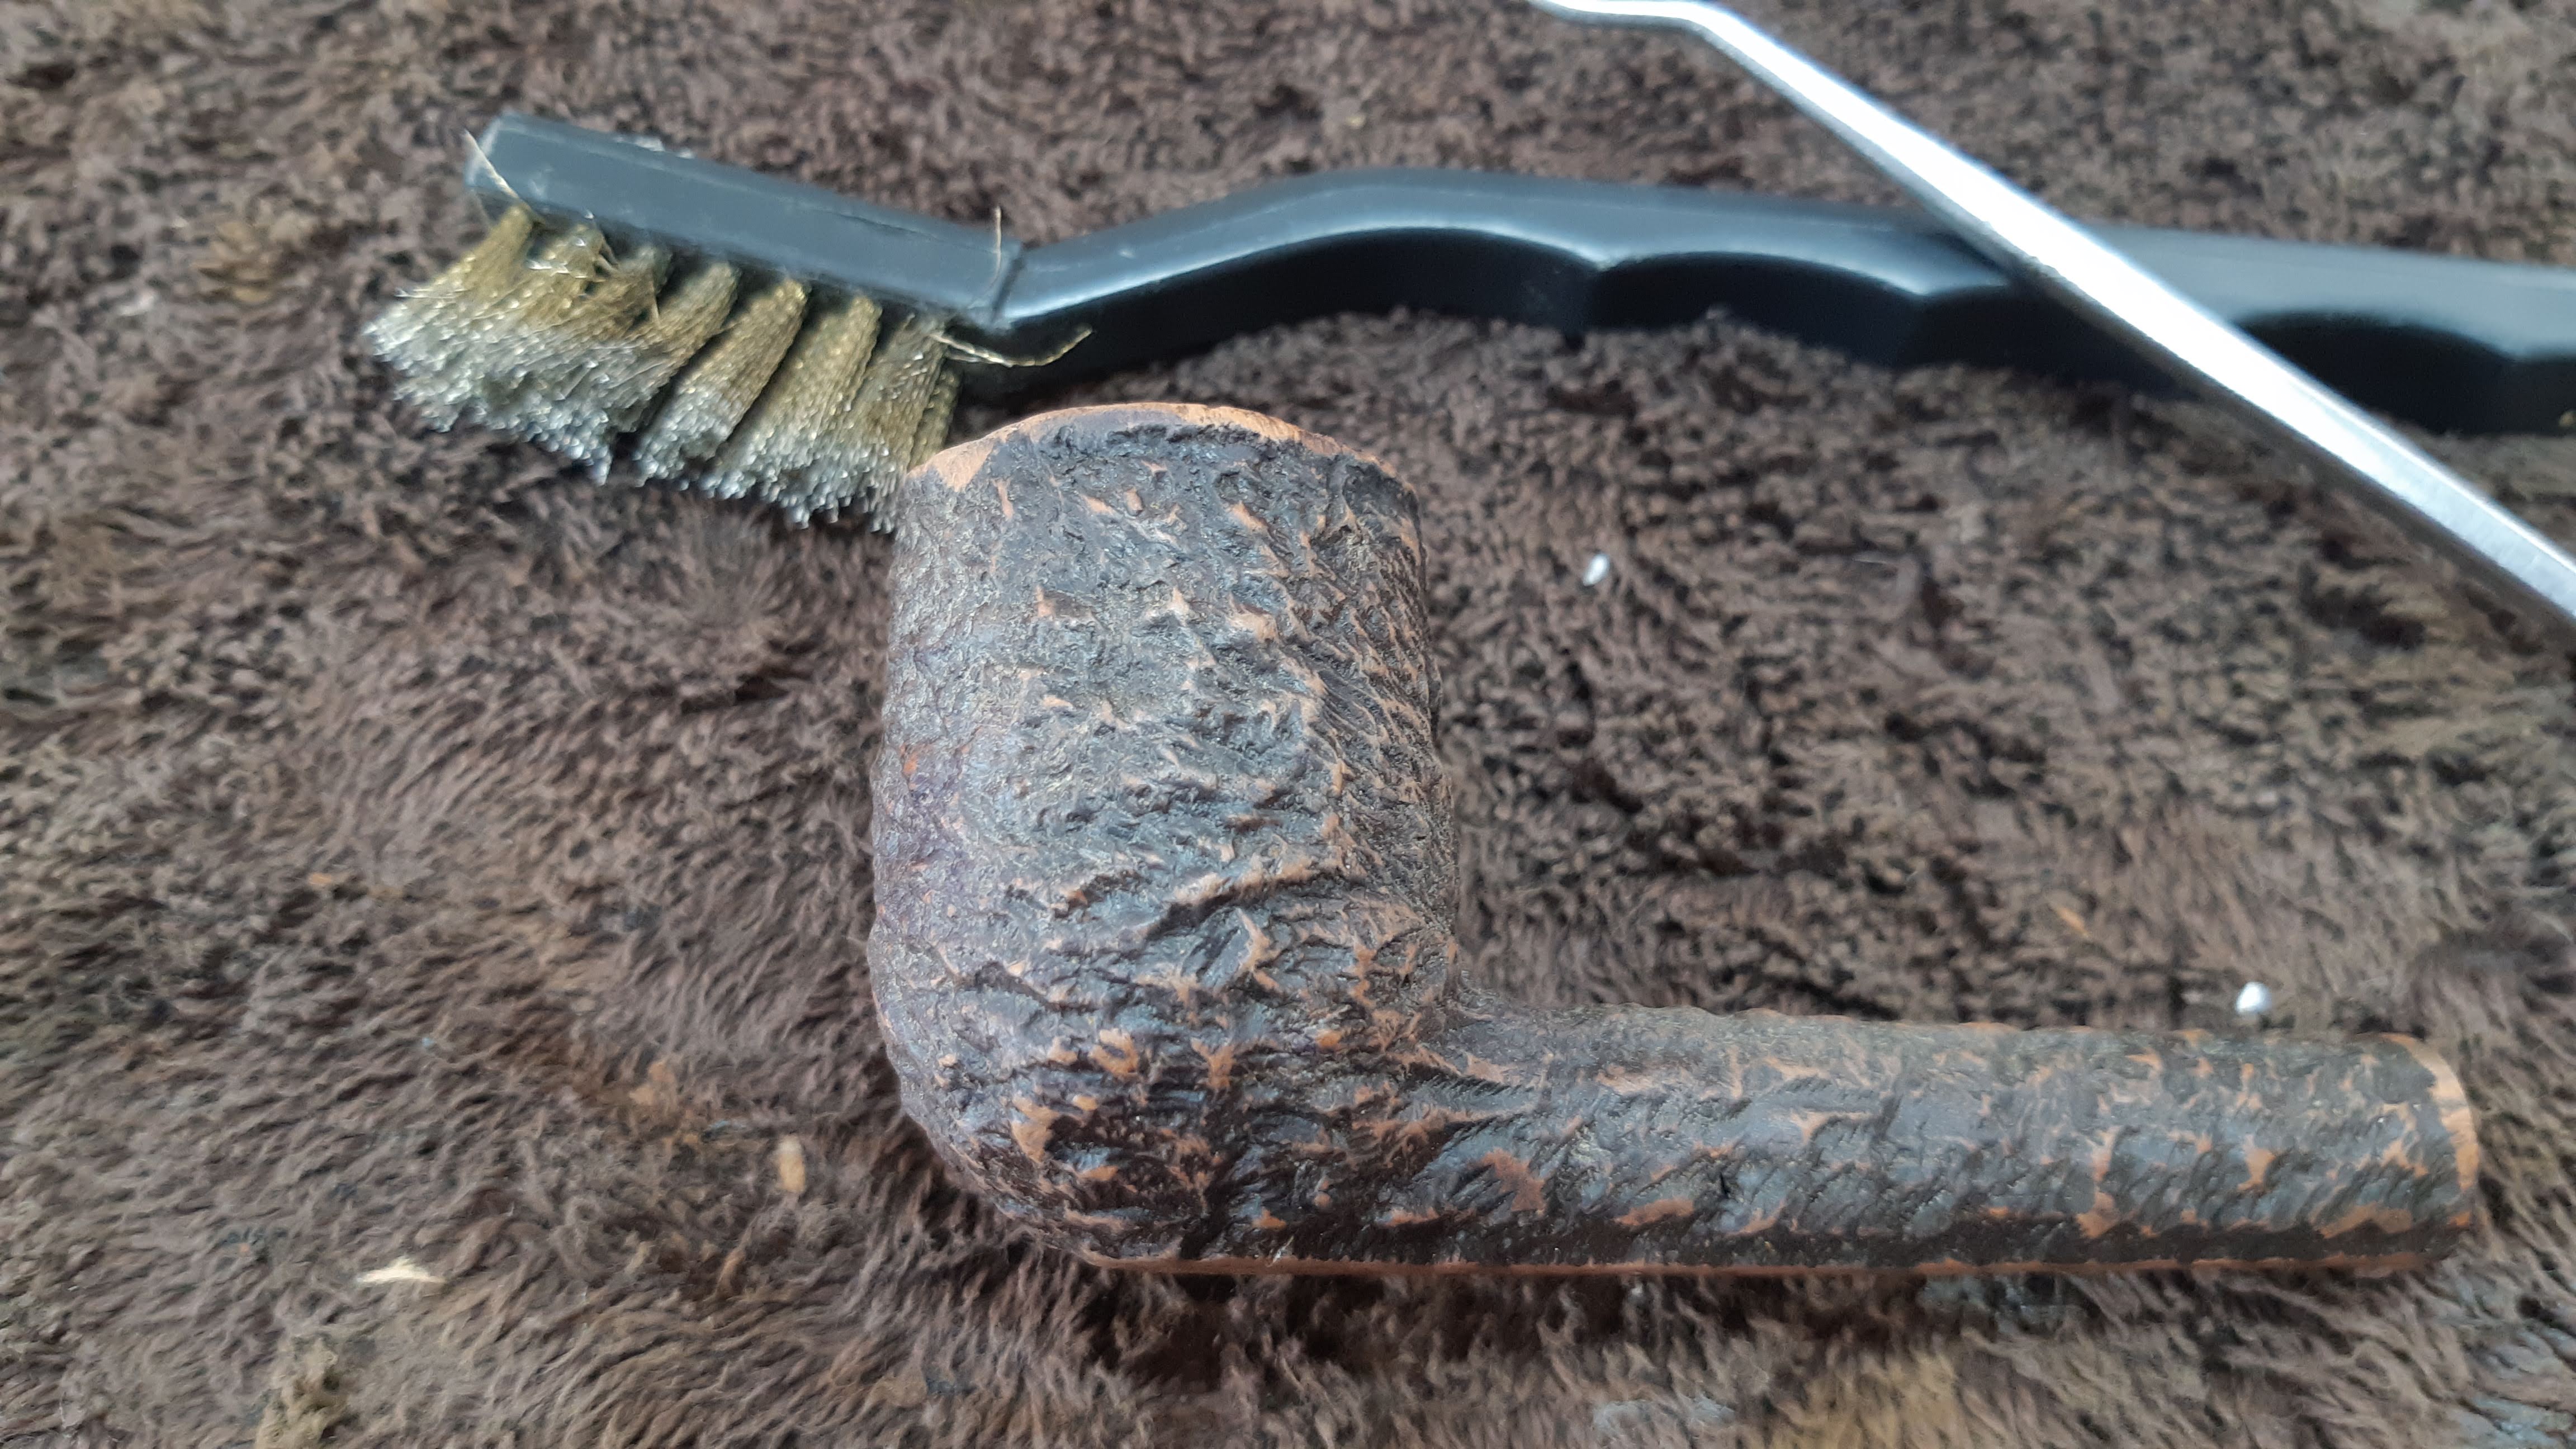
I used both a brass tire brush and my trusty dental pick to extract the paint from the finish – tedious, to be sure, but well worth the effort.


Now that the briar was clean, it was time to deal with the damaged rim. I started things off by very gently topping the bowl to remove a layer of tars and reveal the briar underneath. Doing so also brought the rim damage into focus.


Usually rim damage like this is concentrated in one area as the piper knocks dottle from the bowl after each smoke. In this case, however, the dents and dings went all the way around the bowl. To restore the bowl’s round appearance, I mixed thick CA glue with briar dust and applied the patch mixture to the entire circumference of the rim.
When the patch had cured completely, I used files and sandpaper to remove the excess material, being careful not to sand out the original rim surface.


As you can see in the above pics, tiny micro-bubbles were caught in the patch mixture as it cured, showing up as whitish dots against the darker briar. To blend the patches in further and fill the bubbles, I coloured the rim with a touch-up marker and then applied a coat of clear regular CA glue. After a second round of sanding, the patches are nearly invisible.

I set the stummel aside to rest at this point and pulled the stem from its Oxyclean soak. I scrubbed away the now softened oxidation with 0000 steel wool and Magic Eraser, then used pipe cleaners and 99% isopropyl alcohol to clean the airway. I did also clean the shank and airway of the stummel but forgot to photograph that process.


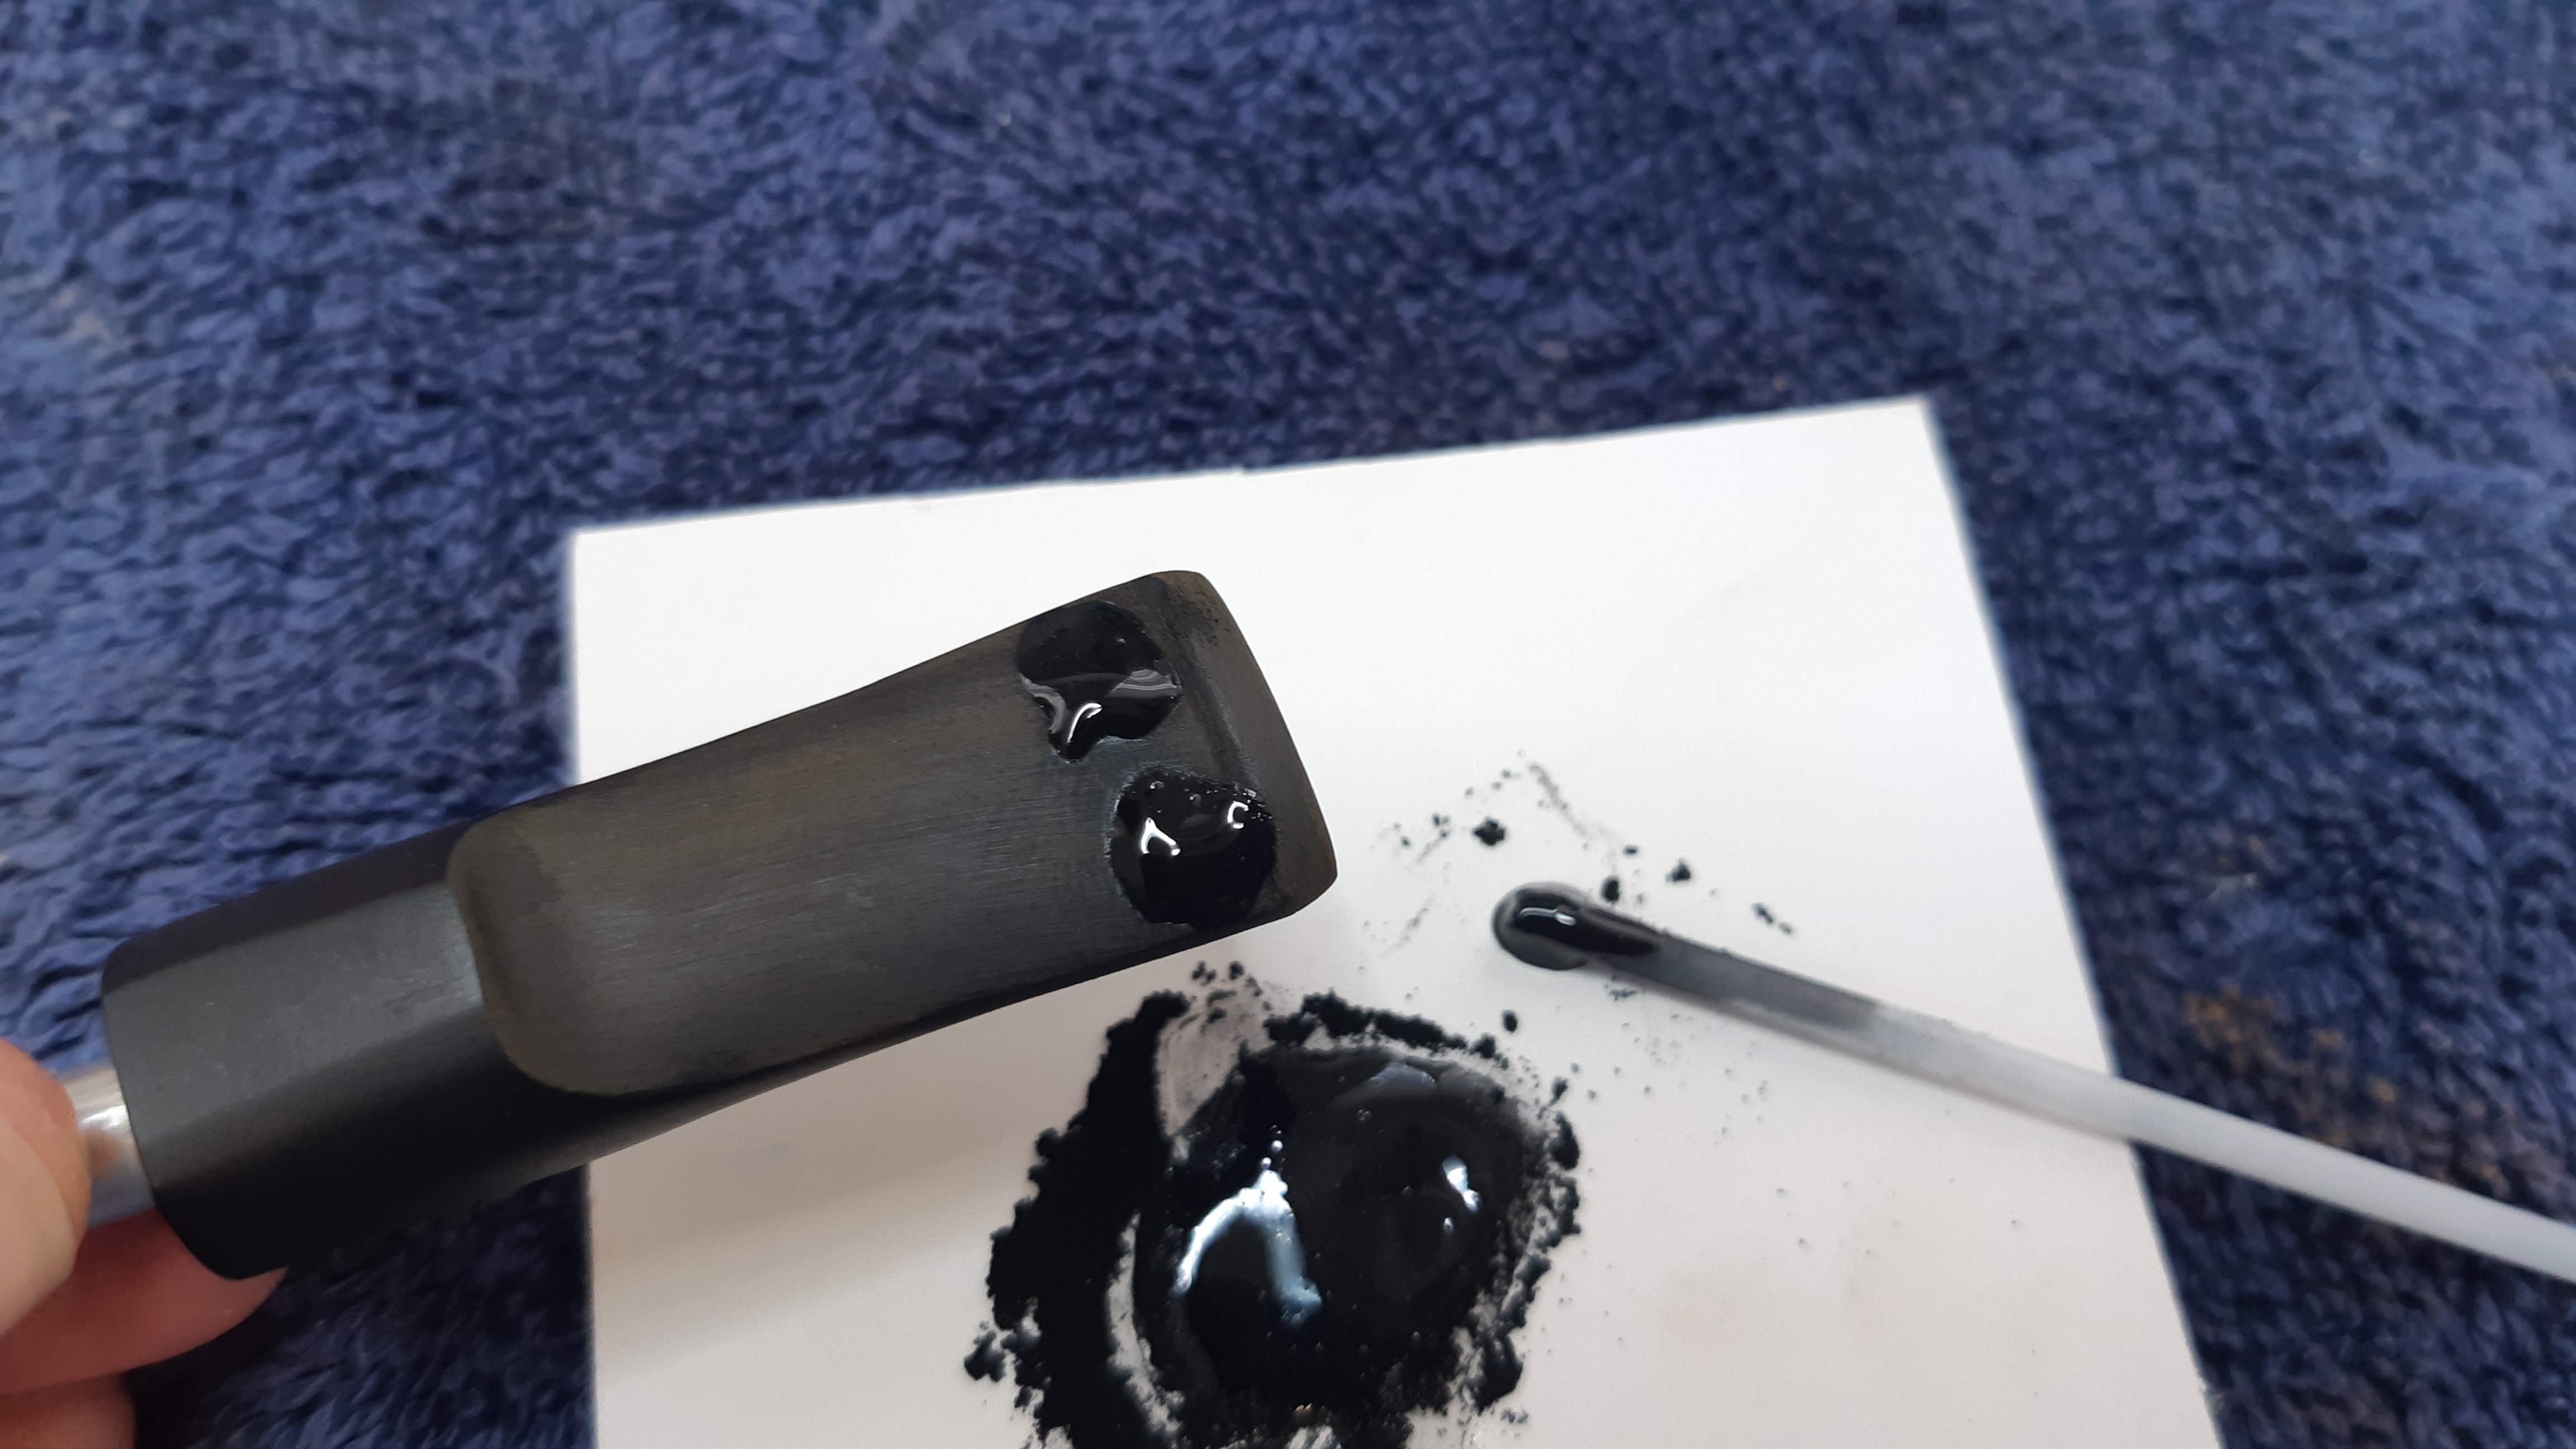
I attempted to raise the tooth dents near the stem button with heat but it didn’t work as well this time as it has with other stems. To repair the dents, I filled them with a mix of thick CA glue and activated charcoal powder. After letting the patches cure, I filed and sanded everything smooth. It took a few applications of clear CA glue over the patch mixture to fill those annoying bubbles.


Moving back to the stummel one last time, I refreshed the finish with a two-colour stain treatment of Fiebing’s Saddle Tan leather dye under a coat of Black dye. I removed the black dye from the smooth rim and underside of the shank before giving the briar a light coat of mineral oil to inject a bit of moisture into this old pipe and give the new finish some pop. I let the oil soak in for a few minutes then buffed away the excess by hand using an old towel.


It was finally time to reunite stem and stummel and take the restored pipe to the buffer for a run on both the Red Tripoli and White Diamond wheels to bring up the shine on the smooth areas, while the rusticated areas just kissed the wheel to avoid packing buffing compound into the crevices. I finished things off by giving the entire pipe a light coat of Carnauba wax.
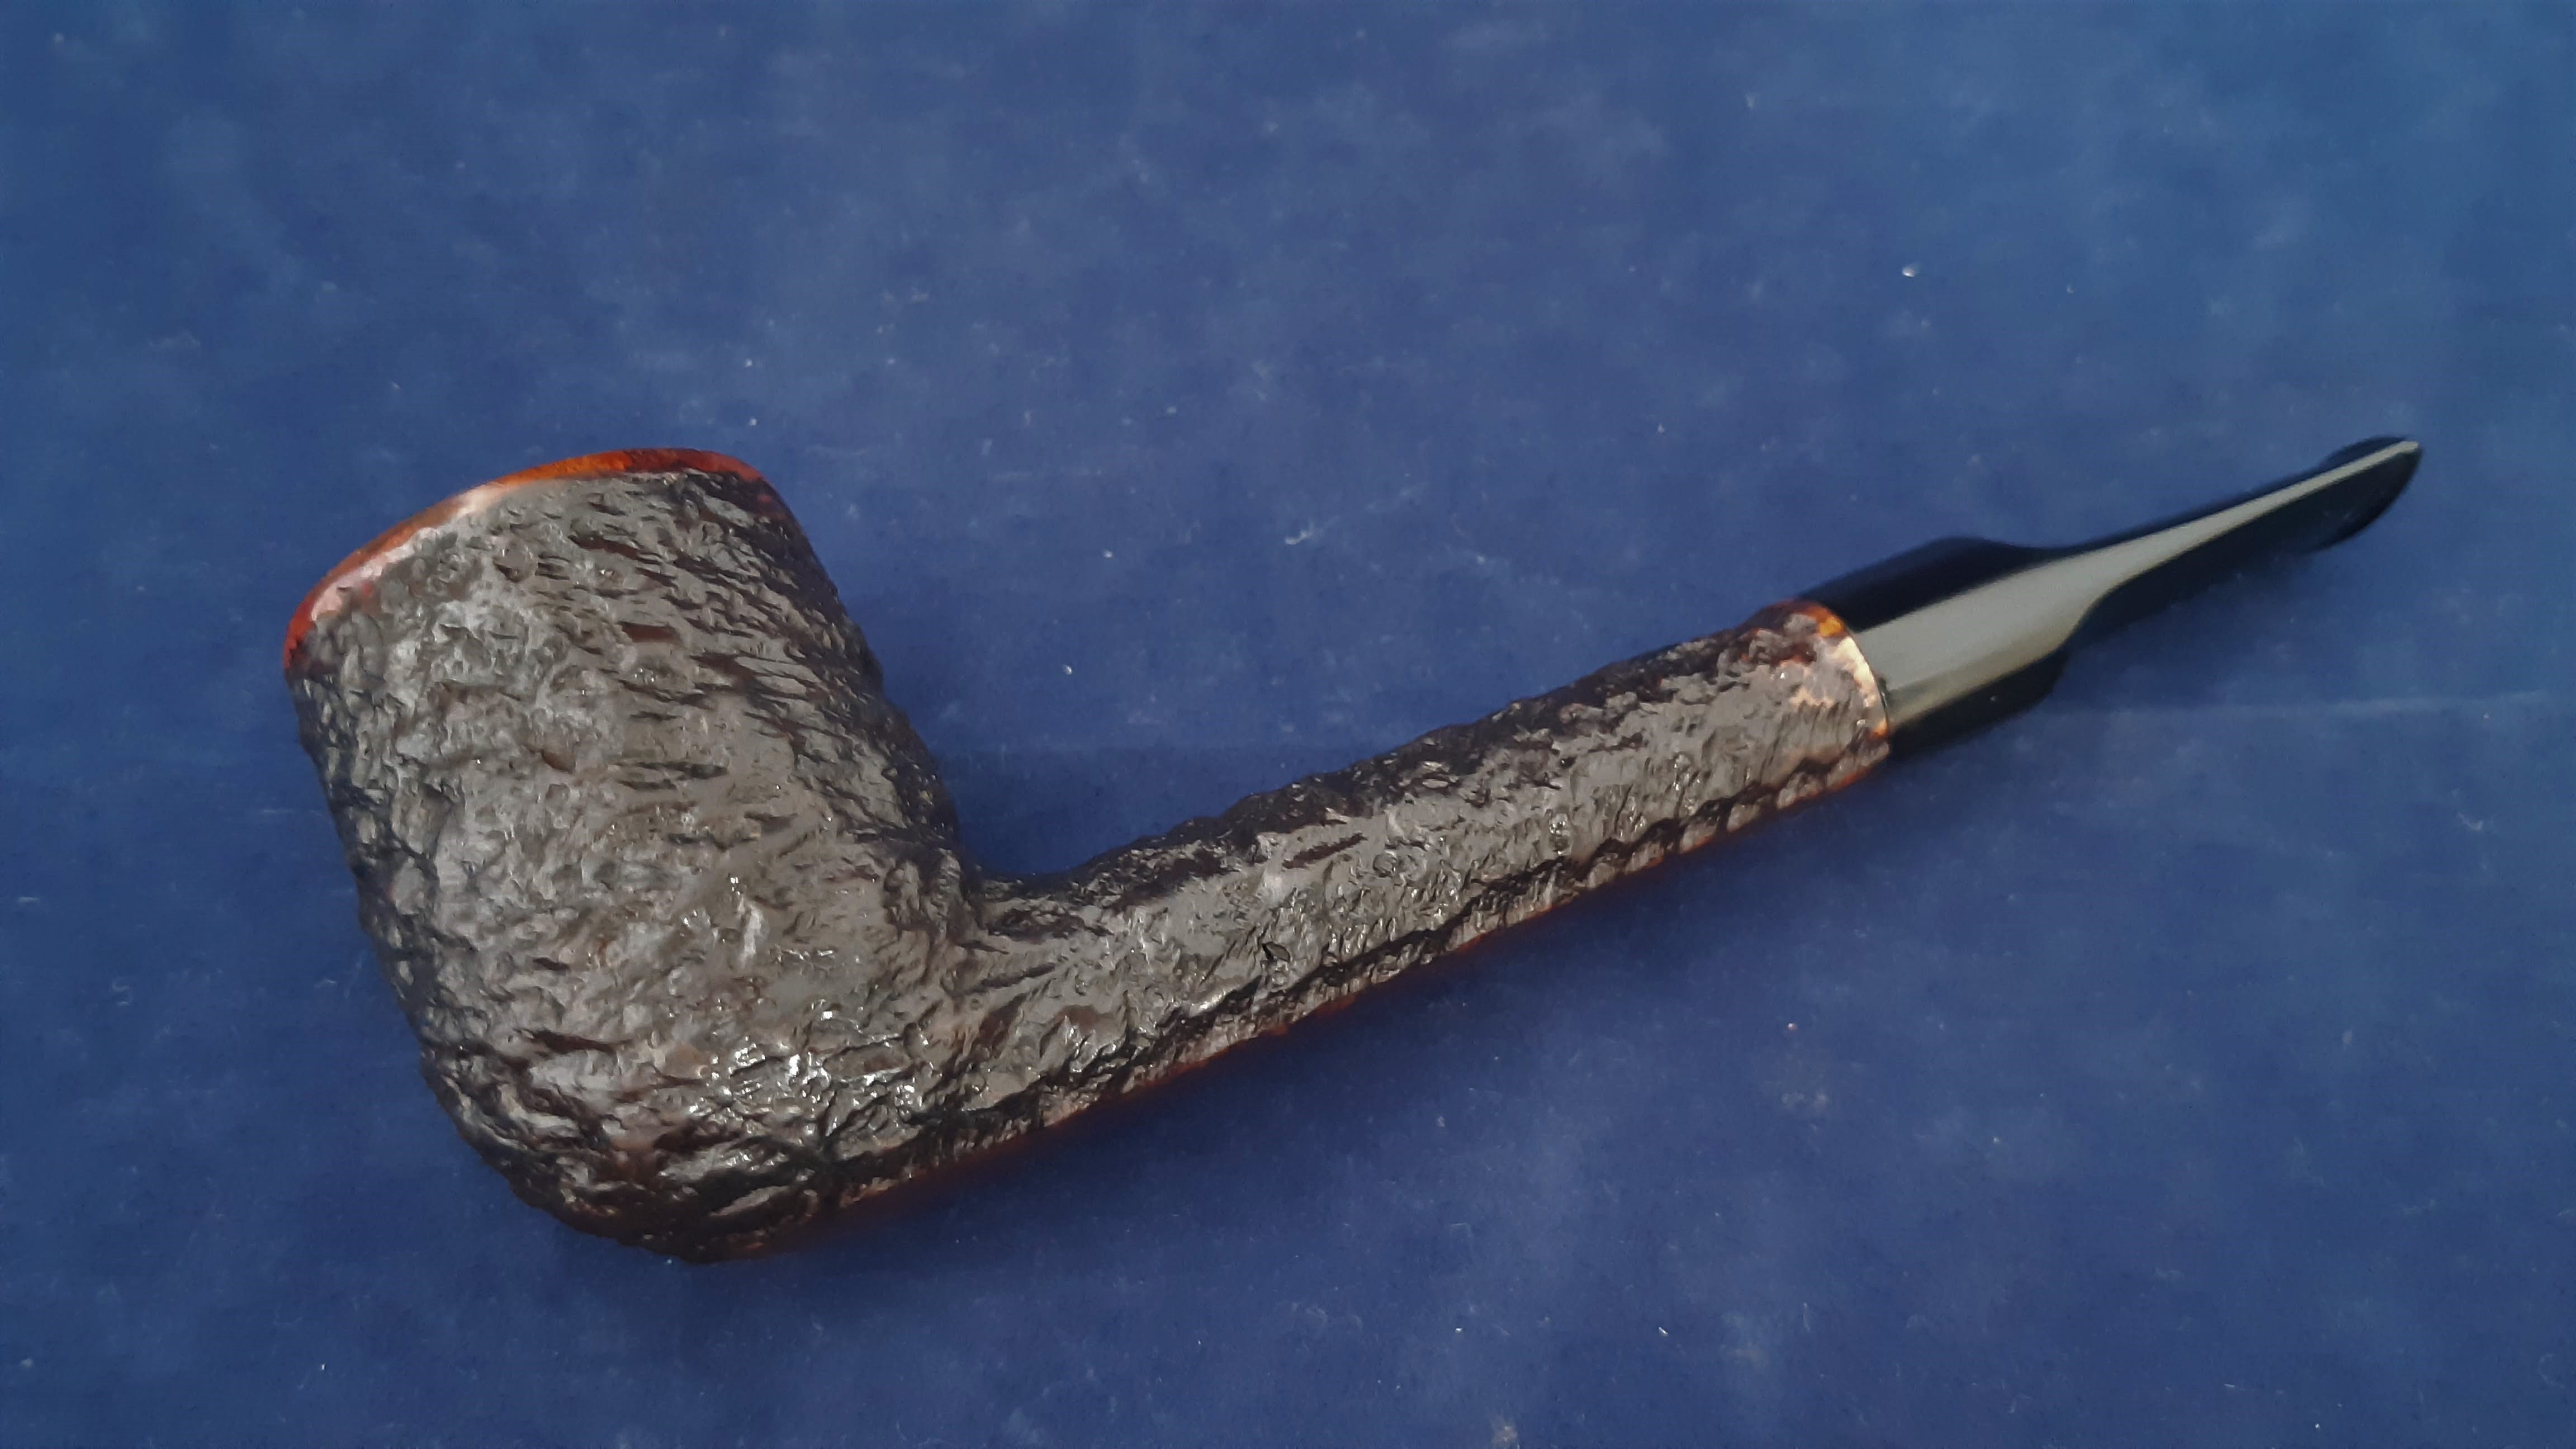
The finished pipe looks nearly new after its time on the worktable. The pipe’s internals are fresh and clean, the ragged rim has been restored, the stem is once again black and shiny and the tired finish has been refreshed. Not bad for a pipe that could well be pushing 90 years old! This “Brigham Regular” Club has taken its place in my personal collection.
Thanks for following along with me on this estate pipe restoration project. If you enjoyed it, you might keep an eye out for a Non-Patent Brigham pipe of your own – they are increasingly uncommon, but they are out there!
Until next time, Happy Piping! Here’s the finished pipe.


Another excellent restoration. 👍
LikeLiked by 2 people
Thanks David. I enjoyed this one, though I wish I could nail down the production era a bit more. Maybe in time… 😁
LikeLiked by 2 people
Are there no family members left? You wouldn’t think history so recent would be untraceable.
LikeLiked by 1 person
Sadly there is no one left with firsthand knowledge of the company’s products from the 40s and 50s. Mike Brigham (Roy’s grandson) joined the firm in the late 70s. His father, Herb, would perhaps have been able to provide some insight but he passed away in 2010.
LikeLiked by 1 person
I enjoyed that one Charles – anything Brigham. I’m not sure I I showed you my non-patent area pipe when I was at you place a few years back. It corresponds to a shape #22 but it has a “5” stamped on the bottom of the bowl – not the stummel. I should send it for a refresh.
LikeLiked by 2 people