
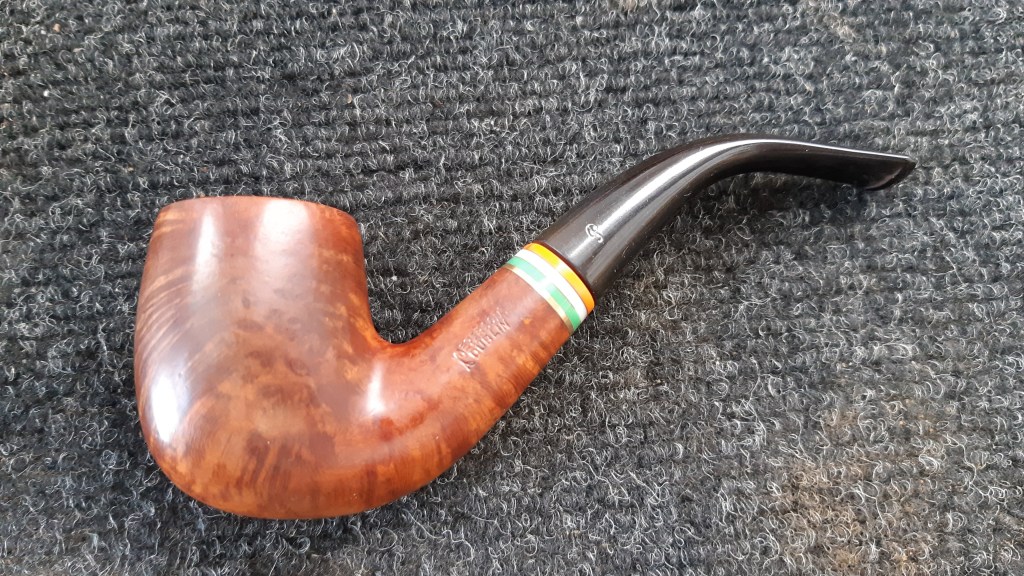
Word of mouth is always a great way to connect with people, especially among pipe smokers and collectors. This Peterson Dublin 69 came to me as a result of a recommendation from Peterson aficionado Mark Irwin of Peterson Pipe Notes. Thanks, Mark!
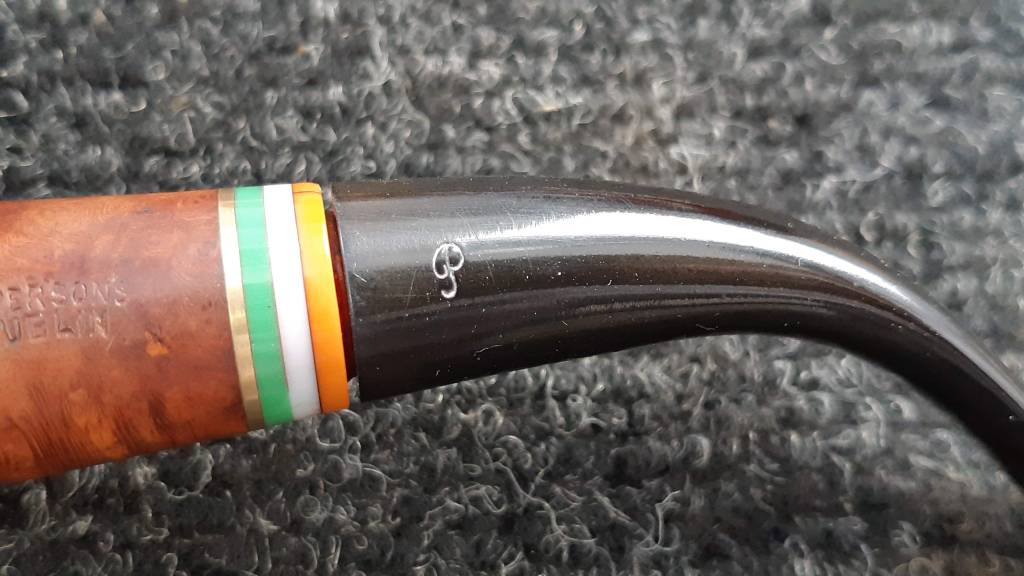
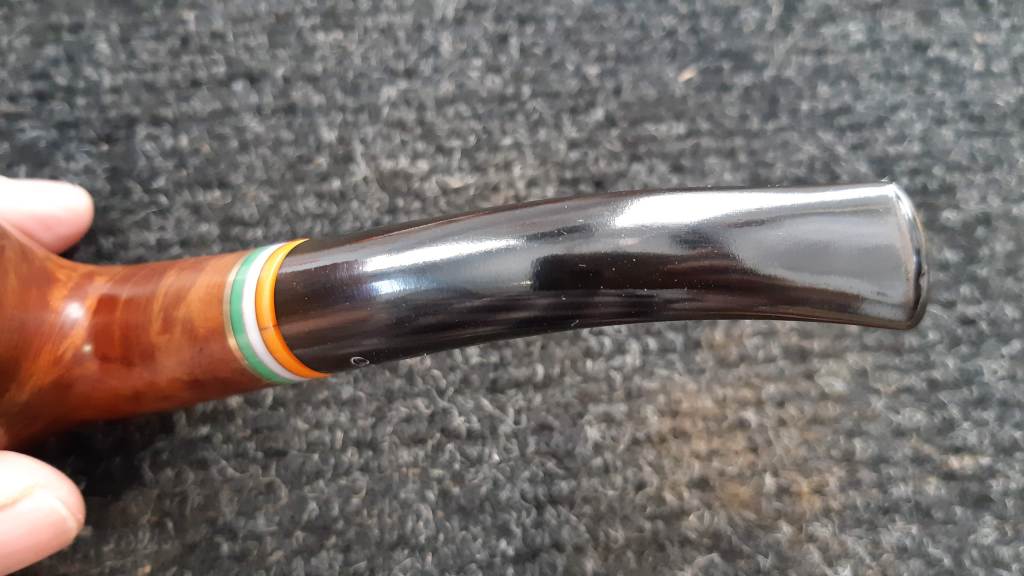
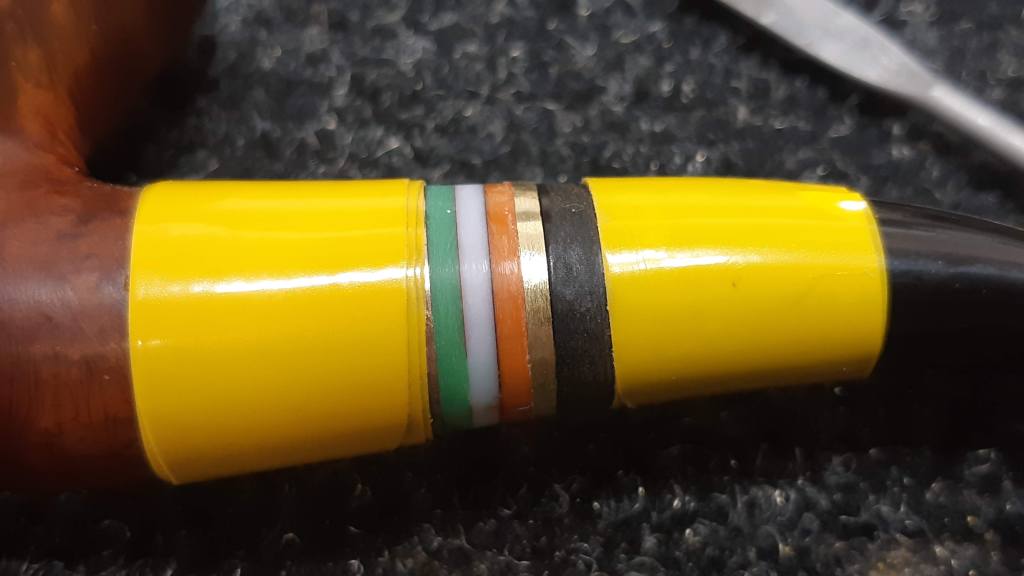
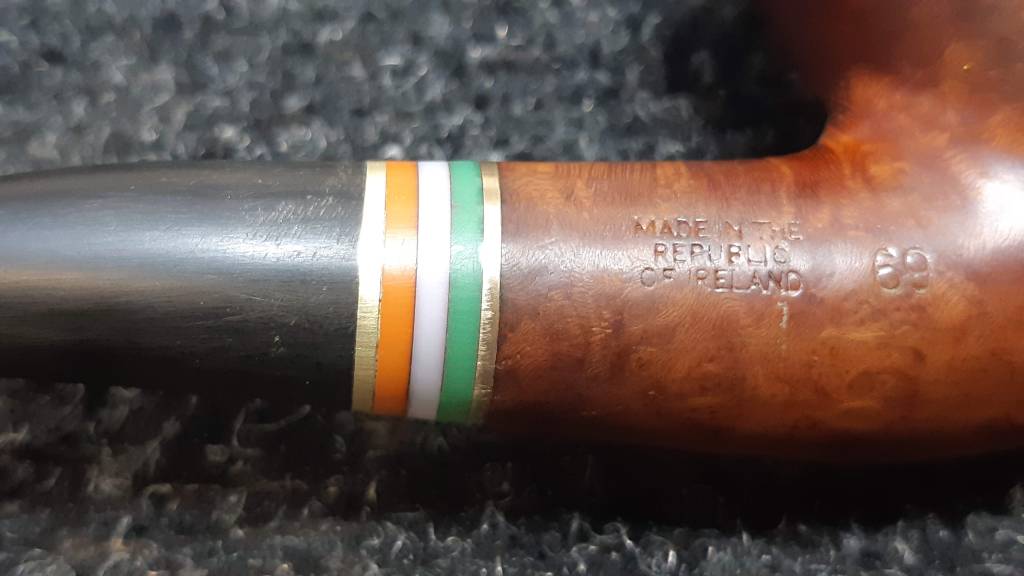
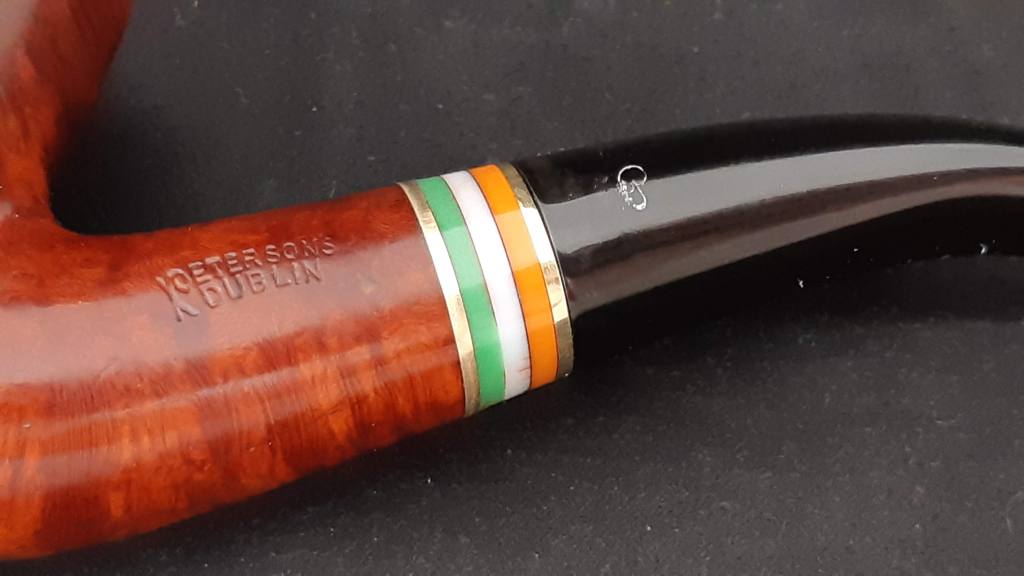
The owner of this lovely older Pete sent me a few pics and asked if I could help repair a missing shank detail. As you can see in these pics, the pipe had originally been fitted with a stacked shank extension in a Brass-Green-White-Red-Brass configuration. Sadly the outside brass layer had detached and been lost somewhere along the way.
Obviously, I accepted the challenge and in due time the pipe arrived on my worktable. I spent a little bit of time getting to know the pipe while giving it a basic cleaning, then got down to business searching for an appropriate bit of brass with which to effect the repair.
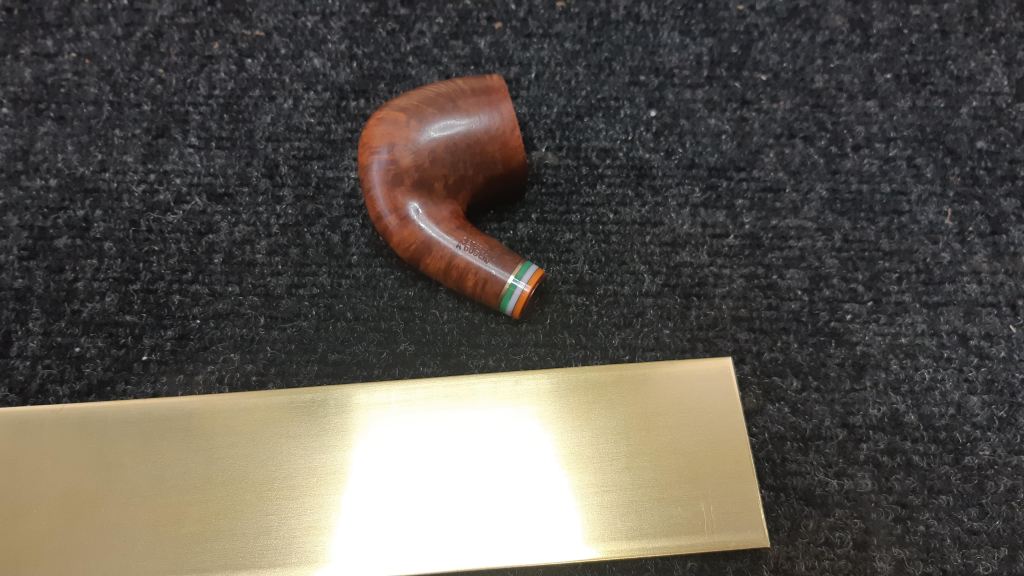
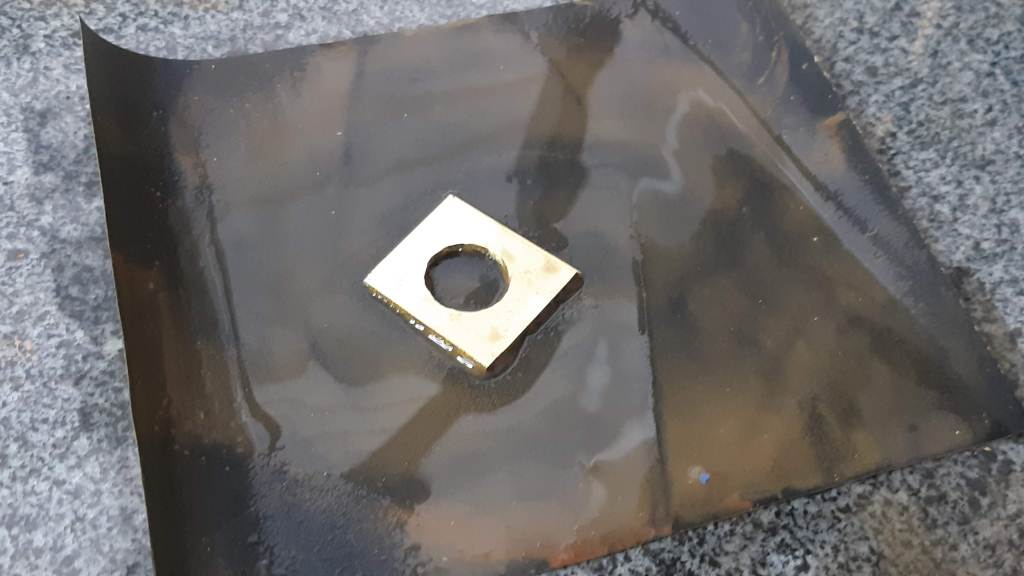
Rather annoyingly, none of my local hardware outlets carried any brass fittings larger than those suitable for use on, say, a jewelry box or the like – much too small for this pipe shank! In the end, I had to get creative and found a piece of brass plate at a hobby shop to work with.
The piece measured 2″ x 12″ by 1/16″ thick – enough material to make a few dozen shank rings. At least next time I won’t have to go shopping! Here is the brass plate next to the pipe.
A few basic shop tools really come in handy in this line of work. After marking out the corner of the brass plate I needed, I punched a dimple in the middle of the cross-hairs and drilled a .45″ hole through the plate on my drill press. I then used my bench vise and hacksaw to remove the blank from the larger sheet and rough it into shape.


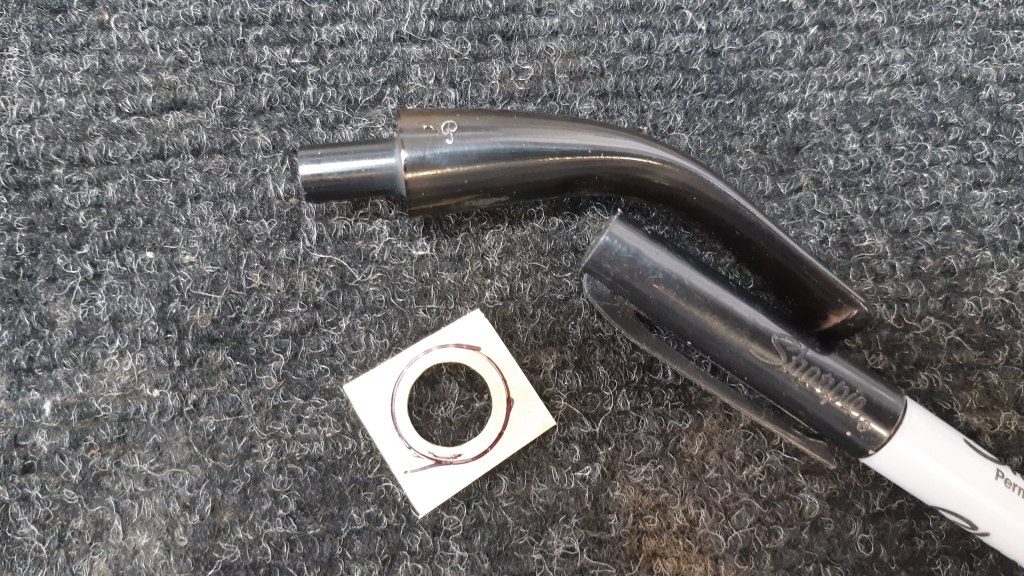
I wet sanded the brass blank to smooth the faces and de-burr the cuts then test-fit it to the pipe shank. So far so good!


Using the stem as a template, I traced out a circle on the brass to indicate the final size of the piece. Then it was back to the vise and hacksaw to remove the excess brass before getting down to the file work.
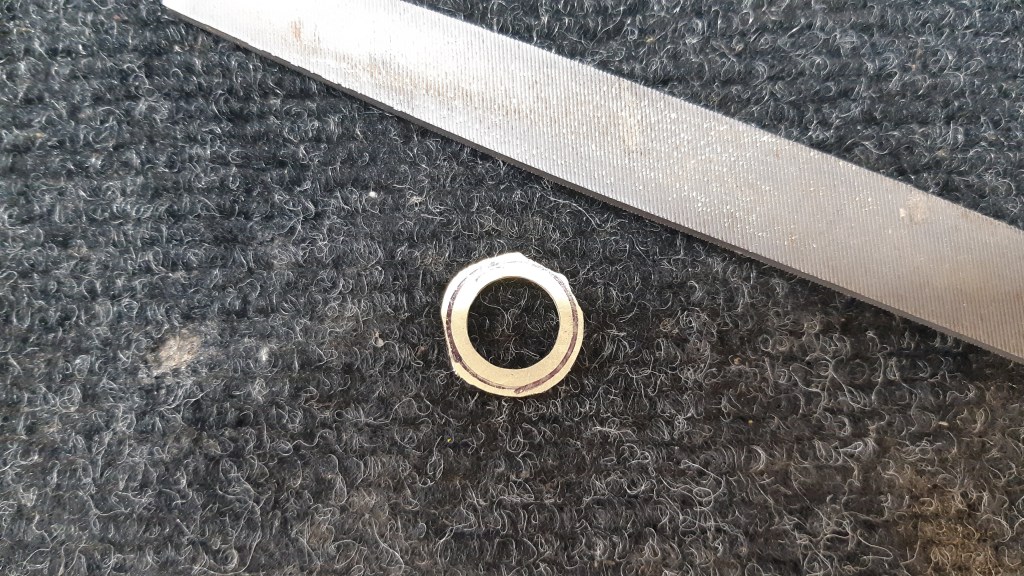
I again wet sanded the brass blank to thin it down somewhat and to ensure it was perfectly flat on both sides before using CA glue to fix it into place on the end of the shank. I let the glue cure then settled in with a variety of files to reduce the blank to fit the shank. Notice the layers of tape on either side of the shank/stem junction to help protect the piece against errant file marks.


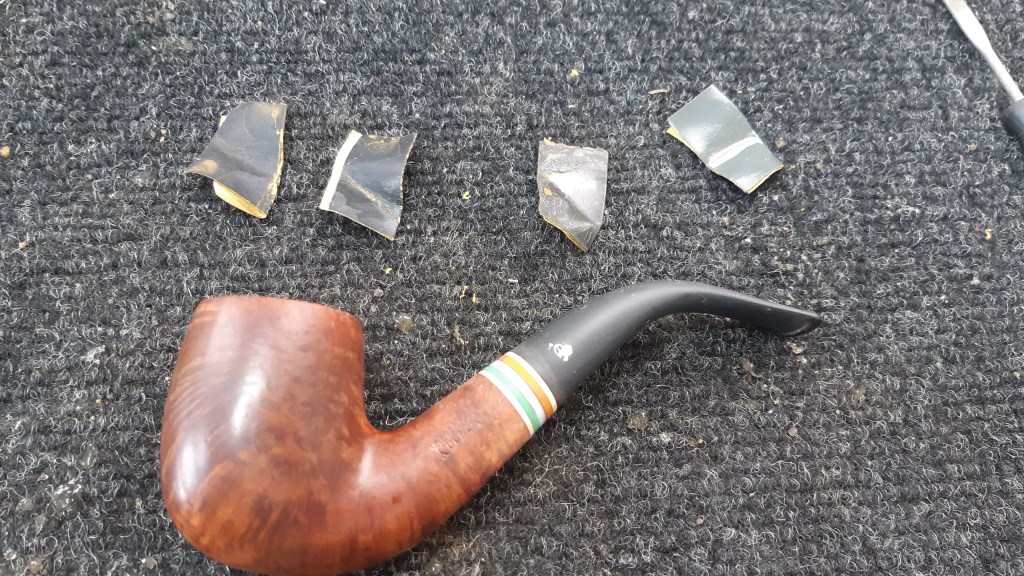
All in, it took about three hours of careful work to reach the stage shown in the last pic above. This was definitely a situation in which slow and steady did indeed win the race!
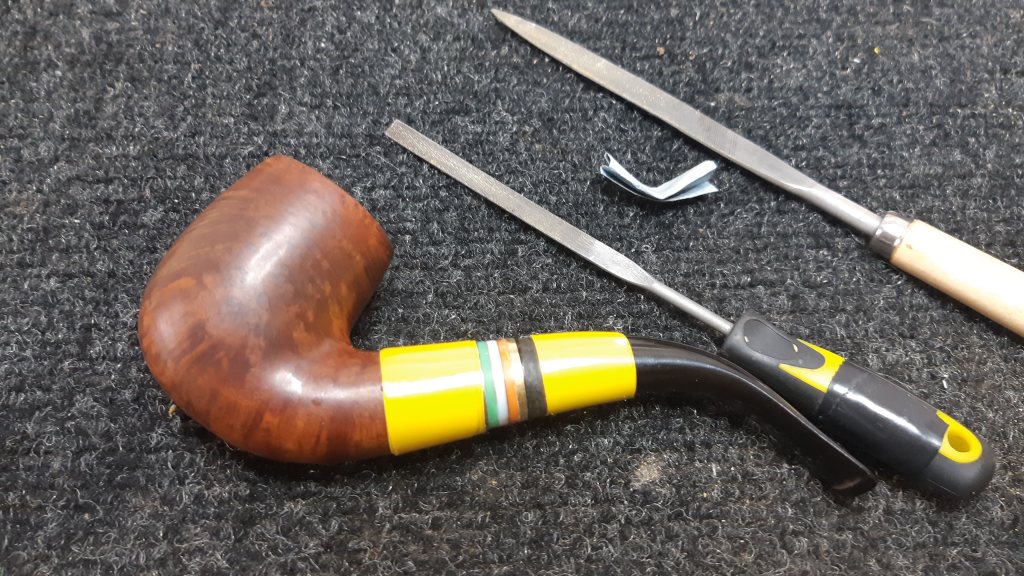
I took a break to stretch and relax a bit before getting back to work on what was arguably the most delicate part of the repair. Filing and sanding away the last bit of excess brass without doing harm to the stem or logo was rather nerve-wracking!
As you can see there was still a fair bit of work to do to smooth out the file marks and polish up the stem. I had already refilled the Peterson P logo once after de-oxidizing the stem; I filled it a second time here to add a layer of protection from my files and sandpapers.

I worked through multiple grades of sandpaper from 220 through 2000 grit while I slowly reduced the new brass ring to its final size and worked to erase the scratches left in the stem. I had to work carefully to avoid sanding out the stem logo but eventually I got there.

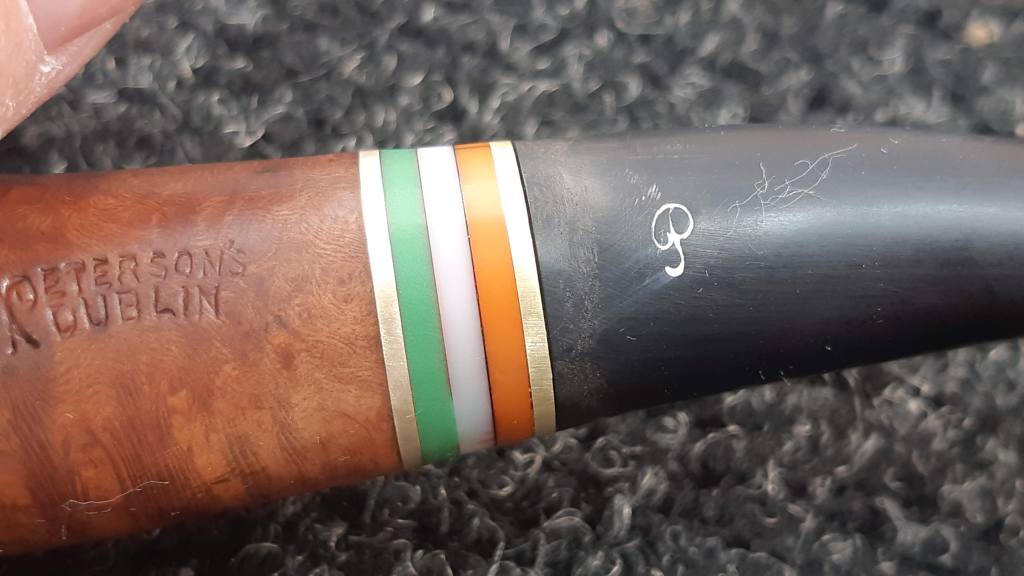

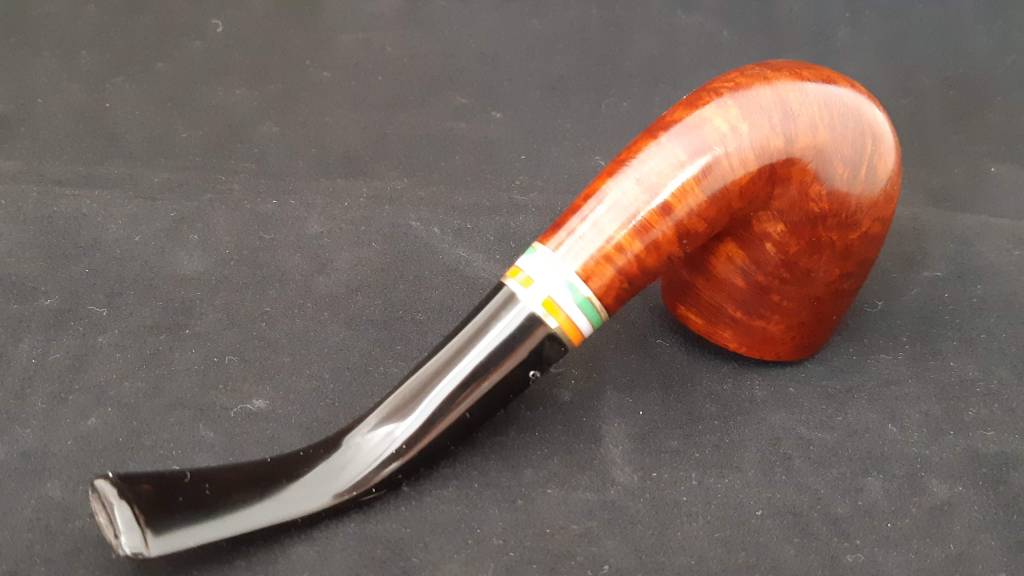
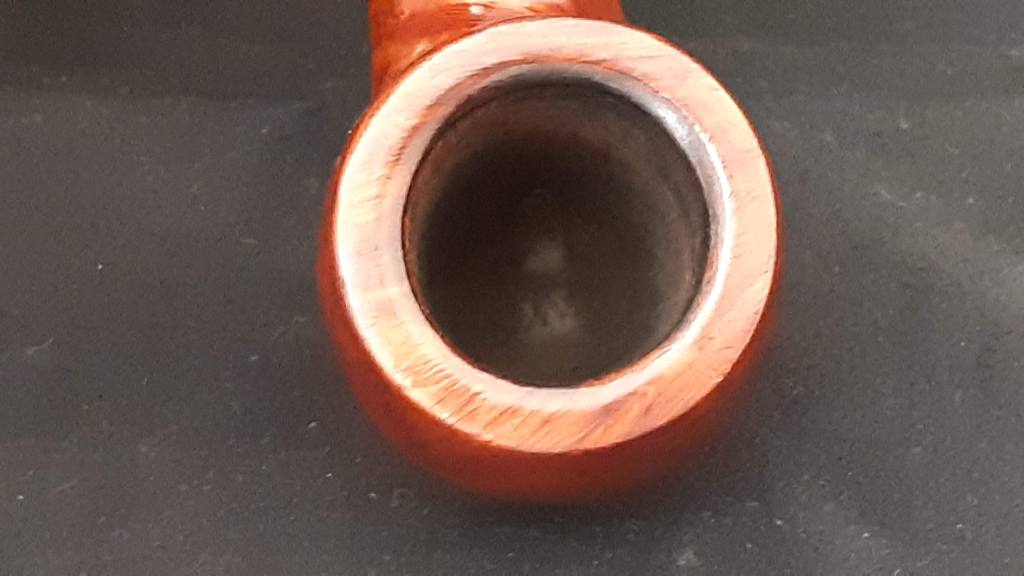
I finally got to let my shoulders down and relax a bit as I took the finished pipe to the buffer. I let the Tripoli and White Diamond wheels erase the last of the sanding marks and bring up a high shine on the stem. A run of Carnauba wax over the entire pipe finished off this restoration with a glassy shine.
This project was really quite rewarding for me – I don’t often get the opportunity to craft custom parts during the course of the average estate pipe refurb, so this was a lot of fun for me, even if it did have a few anxious moments along the way.
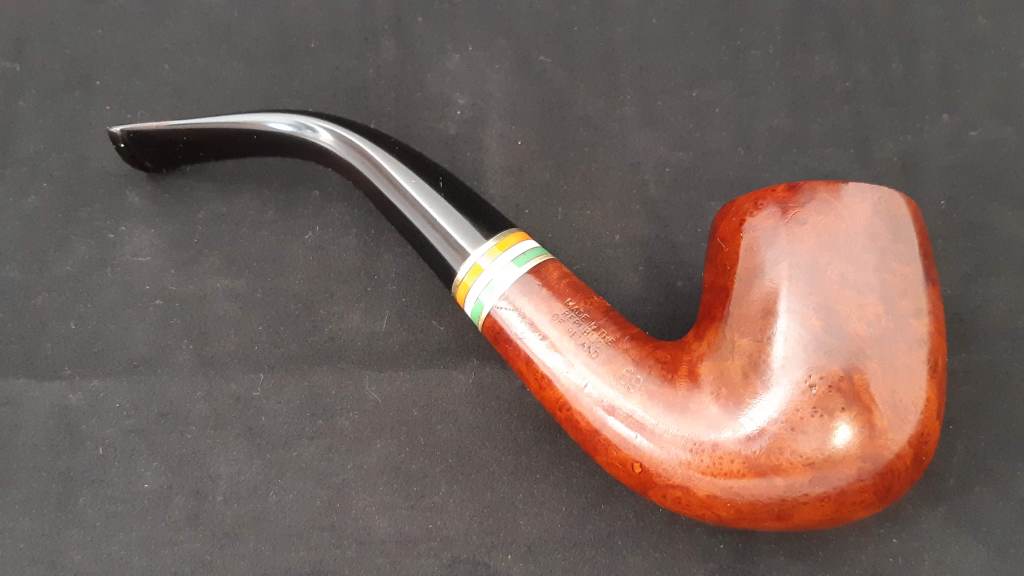
This Peterson Dublin 69 is on its way home to its steward. I hope he enjoys the repaired pipe for many years to come.
Thanks for following along on this restoration journey with me. I hope you enjoyed it as much as I did.
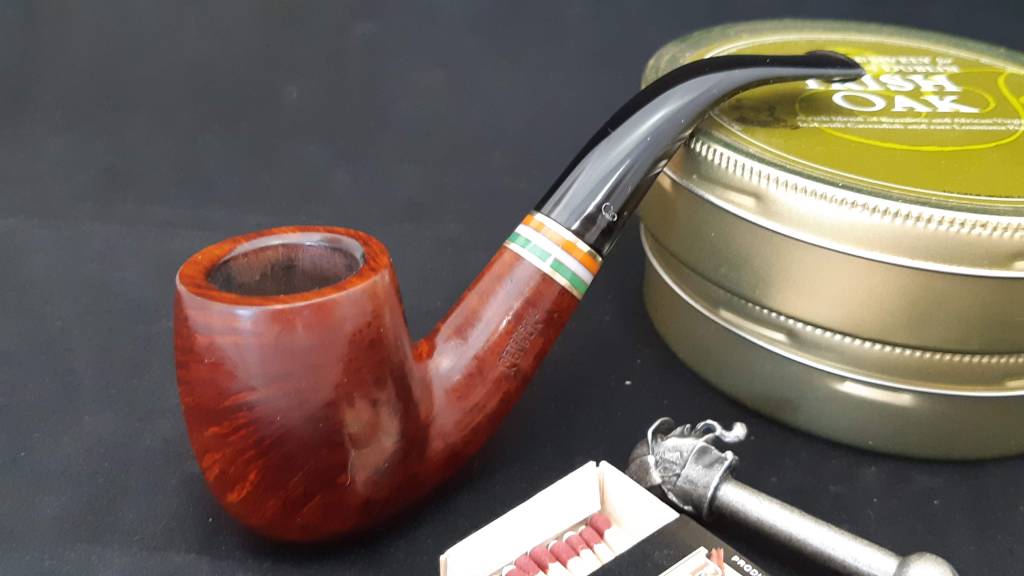
Here’s the finished pipe. Until next time, Happy Piping!


Charles,
This is my pipe and I’m so honored you took the time to restore it to it’s former glory. I inherited this from my uncle as it was (no brass ring) and didn’t even realize it was missing until recently.
I can’t commend you enough for your restoration work. It’s amazing to realize how a little piece of brass could make such a big difference. Thank you again.
LikeLike
Thanks, Joe. I’m so glad you’re pleased, and I am thrilled to have been able to help revive a family heirloom for you. Enjoy in good health!
LikeLike
That is truly a beautiful job. Just beautiful.
LikeLike
Thanks, Richard! Much appreciated!
LikeLike
Wow, Charles! I am constantly amazed by what you can do in that little shop of yours. This is for me–and I know for Joe even more so–a great refurb, as it’s from the first issue of Peterson’s St. Patrick’s Day pipes way, way back in 1998, I think. It’s important because up until Joe’s pipe I hadn’t realized that Peterson issued several shapes in that first year. And it looks like new. Just in time for St. Patrick’s Day! Well done.
LikeLiked by 1 person
Thanks Mark! And thanks for sharing this pipe’s story – they all have one! 😁👍
LikeLike
This is a beautiful pipe and is one of the more impressive repairs I’ve seen on here, or anywhere. Amazing work Charles.
LikeLike
Thanks, Elliott! This was a time-consuming repair but the end result was worth the effort.
LikeLike