
Sourcing the correct materials to restore vintage pipes is a constant task, and one made more complicated as the years go by. The youngest of the Canadian-made Brigham pipes are now nearly 20 years old, production having shifted to France and Italy in 2001. At about the same time the original aluminum tenon/filter holders were replaced by the current composite tenons.
For pipe repairers, this means that new-old-stock aluminum tenons are rarer than hens teeth. Provided the tenon on the original stem is in usable condition, the best option for fitting a new stem to a vintage Brigham is to transplant the aluminum tenon into the new stem blank.
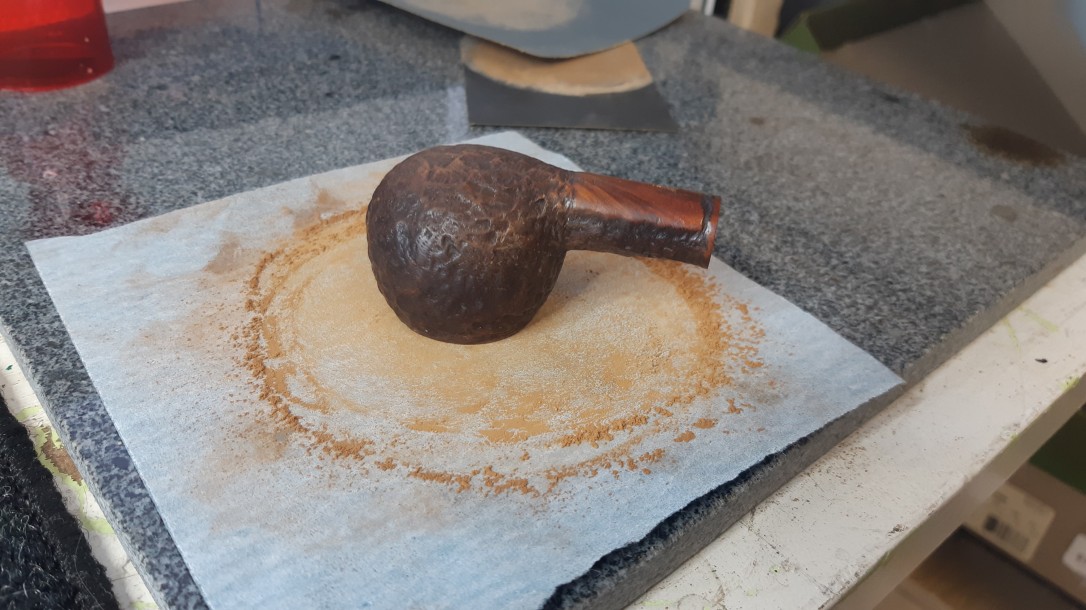
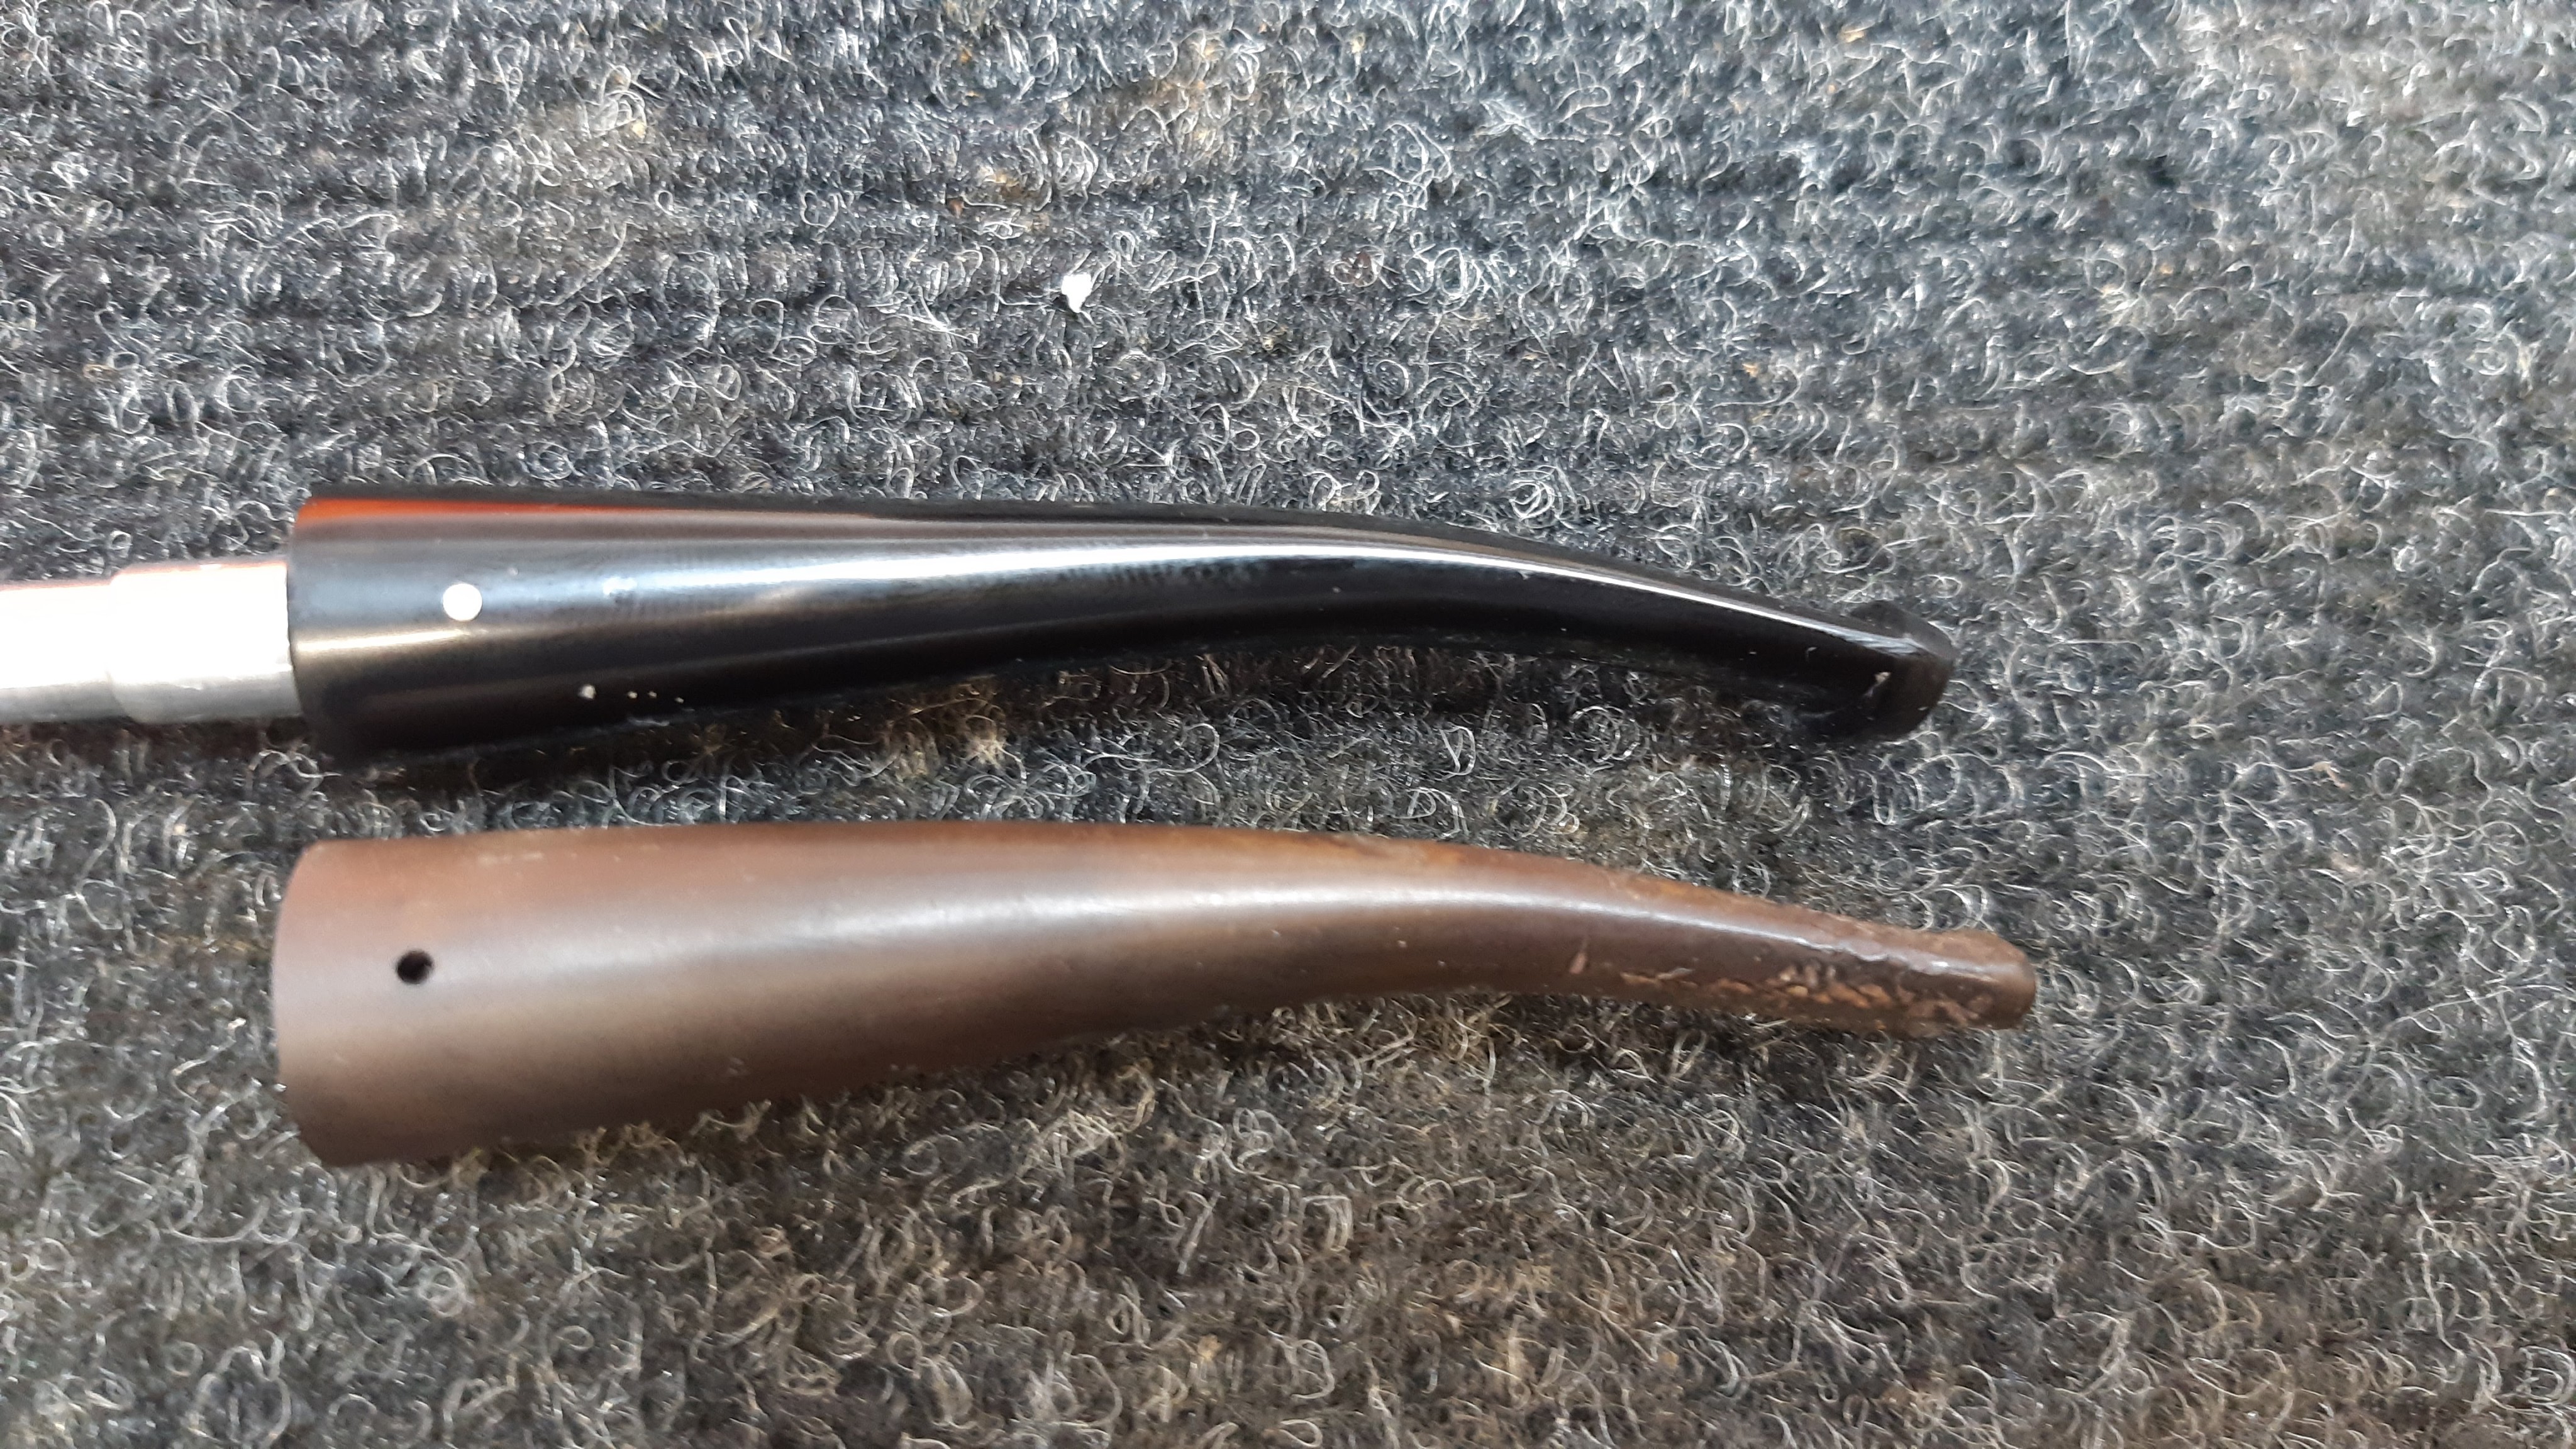
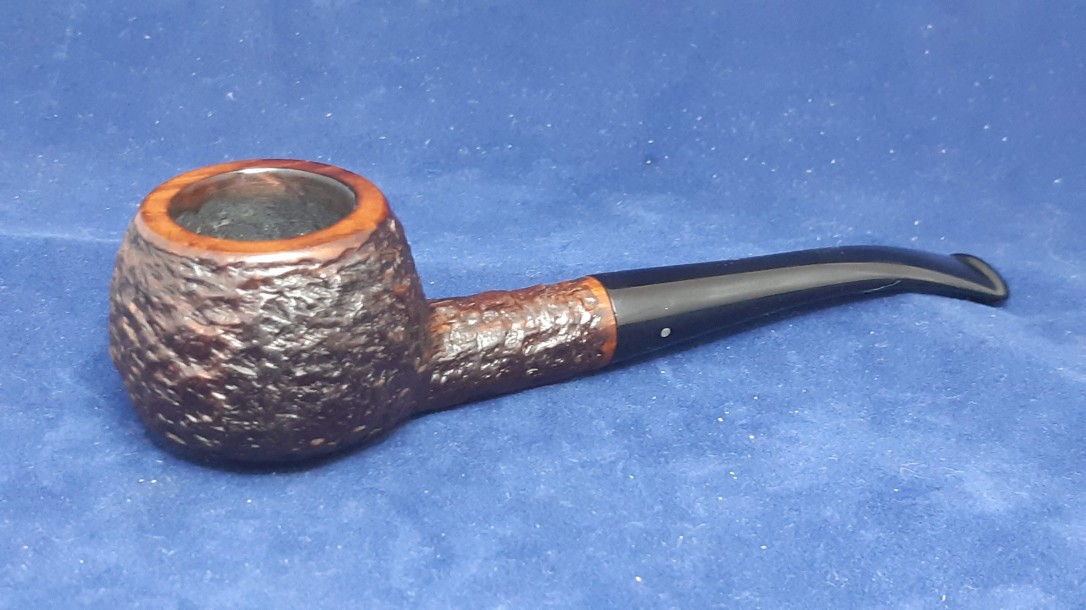
That is the task at hand for the Brigham 113 Prince on the worktable today. As you can see from this series of pictures, the stummel was in decent estate condition when I brought it to the table, but the stem was another story. Besides the heavily oxidized Vulcanite, the bite area was covered with deep tooth damage, and the underside of the bit was missing a significant chunk of material.

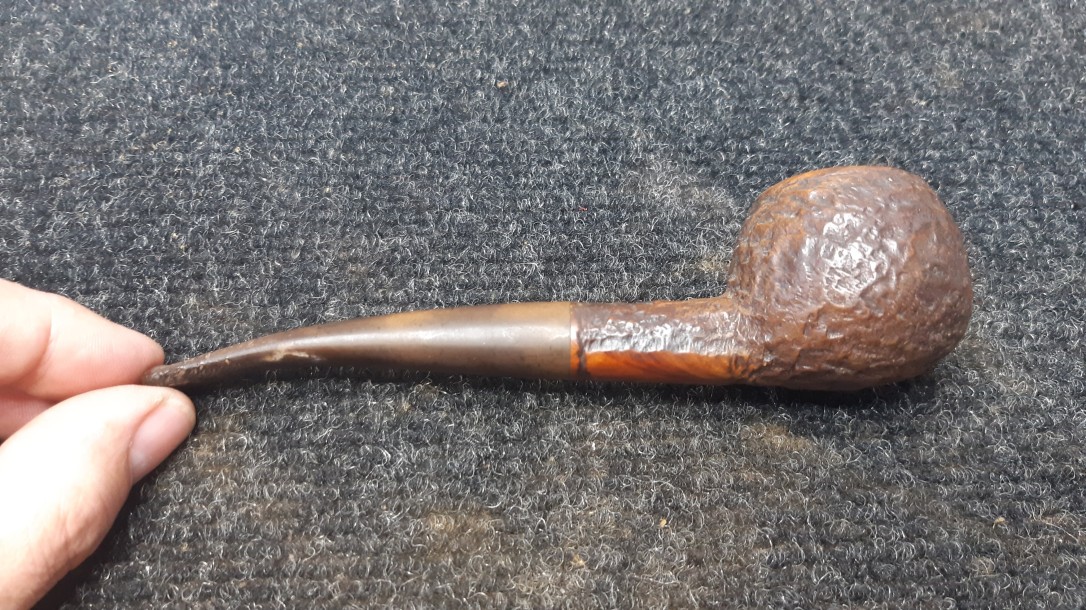


The pipe is stamped on the smooth underside of the shank with a three-digit shape code, “113”, then “Brigham” in script over “MADE IN CANADA” in block letters. The original stem carries a single brass pin or Dot. The shape code indicates a Shape 13 (Prince) in a “Brigham Standard” grade. The style of script used for the Brigham logo, coupled with the block letter COM stamp date this pipe to the 1970s.


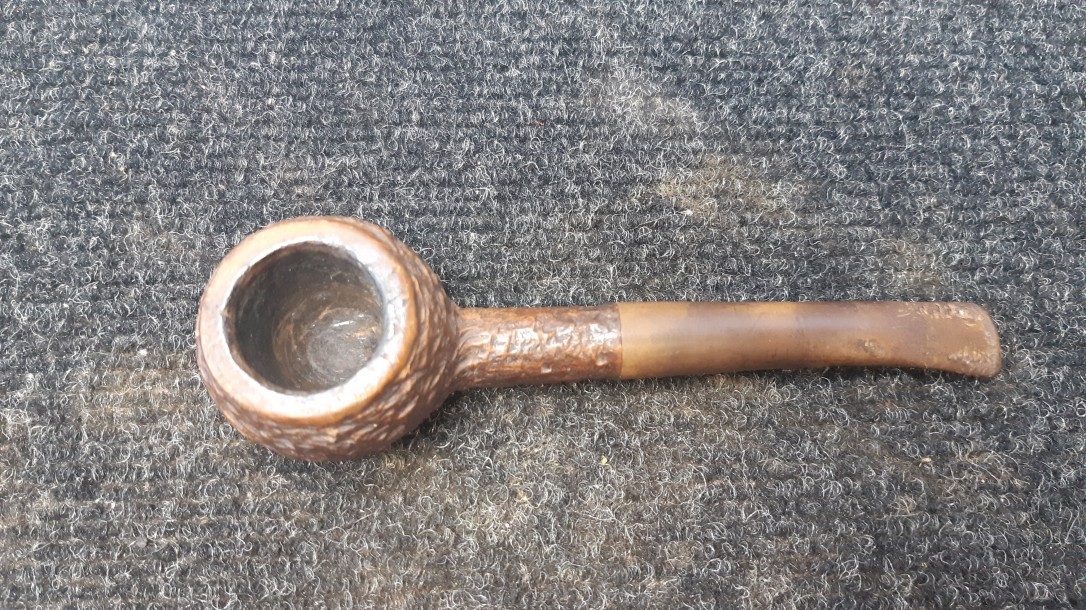
As I usually do, I started the work on this pipe by reaming and cleaning the briar. The cake in the chamber was quite light, so I used a bit of sandpaper wrapped around a marker to tidy things up. There are a handful of knife tip gouges in the chamber floor, but no real issues to deal with there.
The smooth rim of the bowl was showing its age with a collection of small dents and dings. I remedied these in one go by very gently topping the bowl. I worked carefully to maintain the “pot rim” shape – removing too much briar would obliterate this detail.

I smoothed out the inner rim to restore the round appearance of the chamber then touched up the raw briar with a stain pen to match the original finish.

Happy with the look of the chamber and rim, I turned to the internals, cleaning the mortise and airway with pipe cleaners and cotton swabs dipped in alcohol. As is often the case with filtered pipes, this one had a decent buildup of tars and other crud at the chamber end of the airway. The flat end of my needle file is a good scraper for getting this stuff out.

I set the stummel aside to rest at this point to address the stem. I’ve done a fair number of these tenon transplants over the last year, so to speed up the work I ordered in a pile of stem blanks molded without tenons. Now, instead of cutting off wasted material, I can get straight to the drilling stage.
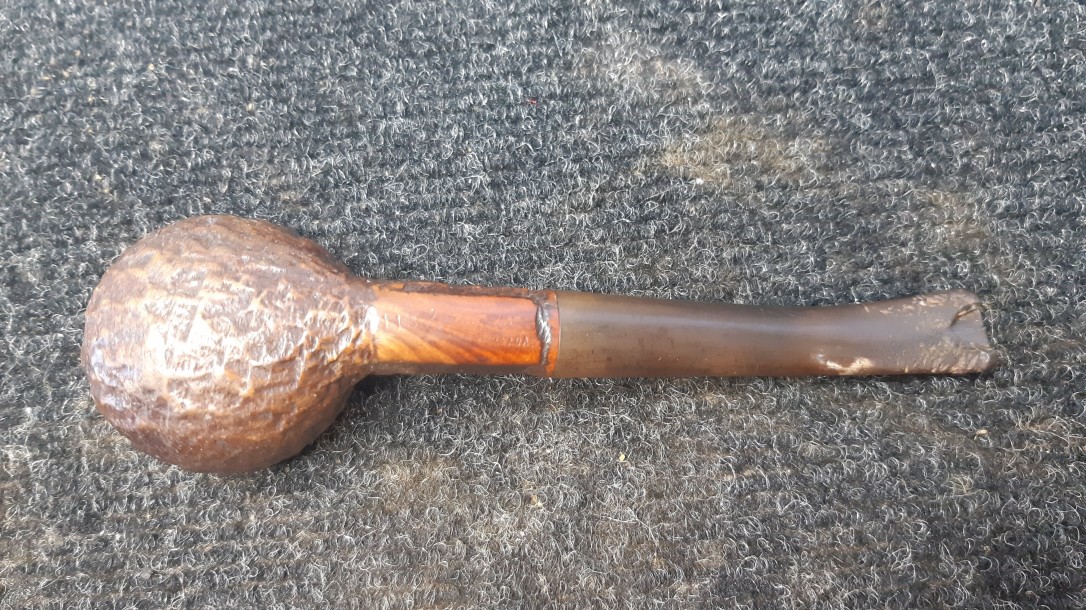
Here’s a shot of the old stem alongside the selected blank. After bending, the new stem will be a perfect match for the original.

The tenons in these old Brigham pipes are held in place in two ways – first, the knurled end of the stem is pressure fit into the stem face, then it is pinned in place by the brass Dot. For higher grade pipes with more than one Dot, successive pins are set into the vulcanite only and do not penetrate the aluminum.
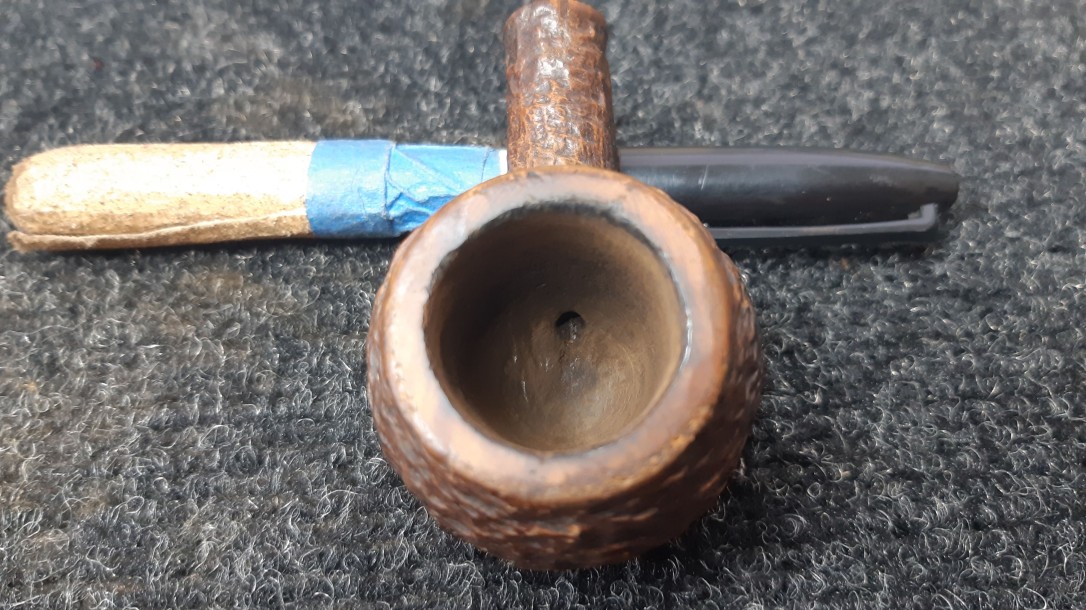
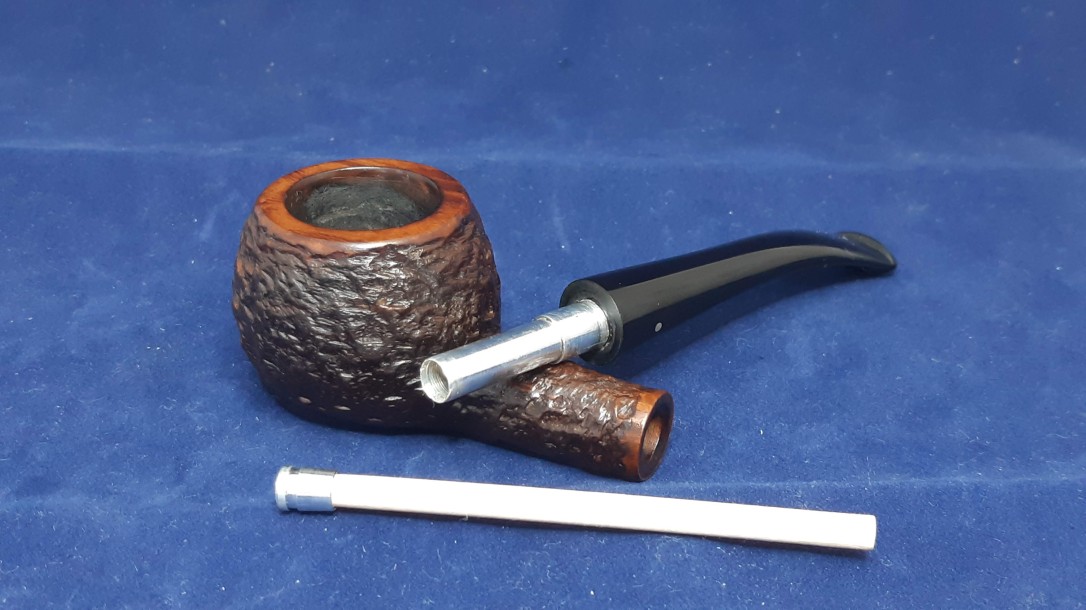
Here are the component parts of the original stem after I softened the stem over the heat gun and wiggled the tenon out with a pair of pliers. You can see the stem, brass pin and aluminum tenon. The hole in the knurled end is where the pin anchored the tenon in the stem.

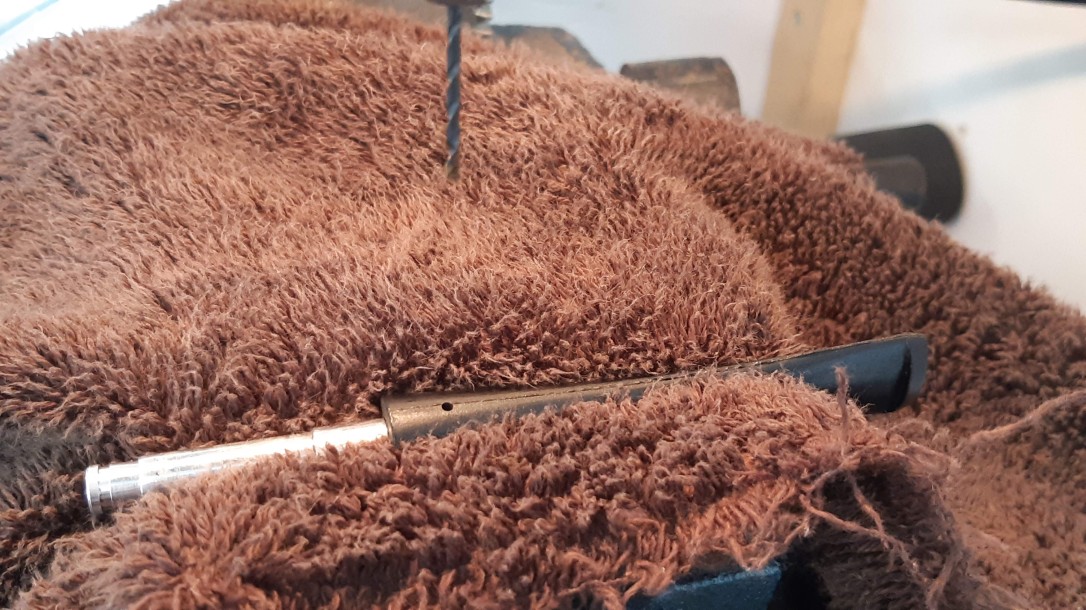
To prepare the stem blank for the Brigham System, I measured and marked the respective depths on both 3/16″ and 9/32″ drill bits. After clamping the stem upright on the drill press, I drilled the 3/16″ filter bore followed by the shorter, wider 9/32″ mortise.

Flipping the stem onto its side, I drilled a 1/16″ hole on the mid-line of the left flank for the brass Dot. In the pic below, the aluminum tenon is test-fit with a Rock Maple Distillator, but as I will be gluing the tenon into place instead of pinning it, having the tenon in place while drilling for the Dot is not necessary.
And here is a shot of the new stem components followed by a pic of the pieces dry-fit together. So far so good!


Waste not, want not as the old saying goes. I recycled the brass pin from the original stem, gluing it into its hole with a drop of CA glue. When the glue had cured, I filed and sanded the pin flush with the surrounding vulcanite.


To set the tenon in place in the stem, I mixed up a small amount of JB Weld epoxy which I applied to both the inside of the stem mortise and the outside of the knurled end of the tenon. I pushed the tenon into the shank of the stummel, then slipped the stem over the tenon, pushing it tight against the shank face, being extra careful not to get any epoxy between the shank and stem face lest I glue the pipe together permanently.
The pipe was then clamped vertically in my bench vise (padded with a towel to protect the briar). I tweaked the position of the stem, then left it in the vise overnight to allow the epoxy to cure.

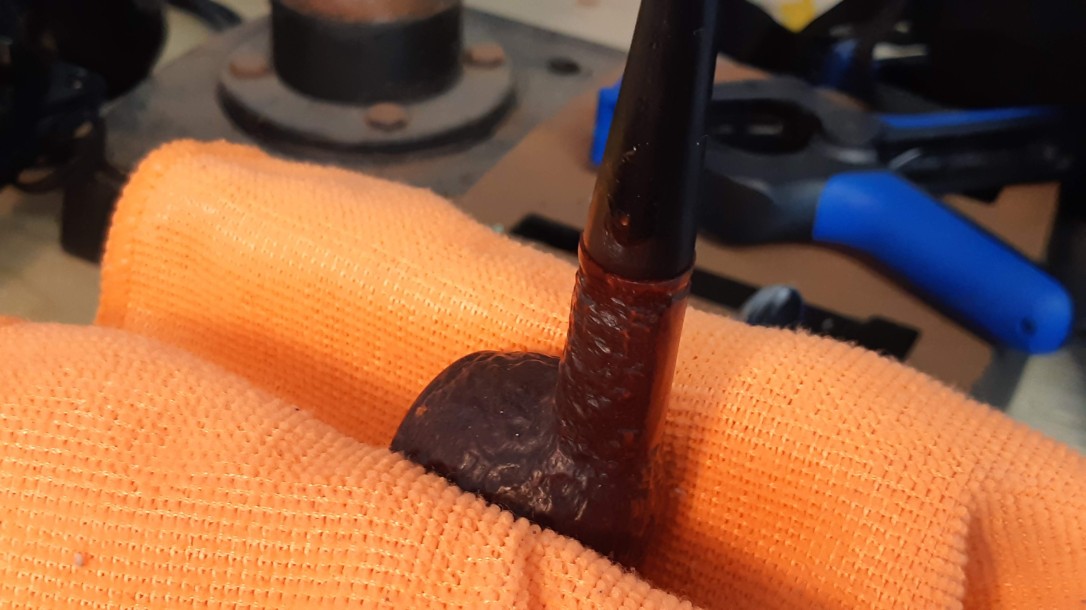
The next day the JB Weld had set and I could take the pipe out of the vise. As with all stem replacements, there was some work to do to achieve a smooth transition between the shank and stem. A few minutes with needle file and sandpaper restored the flow of the shape from bowl to button.

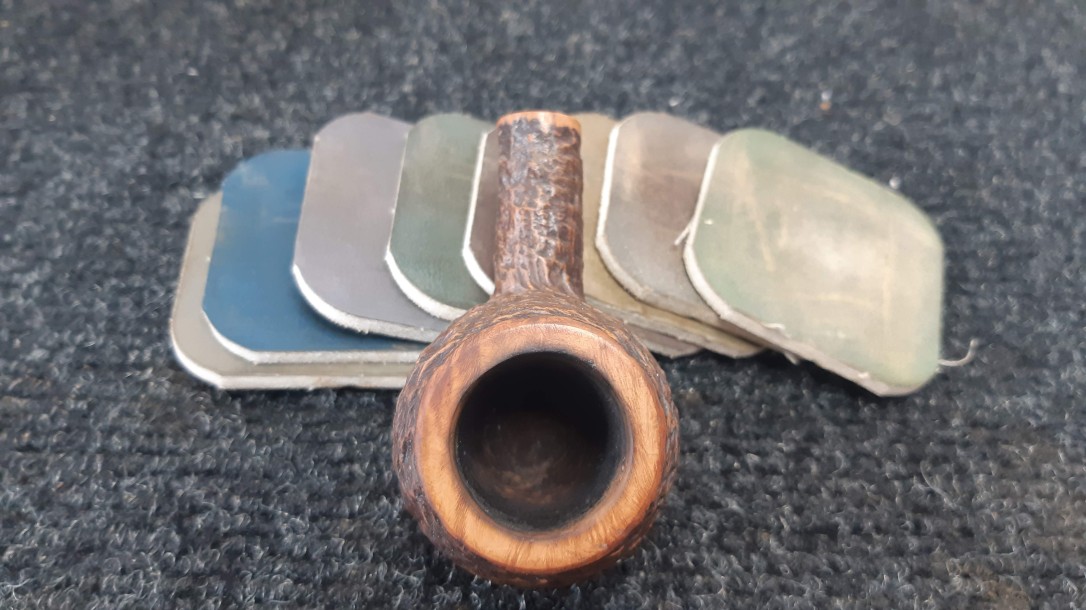
The stem blank would need more sanding and polishing to finish off properly, but I took a few minutes at this point to smooth out the briar at the shank face and rim with micromesh sanding pads. This not only erases the sanding scratches from the wood but also deepens the colour of the briar and brings up the shine.
I finished off work on the new stem by sanding and polishing the vulcanite to 2000 grit to remove the file and sanding scratches and bring up the shine. A brief minute on the wheel with some Red Tripoli compound smoothed out the finer marks the sandpaper couldn’t get at.
I heated the new stem over the heat gun to soften the rubber, then bent the stem to match the original.
Lastly, I reunited stem and stummel at the wheel for a quick run of White Diamond compound and several coats of Carnauba wax to shine and protect the restored pipe.
This 40+ year old Brigham Prince, whole again, is now back with its owner. I wish him many years of smoking pleasure with his restored briar companion.
Thanks for following along with this estate pipe refurbishment. I hope you enjoyed watching the progress as much as I did.
Until next time. Happy Piping! Here’s the finished pipe.


Reblogged this on rebornpipes and commented:
Charles did a great job on swapping the tenon and pins from a damaged Brigham stem to a new stem. He shows a pretty good how to process for those of you who wish to do the same. Thanks Charles.
LikeLiked by 1 person
Thanks, Steve! It’s a real challenge to replace out of production parts. In this case the stem was toast but the tenon was good. It’s a lot trickier the other way around!
LikeLike