
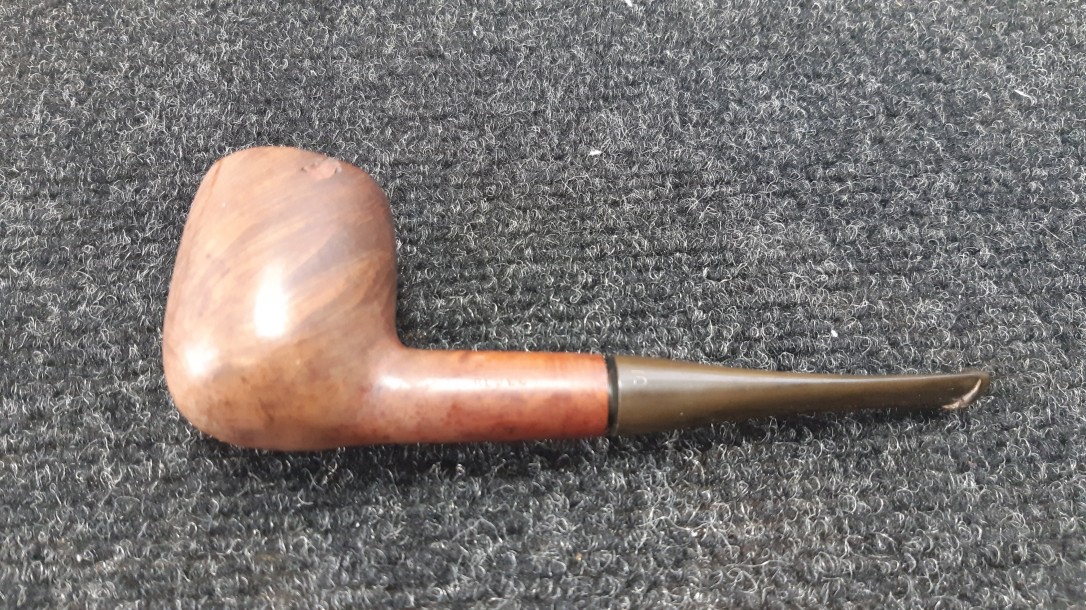
I dug this old Bewlay Reject out of my refurb box recently, and puzzled over it a bit as I couldn’t quite recall where or how I acquired it. I think it must have come to me in an eBay lot, but the details have completely escaped me.
According to Pipedia’s page on Bewlay, the company was a shop chain for whom pipes were made by some of the UK’s best manufacturers, including Barling, Charatan, Sasieni and Orlik. Bewlay pipes, therefore, acquired a reputation as fine quality briars. The brand was in operation until the 1950’s, so the youngest Bewlay pipe out there is nearly seventy years old.
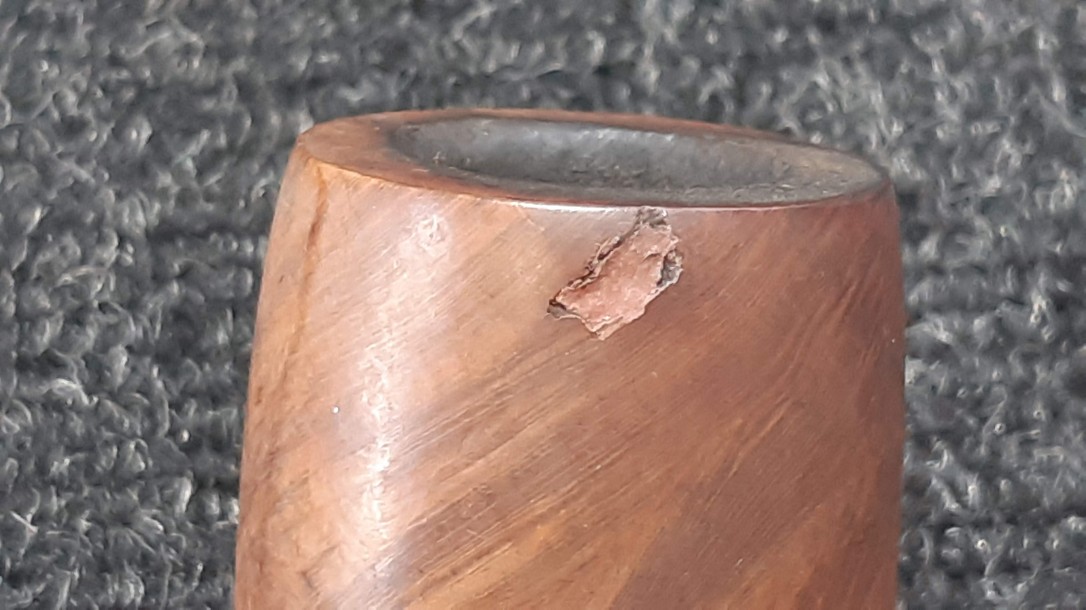
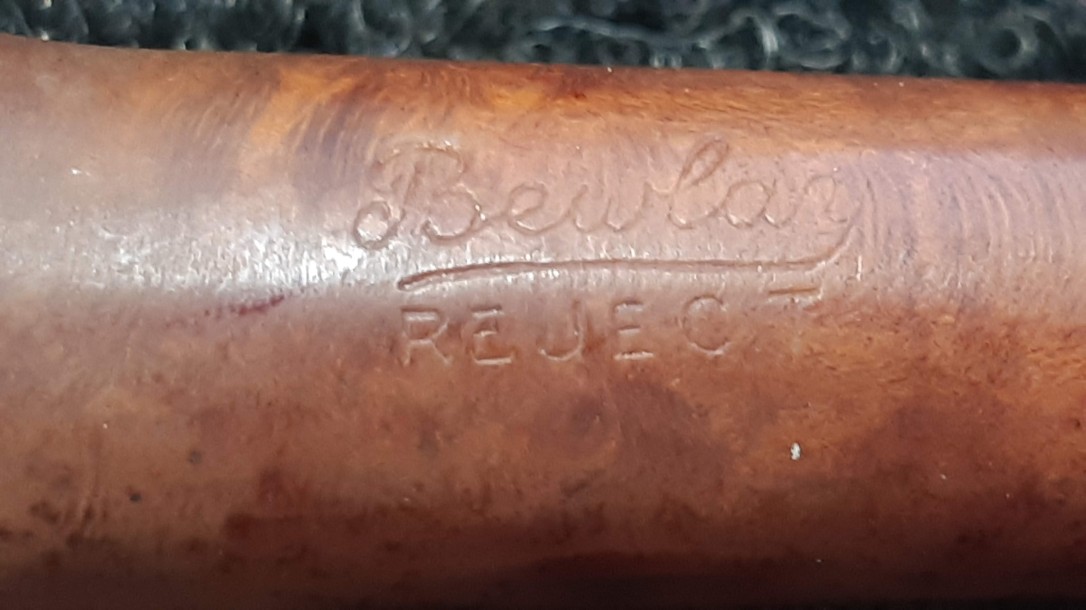
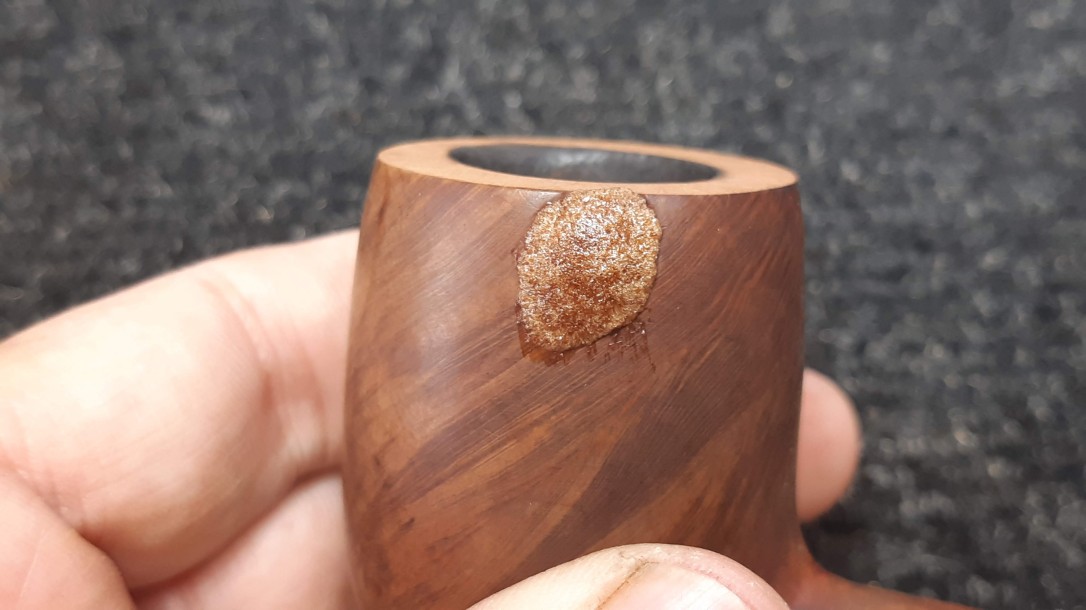
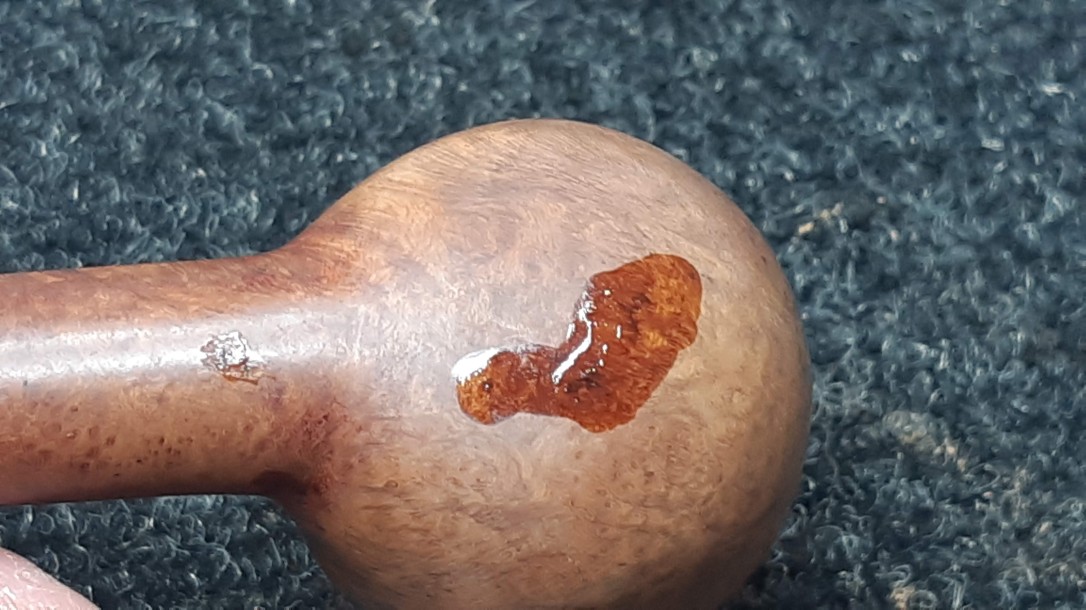
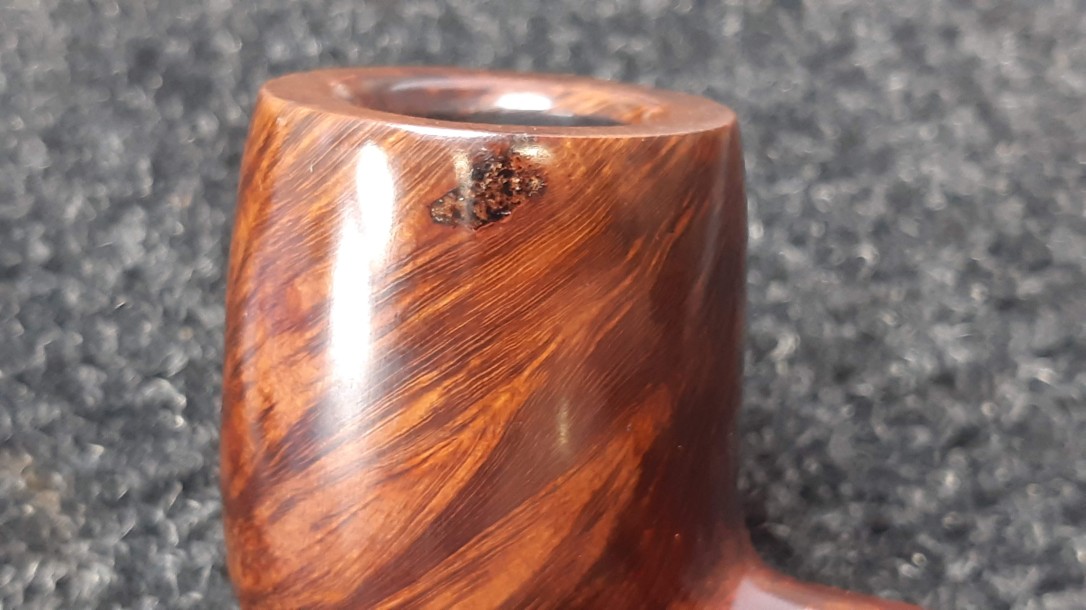
The pipe on the worktable today is stamped as a Reject – a pipe that didn’t make the quality cut, often for cosmetic reasons. As you can see in the pics below, this particular Bewlay Reject was graced with a large flaw on the side of the bowl near the rear left rim.
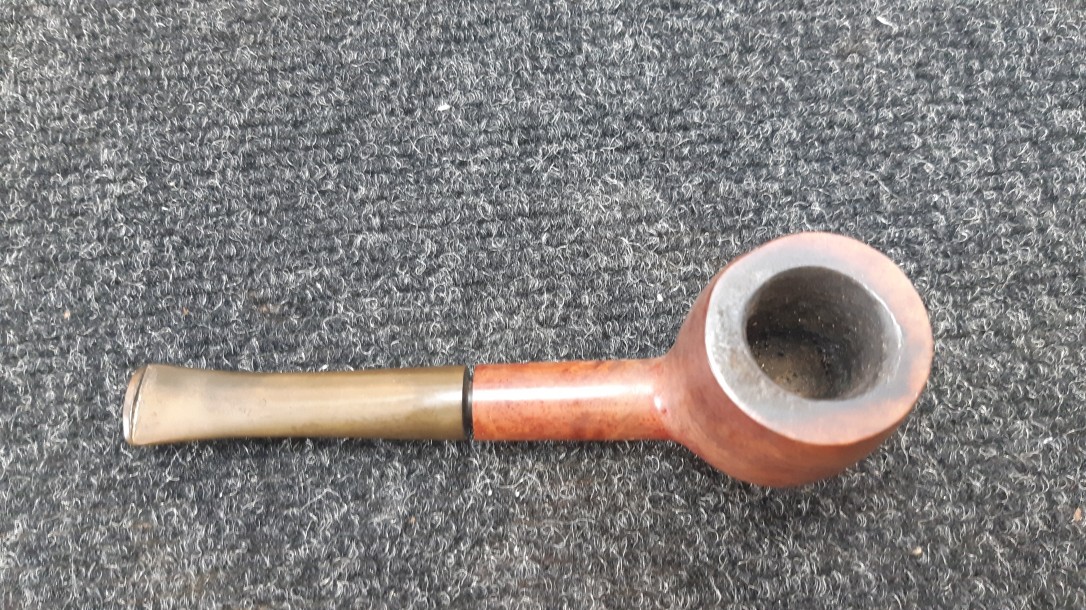
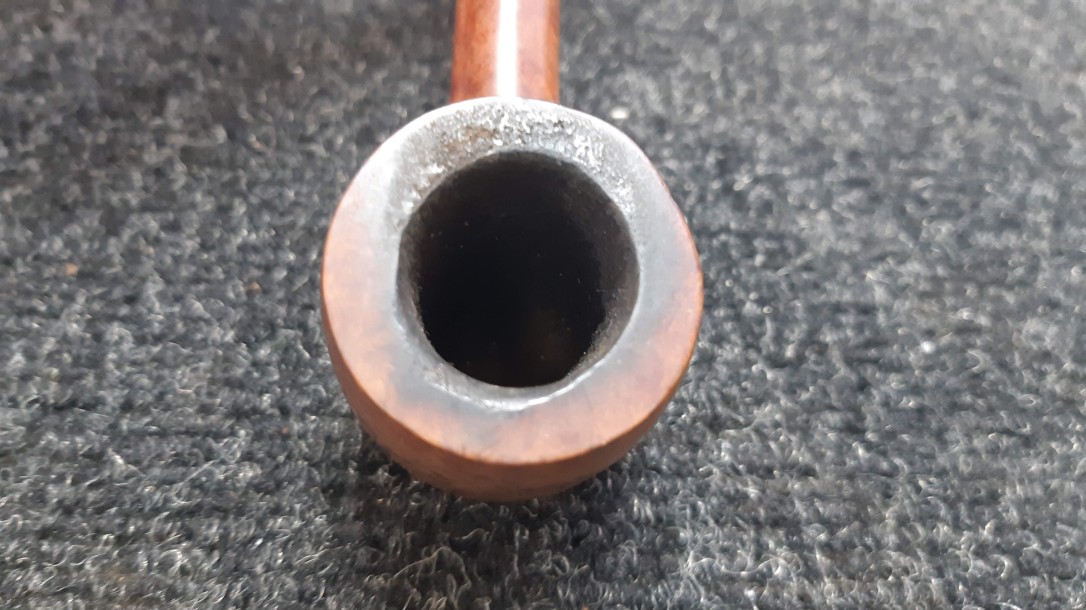
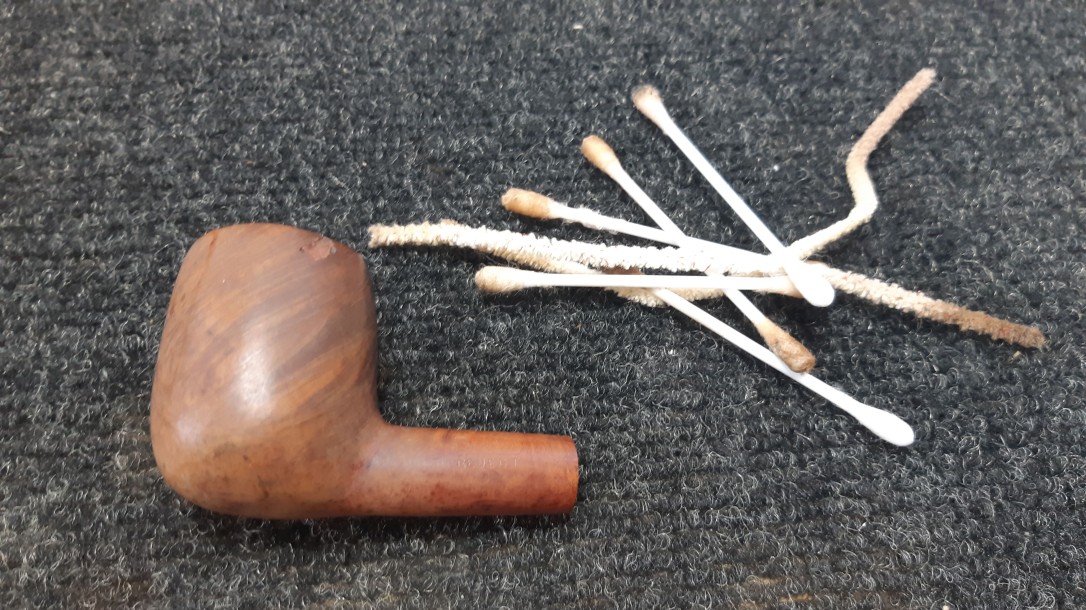
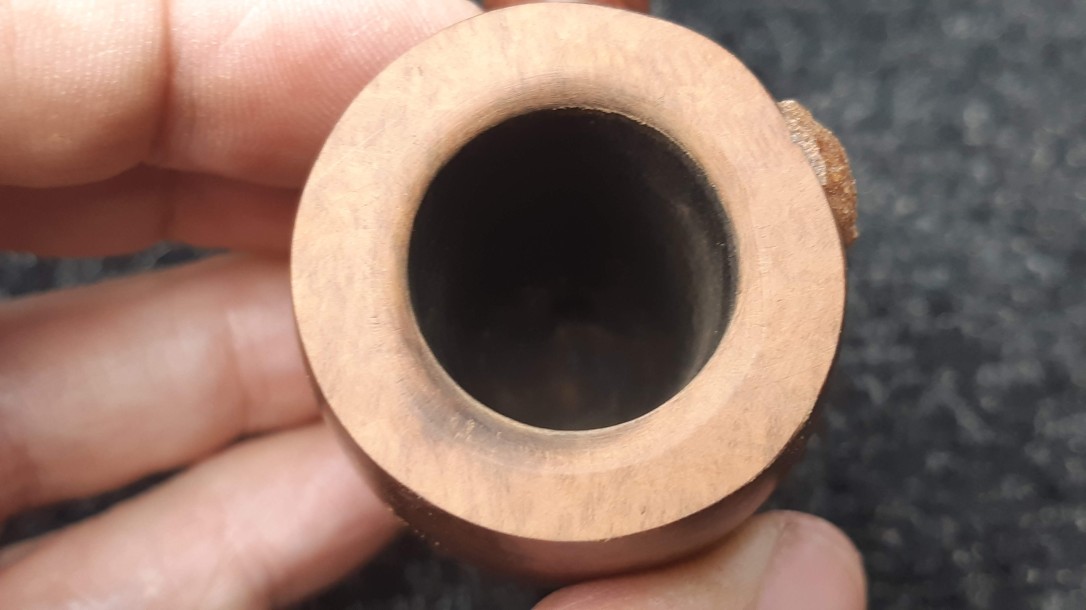
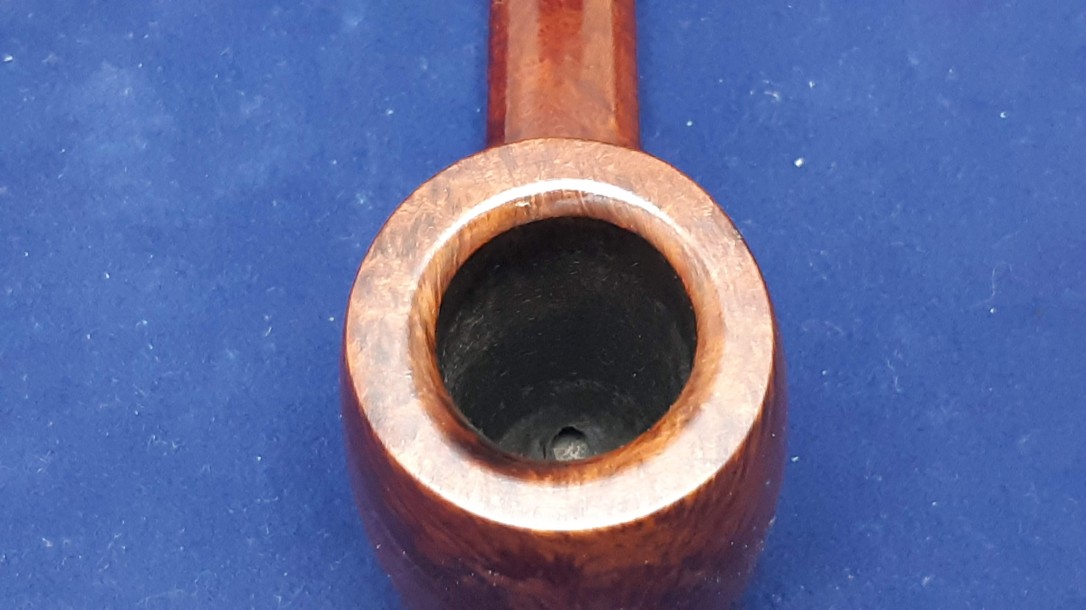
Here is the pipe as it looked when I brought it to the table. It was dirty, with a light cake in the chamber and a smear of lava on the flat rim. The lava didn’t hide the scorched area on the front edge of the chamber. The damage is sufficient to give the bowl an out of round appearance.
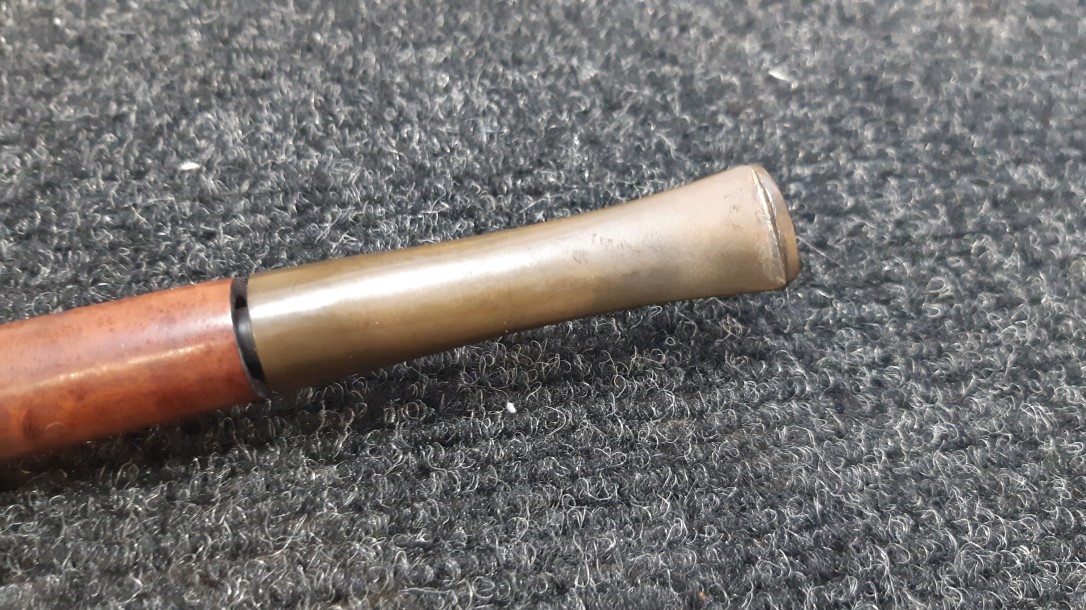
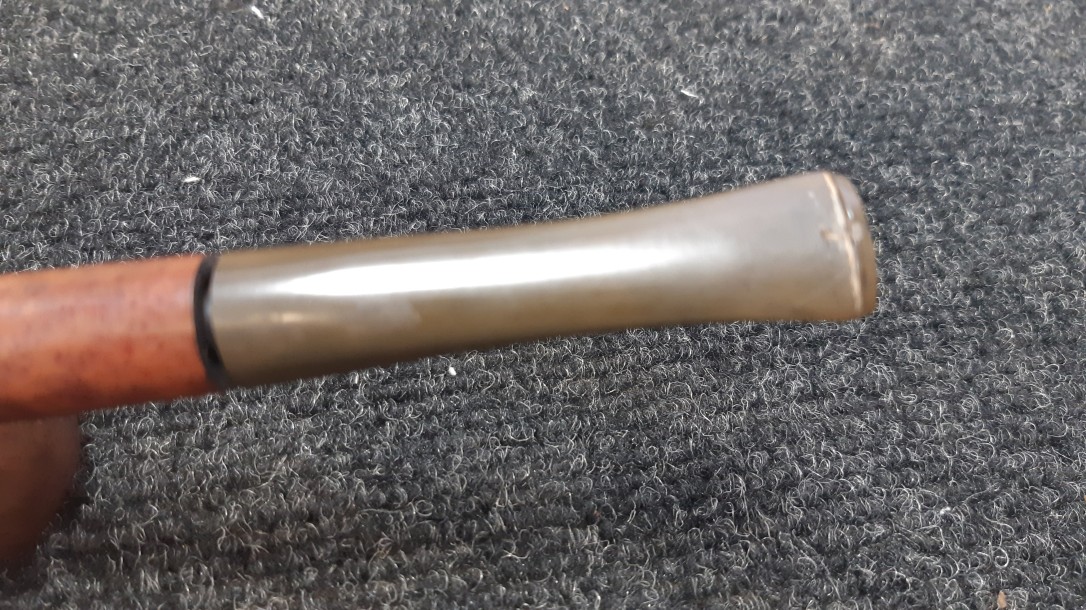
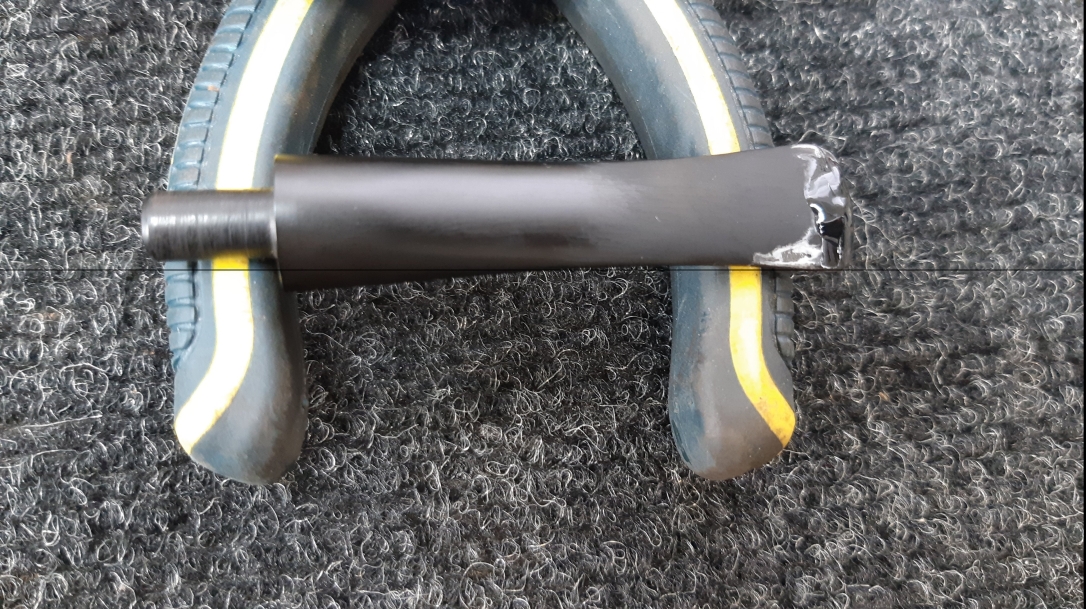
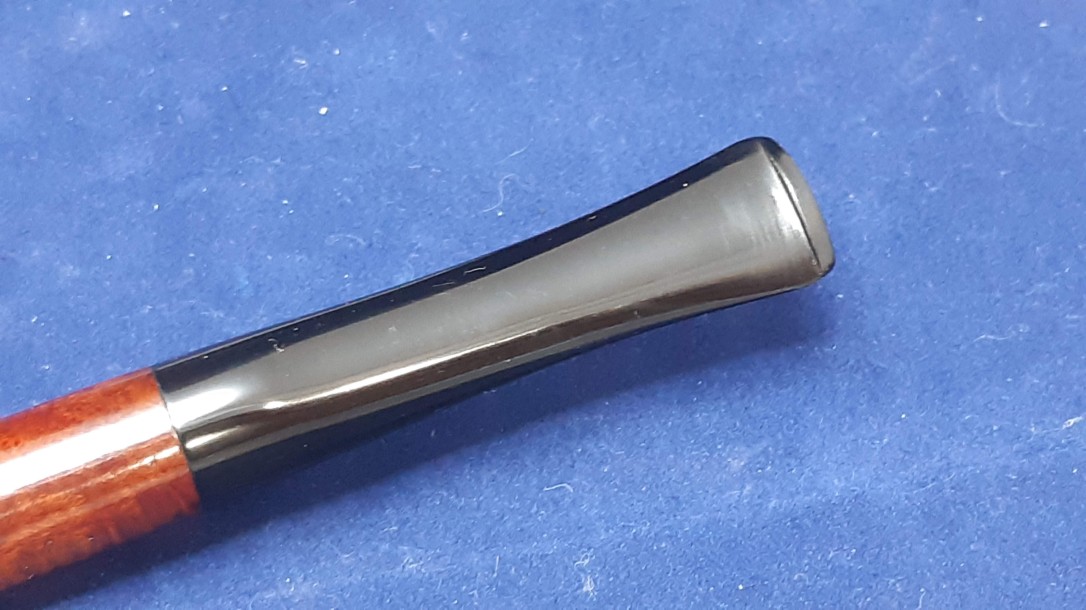
The stem was oxidized and would not seat fully, leaving a gap between the shank face and the stem. The stem also sported a small tooth dent at the leading edge of the lower button.
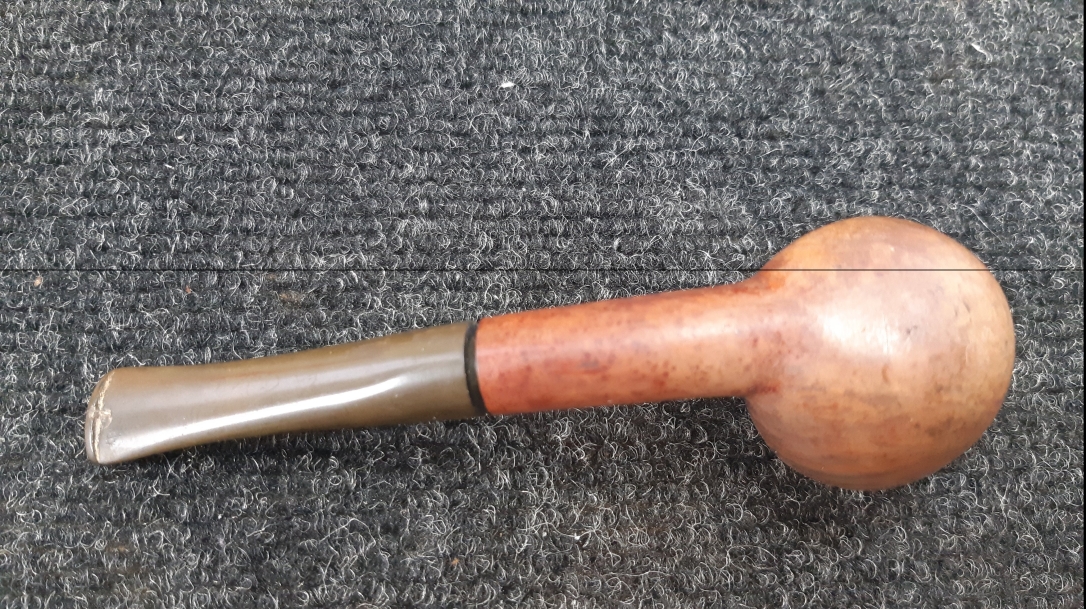
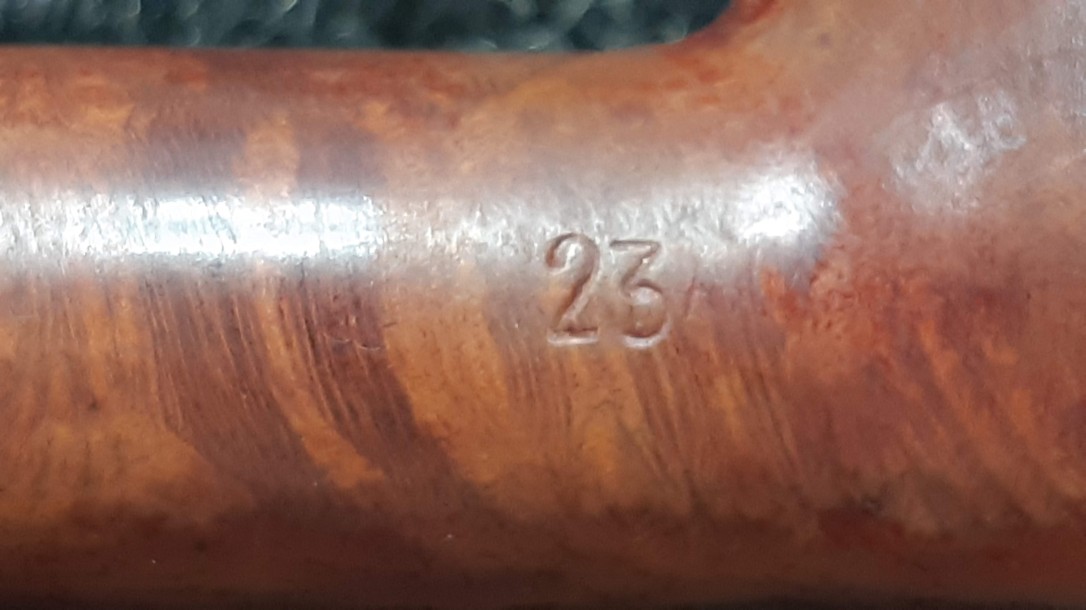
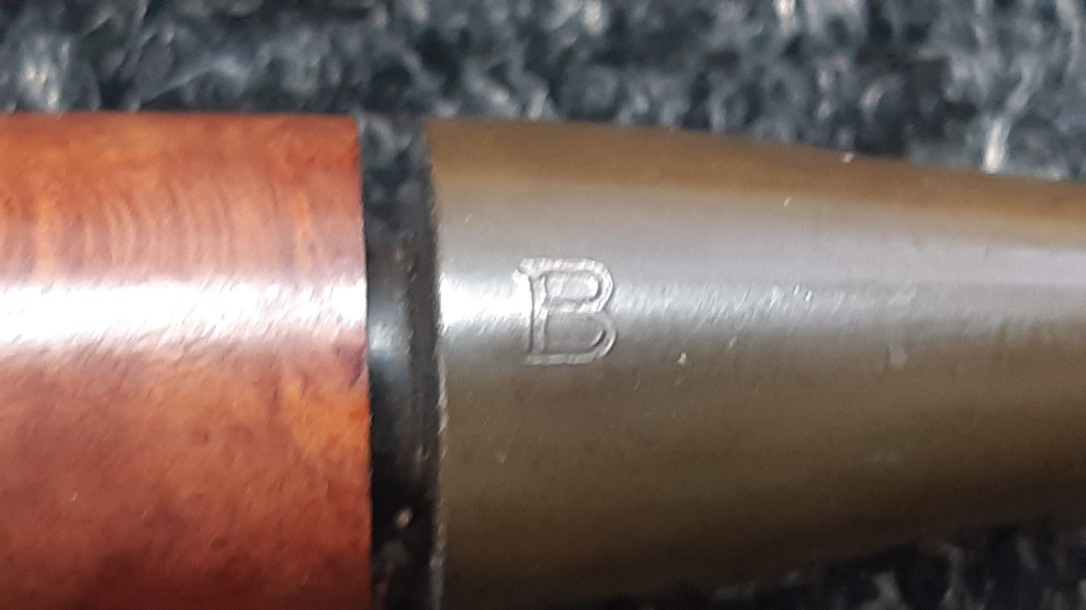
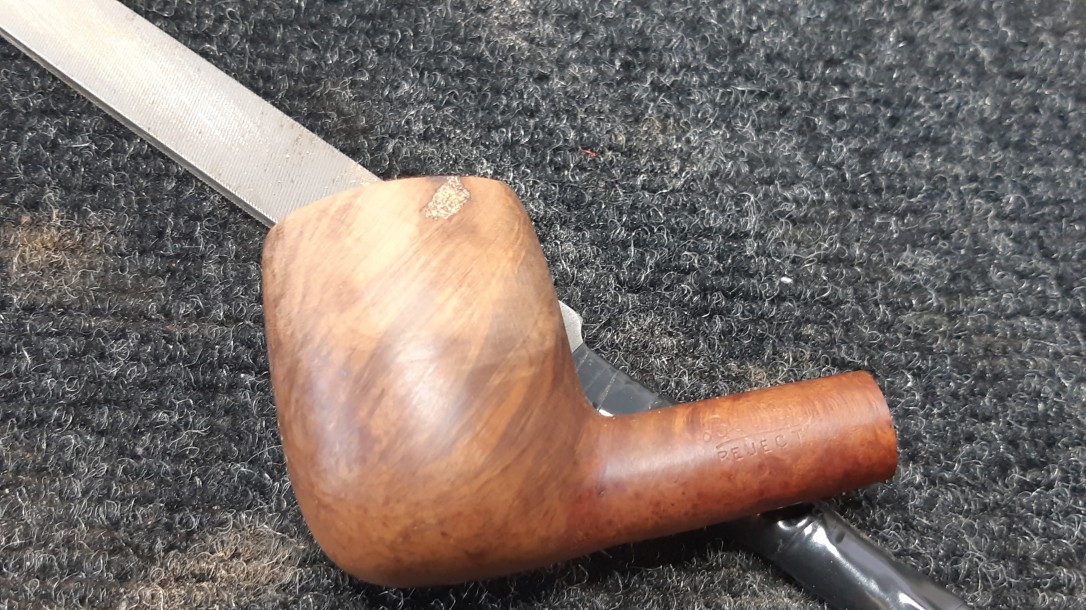
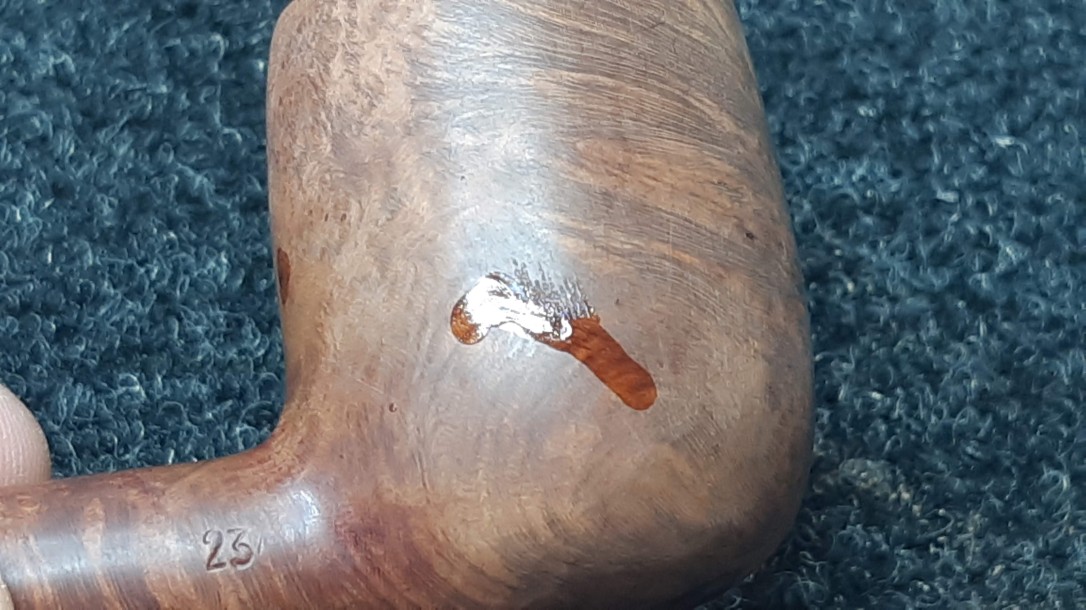
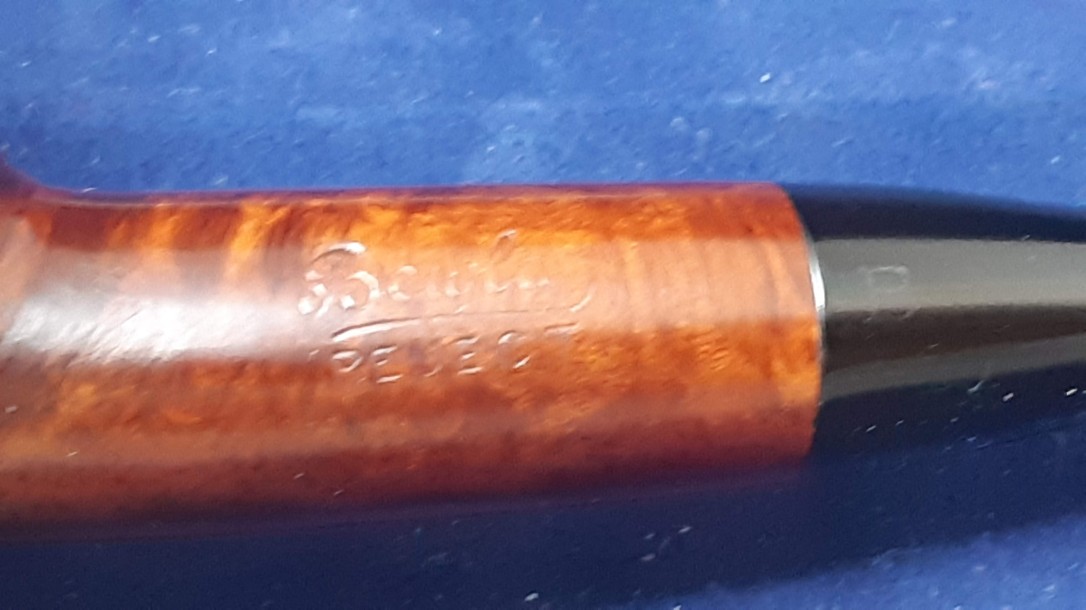
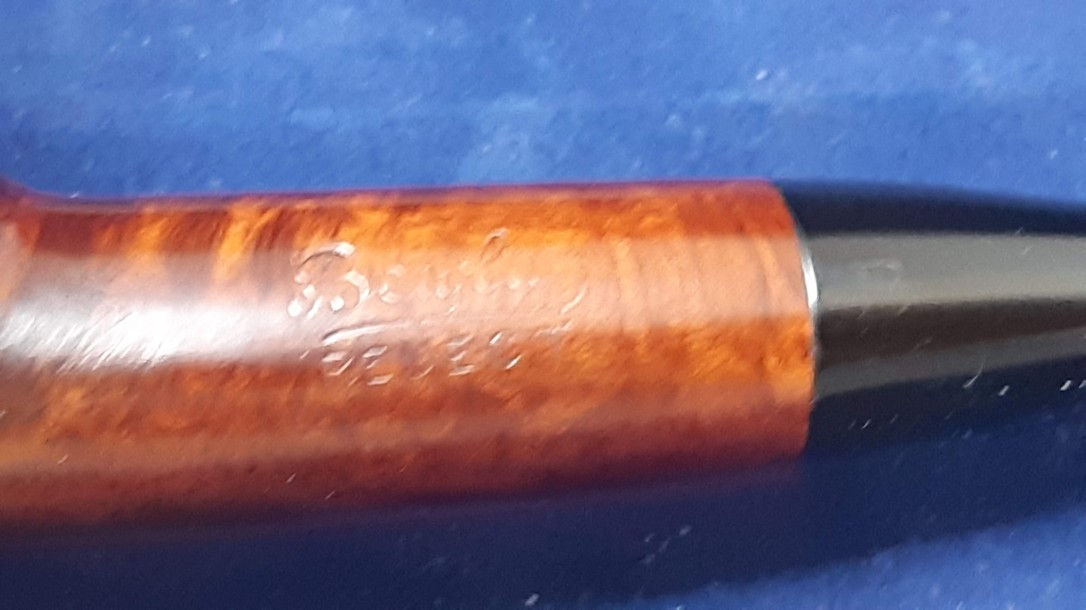
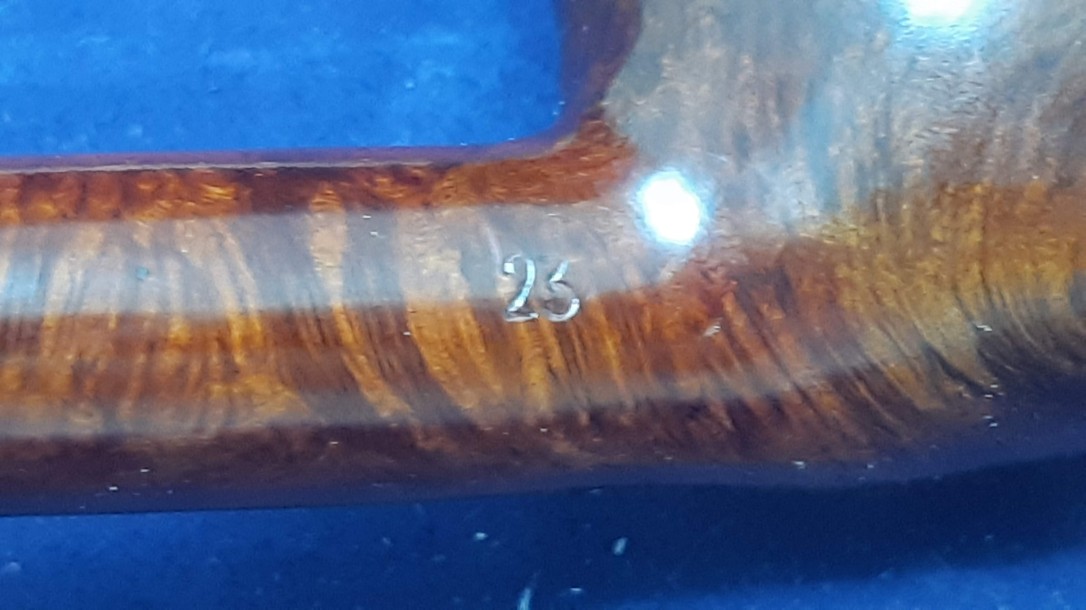
The briar is stamped on the left shank with “Bewlay” in script over “REJECT” in block letters. The right shank bears a shape number, “23”, and the stem carries a “B” on the left flank near the stem face. I was hoping the shape number might allow me to trace which pipe-maker produced this particular Bewlay, but so far I have been unable to do so.
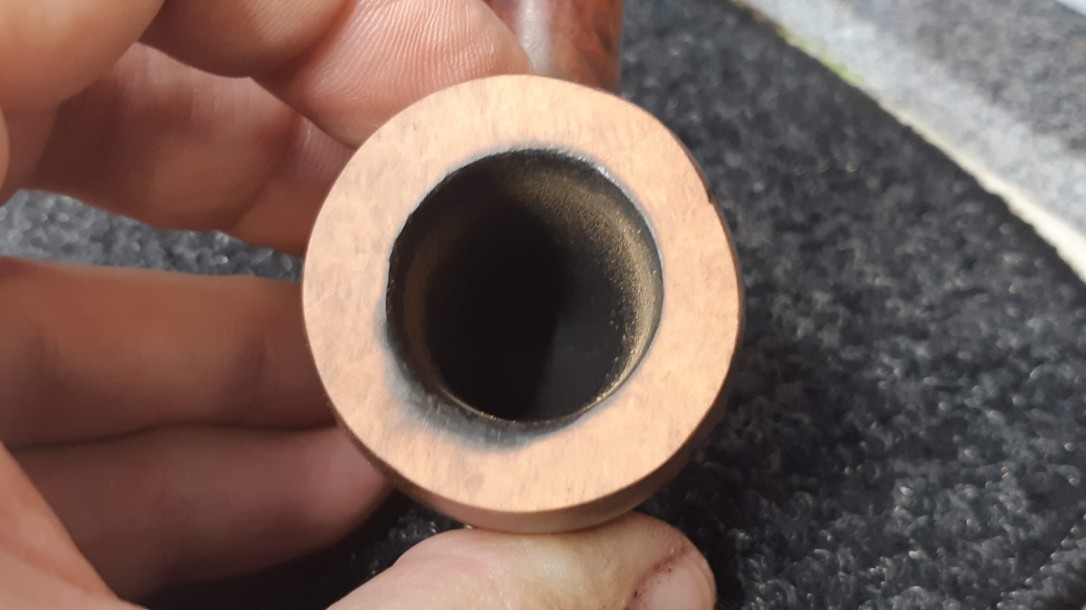
I removed the stem and. after ensuring the airway was open, I dropped it into an Oxyclean bath to soak and let the oxidation soften. While the stem soaked, reamed the bowl back to briar and I used pipe cleaners, cotton swabs and alcohol to clean the tars and other accumulated dirt from the stummel. The internals were surprisingly clean.
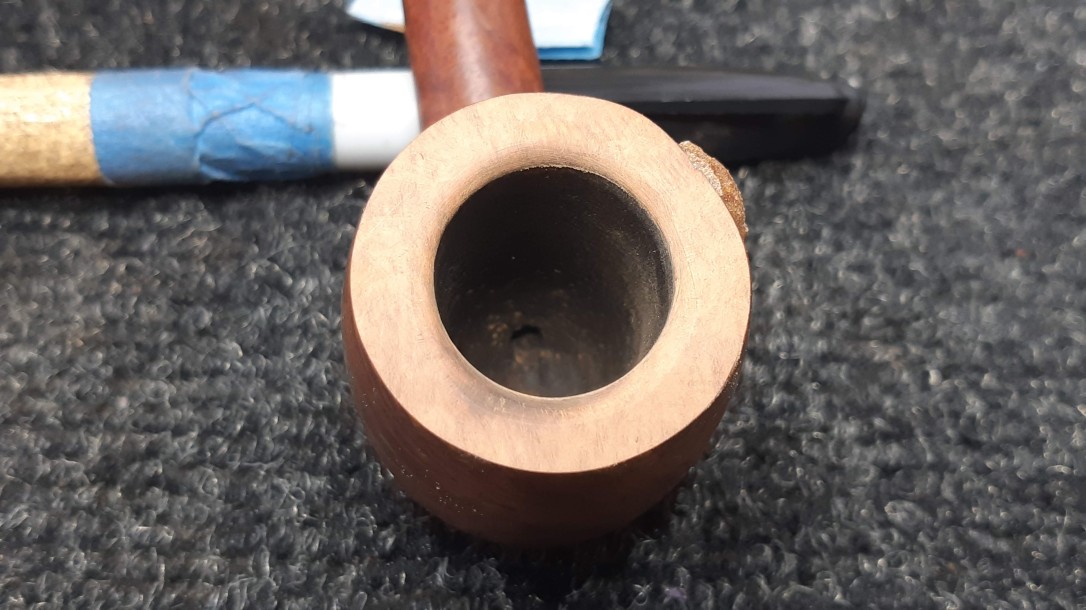
Along with the large, ugly fill, sorting out the rim would be the biggest task of this refurbishment. I started the work by topping the bowl lightly on 220-grit sandpaper to remove the thin coat of lava from the rim and smooth out a few small handling marks. With the muck removed, the extent of the scorch damage on the inner rim became clear.
Short of transplanting a significant section of briar into the stummel to replace the scorched wood, there’s really no other way to deal with a burnt rim than to sand a bevel into the inner rim edge. This changes the factory lines of the pipe, but restores a solid, smooth rim to the stummel. Doing this to a high-end collectible pipe may be an error in judgment, but for a Reject like this, I think it may well actually add to the pipe’s value!
I carved in the basic shape of the bevel using some 80-grit paper wrapped around a Sharpie marker, then smoothed out the briar with 220 and 320-grit papers and 0000 steel wool.
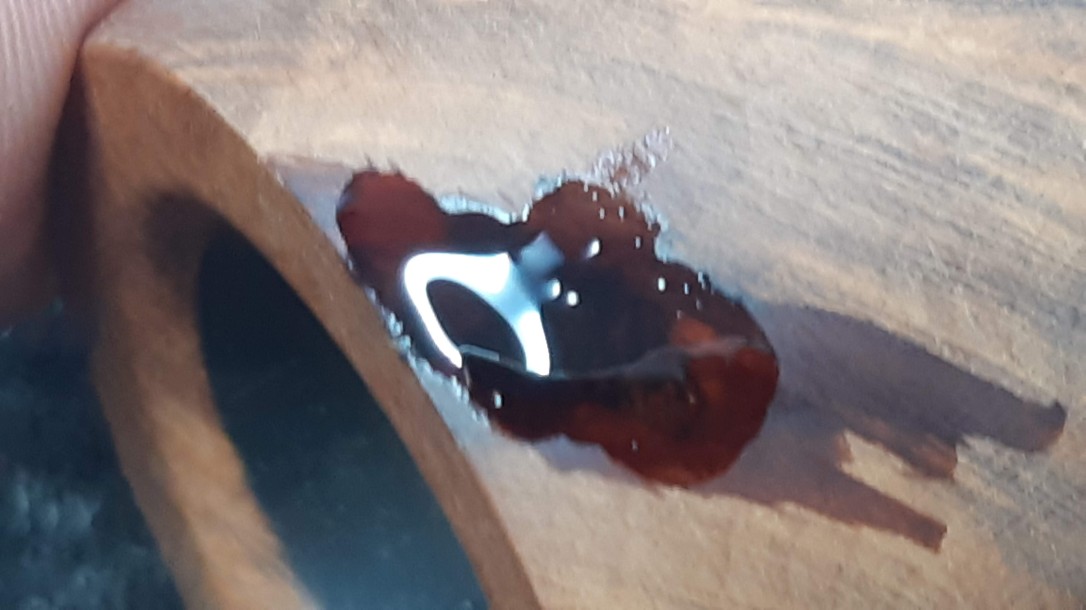
Now to address that ugly fill. I used a dental pick to remove the old, shrunken pink putty. A wipe with alcohol on a cotton pad ensured I had a clean surface onto which the new fill could bond.
I mixed briar dust with thick CA glue and dropped it into the damaged area, pushing the patch mixture into the hole with a toothpick to reduce the risk of trapping air bubbles in the fill when the CA cured.

I let the patch cure overnight, then filed and sanded it smooth to the surrounding briar.
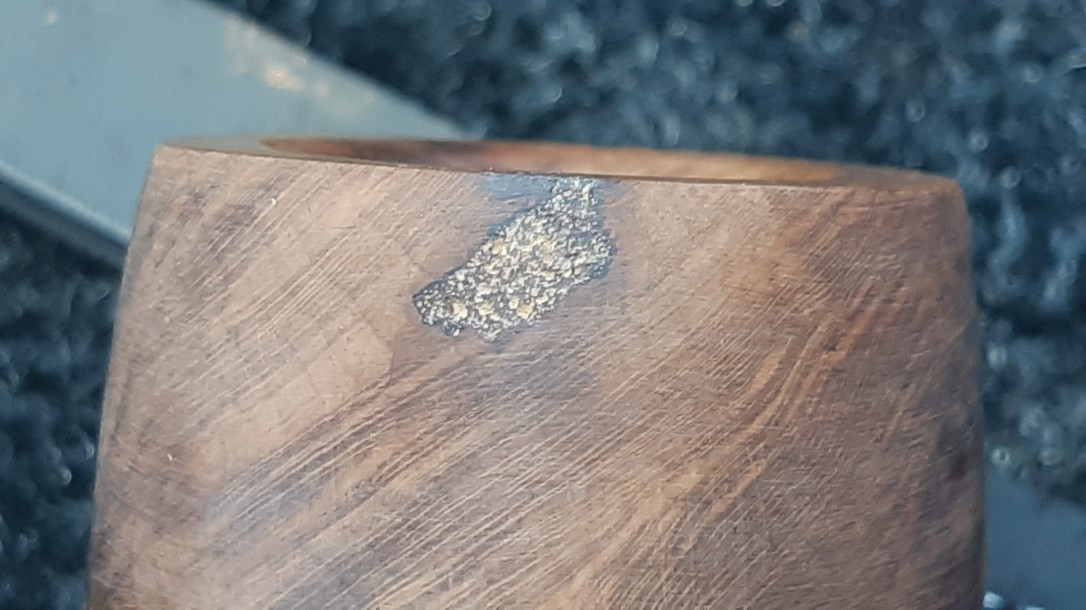
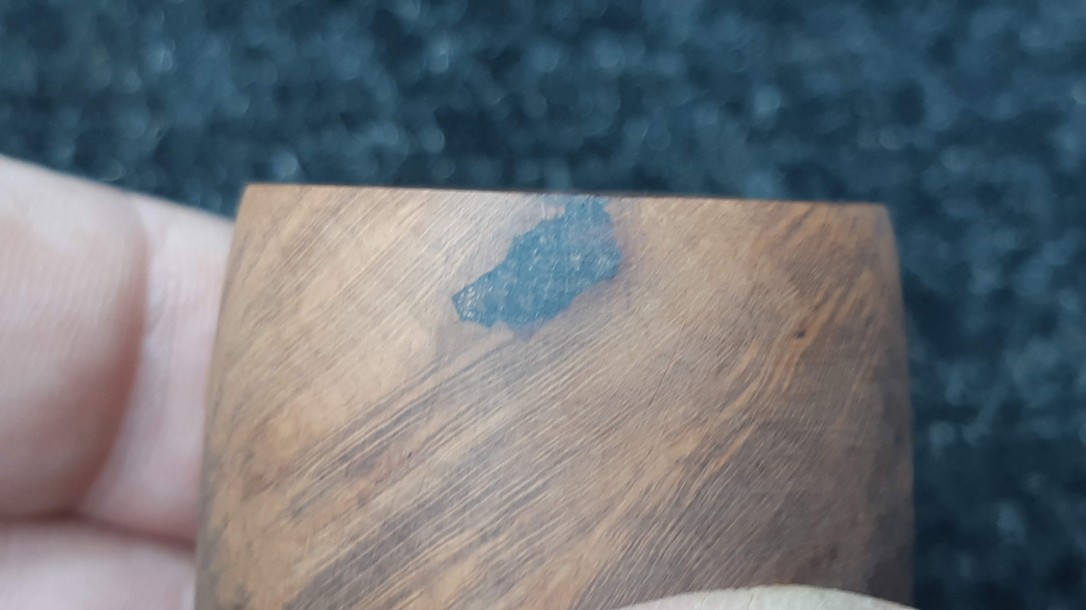
The pic above shows the new patch after sanding smooth. It’s already a vast improvement over the old pink putty, but there were a few imperfections in the surface, and as you can see, the raw briar dust showed quite pale next to the stained stummel.
To darken the fill and smooth out the finish, I coloured the fill and a bit of the surrounding briar with a dark brown stain pen, then added a drop of CA glue over the top. I sanded the patch again after the glue had cured. The new fill was much less of an eyesore!
As I was prepping the stummel for stain, I spotted a few small sand pits and pinhole flaws in the briar. A dot of clear CA glue into each pit, sanded after curing, smoothed things out nicely.
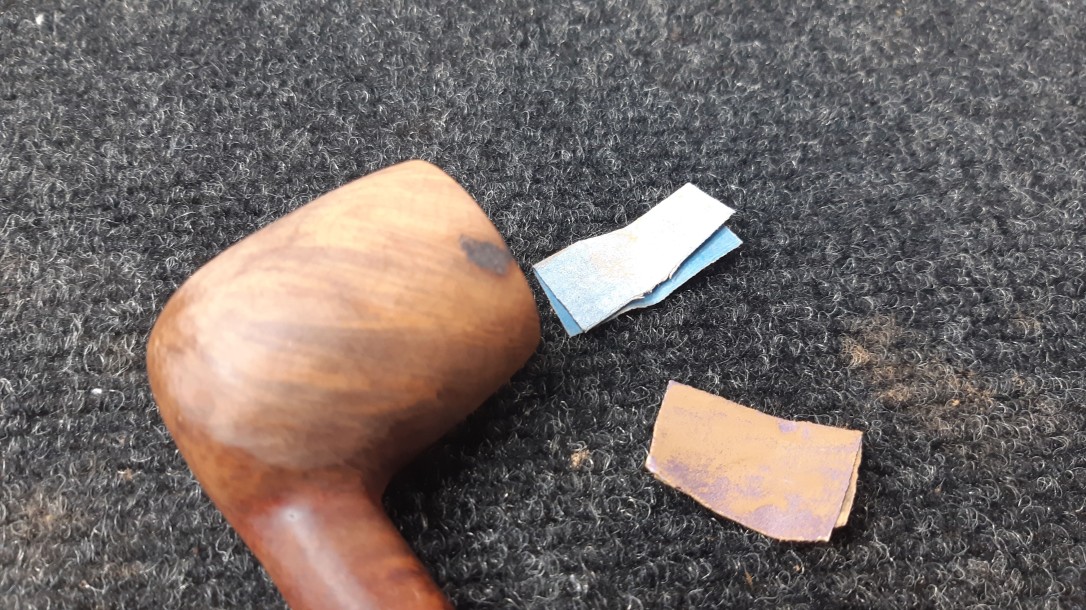
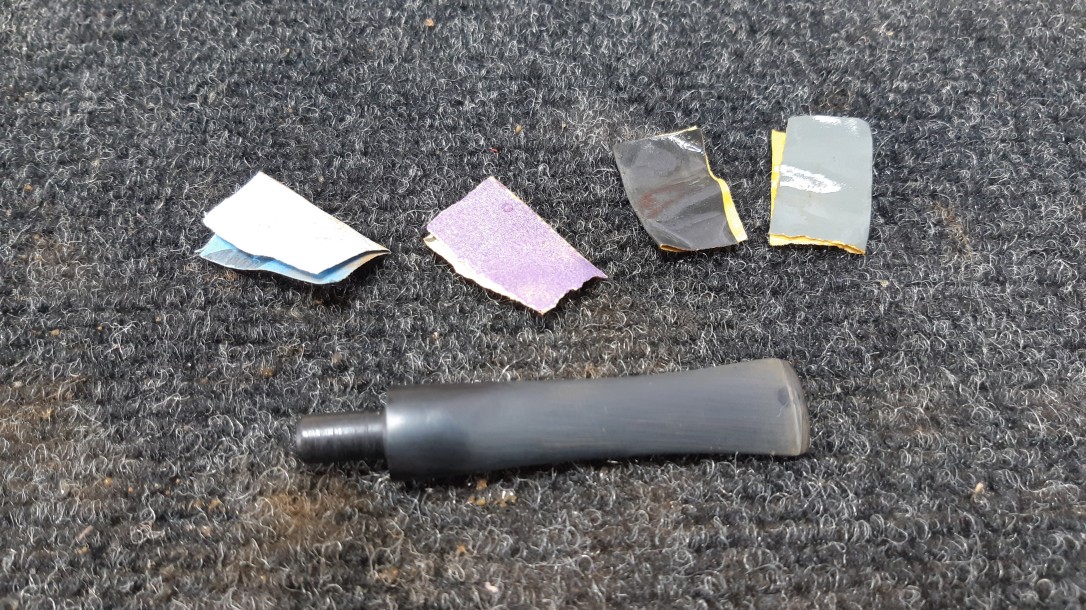
Moving back to the stem, I rescued the vulcanite from the Oxyclean soak and scrubbed away the now softened oxidation with 0000 steel wool and Magic Eraser. The small tooth dent on the underside of the bit would need attention. I drop-filled the area with a bit of black CA glue and let the patch cure before filing and sanding the repair smooth to 2000 grit.
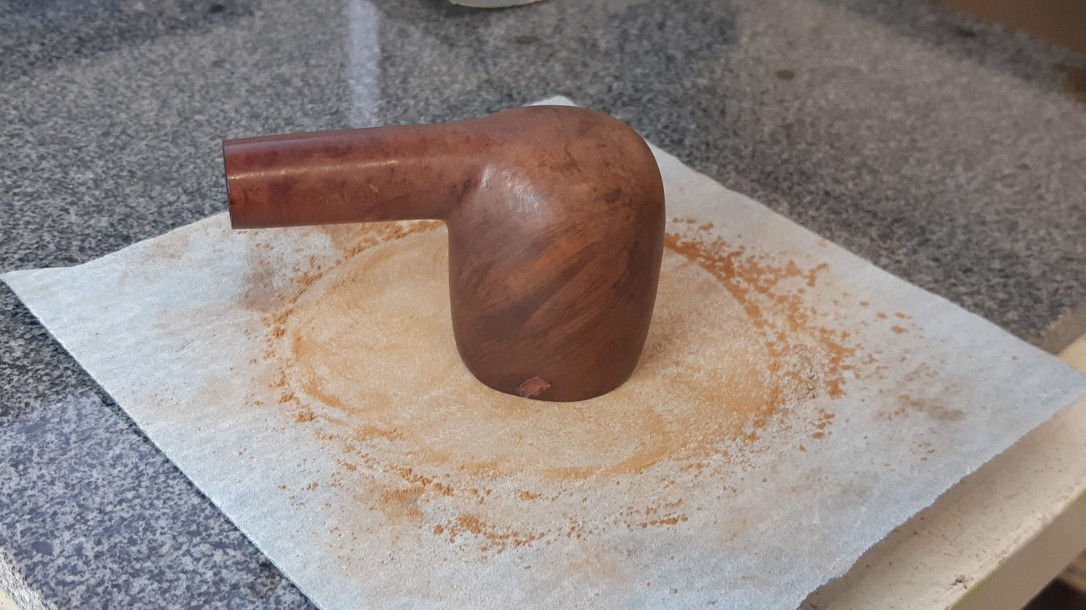
I reunited stummel and stem (which fit nicely now that the shank was clean), and took the pipe to the buffer where Red Tripoli compound erased the last of the sanding scratches from briar and vulcanite. Before staining the stummel, I wiped it down with alcohol to remove any leftover buffing compound.

To recreate the original factory finish, I first applied a coat of Fiebing’s Black leather dye to the briar. I allowed the dye to dry, then scrubbed most of it off with damp 0000 steel wool. I use Fiebing’s water-based dyes, so this process is quite easy. For those of you using alcohol-based dyes, removing a layer of colour will require more elbow grease.
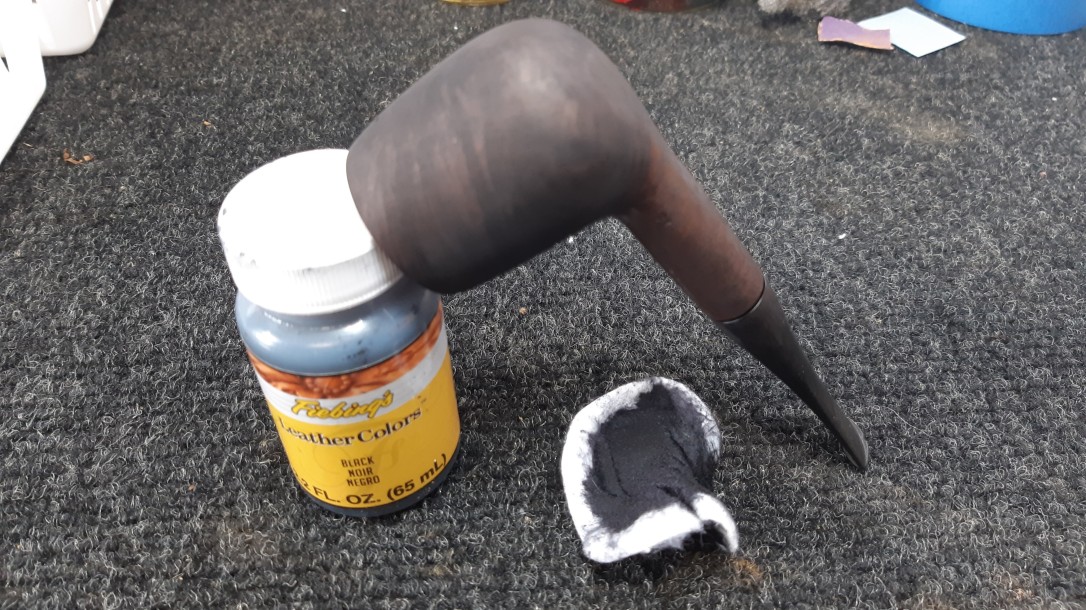
Removing the surface dye leaves the black colour only in the grain. This black grain shows up nicely under a lighter top coat – in this case, a diluted Dark Brown wash was applied and allowed to dry.
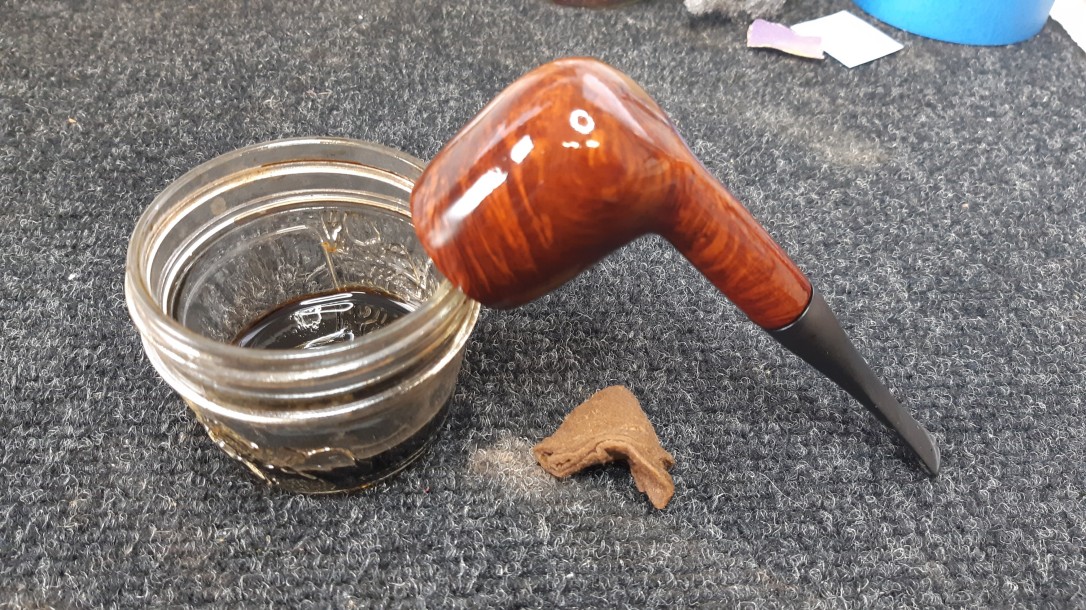
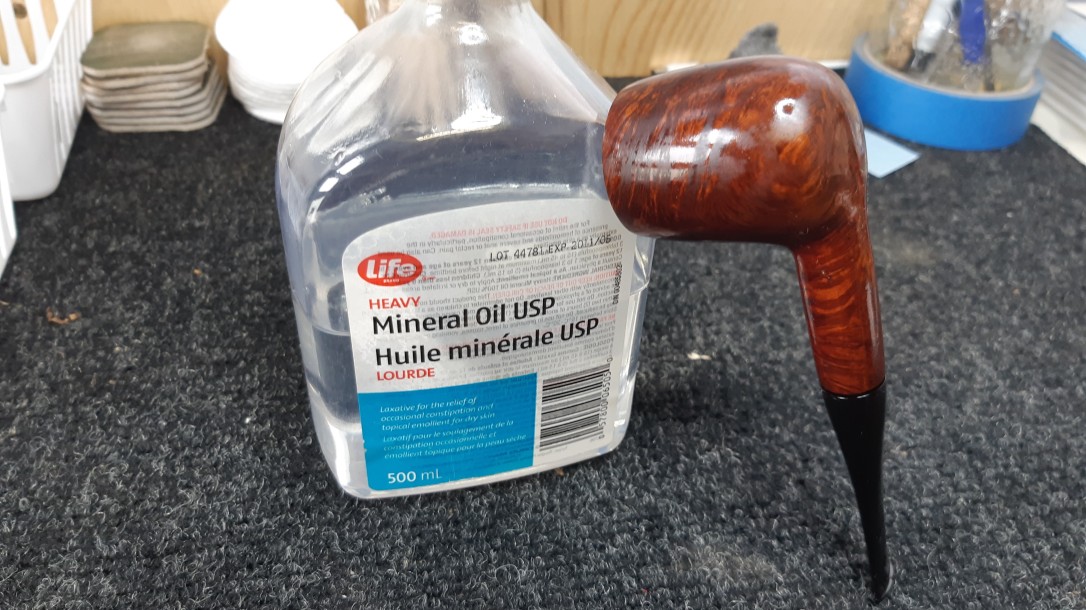
Buffing the stummel by hand with an old towel wiped away any excess dye from the briar’s surface. I finished off the staining process with a wipe of mineral oil. This rehydrates the wood (the dyes tend to dry things out a bit), and gives the new finish depth and pop.
I let the oil sit on the briar for only a few minutes, then buffed away the excess with a towel. The pipe was then left to rest overnight to find its equilibrium.
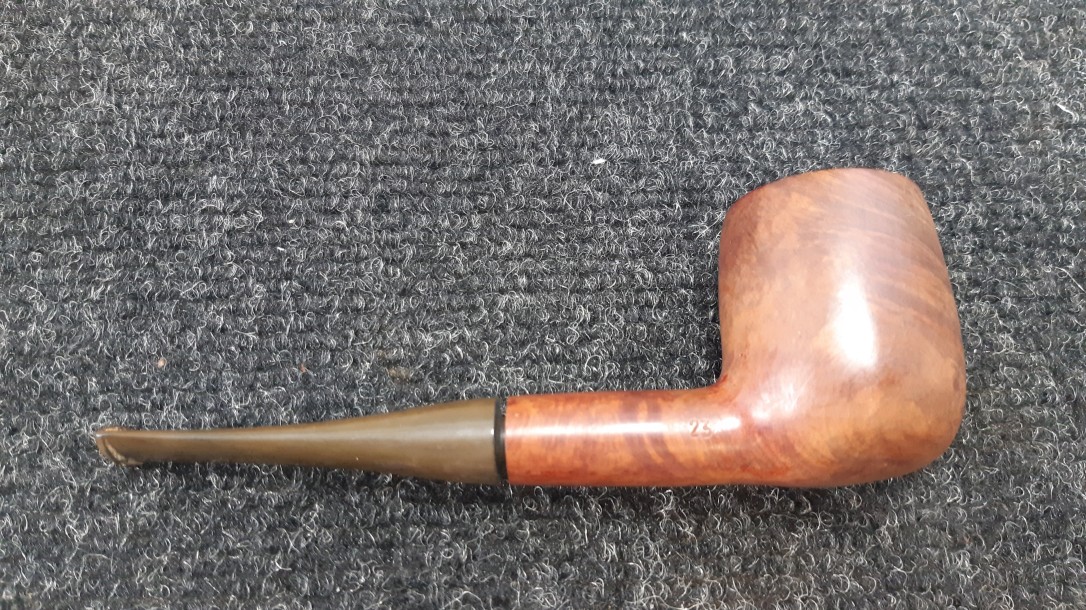
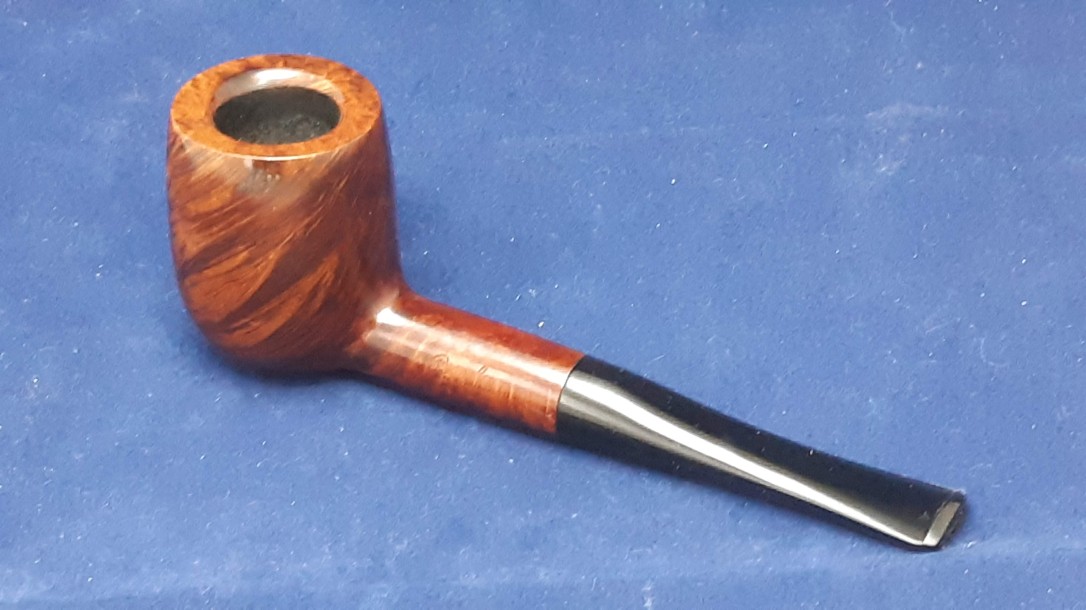
After its rest, I took the pipe to the buffer for a run of White Diamond compound and several light coats of Carnauba wax to shine and protect the revitalized finish.
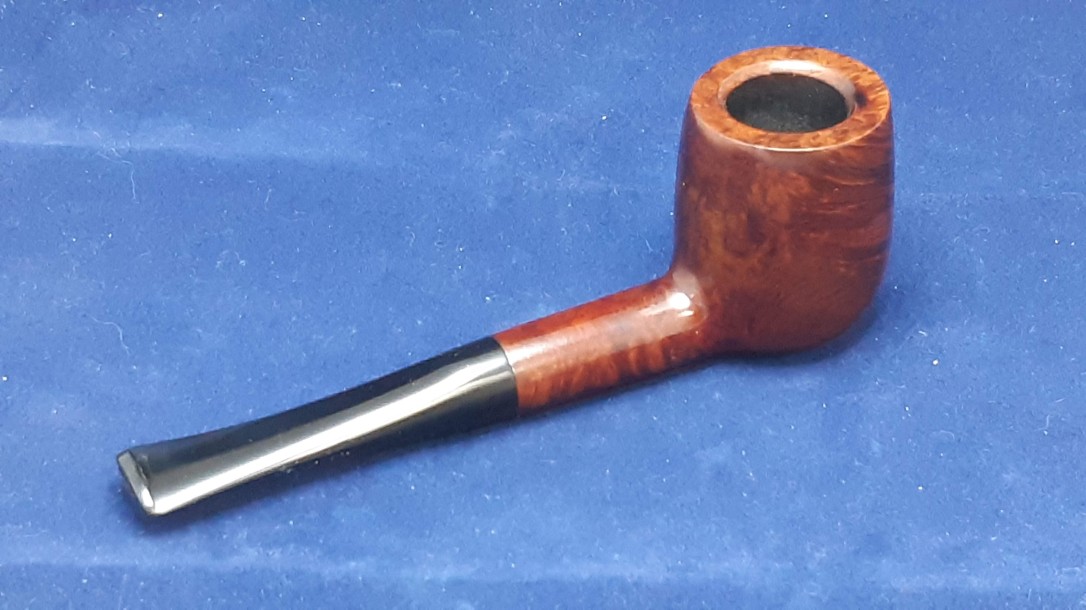
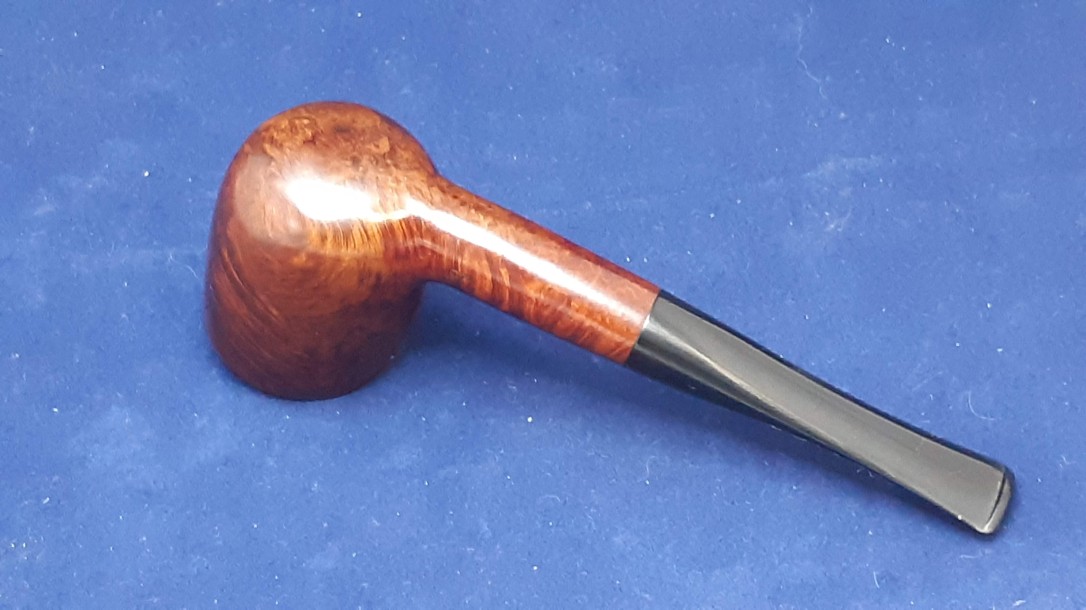
This old pipe is looking good after its time on the worktable. The briar is clean and the finish clear and fresh. The deep black of the vulcanite stem highlights the black grain in the wood, and the repaired button promises a comfortable smoking experience now that the dents and dings are gone.
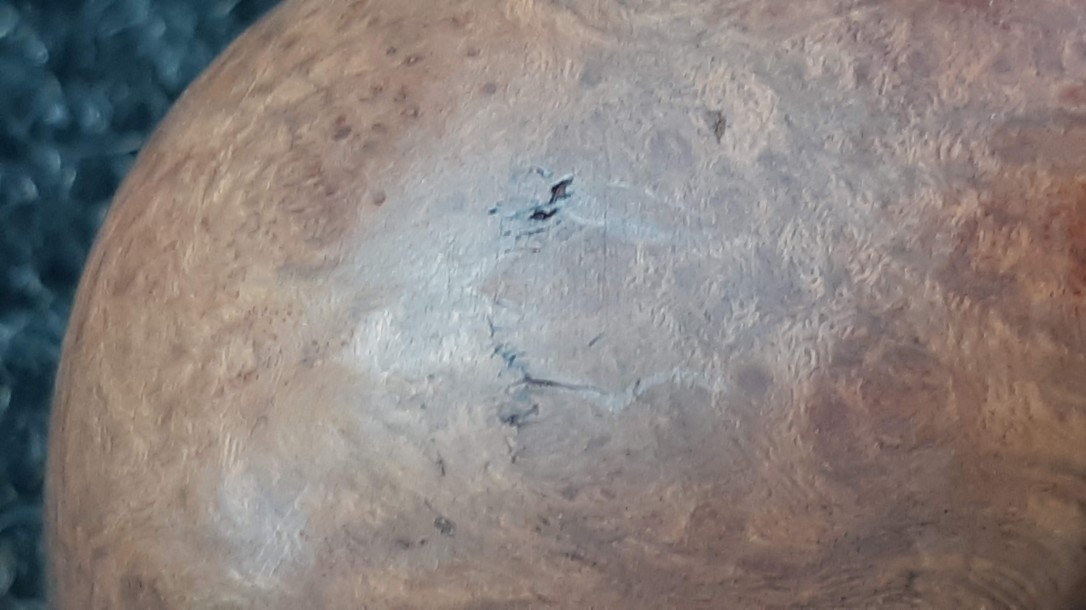
The large fill on the side of the bowl is, of course, still visible, but it no longer glares out of the briar like a bomb crater from the Blitz. Instead, the fill has been pushed into the background, allowing the lovely briar grain to take precedence. The fill is rather more evident in the pics below (taken under good lighting and magnification) than it is in real life. In the hand, you really have to look for it – mission accomplished, I’d say!
I’d be happy to add this Bewlay Reject billiard to my own rack and rotation, but I’ve got enough pipes on the go at the moment, so this one is available on the Pipes Inventory page now. If you or someone you know is looking for a classic English Billiard, give it a look.
Thanks for joining me for another estate refurbishment. Until next time, Happy Piping!
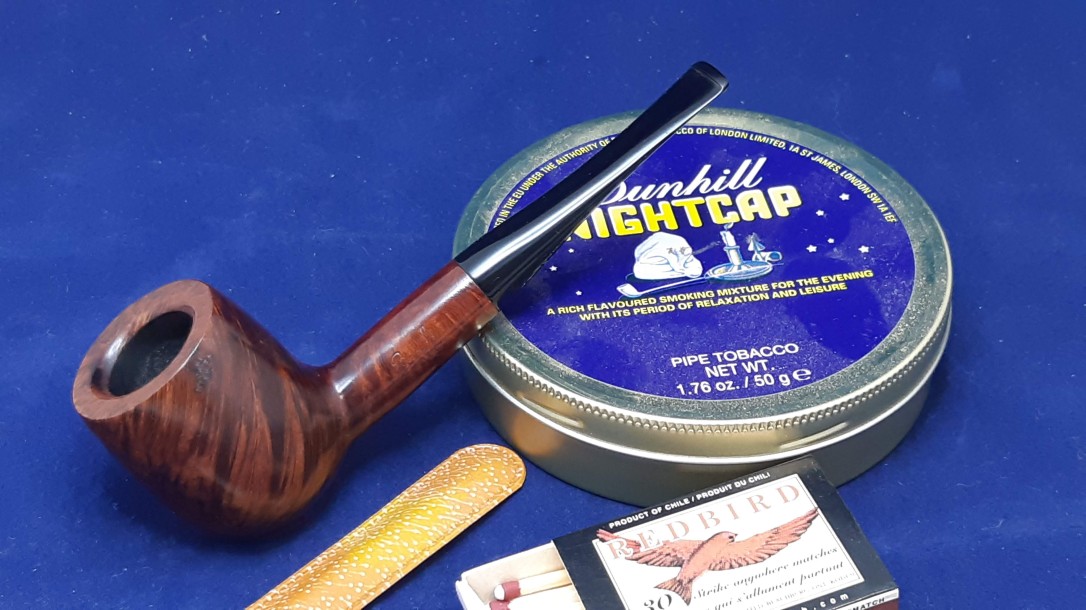
Here’s the finished pipe.


Fantastic work, Charles. Looks like it would be good for a long evening smoke. I’ve been a bit occupied lately and it was nice to sit and read this this most recent restoration. I’m itching to pull the trigger on this one, but fighting the urge as I don’t really “need” another pipe according to the boss. My brother is visiting next weekend and will mule forth 8 ounces of Star of the East, which I bet would go nicely with this pipe. Hope all is well. I’ll send an email some day. Cheers!
LikeLiked by 1 person
Enjoy that Star of the East, David! It’s good in any pipe. 😁
LikeLiked by 1 person