
Happy Family Day to all of you Ontario pipers out there! Today I thought I’d share what I’ve been up to on the holiday weekend.
As Monty Python would say,

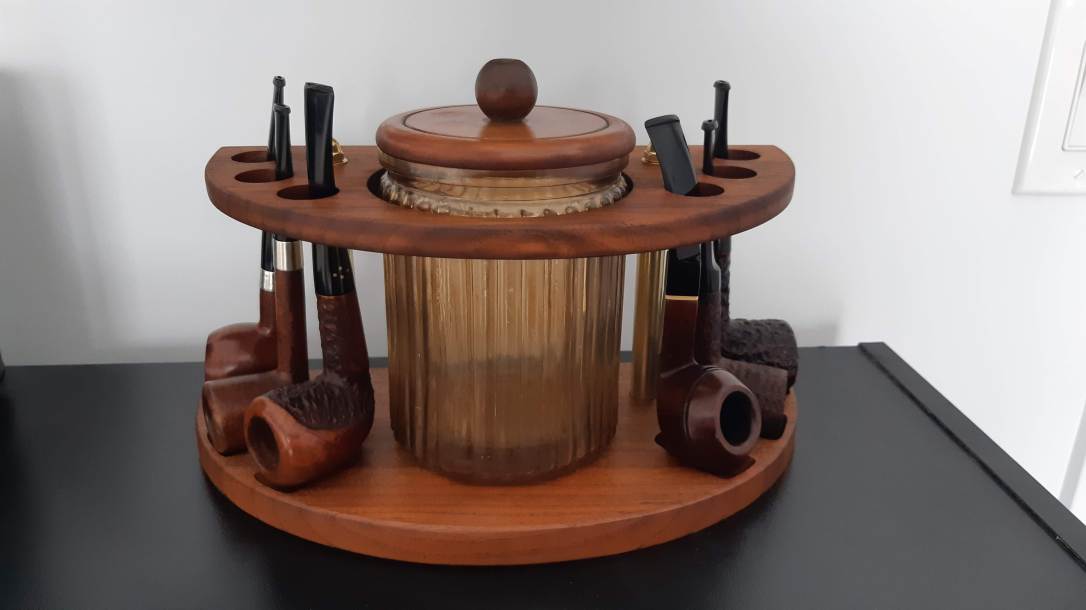
Today, instead of an estate pipe, I’m refurbishing an estate pipe rack! I found this little gem at a local thrift store for the grandiose sum of $4.99CAD, so of course it had to come home. It’s a 6-pipe rack with an amber glass humidor/tobacco jar inset in the centre.
I like this rack’s design in particular as it can be set against a wall or on a shelf and accessed from the front. All of my pipes are in cabinets or on bookshelves, so front access is essential for me.
Here is the rack as it was when I got it home. It was in decent shape overall, though there were a few deeper dents and dings in the wood and the finish was worn in several places, notably where the tobacco jar sat on the lower plate. The felt on the bottom of the rack had definitely seen better days.


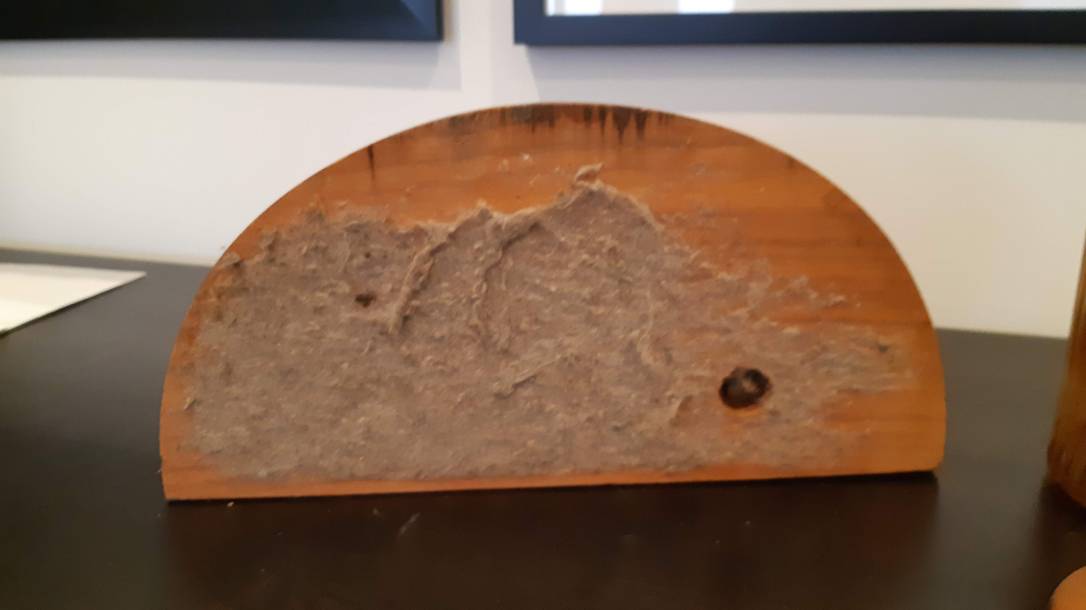
Any label on the rack would have been attached to the felt, so no joy there. The bottom of the tobacco jar, however, is marked “DUN-RITE WOOD PRODUCTS NEW YORK”. A quick Google search turned up a LOT of pipe racks in various configurations made by this company in the mid-1900s. I’d guess this one hails from the late 1950s to 1960s.

This rack was easy to break down into its component parts for refinishing. Everything was held together by two carriage bolts and a pair of acorn nuts.

Once taken apart, I was glad I had decided to refinish the rack. These pics show sections of over-spray, finish runs and other imperfections I could live without.
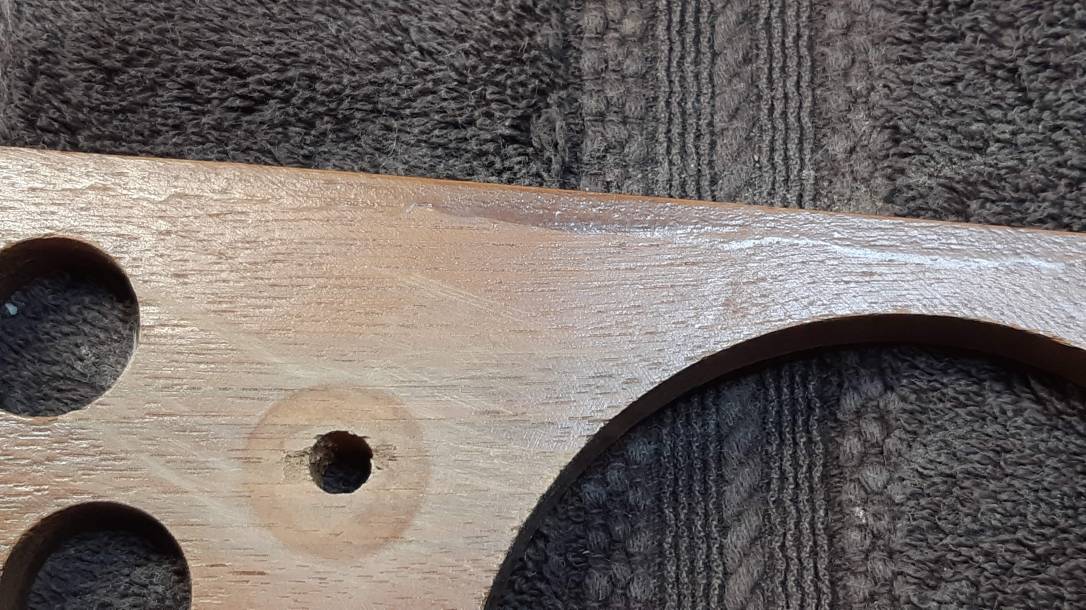
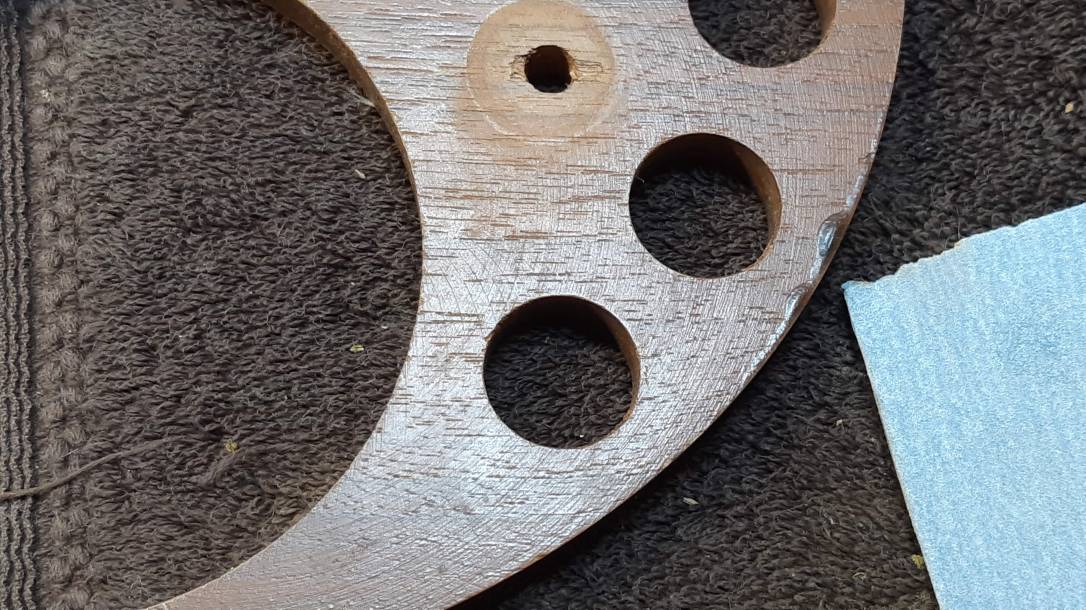

I started the work by scraping the remnants of the old felt off the bottom of the lower plate. Here you can see there are some irregularities in the wood along the front edge that I’ll try to sand out.

I’ve bought about a half dozen of these old mid-century pipe racks, and some have performed better than others. The ones I like have a spacing of at least four inches between top and bottom plates, which gives enough room to slip larger bent pipes into the rack. This rack was built slightly shorter, at 3-3/4″, so I decided to adjust the geometry a bit while I had everything apart.
The turned support columns, which act as spacers between the top and bottom plates of the rack, would have been awkward to try to sand, and they were too short anyway, so I swapped them out for a pair of 1/2″ diameter brass tubes cut to 4-1/4″ long.

To give the brass risers a more solid grip on the upper and lower palates, I drilled 1/2″ x 1/8″ deep sockets in the wooden plates with a Forstner bit. This allowed the tubes to sit into the plates rather than simply on top of the wood, and gave me my desired 4″ spread between plates.
I sanded the plates with my palm sander and 220-grit sandpaper to strip away the old finish and smooth out any irregularities, then test fit all the parts. Here’s a shot of the rack at this point. Note that I added brass washers under the acorn nuts to protect the wood. I also bought new, shiny acorn nuts – $0.66CAD well spent, in my opinion!

In the pic above you can still make out the ghost of the tobacco jar outline on the lower plate. Now that all the parts were fitting together nicely, I disassembled the rack and sanded it all again, this time with 320-grit paper.
Used to final sanding to 12000 grit on estate pipes, I was expecting to have to do something similar for this walnut pipe rack. Sanding to 320-grit, however, produced a silky soft finish, so I stopped there and moved on to the final step – Danish Oil.
I’d never used Danish Oil before this project but I found it almost stupidly easy to work with. After wiping the pieces clean, I applied the Danish Oil liberally and allowed it to soak into the wood for about 30 minutes, after which I came back and rubbed the pieces down with a scrap of towel to remove any excess oil. The directions on the tin of Danish oil called for a second coat, but I rather liked the look of the smooth matte finish achieved with just one application.
When the pieces were dry enough to handle, I reassembled the rack and took these pics.


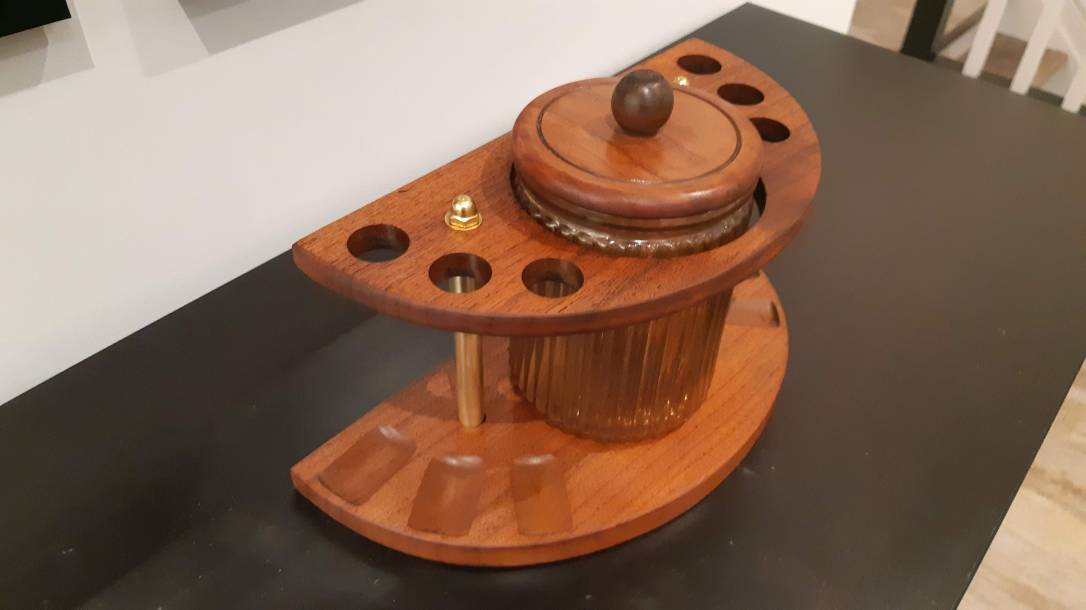
As you can see, I also sanded and refinished the wooden lid from the tobacco jar – the wooden knob had pulled off in my hand anyway, so it was easy enough to take the palm sander to the flat lid section.
I let the rack dry overnight before setting the tobacco jar in place and filling the rack with a half dozen briars I removed from two three-pipe racks I had been using. This will save me some space in the pipe cabinet and give me more storage for pipe tools, matches and tampers in the amber jar.
Down the road I may look into adding a cork or rubber gasket to the jar lid to create an airtight seal there, but as I doubt I’ll ever use it for tobacco, I’ve left it as is for now. I’m also keeping an eye out for some new felt or, alternately, some rubber feet for the bottom of the rack.
I’m quite pleased with the way this rack has turned out after only a few hours of work, much of which was spent waiting for the Danish Oil to dry. It just goes to show you that a little bit of effort can make a huge difference to the appearance of these old racks.
Thanks for joining me for this quick pipe rack refurb project. I hope you enjoyed it. Perhaps you might even look at your own pipe racks differently now.
Until next time, Happy Piping!

Charles, you’ve inspired me to take a look at some racks I’ve collected but never put in service. Good job and I appreciated the dimensions for a good height.
LikeLike
Thanks Dal. The height issue really puzzled me for a bit until I realized that pipes have gotten progressively larger in size over the last 50 years or so. I have a few from the 1930s that look positively diminutive next to pipes from the 1990s, and that’s not even counting Danish freehands.
The older/smaller pipes fit just fine in racks with 3-1/2″ between the plates, but larger or full bent pipes need a bit more elbow room in my experience. Another option, if you can’t increase the spread between top and bottom plates is to cut the rests in the upper plate from a closed circle to an open “U” shape, allowing for the pipe to be tipped into place rather than threaded through the rack.
Given that these old racks can be had very cheaply, any modification that improves its usability is a good thing. 🙂
LikeLiked by 1 person
Thanks Charles. What would you say, based on the growth of pipes as you described, is the optimal distance between the pipes measuring between the center points of the bowl cups, without knowing what to call them!
LikeLike
Great question! I just grabbed my tape measure. All of my racks have the cups set at 1-1/2″ on centre. This works for most of my pipes, though the spacing could be wider, in my opinion, to better fit larger bowls/freehands. If I were to make a rack myself, I might go with cups at 2″ on centre.
LikeLiked by 1 person
Looks good. Oddly enough I received two old pipe racks on Monday. They were an EBay purchase. The first rack fits seven pipes, the other rack fits six. The finish needs some work. I likely won’t raise it like you did but a refinish is required. I have not heard of Danish oil. What else have you used it on?
LikeLiked by 1 person
This is actually my first time using Danish oil. It was really easy. 🙂
LikeLike