
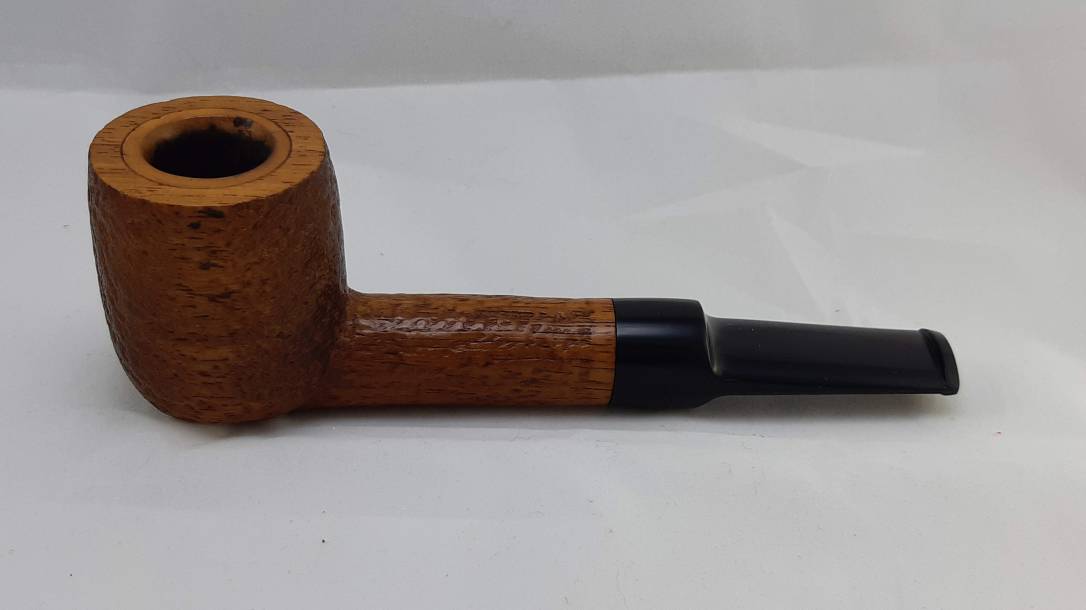
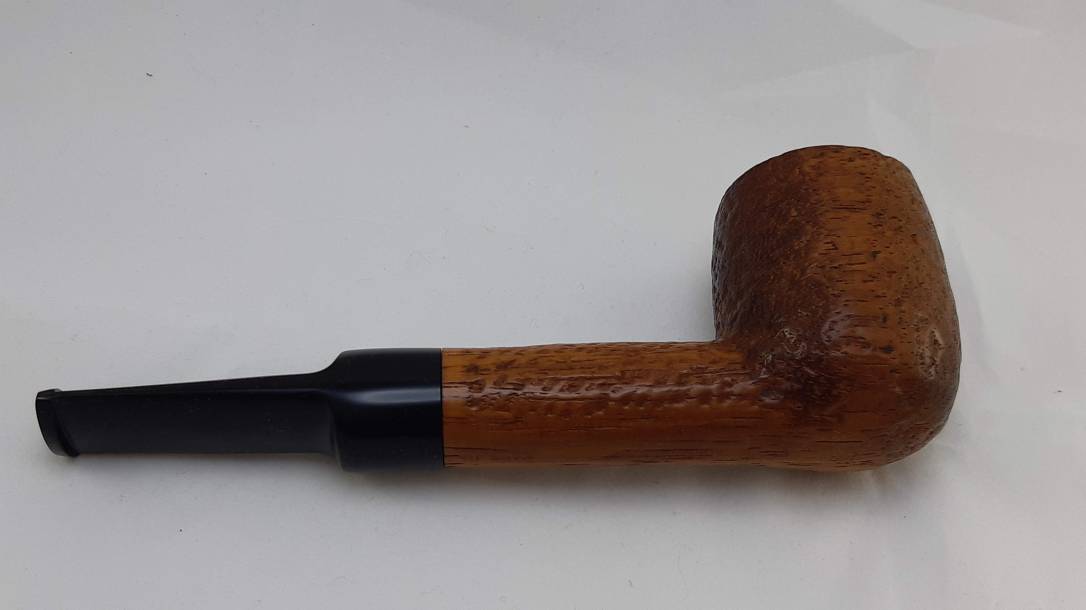
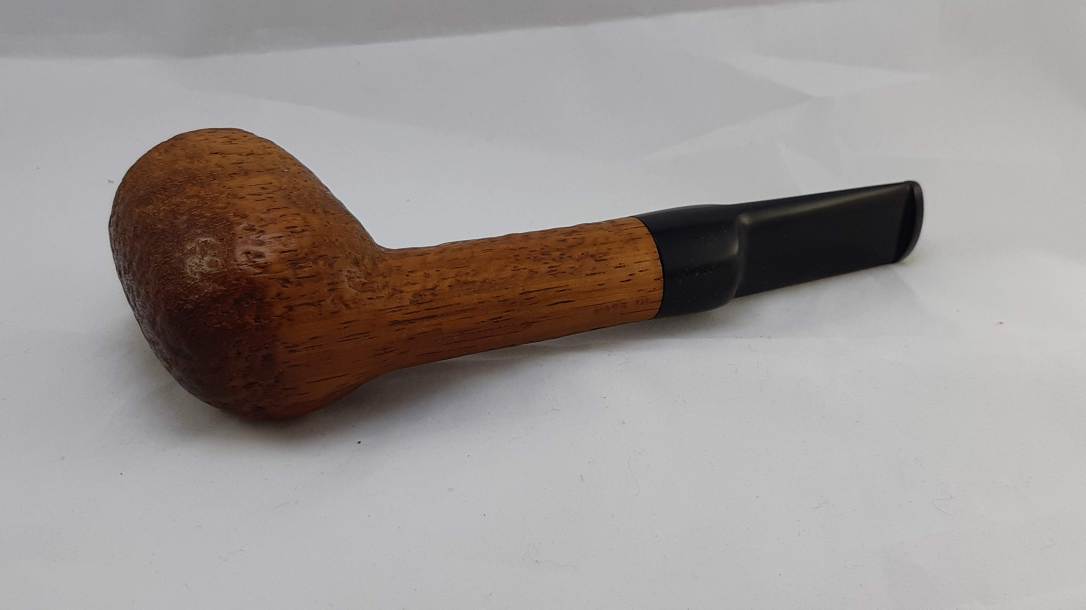
I received this extra large Billiard stummel in a box of pipes sent to me for repair by a pipe friend. I’ve called it a War Club in the post title as it is almost ridiculously oversized. The stemless stummel measures nearly 4 inches long from bowl to shank face, the shank is a whopping 3/4″ inch in diameter, and the bowl itself measures 2-1/4″ tall by 1-1/2″ wide. The tobacco chamber is equally capacious at 7/8″ round by 1-7/8″ deep. It’s a real bruiser of a pipe!
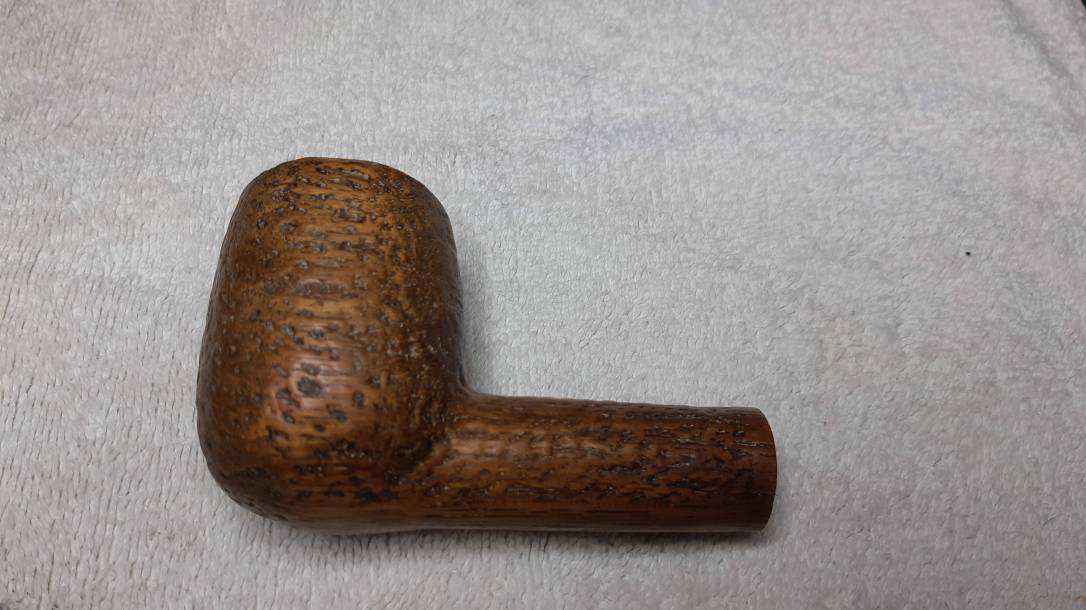
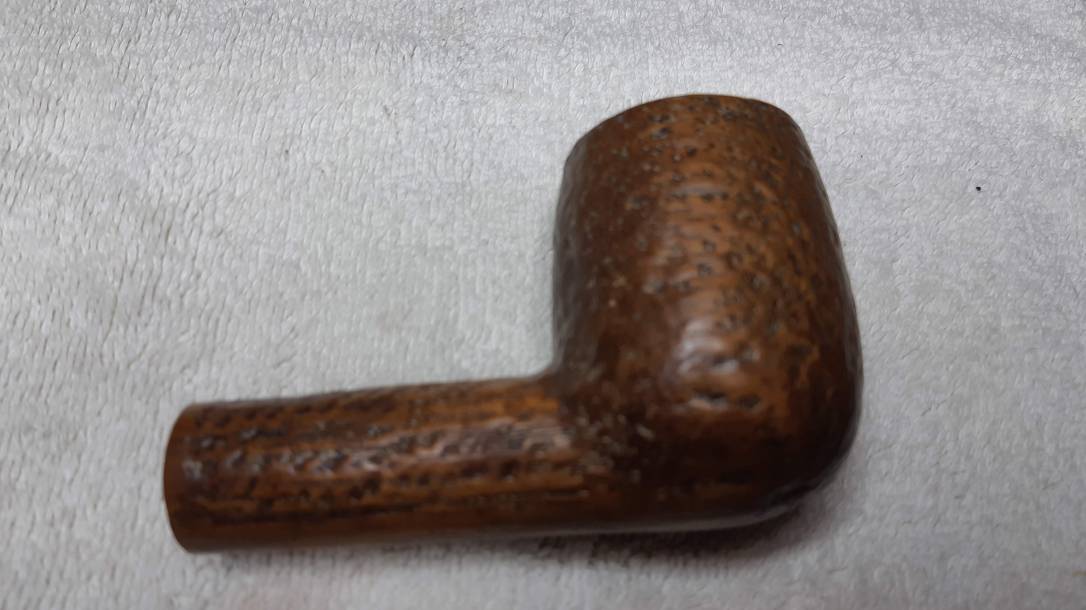
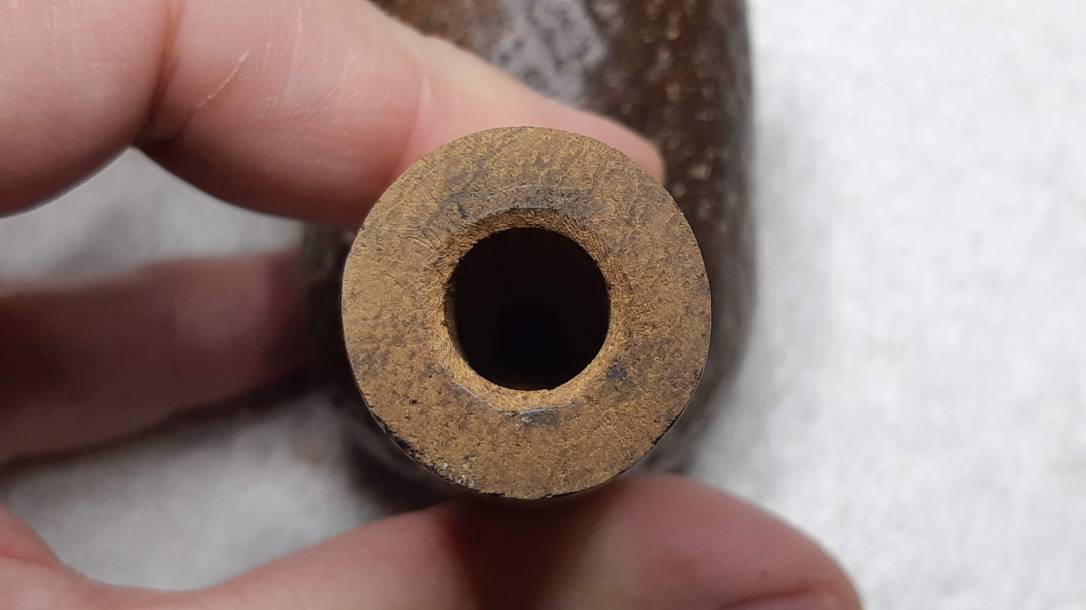
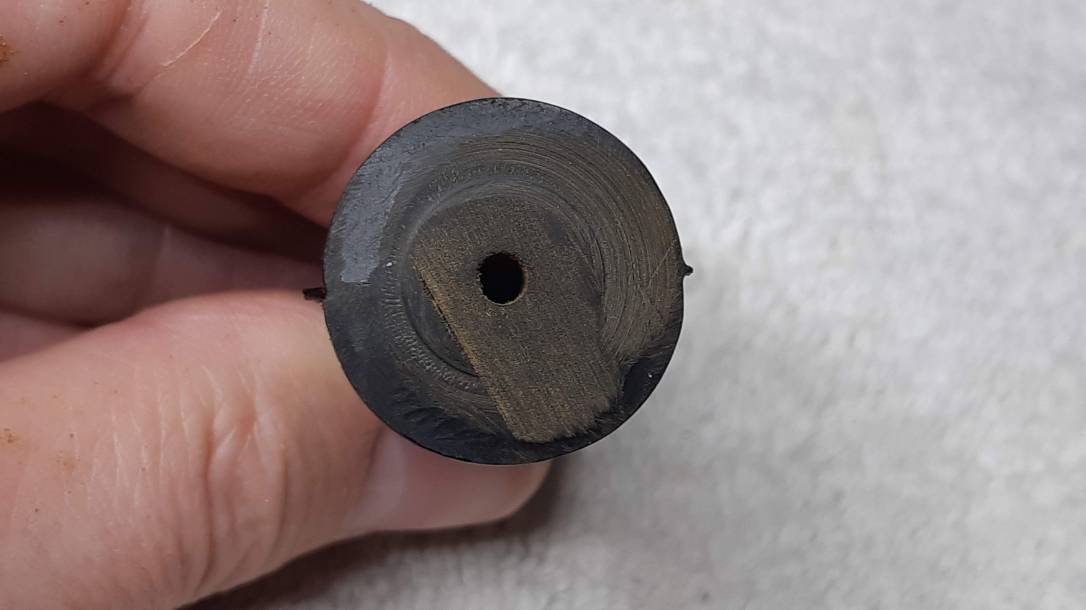
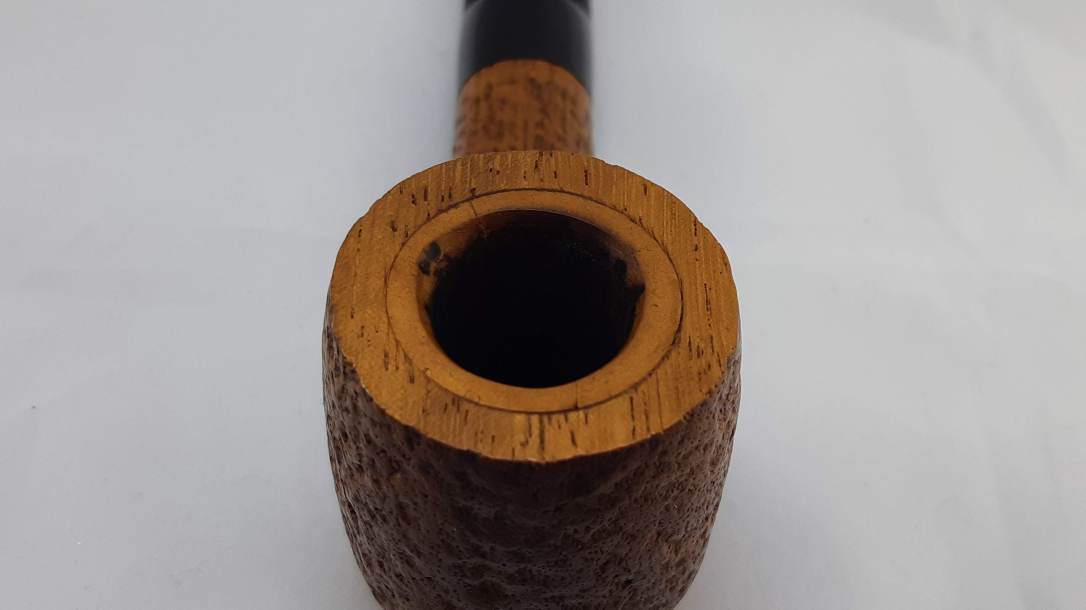
The stummel is not made of briar. I”m not sure what it is, but it has proven to be much softer than briar and relatively lightweight for all its size – mahogany perhaps? I suspect the wood would have been a poor choice for a pipe if the chamber hadn’t been fitted with a meerschaum liner.
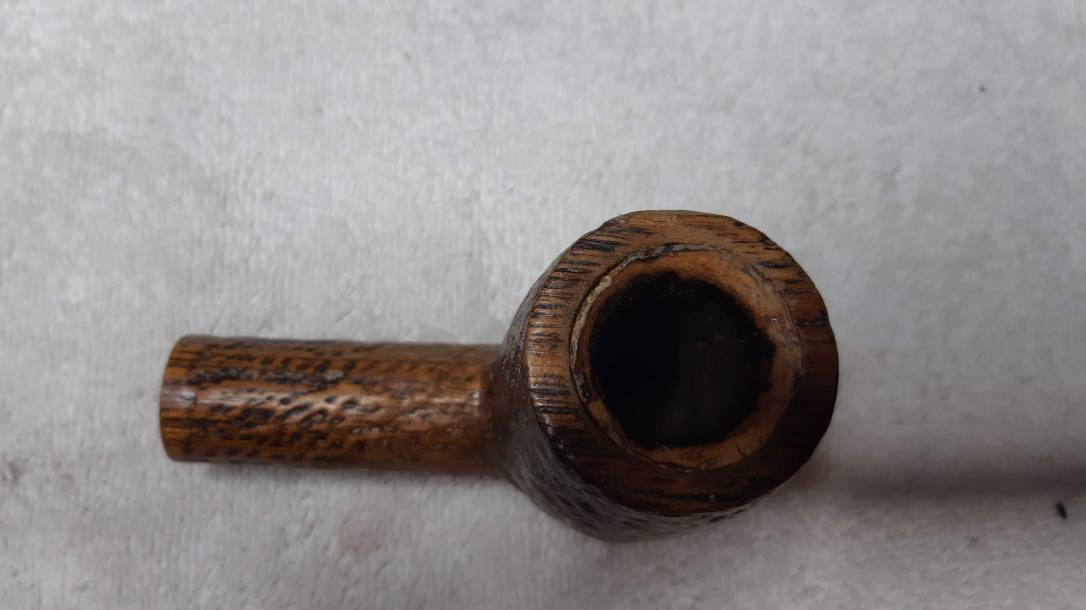
The rim of the bowl was quite a mess, showing many large dents, chips and damage to both the wood and the meer liner.

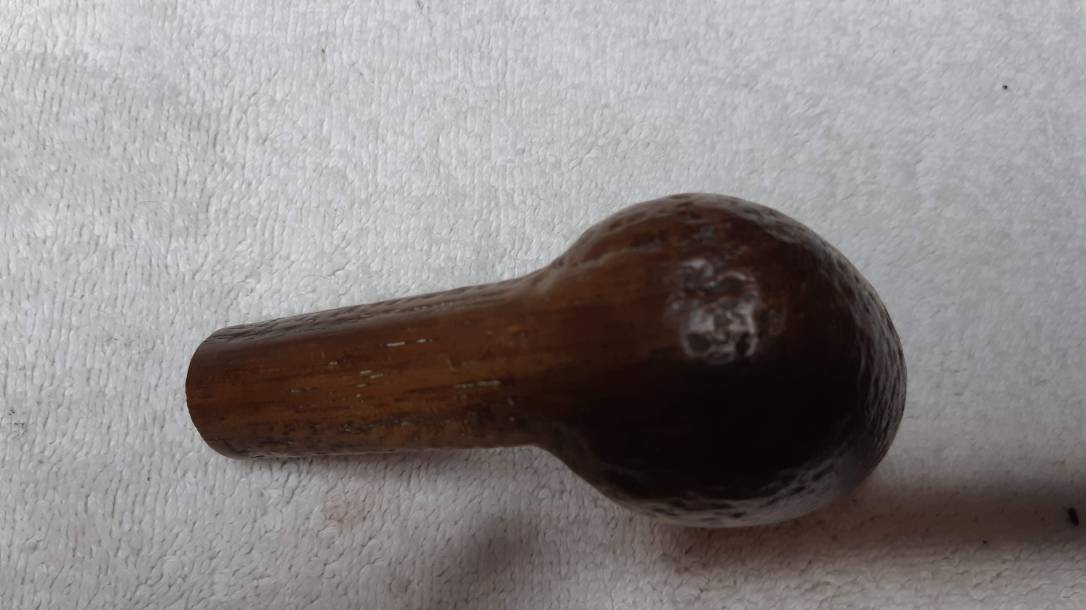
It took me a bit of time to decipher the remnants of the stamps on the underside of the shank. The area was free from rustication, but the large pores of the mystery wood cut through the markings.
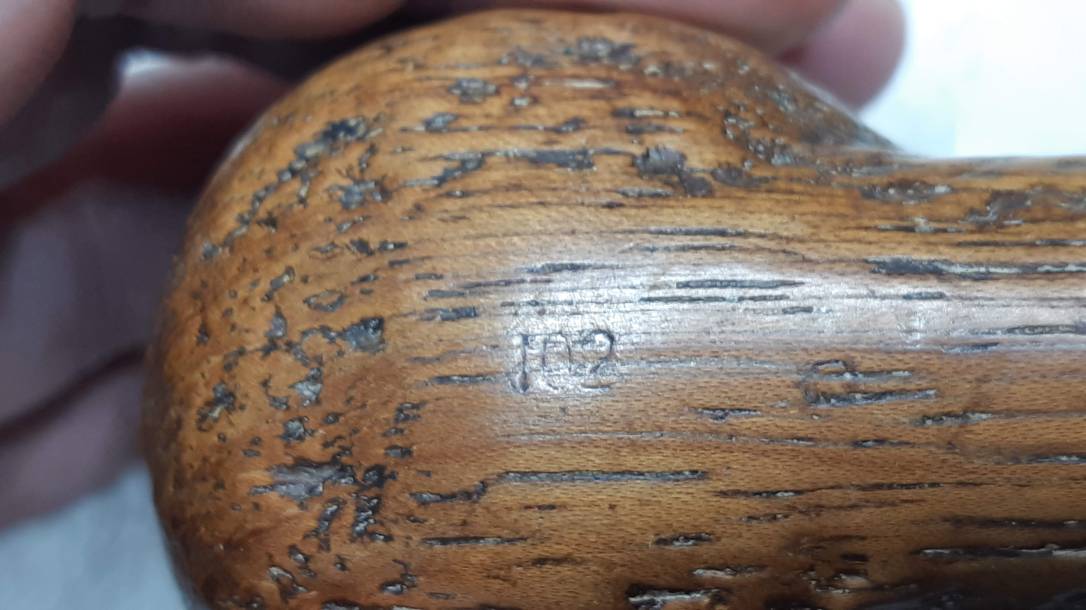
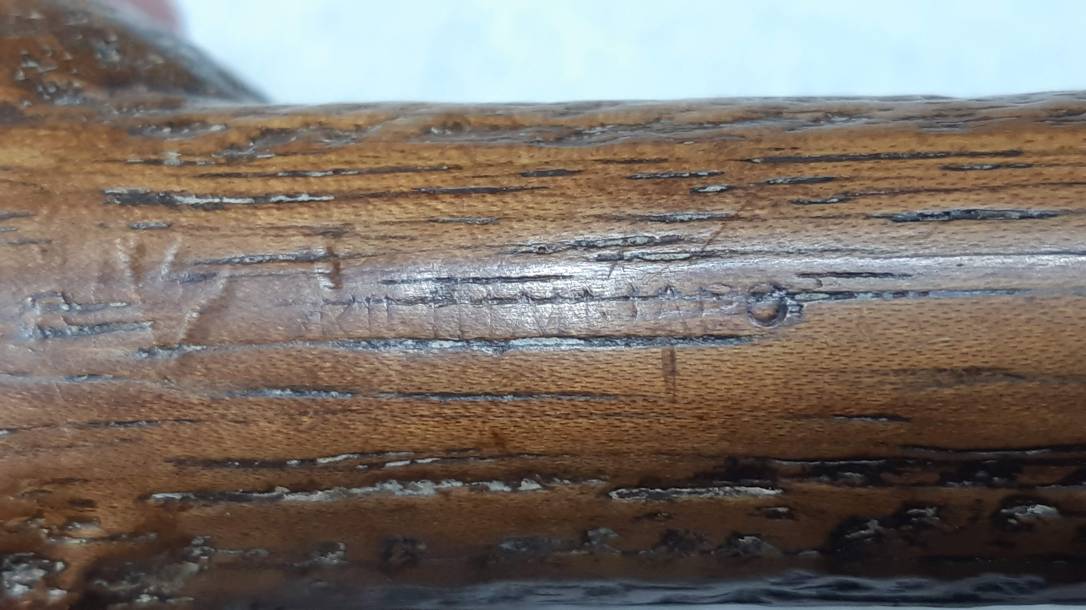
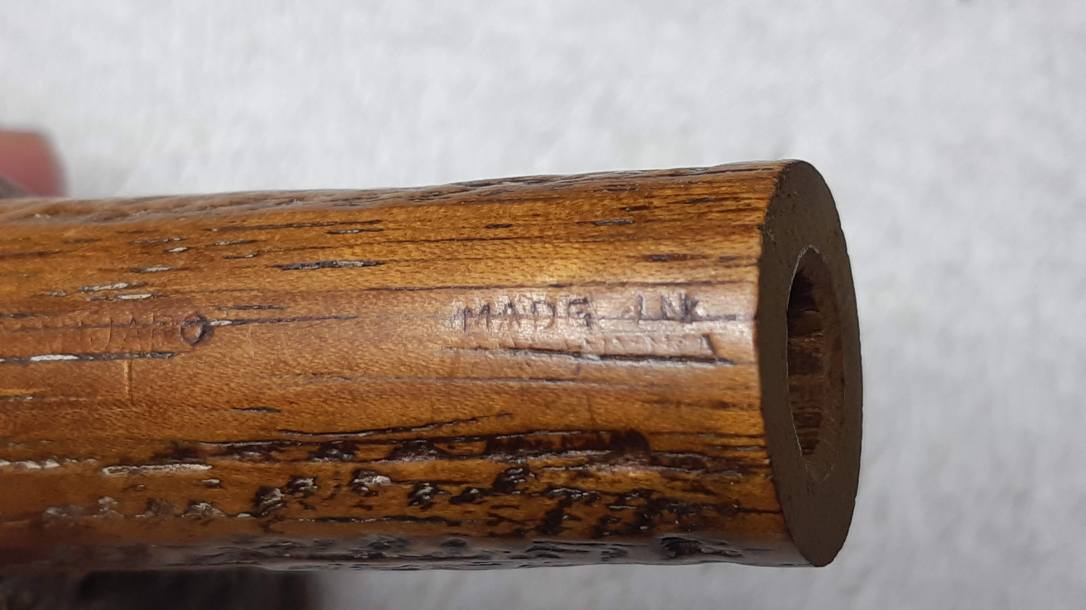
After a bit of spot-cleaning and close examination with a magnifying glass, I determined that the faded stamps read “102” (a shape number), followed by “Kilimanjaro” then “Made in Tanganyika”. Pipephil.eu identifies Kilimanjaro as a brand of the Tanganyika Meerschaum Corporation from Amboseli Pipes, who also made Kiko pipes and meerschaum pipes for GBD.
Now that I had some idea about the pipe on the table, I went hunting for a suitable stem. Not surprisingly, I didn’t have anything on hand large enough to fit this beast. In the end, I ordered in a few possibilities and eventually settled on a large round saddle bit.
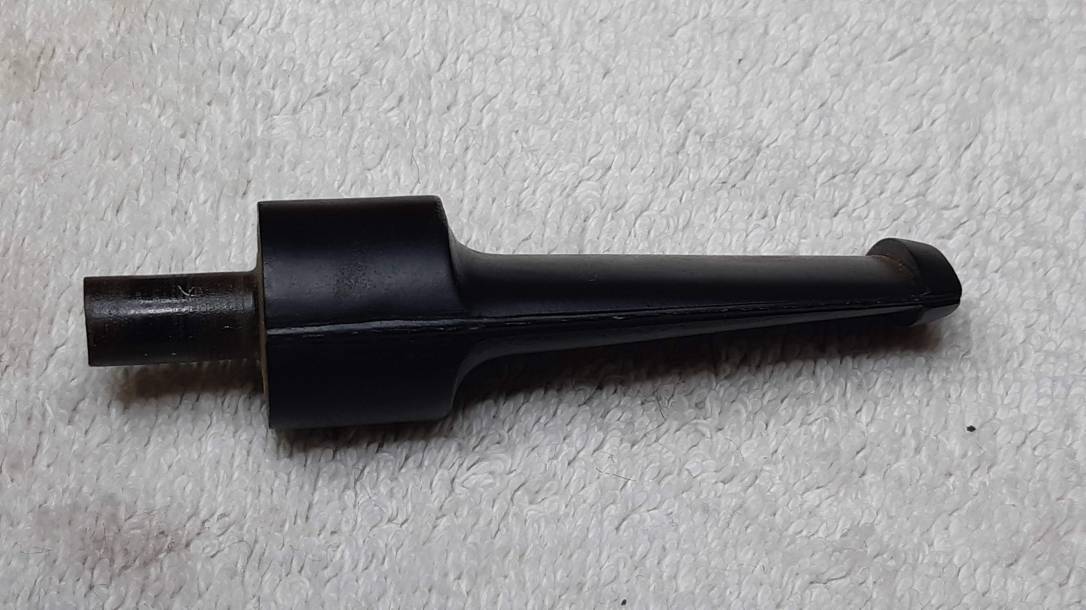
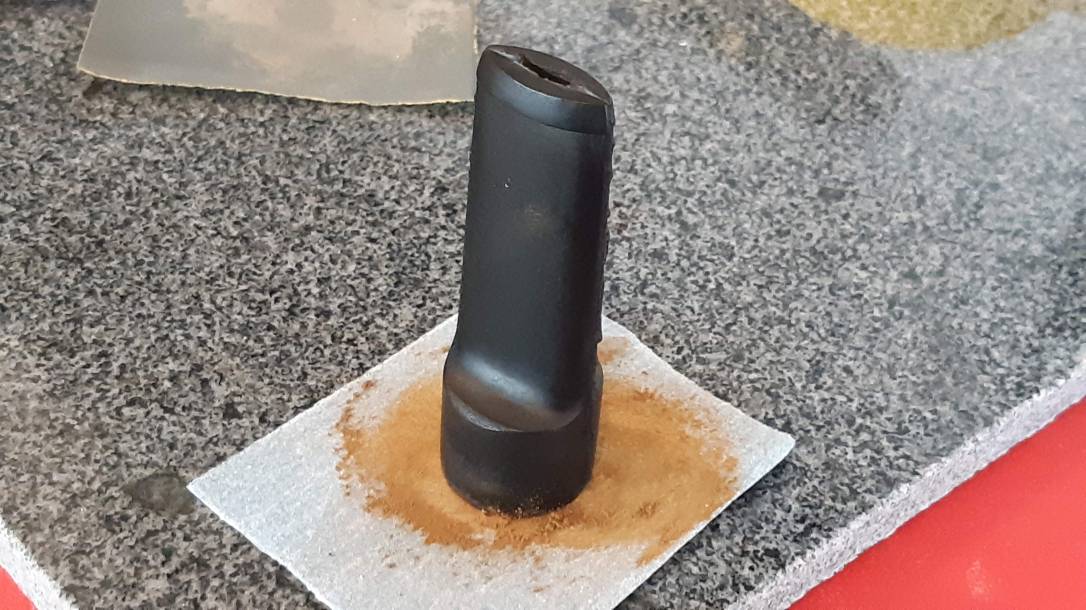
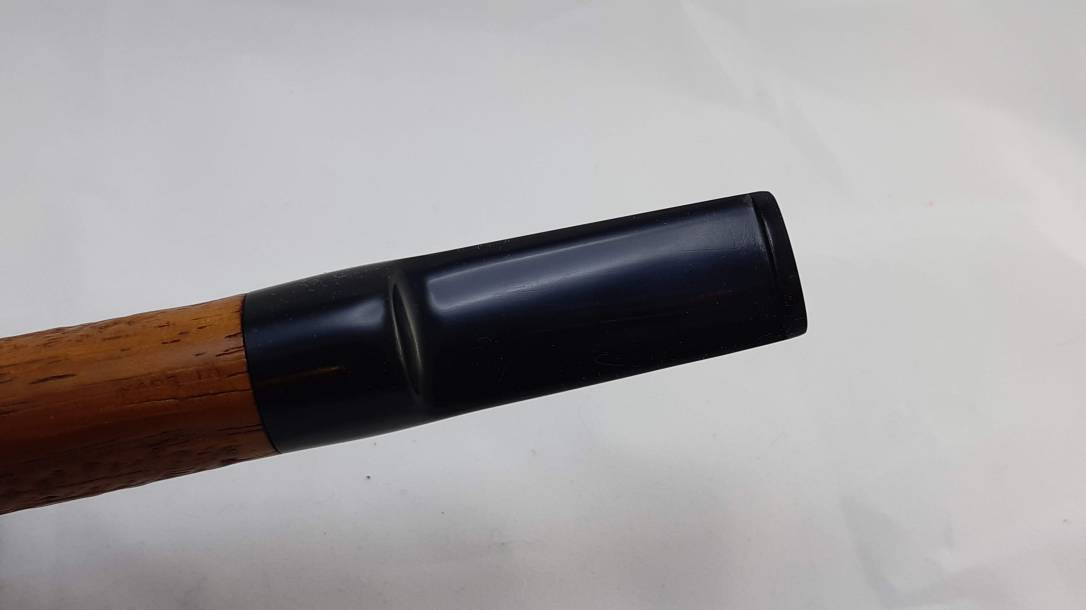
My first test fit of the stem revealed a lack of quality control when the stem blank was molded. It would not sit flush to the end of the shank face. This pic shows why – the stem was was very unevenly molded.
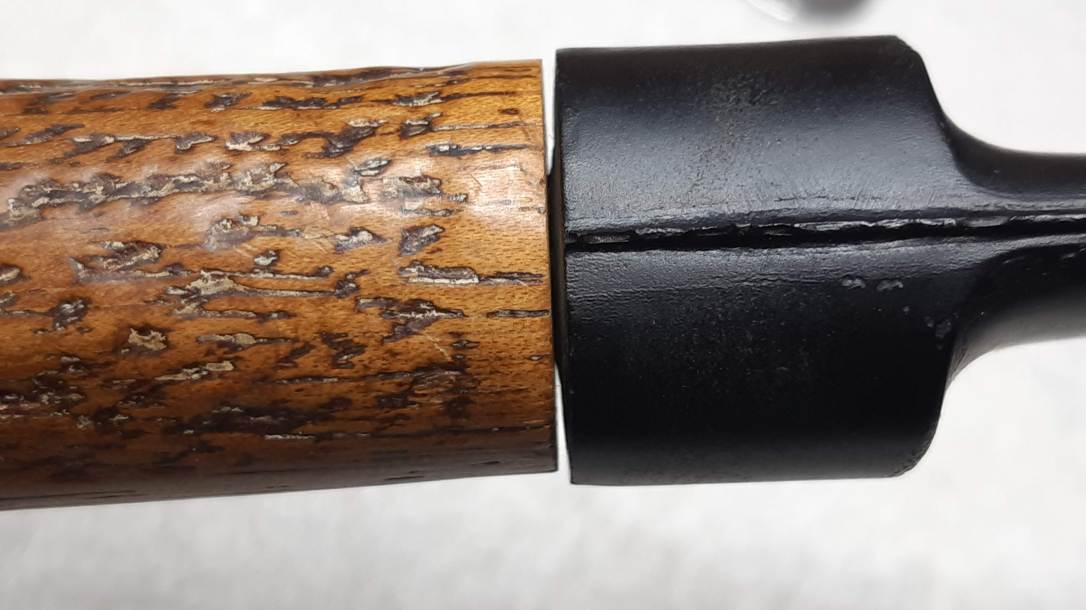
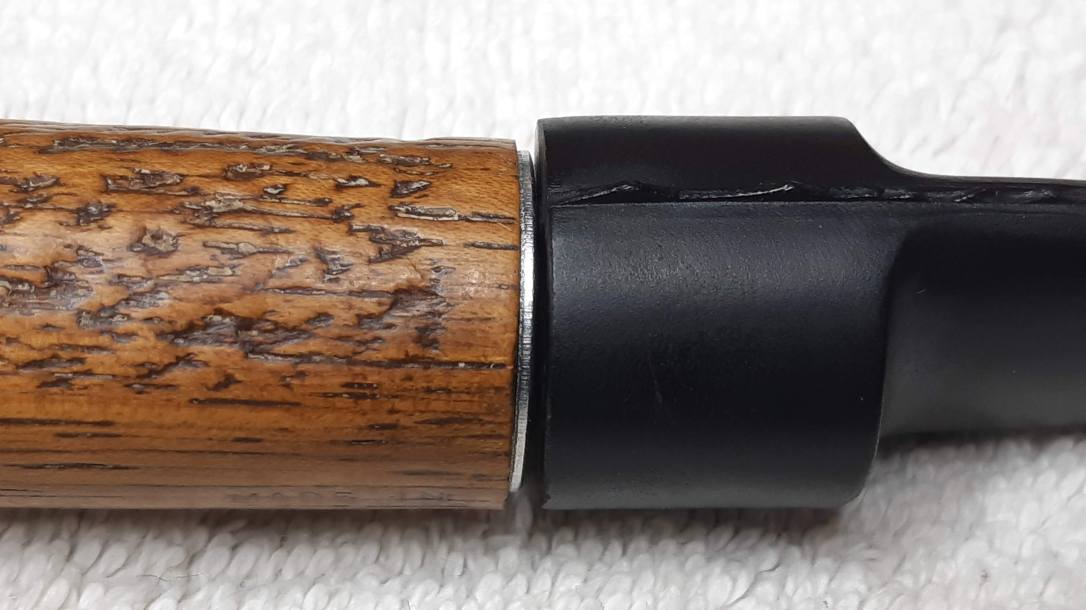
I used a quick test to make sure the problem was with the stem and not the shank. I assembled the pipe with a metal washer in between the pieces. The flat washer sat tight to the shank face but there was a noticeable gap between the washer and the stem face.
I can’t say that I was pleased with the extra work the wonky stem created for me on this project, but there was no way around it. To achieve a good fit between stem and shank I would have to flatten the stem face.
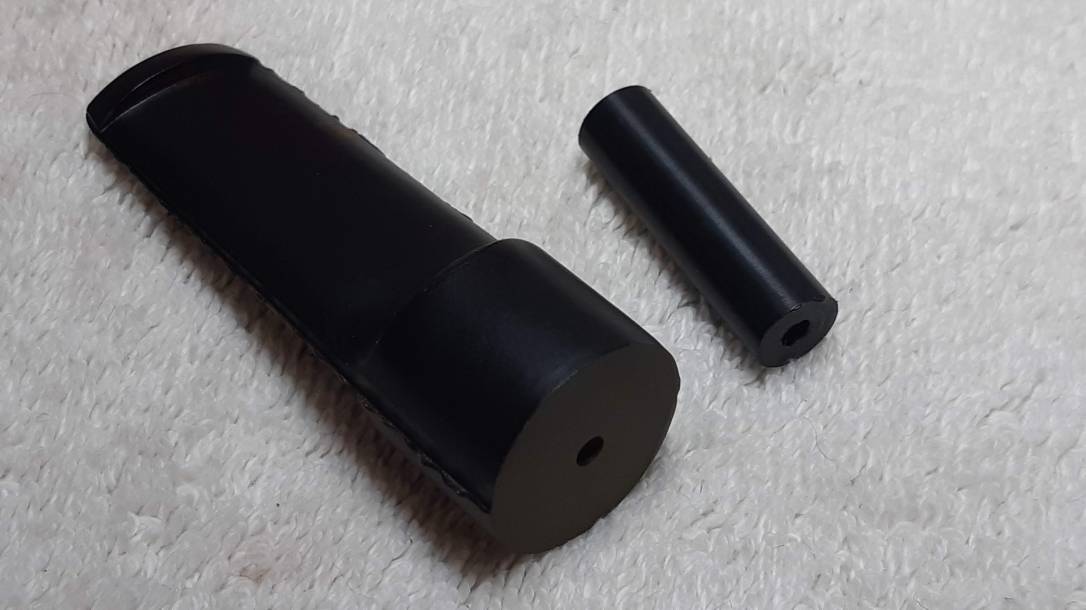
I started this task by cutting the pre-cast tenon off as close to the stem face as I could. Then it was a simple matter of some careful sanding on the topping board to smooth out both the saw marks and the offending molding marks. These pics show the process.
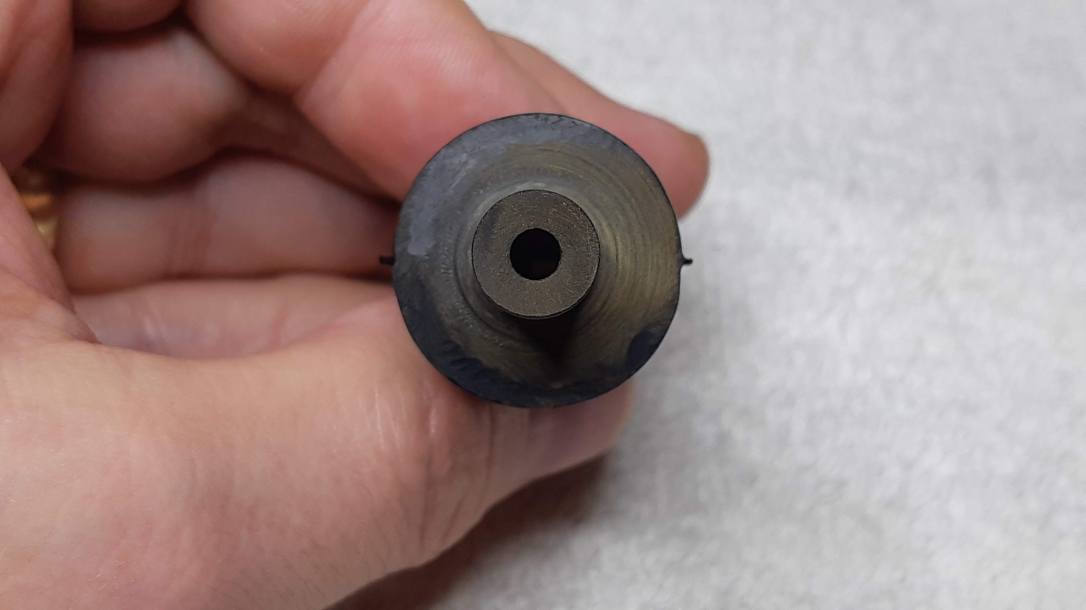
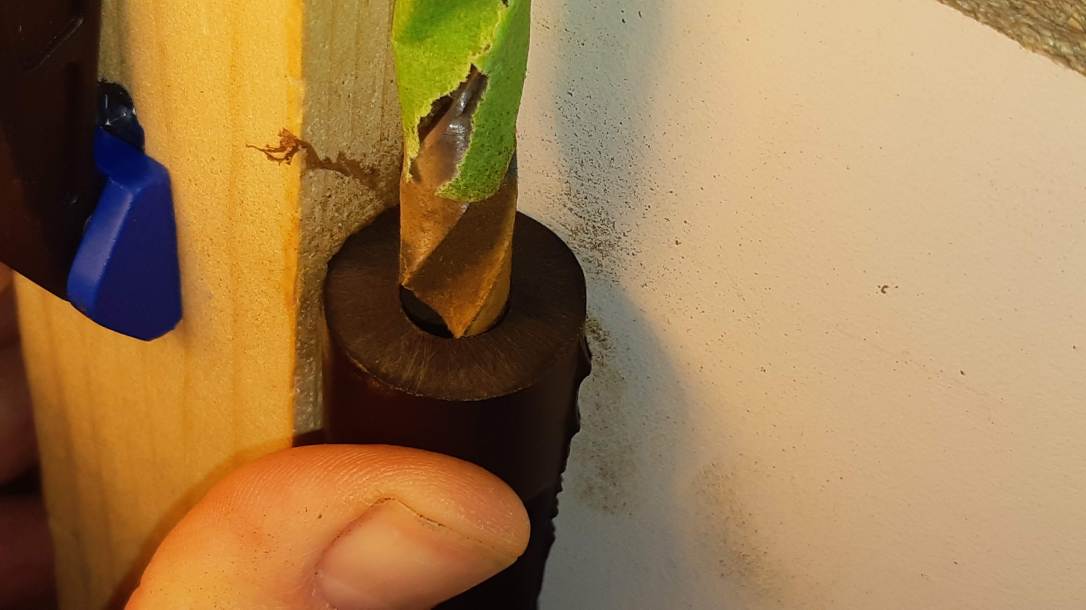
Now I had to make and install a replacement tenon. For this pipe I used a section of 3/8″ Delrin rod stock, first drilling a 1/8″ airway through the rod, then a slightly oversized mortise in the stem face. With the number of tenon replacements I’ve done over the last 6 months or so, I’m really hoping to add some improved tooling to the shop over the next year. Drilling freehand can get a bit nervewracking!
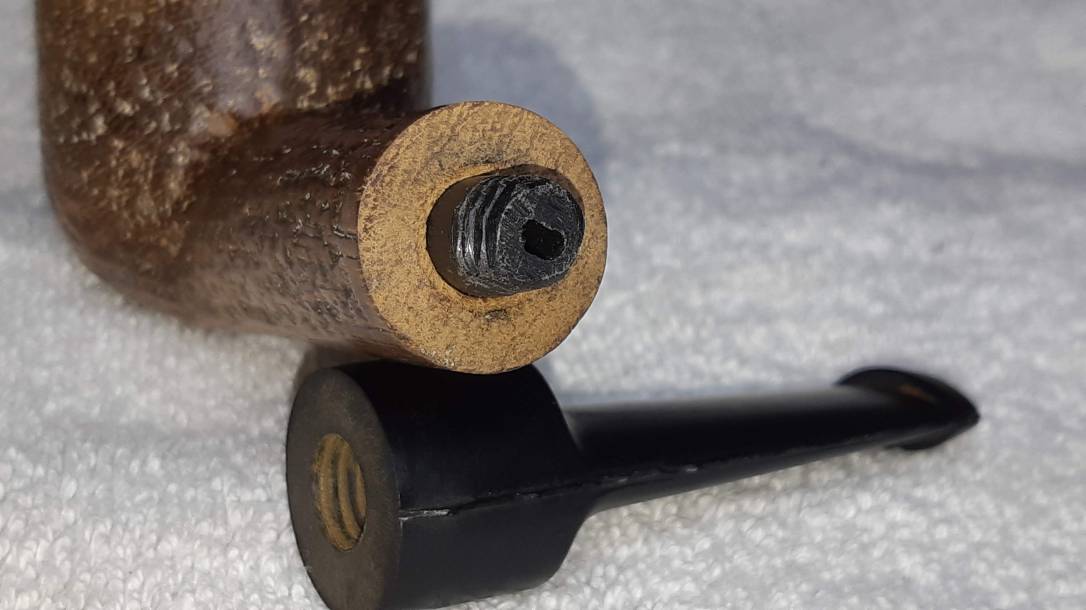
The next step in the process was to fit the new tenon to the shank mortise before gluing the tenon into the stem with a dab of epoxy. Note the threads cut into the stem end of the tenon and the inside of the stem mortise to give the epoxy a good grip on the slippery Delron. The slightly mangled look of the tenon is a result of filing and shaping to create a bit of wiggle room to centre the stem on the shank after applying the glue.
With the epoxy applied, I stood the stummel upright in my vise and slipped the stem into position. This let me use both hands to tweak the stem’s position. When I was happy with the geometry, I left the pipe in the vise overnight to give the epoxy time to cure.
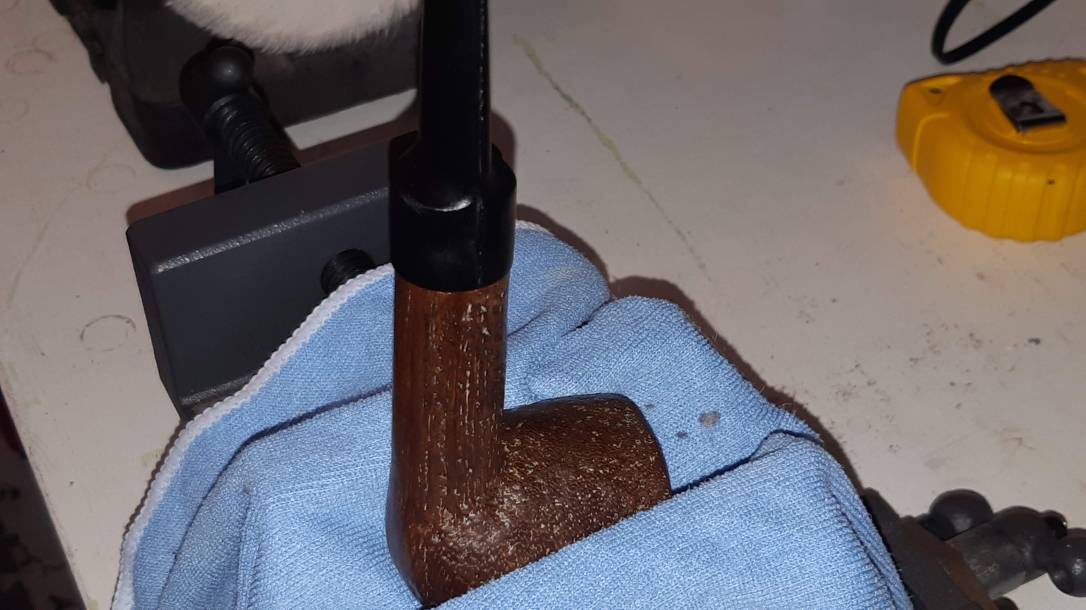
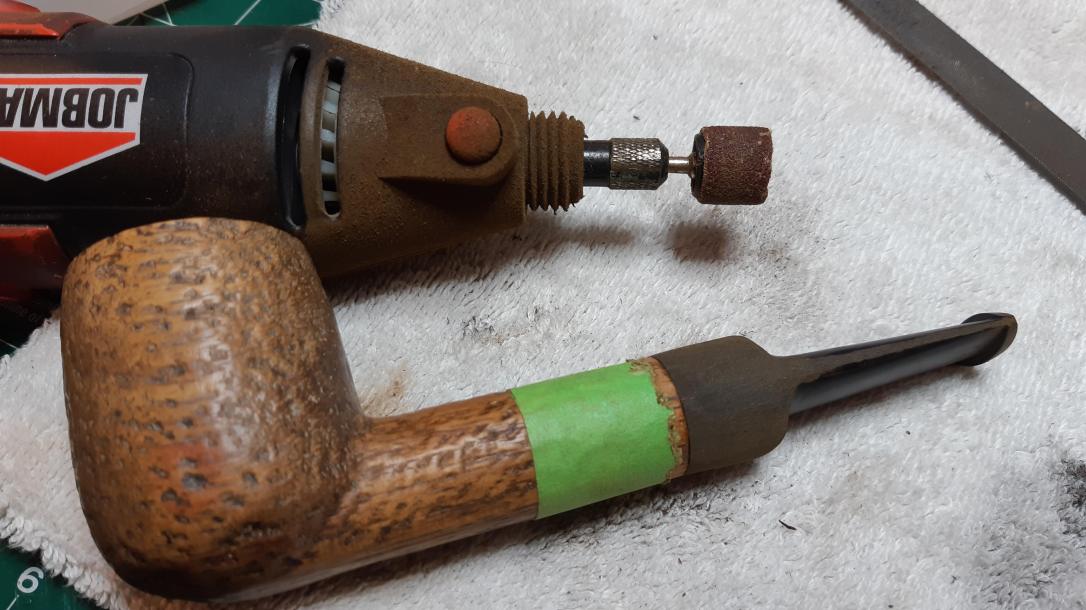
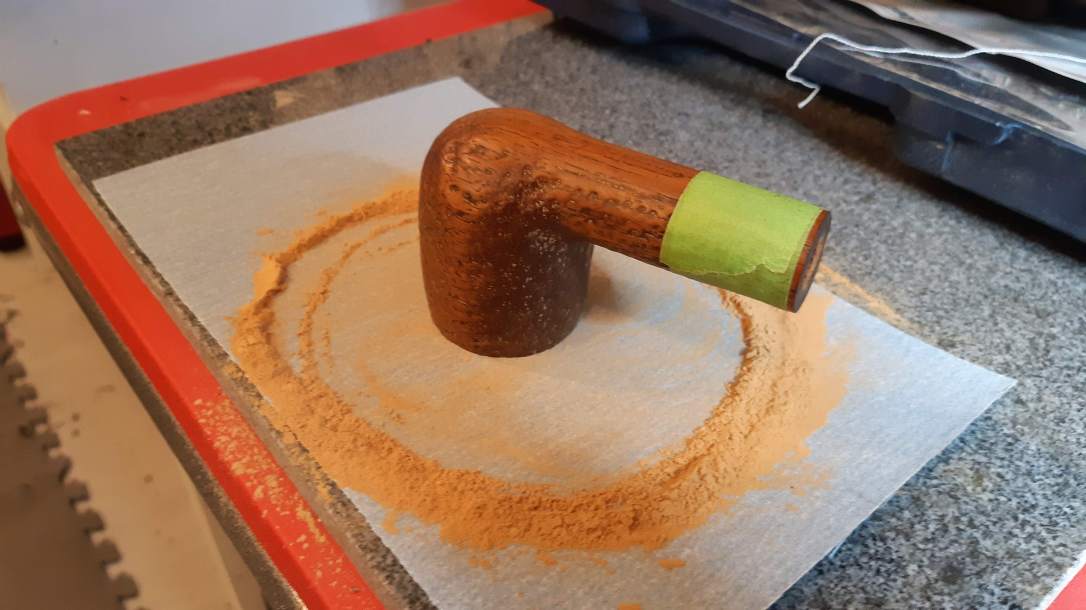
The following day I used my rotary tool and a sanding drum to quickly remove the majority of the excess vulcanite, bringing the diameter of the stem down to match that of the shank. Note the tape protecting what’s left of the stamps. I did the final shaping and smoothing of the stem blank by hand with files and various grits of sandpaper.
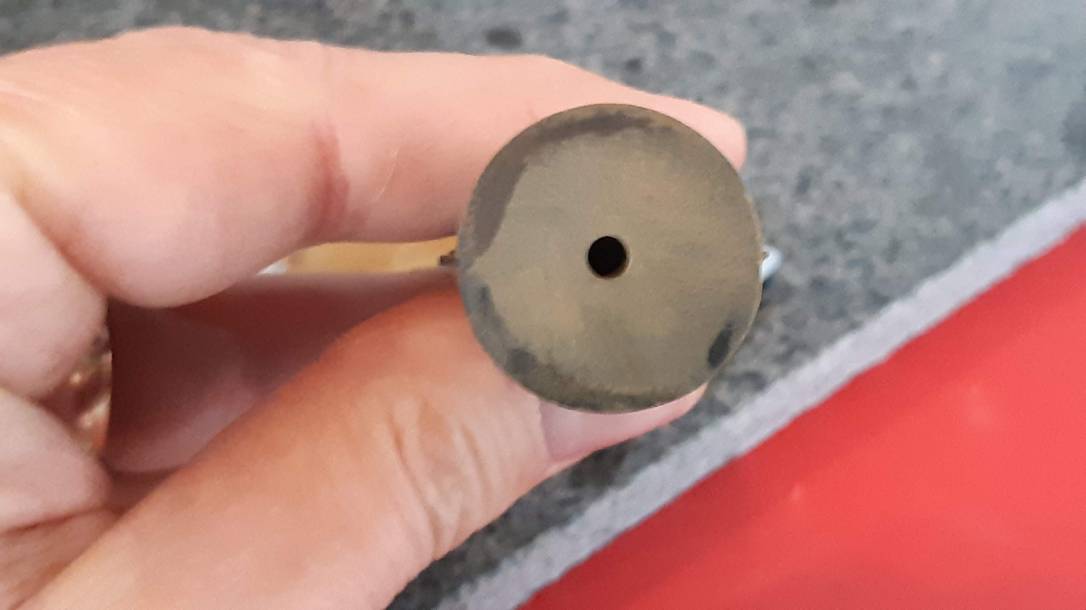
I took a break from vulcanite dust at this point and worked on the stummel for a bit. The internals were fairly clean, so it didn’t take much work to tidy things up there. The exterior was a different story – the rim needed serious attention.
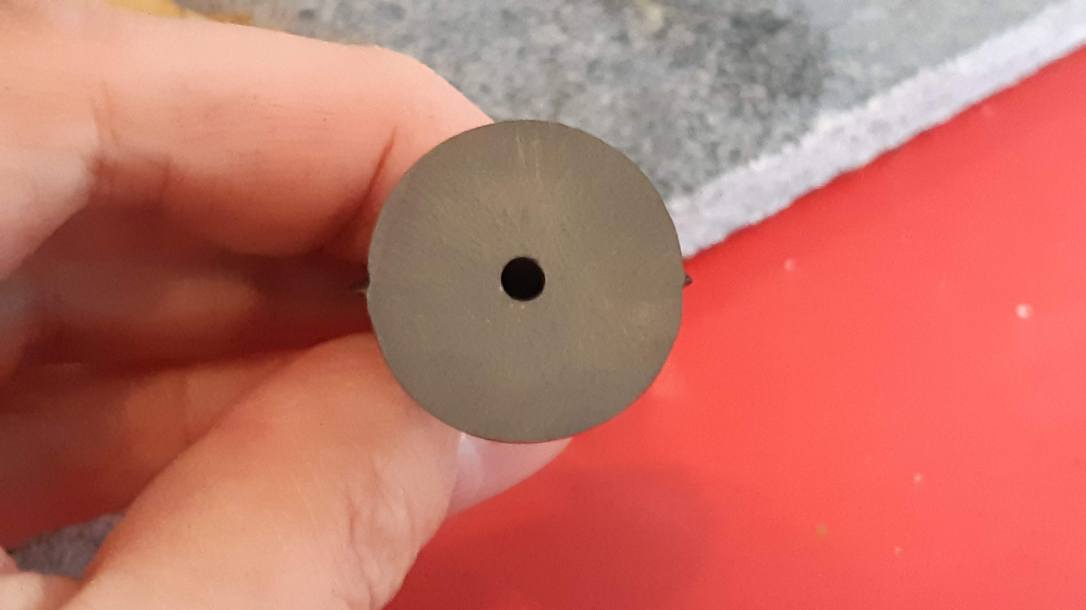
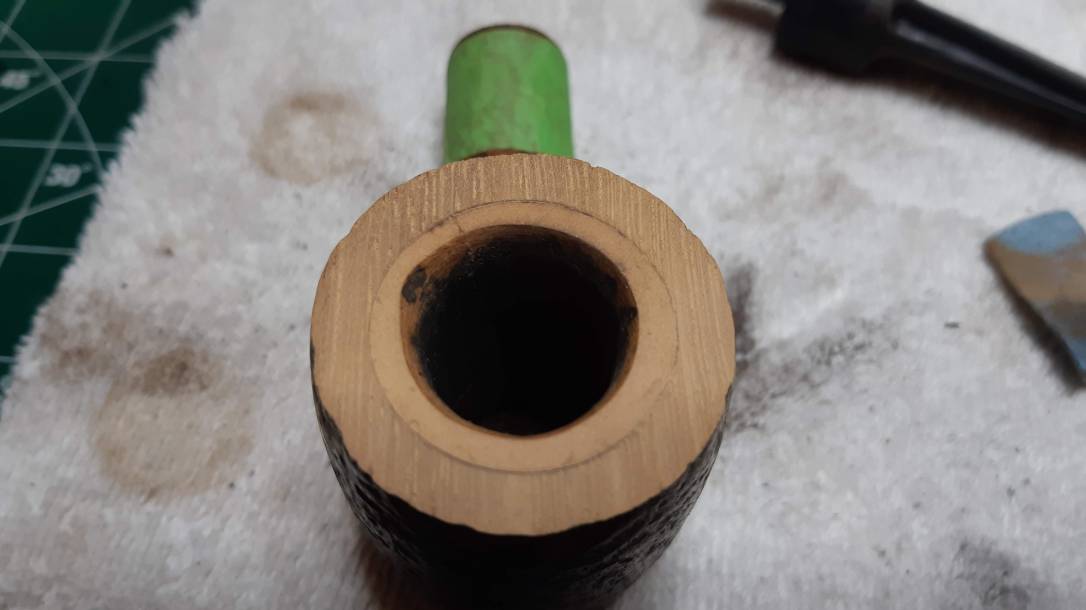
I decided to top the bowl to remove the many dents and dings and square off the meerschaum bowl liner at the same time. I removed nearly 1/8 of an inch of material on the topping board, more than I am normally comfortable sanding off, but in this case the stummel is so huge that the change in bowl height is unnoticeable. The revived rim, however, looks many times better than before the topping.

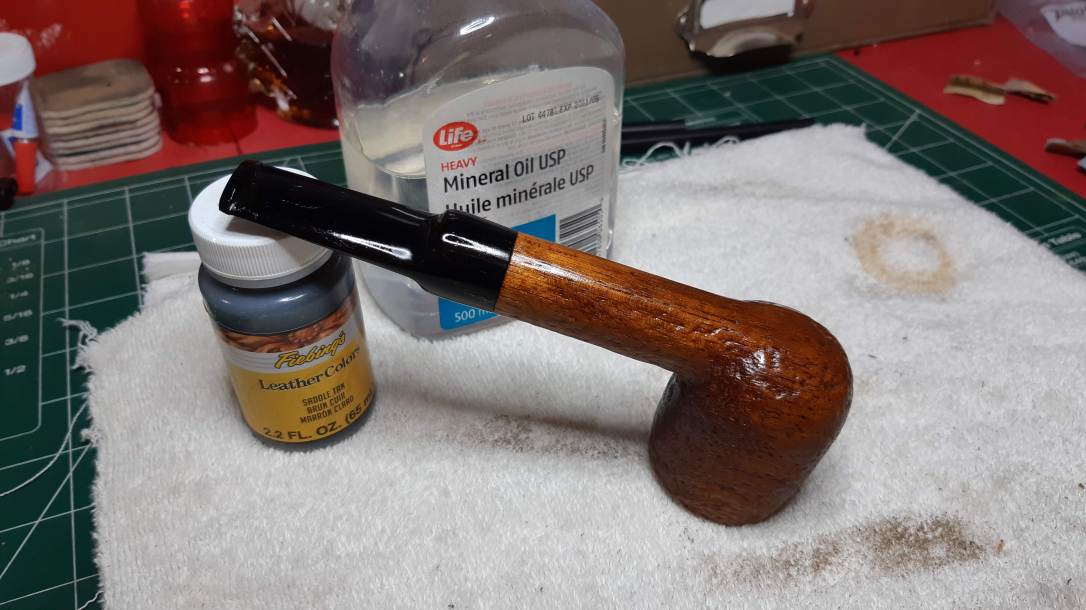
The rusticated finish was packed full of old wax, showing white against the darker wood. A scrub with Murphy’s Oil Soap and a toothbrush removed the wax as well as decades of dirt and grease from the exterior of the stummel. The cleaning also revealed a rather patchy finish, which I evened out again with a coat of Fiebing’s Saddle Tan leather dye. A wipe of mineral oil refreshed the wood and gave the stummel some shine.
Finally it was time to finish this project. I took the pipe to the buffer and gave stem and stummel a run on the wheel with White Diamond compound, lightly on the stummel and heavier on the stem to remove the last of the sanding scratches and bring up the shine.
I applied several coats of Carnauba wax to seal and protect the freshly restored pipe and then took some final pics.
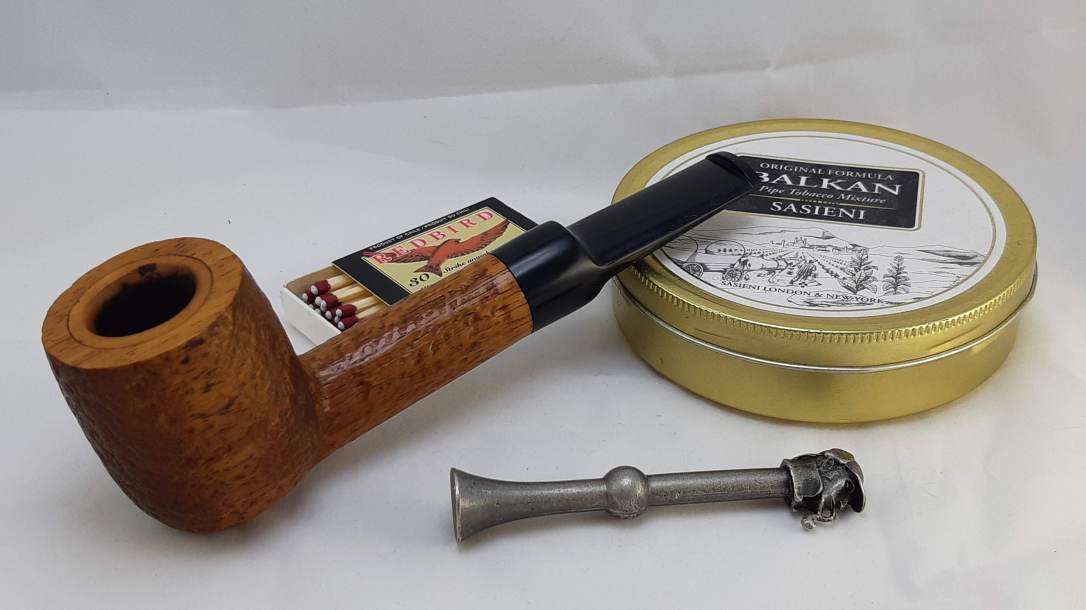
I’m quite happy with the finished pipe. Despite its rather rough original state, this giant meerschaum-lined billiard has shed a lot of its rough edges and is ready to enjoy a new life with its owner. I don’t think it will ever be considered an elegant pipe, but it will certainly appeal to fans of big pipes. Its African heritage also adds to its interest as a collectible.
Thanks for joining me for another restoration. Until next time, Happy Piping!
Here’s the finished pipe.


Nice redo! Do you suppose the bulk of the pipe was to keep the unusual wood used, cooler?
LikeLiked by 1 person
That’s a possibility, Ryan. Good question!
LikeLike
Nice job, Charles. The first picture of the shank base with the question what kind of wood it was, it looked like cork at first glance. I enjoyed the reconstruction of the stem and tenon – it was instructional!
LikeLiked by 1 person
Thanks Dal. I’m still not 100% sure what type of wood was used, but it’s not one of the usual briar alternatives (pear, olive, morta, etc). I’m hoping someone will chime in with an answer 😁
LikeLike
According to pipedia the Kilimanjaro and Kilimanjaro Giant lines were made of “East African pipewood”, whatever that means. I have a smooth Kilimanjaro bulldog, the color and grain of the wood are very similar to this pipe.
LikeLiked by 1 person
Thanks Johan! Not sure how I missed that. Now I wonder what “pipewood” is? 😁
LikeLike
No problem! I’m guessing pipewood is any suitable wood that was available locally 😄 Nice restoration btw!
LikeLiked by 1 person
You could be right! 😁 Thanks again.
LikeLike
Great piece of information, johan!
LikeLike
Nice work on an unusual pipe.
LikeLiked by 1 person