
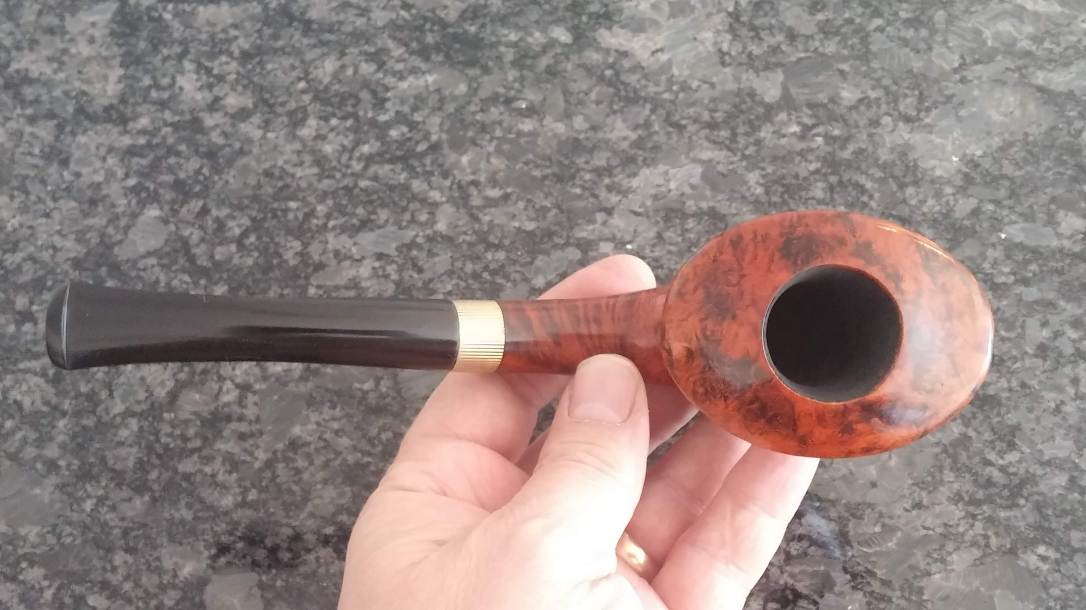
A collector friend recently dropped off a box of pipes for restoration, a real jumble of briar and meerschaum in various states of repair. Some need only a bit of “spit and polish” to bring them back to fighting form, and others need serious overhaul. This Butz-Choquin pipe fell somewhere in the middle of the spectrum.
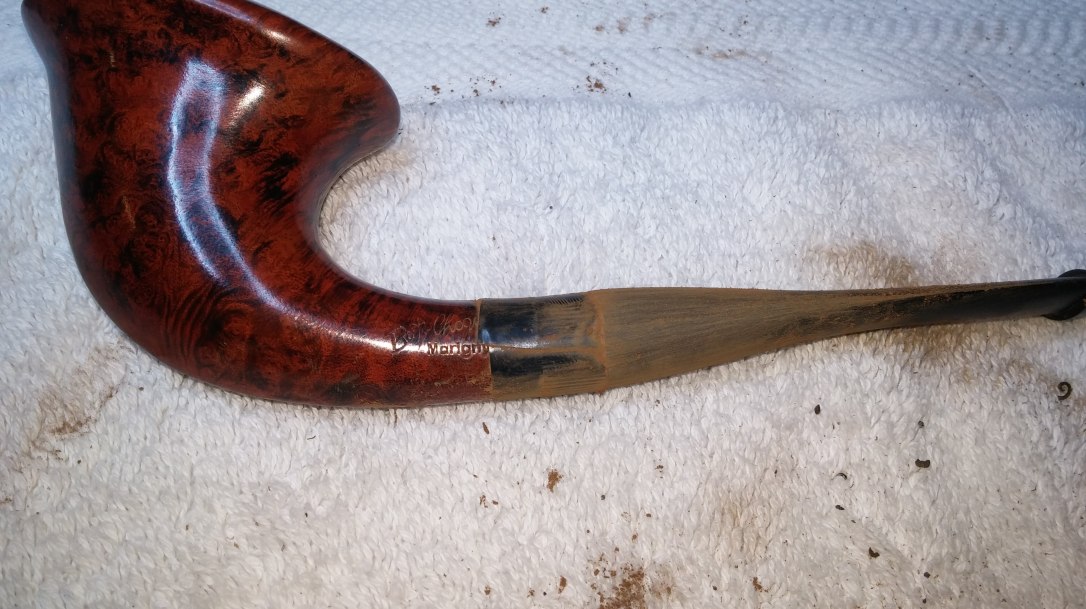
Some of you might argue my classification of this pipe’s condition, as it arrived on the worktable un-smoked, with a pristine, though dusty, factory bowl coating in the chamber. The exterior of the stummel needed a light cleaning, but was otherwise free of dents, dings and handling marks. The problem? No stem.
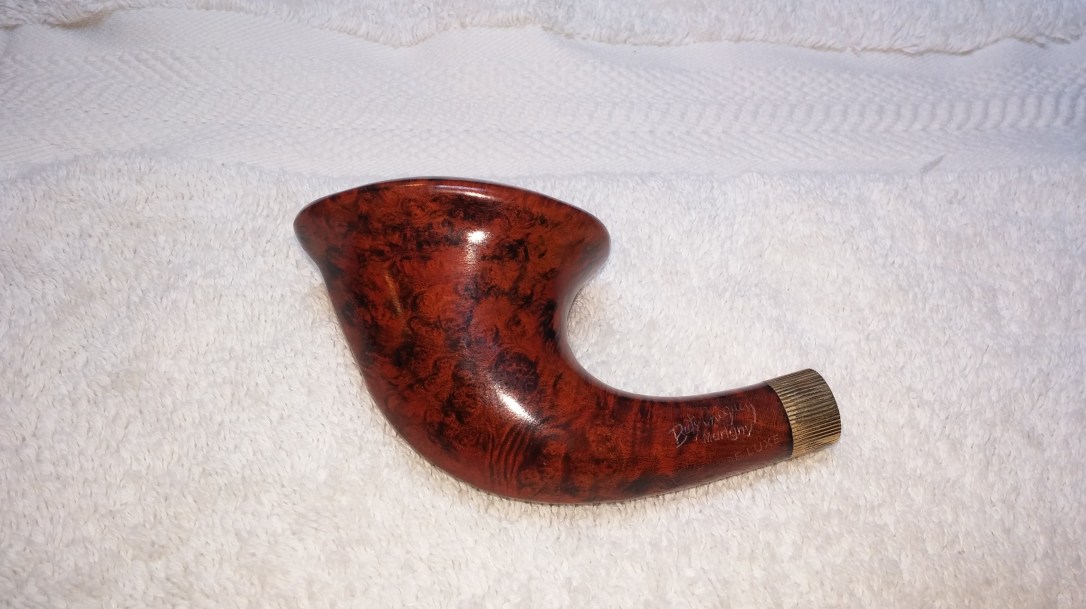
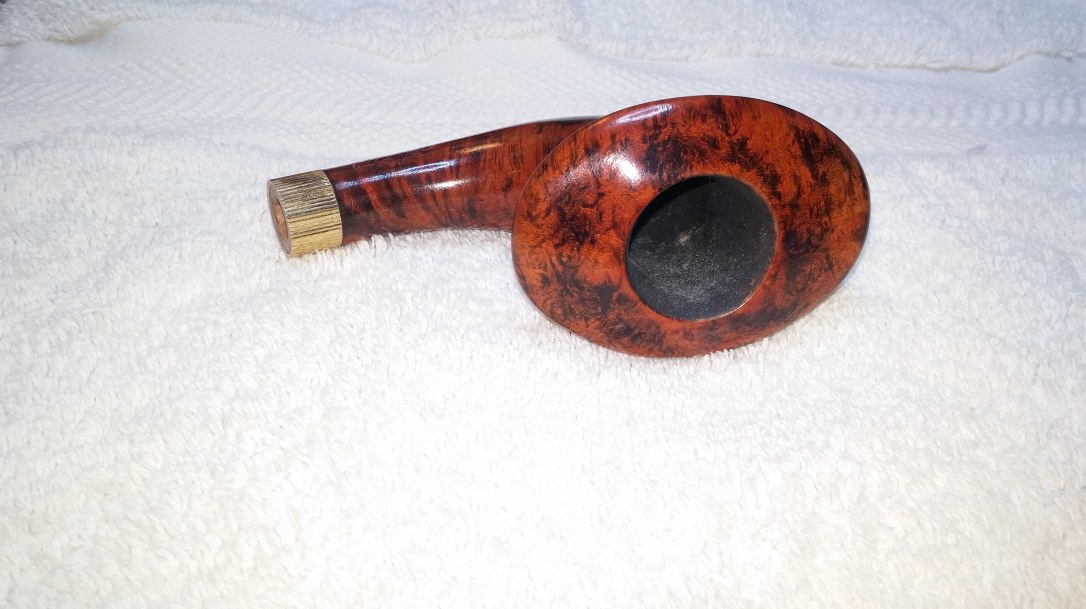
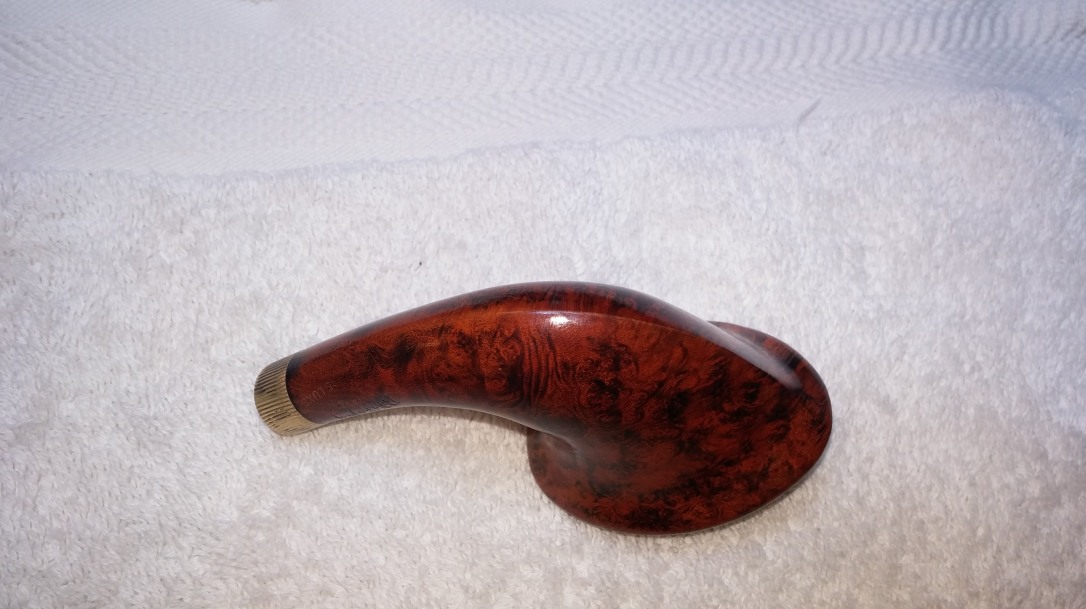
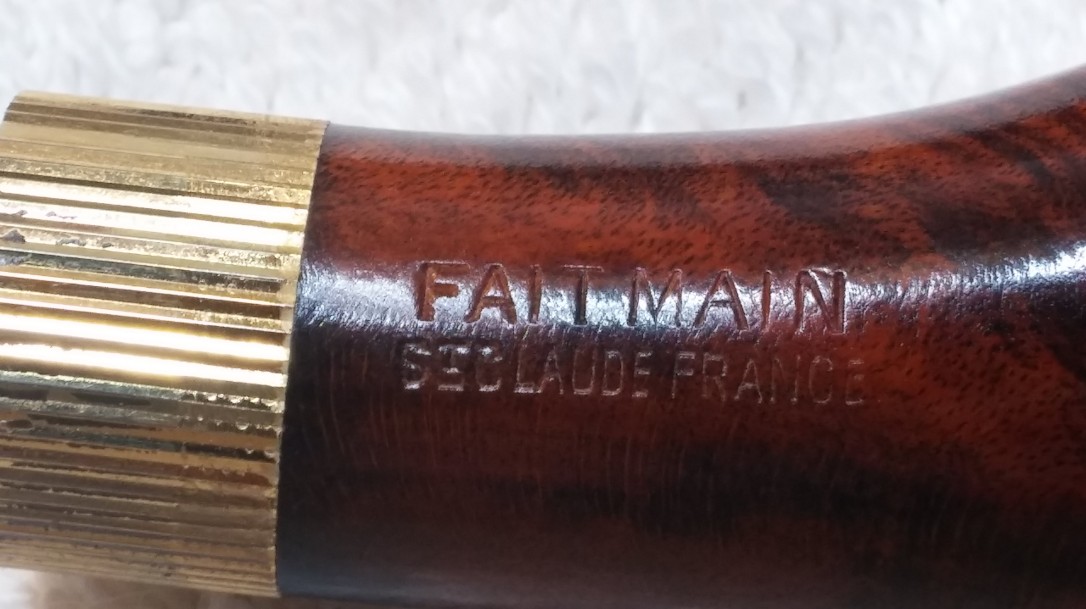
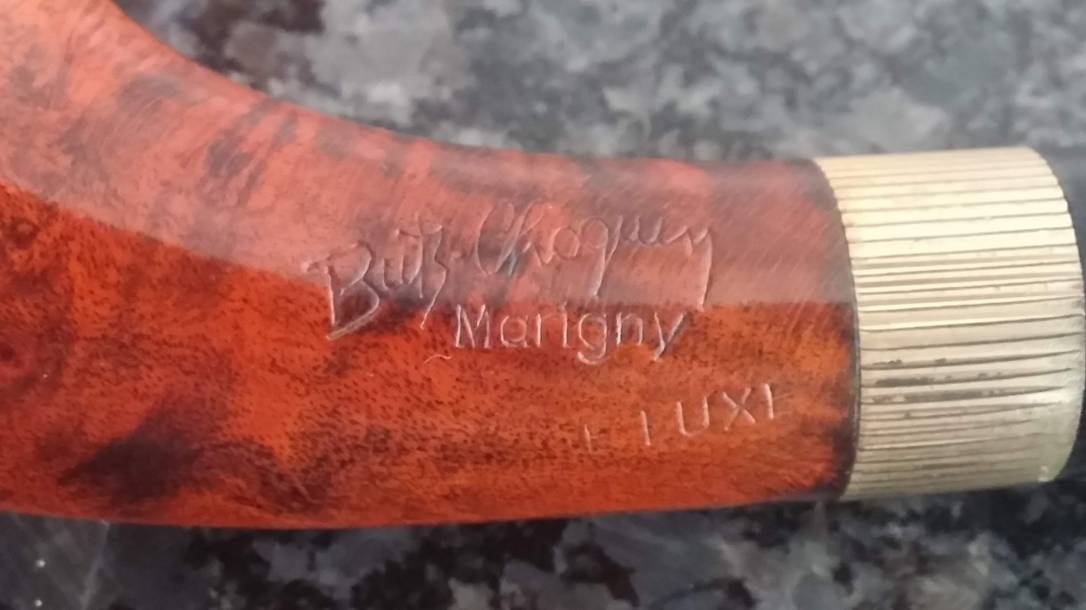
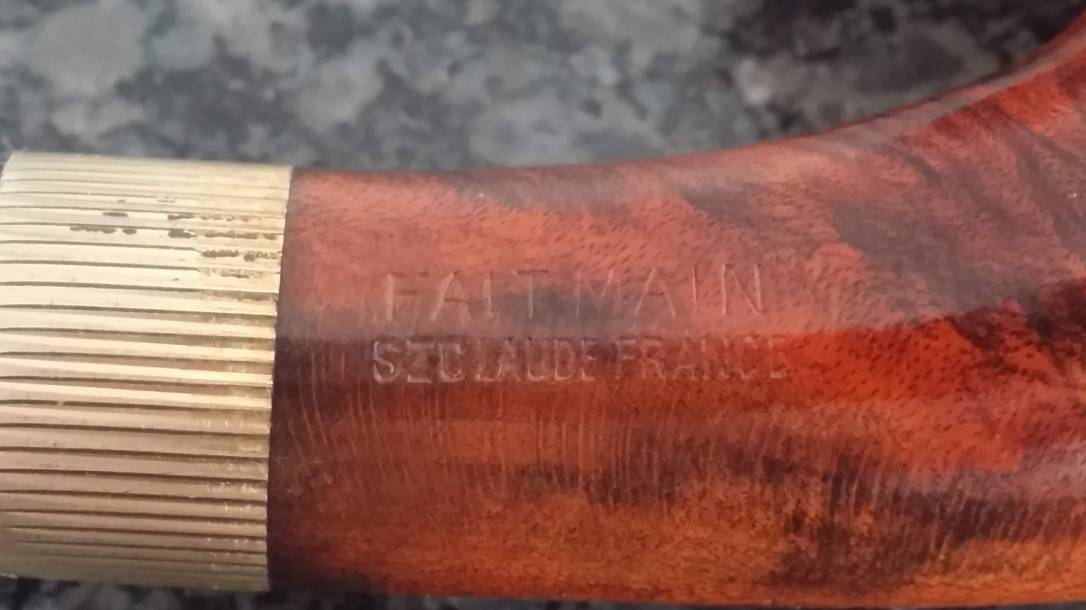
The pipe is stamped on the left flank with “Butz-Choquin” over “Marigny” over “Deluxe”, and “Fait Main” over “St Claude France” on the right flank.

Those of you who have fitted a replacement stem will perhaps understand why I classified this restoration as a mid-grade undertaking. For those who have not, allow me to explain my point of view.
To begin, it is vital to understand that, with the exception of a Missouri Meerschaum cob, there is no such thing as a factory replacement stem for any given pipe (a point I find myself making time and again, for some reason, with owners of vintage Dunhills in particular). Every stem requires a healthy amount of work, done by hand, to achieve the snug-but-not-too-tightly-fitting tenon, smooth flow from shank to button, and the deep glassy shine every pipe owner expects.
I have neither the equipment nor the specific skills needed to shape a stem from rod stock on a lathe, so I use what many other repairmen use: pre-cast Vulcanite (rubber) or Lucite (acrylic) stems, of which I maintain a basic inventory in common shapes and sizes. When I need an unusual stem, I order from one of several online suppliers, including Tim West at JHLowe.com and Steve Norse at VermontFreehand.com.
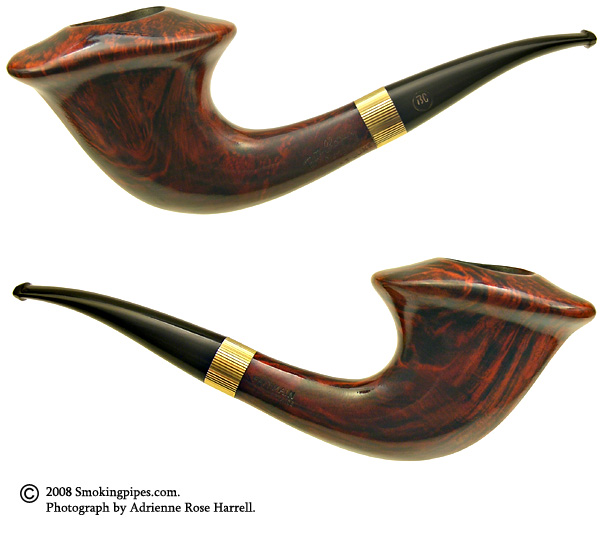
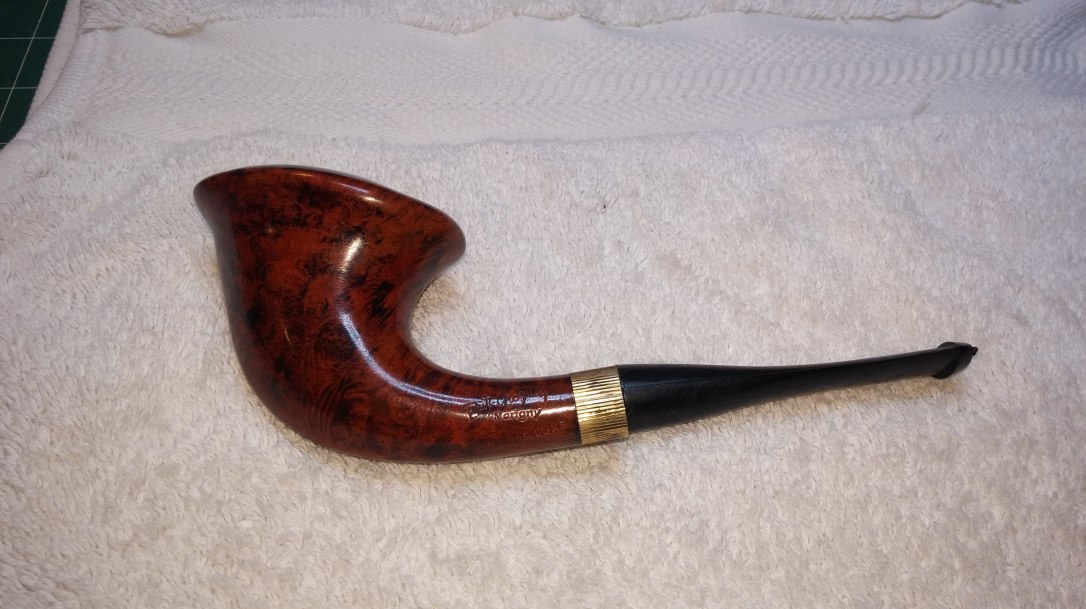
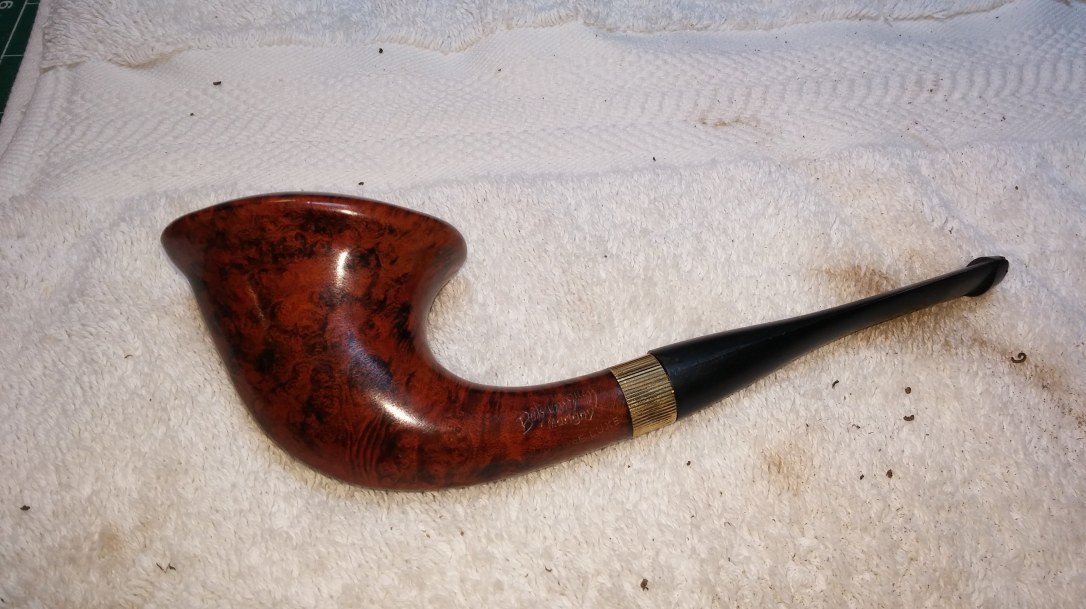
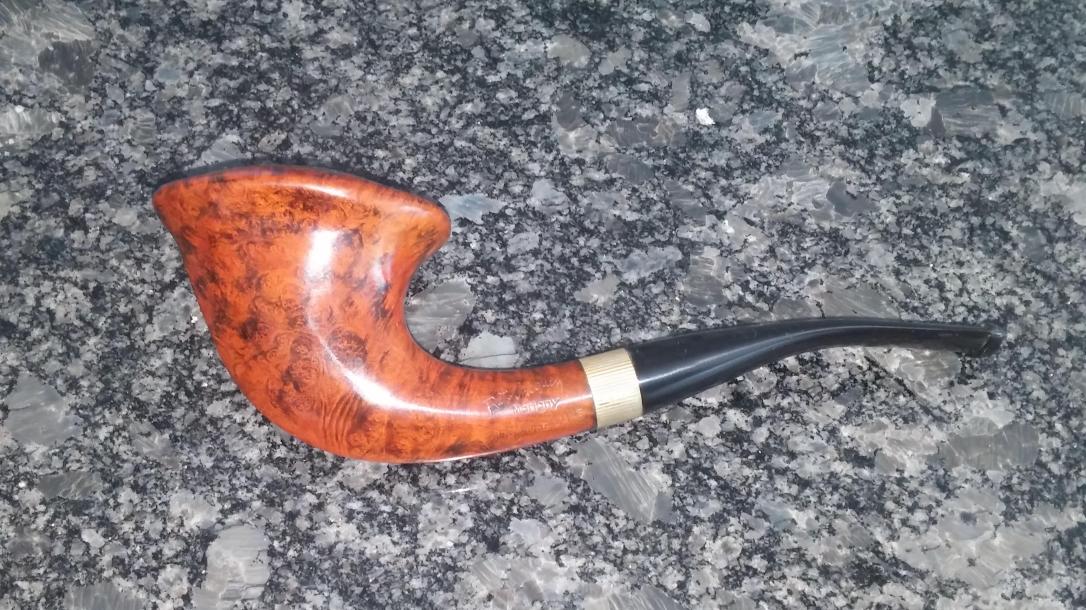
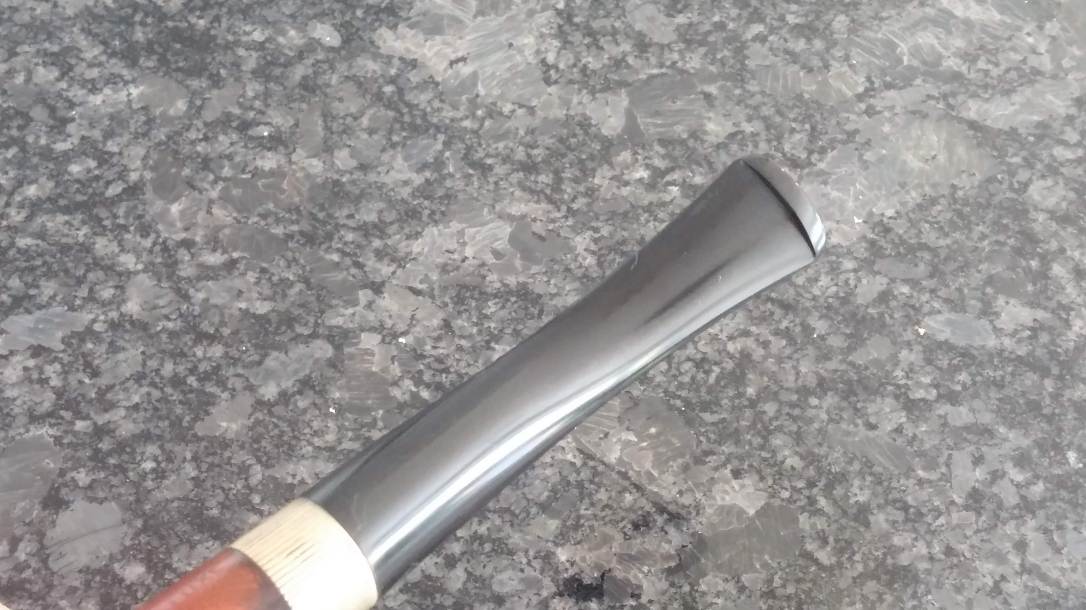
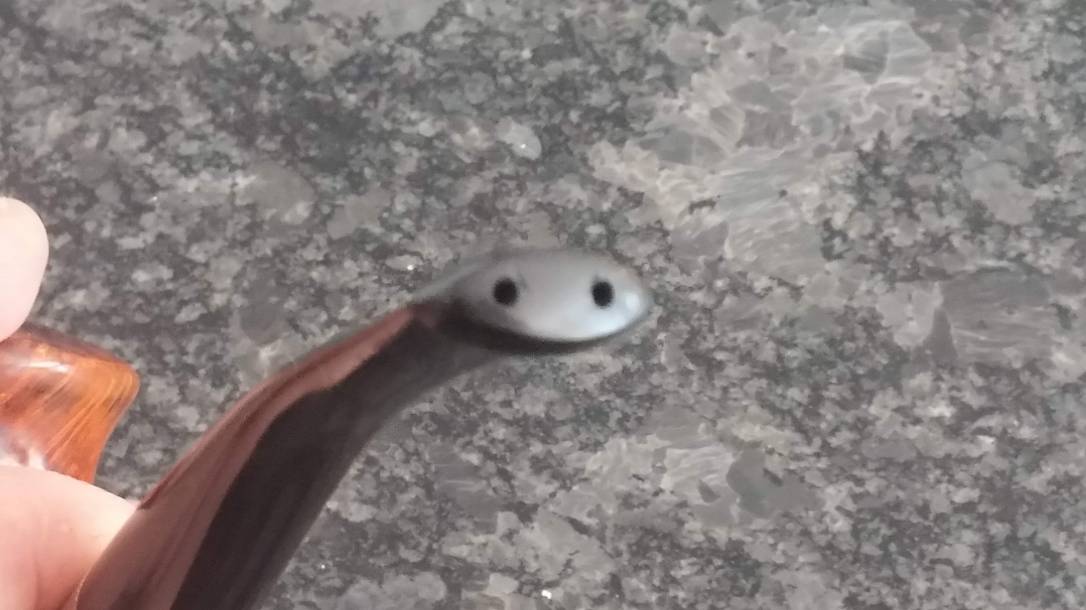
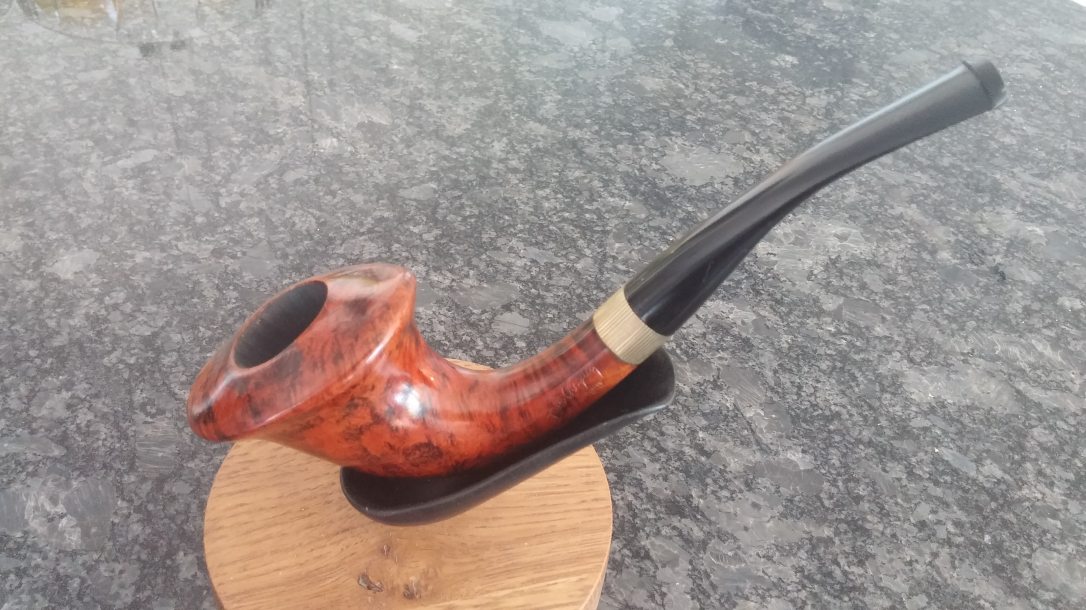
I usually use a small amount of basic “Google-Fu” to assist me in the selection of an appropriate replacement stem. I found an image of a complete Butz-Choquim Marigny Deluxe after a quick online search. Digging through my stock of stem blanks, I selected a stem of similar style, length and girth. Here is the complete factory pipe, and a couple of pics of the stem I selected. The second pic shows the stem and stummel lined up to approximate the final look. The taper of the stem isn’t exactly the same as the factory stem, but it will work. The replacement stem is also, incidentally, a twin-bore stem, which I think gives the pipe a bit of retro flare.

Step One after selecting a replacement stem blank is to fit the tenon. I gave up “eyeballing” parts for a good fit years ago and now rely on my digital caliper to size up the mortise and ensure that I don’t take too much material off the tenon.
The tenon on the pre-cast stem was left deliberately plump to allow the stem to be fitted to a wide range of pipes. To size the tenon for this mortise, I used my PIMO tenon-turning tool, a simple but effective gadget that quickly shaves off unwanted material from the tenon.
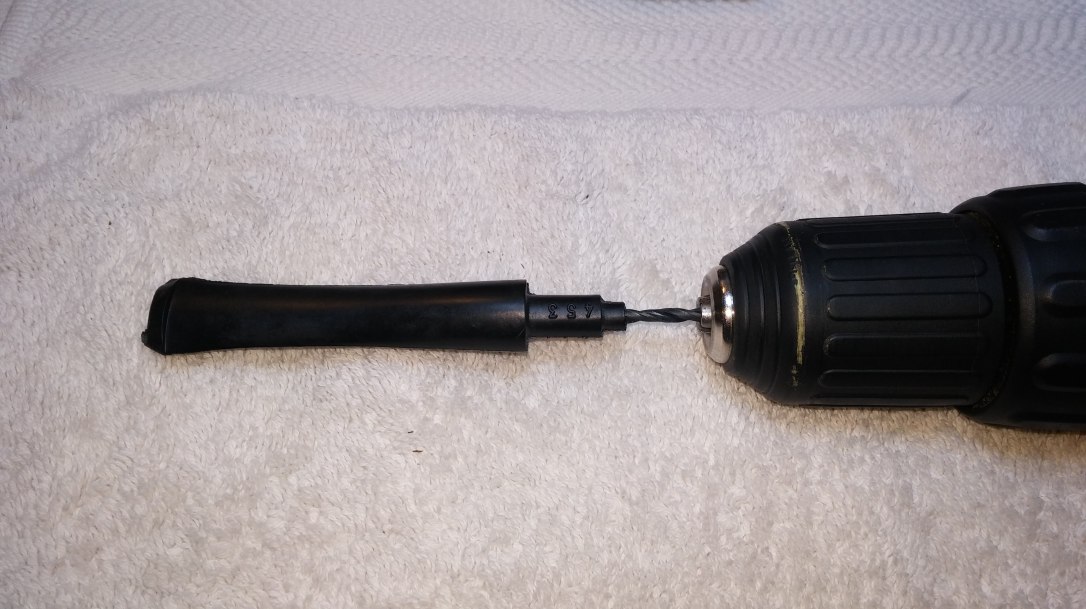
To use the tool, I first drilled out the airway using the drill bit that comes with the tenon tool. This allows the guide pin on the tool to slide easily into the tenon.
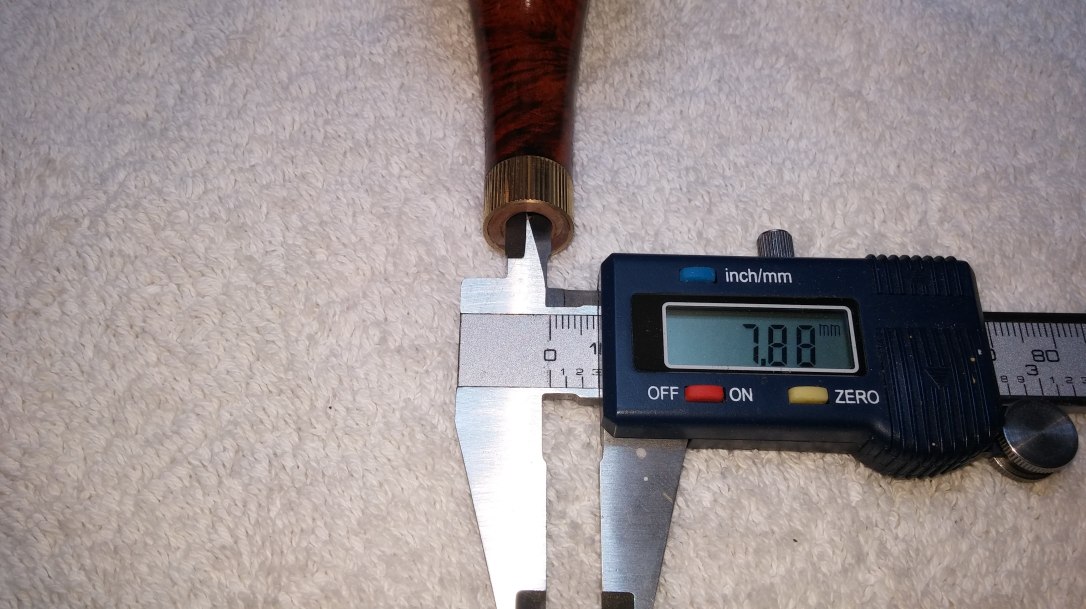
Setting the cutting blade of the tenon tool is a bit of trial and error, so if you buy one of these gadgets for your own use, I highly recommend cutting a test patch on the very end of the tenon before shaving down the entire thing. Here you can see my calipers on the very end of the tenon, measuring my test patch.
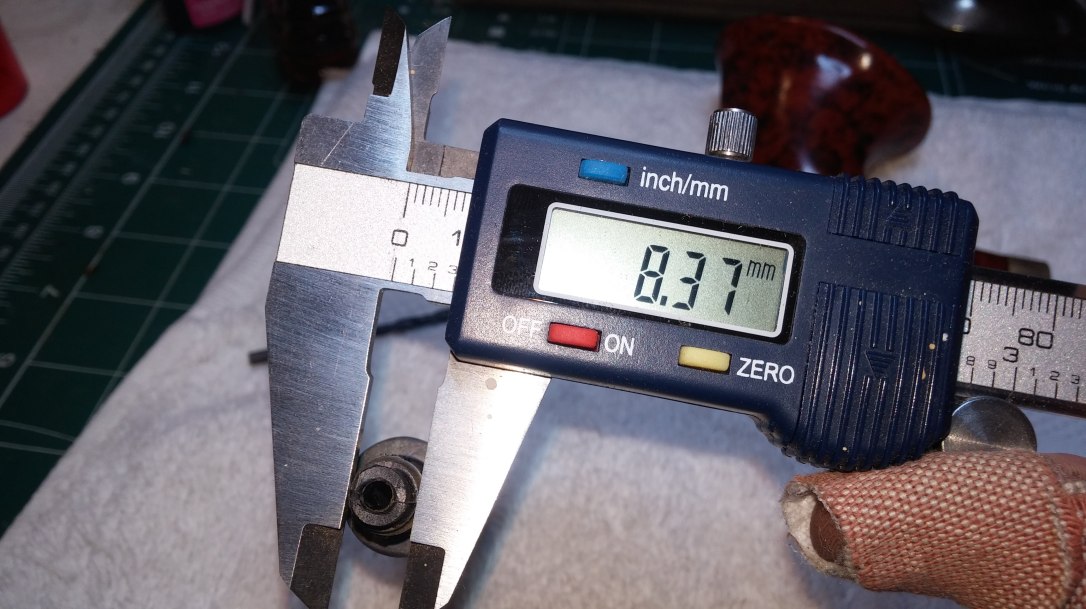
The turned bit of tenon was slightly oversized, but this is exactly what I wanted. The tenon needed to come down only 0.49mm to fit the mortise. This is easily accomplished with a bit of hand sanding, so I used the tenon tool to cut the entire tenon down to the same diameter as my test patch.

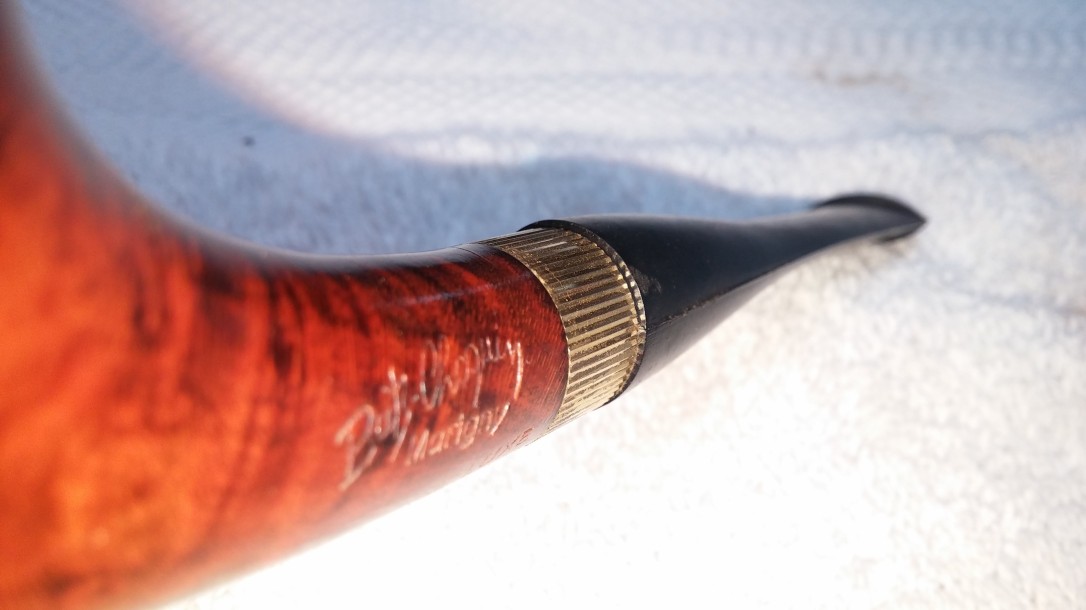
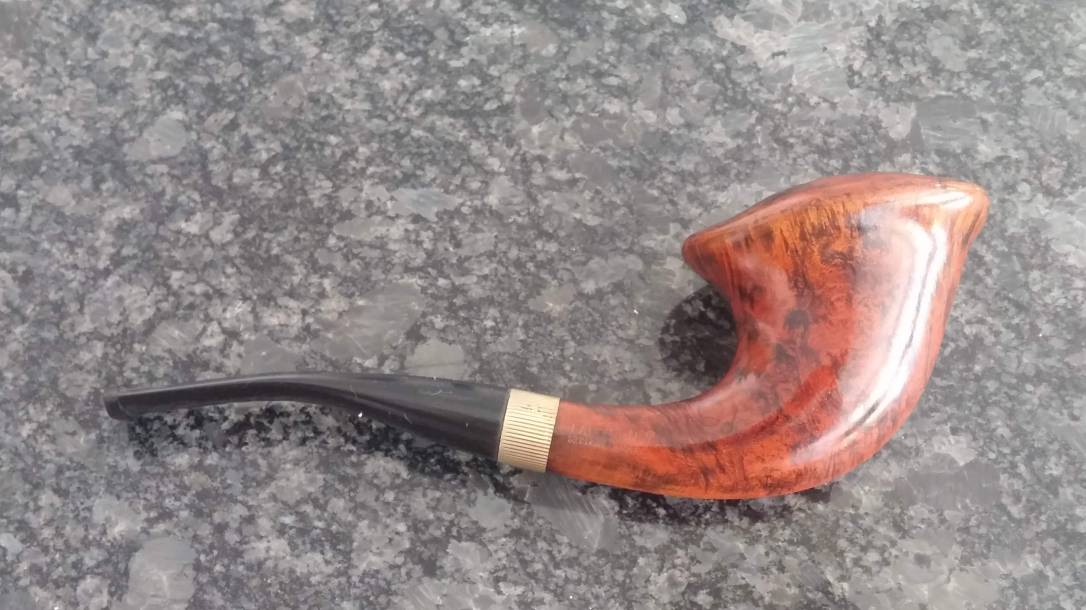
A few minutes of work with a scrap of sandpaper brought the tenon down to its finished size. Here is the first look at the new stem fitted to the stummel.
And these pics illustrate why there is no such thing as an off-the-shelf replacement stem. The face of the stem overhangs the brass band on the shank by about 1mm in several areas, but fits flush in others. The stem will have to be shaped to achieve the smooth transition needed.
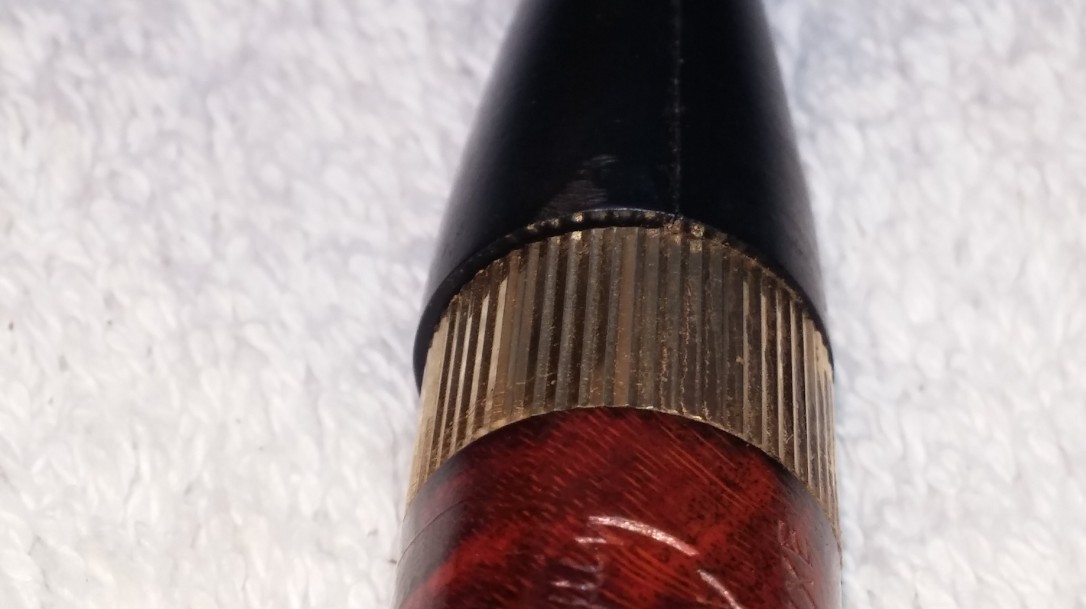
I worked on the stem with a series of files and sandpaper to bring down the overhanging vulcanite. I taped off the shank band to protect it while I did the rough work.
With the stem/shank transition sorted, I sanded and polished the stem, first with 220 and 320-grit sandpaper to remove the casting marks, and then with 0000 steel wool and a full course of micromesh sanding pads from 2400 – 12000 grits. Each successive grade of abrasive removed the scratches left in the vulcanite by its precursor, and the finest grades of micromesh left the stem smooth and glossy. I failed to photograph the sanding and polishing, but the results are shown in the finished pictures below. If you’d like to see the full process, search this blog for “micromesh”.
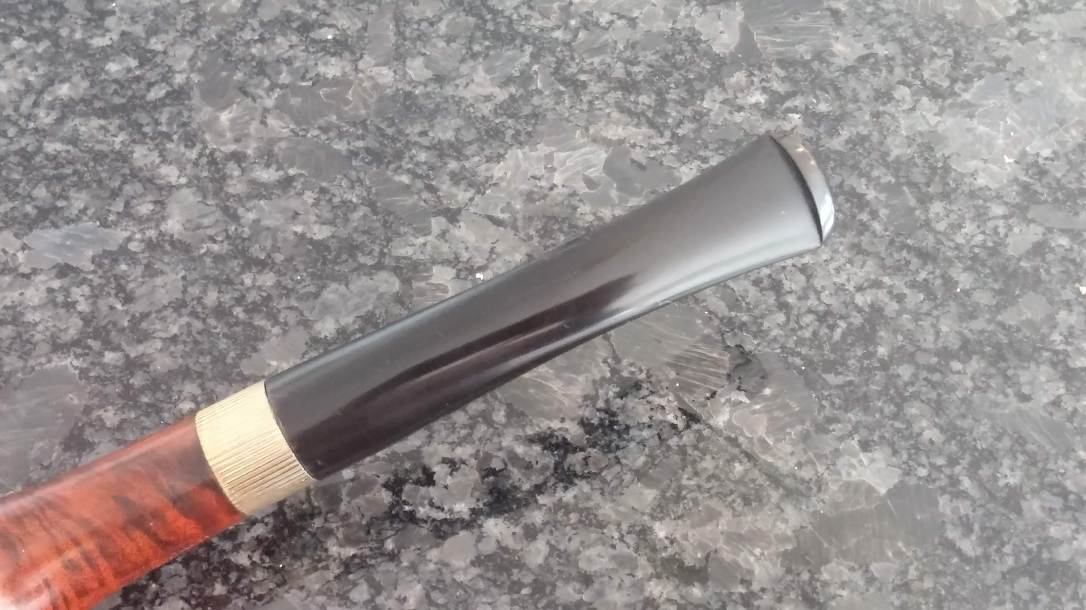
I gave the stem a gentle bend by heating the vulcanite over my heat gun until pliable. A pipe cleaner run through the stem kept the airway open. When I had the bend I wanted, I ran the stem under cool water to set the shape permanently.
The final stage in this restoration was buffing. I took the pipe to the wheel and gave it a nice polishing with White Diamond compound followed by several coats of Carnauba wax.
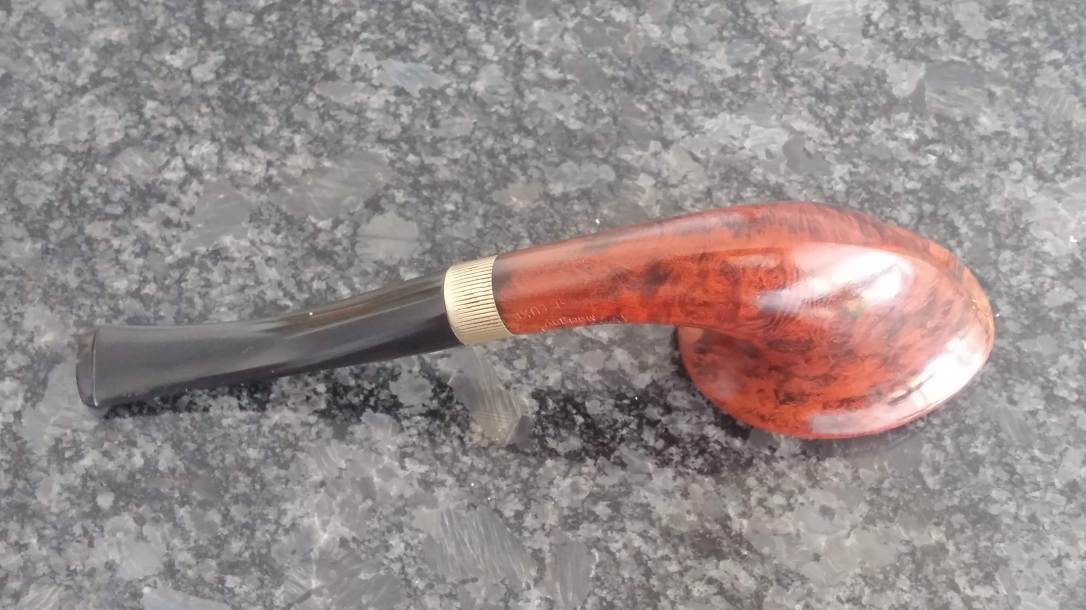
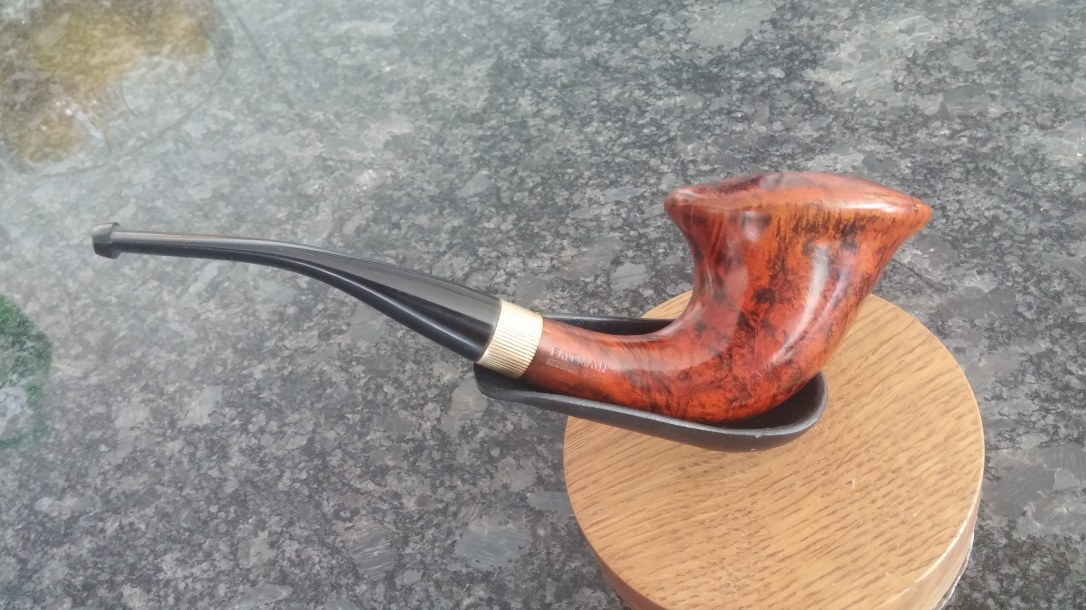
The finished pipe is whole again and will be shipped back to its owner when I finish working on the other pipes that came in the box with it. I think this Butz-Choquin Marigny Deluxe looks great. I’m a bit of a sucker for the Calabash shape, especially in a briar pipe, but I think this pipe also has a certain wow-factor that moves it into what my wife has termed Statement Pipe territory. One can’t help but notice such a pipe!
Thanks for following along with me on this re-stemming adventure. I hope this post both illustrates the complexities of the task and encourage you to tackle a re-stemming project of your own. All the work shown can be done with basic hand tools if you prefer not to invest in custom tooling, but tools or no tools, stem work remains an exacting task requiring patience and a steady hand.
Here’s the finished pipe. Until next time, Happy Piping!.

Charles, excellent step-by-step and tutorial for fashioning the stem. It is very timely! I ordered the PIMO tenon turning tool several weeks ago when I saw it on your work desk blog and asked you about it! It will be arriving in Bulgaria in a few days with a colleague. I’ll be looking back at this blog when I use it for the first time. Thanks!
LikeLiked by 1 person
A fine addition to the toolbox, Dal. I had a bit of a learning curve when I first got mine, but it saves a lot of tedious hand sanding to fit a tenon! Glad I got it when I did as about half of my repair work right now is broken tenons and re-stems.
LikeLiked by 1 person
The next thing I have to find is the digital caliper to add to the tool box!
LikeLike
Mine has come in very handy. In fact it’s now rarely off my desk. I reach for it to measure mortises, tenons, shanks, stems, button height & width – the list goes on!
LikeLiked by 1 person