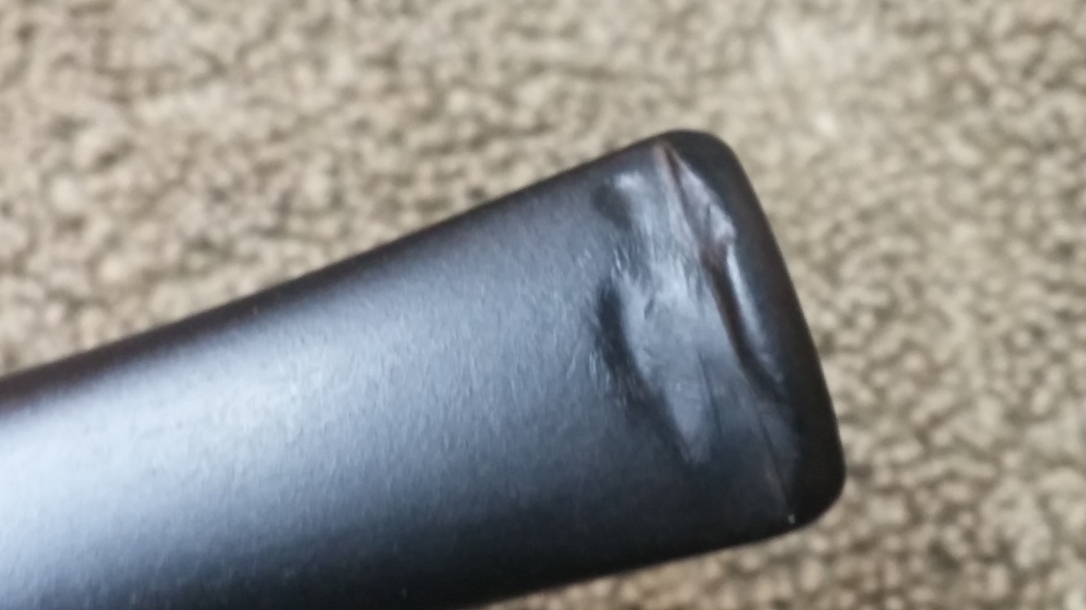
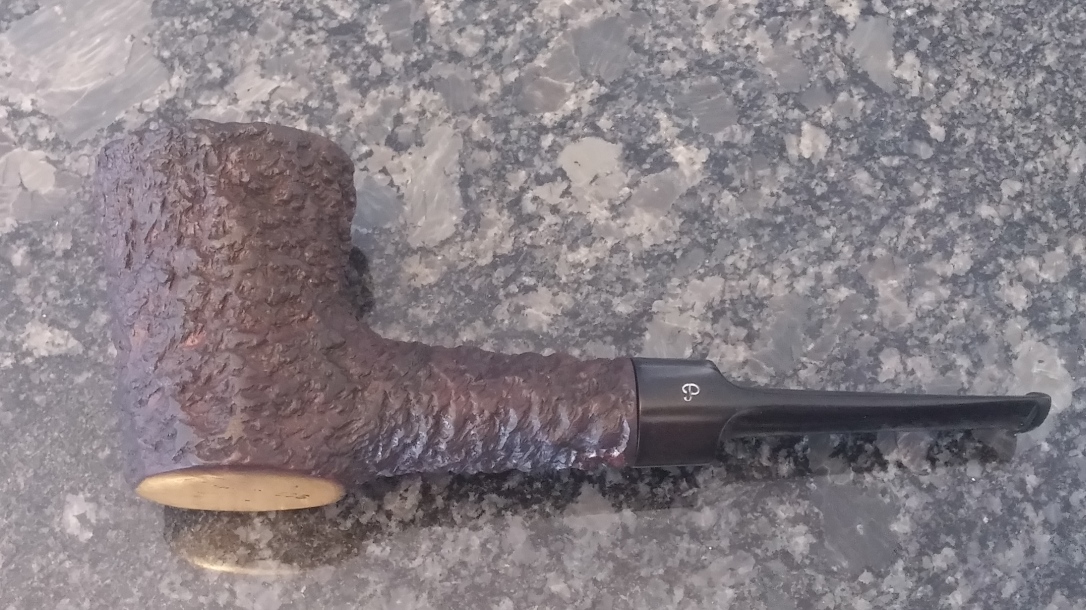
This pipe was sent to me for repairs recently. At first glance the Peterson Aran 50S Rustic Poker on my worktable looked to be in pretty good shape – the stem had a few tooth dents, but was not oxidized, and the stummel was clean. Even the deeply rusticated rim was free of lava deposits.
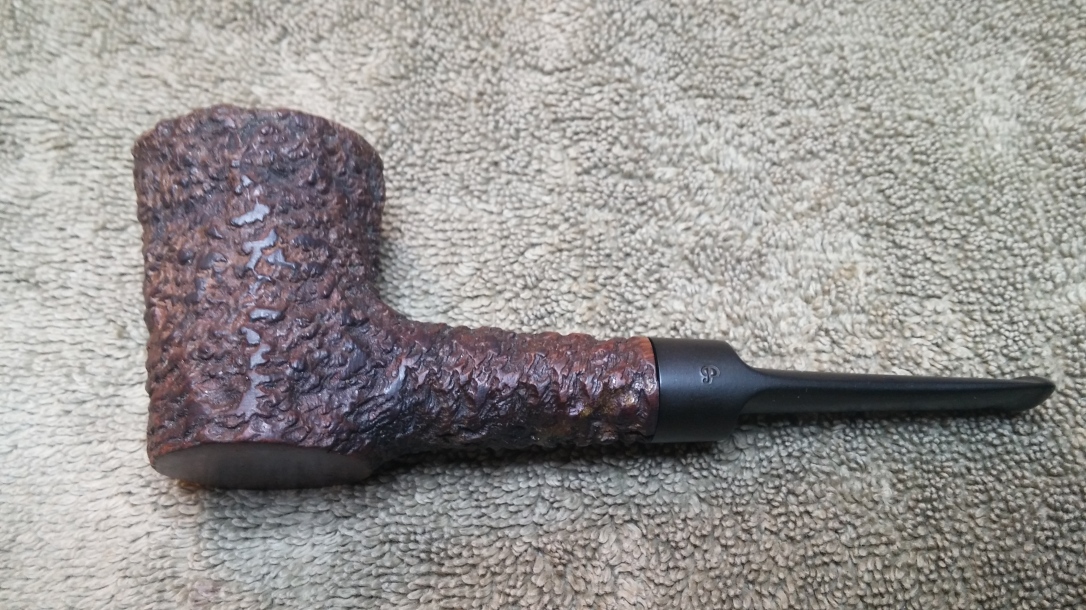
On the smooth bottom of the bowl, the pipe is stamped “Peterson” over “Aran”, then the COM stamp made up of “Made in the” over “Republic” over “Ireland”. The shape number, “50S” is stamped beside the COM.
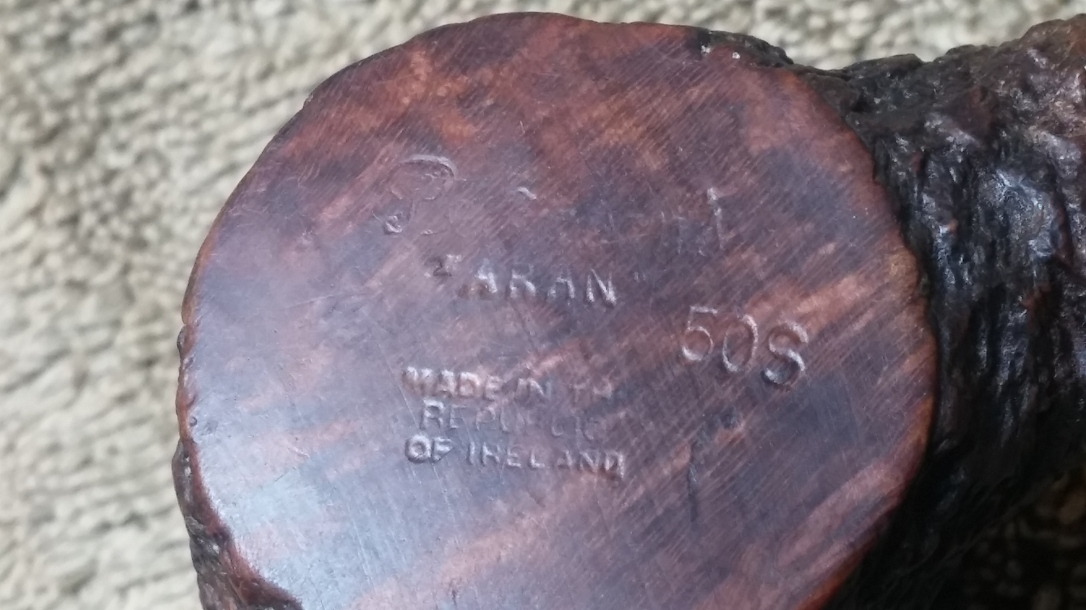
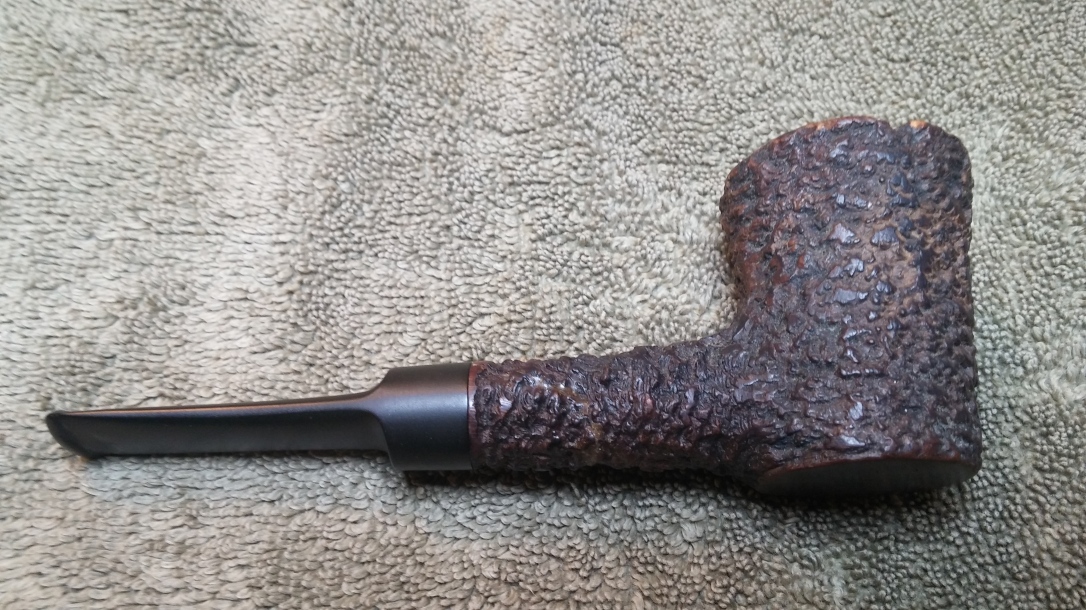
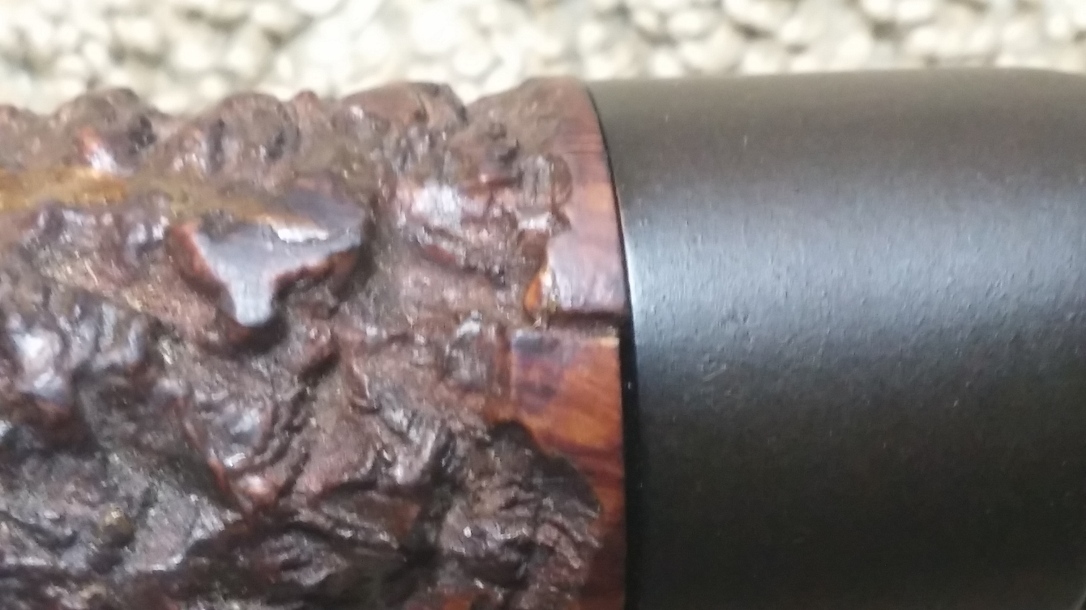
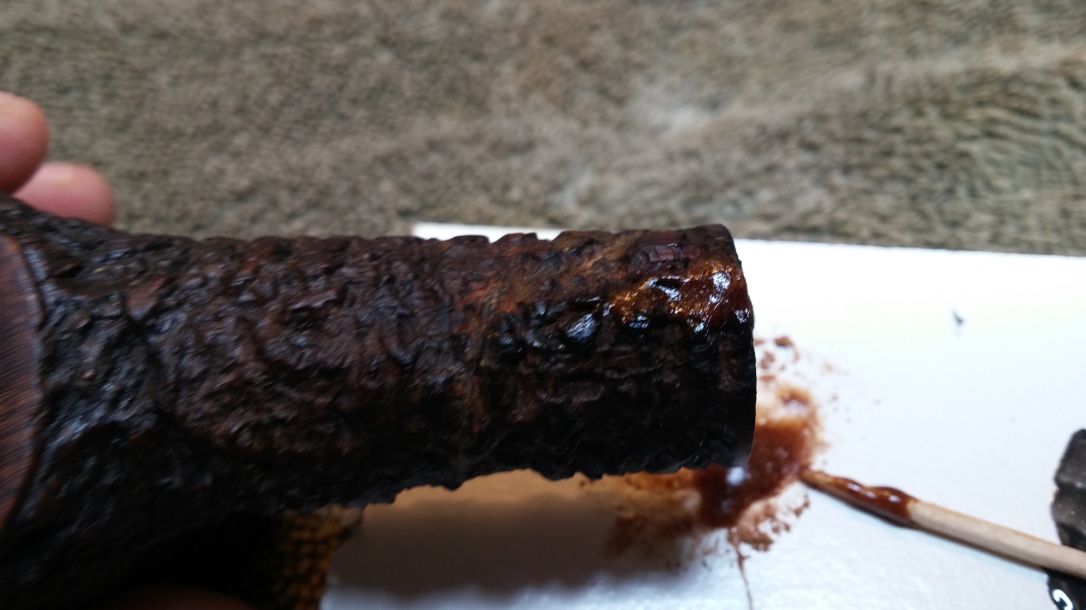
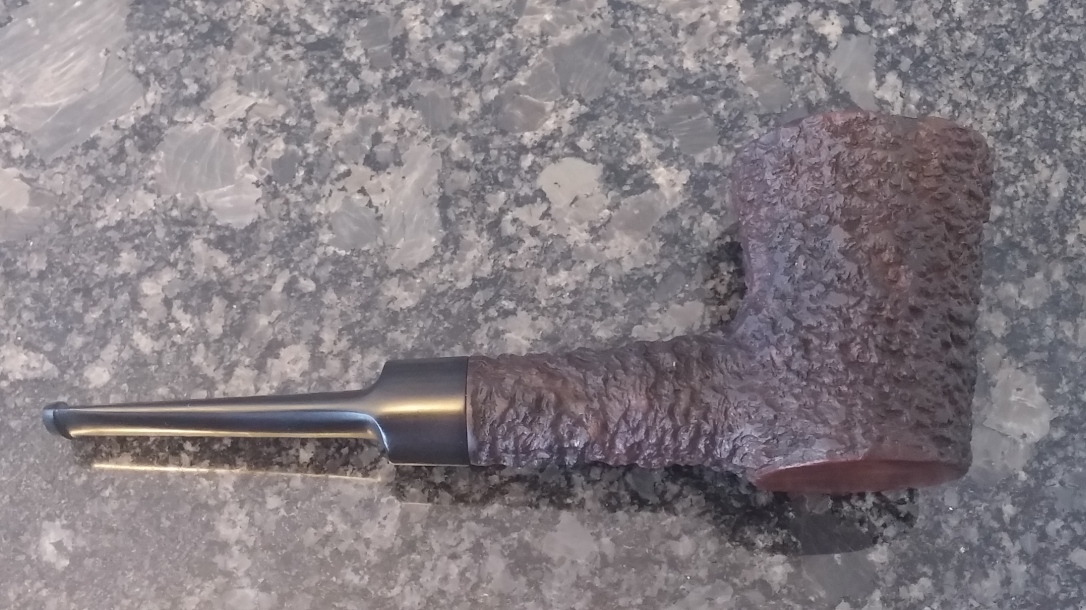
Turning the pipe over to read the stamps, however, revealed a chuck of briar missing from the end of the shank. A crack stretched from the end of the missing chunk, through the peaks and valleys of the rustication, towards the bowl.

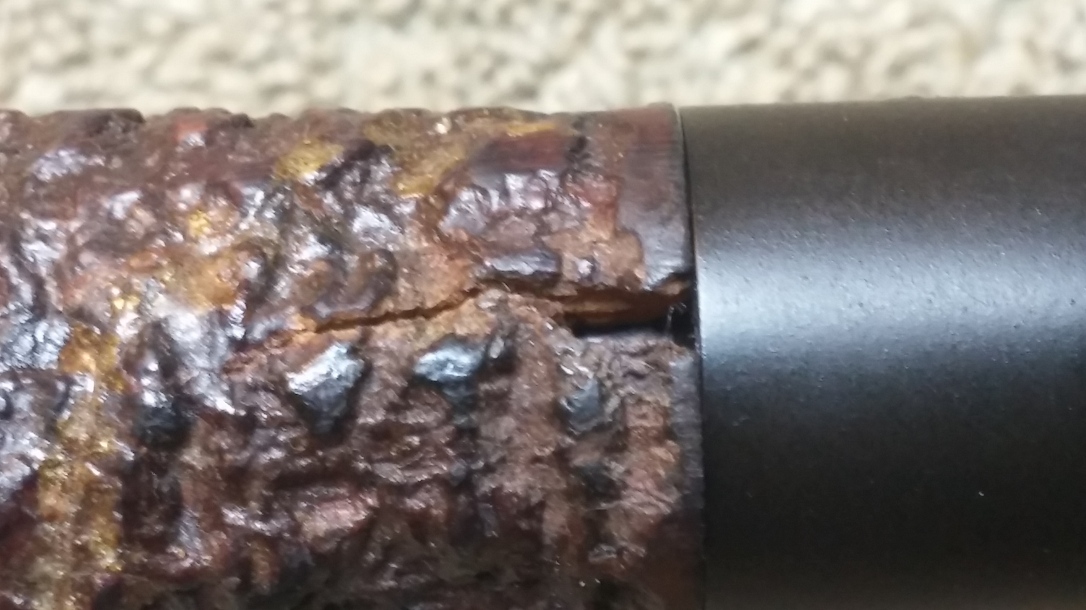
These closeup shots of the shank/stem face junction show how misaligned the stem had become due to the damaged shank. There was a noticeable break in the ring of smooth briar at the end of the shank in two places – one on top of the shank, and the other on the bottom.
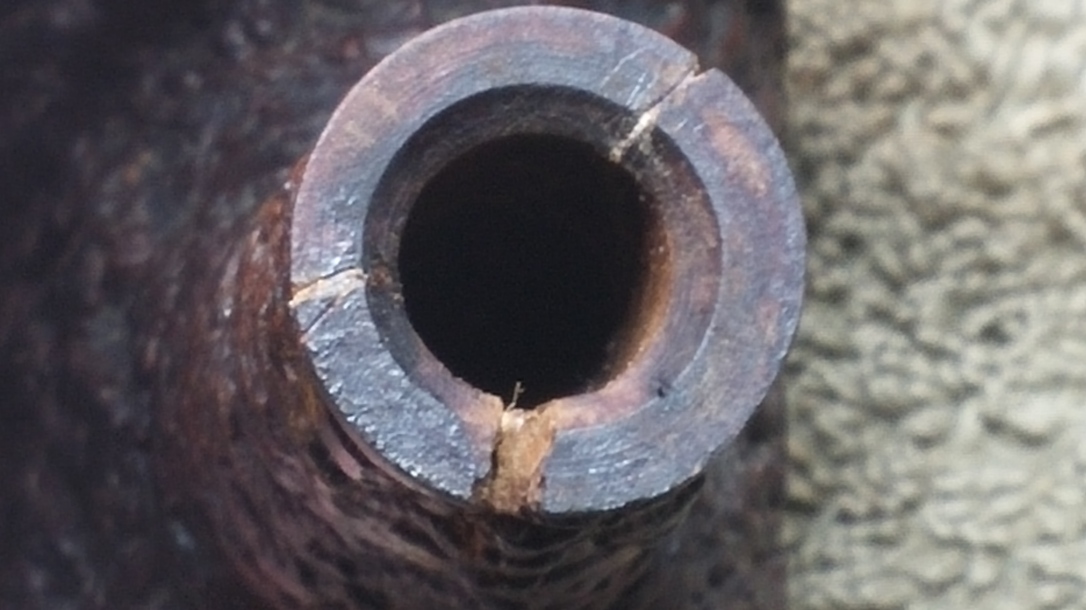
I probed the shank end further with a dental pic and revealed a third crack, this one tightly glued. This pic shows all three cracks after I scraped a bit of the old glue out. Clearly this was an old repair that hadn’t held up to use.
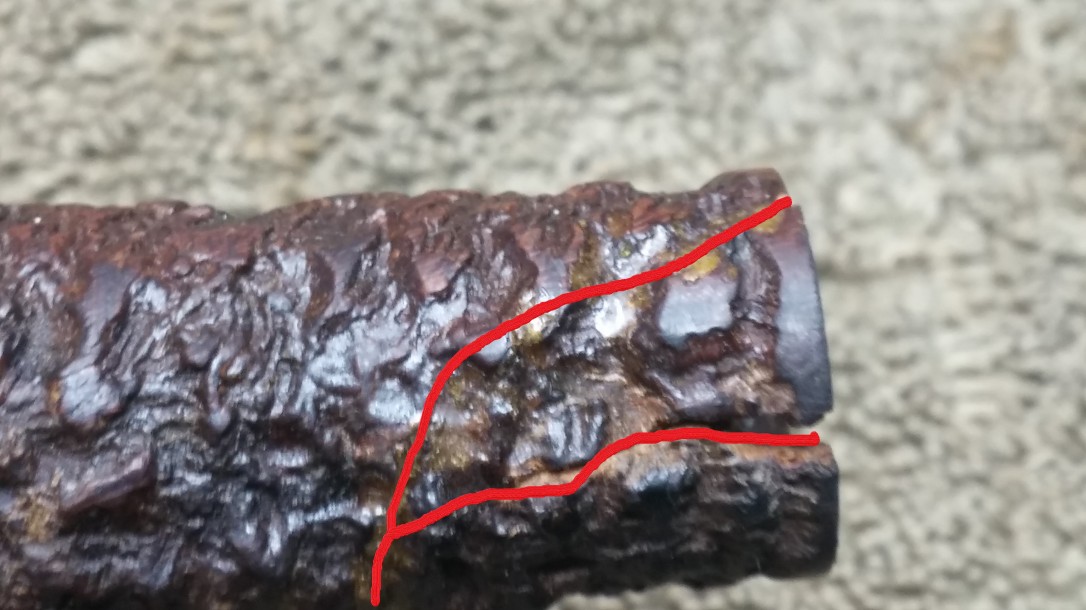
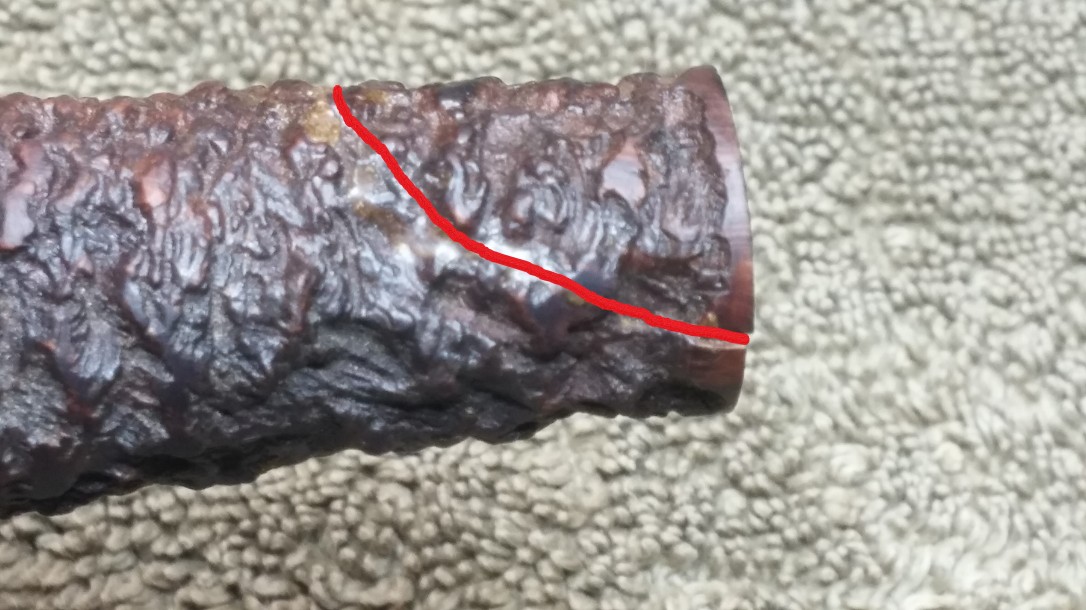
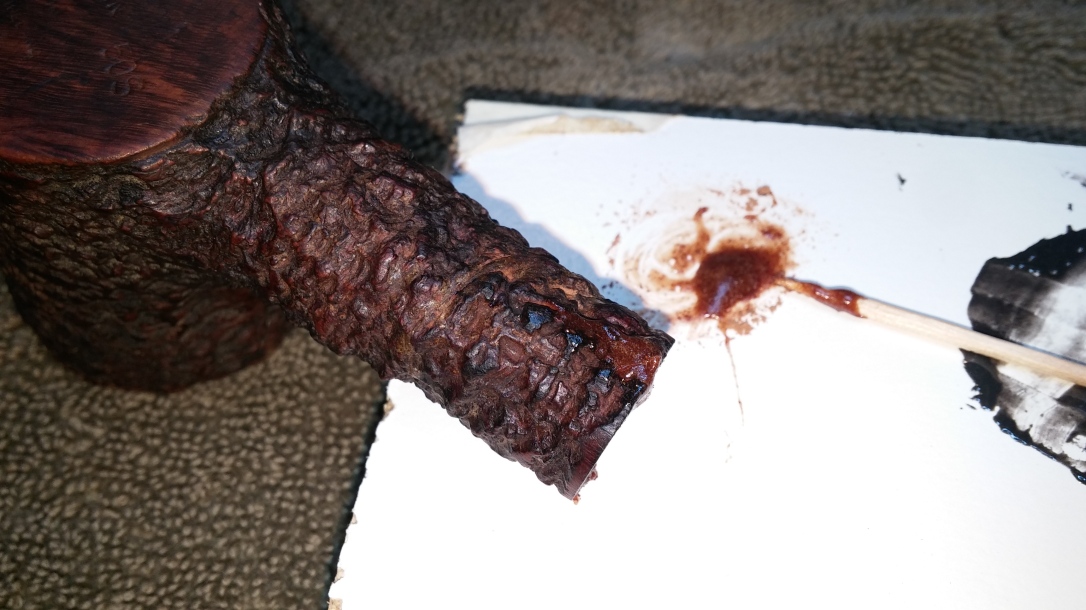
To expose the old glue and track the extent of the old repair, I scrubbed the rusticated shank with a brass-bristled brush. This caused the old white glue, now yellowed with age, to shine in contrast to the dark stain of the briar. I’ve traced the glue lines in the pics below with red to show their paths. The upshot is that two pieces of briar were glued back into the shank at some time in the past – a smaller shark-tooth shaped piece, and a larger U-shaped piece. The open crack in the shank is a failed glue joint between these two pieces of briar.
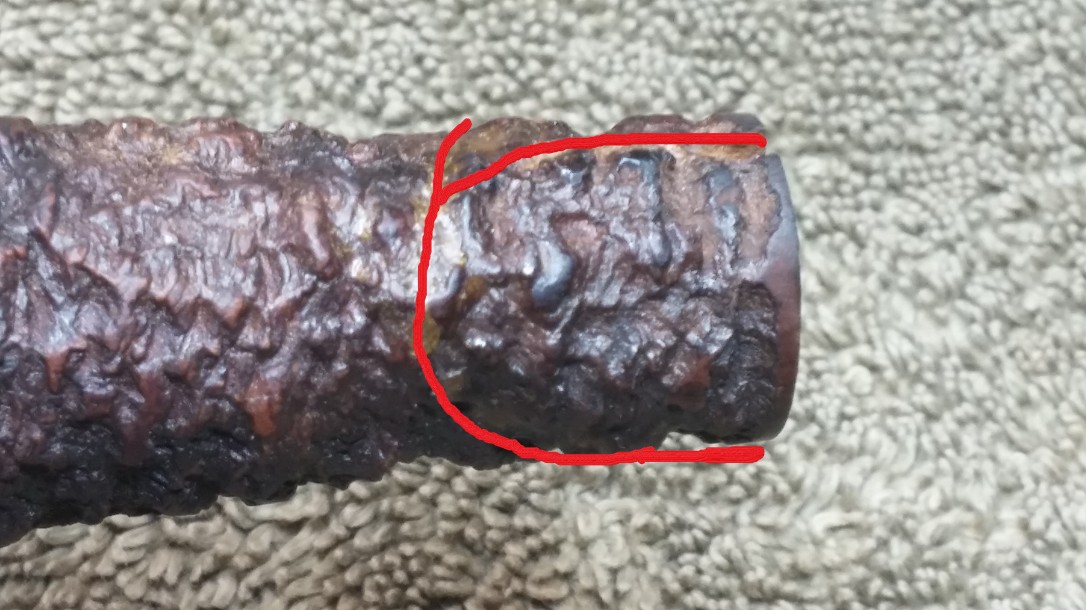
This series of pics shows the old glue joints as I rotate the shank clockwise.
Reporting the situation to the pipe’s owner, I provided two options for affecting a lasting repair. The first, and most common, approach to a cracked shank is to install a metal band on the end of the shank after gluing up the cracks. The compression provided by the band ensures that the cracks don’t reopen.
Many pipers like the little bit of bling a shank band adds to a briar, but in this case, the owner really wanted to avoid changing the original look of the pipe. This is where Option 2 came in – repairing the cracks by inserting an internal splint.
I keep several sizes of brass tubing (readily available at most hobby shops) on hand just for this purpose. The theory of the repair is straightforward – select a tubing diameter that fits the original mortise, glue the tube into the broken mortise, and rebuild the briar around the splint.
Things can get complicated by odd-sized mortises or having to piece together several loose shards of briar while your epoxy is setting, but in this case I got lucky. The existing mortise was an exact fit for a bit of 3/8” brass tubing I had on hand.
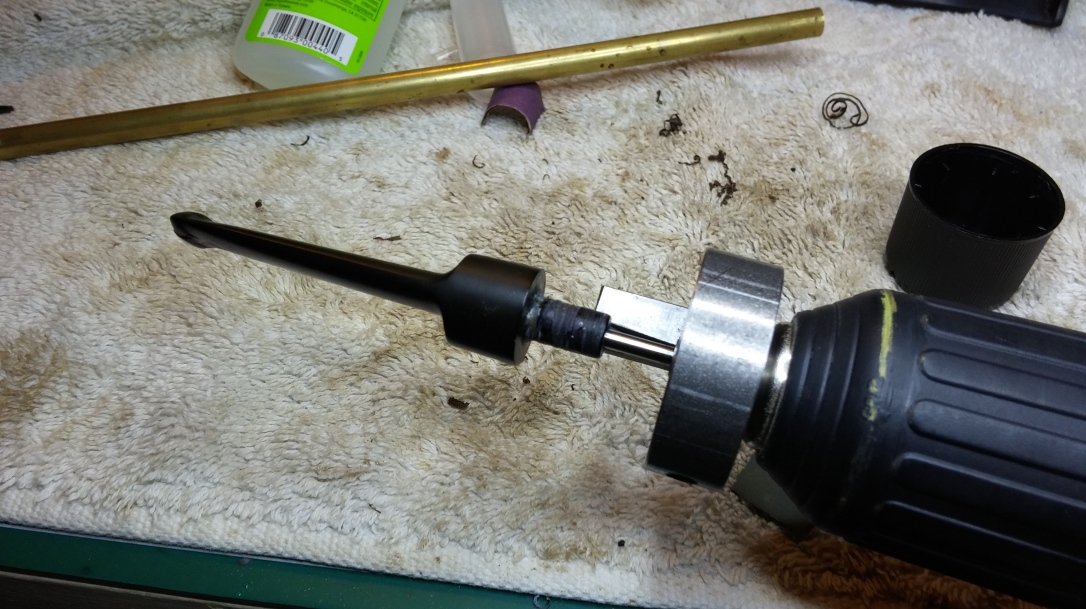
I decided to adjust the stem tenon to fit the interior diameter for the brass tubing before I glued everything together. I have historically done this sort of tenon work by hand using files and sandpaper to reduce the tenon diameter. This time , however, I used the PIMO tenon-turning tool I recently purchased.
Why did I wait so long to buy this brilliant little gadget?? With the tenon tool mounted in my hand drill, I shaved off the millimetre or so of excess vulcanite necessary, tweaked the fit with a bit of sandpaper and was done in just a few minutes. The tenon needs a bit more polishing in these pics, but the fit is excellent.

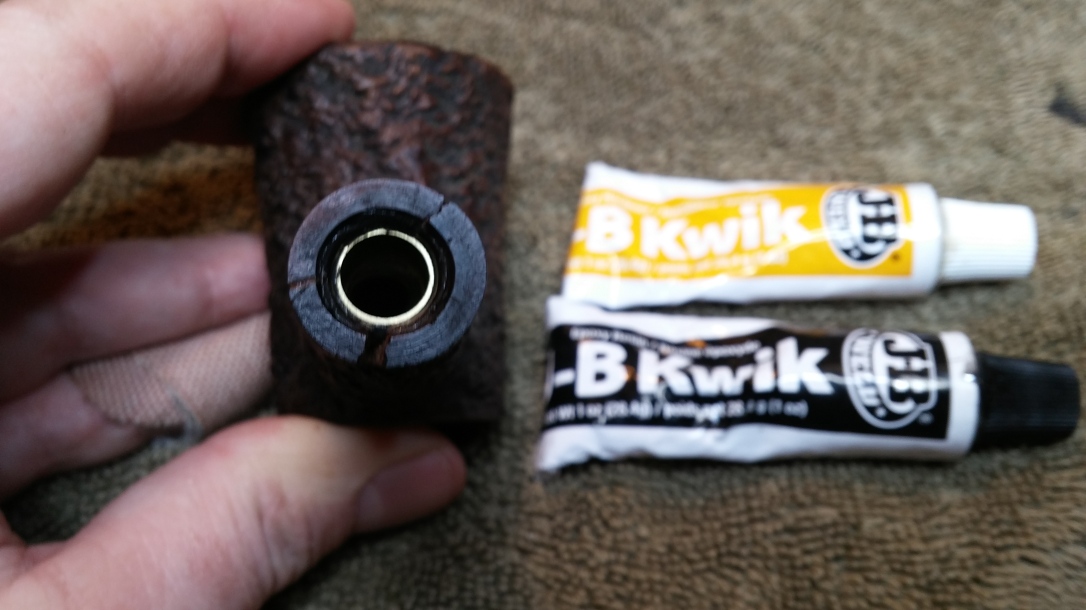
With the stem fitting snugly in the brass tubing, I prepared to put our briar Humpty Dumpty back together again. I mixed up a small batch of JB Kwik-Weld epoxy and, after roughing up the outer surface of the brass tubing to improved adhesion, glued the brass insert into the end of the pipe shank.
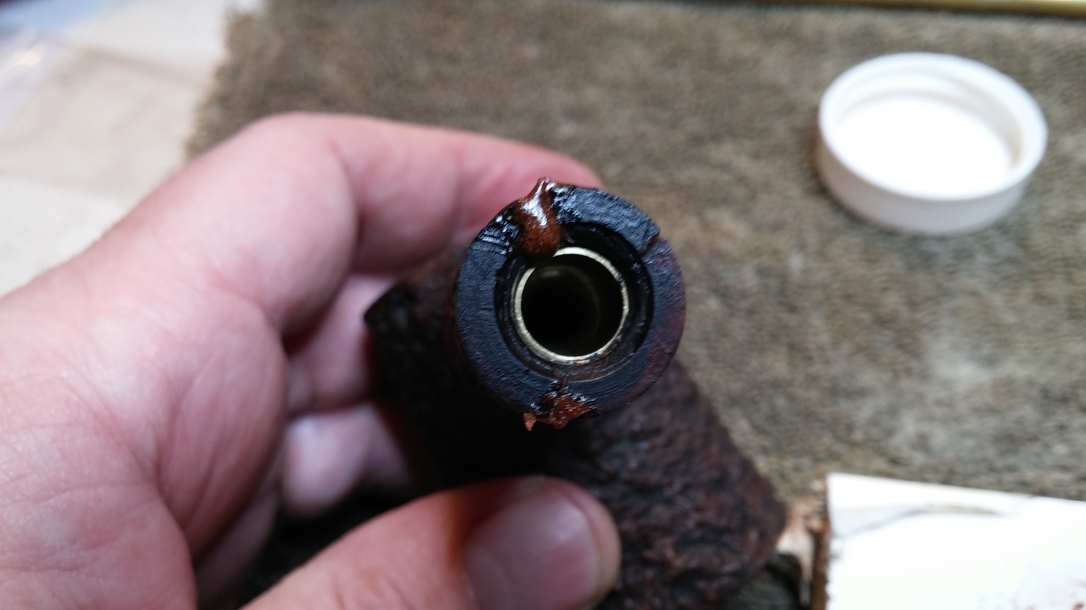
When the epoxy had cured, I filled the cracks in the briar with a mixture of CA glue and briar dust, pushing the fill into the cracks to make sure it made contact with the brass splint as well as the briar.
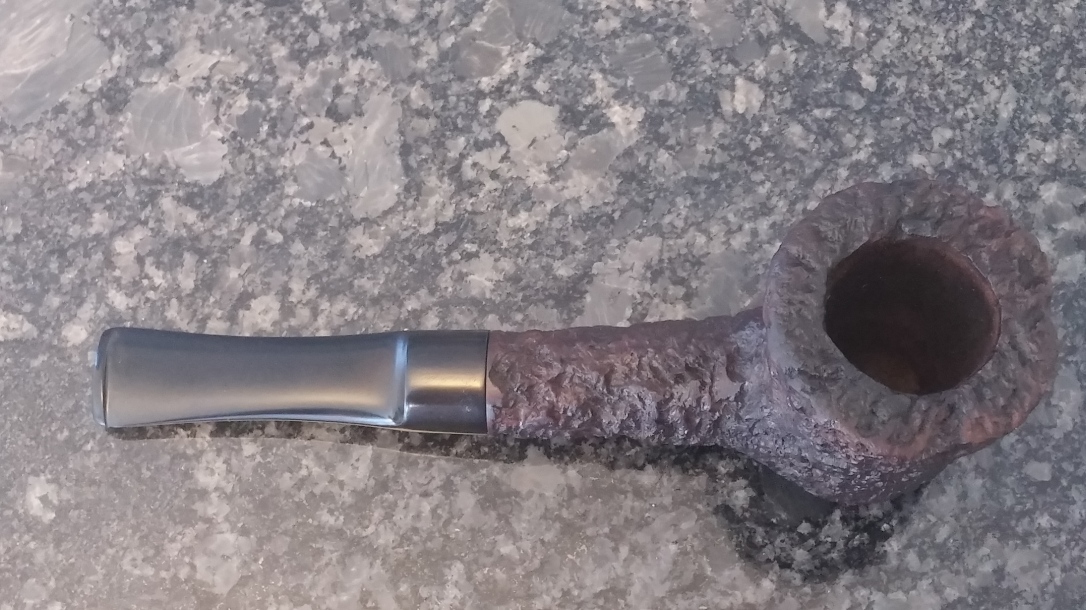
I let the fills cure overnight before filing and sanding the shank face smooth and square. With the previous misalignment repaired, the stem once again fit tightly to the shank.
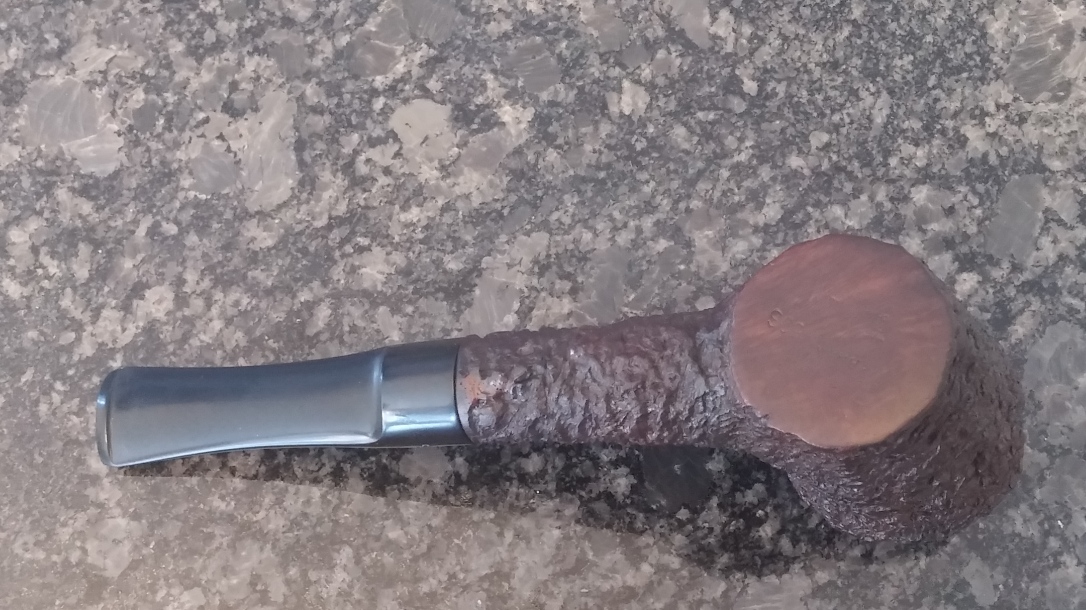
I used a variety of needle files to blend the fills into the nooks and crannies of the deep rustication of this Peterson Aran before touching up the stain. The repair is virtually unnoticeable now.
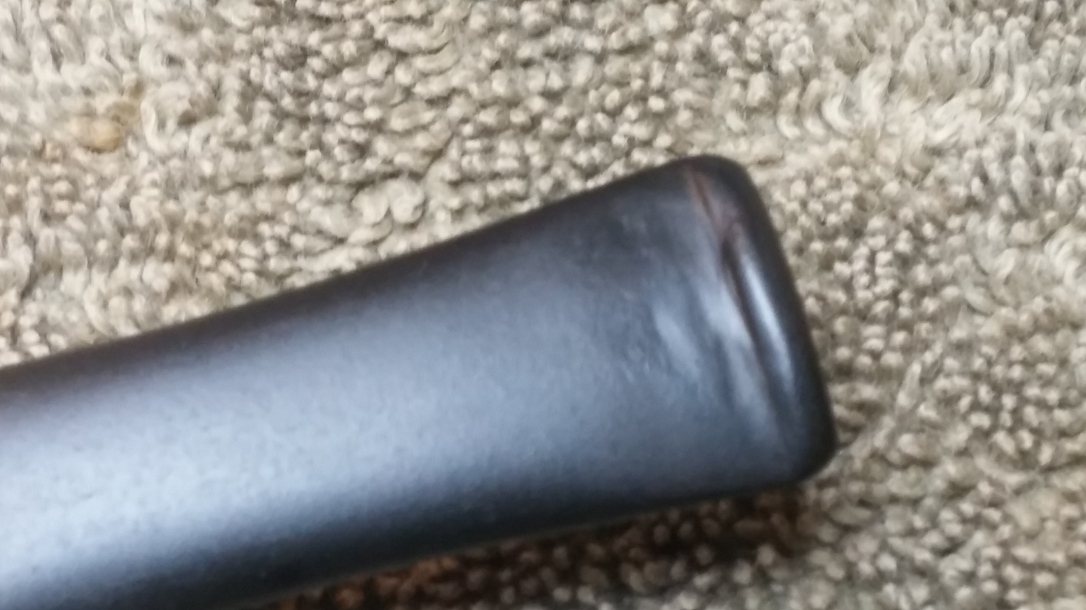
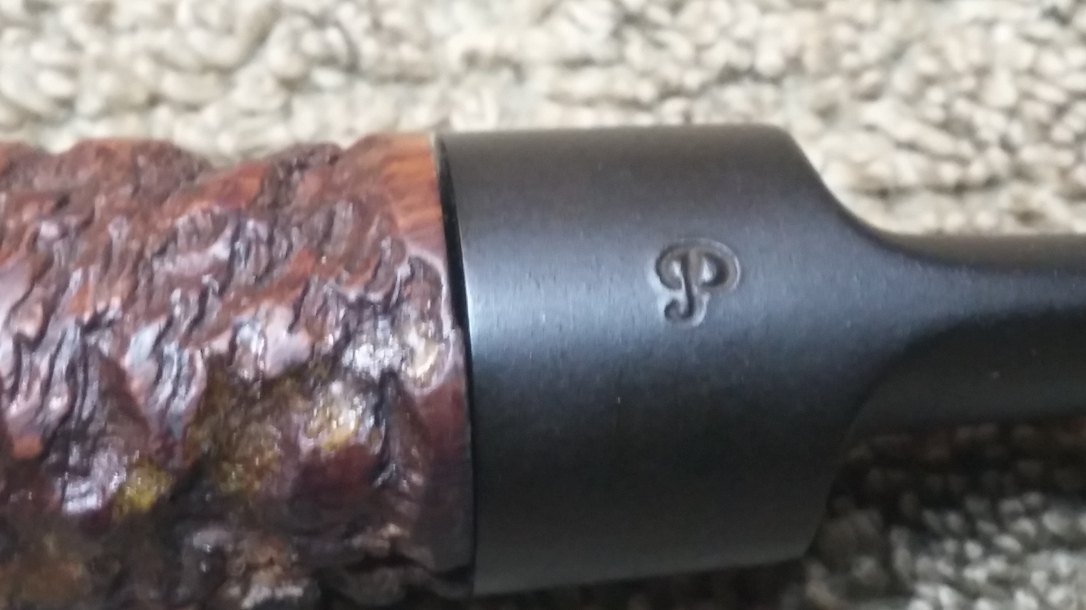
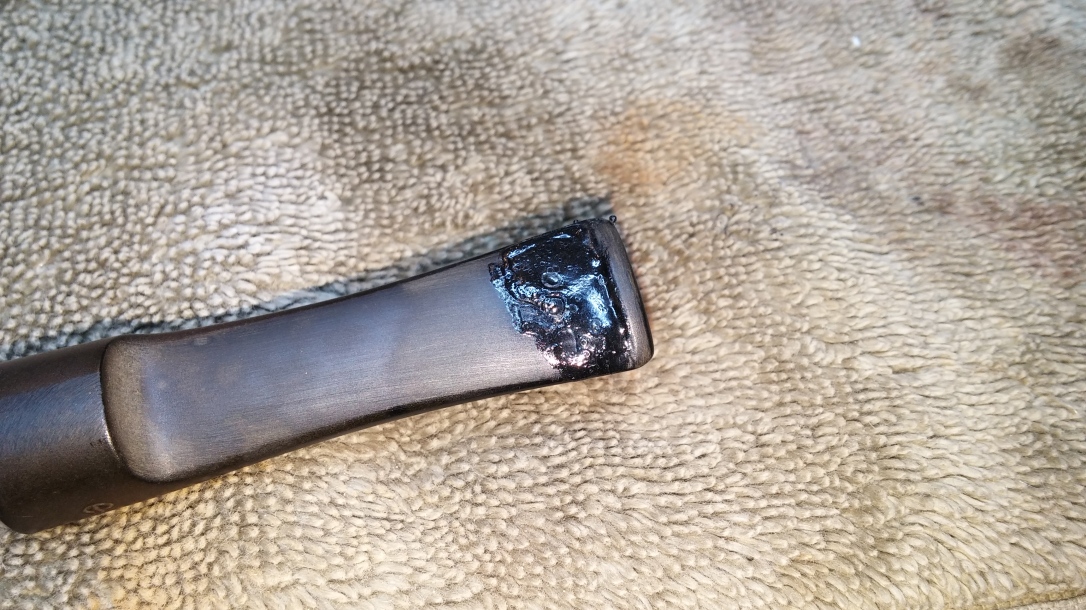
To complete this restoration, I filled the tooth dents in the stem with a mix of thick CA glue and charcoal powder, sanding the fills flush and smooth when the glue had cure. A bit of final polishing blended the fills into the surrounding vulcanite. While I had the stem in hand, I also refreshed the Peterson P stamp with a dab of white acrylic paint.
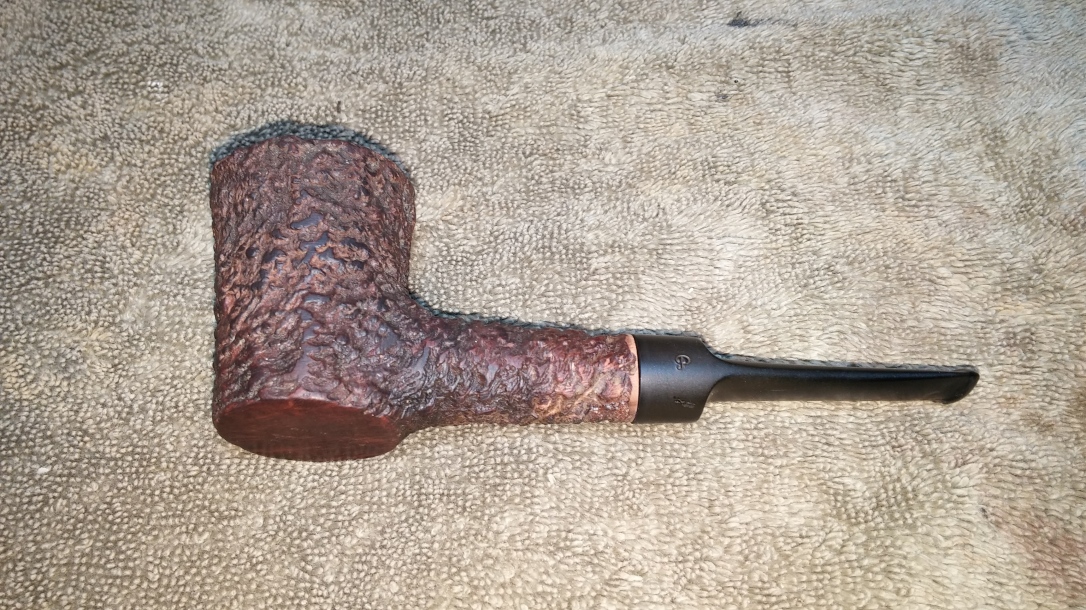
I gave the entire pipe a run of White Diamond compound on the buffing wheel, light on the rustication and heavier on the stem, before applying a few coats of Carnauba wax, primarily to the stem this time. This handsome Peterson Aran Poker is ready to go home to its new piper, where it will doubtless provide many years of companionable service.
Thanks for joining me for this refurbishment. I hope I have illustrated a viable alternative to repairing a cracked shank with a traditional external band that you can feel confident trying the next time you are faced with this repair situation.
Until next time, Happy Piping! Here’s the finished pipe.

Another extensive repair well done, Charles. And that’s a fine looking pipe. Haven’t seen that one before.
LikeLiked by 1 person
I really like the rustication on this Aran. Quite deep ans chunky. Feels great in the hand
LikeLiked by 1 person
…as do I. It reminds me of a Castello Sea Rock.
LikeLiked by 1 person
Good work Charles. Well done.
LikeLiked by 1 person
Thanks, Steve. A shank band is an easier/faster repair for shank cracks but I can’t argue with the factory look of this internal repair.
LikeLiked by 1 person
Reblogged this on rebornpipes and commented:
I thought I would reblog this post by Charles as he clearly explains a method that I have used in shank repair. It is a method that provides an externally invisible repair of a cracked shank. Thanks Charles.
LikeLiked by 1 person
Thanks! It’s a valuable technique for those repairs when a shank band might be detrimental to a restoration ie when a band might obscure a date stamp or other important marking. 👍
LikeLike
Awesome job Charles. I have a pipe that I didn’t want to cover the stamping. Now I have another option, other than just an external band.
Thanks
LikeLiked by 1 person
Thanks, Dave. Glad you found this helpful!
LikeLike
Well done! It’s great work like this that made me confident in choosing you to do some resto work for me.
LikeLiked by 1 person
Thanks, Jason!
LikeLike
Very nice work! It was clever to fit the tenon to the tubing before hand. Thanks for sharing your methods.
LikeLiked by 1 person
Hi Charles. I’m very pleased with the pipe! I’m glad we went this route, maintaining the look the pipe was meant to have. It’s rustic character is what appealed to me in the fist place. Your skilled craftsmanship has restored this Aran and I show it with pleasure on my pipe stand! You would never know the damage to the shank to look at it.
Thanks again,
Mau
LikeLiked by 1 person
Glad to hear it! Thanks very much. We made the right call on that repair for sure. 😀👍
LikeLike