
Here is another pipe from my Iqaluit piper’s collection – a striking Blatter Panel Horn. It didn’t need a lot of work, but I though you might enjoy seeing the pipe for its own sake.
The pipe arrived on my worktable in very nice estate condition. Even through a layer of dust and grime the briar grain stood out as something special. The carver had made full use of the briar block when he laid out this stummel, showcasing the beautiful vertical grain on the sides of the pipe and a field of bridseye on the top and bottom of the horn.
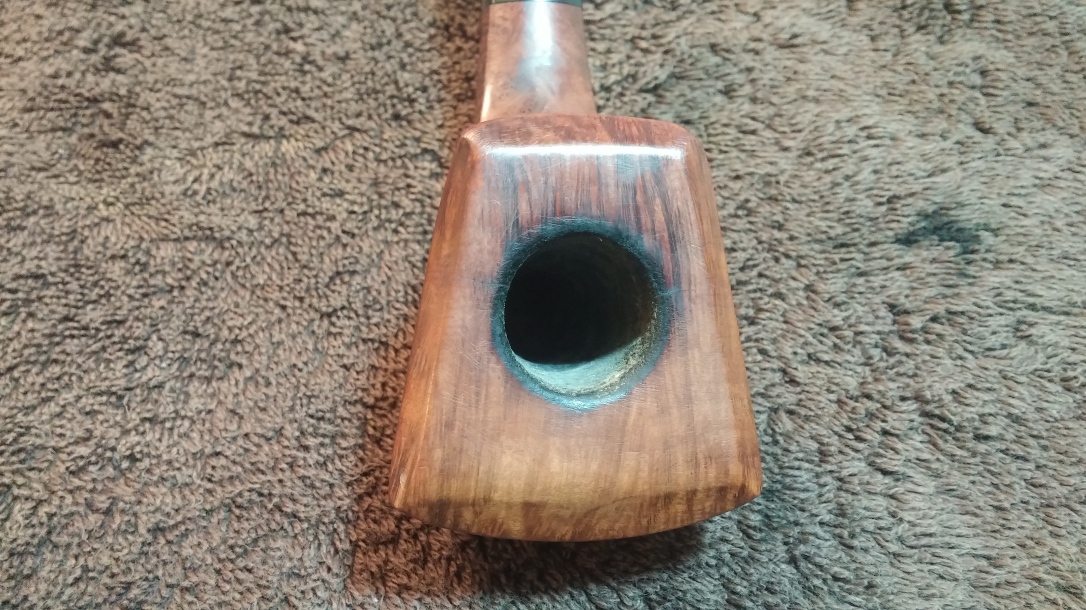
The stem showed some light oxidation and tooth chatter, but would clean up nicely. The biggest issue with the pipe when I received it was a dark ring around most of the circumference of the inner rim of the bowl. I hoped this was simple lava buildup and not charred briar.


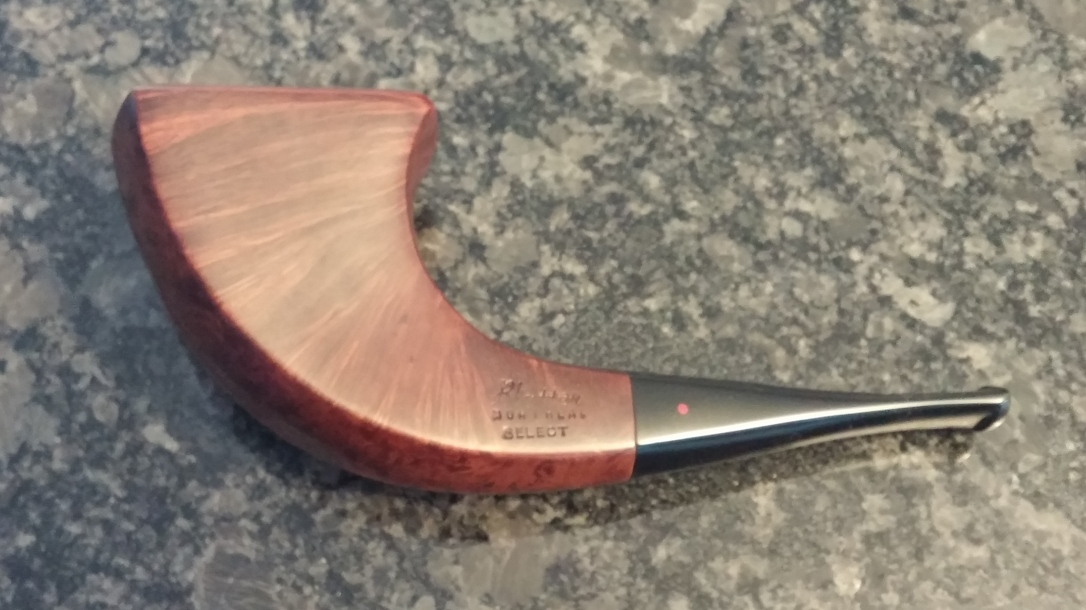
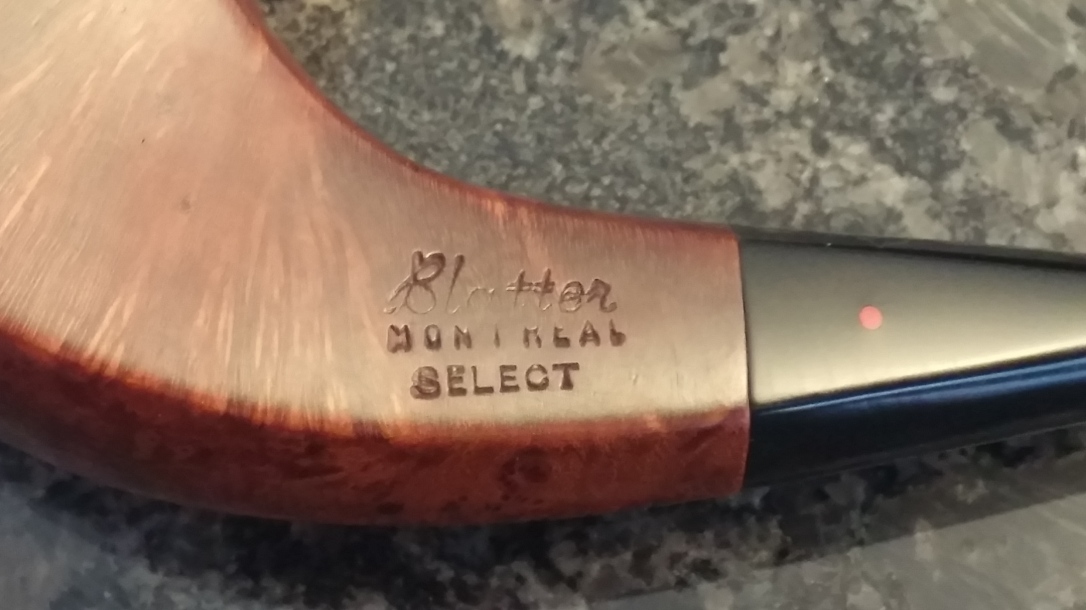
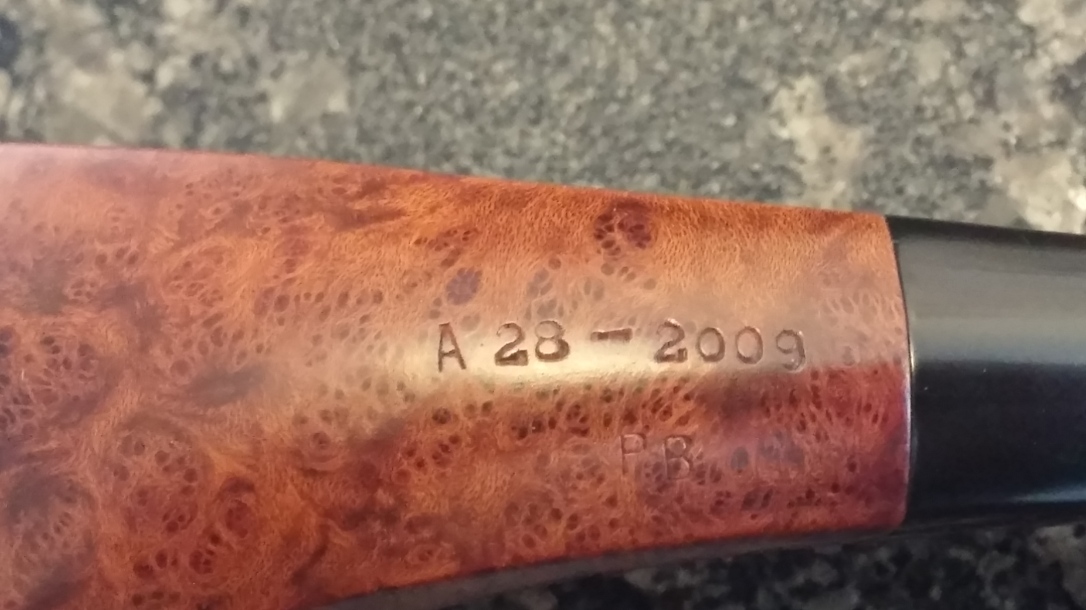
The pipe is stamped on the left flank with “Blatter” over “Montreal” over “Select” and “A28-2009” over “PB” on the bottom of the shank. The stem is inset with the Blatter Red Dot.
I’m not sure what the “A” signifies – perhaps a quality grading? The rest of the number stamp indicates the 28th pipe made in 2009. I interpret the“PB” stamp as the initials of Patrick Blatter, Robert Blatter’s nephew, who joined the family business in 2000.


Getting on to the refurbishment, I dropped the stem into an Oxyclean bath to raise the oxidation, and then began cleaning up the internals of the pipe. I removed the light cake from the chamber with a bit of sandpaper wrapped around a Sharpie marker. The chamber was in excellent shape, though, as the pic below shows, the flat bowl face around the rim was ringed with multiple small scratches. Those would need addressing.

I wiped down the exterior of the stummel with alcohol on cotton pads to clean off the surface dust and grease as well as the old wax finish. To complete the stummel’s cleaning I used pipe cleaners, cotton swabs and more alcohol to remove what proved to be very light tars from the mortise and airway.

At this point I rescued the stem from its Oxyclean soak and scrubbed away the oxidation with a bit of Magic Eraser. A pipe cleaner run through the airway proved the stem to be as clean as the stummel.

Any remaining oxidation on the stem came away as I sanded out the tooth chatter with 220 and 320-grit sandpapers followed by 600 and 2000-grit wet sanding to remove the coarse scratches and polish up the vulcanite.

Moving back to the stummel, I gave the briar a light overall sanding with 800-grit wet sandpaper to polish out the tiny handling marks and remove the ring of tars and scratches from around the chamber rim. Unfortunately, two of those scratches turned out to me tiny surface cracks, one on either side of the chamber opening at the mid-line.

As the cracks were tight and fine, I chose to simply reinforce them by flowing thin CA glue over and into them. I also spot-filled a few tiny pinhead flaws in the sides of the briar while I was at it. When the glue had cured, I sanded the patches smooth.


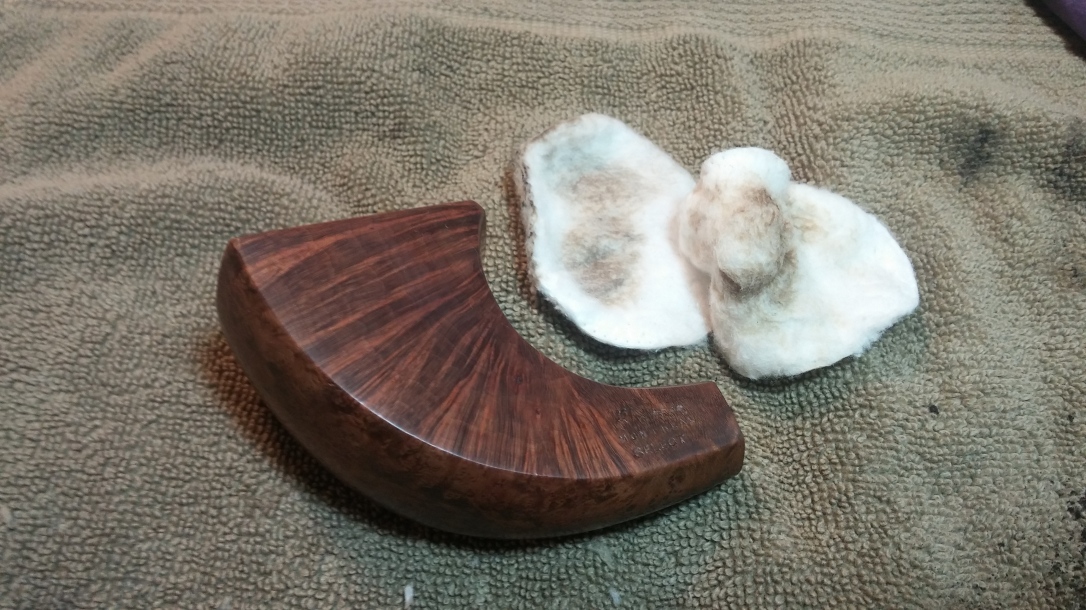
The repair work on the rim had left that area of the briar lighter in colour than the rest of the pipe, so I matched things up using my lightest stain pen. Any darker and I would have impacted the lovely natural honey colour of the stummel. As you can see in the pic, I wiped the stained area with alcohol on a cotton pad to both blend and lighten the colour further.

Reassembling stem and stummel, I took the pipe to the buffer for a light run of White Diamond compound before applying several coats of Carnauba wax.
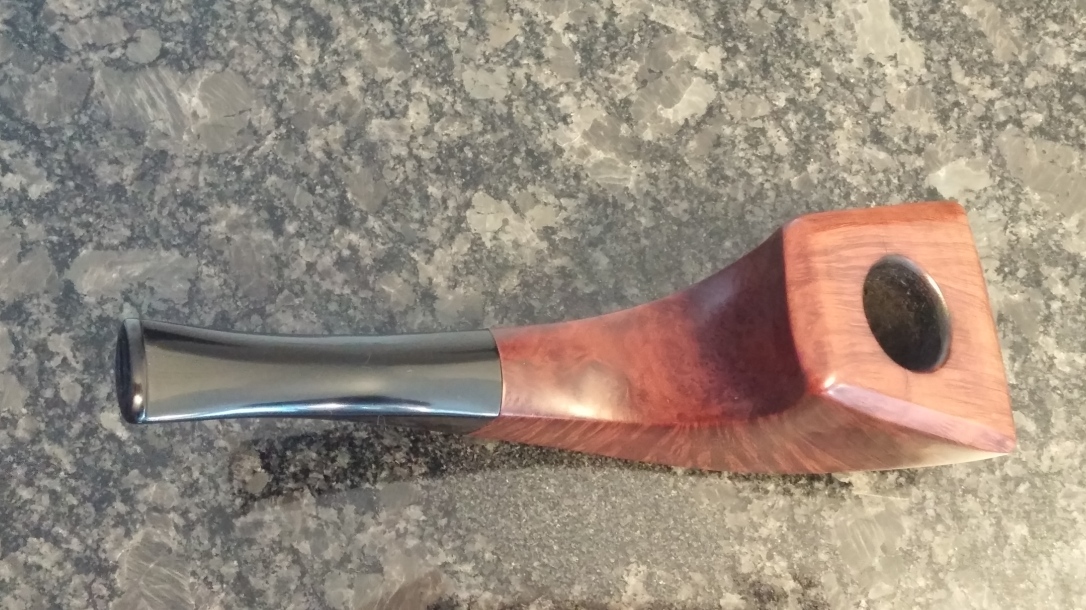
The refreshed pipe looks great after its day at the spa. The grain really pops under the glossy wax finish, and the stem once again shines a deep black. Although I know the Horn shape is one I’d really never smoke myself, I have to admit I was just a tiny bit sad to send this beautiful piece of smoking art back to its owner!
I hope you enjoyed following along on this refurbishment. I certainly enjoyed working on this lovely pipe. Until next time, Happy Piping!
Here’s the finished pipe.


That was an excellent restoration of a stunning pipe. By chance, did the owner share with you how it smokes?
LikeLiked by 1 person
Thanks Brad. Unfortunately I haven’t heard how it performs.
LikeLike
Great work Charles. As you know I am a big fan of Blatter pipes… that is unusual for sure and really maximizes the grain. Well done
LikeLiked by 1 person
Thanks Steve.
LikeLiked by 1 person
Nice work as always, Charles.
I haven’t smoked it yet but will be sure to report back if I do.
LikeLiked by 1 person
Thanks, Jae. It’s a beautiful piece!
LikeLike