
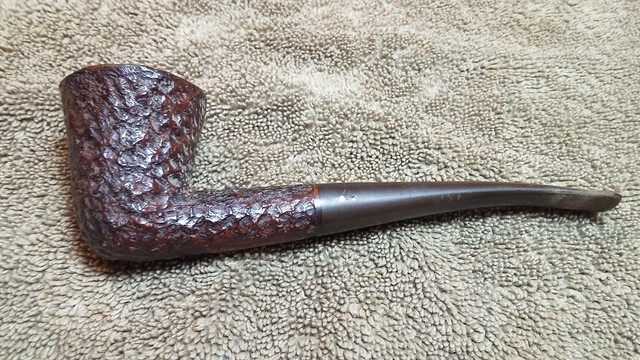
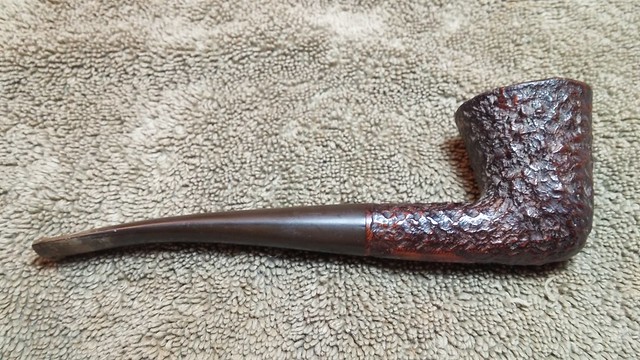
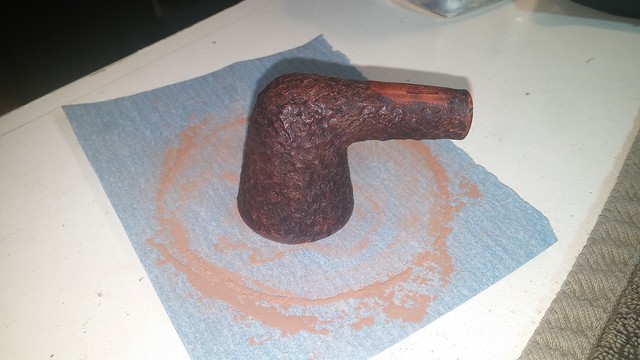
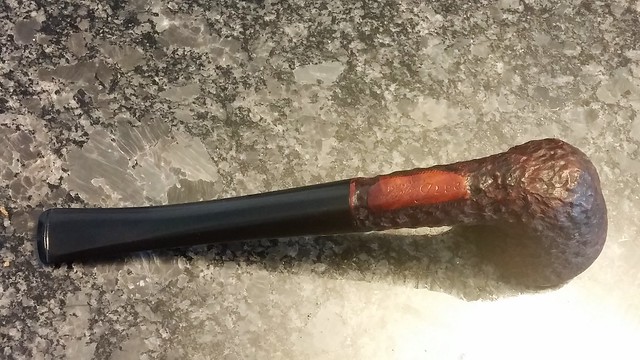
One fun side effect of cataloging my pipes in support of the Brigham Shape Chart project was that I learned which pipe shapes I owned already, and by extension, which shapes I did not have in the collection. So I was pleased when this Brigham 287 showed up in a recent estate purchase. This 2-Dot Bent Dublin fills in one more spot in my growing array of Brighams!
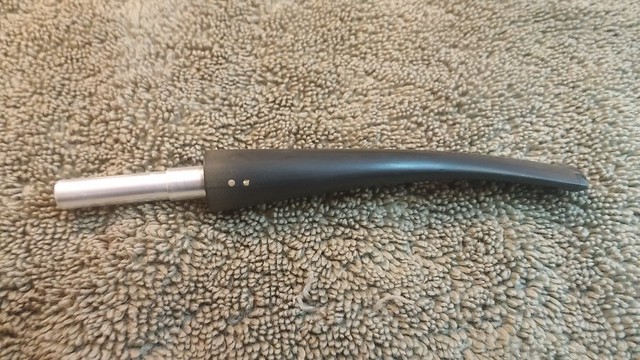
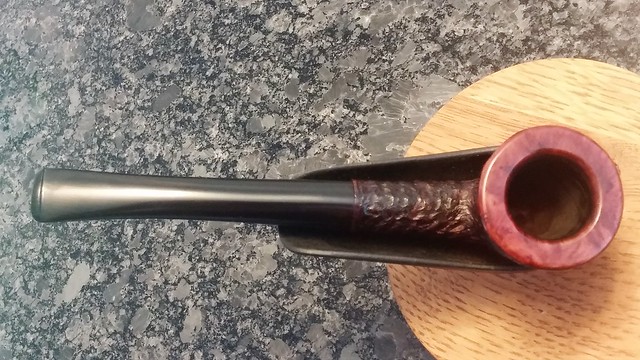
The pipe arrived in what I’d call “average well-used” estate condition. It had obviously been a favourite of its previous owner. The chamber carried a decent cake layer, and the wire-rusticated rim was mostly obscured by a thick layer of lava. The stem was heavily oxidized, and the bit was in rough shape, with tooth dents top and bottom and chunks missing from the lower button. An old Rock Maple filter was stuck in the aluminum tenon/filter holder.
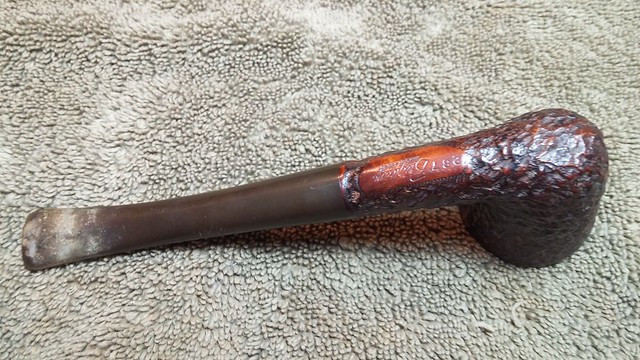

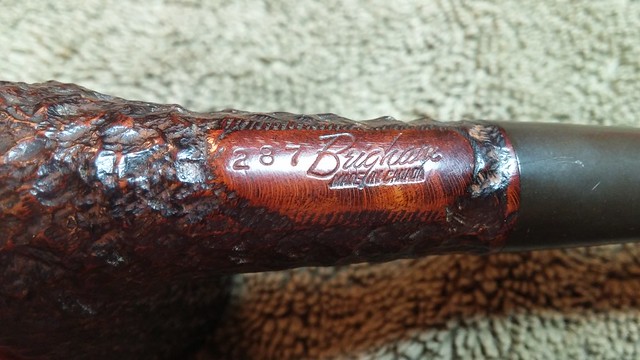
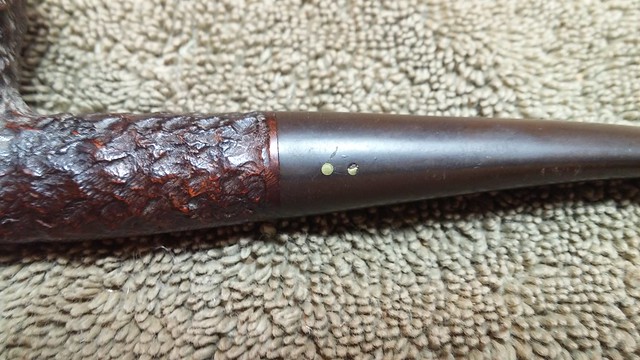
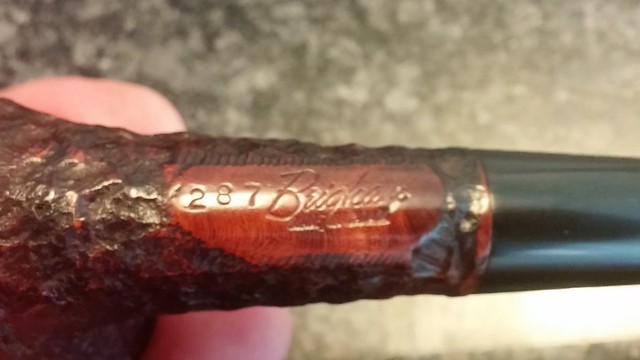
The pipe is stamped in a smooth patch under the shank with the shape number, “287”, followed by “Brigham” over “Made in Canada”. The style of stamp places this pipe’s date of manufacture somewhere in the late 1970’s or early 1980’s. The stem carries the two brass Dots of the 200-series pipes.
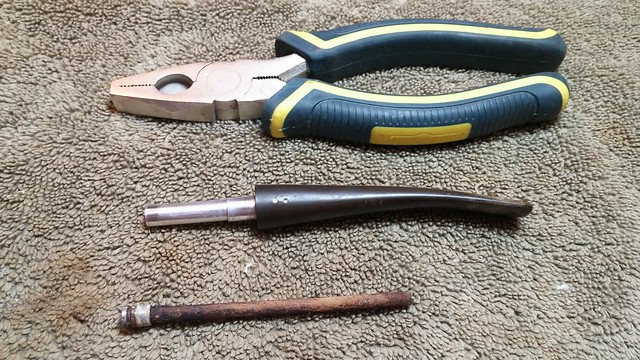
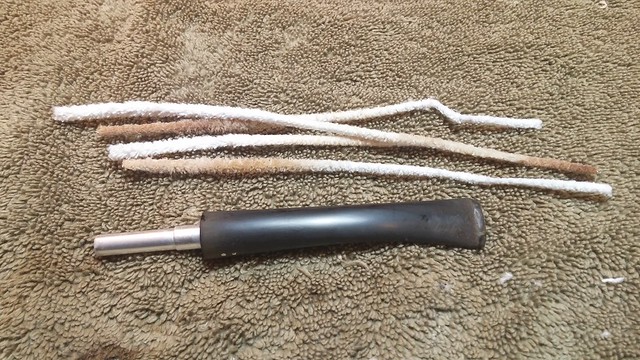
I used a pair of plies to pull the old filter from the tenon and dropped the stem into an Oyclean bath to raise the oxidation for easier removal.
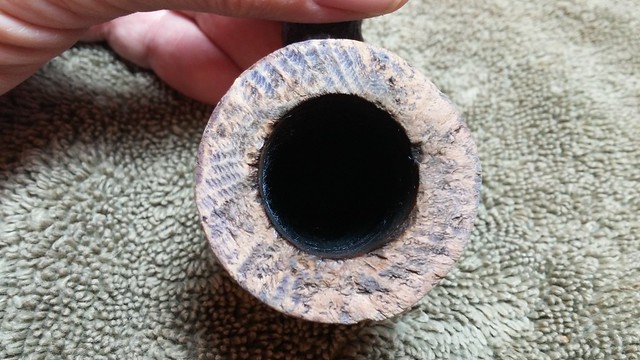
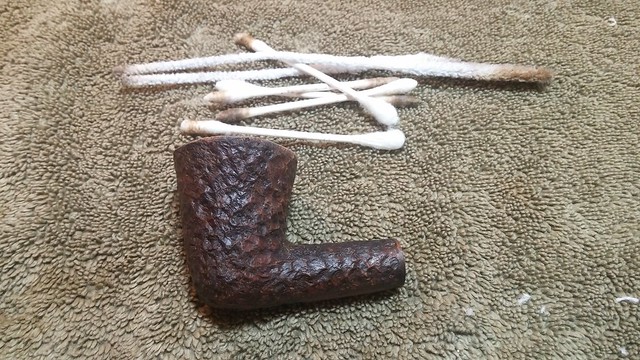
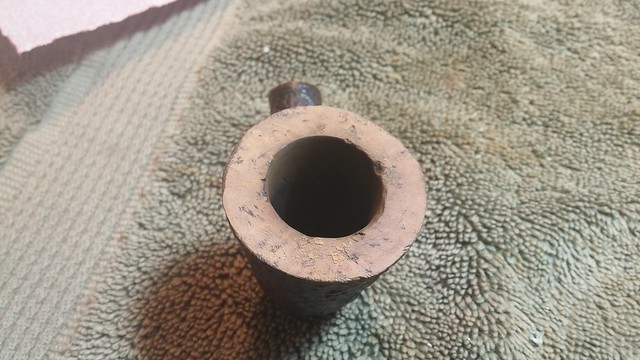
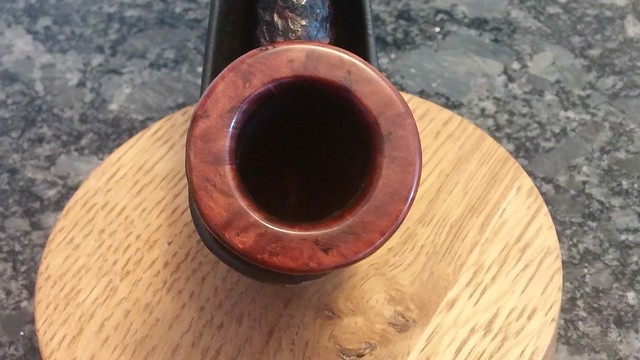
While the stem soaked, I reamed the chamber back to briar to both remove “the last guy’s” tobacco remains and inspect the chamber walls for any damage. Thankfully, with this pipe, the briar was in excellent shape under the old cake.
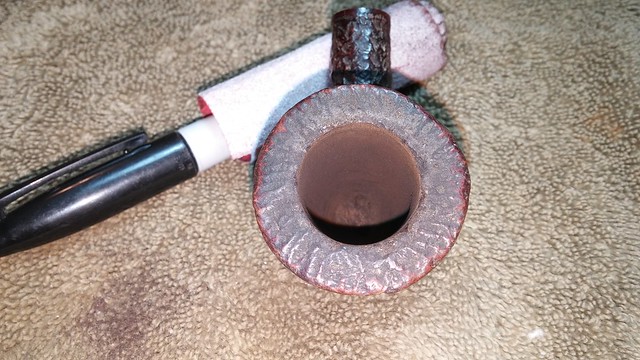
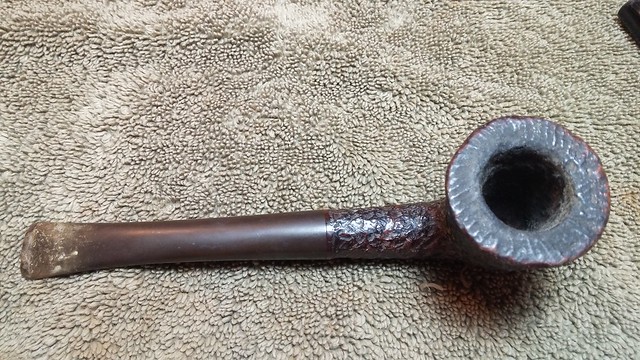
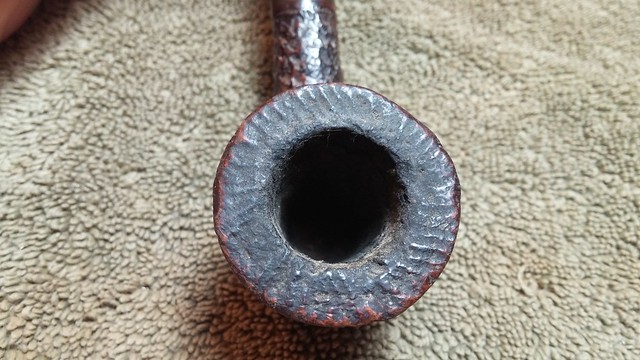
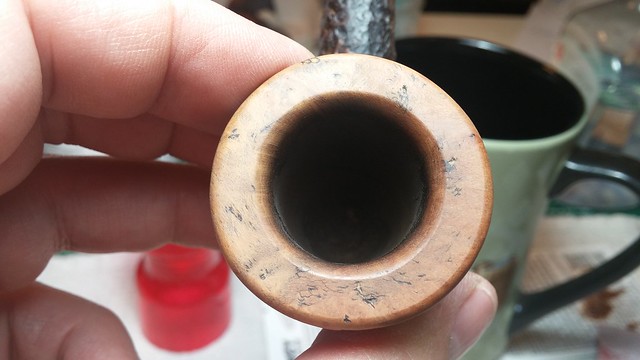
I used a brass-bristled tire brush to gently scrub the worst of the lava from the pipe’s rim. As the lava came off I could see that the rim had not fared as well as the chamber – the rustication was worn, dented and chipped across much of the wide rim surface, especially on the front half which had borne the brunt of some serious dottle-knocking.
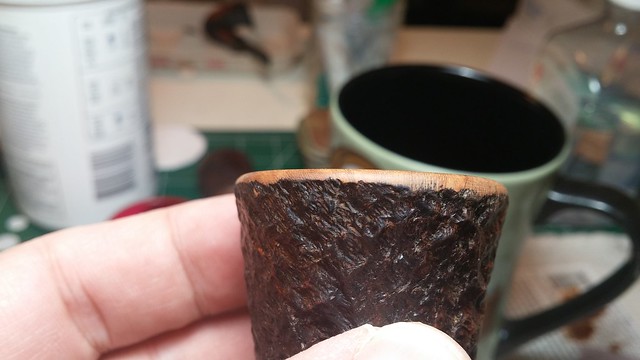
The first pic below shows the rim after the initial scrubbing; the second pic shows things after a further cleaning with alcohol. The damage to the rim is extensive, obliterating a good portion of the original rusticated rim.
I decided to clean up the stem while I considered my options for the rim. Pulling the stem from the Oxyclean, I scrubbed away the now softened oxidation with 0000 steel wool and Magic Eraser pads. Pipe cleaners dipped in alcohol took care of the internals, which were in better condition than I had expected.
 .
.
More pipe cleaners, cotton pads and alcohol were used to clear the minimal tars and debris from the stummel’s shank and airway.
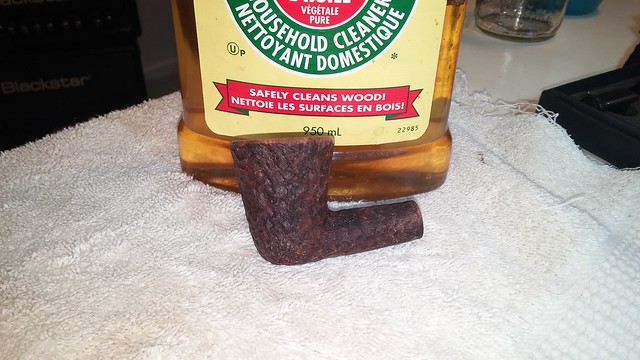
I finished cleaning the stummel by scrubbing the exterior with Murphy’s Oil Soap and a toothbrush, removing dirt, grease and old wax from the rusticated surface.
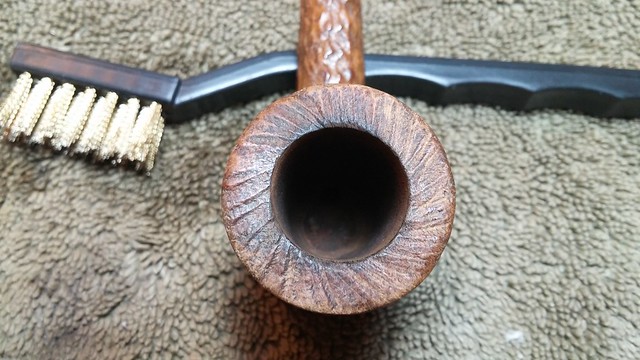
Then it was time to tackle the rim repair. In the end, I felt that the damage was too extensive to reasonably rebuild the missing briar. Instead, I opted to top the bowl to remove what little remained of the original texture and shape a smooth rim instead. It didn’t take much topping on 220 grit sandpaper.
The new flat rim was in rather stark contrast to the rusticated bowl sides. I softened the edges by initially sanding bevels into both inner and outer rim edges, and then rounding the bevels over to create a smooth flow up and over the rim.
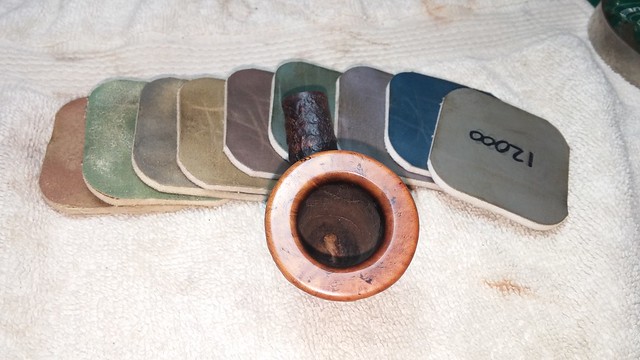
When I was happy with the new lines of the rim, I polished things up with micromesh pads.
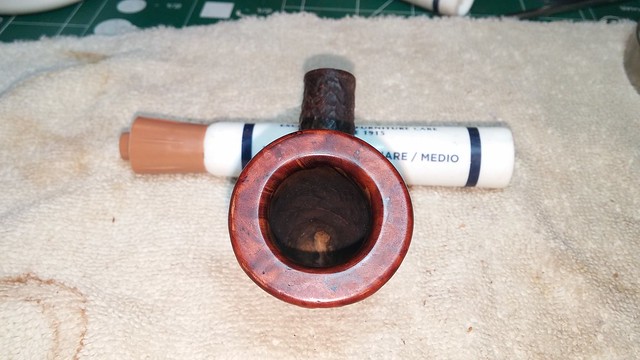
I finished up work on the stummel by staining the rim a dark red/brown to match the colour of the smooth patch on the underside of the shank.
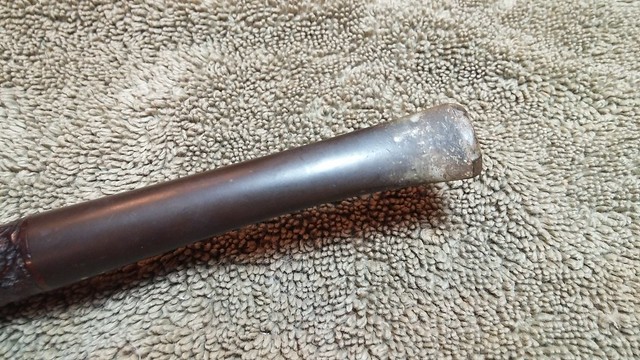
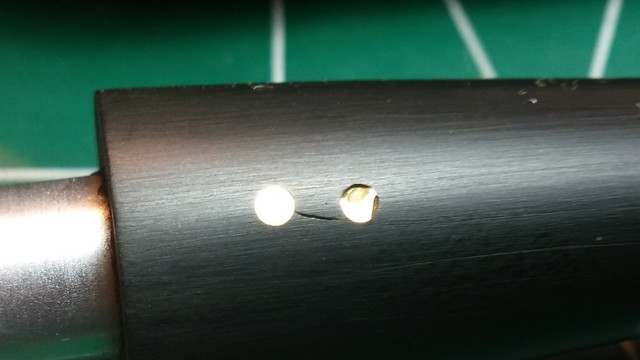
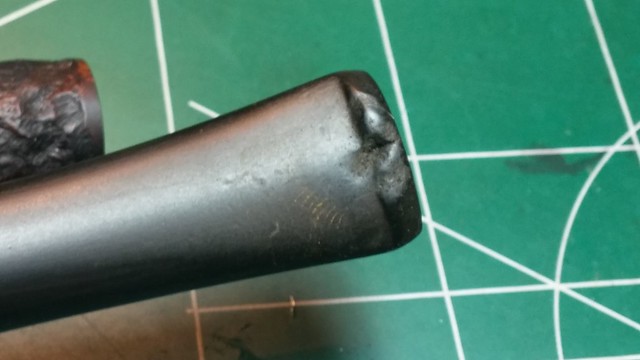
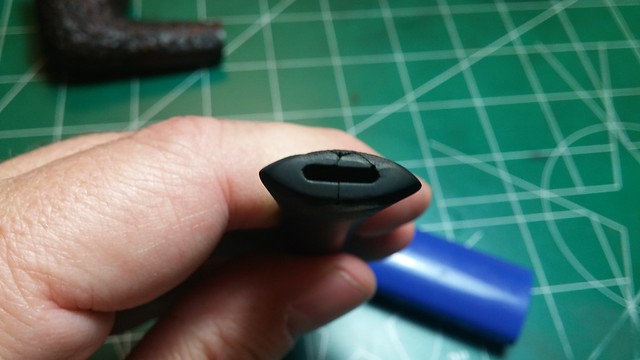
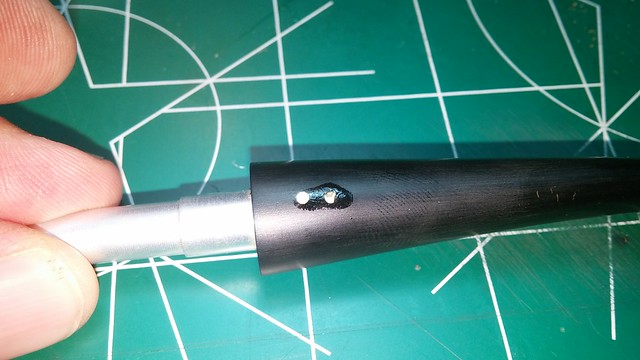
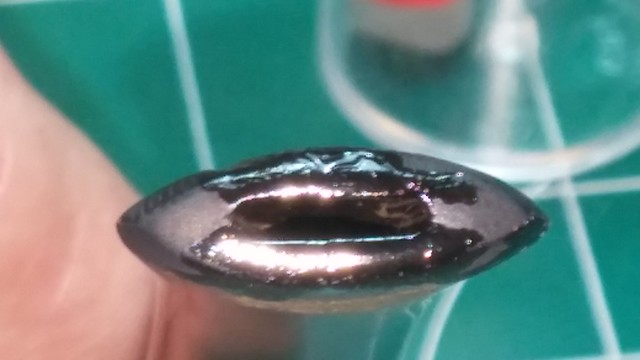
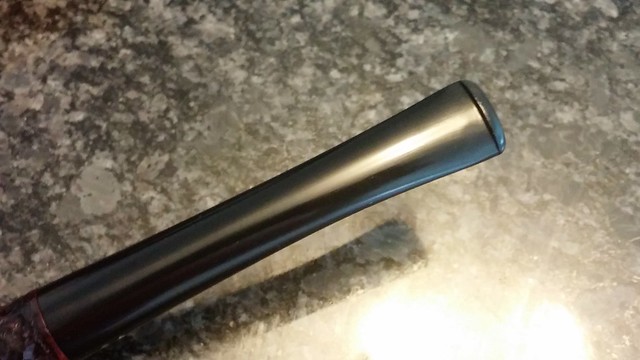
Setting the stummel aside, I took some close-up pictures of the stem. There were a few small cracks below the brass dots on the side of the stem which I’d have to address.
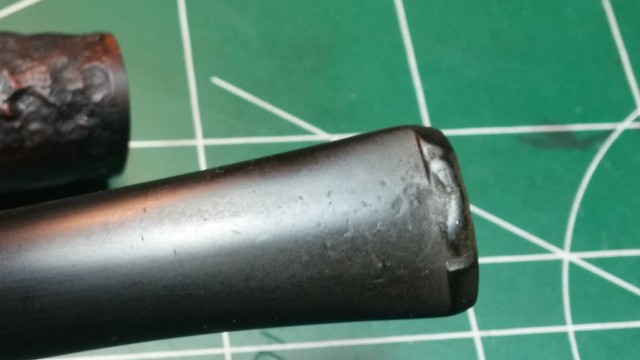
The button was in worse shape than I had originally thought too – the large tooth dent on top of the stem was quite deep and the end of the bit had cracked from the constant pressure. A section of the upper bit was in danger of falling out if I didn’t stabilize things.
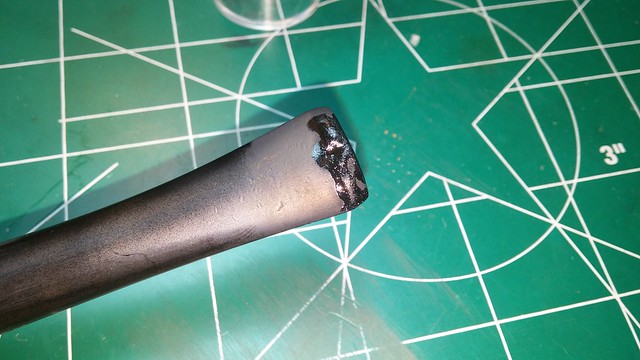
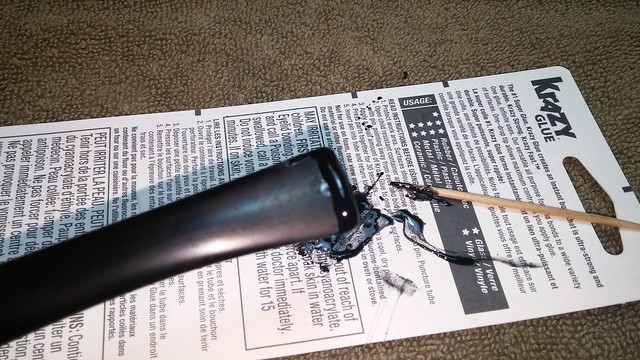
I dabbed a bit of CA glue over the stress cracks near the brass dots to fill the damages there, and used it again at the bit, flowing the thin glue into all the cracks to tie the end of the stem back together.
When this initial repair had had time to cure, I filled the damaged area with CA glue mixed with charcoal powder to repair the tooth dents and rebuild the button.
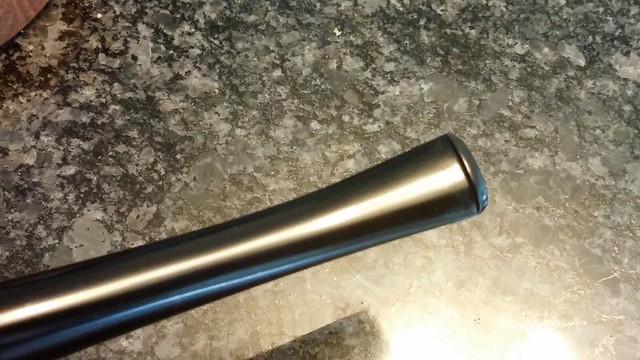
When the stem patches had cured, I used files and sandpaper in various grits to first rough in and then refine the shape of the new button. When I was satisfied with the results, I wet-sanded the stem to 2000 grit to remove the sanding scratches and bring up the shine.
Then it was off to the wheel for both stem and stummel for a run of White Diamond and several coats of Carnauba wax.
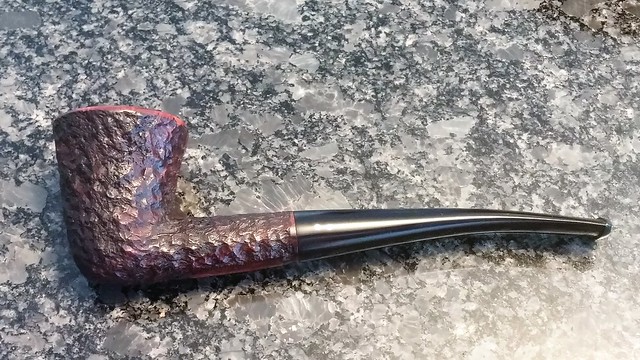
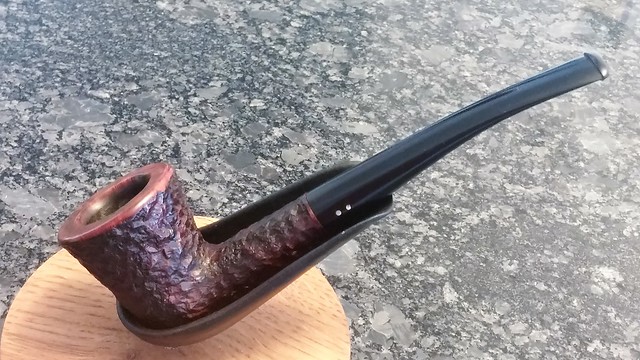
This Brigham 287 Bent Dublin has come a long way since it first hit the worktable, though if you didn’t know it left the factory with a rusticated rim, I think you’d be hard pressed to notice the change. I usually try to maintain the original specs of an estate pipe, but in this case the rim was too far gone to make a convincing job of it.
The new rim has a sleek, organic flow to it that contrasts nicely with the rusticated stummel. The overall look reminds me of quite a few Stanwell pipes of the same era, which puts this Brigham in good company.
The once-fractured bit has been restored, and the stem shines a deep black, in stark contrast to the brown/yellow oxidized vulcanite I started with.
As as added bonus, I get to add another fine pipe and a new-to-me shape to my Brigham collection. At this rate, I’m going to have to start selling off duplicates in order to make room in my rack! Not such a bad problem to have….
Thanks for following along on this pipe rescue. What had seemed a simple cleanup for this pipe turned into a rather extensive overhaul; but like any renovation, you never know what you’re going to find until you open up a wall!
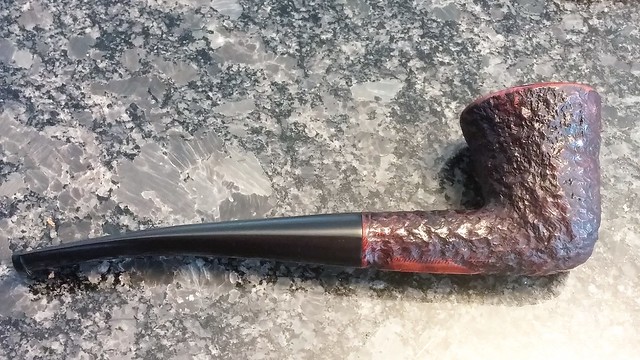
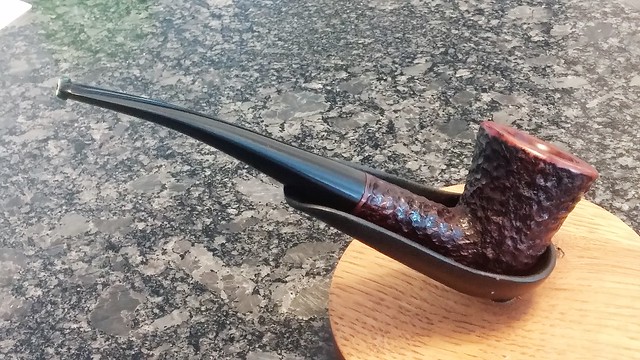
Until next time, Happy Piping! Here’s the finished pipe.

Reblogged this on rebornpipes and commented:
Nice cleanup on this one Charles. Same as always. Gotta love those old Brigham’s.
LikeLiked by 1 person
Thanks Steve. I don’t usually deliberately alter the factory lines of a pipe, but this one was so bashed up there was little choice. That said, I think it is a handsome piece with its new smooth, crowned rim! 😀
LikeLike
It looks good with the smooth crown.
LikeLiked by 1 person
I think so too. Gives it a bit if a Stanwell look, I think.
LikeLike