
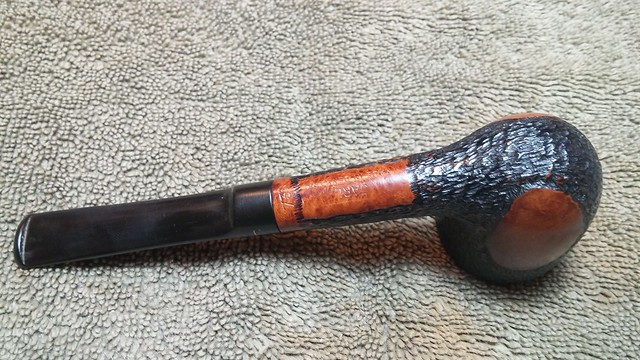
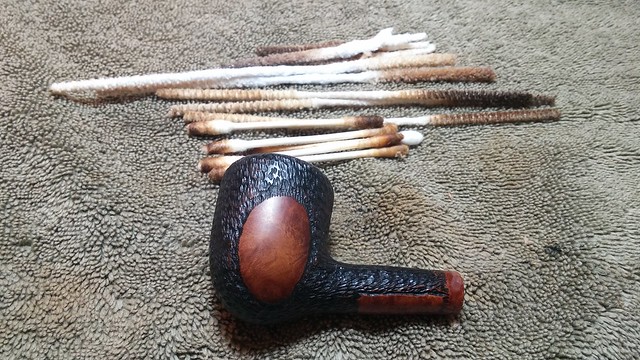
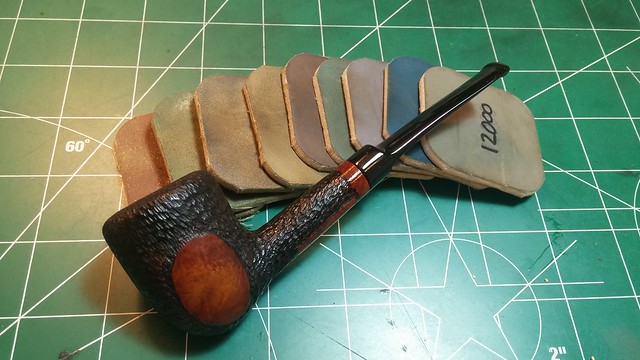
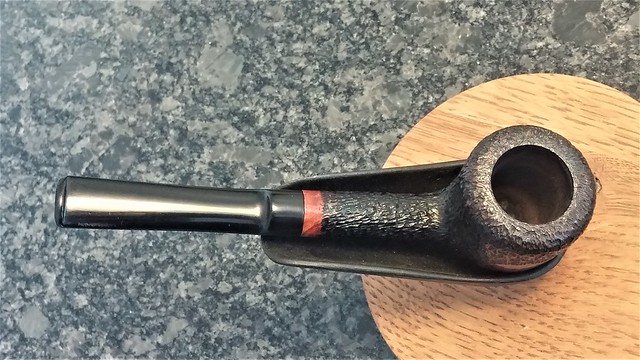
Here is another quick Summer pipe refurbishment, this time a Jarl 733 Egg. I’ve come across a few Jarl pipes, but there’s not a lot of information out there about the brand. According to an entry on pipedia.org, Jarl pipes were made by Niels Mogens Jørgensen in a little factory in the town of Bramdrupdam, just outside Kolding, Denmark. And that’s about it, other than that some Jarl pipes (presumably older stock) are stamped “Oil Hardened”.
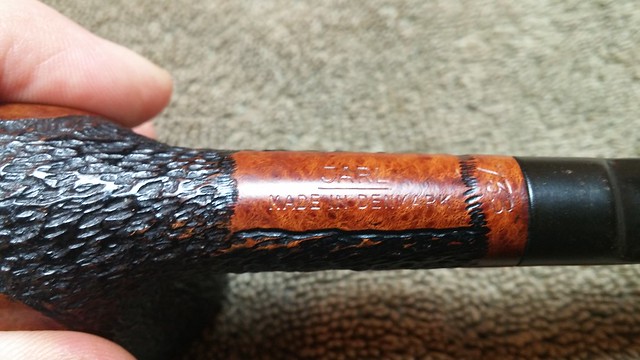
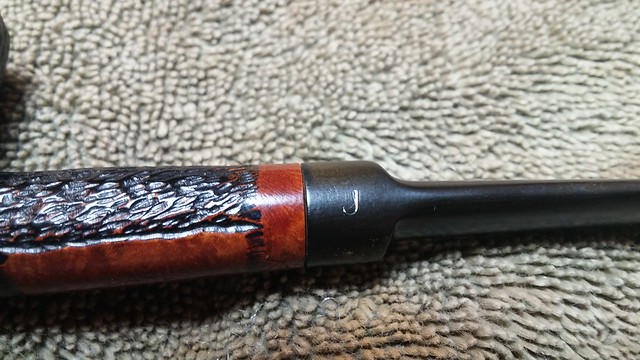
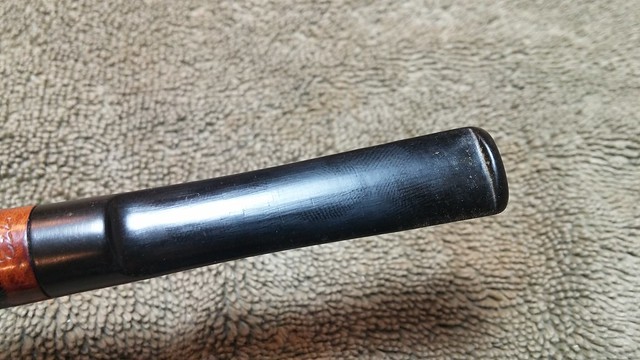
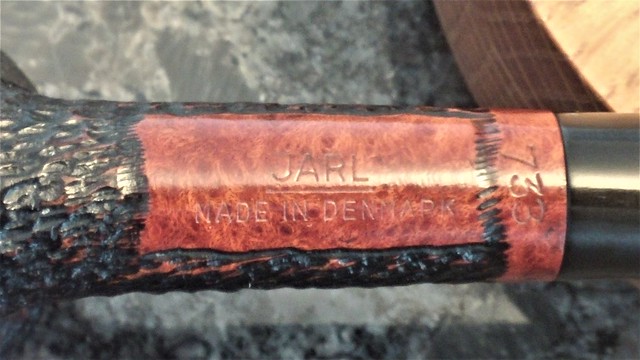
The Jarl pipe on my table this time does not carry the Oil Hardened stamp. It is marked “Jarl” over “Made in Denmark” on the underside of the shank, and the shape number, “733”. The stem carries the “J” logo of the brand.
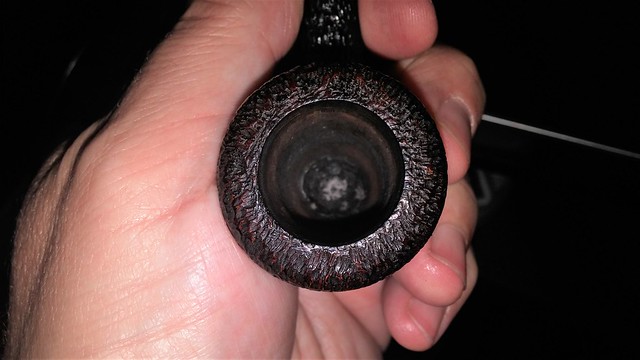
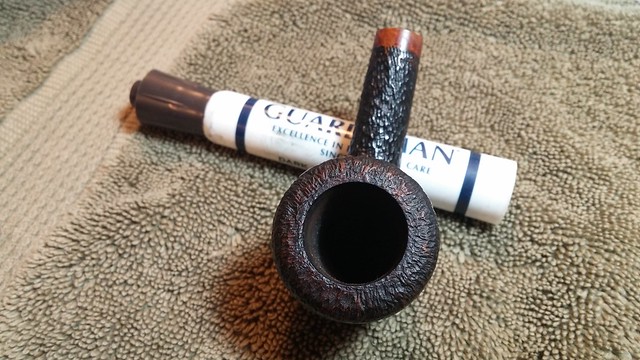
In fairly clean estate condition, the pipe’s main issues appeared to be a lava-encrusted rim, a caked up bowl and a slightly oxidized stem. Otherwise, the pipe looked like a good cleaning would do the trick.
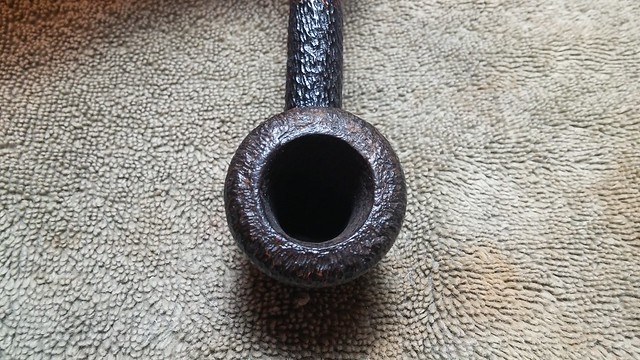
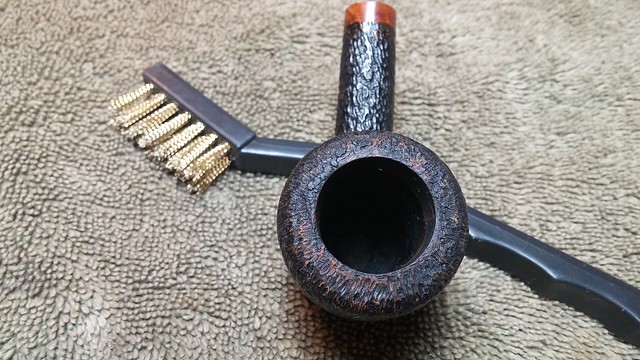
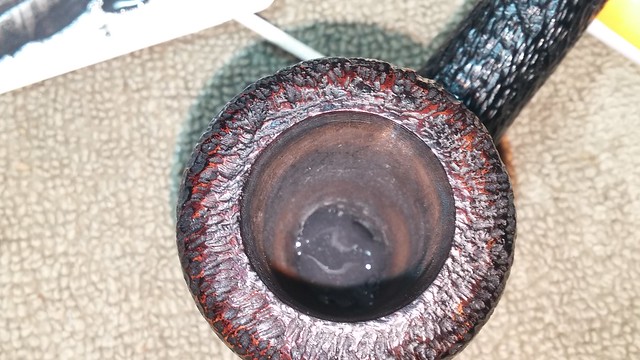
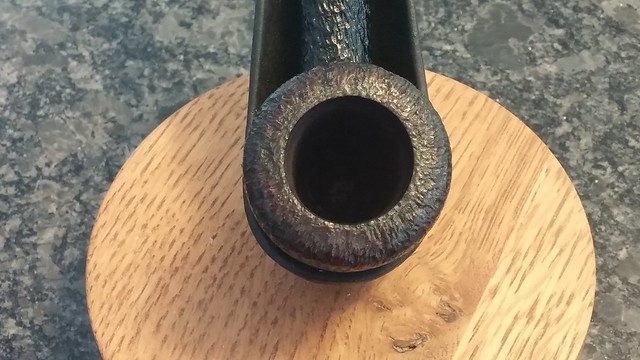
I dealt with the first two issues fairly quickly, reaming the chamber with my Castleford reamer, and clearing the lava from the rather finely-grained rustication with a brass tire brush. It was a bit tricky to tell how much lava was stuck in the bark-like texture of the rim rustication – the second pic below shows the rim part way through the cleaning.
Now that the bowl was clear of cake I could tell that it had been somewhat over-reamed in the past, either with a knife or a pointy reamer. This pic shows the dimple in the chamber floor typical of this situation. Effectively, over-reaming raises the draft hole above the floor of the bowl, while also thinning the chamber floor. Left unchecked, it can lead to a burnout through the bottom of the pipe.
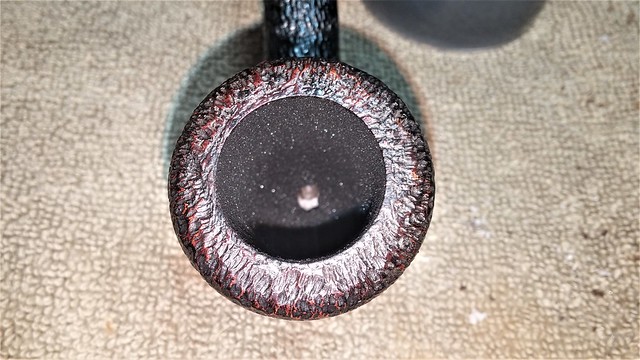
Not wanting to face that eventuality, I filled the dimple with a bit of JB Weld and let it set overnight. It didn’t take much time or material, and as cheap burn-through insurance, the effort was well worth it. A charcoal bowl coating tidied things up and will also provide a good base for the formation of new cake.
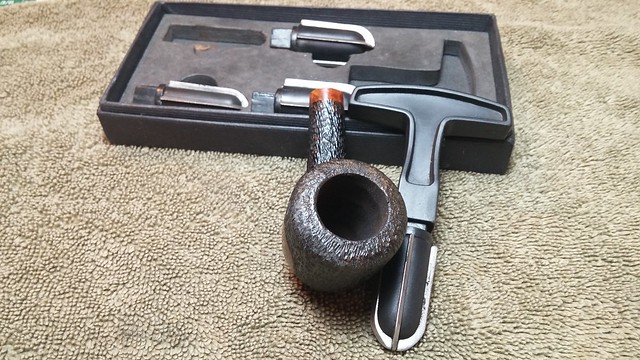
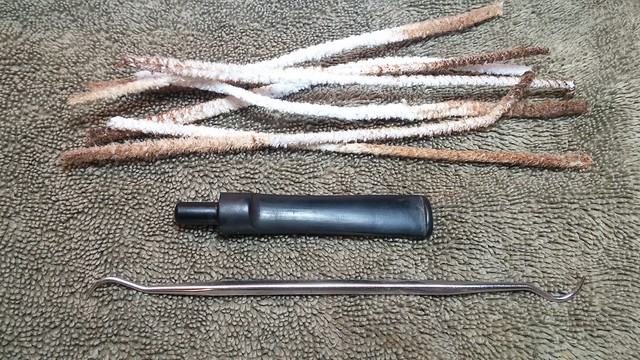
The pipe’s internals were a bit gummed up with tars. I used a good number of pipe cleaners and cotton swabs dipped in alcohol to clear out the mortise and airways in both stem and stummel. The dental pic came in handy for clearing larger debris from the stem slot.
The brass brushing had removed a bit of the original stain on the rim. I touched things up with a stain pen. These things are handy to have on hand!
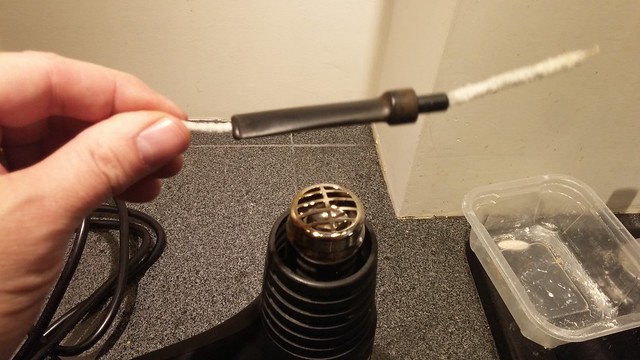
The stem’s airway was a bit constricted, probably a result of habitual clenching by the previous owner. To open the draw I heated the stem over my heat gun and pushed a pipe cleaner through the softened vulcanite. A quick dip in cool water set the new airway diameter. I also corrected a slight bend at the end of the saddle stem in the process.
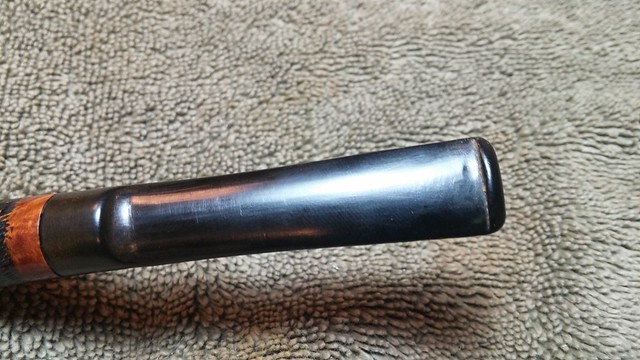
I used 220 and 320 grit sandpapers to remove the surface oxidation and smooth out the stem surface. A few deeper tooth dents remained, especially on the underside of the bit. These I filled with a mix of CA glue and charcoal powder.
When the patch material had cured I filed and sanded the repairs flush. Unfortunately, the heat transfer/thermofoil stem logo did not survive the cleanup. The impression is still faintly visible but isn’t deep enough to hold any colour. Bummer, but I’m not sure it materially affects this Jarl.

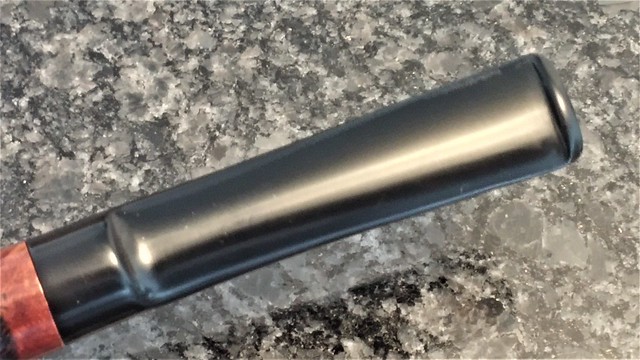
I finished the stem work by smoothing and polishing the vulcanite with a full course of Micromesh sanding pads in 1500 – 12000 grits. A light wipe of mineral oil after each set of three pads cleaned off the sanding debris and added depth and shine to the stem.
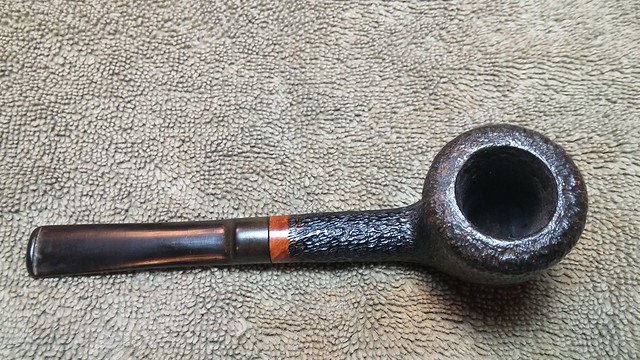
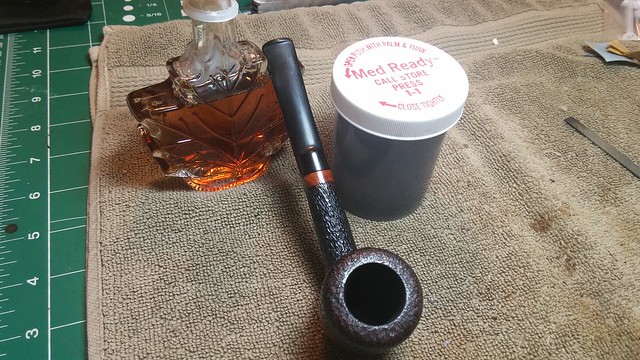
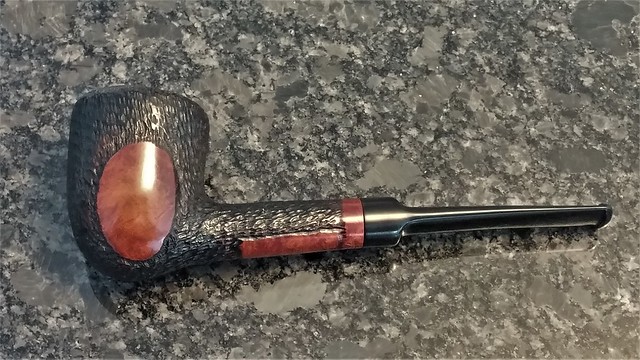
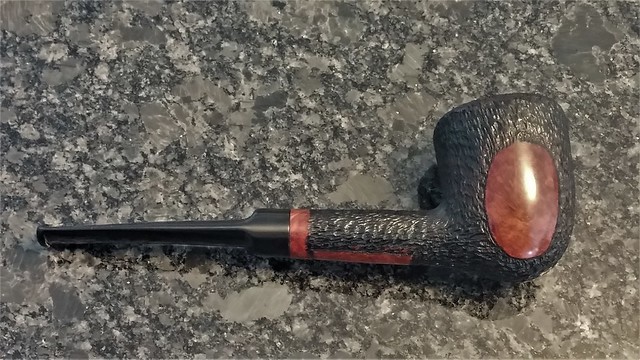
Then it was off to the buffer for a quick run of White Diamond compound and a few coats of Carnauba wax. This Jarl Egg is looking sharp after its day at the spa – it really didn’t need much more than a good spit and polish to perk right up again.
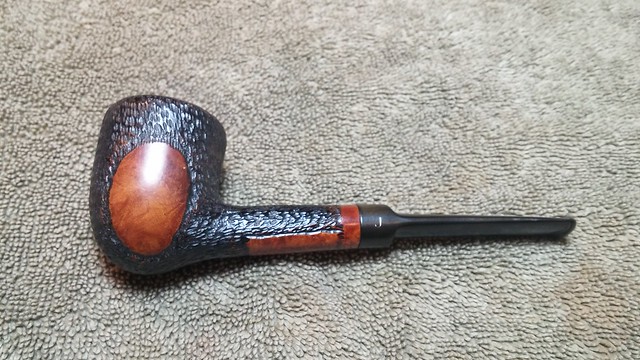
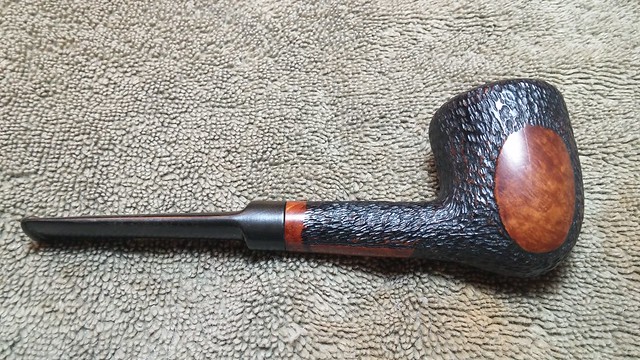
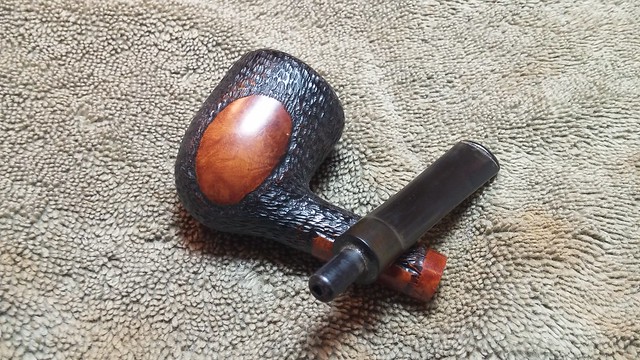
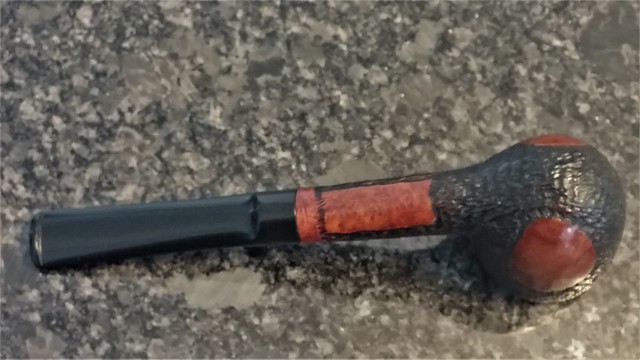
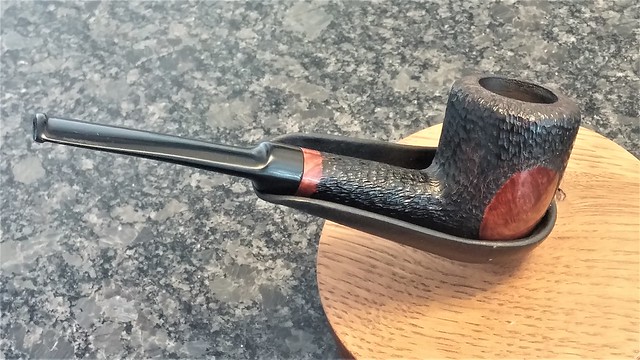
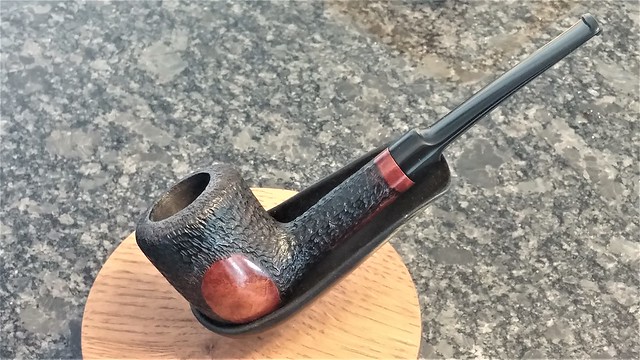
The “pine bark” style rustication is interesting, and the smooth oval lozenges on either side of the bowl give glimpses of the briar grain. Overall it’s a sharp looking middle-sized Danish pipe that should serve as a stalwart companion for many years. If you’d like to add this Jarl Egg to your own rack or that of another fortunate piper, it is available on the DadsPipes Store now.
Thanks for joining me for this quick pipe refresh. Until next time, Happy Piping!
Here’s the finished pipe.


Very nice looking pipe. Looks like it would feel good in-hand. Too bad it’s not a bit larger. Dunhill 4? I like the tip on filling the dimple in the chamber. I have a few that could use this. After the weld hardens, do you coat with honey and then apply charcoal?
LikeLiked by 1 person
Thanks David. The JB can be sanded and shaped as needed after it cures. I apply the bowl coating right over top.
LikeLiked by 1 person
Hi Charles,
Great job, the Jarl pipes are imho underrated.
I own quite a few smooth ones ; very handsome briar and great smokers too.
With what device do you apply the JB weld ?
Best wishes,
Roland
LikeLiked by 1 person
Thanks, Roland. I find a toothpick useful for dropping the JB where I need it without getting it on the chamber walls or rim.
LikeLike
Thank you Charles .
Is the stuff that liquid ?
Roland
LikeLike
JB is a two-part epoxy mixed 1:1. It mixes to a consistency somewhat thicker than molasses but is thin enough to drop a glob off the end of a toothpick. When wet it will readily accept a second or third dose to top things off and will self level to a smooth finish. Just don’t let it run into the draft hole unless you want to re-drill after it sets.
LikeLike
I’m accustomed to using my own recipe pipe cement ( oak wood ashes and water ) but will try the JB, it is in the toolkit, but it takes a little courage to start using it, trial and error you know.
I always block the draft hole with a pipe cleaner before I start working on a chamber floor.
Thank you for enlightning me Charles , it sure is encouraging.
Roland
LikeLike
I understand completely! Pipe cement (or pipe mud) will work too but is more prone to being accidentally reamed out afterwards. I also never seem to have ash on hand when I have to make a repair like this! 😀
LikeLike