
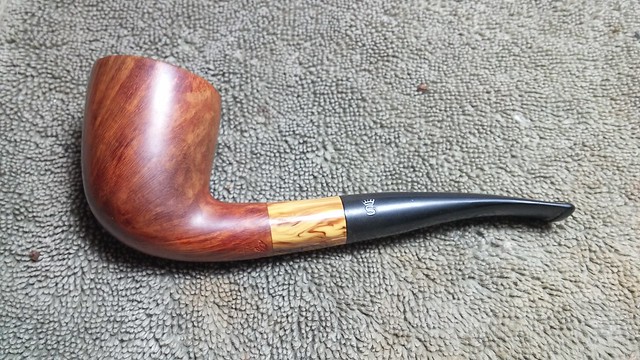
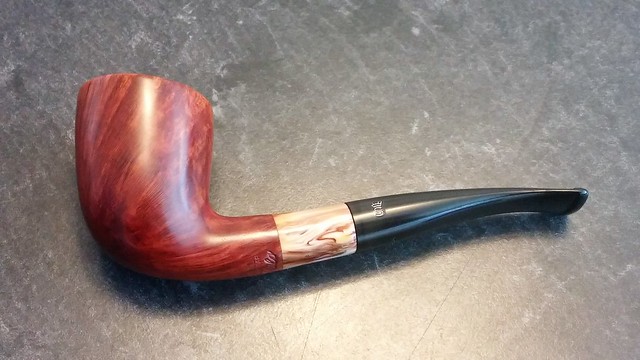
Needing a break from all the Brigham and Blatter pipes I’ve worked on lately, I dug down through my box of estate pipes and came up with this Stanwell Buffalo. It is a Shape # 140, which Bas Steven’s list of Stanwell shapes identifies as a “Small freehand, slightly bent, full mouthpiece by Jess Chonowitsch”. I’m not very familiar with Chonowitsch’s designs, but I quite like this Dublin-esque freehand.
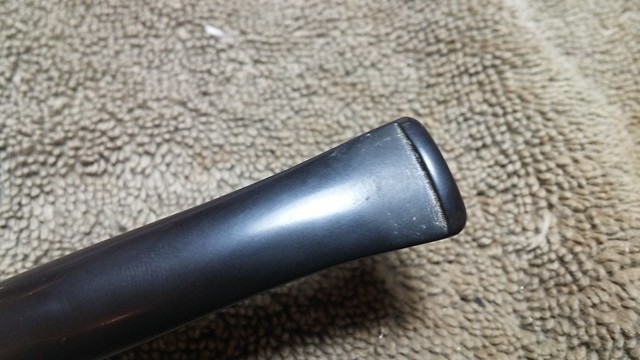
Out of the refurb box, the pipe looked to be in very good condition. It had obviously been smoked, as the rim was partially obscured by a thin crust of lava, and the mouthpiece showed some light tooth chatter. There was a decent amount of cake in the bowl, and a few dents and dings around the outside edge of the crowned rim.
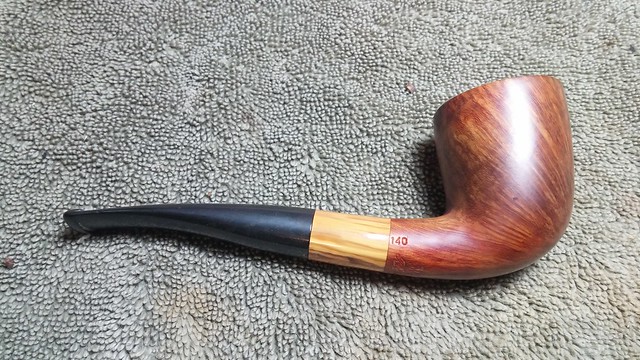
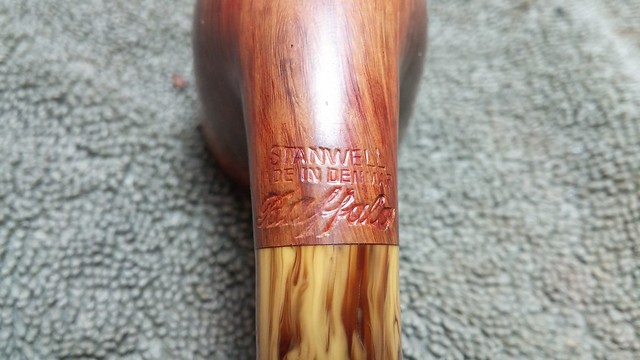
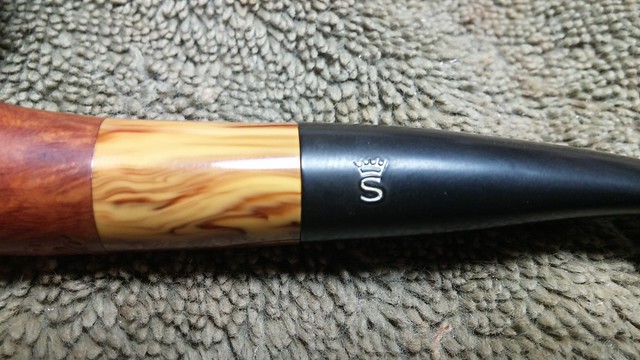
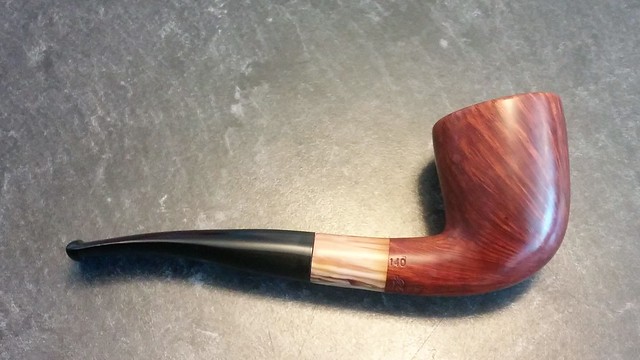
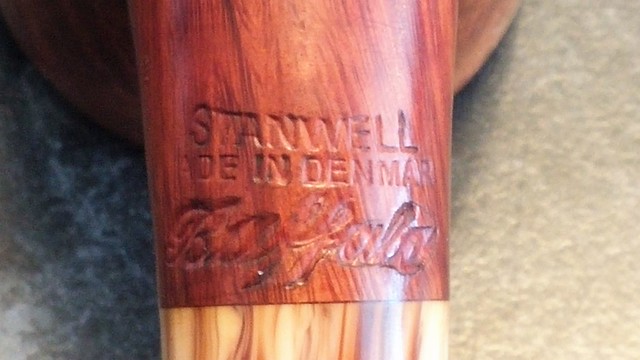
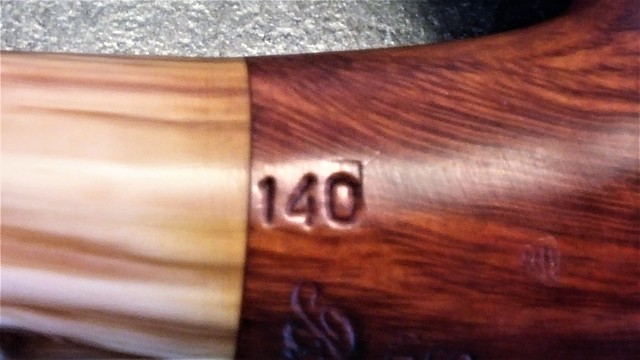
The pipe is stamped “Stanwell” over “Made in Denmark” over “Buffalo” on the underside of the shank near the mortise, and “140” on the right flank.
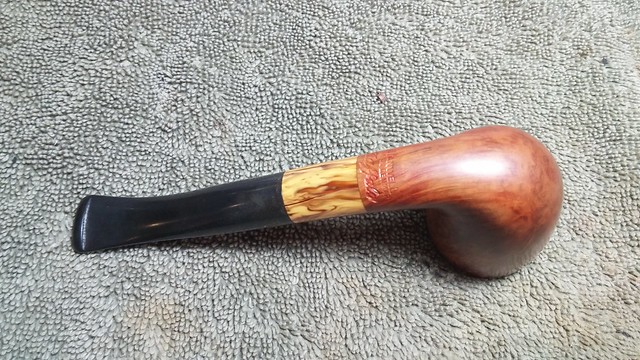
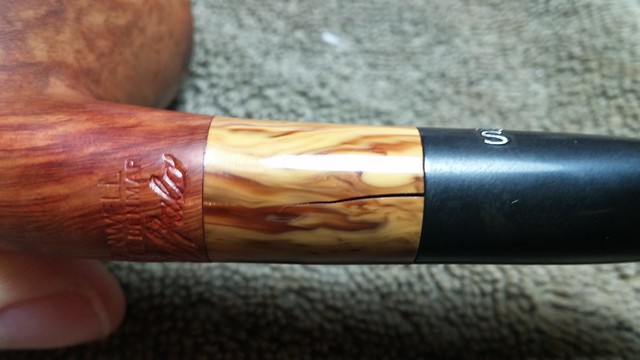
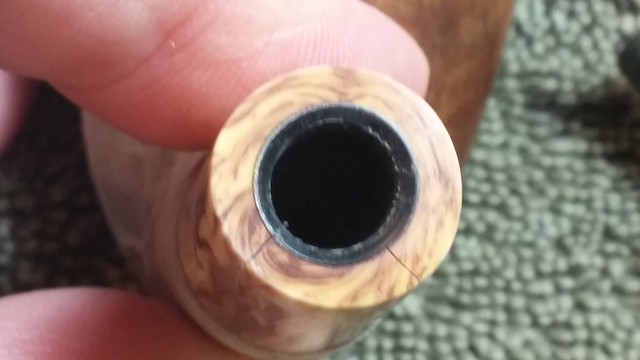
The stem was a bit loose in the shank, and a closer inspection quickly revealed the reason – a crack in the buffalo horn shank extension. The crack started at the mortise and ran about three quarters of the way down the side of the horn section. Unlike a few Stanwell Brazilia pipes I’ve worked on, the plastic (Delrin?) mortise insert was still in one piece in this Buffalo.
As the exterior of the pipe was already pretty clean, I decided to start this refurb by repairing the cracked shank extension. With other horn extensions, I’ve had to create new mortise inserts to hold the stem tenon securely in the shank. As the original insert was in good shape here, I only needed to close up the crack.
To do this, I first drilled a tiny hole at the bottom end of the crack to act as a “fire break” and stop the crack from spreading. With the hole drilled, I filled the crack with CA glue and clamped the crack closed in a small hobby vise.
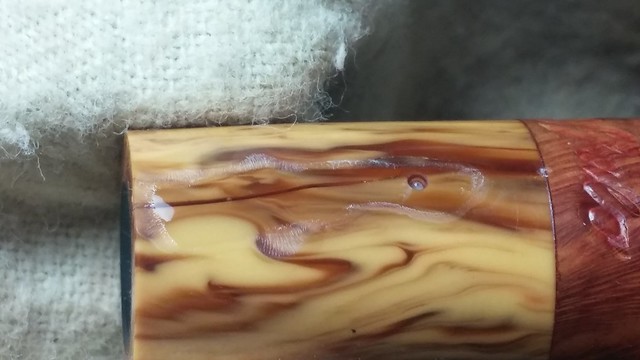
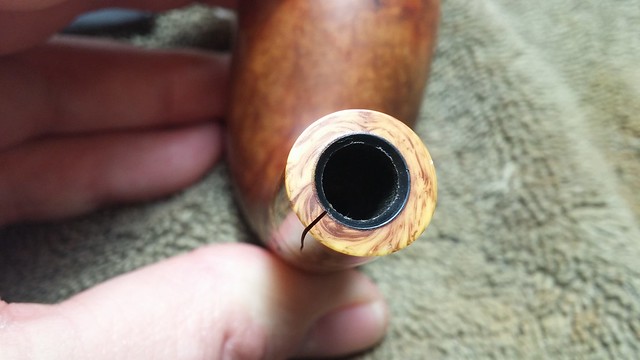
Ambition overcame caution at this point, and I create more work for myself. While tightening the vise to close the crack, I heard a sharp “pop” – I had indeed closed the original crack, but had stupidly created a second one! Thankfully, this crack was a tight hairline fissure which I was able to repair with a bit more CA glue. In this pic, the original damage is at the 5 o’clock position, with the new crack showing at 8 o’clock.
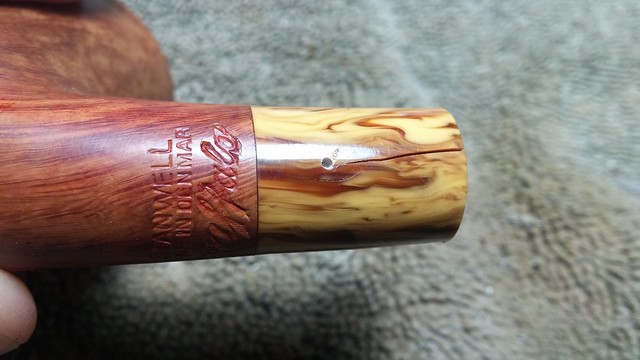
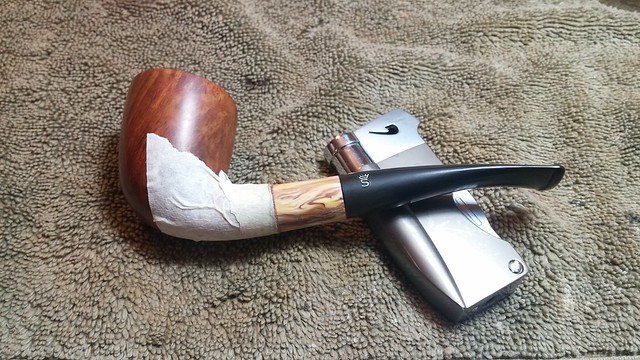
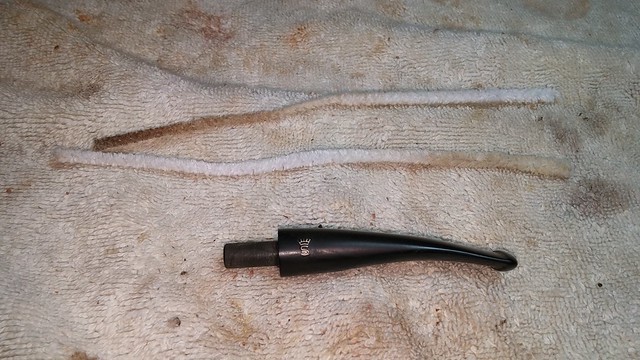
I gave the CA glue lots of time to cure properly, and then sanded the repairs smooth. I refit the stem by warming the tenon over my lighter flame and then inserting the soft vulcanite into the mortise. When the tenon cooled in shrunk slightly, leaving the fit a bit loose, but at least the tenon wasn’t forcing the crack open anymore. I’d tweak the fit later, after I polished up the repaired horn. Note the masking tape wrapped around the briar shank in the pic below. I didn’t want to accidentally damage the crisp nomenclature.
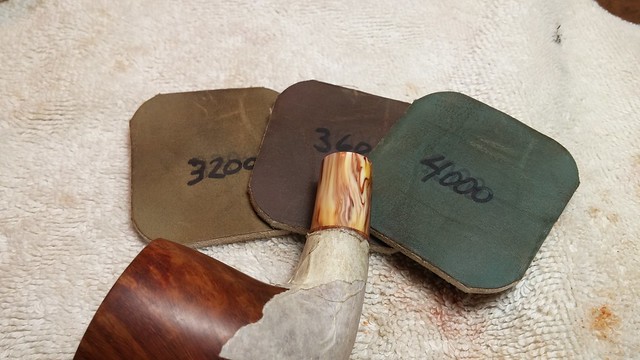
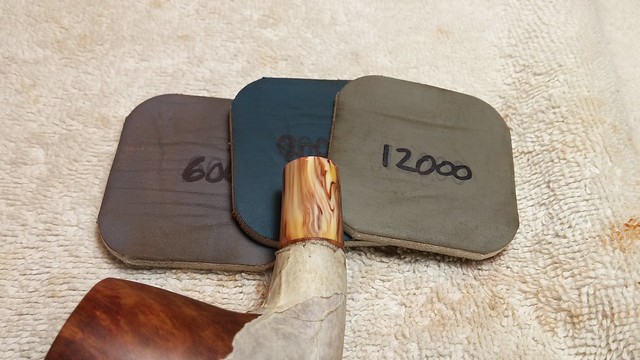
I polished out the rough sanding scratches and brought up the shine on the horn with a full course of micromesh sanding pads.

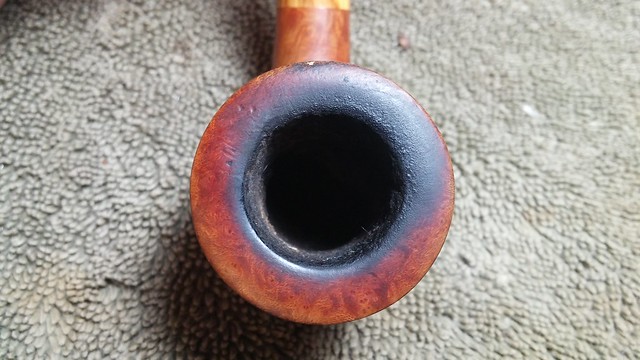
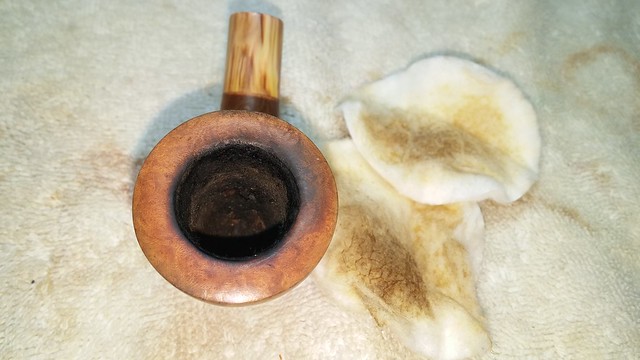
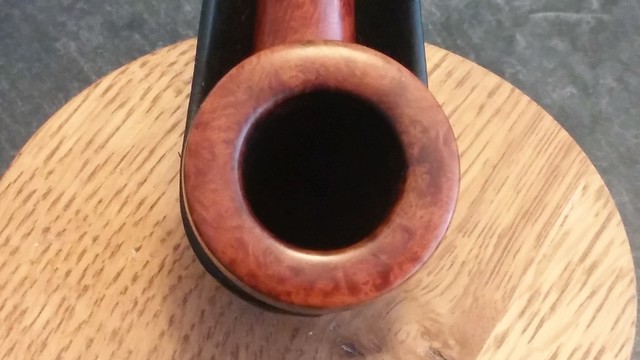
Moving to the rest of the stummel, I wiped most of the lava from the rim of the bowl with cotton pads and alcohol, and then reamed the old cake from the chamber.

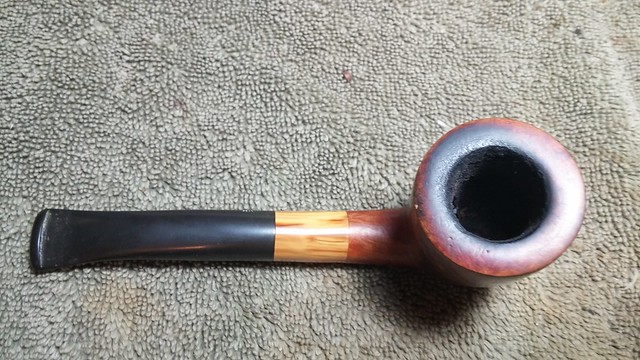
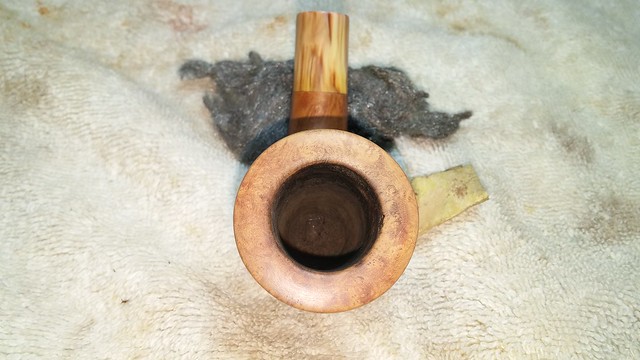
I tidied up the rim with 320-grit sandpaper and 0000 steel wool. This cleaned away the remnants of the lava and smoothed out the briar. You can see in this pic that the inner edge of the bowl still needs some attention, especially the gouge at 5 o-clock. I worked it until I found a balance between retaining the original shape and removing the dents. It’s not perfect, but much better than it was.
Moving to the internals, I cleaned the airways of both stem and stummel with pipe cleaners dipped in alcohol. It didn’t take long.
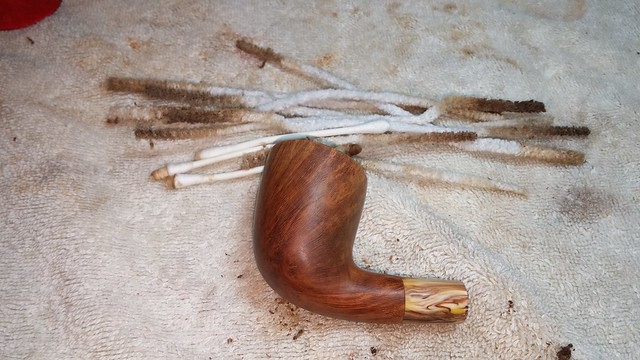
I refreshed the briar’s finish with a light coat of Fiebing’s Saddle Tan leather dye. After the dye dried, I hand buffed the briar with an old towel to remove the excess dye and then wipe the stummel with mineral oil to refresh the wood and give the finish depth.


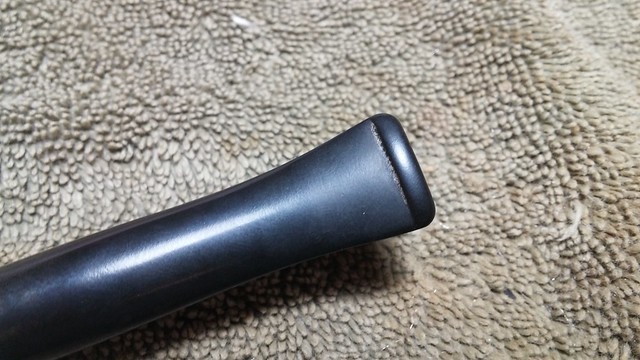
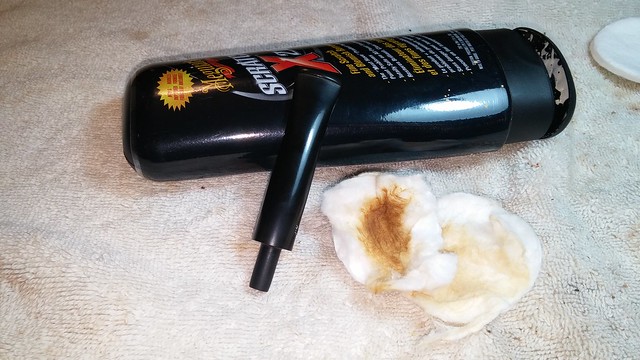
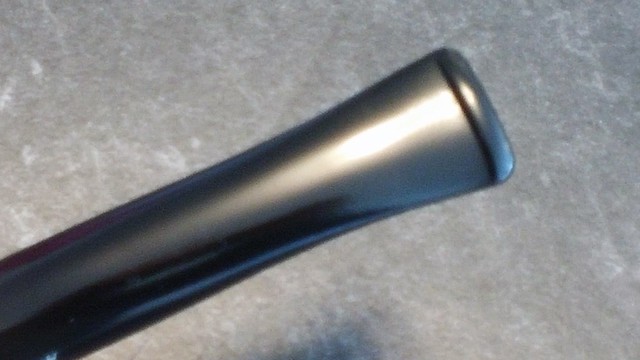
The stem was basically as new under the grime, so I cleaned and polished it up with Meguiar’s Scratch-X Plastic Polish to reinvigorate it.
Before going to the buffer, I adjusted the fit of the stem one last time. I’m guessing the original shank crack was the result of someone trying to tighten the stem fit in the mortise. It took a bit of back and forth and a fair bit of patience to find the sweet spot at which the stem slid home firmly but didn’t exert too much outward force on the repaired horn shank.
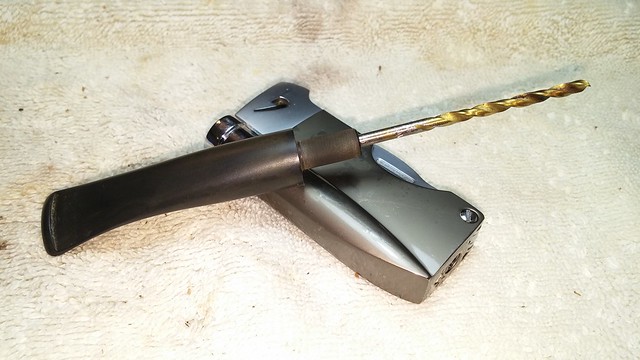
To first tighten the fit, I heated the tenon over a flame and pushed the smooth end of a drill bit into the airway to enlarge the tenon. I overshot the mark, so I used sandpaper to reduce the tenon until it seated nicely in the mortise.
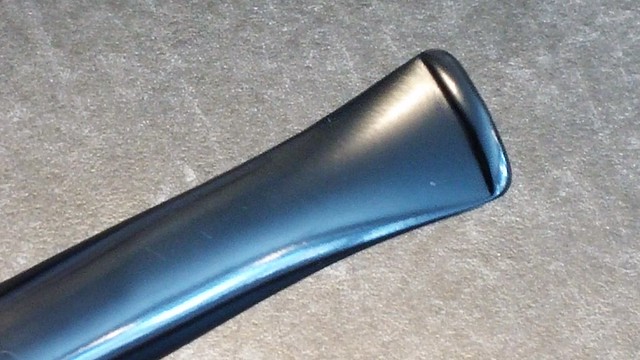
I finished up this repair by giving both stummel and stem a quick buffing on the wheel with White Diamond compound followed by several coats of Carnauba wax.
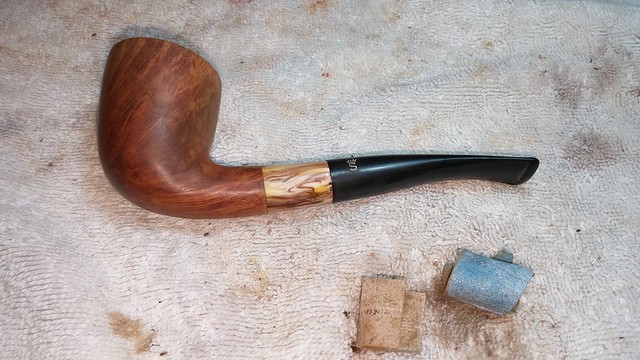
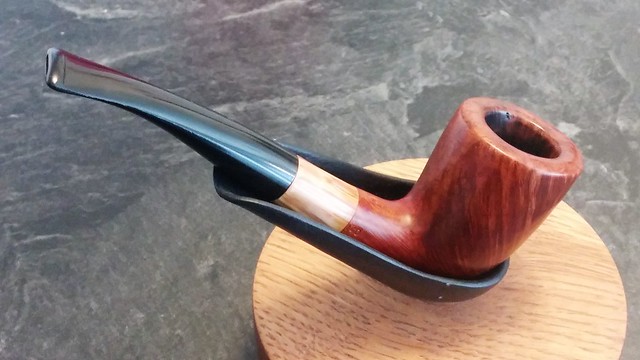
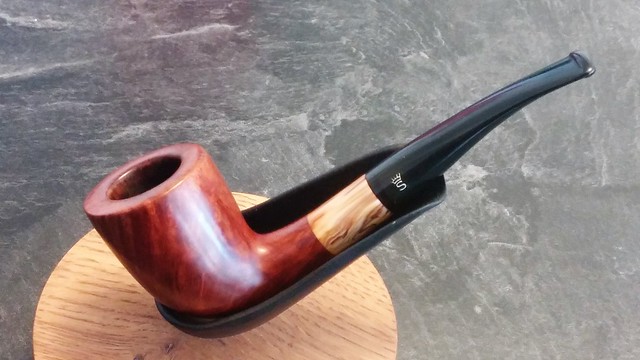
I’m quite pleased with the results. This smaller freehand looks nearly new, and certainly much more loved than when I got it. It’s also one of the last pipes remaining from the estate pipe purchase I’ve labelled the Danish Lot. So far all of the pipes from that lot have been put up for sale; I think I’ll add this one to my own rack instead!
Thanks for joining me for this restoration. I’ve got more posts coming, so stay tuned. Until next time, Happy Piping!
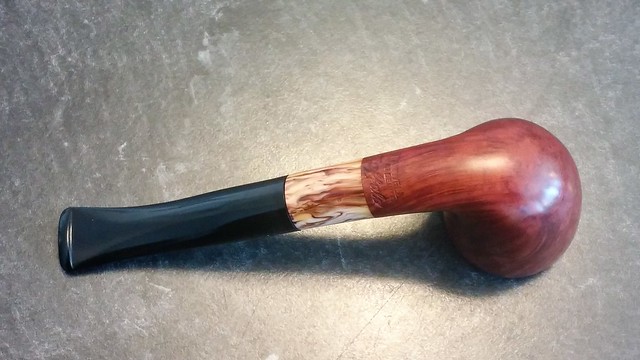
Here’s the finished pipe.

Reblogged this on rebornpipes and commented:
Good tutorial on repairing a split horn stem and a good recovery after the unexpected issue. Thanks Charles
LikeLiked by 1 person
Thanks Steve!
LikeLike
A tricky repair, well done!
LikeLiked by 1 person
Thanks, Al. It was a bit fiddley for sure!
LikeLike
The 3 different colors will really make that pipe stand out in your rack. Nice job.
LikeLiked by 1 person