
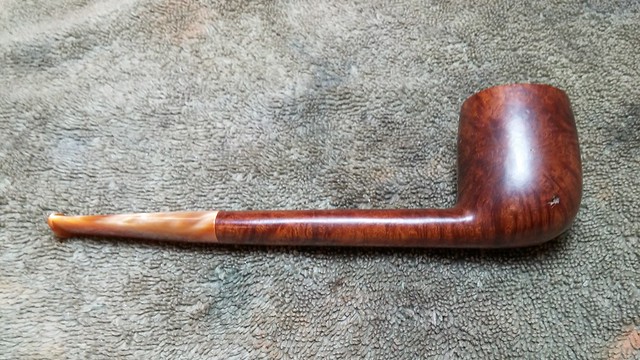
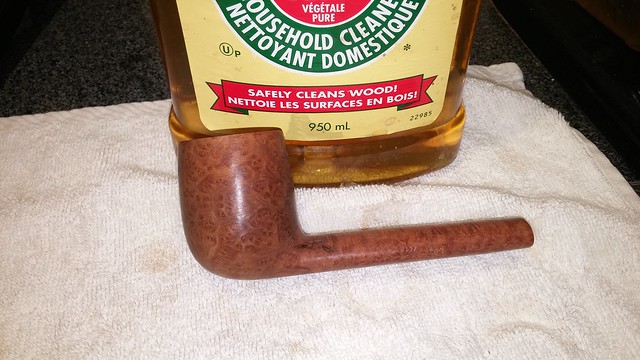
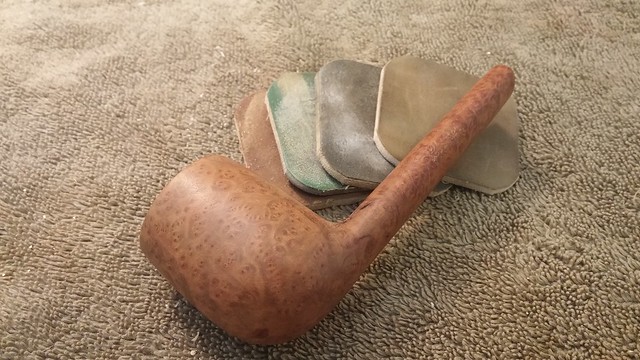
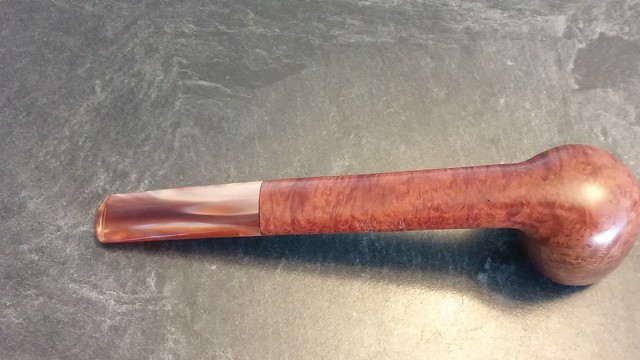
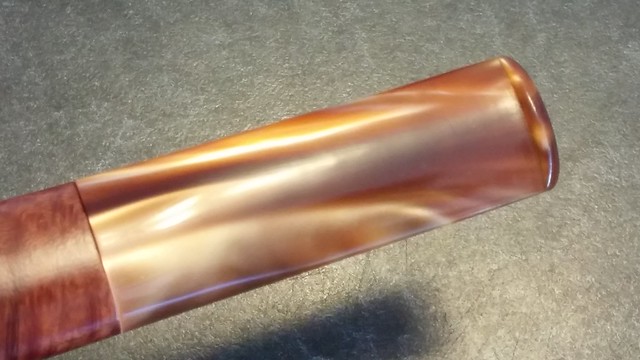
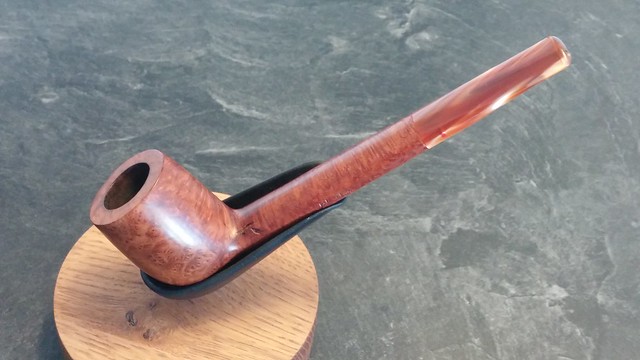
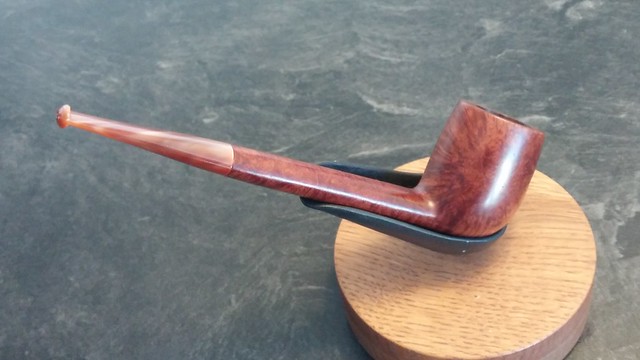
This is the second of six Blatter pipes sent to me for refurbishment. Of the lot, this Canadian is the owner’s admitted favourite, and I can see why. The long, elegant shape is rather appealing, and the amber acrylic stem on this pipe is quite eye-catching.
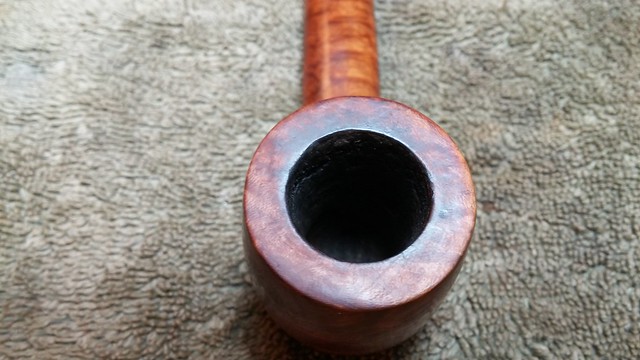
The pipe hit the worktable in very nice estate condition, with light tooth chatter on the stem, some darkening of the rim and a few nicks and dings around the inner and outer bowl edges. The bowl was properly caked, with a nice even layer of carbon – this pipe has been taken care of!

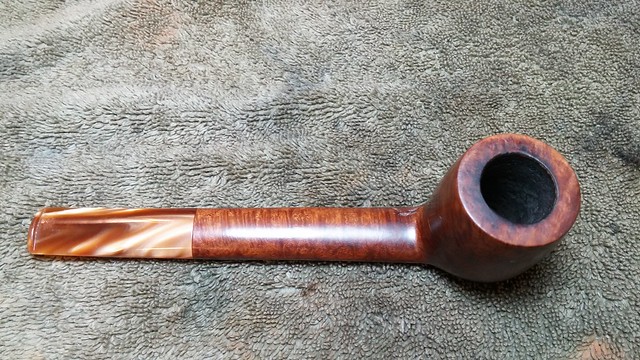
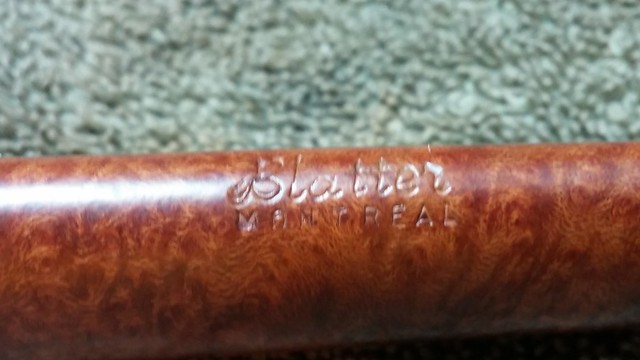
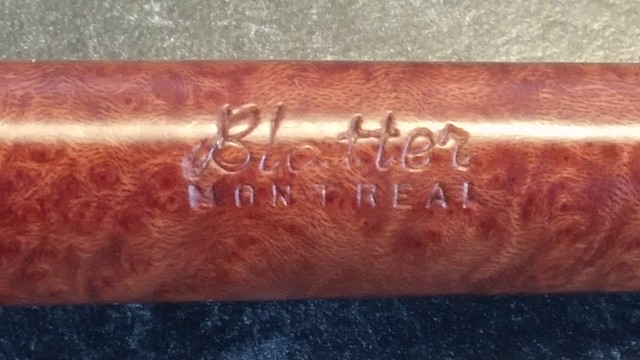
Like the smaller Zulu pipe I’ve already written about, this Canadian is marked simply with “Blatter” over “Montreal”. The left flank of the stem carries the Blatter Red Dot.
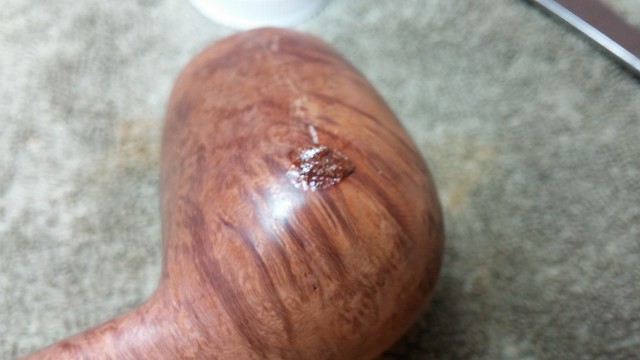
I would have said that the pipe simply needed a basic cleaning and polishing except for a number of factory fills that needed attention. The old putty had crumbled over time, leaving a few large divots and a number of smaller pinhead pits in the briar.
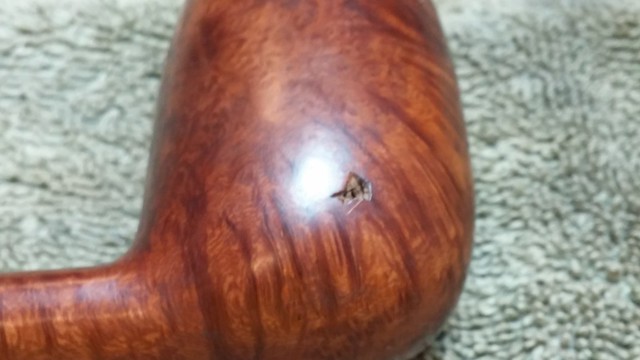

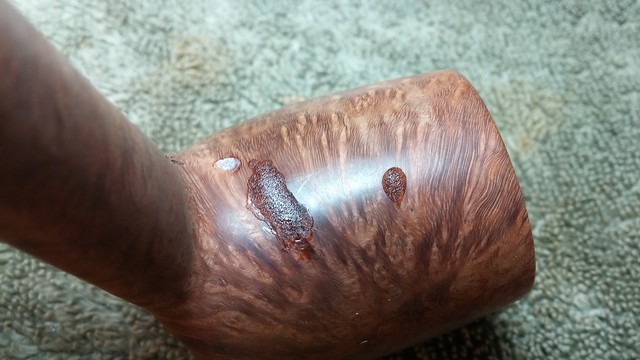
Near the bowl-shank junction is a trio of large marks in the shank top. It took me a few minutes of close inspection to realize that these marks are deliberate – there was no old putty in these marks. I would call this little patch a bit of artistic rustication. Rather than leave large fills in the side of this pipe, Blatter chose to turn the natural flaws into decoration.

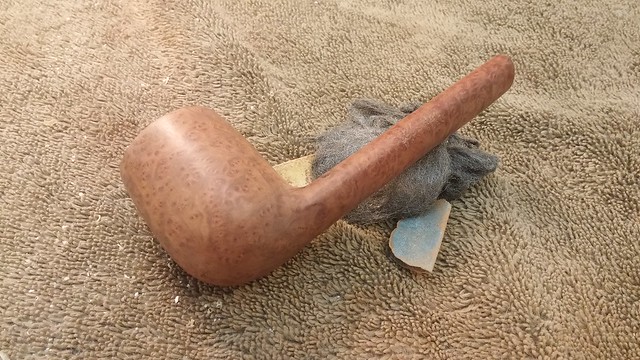
Finished with my initial inspection, I started work on the pipe by reaming the bowl to remove the old cake. The chamber was in great shape.

I topped the bowl very lightly on 320-grit sandpaper to clean up the darkened patch there and also restore the crisp lines of the bowl edges. It didn’t take much work.

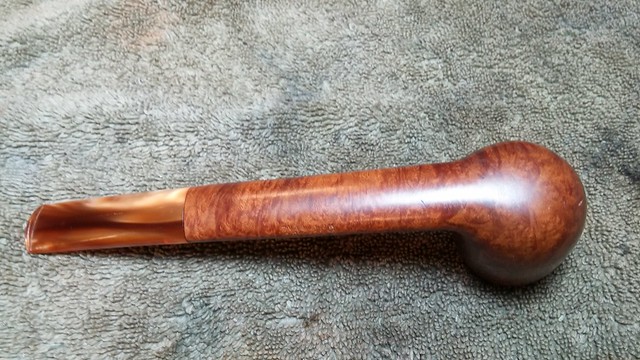
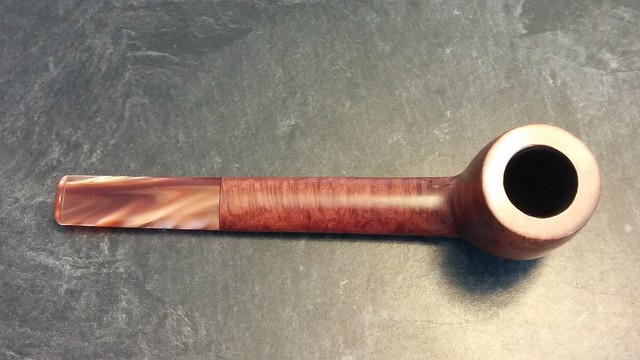
A wipe-down with alcohol on a cotton pad removed the old wax finish, taking the dirt with it. Check out the birdseye grain on the side of the bowl.
I finished the exterior cleaning with a scrub with Murphy’s Oil Soap. I apply the soap with a toothbrush, and then rinse the stummel under running water.
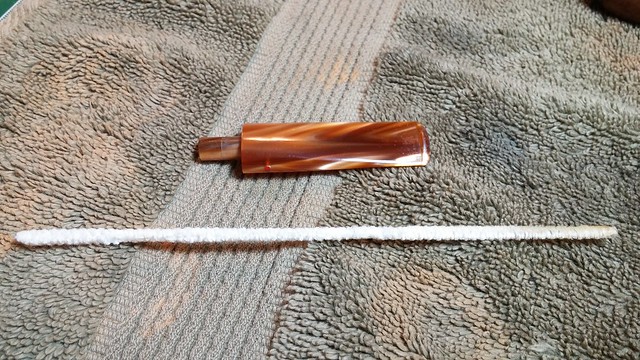
The stummel’s internals were very clean, only needing a few pipe cleaners dipped in alcohol to freshen things up. The stem was likewise very clean.
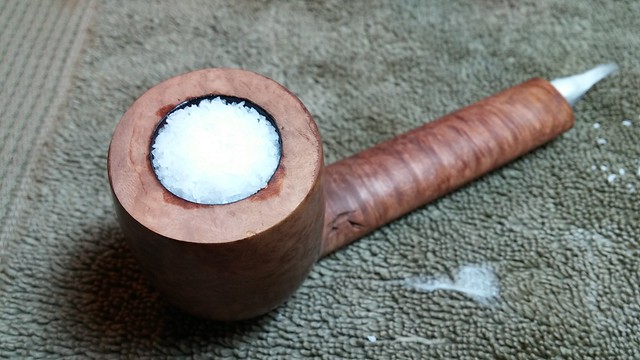
I would perhaps have decided against a salt treatment for a pipe that came to me this clean already, but the owner had mentioned that a few of the pipes were a bit smelly. I decided to do salt treatments on all the pipes to make sure they went home clean and fresh.
To that end, I twisted a bit of cotton wool into the shank and filled the bowl with kosher salt before adding alcohol with an eye dropper. I set the stummel aside overnight; when I came back to it the next morning, the salt and cotton had absorbed the old tars trapped in the briar and removed the residual odours as well.
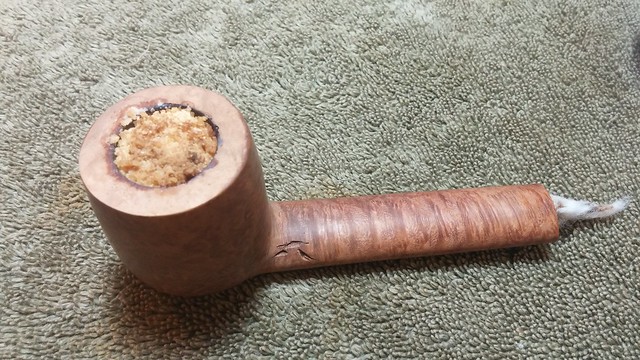
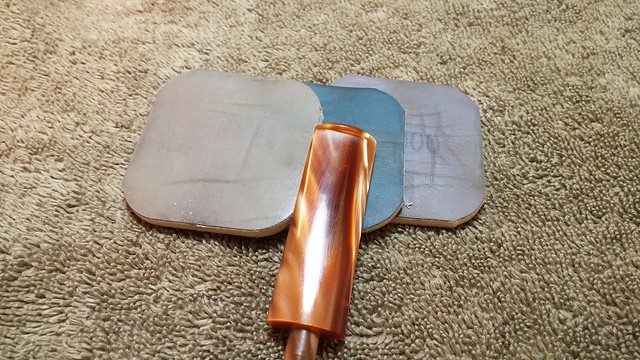
After dumping the salt and tidying up the internals, I smoothed and polished the rim of the bowl with a full course of micromesh pads.
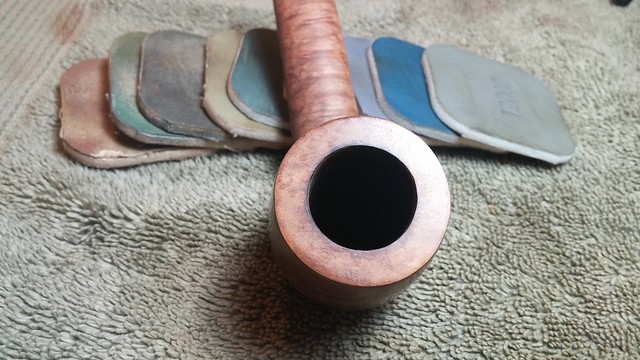
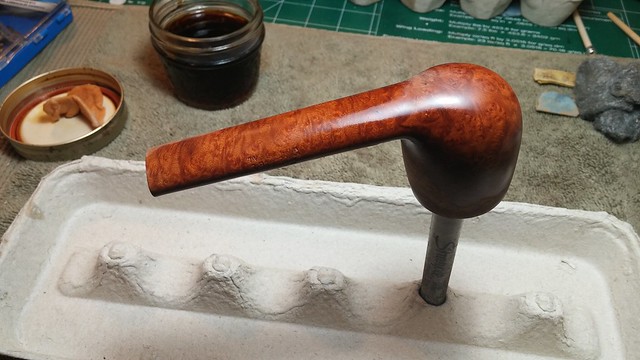
It was time to deal with those old fills. I used a dental pick to scrape out as much of the old factory putty as possible before mixing up some thick CA glue and briar dust to fill the pits. I let the patches cure before filing and sanding them flush to the surrounding briar.
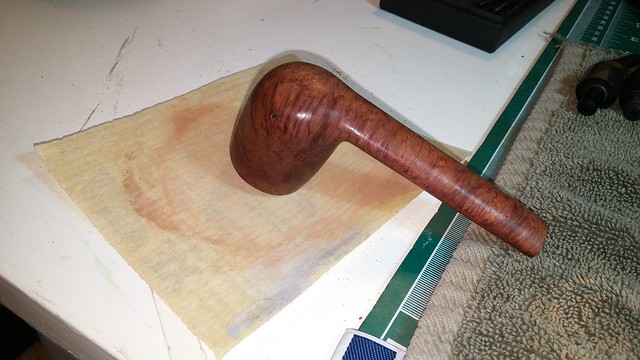
I polished out the sanding marks on the bowl with micromesh in 1500-4000 grits, then refinished the briar with a coat of Fiebing’s Saddle Tan leather dye to restore the original red/brown colours. A wipe with mineral oil after the stain had dried revived the briar and gave the new finish depth and punch.

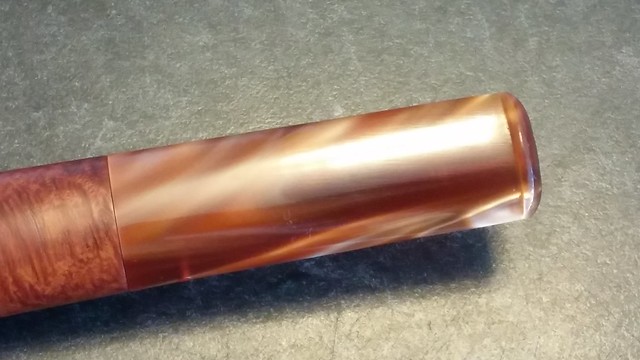
Finished with the stummel, I gave the stem a quick tidy-up with micromesh pads as well. The tooth chatter was light enough not to require coarser abrasive to smooth out. I find acrylic stems take to micromesh pads like ducks to water, achieving a high shine with much less effort than vulcanite stems.
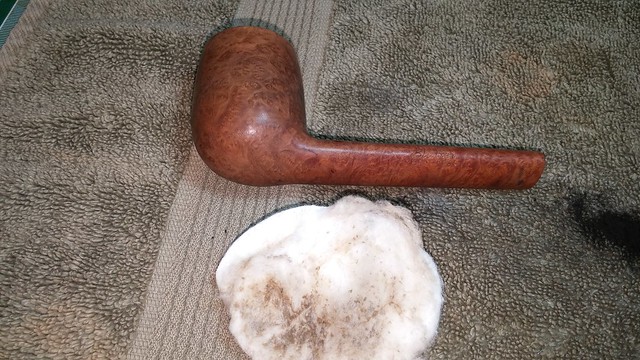
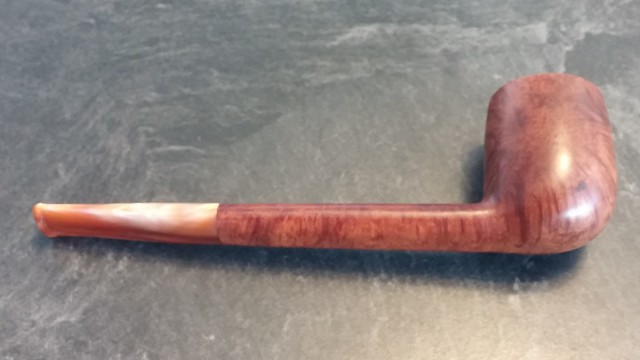
Finally, I reunited stummel and stem for a run on the buffing wheel with white diamond compound and several coats of Carnauba wax.
This is one good looking pipe, if I may say so. The Canadian shape is one of my favourites, and this Blatter Canadian is a lovely example that speaks to me of simple elegance and fuss-free comfort. I’m sure the owner will be thrilled to have this beauty back in rotation!
Thanks for following along. Here’s the finished pipe, and until next time, Happy Piping!


Nice work as usual!!!
LikeLiked by 1 person
Thanks Ted!
LikeLike
A Canadian Canadian from a Canadian collection.
Every Canadian piper should have one.
Nice work Charles.
Can’t wait for the next instalment.
LikeLiked by 1 person
I can picture old Bing himself smoking it. Great looking pipe
LikeLiked by 1 person